


As it was, I was going to have to tidy the room up as we had a scheduled electrical inspection on the Friday, meaning the poor electrician needed access to sockets, heaters etc, but with their impending arrival, I was actually going to have to tidy everything away, rather than make nice piles of things on my table!!!
If I get a chance, I'll take some photos of my room, if only for my own reference so I know how tidy the room can look!!!
Anyway, before I tidied everything away, I managed to make a couple of cards. They were based on a design in the Just Cards magazine, and I made a male and female version of the design.
The first was the male version.
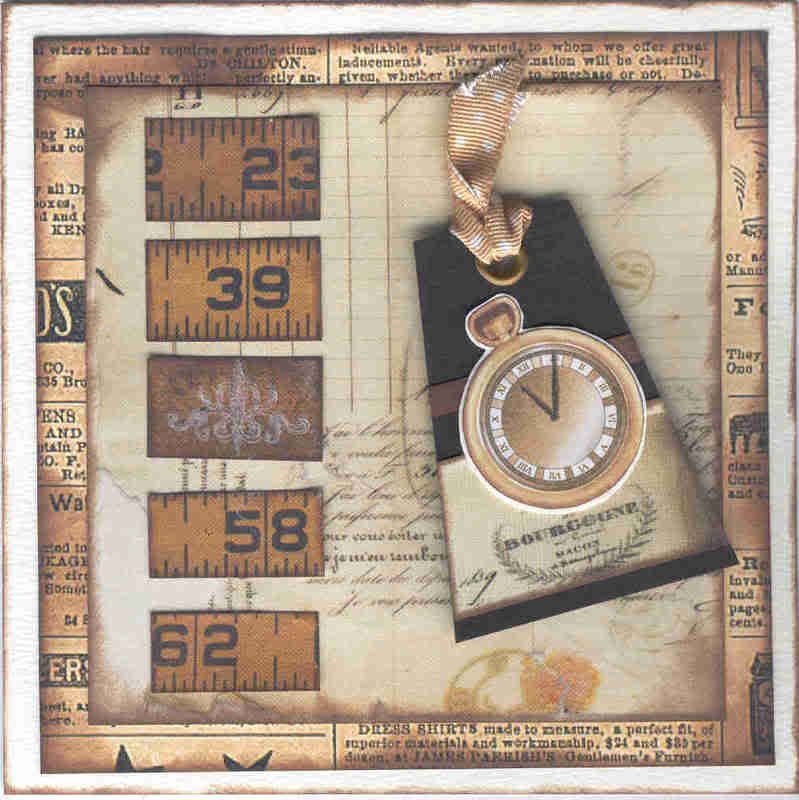 I created a tag from brown card, and attached strips of paper from the K&Co Life's Journey Ruler pad across it and and set a large eyelet at the top. The pocket watch image was cut from the HOTP Masculine Paper Artsy book and adhered to the tag. Anita's beige polka dot grosgrain ribbon was threaded through the eyelet.
Two squares of matching patterned paper from the Ruler paper pad were distressed with ColorBox Chestnut Roan Fluid Chalk ink and layered up. Sections of the ruler paper were adhered to the left hand side and the tag on the right.
A flourish from the Making Memories Ornaments stamp set was stamped onto one of the ruler tiles using Brilliance Moonlight White pigment ink.
The design was adapted slightly for the more feminine version.
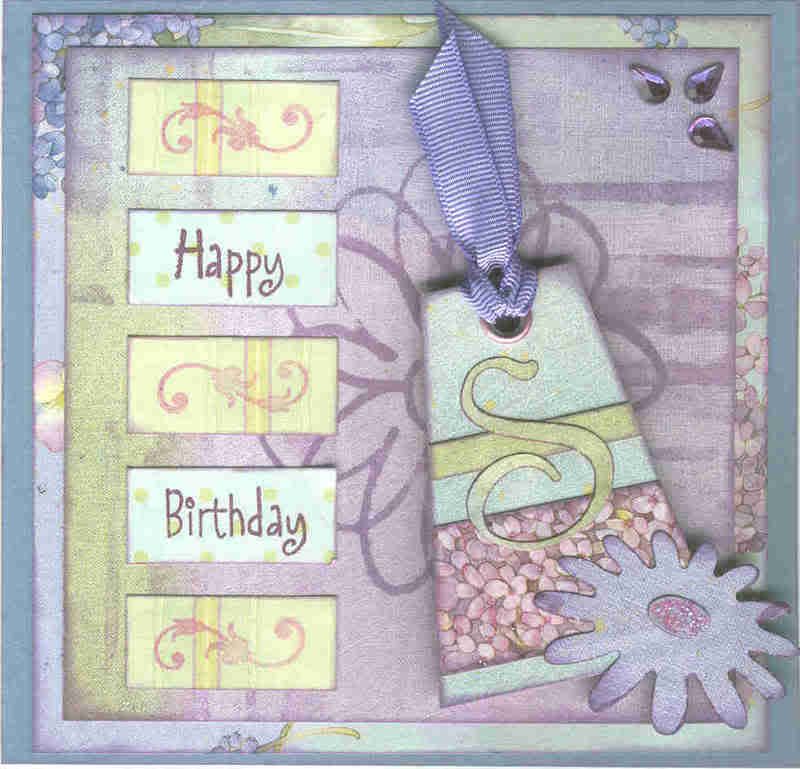 I created the tag using a scrap of paper from the K&Co Brenda Walton Lilac paper pad, which I adhered onto a piece of card to strengthen it. Strips of matching paper were attached across the tag, and an eyelet was set at the top. Lilac grosgrain ribbon was threaded through the eyelet.
The initial was cut from matching paper using the Ellison Curlie Girlie die cut set. A flower was cut out using an X Cut die, also cut from matching paper from the Lilac paper pad.
A square of the patterned paper was over stamped using the Scribble Flower and Irregular Lines foam stamps from a Creative Expressions foam stamp set using ColorBox Wisteria Fluid Chalk ink pad. This was matted onto another square of matching paper and matted onto a card blank.
Tiles of paper were cut from two matching papers from the Lilac paper pad.
The greeting was stamped onto two of the tiles using a stamp from the See D's Celebration Messages stamp set using ColorBox Wisteria fluid Chalk ink. A flourish from the Making Memories Ornaments stamp set was stamped onto the remaining three tiles using ColorBox Warm Violet Pigment ink.
Once the card was assembled, lilac teardrop gems were attached in the top right corner.


1 comment:
I love these cards - the design works well on both of them.
Post a Comment