Pages

WELCOME

This blog was created to act as a record of the cards and other projects that I have made. It is for both my own reference and to help inspire anyone who wants to take a look.

I'd love it if you'd leave me a comment so that I know what you think of my projects and that you've been to visit!

Anyone can comment, even those who don't have a blog. (Just look for the word 'Comments' under the three little pictures at the end of each post). Readers without a blog can add an anonymous comment, but please leave your name (and docrafts username if applicable) so I know who you are!

Slideshows of all the cards I've uploaded to my blog can be found at the bottom of the page.


PEOPLE WHO FOLLOW MY BLOG

Tuesday 18 February 2014

How I Store My Paper and Cardstock and Patterned Papers

I have often been asked the question "What is the best way to store paper and card?" especially by new crafters and so I thought I'd share with you the way that I store mine and the way I've done it since I started crafting nearly ten years ago.
The fact that I have stuck with it does seem to suggest that it works, at least it does for me.
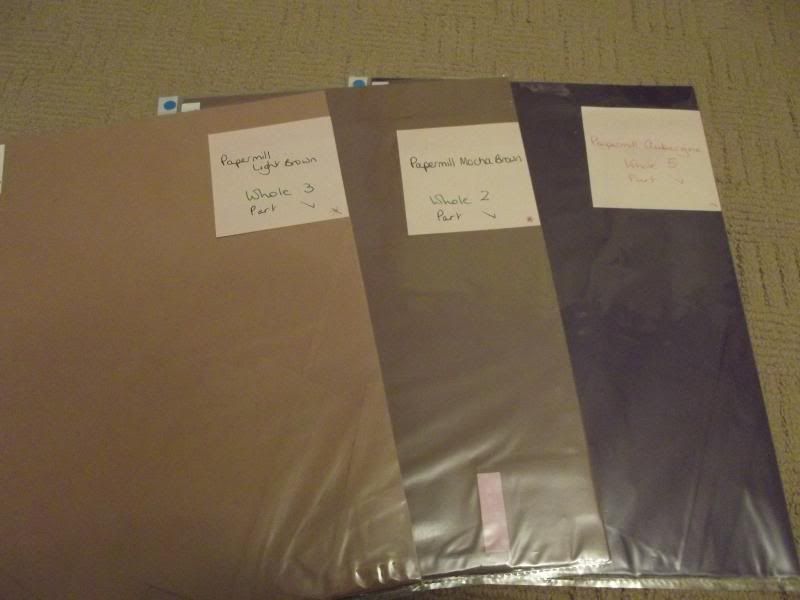
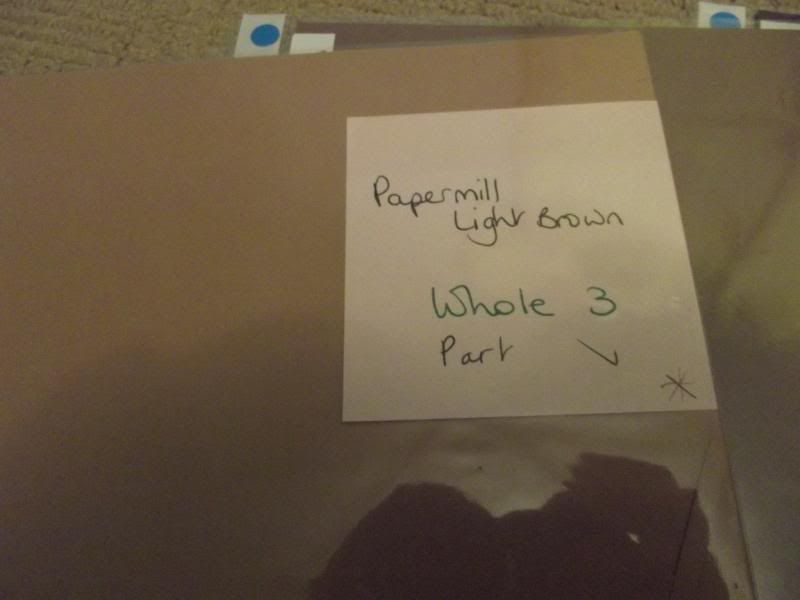
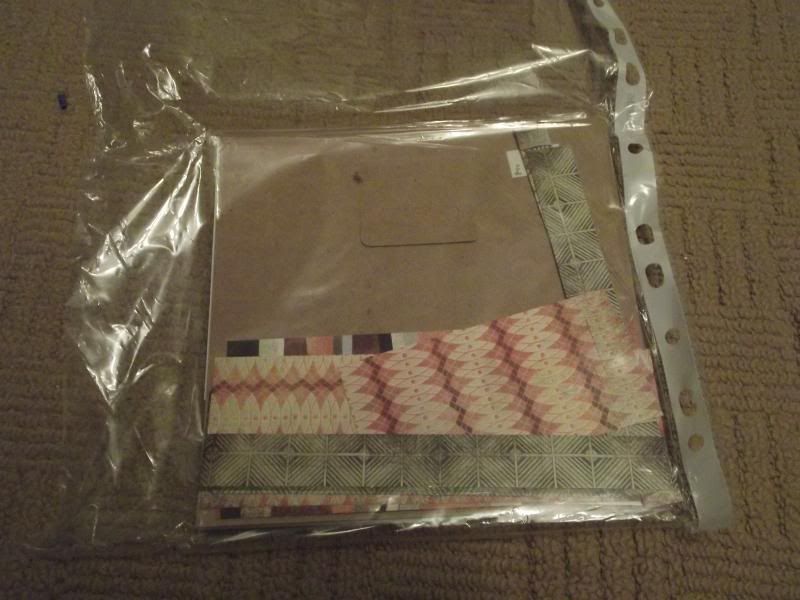
So, the majority of the cardstock I have was picked by me in the Papermill Shop and stuffed into a box. The cardstock didn't have a fancy name, so I gave it one! I'd separate out all the different types of card and paper and put each one into its own polypocket and write out a Post-It note with its new given name and how many full sheets of it I had.
Once it had been used, I'd also make a note of whether or not there were any offcuts.
The polypockets were then sorted into colour families (red, orange, yellow, green, blue, purple, lilac, pink, brown, gold, silver, grey, black, white and cream) and then those were then sub-divided into card, special card (linen, hammer, pearl, other special finish or texture), paper and special paper.
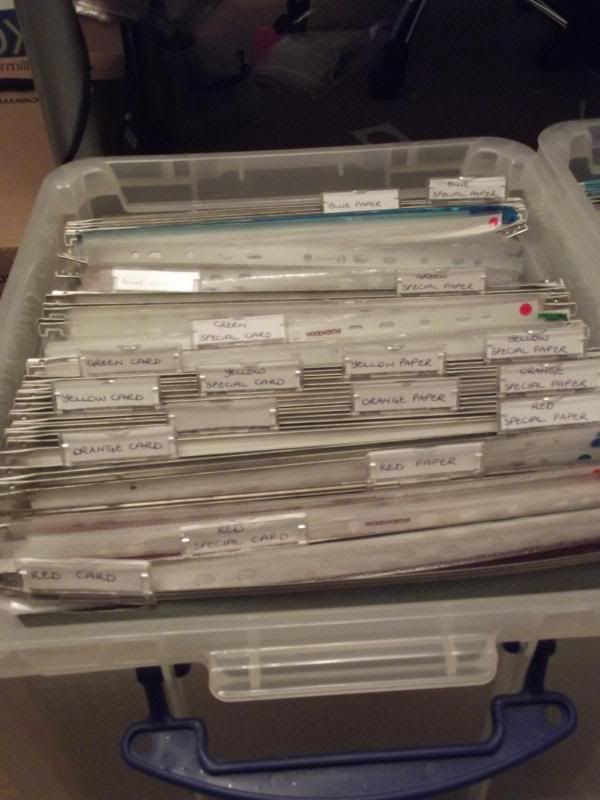
Each of these sub-categories were then given a foolscap suspension file and these were placed in 35litre Really Useful Boxes. These boxes have a section on the inside where the hooks of the suspension files can run, making them perfect!
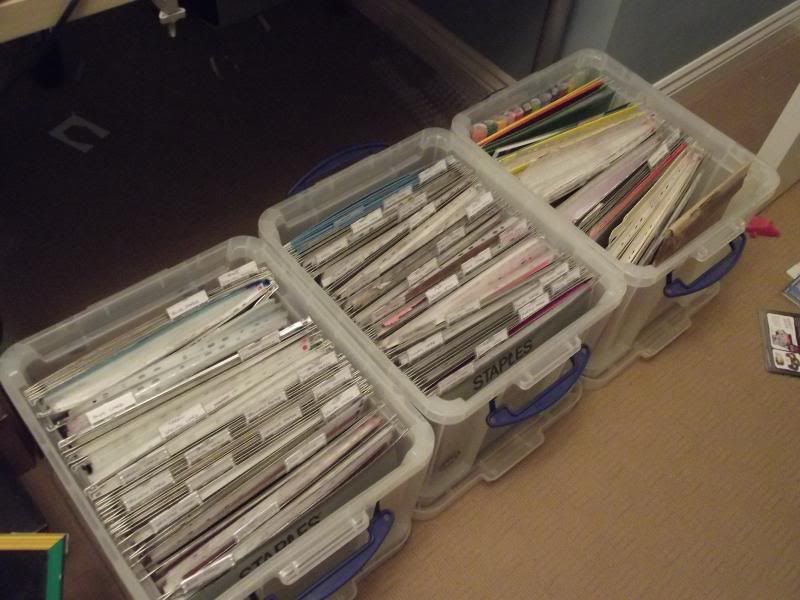
I currently have three of the 35litre boxes and they live in front of my desk next to one another. The first box has red-blue, the second has purple-black and the third has white and cream.
I should mention that I also have larger boxes containing the cardstocks I mostly use for cardblanks, as there are too many sheets of those to store this way. They are to the side of my desk.
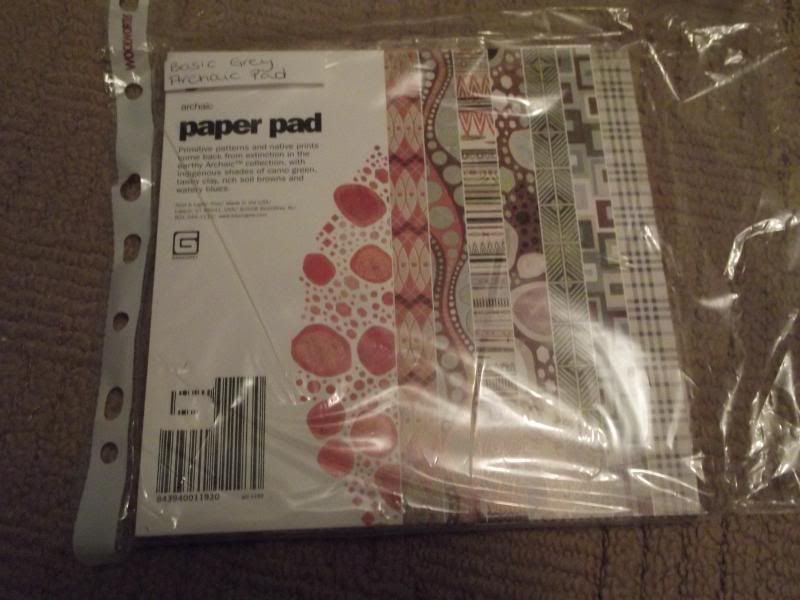
I also store my packs of patterned papers (6x6, 8x8, UK A5 and UK A4) in the same way. I put the pad or pack of paper into the polypocket and also put any offcuts into the back of the polypocket.
My patterned papers are then stored in cardboard CD and shoeboxes sourced from WHSmiths and Dunelm. You might also find them in Wilkinsons. They are the perfect size to store the pads stood up so that I can flick through them. I forgot to take a picture of them though! They sit on top of my rollcarts behind my desk on top of the drawers that hold my brads, eyelets and gems.
I have found that by putting the offcuts in with the full sheets of either cardstock, paper or patterned papers, I can look to see if I have a suitably sized small piece that I can use before cutting into a larger or new sheet. I keep any sized offcut that I think I can use in the future, whether that be a thin decorative strip or a panel that can be used for a small sentiment.
I hope this has helped you in your decision making process as to how to store all of your paper and cardstock and patterned papers.

Monday 17 February 2014

Kristina Werner Inspired Card #2

Well, here we are again. This time it was my turn to choose the card from Kristina that we were to CASE and here is the link to the video showing the card I chose and a link here to Kristina's blog post showing this card.

In need of a few anniversary cards, that's what I decided to make based on this card design.


To begin with, create the patterned paper panels. To make these, cut up strips of various papers from the K&Co Brianna paper pad in varying widths. I found the easiest way to adhere these to the panel and ensure they stay attached was to cover the panel entirely with adhesive, making sure the adhesive goes right up to the edges. This is particularly important if you have small bits in the corners. Once covered, turn the panel over and trim away the overhanging bits.

Panels of cream cardstock were then stamped using the Happy Anniversary stamp from the Kaisercraft Occasion's stamp set and the Brilliance Cocoa Bean pigment ink. The lower edge of the panel was then diecut using one of the Spellbinders Bracket Borders dies. The paper strip panel was then adhered to this diecut panel and a length of lace adhered to hide the edge of the paper strips.


The next step was to add some detail to the card blank. Using the basket weave stamp from the Waltzing Mouse Picnic Patterns stamp set and the Cocoa Bean ink, the border stamp was stamped three times across the bottom of the cardblank. Remember to mask off the left panel of the card first so the reverse of your card is protected.

Once the ink is dry, adhere the paper strip panel to the card using 3d foam.


To create the banner detail, two different designs of pennants were stamped from the Whimsy Stamps Celebration Circle Pennants stamp set using the Cocoa Bean ink and die cut using the frilly Whimsy Stamps Shapeology Circle Pennants die. These were connected together using cream embroidery thread and placed across the card.


As a finishing touch, the top right corner was then punched using the WRMK Corner Chomper, using the 1/2" corner. 

Here is an image of the front of the finished card.


The inside of the card was also decorated to match and complement the front of the card. This time the greeting was stamped using the Congratulations stamp from the Papermania Mix and Match Scrolls and Sentiments stamp set with the Cocoa Bean ink.


Once Ali has uploaded her version, I will add a link to her creations which I'm sure are stunning!

Here is a link to Skipper's take on this card. It's a beauty!
Blog Widget by LinkWithin