I'm afraid that this post isn't in the least bit crafty but I wanted to let you all know that I am still alive!!
We finally got back
online today. It would have been sooner, but hubby decided to ignore me when I said I thought the router should be plugged into the other socket. We got the
BT broadband engineer out and he changed a cable in the junction box or something (I won't pretend to understand it!!) and then saw the router cable and said 'Well, that's probably why it won't work'. He still won't believe me!!!
My craft room is almost how I'd like it. I've managed to palm off some unnecessary furniture into hubby's computer room, which has left me with a bit more space!
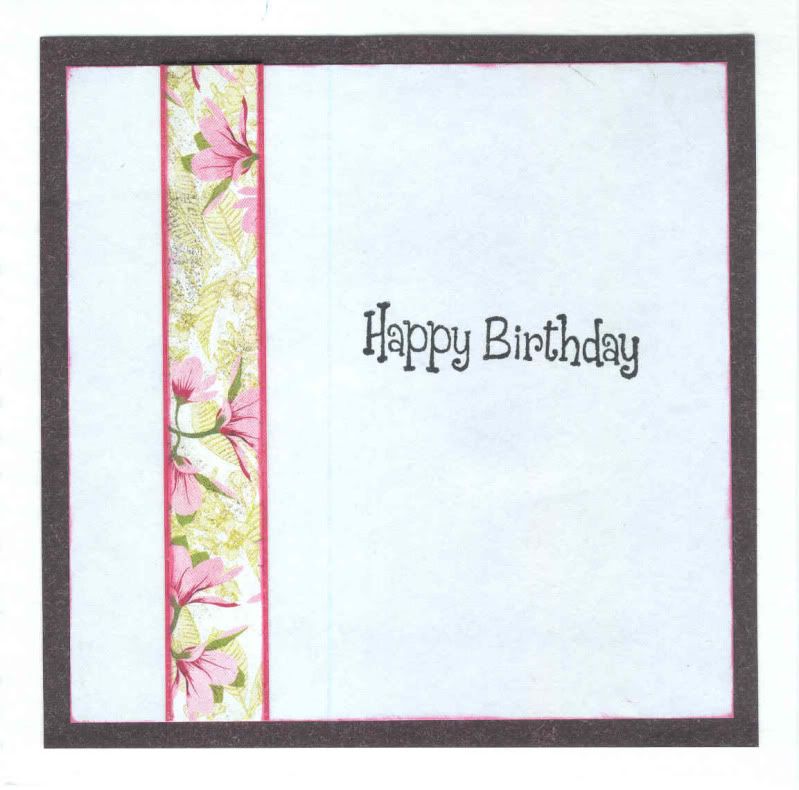
I have managed to make one whole card since moving, but haven't got the scanner and printer set up yet, so can't show it to you yet.
However, I was very organized and wrote up a few posts before we moved so I'll try and upload a few when I remember.
Believe it or not, I STILL haven't made any Christmas cards - those Christmas cards I bought back in 2003 up in the card box are starting to look good I can tell you!!!
I reckon if I make a minimum of four cards every day up until they have to be posted out I might manage it!!!
Wish me luck - I'm gonna need it!!!!!
I also wanted to say how good it was to see Leonie on C&C today. It came as a big surprise to me. I'd heard them say last week that they were getting a new craft presenter this week and I was wondering who it was going to be, but I never would have guessed that!!!
I also wanted to say that I think it's about time, actually no, it's well past time that Jedward were voted off X Factor, althought they did manage to sing Rock DJ almost all in tune, but Lucie was much better. I agreed with the Lloyd decision, as it would have been harsh to have been judged on not having any voice at all, but come on, Jedward vs Lucie is no competition!
Right, I'll get off my soapbox now!!
Hopefully I'll be back on regularly soon, so see you then.


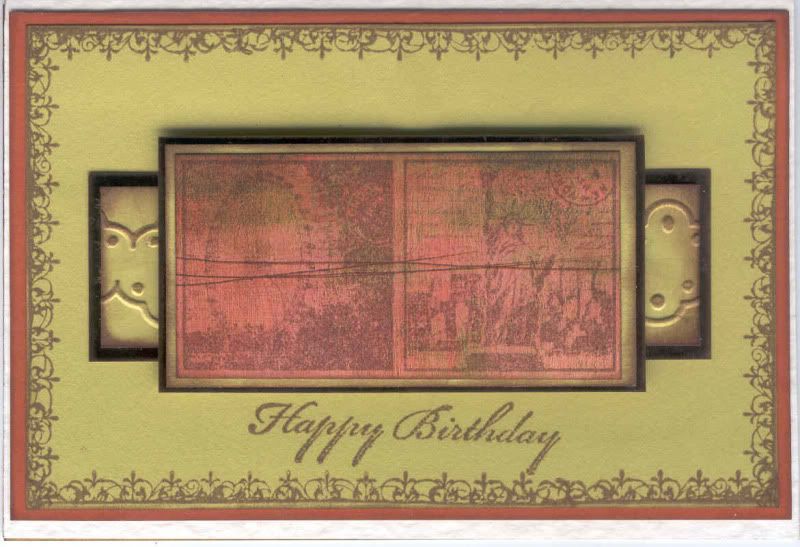 The image was stamped onto the orange brushstroke paper from the K&Co Basic Grey Sublime paper pad using Versafine Vintage Sepia archival pigment ink. This was cut down to two images and matted onto green paper and copper mirror card and also matted onto the copper mirror card.
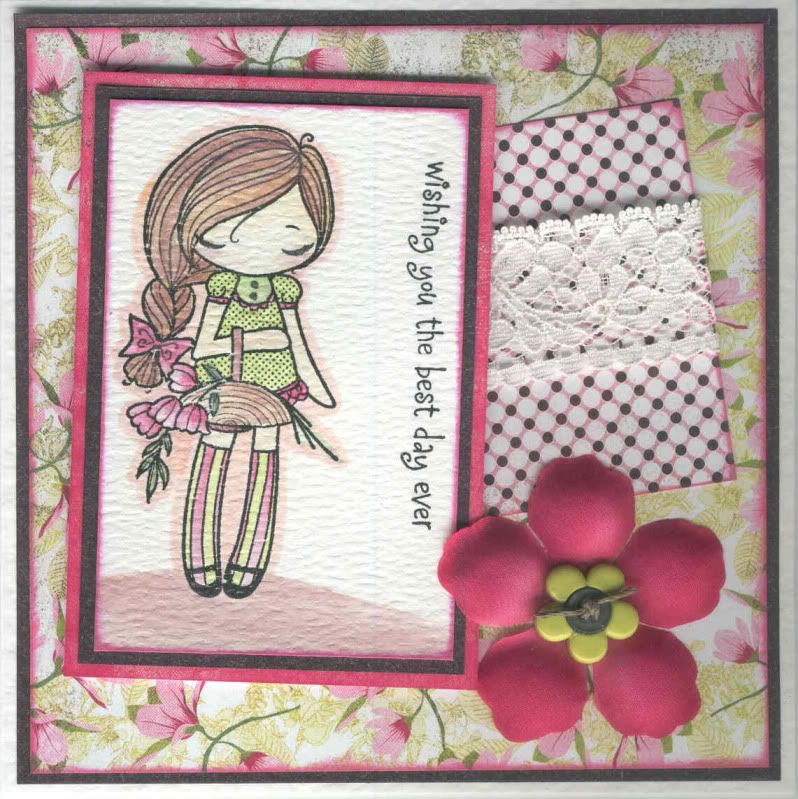 The Flower Trug Miss Anya was stamped using