





Pages

WELCOME

This blog was created to act as a record of the cards and other projects that I have made. It is for both my own reference and to help inspire anyone who wants to take a look.

I'd love it if you'd leave me a comment so that I know what you think of my projects and that you've been to visit!

Anyone can comment, even those who don't have a blog. (Just look for the word 'Comments' under the three little pictures at the end of each post). Readers without a blog can add an anonymous comment, but please leave your name (and docrafts username if applicable) so I know who you are!

Slideshows of all the cards I've uploaded to my blog can be found at the bottom of the page.


PEOPLE WHO FOLLOW MY BLOG

Showing posts with label Lakeland. Show all posts

Thursday, 29 October 2015

Burgundy, Pink and Green Pink Gem Heart Flower

So, in the spirit of #TBT, I have decided to post one card each week that is a few years old and still waiting to be blogged.

This particular card was made back in 2011 I believe, using a stamp set that I won from Pink Gem Designs, called Funky Flowers.
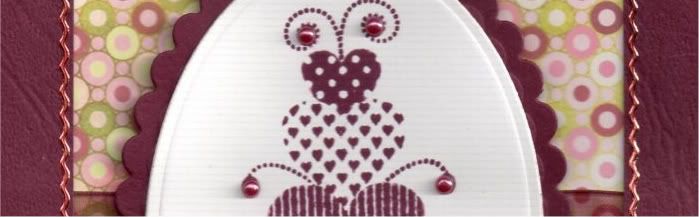
The Heart Flower image, from the Pink Gem Funky Flowers stamp set, was stamped using Adirondack Currant dye ink and die cut using a Petite Oval die from Nestabilities, and matted onto a burgundy Petite Scalloped Oval.

A length of burgundy organza ribbon was wrapped around a panel of the Courtier paper from the Basic Grey Eva paper pad and adhered to the card blank.

Two borders were punched from the burgundy cardstock using the EK Success Scalloped Scallop border punch and adhered over the edges of the patterned paper.
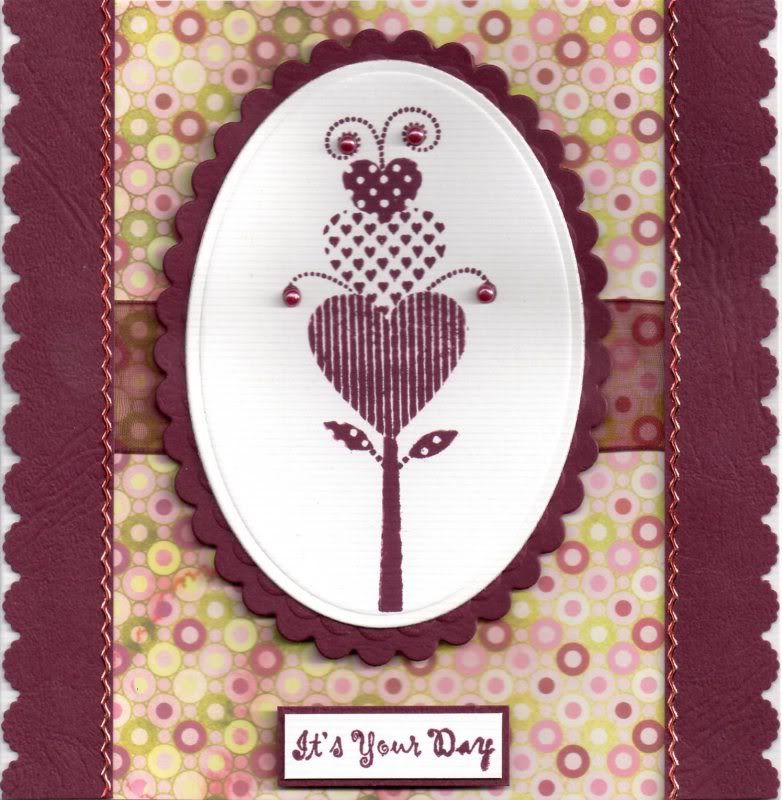

The 'It's Your Day' sentiment, from the Papermania Clare Curd Sentiments stamp set, was stamped using the Currant dye ink and matted onto the burgundy cardstock.

Burgundy self-adhesive pearls, from the Hobby House Ruby Mix, were added to the Heart Flower image, and gold border peel-offs, from Lakeland/Starform were coloured with a red Copic marker and added along the edge of the border strips.

Yes, I know, peel-offs!!!! I wonder if they will make more appearances in these throwback posts???

Monday, 14 February 2011

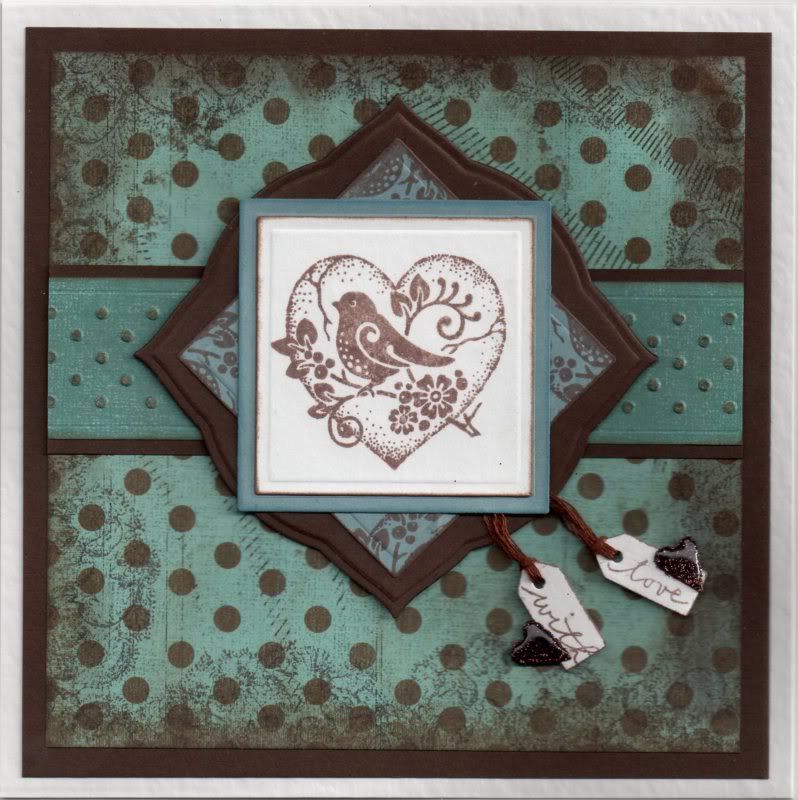
Duck Egg Blue and Brown Bird in Heart Valentine

Well, after a VERY late night, I finally got hubby's Valentine's card made. I decided to go with an unconventional colour scheme of duck-egg blue and brown.


The image, a freebie from Craft Stamper Magazine designed by Graphicus, was stamped using Memento Rich Cocoa dye ink and then die cut using a square Nestabilities die. This was then matted onto blue paper.

A second square of the blue paper was stamped using part of the bird stamp using the Rich Cocoa ink and matted in the centre of a Labels 1 die cut.

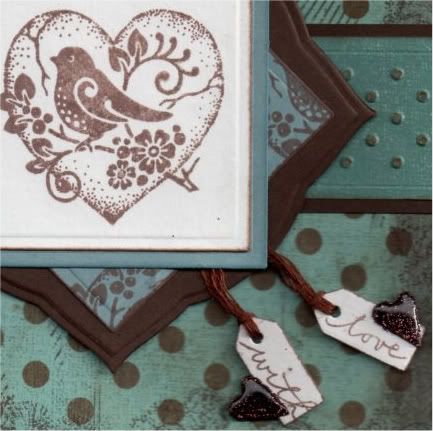
Two mini tags were die cut using the Sizzix Sizzlits Hearts, Stars and Tags die and stamped using the 'With Love' stamp from the Woodware Jane's Script Sentiments stamp set with the Rich Cocoa ink. Two small hearts were die cut from the brown card and covered with brown glitter from the Lakeland glitter kit and covered with Anita's 3D Gloss. These were attached using brown embroidery thread between the two blue square layers.


A strip of the duck egg blue mottled paper, from the HOTP Vintage paper pad, was embossed using the dots border embossing folder from the Just My Type set of border folders from Cuttlebug. This was then matted onto a strip of the brown card.

A panel of the duck egg blue and brown polka dot paper, from the same paper pad, was stamped around the edge using the floral and scroll background stamp from the Aspects of Design Memories of Italy stamp plate from The Stampman using the Rich Cocoa ink. This was also colour tinted around the edges using the Rich Cocoa ink and the ColorBox Chestnut Roan fluid chalk ink.

The embossed strip was then matted across the square panel and onto the brown card.


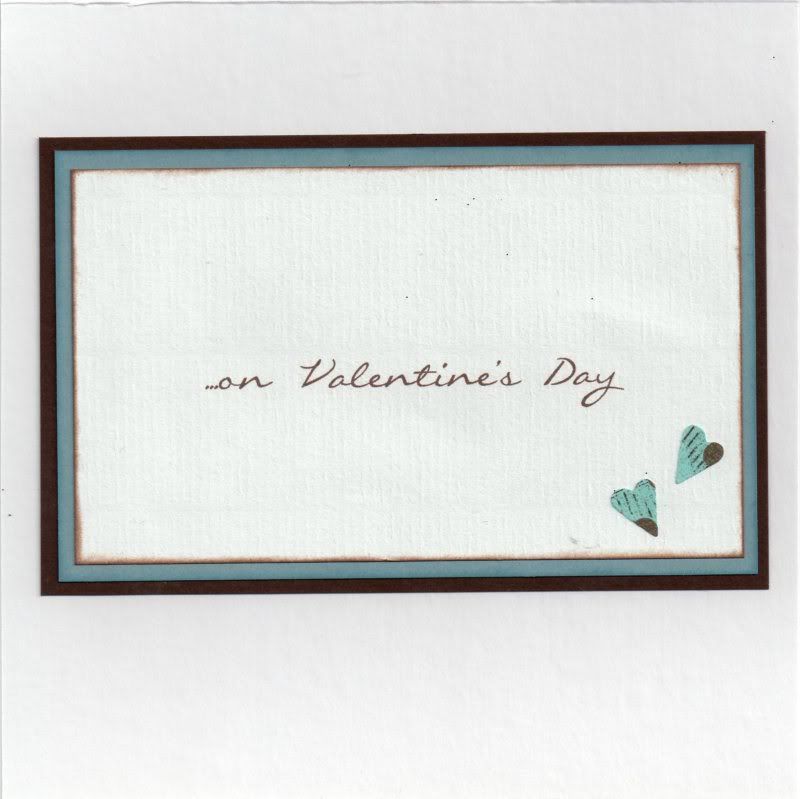
The inside of the card was also decorated using hearts punched from the polka dot paper. The sentiment was computer generated, using the Callie Hand font, which was the nearest one I could find to the Jane's Script font of the sentiment stamps.

Here are the challenges that I am entering this card into:

Friday, 5 November 2010

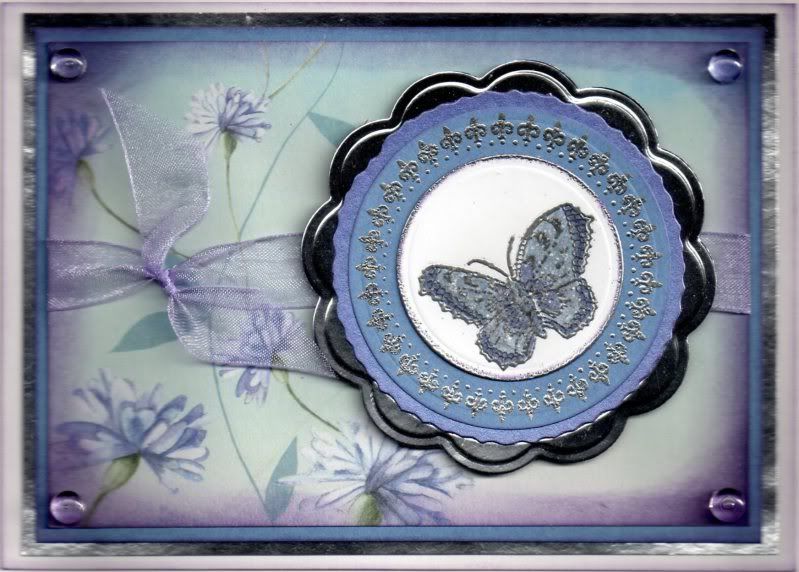
Lavender, Blue and Silver Butterfly Frame

Here is another of my butterfly cards using the free Kate Knight papers that came with the Cardmaking and Papercraft Magazine a couple of months ago.


A circle was die cut from white card using a Nesties die and the butterfly image from the Penny Black Enjoy Life stamp set was stamped using Versacolor Black pigment ink and heat embossed with PSX silver embossing powder.

The butterfly image was coloured using Copic sketch markers:
  • Butterfly: BV00, BV04, B41
 and highlighted with Tim Holtz Rock Candy Distress Stickles.

The edge of the circle was lightly coloured with Tim Holtz Dusty Concord distress ink and silver embossed.

The Fleur de Lys circle frame stamp, from the Papermania Hampstead Icons and Sentiments stamp set, was stamped and silver heat embossed onto cornflower blue paper and die cut using a circle Nesties die. This was matted onto a die cut circle from a Lakeland set of die cut sheets and a Big Scalloped circle die cut from silver mirror card.

A panel of the blue patterned paper, from the pad of free Kate Knight designed papers, was distressed around the edges with the Dusty Concord ink and a length of lilac organza ribbon was tied around the centre.

This was then matted onto the blue paper and the silver mirror card and then onto the card blank.

Clear Dew Drops from Patti's Pretties were then added in each of the corners of the patterned paper.

Here are the challenges I am entering this card into:

Thursday, 16 September 2010

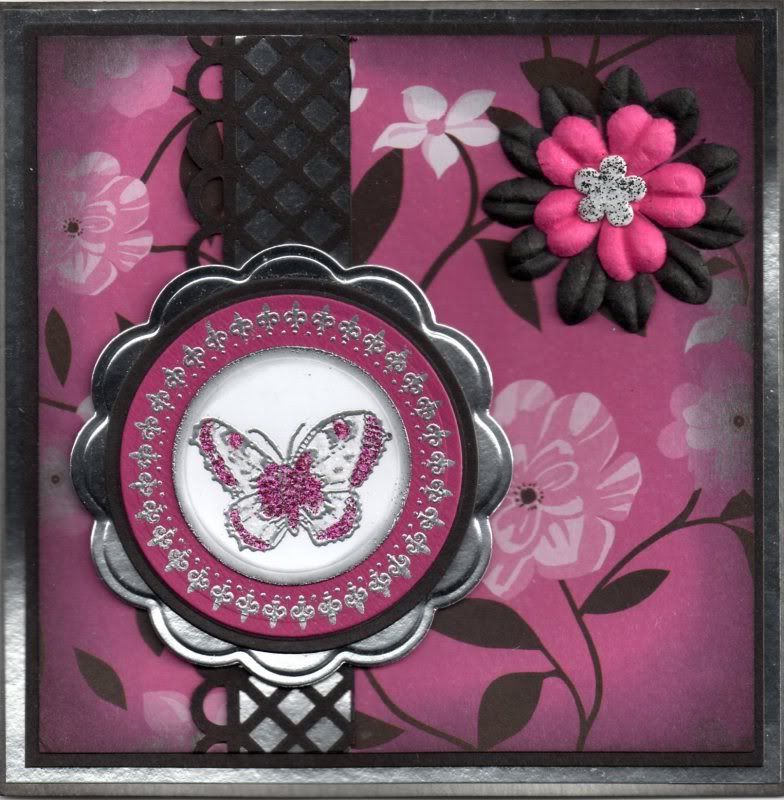
Pink, Black and Silver Butterfly Frame

Here is a card I made as an anniversary card using the free Kate Knight papers that came with a recent copy of Cardmaking and Papercraft Magazine.


The Butterfly image, from the Penny Black Enjoy Life stamp set, was stamped using Versacolor Black pigment ink and heat embossed with PSX silver embossing powder. The image was then coloured using Craft Planet Fuchsia glitter glue and Tim Holtz Rock Candy Distress Stickles and die cut using a standard circle Nestabilities die.

The Fleur de Lys circle frame stamp from the Papermania Hampstead Icons and Sentiments stamp set was stamped using the Versacolor Black ink and silver embossed and die cut into a circle. A further circle was die cut from black card and a big scalloped circle from silver mirror card.

A strip of the black card was punched using the Martha Stewart Garden Trellis deep-edge punch and layered onto the silver mirror card. This was then matted onto a square of the pink and black floral paper from the Kate Knight paper pack.

The edges of this paper were distressed with the Tim Holtz Black Soot distress ink and matted onto the black card.

A couple of Prima paper flowers were layered up with a white Papermania flower brad and added in the top right hand corner. The brad was covered with the Rock Candy Stickles and black glitter from the Lakeland glitter pack was sprinkled over the top.

I will be entering this card into a few challenges:

Saturday, 21 August 2010

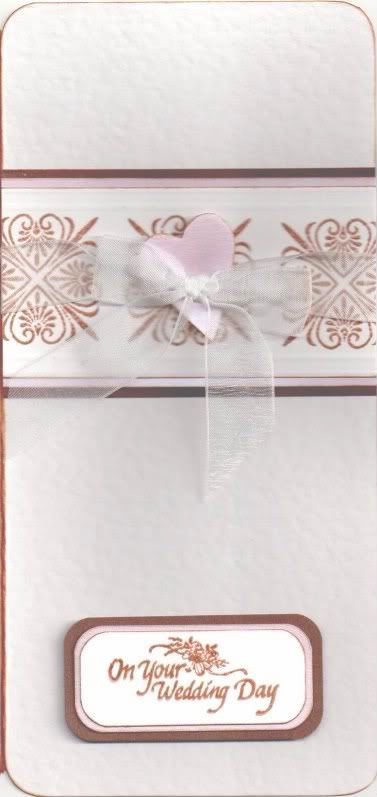
Pink and Brown Wedding Tiles and Heart

Here is the wedding card I made for our friends who got married on the same date as we did - just eleven years later!! It's a card I made that was inspired by a card I saw in a magazine. If I find out which magazine it was I'll add it here later!!

Unfortunately, the card didn't scan in brilliantly so apologies for the picture quality.


I'm entering this card into a few challenges:
A medallion stamp, from the Lakeland set of medallion stamps, was stamped using Versafine Vintage Sepia archival pigment ink onto a strip of white card and clear embossed. The panel was then dry embossed along the edges to give an embossed line either side of the stamped images. This was then matted onto a panel of pink pearl and brown card.

A heart was die cut using the Sizzix Sizzlets Hearts, Stars and Tag die from pink pearl card, and a length of white organza ribbon was tied around the panel and knotted over the heart.

Using a Stamps Away stamp, the sentiment was stamped using the Vintage Sepia pigment ink and clear embossed. The corners of the panel were punched using the large XCut corner rounder punch and then matted onto the pink and brown card.

Thursday, 3 September 2009

Lilac Multicoloured Daisies Smirk Hugs

This is my second entry to the Mojo Monday Blog Challenge #102.

It is also the 400th card design that I have produced since I started making cards (not including Christmas cards!!) I keep a book with a record of what I have used when making all my cards so that if I want to reproduce a card, or locate a patterned paper from somewhere, I know what it is.

Anyway, here is the second card I made to this week's Mojo Monday sketch:

The only differences that this card has to the previous one is the background paper, although it is also from the DCWV Glitter Mat stack.
On this card, I decided to thread some of the lilac stripe ribbon through the lilac pearl mat to create a knot effect.
The other difference with this card is that whilst making this one the glitter glue bottle decided to split all the way down it and glitter glue decided to splurge (yes, that is a word!!) all over my card. Thankfully I managed to wipe it all away with a baby wipe, not leaving any trace or damaging the patterned paper that it splurged all over!!!
STAMPS
Hugs - Smirk Love and Friendship stamp set
Fabulous Friends - Smirk Love and Friendship stamp set
PATTERNED PAPERS/CARD
DCWV Glitter Mat Stack
Lilac pearl die-cut mats - Lakeland
INKS ETC
Versafine Onyx Black Archival Pigment ink
Whispers Brushstroke markers
Craft Planet Lavender glitter glue
EMBELLISHMENTS
Lilac Stripe grosgrain ribbon - Anita's
DIE-CUTS/PUNCHES
Standard Circle die - Nestabilities
Photo Corner - Ellison Photo Corner die
OTHER
Swiss Dots embossing folder - Cuttlebug
'K ' rub-on - Me & My Big Ideas Primary Monograms

Lilac Smirk Hugs

This is my entry to this week's Mojo Monday blog challenge, #102. This is the first time I've entered this blog challenge, and I enjoyed following the sketch.

I decided to use my Smirk Love and Friendship stamp set for this card.

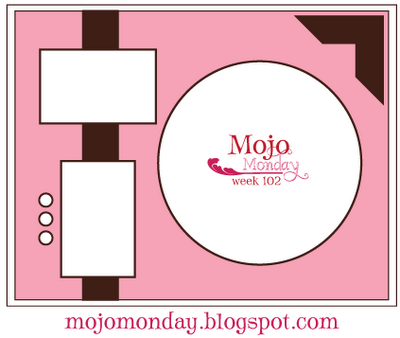
Here is the sketch:

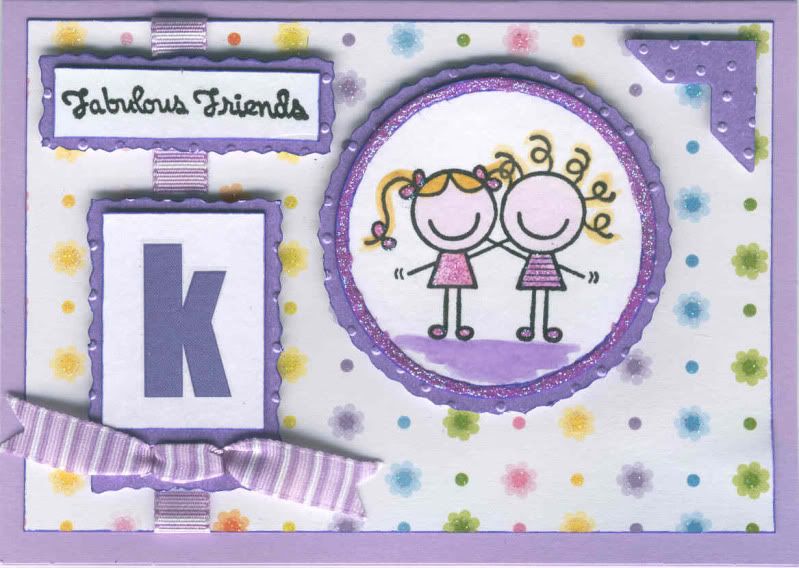
....and here is the card I made.

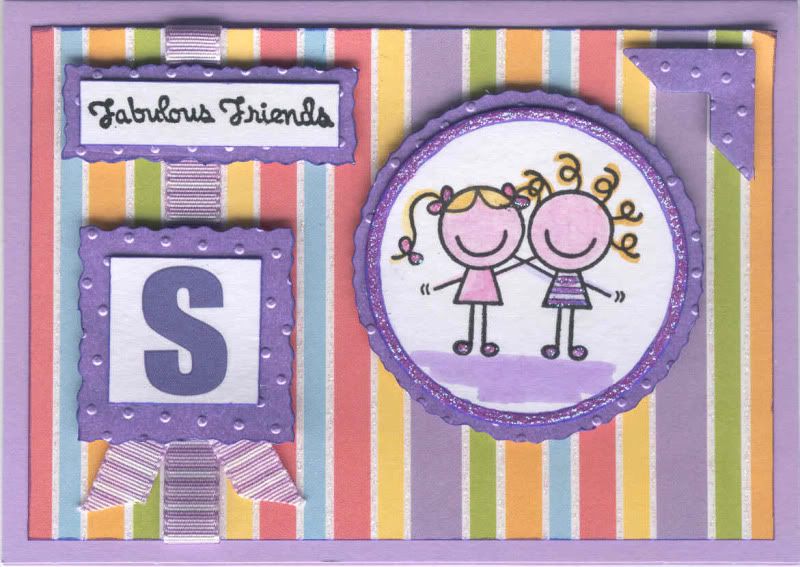
The Hugs image from the Smirk Love and Friendship stamp set was stamped using Versafine Onyx Black archival pigment ink and watercoloured using Whispers Brushstroke markers, and highlighted using Craft Planet Lavender glitter glue.
The image was cut out using a standard circle Nestabilities die, and matted onto a lilac pearl die-cut circle from a set from Lakeland that had first been embossed with the Swiss Dots Cuttlebug embossing folder. The photo corner was cut out from the excess card on the die-cut sheet using the Ellison Photo Corners thin cut die and also embossed.

A length of Anita's lilac stripe grosgrain ribbon was adhered across a panel of multi-coloured stripe paper from the DCWV Glitter Mat Stack. The sentiment, also from the Smirk Love and Friendship stamp set, was matted onto a die-cut panel, as was the monogram rub-on, from the Me and My Big Ideas Primary Monograms set. Both panels were embossed first with the Swiss Dots folder.

Two short lengths of the ribbon were attached to the reverse of the monogram panel.

I then decided to make a second similar card to the same sketch which will follow in the next post.

Saturday, 18 April 2009

Chocolate Orange Medallion - Basic Grey Challenge #30

Well, I've done it again. Slaved over a card for a blog challenge only to miss the deadline. I wouldn't mind, but I had made it in time, just didn't get round to uploading it to my blog!!!
Anyway, I've got round to it now, so here it is - or should I say, they are. I made one, and wasn't 100% happy with it, so decided to make a second version. Let me know which one you prefer!

For a change, the card blank is a side opening A6 card.
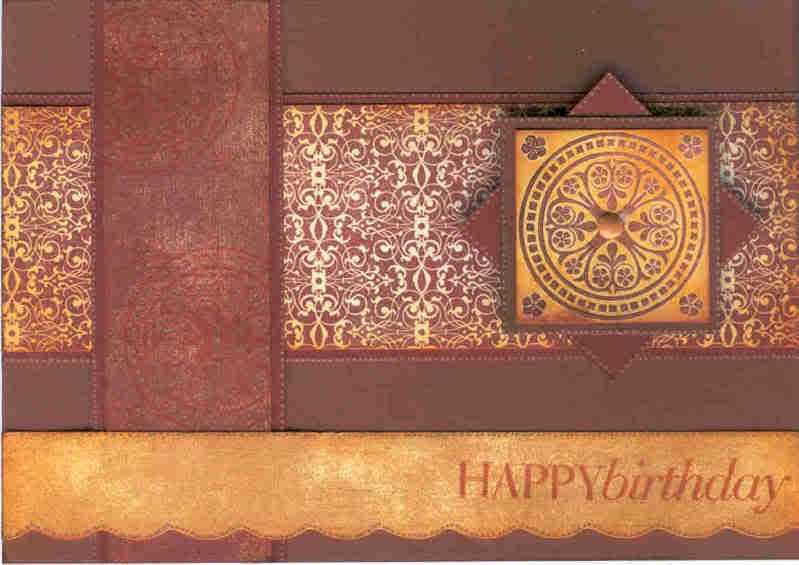
The image, from the Lakeland set of small medallion stamps, was stamped onto smooth white card using Ink It Up! Light Chocolate pigment ink and then clear embossed. The panel was then colour tinted with Tim Holtz Spiced Marmalade Distress ink. The image panel was then matted onto brown card and paper, and a small orange brad was added to the centre.
Strips of three co-ordinating papers from the Basic Grey Sugared paper pad were colour tinted with the Tim Holtz Spiced Marmalade Distress ink, and the same ink was used to repeatedly stamp the medallion image on the brown strip. The paper strips were then matted onto brown paper. A further strip of paper was cut using the Fiskars Shapecutter and the small scalloped edge of the Fiskars Circles template. A sentiment from the Hero Arts Birthday Messages set was double stamped on this strip with the Whispers Barn Brown permanent dye ink and the Tim Holtz Spiced Marmalade Distress ink.

Little dots were added along the edges of each of the brown panels and to highlight the dots already on the medallion images.

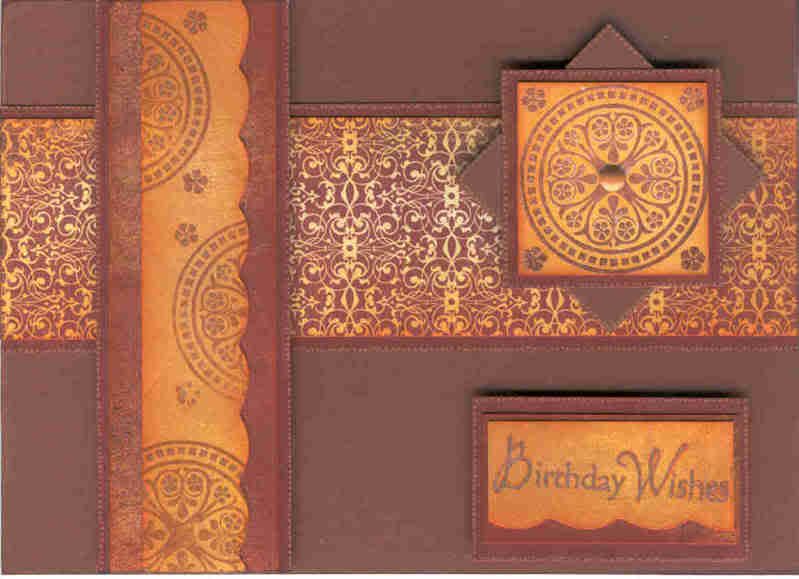
The second version of the card isn't that dissimilar.

The main differences are that I added the scalloped strip to the vertical brown strip and stamped the medallions on it in the Whispers Barn Brown permanent dye ink.
I added the sentiment to a shorter panel of the scalloped strip, and traced over the lettering with the orange metallic Sakura gel pen.
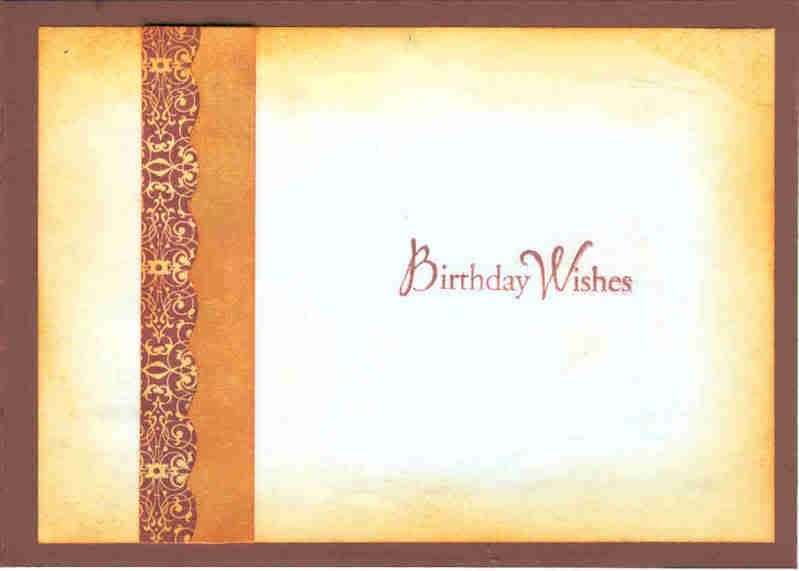
I also decorated the inside of the cards,
and added my 'Handmade By' medallions to the reverse of the cards.

Blog Widget by LinkWithin