Pages

WELCOME

This blog was created to act as a record of the cards and other projects that I have made. It is for both my own reference and to help inspire anyone who wants to take a look.

I'd love it if you'd leave me a comment so that I know what you think of my projects and that you've been to visit!

Anyone can comment, even those who don't have a blog. (Just look for the word 'Comments' under the three little pictures at the end of each post). Readers without a blog can add an anonymous comment, but please leave your name (and docrafts username if applicable) so I know who you are!

Slideshows of all the cards I've uploaded to my blog can be found at the bottom of the page.


PEOPLE WHO FOLLOW MY BLOG

Friday 29 May 2009

DIY Marshmallow Fathers Day - Alex K's Blog Candy Challenge - CLOSED

Why is it when you really want to get down to some cardmaking there's always something getting in your way!

I wanted to get my entry for Alex's blog candy challenge out of the way about a fortnight ago, but what with one thing and another it didn't happen. Then, on Monday I said to myself I'd get it made on Tuesday, so of course I spent all day in bed with a migraine. I haven't had one for a long time, and this was a particularly nasty one. Not only that, but my eyesight seems to be getting worse just lately, so I'm going to have to dig my glasses out more often.


The blog candy up for grabs is amazing!!!!

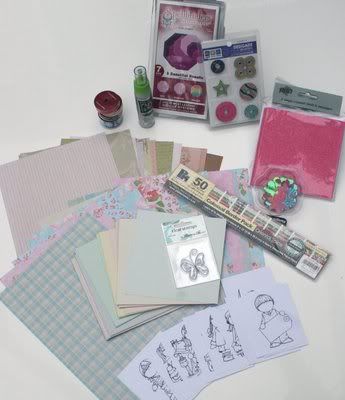
Here is what the lucky recipient will receive from the very generous Alex:

- A set of Nestabilities - large plain Octagons
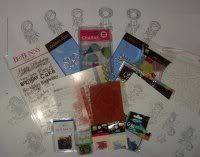
- A packet of designer Gromlets from We Are Memory Keepers
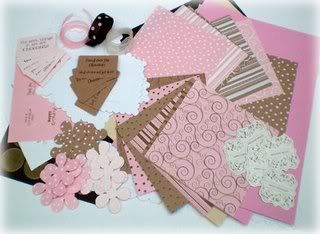
- 5 pink glittery cards with envelopes
- A pack of flower shapes
- A 2"x12" Papermania Oriental Spice Border pack
- 24 A4 sheets from the new Papermania Signature ranges Blueberry Hill and Regency (12 each)
- 20 6"x6" sheets of Core'dinations Whitewash cardstock
- 1 Autumn Leaves Butterfly stamp
- 4 reels of American Crafts Ribbon
- Bottle of Silver Metallic 3D paint
- A wallet with Hanglar images

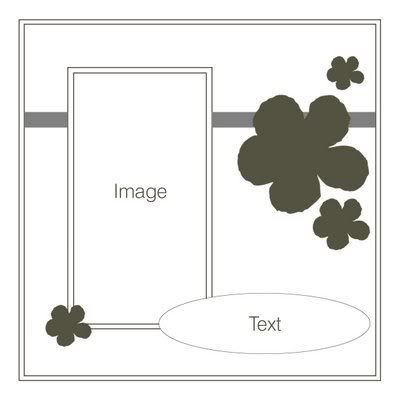
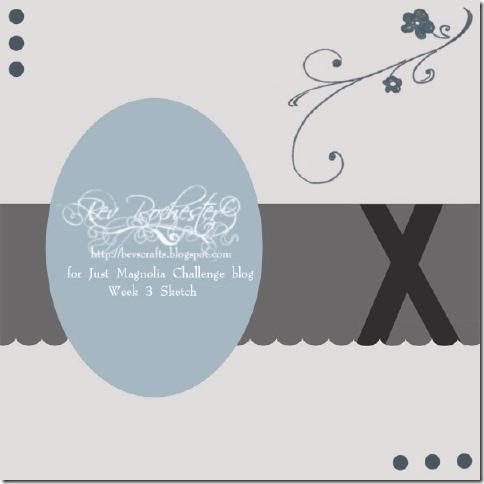
Anyway, I finally managed to get the card made yesterday. The sketch that Alex produced for the challenge looked particularly 'girlie' with the flowers on it, but I decided to adapt it to a masculine card, mainly because I had to make my Father's Day cards earlier than normal as my father-in-law is going on holiday at the start of June so I've got to get it to him before he leaves.


Anyway, I hope you don't think I've taken too many liberties with the sketch!!!

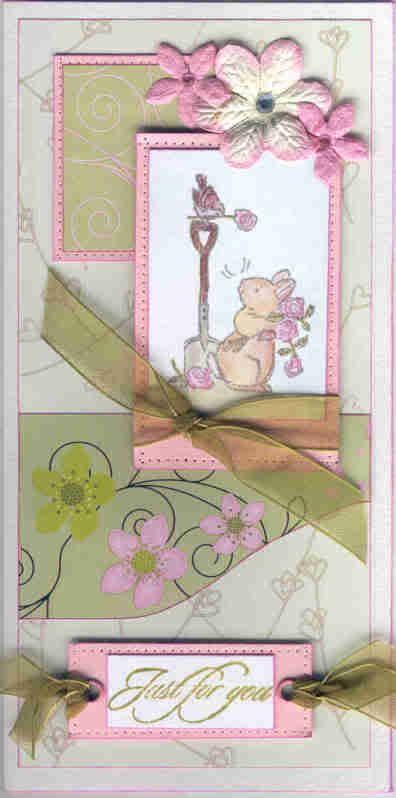
I started by stamping the Marshmallow DIY image from the Marshmallow Does DIY stamp set from Daisy and Dandelion using the Versafine Onyx Black archival pigment ink and watercoloured it using the ColorBox Amber Clay and Chestnut Roan fluid chalk inks.


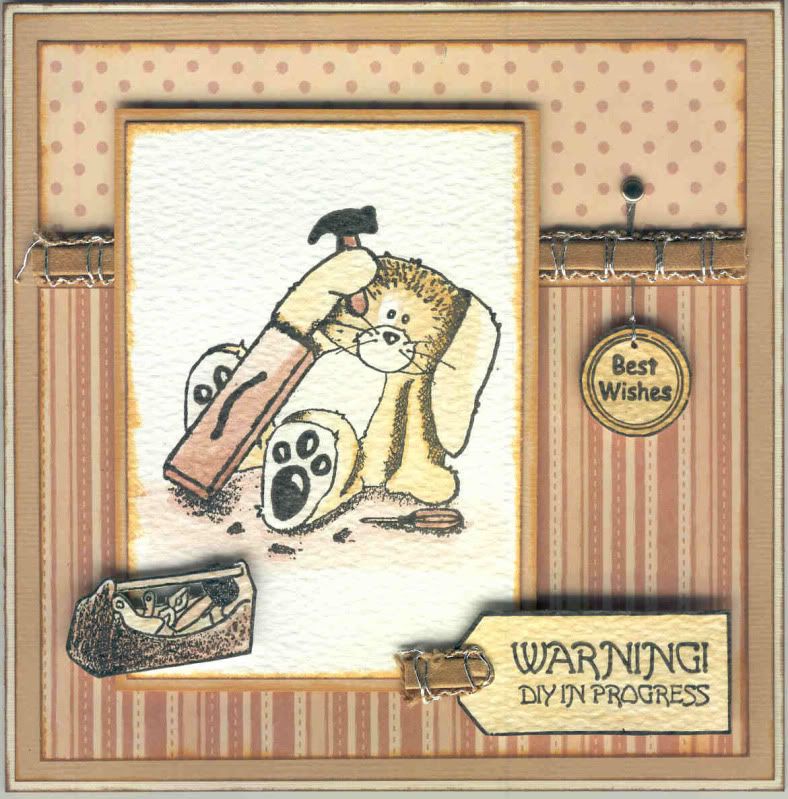
The 'Warning' tag image was also stamped using the Onyx Black ink and watercoloured with the Amber Clay ink and a small length of Anita's tan leather sticky ribbon was threaded through the tag. The toolbox image was also stamped and coloured as for the other images.


The edges of the Marshmallow image panel, as well as all the other panels, were coloured using the Amber Clay and Chestnut Roan fluid chalk inks, and matted onto beige textured cardstock.


Two matching papers from the Daisy and Dandelion Picnic Patch paper pad were matted onto another piece of the beige card and a length of the tan leather sticky ribbon was adhered onto a strip of the beige card and then attached across the join of the patterned papers.


The Circle Journalling image from the Studio G Mini Journalling Blocks stamp set was stamped onto white card using the Onyx Black ink and the 'Best Wishes' sentiment from the Papermania Clare Curd Sentiments set was stamped within it. This was then watercoloured using the Amber Clay ink. Silver embroidery thread was tied through a hole made through the top of the circle and threaded under the leather ribbon and through to the back of the panel. A mini silver brad was pushed through the hole in the panel to make it look like the brad was holding the sentiment in place.


The 'Warning' tag and toolbox images were then adhered over the edges of the Marshmallow image panel.

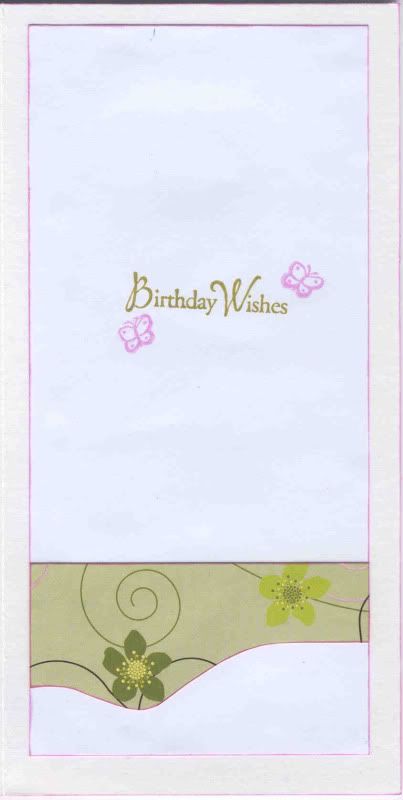
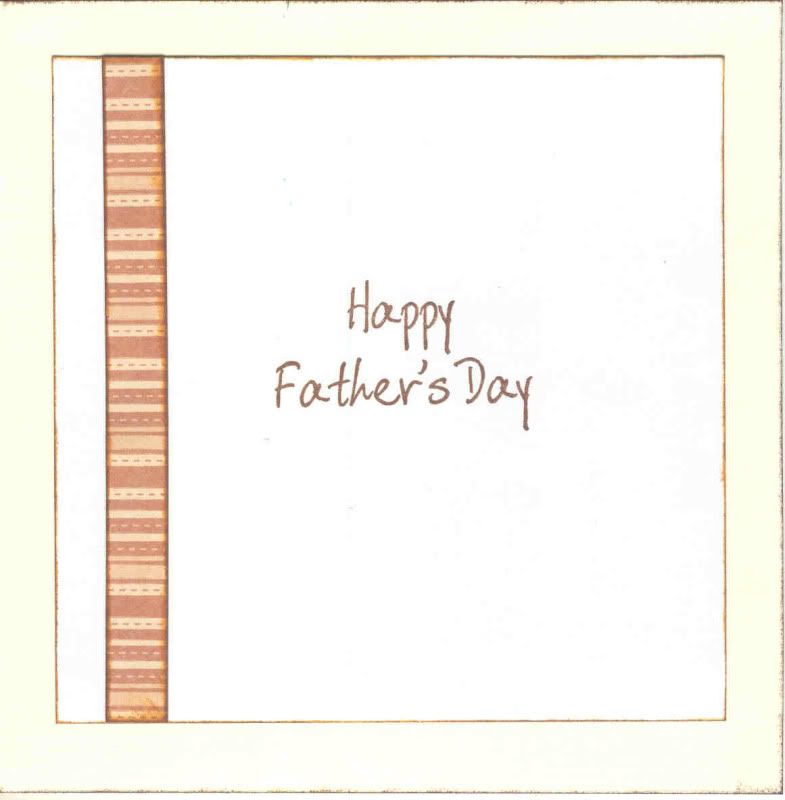
I decorated the inside of the card with a strip of the striped paper as used on the front of the card and stamped the sentiment using a 'Happy Father's Day' stamp from Inca.


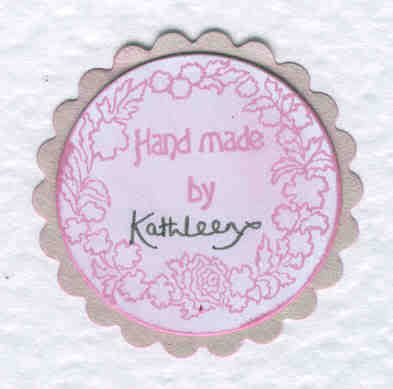
I also made a 'Handmade By' medallion for the reverse of the card.

Watercolouring with the fluid chalk inks is a bit of trial and error. You need to add quite a lot of water so you don't get too thick a colour as they can obliterate the stamped lines, as you can see below on the second Father's Day card I made.


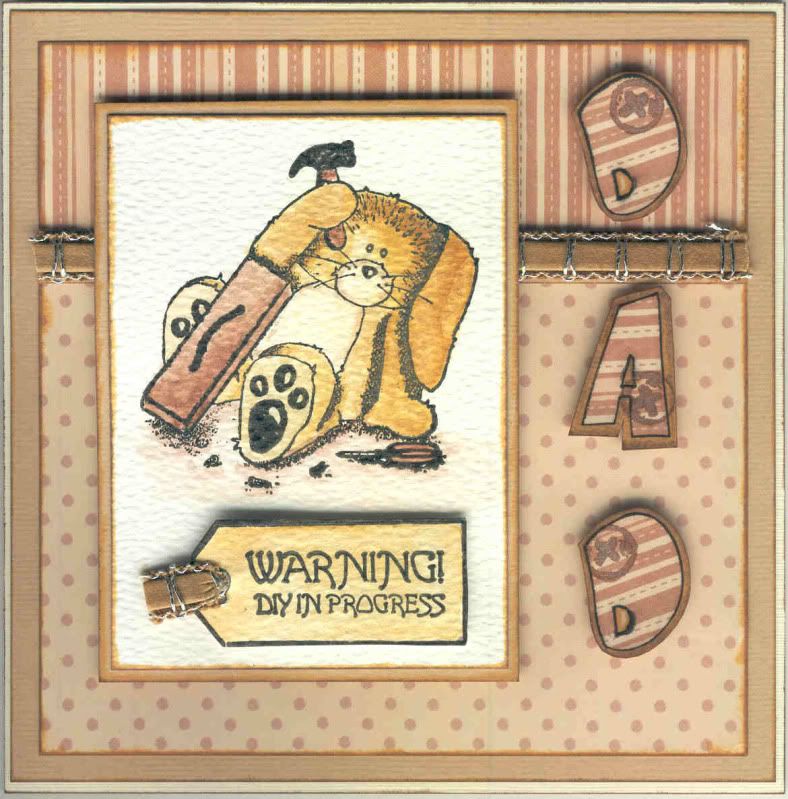
This was made almost the same as the challenge card, but on this one I added the 'Warning' tag to the Marshmallow image panel and added the word 'DAD' down the right-hand side.

This was done by stamping the letters from the Papermania Fun Letters stamp set onto both the striped paper and the beige texture cardstock.

The patterned letters were stamped using the Onyx Black ink and cut out close to the outline and the cardstock letters were stamped using both the Amber Clay and Chestnut Roan chalk inks and layered up.

The screwhead image from the Marshmallow Does DIY stamp set was then stamped onto the letters and traced over with an orange Sakura metallic gel pen.

Tuesday 19 May 2009

Pink, Lemon and Mint Gorjuss Girl Sitting with Bird

Hopefully I've managed to get this uploaded in time!! I had finished this on Thursday but have only just managed to get it scanned into my computer!!

This is the first Sugar Bowl Challenge I've entered (mainly because I've only recently bought some Sugar Nellie stamps!), and at first I thought I'd chosen the wrong combination of papers to make it, but I actually really like it now!

The challenge this week (#10) is based on a sketch by the lovely Marlene.


I decided to use one of my new stamps, namely the Gorjuss Girl Sitting with Bird, and the Basic Grey Two Scoops paper pad. The added extra for this challenge was to use buttons, so I decided to make some from one of the papers in the paper pad to ensure that they colour matched.


The Gorjuss Girl image was stamped using Versafine Onyx Black archival pigment ink and watercoloured using the Tim Holtz Distress inks (Scattered Straw, Tattered Rose, Frayed Burlap and Milled Lavender). The bird was also watercoloured and cut out, nand the Gorjuss Girl image was cut into a rectangle.
Papers from the Basic Grey Two Scoops paper pad were colour tinted around the edges using the distress inks (Tattered Rose, Shabby Shutters and Scattered Straw) and the edges of the yellow/pink panel were also coloured using Whispers Green Green permanent dye ink. The green strips were then overstamped using the RicRac ribbon stamp from the HOTP Stitches stamp set.
A 6" square lemon yellow card blank was made from the Papermania Textured cardstock pack, and the edges were coloured using the Scattered Straw ink. The papers were then adhered to the card blank following the sketch as seen above.
Faux buttons were made from the yellow patterned paper by stamping the large button from the See D's Vintage Morsels Collection stamp set, and green embroidery thread was threaded through the holes that were made using a piercing tool.
Using the medium Flowers and Branch Sizzlit die, a branch and flowers were cut from the BG Two Scoops papers and colour tinted using the distress inks.
The 'Celebrate' word, from the Making Memories Express It! stamp set, was stamped using the Versafine Onyx Black ink and cut out into a tag shape. This was then matted onto the yellow patterned paper, and the bird image adhered to the tag.
Pictures of the inside and reverse to be added later.......

Monday 18 May 2009

A Brand New Challenge Blog

On the 1st June, there will be a brand new challenge blog launching over on 'The Next Level' challenge blog.

They intend to set weekly challenges as well as explore "new avenues, ideas and techniques" in order to make our crafting that little bit more adventurous.

They would like us all to spread the word, so head over to their new blog and see how you can be a part of that.

They will also be offering two different blog candy prizes to two winners on launch day, so head over and see how you can win one of the prizes!!!

Sunday 17 May 2009

Cindersmcphee's Blog Candy - CLOSED

Sandra over at her Cindersmcphee blog has some great blog candy up for grabs.


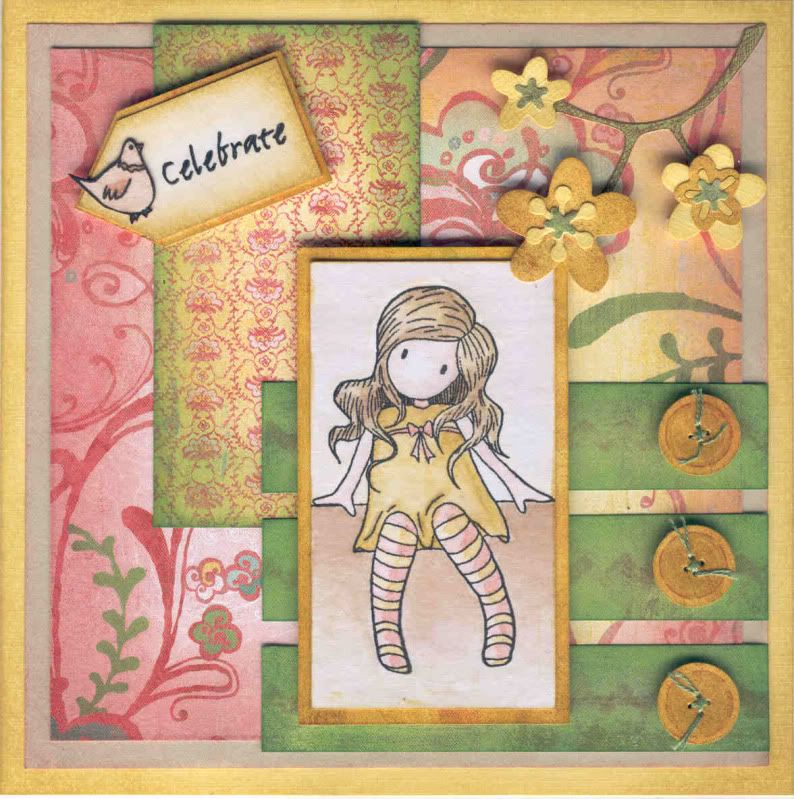
Actually available will be:

Angel Anya Stamp
Bo Bunny Rub Ons
Bo Bunny Chip Board
Basic Grey Boxer 6x6 Pad
Core'dinations Hocus Pocus 6x6 Card
Around The Block Charms
Making Memories Family Sweets Tags
Doodlebug Mini BradsDovecraft Eyelets
2 Packs Making Memories Eyelets
Packet Mini Flower Buttons
2 Bars Green & Blacks Milk Chocolate
Stamped Images

The stamped images will include the new Miss Anya Rain, Snow & Sun and the New Whiff Of Joy Summer kit.

To be in with a chance of winning, just add your comment to the blog candy post, and add a link on your blog to the blog candy along with a picture of it. Followers of her blog will get two entries.

The blog candy ends on the 20th May.

Wednesday 13 May 2009

Jacqui's Blog Candy - CLOSED

I've been 'blurfing' a bit and come across some more blog candy. I'll post them individually to avoid confusion (more on my part than anyone else's!!)

Here is Jacqui's blog candy - a lovely selection of stamps, papers, embellishments and Nestabilities. Pop over to Jacqui's blog to see her lovely creations, especially the way she decorates the inside of her cards.

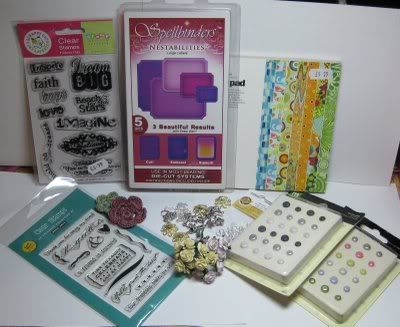
What you will actually get is:

2 sets of sentiment Stamps
2 bunches of minature roses (white and mauve)
2 packets of Sparkle Brads
Various Charms
Jump Rings
Chain
Nestabilities Labels
Basic Grey Lime Ricky Pad
Crochet Flowers

The candy will stay open until the 15th May, and the winner will be drawn by Random Number Generator on the 16th May.

To be in with a chance of winning, just post a link back to the candy on your blog and leave a comment on the blog candy post. Please leave the number of your comment when you link your blog in the comment form, which can be found at the top of the comment form.

EDIT:
This blog candy has been extended until Wednesday 20th May, as Jacqui's computer is on the blink!!!

Debs' Amazing Birthday Blog Candy - CLOSED

Here is the amazing blog candy being offered by Debs over on her blog. Please head over there to have a look at her creations. They really are beautiful.

She is offering the blog candy to celebrate her birthday and consists of the following:
Copics, Nesties, Fiskars border punch, stamps, paper, flowers, buttons and ribbons.


What you could actually win is:

Set A (36) Copic Ciao Markers (A good starter set and includes skin shades)
Spellbinders dies: Nestabilities - Labels 1, Ribbon Tags Trio & Butterfly Reflections.
Fiskars Apron Lace border punch.
Gorjuss Girls Stamp Set 2 ( 6 stamps) by Sugar Nellie.
2 12x12" Speciality paper pads of the latest releases from K & Co 'Madeline' & 'Wild Raspberry'.
50 assorted Flowers.
40 x 1 metre lengths of assorted ribbons.
25 Flower Buttons.

All I can say is that Debs has very good taste as all these goodies are yo my taste, especially those lovely K&Co papers!!

I'm keeping my fingers crossed for this one!!!!

To be in with a chance of winning, all you need to do is link the candy on your blog and leave a comment here. The candy is open to everyone, so those without blogs can also enter. Details are explained on Debs' blog. The draw will be done using a random generator on Saturday 23rd May at 10pm.

The winner will be announced the following day (Sunday 24th May) at midday so please check back to see if you have been lucky.

If the candy is not claimed by midday on Tuesday 27th May a new winner will be drawn.

Thursday 7 May 2009

Pink and Green Bunny and Spade - Friday Sketchers Challenge #50

This is the first time that I have entered the Friday Sketcher's blog challenge, but the sketch jumped out at me whilst I was blog hopping, so I decided to have a go at it.

For some reason, all my cards seem to be pink and green just lately. Not entirely sure why, but I'll make a concerted effort to change it for the next card, promise!


And here is the sketch I followed for challenge #50:


The image, 'Bunny and Spade', from the Penny Black Garden Friends stamp set, was stamped using Versafine Smoky Grey archival pigment ink, and watercoloured using Whispers Brushstroke markers.
This was matted onto pink card, pricked around the edges using a dressmaker's tracer wheel and a pricking tool. A length of wide olive green organza ribbon was tied around the image.

A panel of the floating hearts paper from the Papermania Olivine Essence Creative Tones paper pad was cut to size to fit the front of a DL card and the hearts were coloured in using a pink marker pen.
Two panels were cut from the cherry blossom and swirls paper from the same paper pad, and the flowers and swirls again coloured pink. The green square was matted onto pink card, also pricked along the edges. The panels were assembled and the image attached on top.
The sentiment, from the HOTP Sentiments stamp set, was stamped using Versafine Spanish Moss archival pigment ink, and matted onto pricked pink card. Large pink Papermania eyelets were added to the ends of the panel and the olive green ribbon tied through them.
Paper flowers from Papermania and Prima were added to the top right corner and pink and clear faux gems added to their centres.

I also decorated the inside of the card with matching paper and made a 'Handmade By' label for the reverse of my card.

Wednesday 6 May 2009

Pink and Green Cherry Tilda

I have decided this week to enter the Just Magnolia blog challenge. The challenge this week, #3, is in the form of a sketch.


This is the first Just Magnolia challenge that I have participated in, much to my shame, but this is mostly down to the fact that it is about two and a half months since I used a Magnolia stamp, and five months since I used a Tilda stamp!! (I know, how terrible of me, I should be flogged!!)

So, here is the sketch that I followed to create the card shown above:


So, I decided to use the lovely Cherry Tilda stamp that the equally lovely Alex sent to me back in September last year. Please head over to her blog to see her beautiful creations. She really is a very talented lady.

The Cherry Tilda image was watercoloured using the Whispers Brushstroke markers and highlighted with Craft Planet Iridescent Sparkle glitter glue.

An oval of white hammer card was cut out using the Fiskars Shapecutter and colour-tinted with Whispers Port Wine permanent dye ink. This was then stamped around the edge to create a frame using flower and foliage morsel stamps from the See D's Tropical and Romance Collections stamp sets using Whispers Green Green, Port Wine and Grand Cranberry permanent dye inks. This was in turn matted onto an oval of Anita's dark pink vellum. The Tilda image was cut out and matted onto the ovals.

A piece of light green paper was stamped with a small flourish stamp from the Autumn Leaves Rhona Farrer Flourishes v.2 stamp set and a morsel flower stamp from the See D's Tropical Morsel Collection stamp set using the Port Wine ink, and embellished using the Iridescent glitter glue. The paper was then colour-tinted around the edges using the same ink.

A strip of the cherry paper from the DCWV Nana's Nursery Baby Girl stack was edged using the edge of the Fiskars circle template and the Fiskars Shapecutter, and similarly colour-tinted around the edges.

Strips of Dovecraft Pouty Pink grosgrain ribbon were colour-tinted with the Port Wine ink and adhered across the strip of cherry paper.

Iridescent sequins (from a bead kit from my sister) were added in the corners of the green panel, as indicated in the sketch, and highlighted with the glitter glue.

To finish the card, a sentiment was added by stamping 'Birthday Wishes' from the Hero Arts Birthday Messages stamp set below the patterned strip using the Port Wine ink.

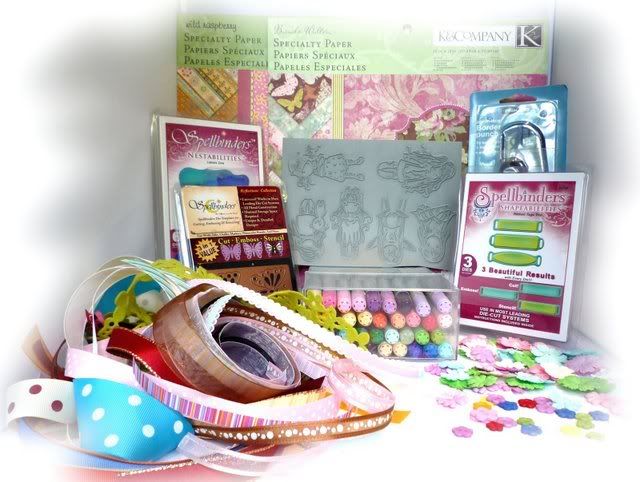
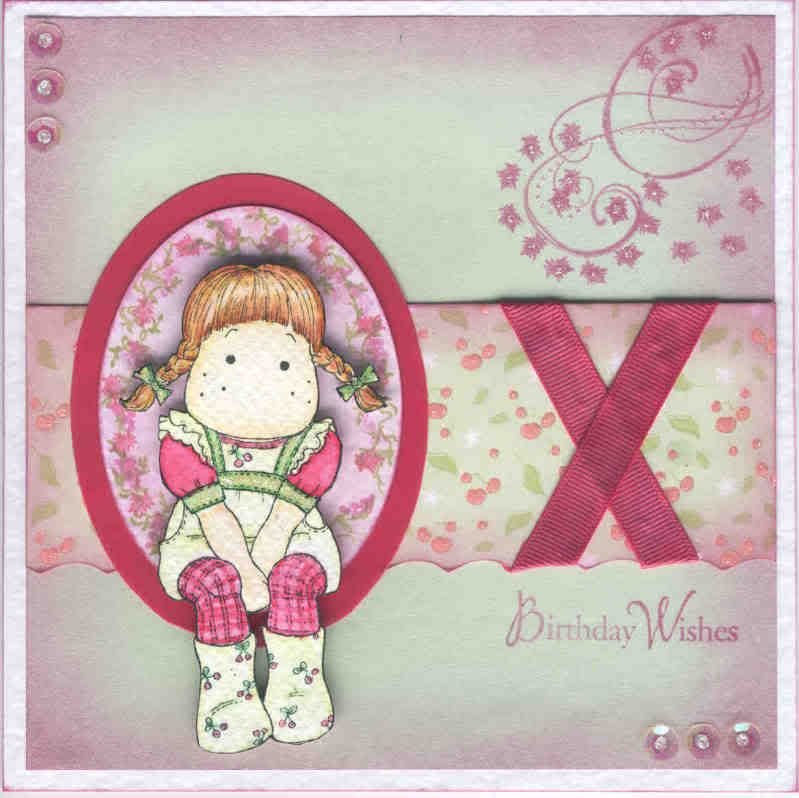
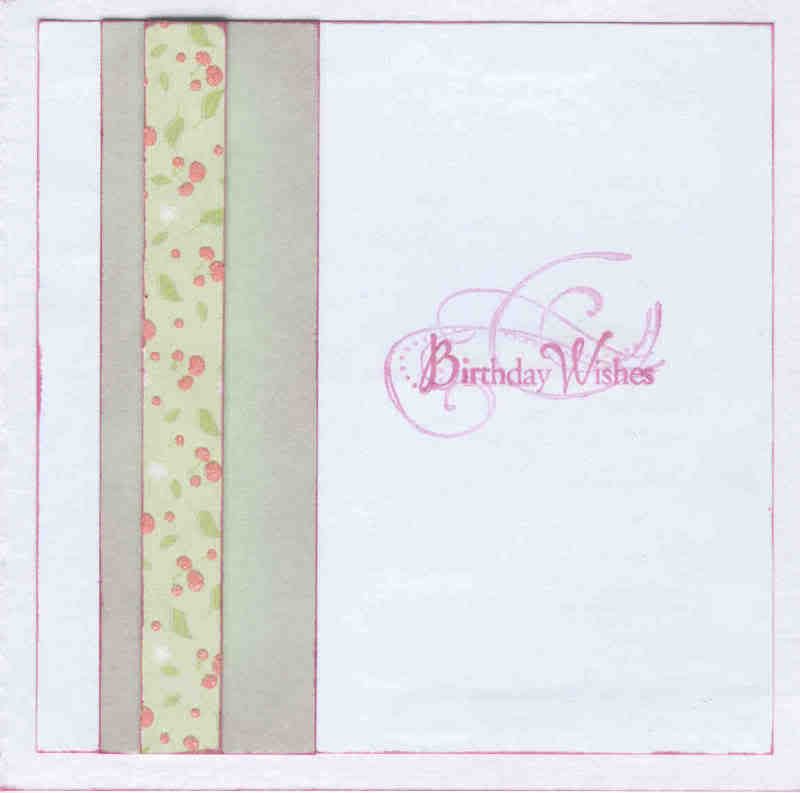
The inside of the card was also decorated with strips of the colour-tinted green paper and the DCWV cherry paper. The flourish image was 'second-impression' stamped using the Port Wine ink, and the sentiment was stamped over the top using the same ink.


The 'Handmade By' medallion on the reverse of the card was made by stamping my new 'Handmade By' stamp from Oyster Stamps onto a circle of white card cut out using Nestabilities, which was later colour-tinted with the Port Wine ink, and matted onto a scalloped circle of the colour-tinted green paper.

Judging by the way it is stamped a bit off-centre, it looks like I might have to invest in a stamp positioner. If anyone can tell me the best-value one to get in the UK, I'd be very grateful (and please don't tell me to make one from Lego - I don't have any!!!)
Blog Widget by LinkWithin