Pages

WELCOME

This blog was created to act as a record of the cards and other projects that I have made. It is for both my own reference and to help inspire anyone who wants to take a look.

I'd love it if you'd leave me a comment so that I know what you think of my projects and that you've been to visit!

Anyone can comment, even those who don't have a blog. (Just look for the word 'Comments' under the three little pictures at the end of each post). Readers without a blog can add an anonymous comment, but please leave your name (and docrafts username if applicable) so I know who you are!

Slideshows of all the cards I've uploaded to my blog can be found at the bottom of the page.


PEOPLE WHO FOLLOW MY BLOG

Showing posts with label Woodware. Show all posts

Monday, 7 December 2015

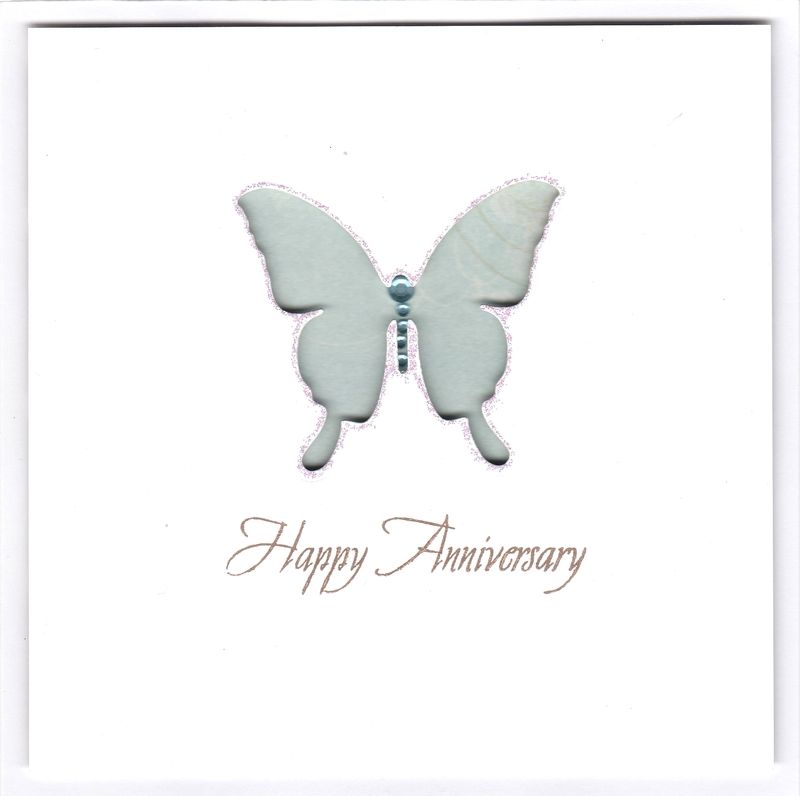
Duck Egg Blue and Brown Butterfly Aperture CAS

This is a card that I made a part of a session of CAS cards at the craft group that I go to with a few friends. It is heavily influenced by Michelle Short's cards, and you can see the card that specifically influenced this one here.
 

Firstly, the butterfly aperture was cut from a panel of white card using the largest butterfly die from the Spellbinders Shapeabilities Butterflies 2 die set.
 
The sentiment, from the Woodware Happy Anniversary stamp set, was stamped below the aperture using Versafine Vintage Sepia archival pigment ink. The panel was then 3D'd over a small panel of the duck egg blue swirl paper from the Papermania Bellisima paper pack onto a square cardblank.
 
As a finishing touch, Ranger Crystal Stickles were applied around the aperture and a few blue gems were added to the body of the butterfly.

Monday, 23 November 2015

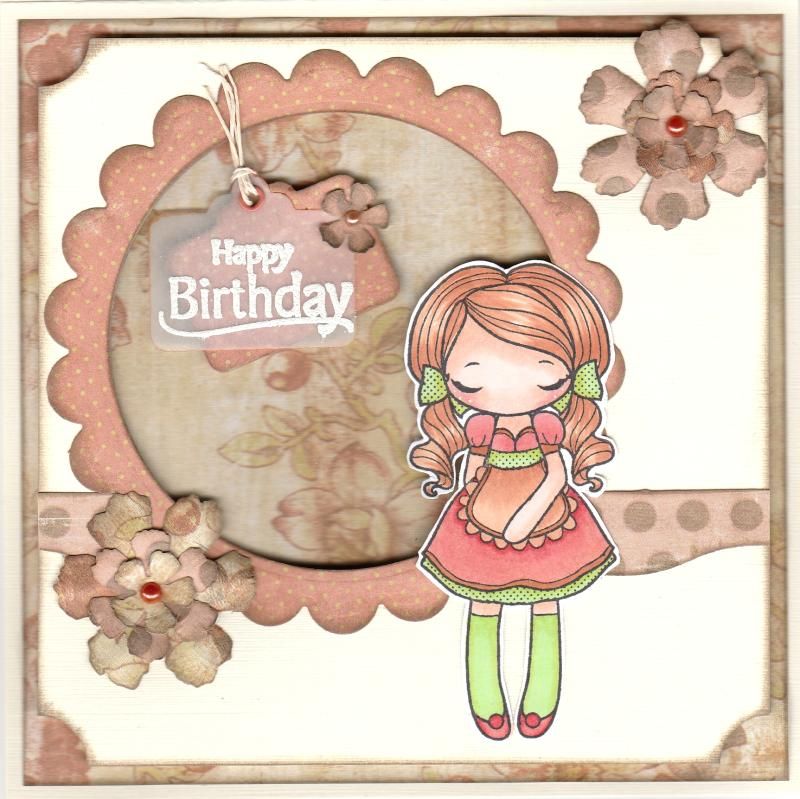
Coral and Green Dressy Miss Anya

A pretty girlie card for today. This one features the cute Dirndl-wearing Dressy Miss Anya from The Greeting Farm.

The image was stamped using Memento Tuxedo Black dye ink and coloured using Copic markers.
 
 
Copics:
Skin: E000, E00, E11, R20
Hair/Apron: E11, E13, E15
Shoes/Dress: E11, R02, R08
Polka Dot Trim/Socks: YG03, YG11

Highlights were added to the cheeks using a Papermania Snow White gel pen.
 
 
The papers used to decorate the front of the card were from the My Mind's Eye Wild Asparagus paper pack.  The card-edge die cut, created using the Sizzix Card Edges #2 Decorative Strip die was cut from the polka dot paper and added to a panel of ivory card. This was then diecut with a circle Nestabilities die to create an aperture, and a frame was created from the coral coloured polka dot paper from the paper pack using a scalloped circle and plain circle Nestabilities die and added around the aperture.
 
The corners of this panel were punched with the inverted corner rounder from Woodware, and then matted to the card front over a panel of a floral paper from the paper pack.
 
The Miss Anya image was then fussy cut and added over the aperture.
 
,
 
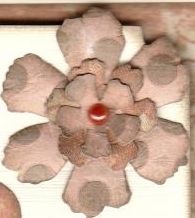
 A couple of flowers were created using the Sizzix Tattered Floral Garland Decorative Strip die and added to the card front with a small orange pearl in their centres.
 
Two tags were die cut from vellum and the polka dot patterned paper cut using a die from the Sizzix Framelits Tags, Sentiments die set. The sentiment, from the Kanban Moulin Divas Très Chic stamp set, was stamped onto the vellum tag using Versamark ink and heat embossed using Heat It Up! Seafoam White embossing powder.
 
The two tags were joined together using a small orange eyelet and threaded with cream hemp cord. The tags were added inside the aperture and decorated with the small flower dies from the Tattered Floral Garland die.
 
 
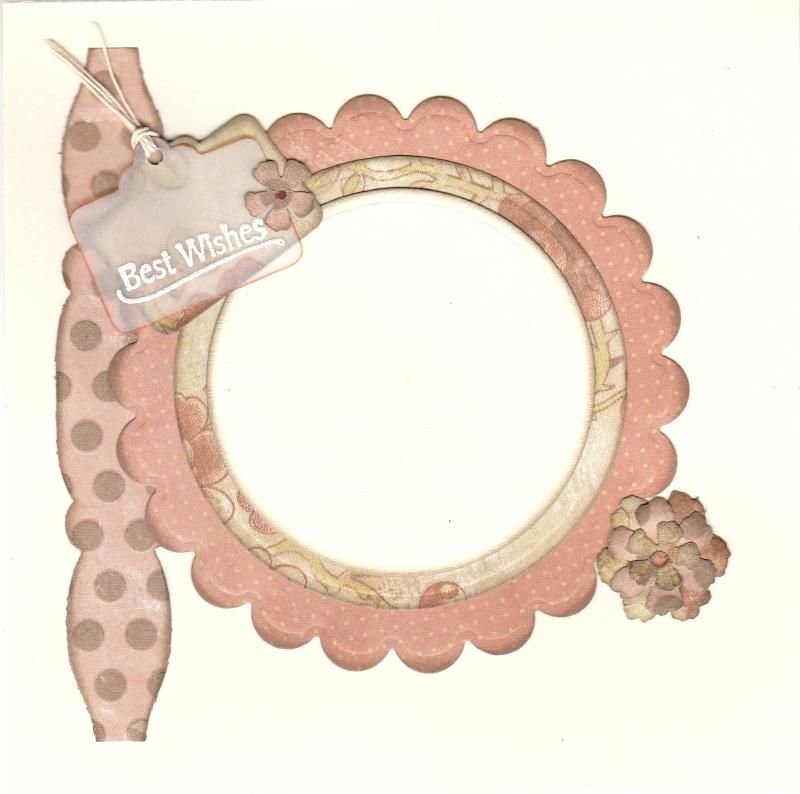
 The inside of the card was also decorated using matching papers and dies, and a sentiment stamp also from the Très Chic stamp set.
 

Monday, 9 November 2015

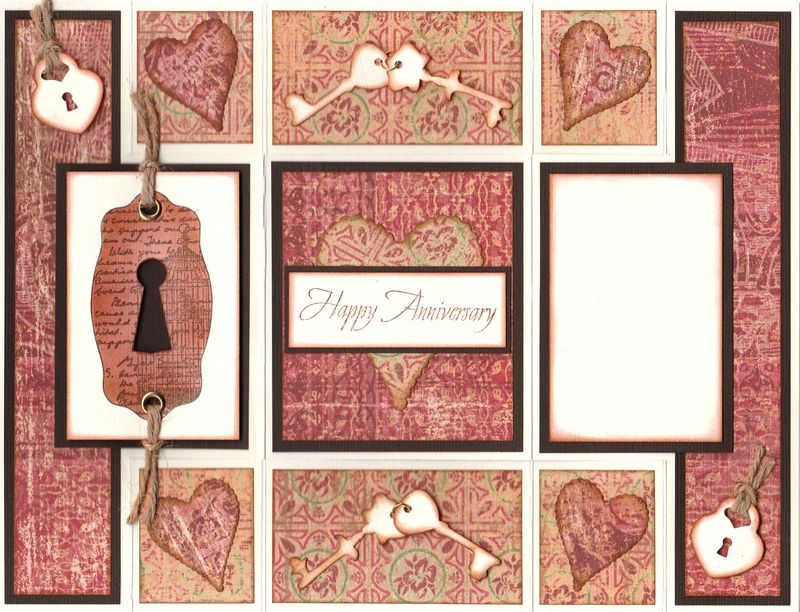
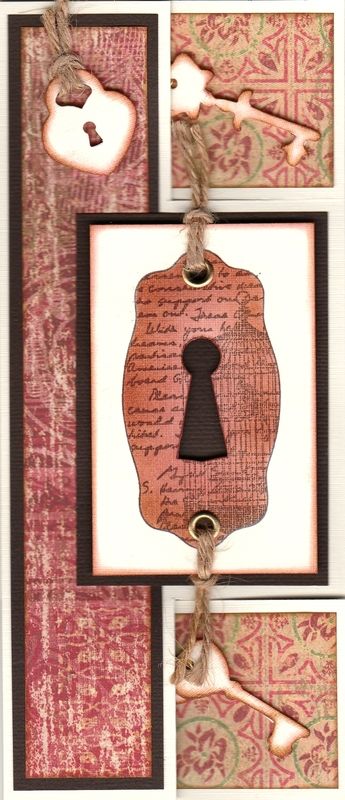
Red and Brown Escutcheon and Keys Tri-Shutter Fold

Today's card is the card that I made for hubby last year. We were playing with Tri-Shutter fold cards at the cardmaking group that I go to, and I decided to have a go at one for hubby.


The first decision to be made was which papers to use. In the end, the K-Ology Hannah papers from the K&Co The Best of K&Co Too paper pad were used, matted onto chocolate brown card.

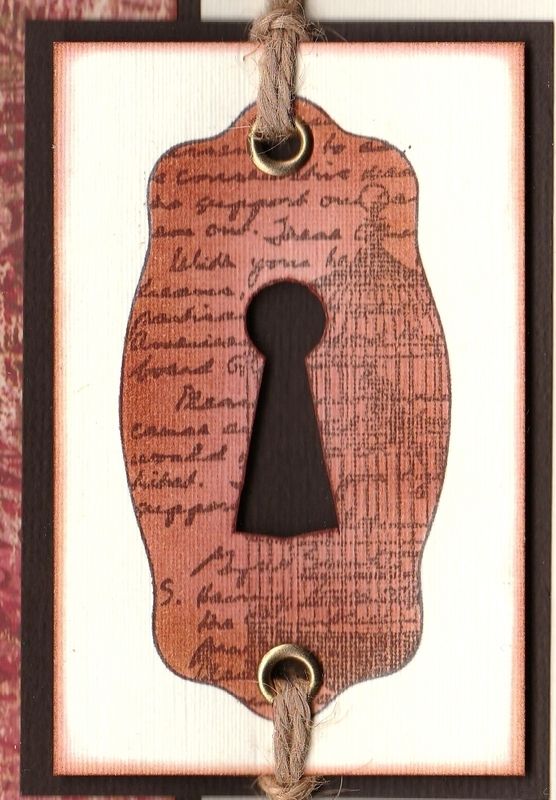
The next decision was which images would be used. The starting point was the escutcheon image from the Papermania Bird Prints Urban stamp set, which was stamped onto ivory cardstock using Memento Espresso Truffle dye ink. The image was then stamped again onto a Post-It not and cut away, creating a stencil. Ink was then blended through the stencil using Tim Holtz Aged Mahogany and Vintage Photo distress inks.


The keyhole was then cut away from the image and a couple of gold eyelets set in the panel. Natural twine from the My Mind's Eye Follow Your Heart Be Happy twines was then threaded through the eyelets and the panel matted onto the chocolate card.

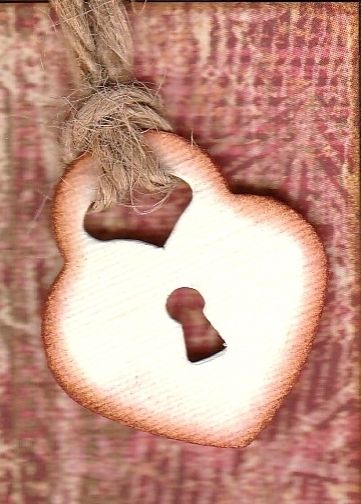
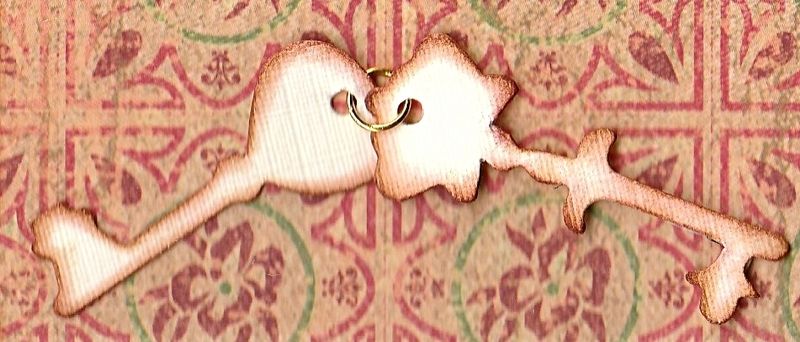
A number of padlocks and keys were then diecut using the Sizzix Bigz Heart Lock and Keys die from the ivory cardstock. The diecuts were then distressed with the Aged Mahogany and Vintage Photo inks.


The padlocks were threaded with the twine and added in opposite corners on the card.

The keys were joined together with gold jump rings and added in the larger central panels.


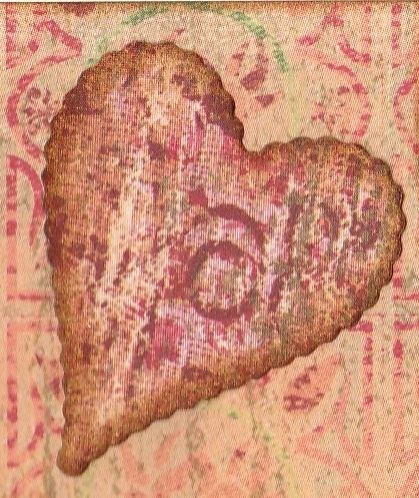
A number of scalloped hearts were then diecut using the Sizzix Framelits Scallop Hearts #2 die set from the ivory card and distressed.


These were then added in the smaller squares on the card.

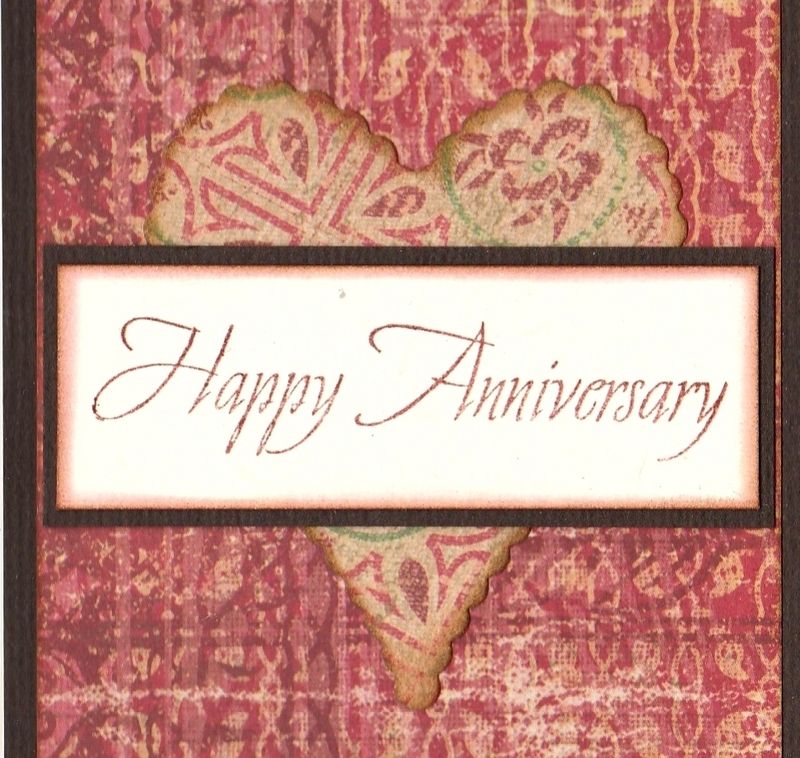
To complete the card, the sentiment, from the Woodware Happy Anniversary stamp set was stamped using the Espresso Truffle ink and matted over a larger scalloped heart diecut in the central section of the card.


Here is a view of the closed card:

Saturday, 22 March 2014

Owl Lots of Pops 30th Birthday

This is a card that I made at my local cardmaking group. It's a cute pop-up card using a die to create the mechanism. It was pretty simple to make, although you do have to ensure that whatever you put on the pop-up will remain within the card when closed.


I needed a 30th birthday card for my 'little' brother (how did that happen?) and thought this would make a good "special card".

The die used to create this card is the new Lots of Pops die by Karen Burniston for Elizabeth Crafts.


Firstly, the card blank and inner panel were created, with the inner panel being slightly smaller than the card blank. In this instance, the inner panel was created using a panel of paper from the First Edition Sweet Owl paper pad. To create the pop-up, place the die along the centre fold of the inner panel. Work the folds of the pop-up and then adhere to the card blank.


I decided that I would use the free owl stamp by Sugar Nellie that came with the July 2009 issue of Craft Stamper Magazine. The image was stamped using Memento Tuxedo Black dye ink and coloured using Copic markers. Highlights were added using Ranger Glossy Accents. The image was then fussy cut.

The Copic markers used are:
E41, E43, E44, E49, YR14

In the set of dies there is also a post die and a couple of different banner dies. Two of each of these were die cut, the banners being cut from patterned papers from the Sweet Owl paper pad.

The two fishtail banners were stamped on he reverse of the patterned paper using the Whimsy Letters and Numbers stamp set by See D's using Memento Teal Zeal dye ink. The banners were then attached to a length of brown embroidery thread which was then tied and adhered to the two post die cuts and these were then in turn attached to the pop-up mechanism.


The longer fishtail ended banner was then stamped using the PSX Buttons Pixie alphabet stamps and the Teal Zeal ink. This was placed on the front pop-up, and the owl placed sitting on branches and leaves, die cut using the Sizzix Sizzlet Flowers and Branches die and the Joy! Crafts Branches die.


A strip of the brown circle paper from the Sweet Owl paper pad was matted onto the beige card and added across the inner panel. Ranger Crystal Stickles were added to the circle pattern on the patterned paper. The 'Have A Hoot...' sentiment, from the Woodware Owl stamp set, was then stamped using the Teal Zeal ink and die cut using the Nestabilities Classic Ovals die and matted onto a Labels Thirty-One shape.


Once the inside of the card was completed, the front of the card was created using the same owl stamped image and the branch and leaves die cuts. The owl image was adhered to panels of oval and Labels Thirty-One shapes.


The fishtail banner from the Sizzix Framelits Banners #2 set was die cut from the beige card. The matching stamp was stamped onto white card using a pale ink and fussy cut. The 'All of a Twitter' sentiment, also from the Woodware Owl stamp set, was stamped onto the reverse of the shape and matted onto the diecut shape.

All panels and diecuts were distressed using Tim Holtz Walnut Stain distress ink.


For an area to write the greeting, a large classic oval diecut was matted onto a Labels Thirty-One diecut with a few of the leaf diecuts and adhered to the reverse of the card. The 'Happy Birthday' sentiment, from the Kanban Farmyard Animal Wobblers stamp set, was created in the same way as the 'All of a Twitter' sentiment on the front of the card.

I'm rather pleased with this card, even if I do say so myself. I love the combination of the die cut elements and the stamped elements.

Here are the blog challenges I'd like to enter this card into:

A Creative Romance - Seeing Double
Brown Sugar - #86 - Anything Goes
Craftitude - #61 - Anything Goes
Crafts4Eternity - #168 - Anything Goes
Cut It Up - #41 - Anything Goes
Fairytale - #87 - An Old Stamp
Pattie's Creations - #88 - Anything Goes
QKR Stampede - #80 - A Little Birdie Told Me
Simply Create Too - #57 - Animals
Sister Act - #49 - Anything Goes
Stampin' For The Weekend - Anything Goes
Crafty Girls - #14 - Anything Goes
Aud Sentiments - #102 - Anything Goes
Copic Marker Europe - Birthday
Red Rubber Inspirationals - #112 - Colour In The Lines
Crafter's Café - #55 - Make A Square Card
Inklings and Yarns - #48 - Anything Goes
Stampotique Designers - #139 - Masculine
Fan-Tastic Tuesday - #27 - Anything Goes
Oldie But A Goodie - Bunting (Owl Stamp)
Through The Craftroom Door - Anything Goes 18/3-24/3
Aurora Wings - #1 - Anything Goes
Crafty Bloggers Network - Nature
Crafty Boots - Feathers
Fitztown - #27 - Anything Goes
Lexi's Creations - #112 - Punches and Dies
Shabby Tea Room - #210 - Anything Goes
Paper Nest Dolls - #6 - Anything Goes
613 Avenue Create - #63 - Anything Goes
Challenges 4 Everybody - #39 - Anything Goes
Eclectic Ellapu - Wings (Pink Team)
Penny Black and More - So Sweet
Pile It On - #11 - For A Guy
Sentimental Sundays - #198 - Cute and Cuddly
Cards Galore Encore - #3 - Use Stamp or Digi
Crafts & Me - #146 - Anything Goes
Flat Friends - #18 - Cards For Men
Just B Creative Crazy - Anything Goes

Wednesday, 15 May 2013

Congratulations On Becoming A Priest

Well, this is an unusual card for me. It was actually requested by a customer of my sister's over in Spain. It's for a man who is about to be ordained as a priest. It threw me a bit because I don't make religious cards and I was racking my brain trying to think what I could use on it. Then it dawned on me.....my brand new Small Gothic Window die from Poppystamps.


So, I then had to decide on a patterned paper, and having decided I wanted to add vellum behind the window, the paper sort of chose itself as I have the Papermania Exquisite Vellum pack and the matching Exquisite paper pad.

As the papers have cream as a base colour I decided to make the window gold. I had originally decided on silver, but all that changed once the papers were chosen.

So, having cut out the window shape from gold satin cardstock, I roughly cut a piece of the script vellum to fit behind.

I then cut a strip of the scroll leaf paper and matted it onto the gold satin card.


The next part was the fun part.......the Spellbinders Bracket Borders 1 dies. These are my most favourite of dies at the moment, at least until I buy some new ones, I'm very fickle like that!

I opted for the lattice inset die as that one seemed the most masculine of the three and the dot dash edge die to go with it. Both were placed against the edge of the card blank and die cut. Not as easy as you might think in a Bigshot as these would benefit from being run through the machine lengthwise but I didn't have that luxury so I placed them on my baseplate at a slight angle and ran them through as far as they would go without damaging the edge of the card blank. I then turned the whole thing around and ran it through again. Because the rollers have a tendency to jump over the dies when they are parallel to the die, it took a few passes to get it completely cut out, but the effect it gave was well worth it.

The sentiment, from the Woodware Jane's Script sentiment stamp set, was then stamped onto the patterned paper strip using Memento Espresso Truffle dye ink. The same ink was also used to stamp the cross, a Katie & Co image, directly onto the cardblank. The image was positioned using a Stamp-a-ma-jig to ensure it was in the centre of the window once it was added over the top.

All the pieces were edged using the Y26 Copic marker to match in with the gold card stock.


For the inside, I die cut another window shape and matted my writing paper behind it that I use for the insert panels in my cards. A panel of the scroll leaf paper was die cut using the dot dash edge bracket die, as was a panel of the gold satin card. These were layered together and added to the bottom edge of the card, so that the pattern on the paper shows through the lattice design on the front.


Here are the challenges I'd like to enter this card into:

Thursday, 8 September 2011

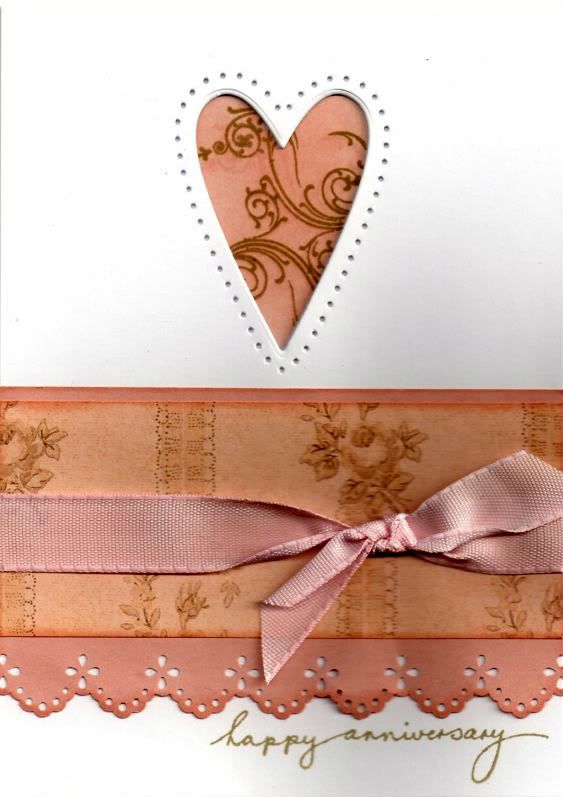
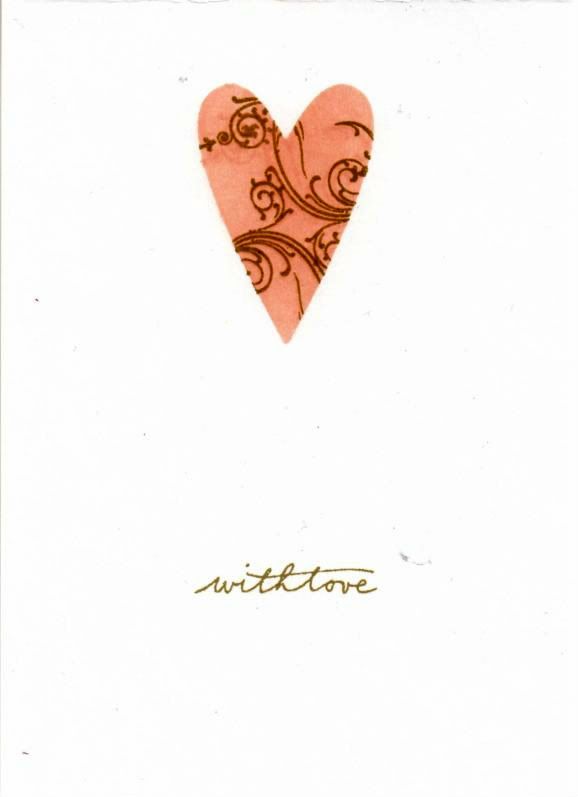
Pink and Brown Reverse Masked Heart Aperture Anniversary

Well, I don't know about you but I've had enough of masculine cards so here's a more feminine anniversary card for you!

This card was inspired by a card I saw over on the Splitcoaststampers gallery by MarieMc and you can see the card that she made here and here on her blog.

I needed to make a couple of anniversary cards and thought this idea would work really well. I'm thinking I might try it with my butterfly die too.


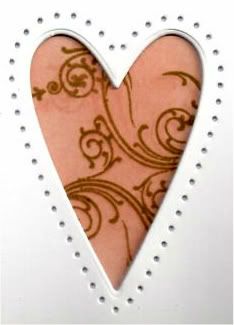
The heart, from the Marianne Creatables set of three heart dies (LR0159), was cut from the card front. A mask was also cut and affixed to the inside of the card behind the aperture so that it lined up.

Colour was added through the mask using Tim Holtz Tattered Rose distress ink and then overstamped using the Tattered Rose and Frayed Burlap distress inks using the flourish stamp from the Personal Impressions Paula Pascual Mix and Match Sentiments stamp set.


The sentiment, from the Woodware Jane's Script sentiment stamp set was then stamped on the inside using the Frayed Burlap ink.

Using the Stampin' Up Mat Pack piercing template, holes were then pierced around the heart aperture.


A panel of pink paper was punched using the Eyelet Lace border punch from Martha Stewart, and a strip of the pink floral stripe paper from the Papermania Regency paper pad was matted onto it. A length of pink woven ribbon was then knotted around it and the panel added to the card blank.

The sentiment, also from the Jane's Script Sentiment stamp set was then stamped at the bottom of the card blank using the Frayed Burlap ink.

 
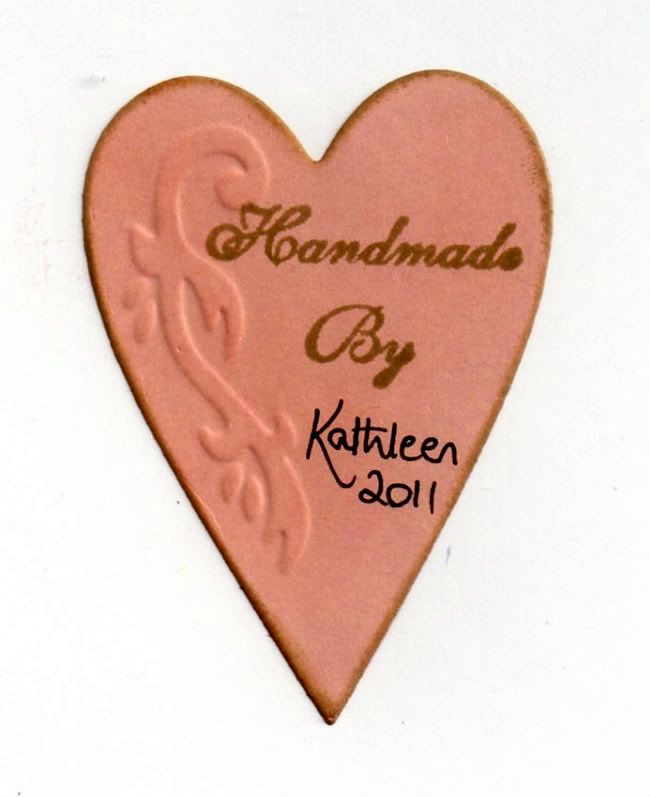
As my personalized 'Handmade By' stamp is a circle and I felt sure you would be able to see it through the card blank if I stamped it on the reverse of the card, I decided to die cut a heart from the pink paper using another of the heart dies in the Marianne Creatables die set. The embossed design was highlighted with the Frayed Burlap ink, and 'Handmade By' was stamped on it using a stamp from the Aspects Of Design Botanical stamp set from The Stampman. It was then added on the reverse of the card behind the inked heart on the inside of the card.


Here are the blog challenges I am entering this card into:

Saturday, 20 August 2011

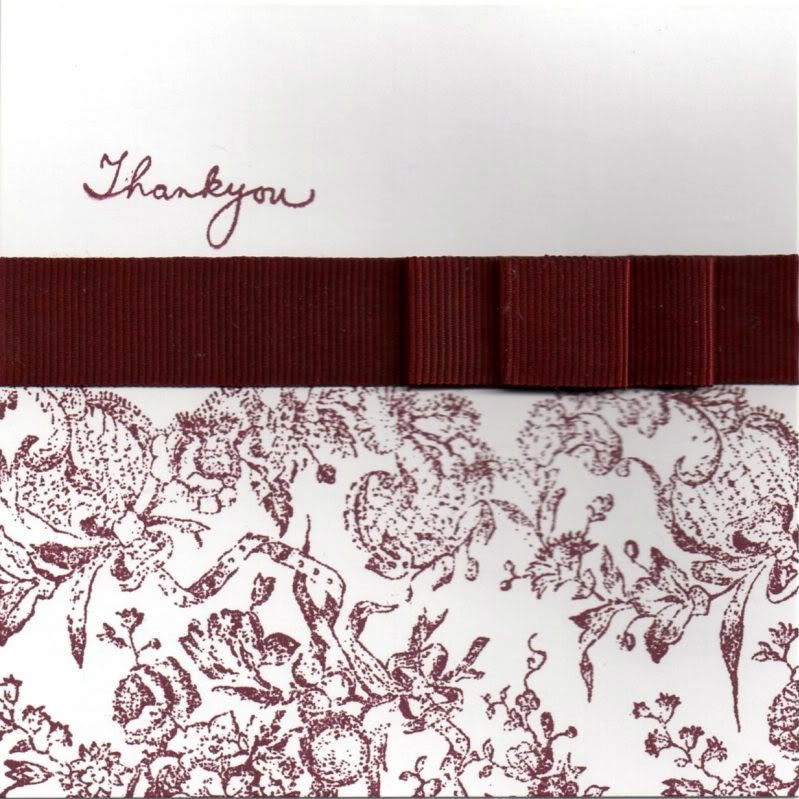
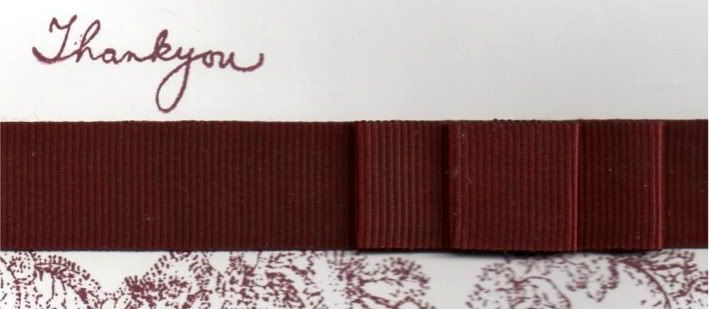
Burgundy Floral Thank You

This card was inspired by a card I saw over on Kerry/Pickle's blog.

I changed the layout a bit but I'm sure you can see the influence!


The picture isn't the best as it was scanned in and I always struggle with white cards and cards with dimension!!

The floral background stamp, from the Non Sequitur Memories of Italy stamp set, was stamped directly onto the card front using Adirondack Currant dye ink.


A length of burgundy grosgrain ribbon was attached across the card blank and a faux bow was created from two lengths of the ribbon.

Just wanted to add a tip on how to make the faux bow.
I created two loops of ribbon from a 9cm and 4cm length of ribbon, joining the loops with narrow double-sided tape. A small piece of double-sided tape was added in the centre of the loops to create two small side -by-side loops in a sort of figure of eight shape. The smaller loop was stuck on top of the larger one and both stuck to the length of ribbon. You could also add a brad in the centre to ensure they maintain their shape.

The sentiment, from the Woodware Jane's Script stamp set, was stamped using the Currant ink above the ribbon.

Here are the blog challenges I am entering this card into:

Sunday, 14 August 2011

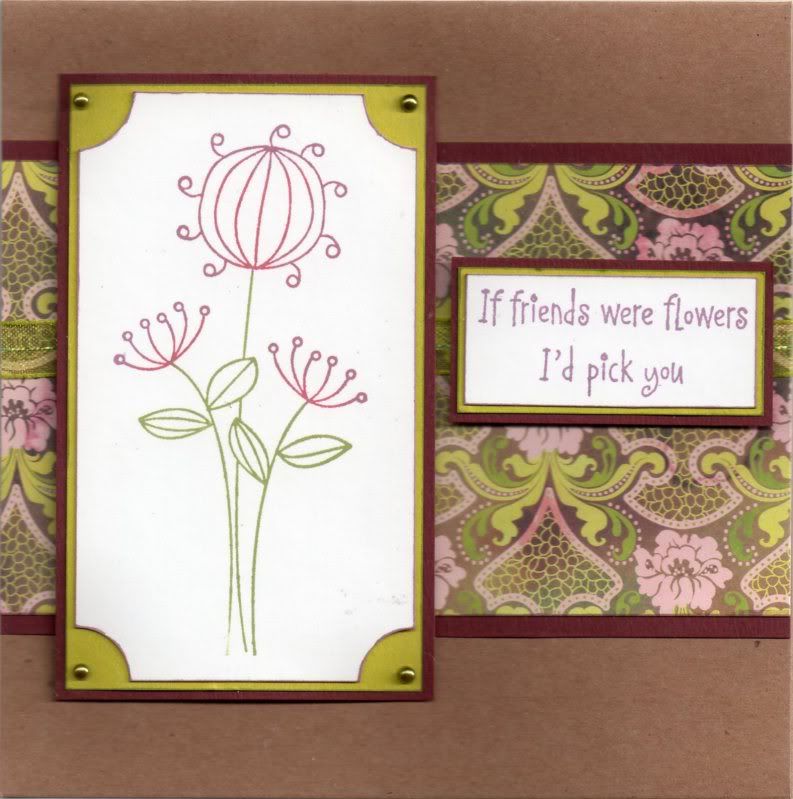
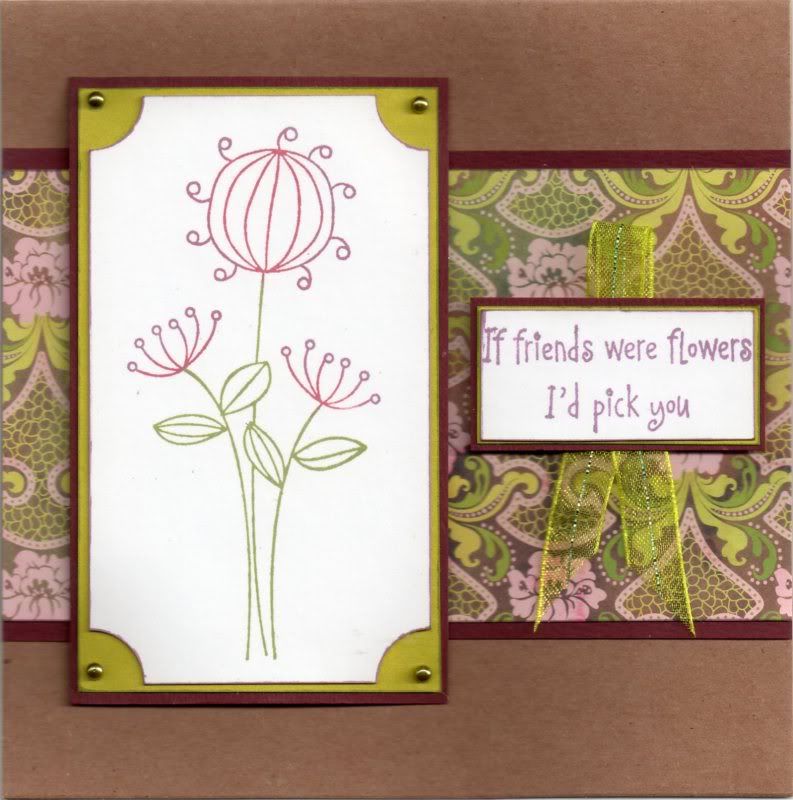
Burgundy and Lime Curly Flowers Friends

This card was made with a stamp I bought from a fellow crafter who was having a clear-out. I also used the Memento inks I bought from her too!! I really must have a clear-out myself - I just seem to be helping everyone else clear out!!

The Curly Flower image, from Hero Arts, was inked up using the Sweet Plum, Bamboo Leaves and Rhubarb Stalk Memento inkpads. The corners of the panel were punched using the Woodware Inverted Corner punch and matted onto lime green paper and burgundy card.

Lime green self-adhesive pearls, from the Hobby House Green To Go set, were added in the corners.

A panel of the French Lace paper from the Basic Grey Eva paper pad was matted onto the burgundy card and a length of lime green organza ribbon was wrapped around the panel and then added across the Papermania Kraft card blank.

The image panel was added to the left of the panel.


The sentiment, from Elzybells, was stamped using the Sweet Plum ink and matted onto the lime green paper and burgundy card and added to the right of the card blank.


The inside of the card was also decorated using a strip of the Courtier paper from the Eva paper pad, and the sentiment from the Papermania Clare Curd Sentiments stamp set inked with the Sweet Plum ink.


On the original card I made, I forgot to wrap the ribbon around the panel before I stuck it to the card blank so added a loop of the ribbon behind the sentiment panel.


Here are the blog challenges I am entering this card into:

Thursday, 21 July 2011

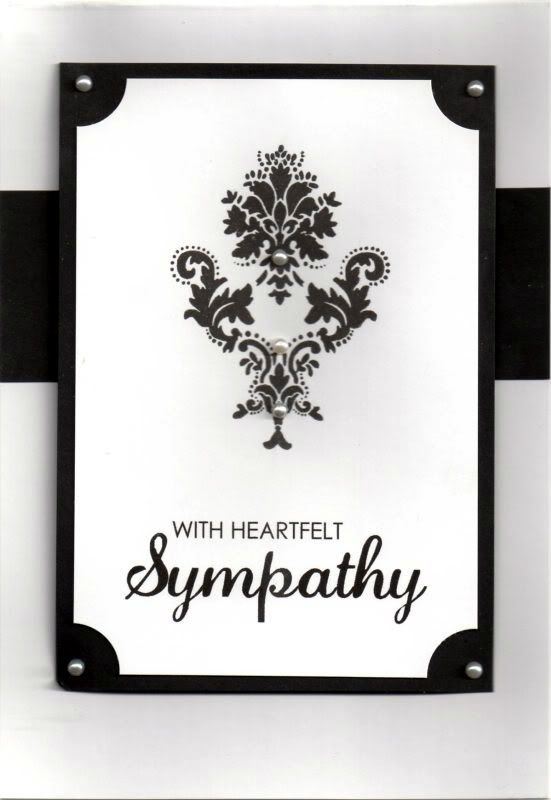
Black and White Ornament Sympathy Card For Liz G's Family

This was a difficult card to make. Just last week I discovered that a lady who is very active on the docrafts forum, Liz G, sadly passed away suddenly. Her lovely daughter, Pixie-Lou, also a forum member, kindly took the time  to let us know despite her obvious grief.


So, having reclaimed my craft room after the in-laws had visited, I got my stash out and had a think. I went with a clean and simple idea.

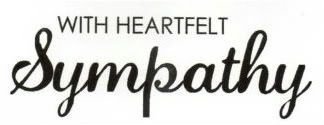
I didn't have a suitable sentiment stamp so created something in Word using Century Gothic and Lauren Script fonts and cut it into a panel.


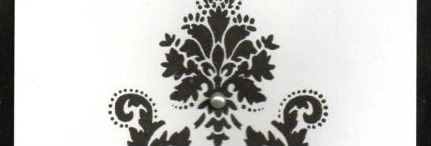
The ornament image, from the Papermania Chatsworth Furnishings stamp set, was stamped centrally using Versafine Onyx Black archival pigment ink. The corners of the panel were punched with the Woodware Inverted Corner Rounder punch and matted onto black card.


Ivory pearls, from the Hobby House Wedding Day set of self-adhesive pearls were added in the corners and on the ornament image.

A strip of the black card was added across a tent fold card and the image panel added over it.


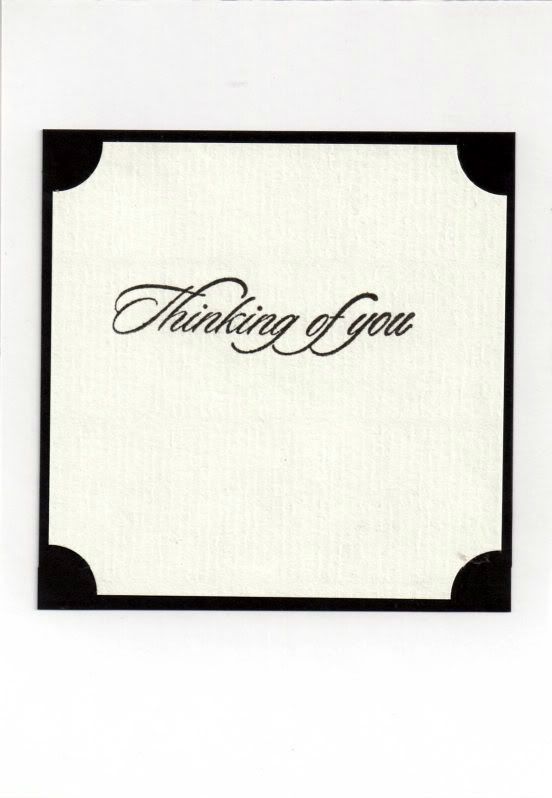
I also decorated the inside of the card using the Thinking Of You stamp from the Hot Off The Press Sentiments stamp set and the Onyx Black ink.

Monday, 14 February 2011

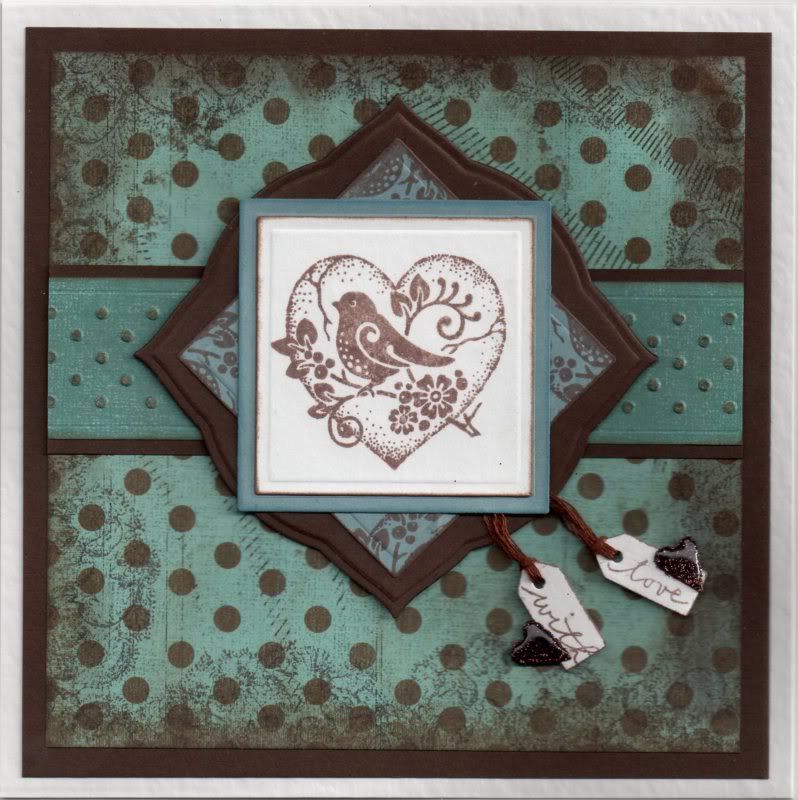
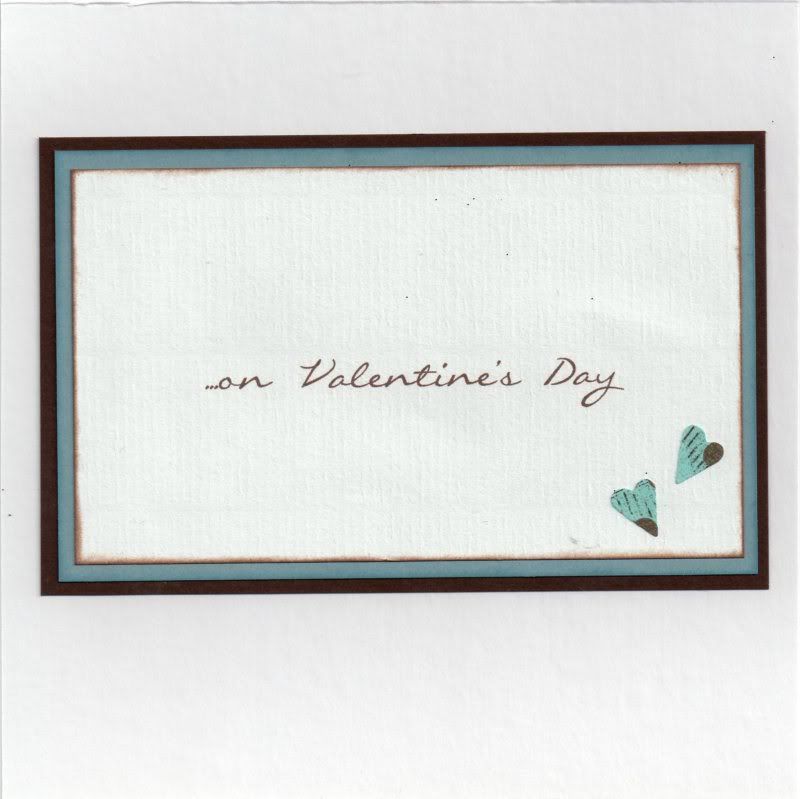
Duck Egg Blue and Brown Bird in Heart Valentine

Well, after a VERY late night, I finally got hubby's Valentine's card made. I decided to go with an unconventional colour scheme of duck-egg blue and brown.


The image, a freebie from Craft Stamper Magazine designed by Graphicus, was stamped using Memento Rich Cocoa dye ink and then die cut using a square Nestabilities die. This was then matted onto blue paper.

A second square of the blue paper was stamped using part of the bird stamp using the Rich Cocoa ink and matted in the centre of a Labels 1 die cut.

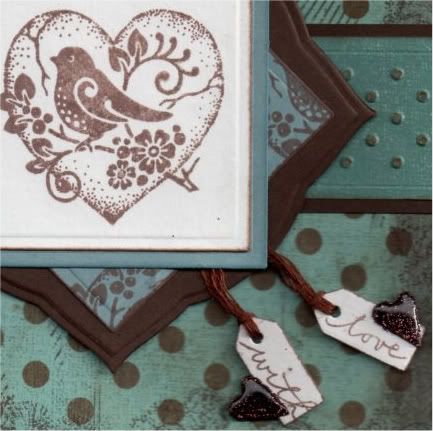
Two mini tags were die cut using the Sizzix Sizzlits Hearts, Stars and Tags die and stamped using the 'With Love' stamp from the Woodware Jane's Script Sentiments stamp set with the Rich Cocoa ink. Two small hearts were die cut from the brown card and covered with brown glitter from the Lakeland glitter kit and covered with Anita's 3D Gloss. These were attached using brown embroidery thread between the two blue square layers.


A strip of the duck egg blue mottled paper, from the HOTP Vintage paper pad, was embossed using the dots border embossing folder from the Just My Type set of border folders from Cuttlebug. This was then matted onto a strip of the brown card.

A panel of the duck egg blue and brown polka dot paper, from the same paper pad, was stamped around the edge using the floral and scroll background stamp from the Aspects of Design Memories of Italy stamp plate from The Stampman using the Rich Cocoa ink. This was also colour tinted around the edges using the Rich Cocoa ink and the ColorBox Chestnut Roan fluid chalk ink.

The embossed strip was then matted across the square panel and onto the brown card.


The inside of the card was also decorated using hearts punched from the polka dot paper. The sentiment was computer generated, using the Callie Hand font, which was the nearest one I could find to the Jane's Script font of the sentiment stamps.

Here are the challenges that I am entering this card into:

Wednesday, 9 February 2011

Blue and Tan Floating Monkey

This is the first time I've used a digi stamp image and what a great image it is. It's one of the lovely freebies from the Dustin Pike blog.

I needed to make a card for my cousin and decided to have a go with this image, which you can find here.


I started by colouring the image using my Copic sketch markers:
  • Monkey: E00, E21, E35, E51
  • Balloon: B00, B12
  • Sky: B00
  • Clouds: N1
Once the image was coloured, it was then trimmed up and Anita's 3D Gloss was added over the balloon.
The image, once dried, was then matted onto tan handmade paper and a panel of blue card that was embossed using the Moroccan Screen embossing folder from Cuttlebug.

A strip of the Crunchy paper, from the Basic Grey Granola paper pad was matted onto the tan handmade paper and the blue card and then across a panel of the Natural paper from the same paper pad.
This was then matted onto larger panels of the tan paper and blue card.

The sentiment, from the Woodware Jane's Script Sentiments stamp set, was stamped using Versafine Onyx Black Archival pigment ink and trimmed. The panel was then coloured using Copic markers:
  • Panel: B00, E13
This was then matted onto the tan paper and embossed blue card and matted onto the card below the image panel.

Here are the challenges that I am entering this card into:
Blog Widget by LinkWithin