


So, here it is!
My last post before I take a sabbatical over Christmas and New Year - but I promise I will be back with more posts. Both of new cards and some of the older, throwback cards from 2011 onwards.
Hopefully I will be reinvigorated following my Christmas break and have lots of new ideas for cards. Especially after my mammoth Christmas card making of 108 cards in just over a month!!! That really took it out of me!
So, I would like to take this opportunity to wish you all a very Merry Christmas and all the very best for 2016. I hope Santa brings you all what you wanted - only if you were good though!
And I'll see you in the New Year!
Friday, 11 December 2015
Wednesday, 9 December 2015
Orange Glittered Prim Poppies
This was one of those CAS cards that was by no means 'simple' in its execution. It was based on card I saw on Pinterest here.
The first step was to die-cut the Contempo Circle Border die by Memory Box from Kraft card. Getting adhesive on the back was then the first hurdle. I should have added wide double-sided tape to the back of the Kraft card first, but only thought of that afterwards, so I used tacky glue and that was fun!!!
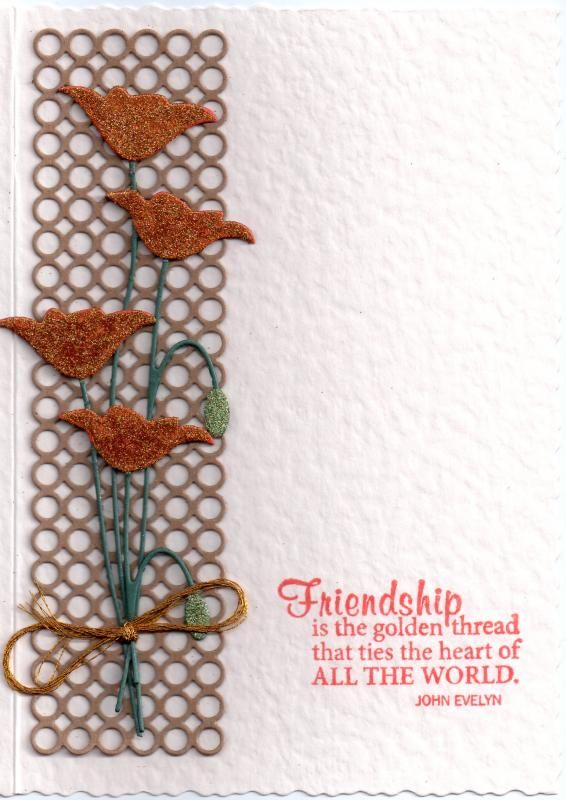
The next step was to diecut a couple of the Memory Box Prim Poppy shapes using dark-green card stock, as well as the flower heads in orange card stock which were then adhered in place.
Then came hurdle number two - adding the glitter. I used the LP Creative Crafts Corn Yellow and Apple Green glitters with the Zig glue pen. Of course, there was glitter everywhere and then I realized I'd added the glitter too early. I should have added it after I had stuck everything down!
Once the glue had dried and the glitter in place, the two poppy die cuts were tied together (not as easy as it sounds) using gold metallic embroidery thread.
The poppy diecuts were then adhered in place over the Contempo Circle Border diecut.
The sentiment, from the Fiskars Friends Forever Quotes stamp set, was stamped directly onto the card front using Memento Morocco dye ink.
Monday, 7 December 2015
Duck Egg Blue and Brown Butterfly Aperture CAS
This is a card that I made a part of a session of CAS cards at the craft group that I go to with a few friends. It is heavily influenced by Michelle Short's cards, and you can see the card that specifically influenced this one here.
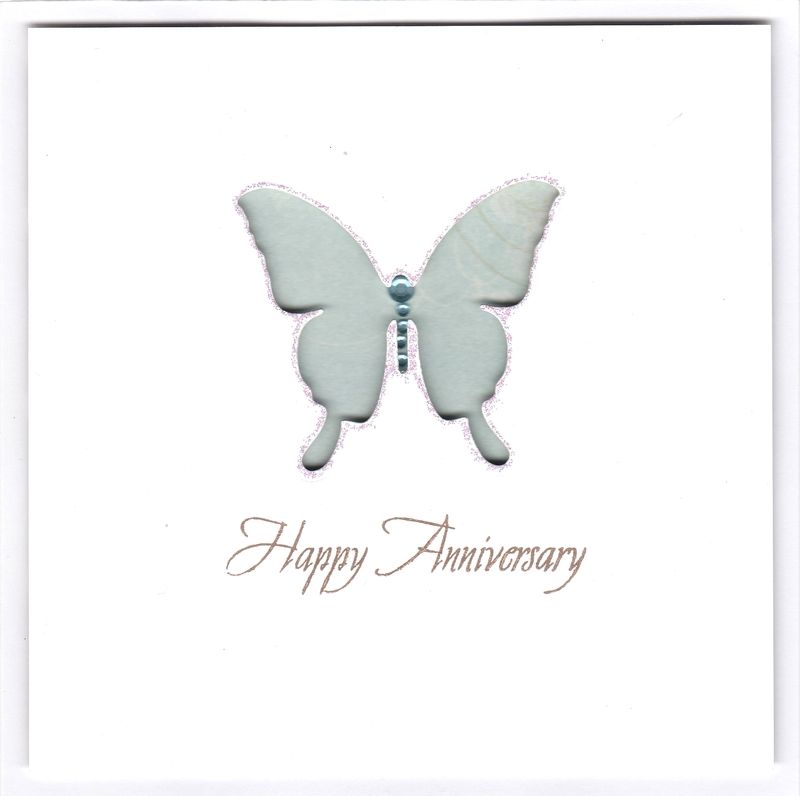
Firstly, the butterfly aperture was cut from a panel of white card using the largest butterfly die from the Spellbinders Shapeabilities Butterflies 2 die set.
The sentiment, from the Woodware Happy Anniversary stamp set, was stamped below the aperture using Versafine Vintage Sepia archival pigment ink. The panel was then 3D'd over a small panel of the duck egg blue swirl paper from the Papermania Bellisima paper pack onto a square cardblank.
As a finishing touch, Ranger Crystal Stickles were applied around the aperture and a few blue gems were added to the body of the butterfly.
Friday, 4 December 2015
Lilac and Brown Chapel Road Bramble
Firstly, I have to announce that this is my 500th blog post - wow!!!
More impressive is that I have managed to maintain this blogging schedule for well over a month now!!! I'm hoping to keep it up over the Christmas period but it's more likely that it will have to go on sabbatical for a few weeks over the holiday period.
Anyway, here is another 'throwback' card from 2011.
This card uses one of those 'must-have' stamp sets that in actual fact has only been used the once - here!!!
I saw some beautiful samples using this stamp set at the Newbury Stamp Show back in 2011 by the Snazzy's team, and of course had to buy it. Of course, once I got home, all that inspiration had disappeared from my head. I really should get this stamp set out again in the New Year - somebody remind me!!!
Anyway, back to this card.
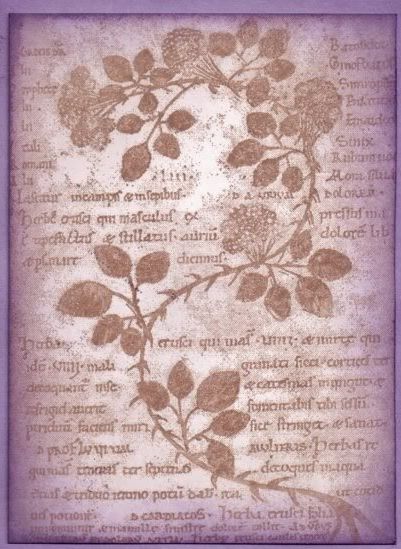
Firstly, the Bramble Collage image from the Chapel Road Artstamps Bramble stamp set was stamped onto white card using Memento Rich Cocoa dye ink and then distressed using Tim Holtz Milled Lavender and Dusty Concord inks. The image panel was then matted onto lilac cardstock.
A strip of the Violet paper from the Basic Grey Wisteria paper pad was matted onto a strip of the lilac card that was punched using the EK Success Scalloped Scallop border punch, and then a length of Dovecraft lilac grosgrain ribbon was wrapped around.
Next, the Bramble image from the same stamp set, was stamped in the corners of the card blank using the Rich Cocoa ink. The patterned paper strip was then added across the centre of the card and the image panel matted over the top.
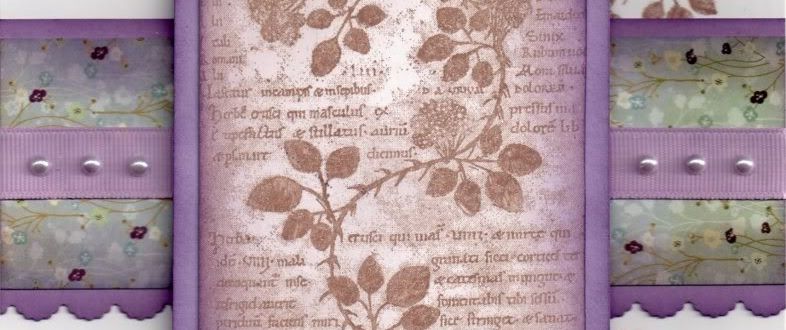
Once the image panel was in place, lavender pearls from Kort & Godt were added either side of the panel, and the sentiment, from the Personal Impressions Paula Pascual Mix and Match stamp set was stamped below the image using the Rich Cocoa ink.

Wednesday, 2 December 2015
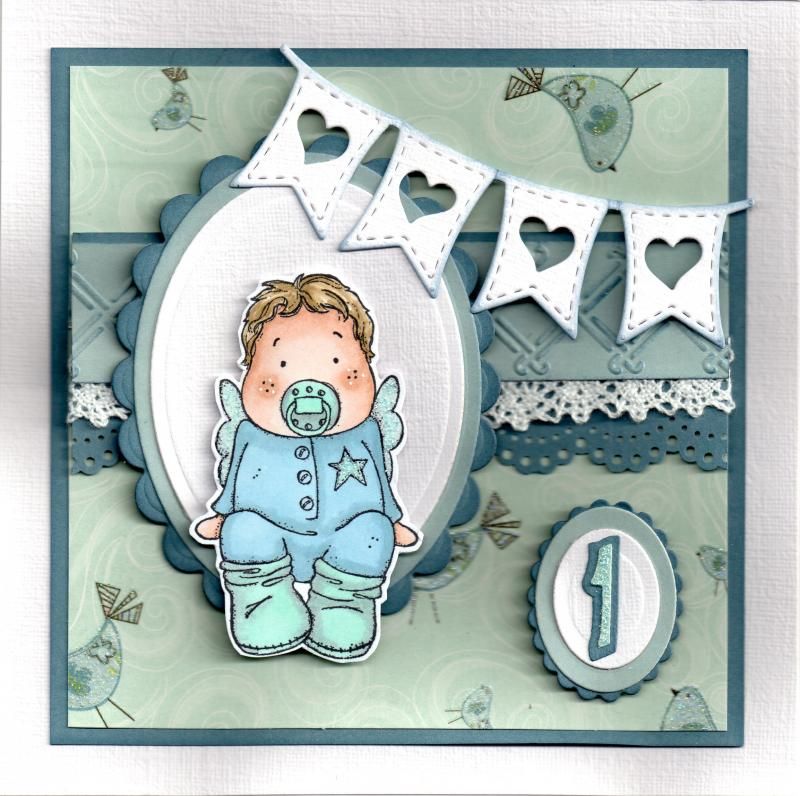
Blue Baby Edwin with Bunting
Here is a card a made for a little boy celebrating his first birthday.
I started by stamping the Baby Edwin stamp by Magnolia using Memento Tuxedo Black dye ink and coloured it using Copic markers.
I started by stamping the Baby Edwin stamp by Magnolia using Memento Tuxedo Black dye ink and coloured it using Copic markers.
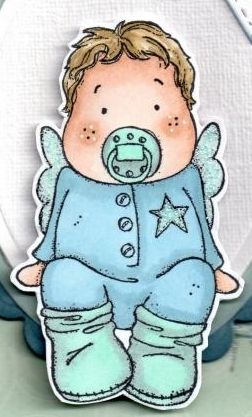
Copics:
Hair: E41, E43, E44
Skin: E000, E00, E13
Dummy/Bootees: BG11, N3
Romper Suit: B41, B93
Star: BG11
Wings:BG10, N1
Edwin's cheeks were then highlighted using a Papermania Snow White gen pen, and the wings and star were highlighted with Ranger Baby Blue Stickles. The image was then fussy cut.
A panel for Edwin was then die cut using the Classic Oval and Classic Scalloped Oval Nestabilities dies, using white and blue cardstocks.
A strip of white card was then embossed using the Basket Weave border embossing folder by Cuttlebug and then coloured using Tim Holtz Stormy Sky distress ink. A length of crochet lace was added to the lower edge of this and then matted onto a strip of blue card punched using the Martha Stewart Doilly Lace border punch. This was added across a panel of bird patterned paper from the First Edition Up Up and Away paper pad, matted onto the blue cardstock.
The Edwin image panel was then matted over the border strip.
A bunting die cut using the La La Land Heart Banner die was added across the top right corner of the card.
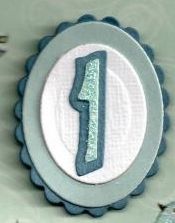
As this was a first birthday card, I wanted to reflect that so I die cut a '1' using the Sizzix Sizzlits Bounce Alphabet die set, and matted this onto a couple of Classic Oval dies and a Classic Scalloped Oval die. The '1' was then highlighted with the Baby Blue Stickles.
This inside of the card was also decorated.

The sentiment panel was created by stamping a banner from the Clearly Besotted Basic Banners stamp set using the Stormy Sky distress ink and diecutting it with its co-ordinating die. The sentiment, from the Paper Smooches Sentiment Sampler stamp set, was stamped in the centre of the banner, also using the Stormy Sky ink.
Subscribe to:
Posts (Atom)


