Why is it when you need to make a card quickly you decide to try a new card design that ends up taking forever????
I saw this Tri-Shutter card over on the Splitcoaststampers gallery and thought it looked very effective. I shall definitely be making it again, but I have learnt my lesson and won't be making it when I need a card made in double-quick time!
I started by creating the card blank from cream linen cardstock. This consisted of folding a piece of card measuring 30cm x 15cm at the 5cm, 10cm, 20cm and 25cm points. Then the card was cut lengthwise between the 5cm and 25cm folds 4cm from the top and bottom of the card. I used a craft knife and metal edge ruler for this. The edges and cut edges were then coloured using the ColorBox Old Rose pigment ink pad.
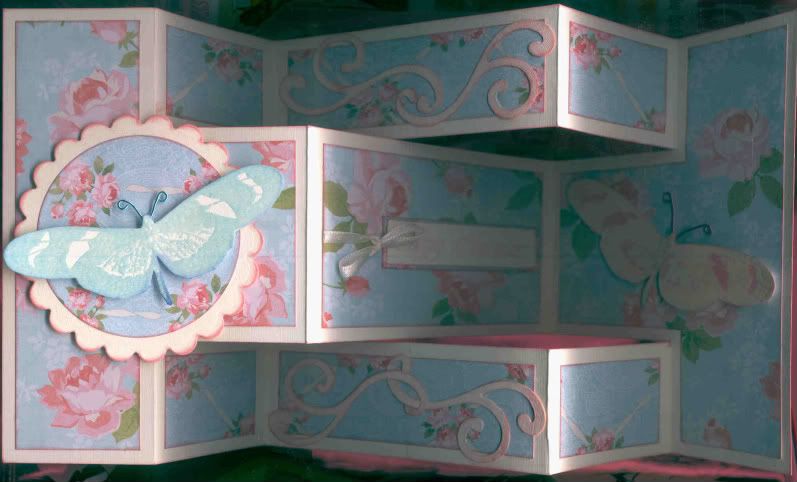
 This is the view of the card when laid out flat and the picture below shows the card when closed up ready to post. It will fit into a C6 envelope (but will need a 'Large' stamp if you embellish it - it might need it even if you don't!!!)
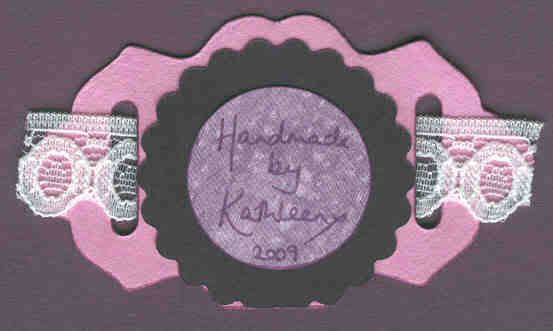
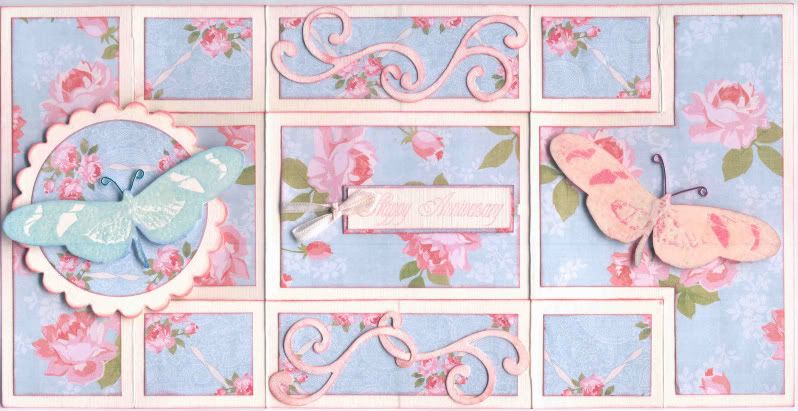
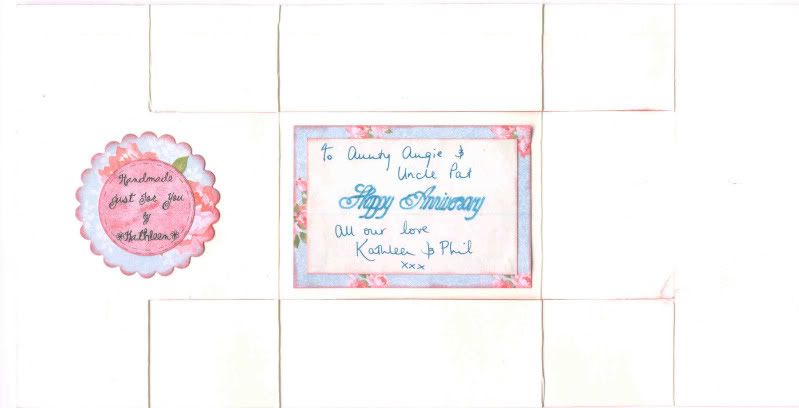
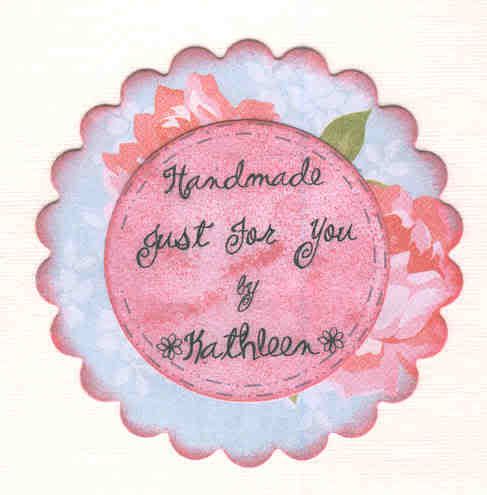
 This is what the reverse of the card looked like after I had added the 'Handmade By' medallion and the greeting panel.
The panels of the card (excluding the large central one) were then covered using two different blue/pink rose papers from the Papermania Blueberry Hill paper pad. Each was edged with the Old Rose pigment ink before attaching them to the panels.
Flourishes were cut from the cream card using the Sizzlit Flower and Flourish #2 die and edged with the Old Rose ink and attached to the larger central panels top and bottom.
A bow was tied (using a bow-maker!) in a narrow cream satin ribbon and attached across the central panel and then attached to the card base. The 'Happy Anniversary' sentiment, by Stamps Away available at Clevercut, was stamped onto a panel of the cream card and matted onto a piece of the rose paper over the cream ribbon.
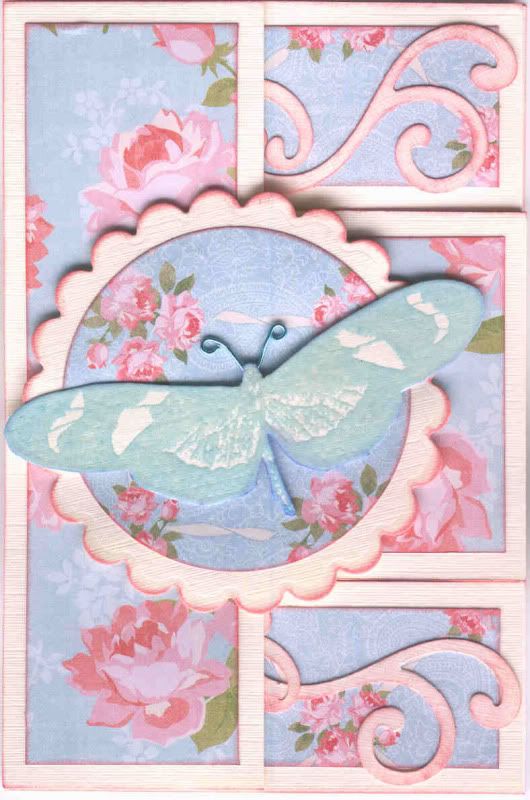
Using the Butterfly stamp from the Stampman Aspects of Design Botannical stamp set, two butterflies were stamped and clear embossed, one using the ColorBox Old Rose pigment ink and the other ColorBox Aqua pigment ink. ColorBox Pink pigment ink was sponged over the pink butterfly image after it was embossed to make it more pink as the Old Rose pink colour didn't show up much pn the cream linen card.
They were cut out and wire antennae added. The pink butterfly was attached on the right-hand panel and the blue butterfly was attached onto layered circles using the standard and scalloped Nesties using cream card and one of the rose papers.
This is the view of the card when laid out flat and the picture below shows the card when closed up ready to post. It will fit into a C6 envelope (but will need a 'Large' stamp if you embellish it - it might need it even if you don't!!!)This is what the reverse of the card looked like after I had added the 'Handmade By' medallion and the greeting panel.And here are some close ups of the greeting panel and 'Handmade By' medallion, both matted onto the rose papers from the Blueberry Hill paper pad to match the rest of the card.
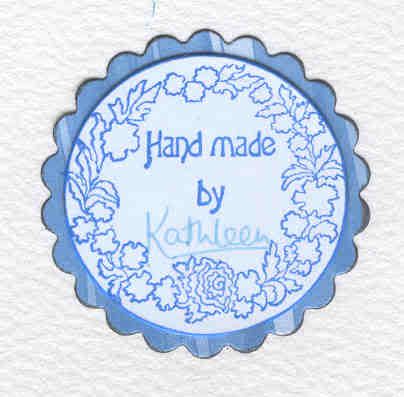
 The 'Handmade By' medallion was attached to the reverse of the card. It was made using a 'Handmade By' stamp from Oyster Stamps and the blue stripe paper used on the front of the card.