Pages

WELCOME

This blog was created to act as a record of the cards and other projects that I have made. It is for both my own reference and to help inspire anyone who wants to take a look.

I'd love it if you'd leave me a comment so that I know what you think of my projects and that you've been to visit!

Anyone can comment, even those who don't have a blog. (Just look for the word 'Comments' under the three little pictures at the end of each post). Readers without a blog can add an anonymous comment, but please leave your name (and docrafts username if applicable) so I know who you are!

Slideshows of all the cards I've uploaded to my blog can be found at the bottom of the page.


PEOPLE WHO FOLLOW MY BLOG

Showing posts with label PMania. Show all posts

Tuesday, 5 July 2016

30-Day Colouring Challenge - Day #1

I know as I type this that I won't be able to participate in the 30-Day Colouring Challenge set by Kathy Racoosin over on her blog every day as I have my in-laws arriving on the 15th for 2 weeks, but I will try my hardest to participate when I can.

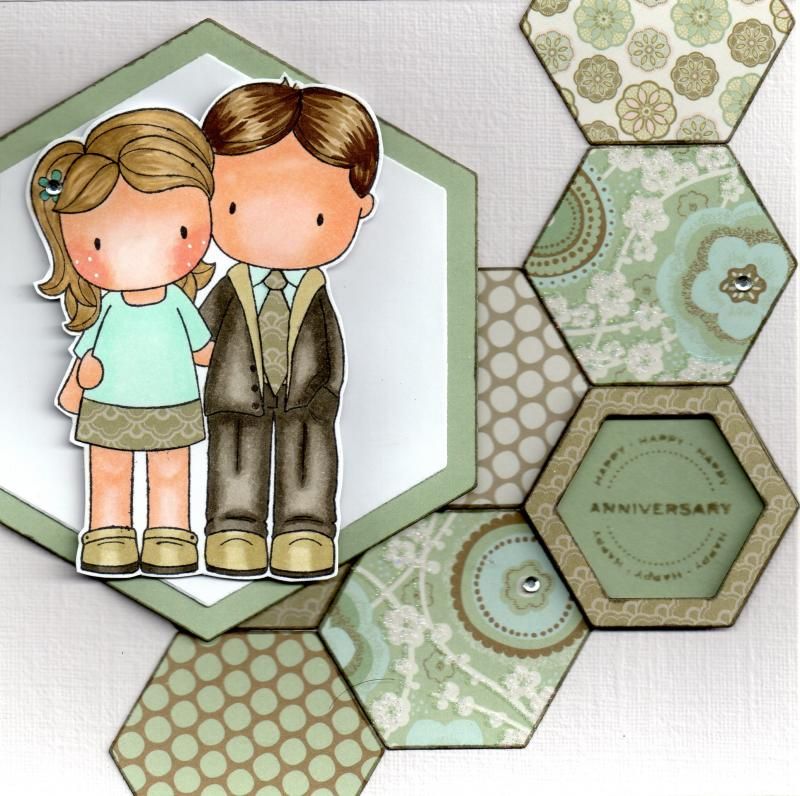
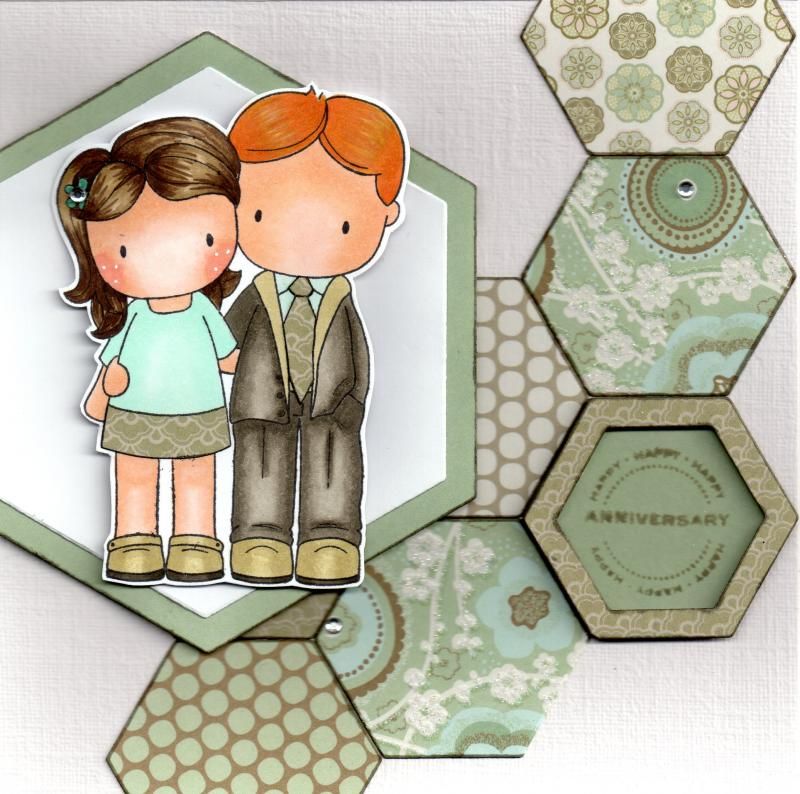
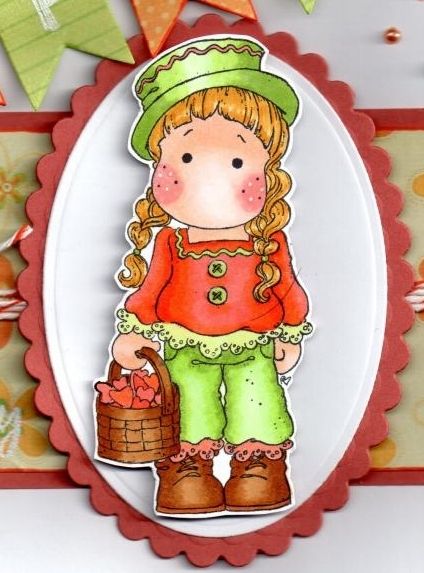
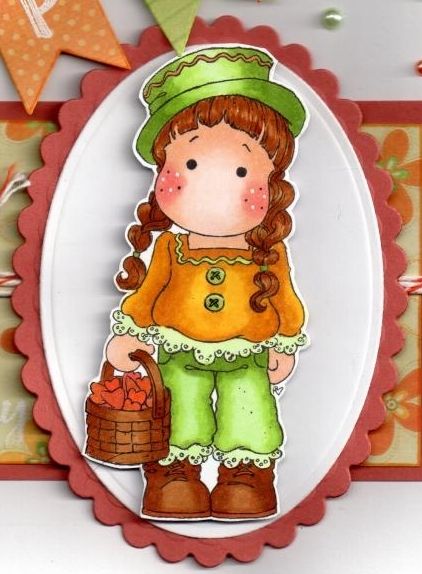
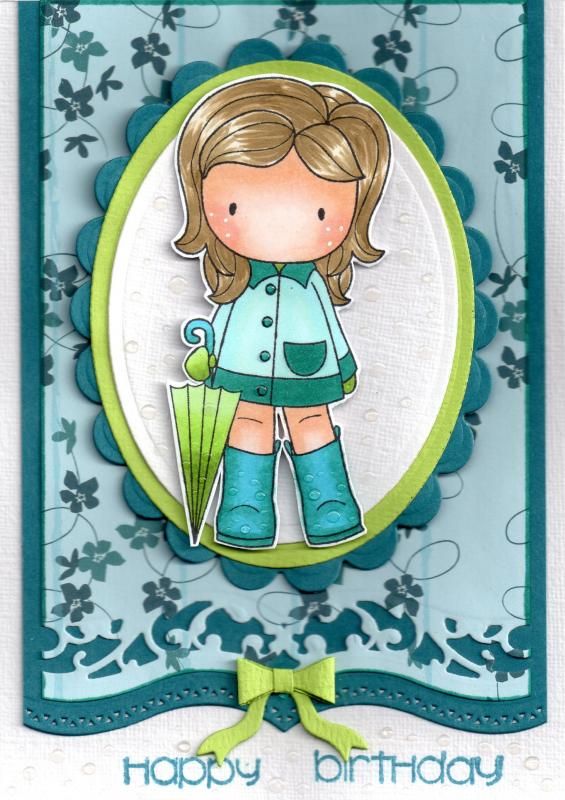
This image, Dreamer from Leanne Ellis/Sugar Nellie, began life as part of my indexing system, but it didn't stamp very well, but the girl part of the image was salvageable. Unfortunately, that meant that she was stamped with Versafine, which isn't very Copic friendly, and on Ryman's cardstock which I find is more inclined to bleed with too much pen ink. Ho-hum!


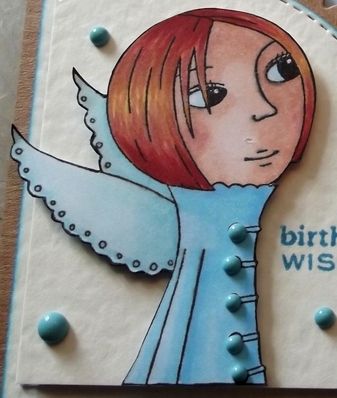
I coloured her to match the starburst background that I made last week at the craft group that I go to.

Copics:
Skin: E000 E00 E11 E13 (Cheeks: E04 R20)
Eyes: B00
Hair: Y15 E07 E09 E15
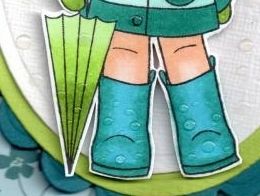
Coat: B00 B01 B02
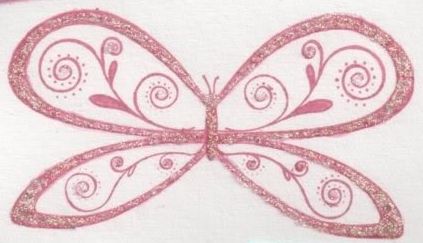
Wings: BG02 BG10 BG11


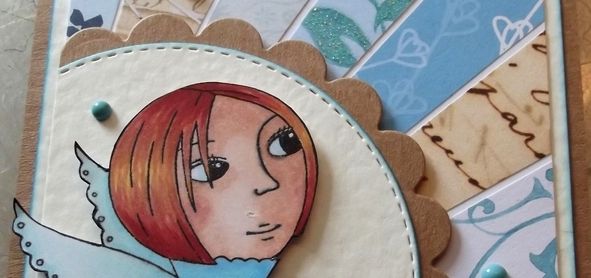
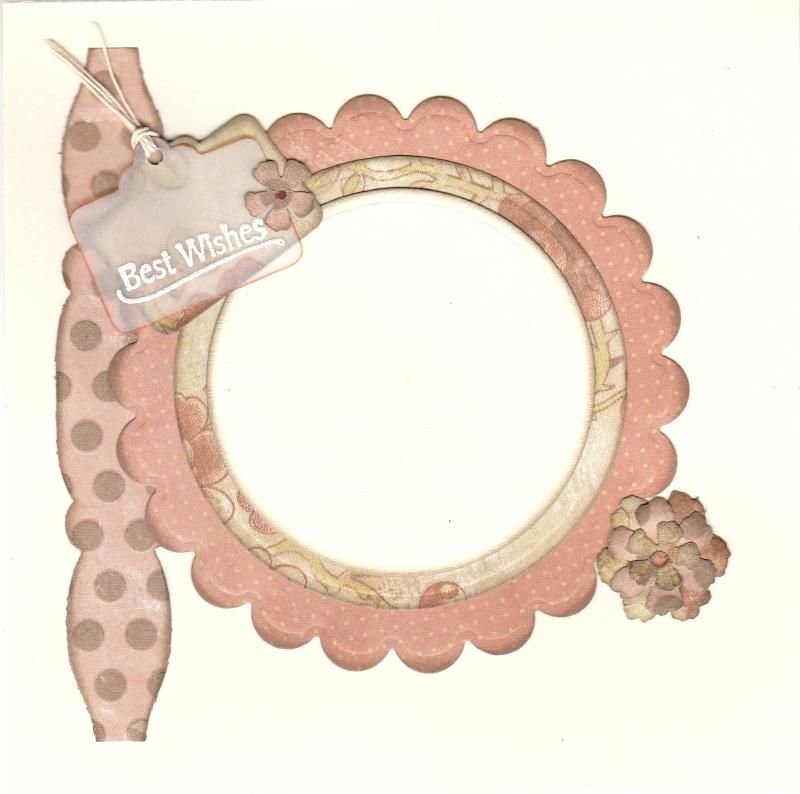
I fussy-cut her out and matted her onto a double-stitched circle die from Crealies XXL #33 die set cut from ivory hammer card. This was then matted onto a Nestabilities scalloped circle. The circle was cropped to fit into the corner of the card.

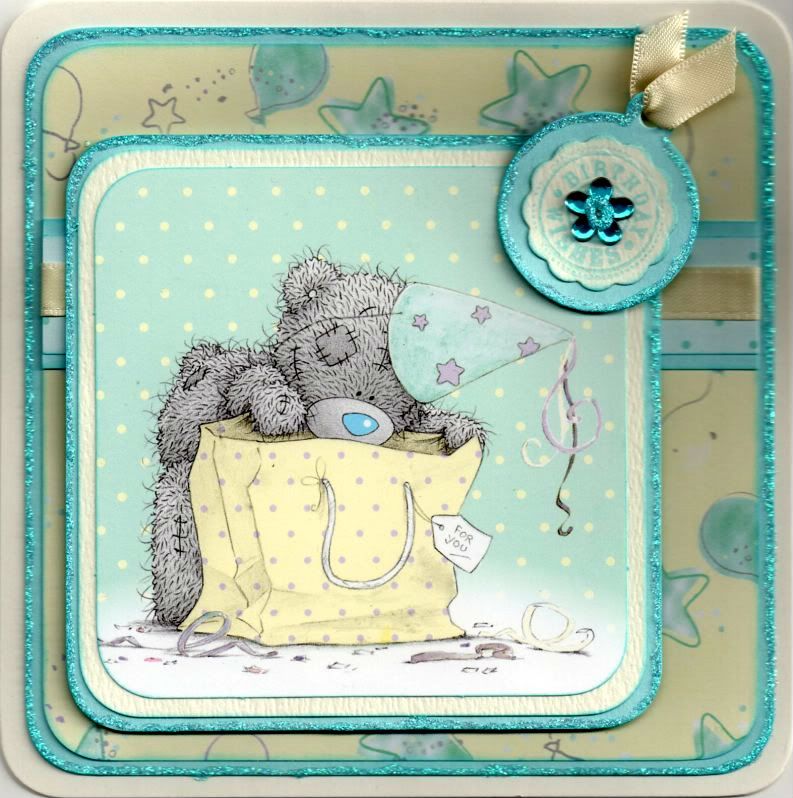
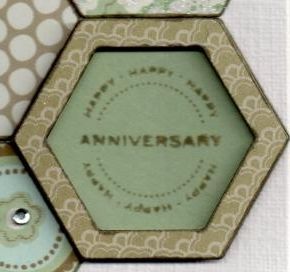
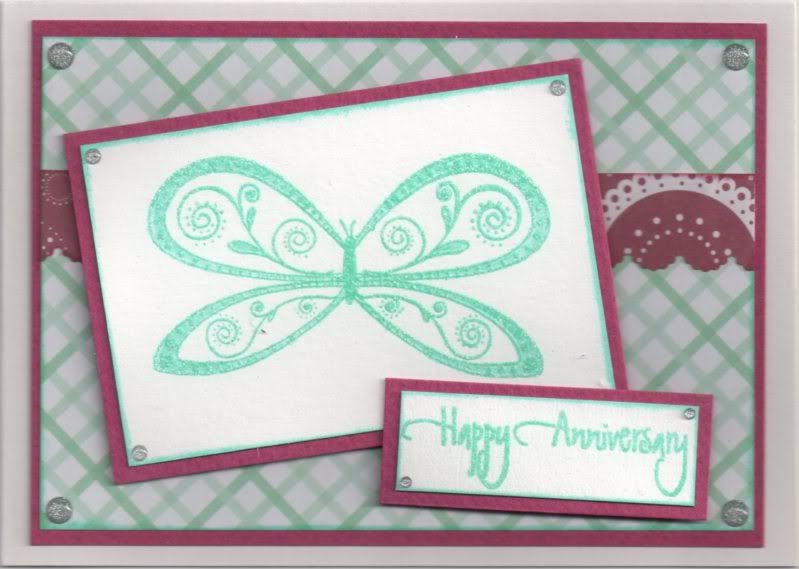
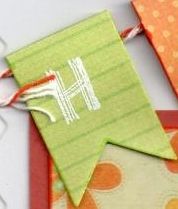
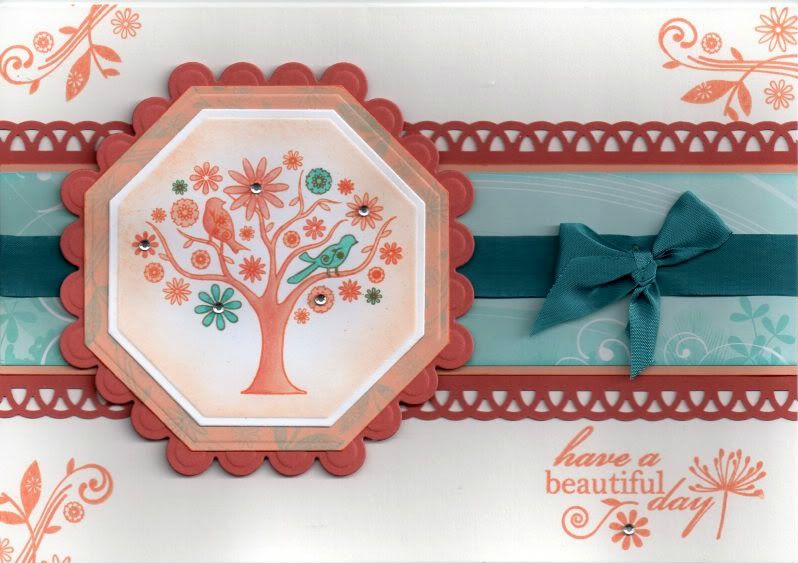
The 'Birthday Wishes' sentiment, from the Personal Impressions Paula Pascual Mixed Sentiments stamp set, was stamped using Tim Holtz Mermaid Lagoon ink, to match the sponging around each of the cream panels.


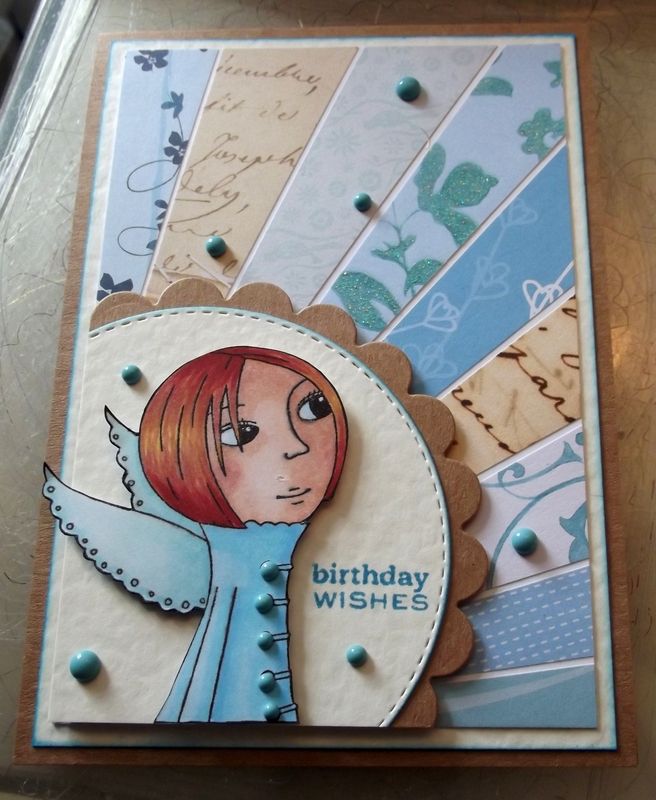
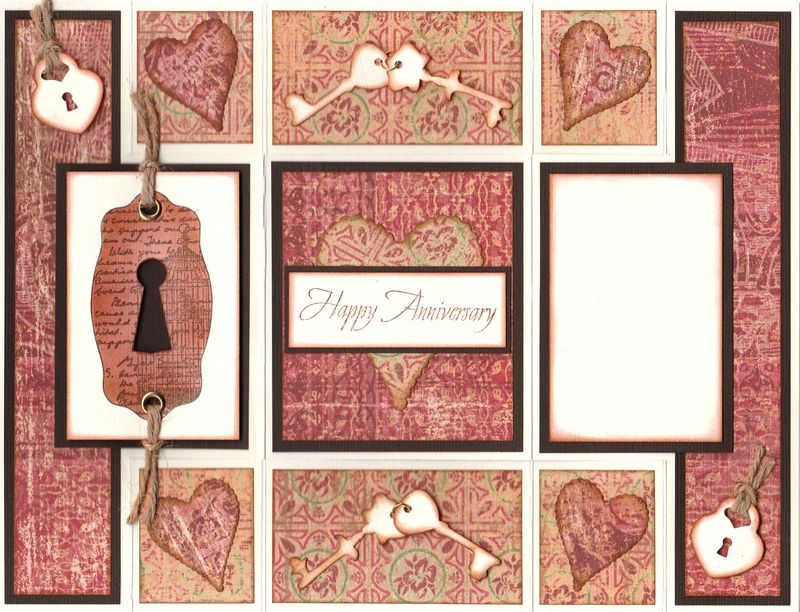
The starburst background was created using a bunch of papers from my stash - some of which haven't been used in a very long time!!!

The paper pads used were:
Papermania Venetian Skies Creative Tones
Papermania Birdsong
Papermania Henbury Lane
K&Co Life's Journey Script
K&Co Life's Journey Map
Daisy & Dandelion Picnic Patch


To finish the card, I added some dots of the Cosmic Shimmer Teal PVA.


Monday, 7 December 2015

Duck Egg Blue and Brown Butterfly Aperture CAS

This is a card that I made a part of a session of CAS cards at the craft group that I go to with a few friends. It is heavily influenced by Michelle Short's cards, and you can see the card that specifically influenced this one here.
 

Firstly, the butterfly aperture was cut from a panel of white card using the largest butterfly die from the Spellbinders Shapeabilities Butterflies 2 die set.
 
The sentiment, from the Woodware Happy Anniversary stamp set, was stamped below the aperture using Versafine Vintage Sepia archival pigment ink. The panel was then 3D'd over a small panel of the duck egg blue swirl paper from the Papermania Bellisima paper pack onto a square cardblank.
 
As a finishing touch, Ranger Crystal Stickles were applied around the aperture and a few blue gems were added to the body of the butterfly.

Wednesday, 2 December 2015

Blue Baby Edwin with Bunting

Here is a card a made for a little boy celebrating his first birthday.

I started by stamping the Baby Edwin stamp by Magnolia using Memento Tuxedo Black dye ink and coloured it using Copic markers.
 
 
Copics:
Hair: E41, E43, E44
Skin: E000, E00, E13
Dummy/Bootees: BG11, N3
Romper Suit: B41, B93
Star: BG11
Wings:BG10, N1
 
Edwin's cheeks were then highlighted using a Papermania Snow White gen pen, and the wings and star were highlighted with Ranger Baby Blue Stickles. The image was then fussy cut.
 
A panel for Edwin was then die cut using the Classic Oval and Classic Scalloped Oval Nestabilities dies, using white and blue cardstocks.
 
A strip of white card was then embossed using the Basket Weave border embossing folder by Cuttlebug and then coloured using Tim Holtz Stormy Sky distress ink. A length of crochet lace was added to the lower edge of this and then matted onto a strip of blue card punched using the Martha Stewart Doilly Lace border punch. This was added across a panel of bird patterned paper from the First Edition Up Up and Away paper pad, matted onto the blue cardstock.
 
The Edwin image panel was then matted over the border strip.
 
A bunting die cut using the La La Land Heart Banner die was added across the top right corner of the card.
 
 
As this was a first birthday card, I wanted to reflect that so I die cut a '1' using the Sizzix Sizzlits Bounce Alphabet die set, and matted this onto a couple of Classic Oval dies and a Classic Scalloped Oval die. The '1' was then highlighted with the Baby Blue Stickles.
 
 
This inside of the card was also decorated.
 
 
The sentiment panel was created by stamping a banner from the Clearly Besotted Basic Banners stamp set using the Stormy Sky distress ink and diecutting it with its co-ordinating die. The sentiment, from the Paper Smooches Sentiment Sampler stamp set, was stamped in the centre of the banner, also using the Stormy Sky ink.

Friday, 27 November 2015

Cream and Blue Tatty Teddy Panels

Another look back into the past here with a couple of old cards from 2011!!!

These are a couple of quick cards I made for a couple of 8-year old girls using the printed panels in the Me To You Especially For You paper pack.


The corners of the printed image were rounded using the large XCut corner rounder punch and matted onto light blue and cream card.

A strip of the blue polka dot paper from the same paper pack was matted onto the light blue card and a length of cream satin ribbon was wrapped around and matted onto a panel of the yellow stars and balloons paper. This was then matted onto the light blue card.

A tag was die cut from the light blue card using the Cuttlebug round tag die. A big scalloped circle was die cut from cream card using a Nestabilities die and stamped with the 'Birthday Wishes' circle sentiment from the Hero Arts Birthday Messages stamps set using ColorBox Aqua pigment ink. The scalloped circle was matted onto the tag and a blue Papermania flower gem was added in the centre. A short length of the cream satin ribbon was threaded through the tag and added in the top right corner of the image panel.

All the edges of the blue layers and the centre of the flower gem were highlighted with Craft Planet Ice Blue glitter glue.

A similar card was made with a different image panel from the same paper pack.

Wednesday, 25 November 2015

Taupe, Aqua and Sage Green Honeycomb Trevor and Emma

Today's card is actually two versions of the same card. Both cards use the Spring Couple stamp from CC Designs and are anniversary cards.
 
The images were stamped using Memento Tuxedo Black dye ink and coloured with Copic markers.
 
Here are the details for the first card:
 
 
Copics:
 
Trevor - Hair: E43, E44, E49
Trevor - Skin: E00, E11, E21
Trevor - Shirt: BG11
Trevor - Jacket: YG91, W3, W5, W7
Trevor - Trousers: W3, W5, W7
Trevor - Shoes: YG91, W9
 
Emma - Hair: E41, E43, E44
Emma - Skin: E000, E00, E11, E21, R02
Emma - Flower: BG18
Emma - Top: BG10
Emma - Shoes: YG91, W9
 
The other parts of the image were paper-pieced using papers from the First Edition Isabelle paper pad.
 
Using the Sizzix Framelits Hexagon die, a series of hexagons were cut from a variety of the papers from the Isabelle paper pad and arranged in a honeycomb pattern on the card blank. A larger couple of hexagons were die cut from white cardstock and a patterned paper and the image, having been fussy cut, was adhered onto them.
 
 
The sentiment was stamped onto a diecut hexagon using the Happy circle sentiment stamp and the Anniversary stamp from the Personal Impressions Paula Pascual All Year Round stamp set with Tim Holtz Pumice Stone distress ink. A frame was created from another patterned paper from the Isabelle paper pad and added over the top of the sentiment hexagon.
 
Here is a picture of the finished card.
 
 
To finish the front of the card, highlights were added to Emma's cheeks using a Papermania Snow White gel pen and small faux gems were added to the centres of the flowers on the patterned papers and the flower in Emma's hair.
 
The inside of the card was also decorated, using hexagon diecuts. The sentiment banner was created by stamping the Basic Banner by Clearly Besotted using the Pumice Stone ink and diecutting with the co-ordinating die. The sentiment was stamped within the banner shape using the Have a Beautiful Day stamp from the Personal Impressions Paula Pascual Mix & Match stamp set.
 
 
The second version of the card gave the characters different hair colours.
 
 
Copics:
 
Trevor - Hair: YR14, YR23, YR24
Trevor - Skin: E00, E11, E21
Trevor - Shirt: BG11
Trevor - Jacket: YG91, W3, W5, W7
Trevor - Trousers: W3, W5, W7
Trevor - Shoes: YG91, W9
 
Emma - Hair: E41, E43, E44, E49
Emma - Skin: E000, E00, E11, E21, R02
Emma - Flower: BG18
Emma - Top: BG10
Emma - Shoes: YG91, W9
 
 
Again, the inside of the card was also decorated.


Monday, 23 November 2015

Coral and Green Dressy Miss Anya

A pretty girlie card for today. This one features the cute Dirndl-wearing Dressy Miss Anya from The Greeting Farm.

The image was stamped using Memento Tuxedo Black dye ink and coloured using Copic markers.
 
 
Copics:
Skin: E000, E00, E11, R20
Hair/Apron: E11, E13, E15
Shoes/Dress: E11, R02, R08
Polka Dot Trim/Socks: YG03, YG11

Highlights were added to the cheeks using a Papermania Snow White gel pen.
 
 
The papers used to decorate the front of the card were from the My Mind's Eye Wild Asparagus paper pack.  The card-edge die cut, created using the Sizzix Card Edges #2 Decorative Strip die was cut from the polka dot paper and added to a panel of ivory card. This was then diecut with a circle Nestabilities die to create an aperture, and a frame was created from the coral coloured polka dot paper from the paper pack using a scalloped circle and plain circle Nestabilities die and added around the aperture.
 
The corners of this panel were punched with the inverted corner rounder from Woodware, and then matted to the card front over a panel of a floral paper from the paper pack.
 
The Miss Anya image was then fussy cut and added over the aperture.
 
,
 
 A couple of flowers were created using the Sizzix Tattered Floral Garland Decorative Strip die and added to the card front with a small orange pearl in their centres.
 
Two tags were die cut from vellum and the polka dot patterned paper cut using a die from the Sizzix Framelits Tags, Sentiments die set. The sentiment, from the Kanban Moulin Divas Très Chic stamp set, was stamped onto the vellum tag using Versamark ink and heat embossed using Heat It Up! Seafoam White embossing powder.
 
The two tags were joined together using a small orange eyelet and threaded with cream hemp cord. The tags were added inside the aperture and decorated with the small flower dies from the Tattered Floral Garland die.
 
 
 The inside of the card was also decorated using matching papers and dies, and a sentiment stamp also from the Très Chic stamp set.
 

Friday, 20 November 2015

Burgundy and Aqua Anniversary Doodle Butterfly

Here are a couple of anniversary cards that I made back in 2011 using the Papermania Clare Curd Doodles stamp set.


For the first card, the butterfly image was stamped using Memento Rhubarb Stalk dye ink and highlighted with Craft Planet Iridescent Sparkle glitter glue.

The image was matted onto aqua cardstock.

The patterned papers, from the Papermania Clare Curd The Big One paper pad were matted onto a panel of aqua cardstock and added to the card front.


The sentiment, from the Elzybells Swirly Sentiments stamp set, was stamped using the Rhubarb Stalk ink and matted onto aqua and added over the image panel.

Silver shimmer dots from Papermania were added in the corners of all the panels.

 
The same card was made reversing the colours.


Wednesday, 11 November 2015

Orange and Green Gingerbread Tilda

These are a couple of cards that I made using the Gingerbread Tilda stamp from Magnolia. I really like this stamp and I really ought to use it more. I made two versions of this card using different hair colours.

Here is the first with a more blond colouring:

 
To begin with, the Tilda image was stamped using Memento Tuxedo Black dye ink and coloured with Copics:
 
Hair: Y21, Y26, YR23
Skin: E000, E00, E11, E21, R02
Hat: YG11,YG13, YG17, YR04
Trousers: YG11, YG13, YG17, Y11, YR02
Top: YR02, YR04, YR07, YG11, YG13, Y11
Shoes/Basket: E31, E35, E37, E39
Hearts: YR02, YR23, YR24
Hairbobbles: YR13
 
Highlights were added to here cheeks with a Papermania Snow White gel pen, and to the buttons and hearts with Ranger Glossy Accents.
 
 
The image was then fussy cut and layered onto an oval and scalloped oval die cut using the Spellbinders Petite Ovals and Petite Scalloped Ovals Nestabilities.
 
A floral paper from the My Mind's Eye Bloom and Grow paper pack was matted onto the orange cardstock and the Birthday sentiment, from the Papermania Clare Curd Sentiments stamp set, was white heat embossed in the corner using Versamark and the Stampendous Detail Opaque White embossing powder. A length of the orange baker's twine from Divine Twine was wrapped around the panel and tied and this was then adhered to the card front with the image panel positioned to the right.
 
 
Using the small fishtail banner die from the Sizzix Framelits Banners #2 die set, five banners were diecut from patterned papers from the Bloom and Grow paper pack and stamped with the letters of the word Happy using the Hero Arts Fine Lines Alphabet stamp set and then heat embossed with the white detail powder.
 
These were then adhered across a length of the orange baker's twine across the corner of the card.
 
Small green and orange pearls from Papermania and Kort and Godt were then randomly placed around the card front.
 
The inside of the card was also decorated, adding a panel of the orange spotty paper from the Bloom and Grow paper pack onto orange card stock. A white oval was matted onto an orange scalloped oval and the sentiment, from the Papermania Clare Curd Sentiments stamp set white embossed onto the green stripe paper and tucked behind the oval panel.


The card was also produced with a Tilda with a more brown shade of hair and a more yellow top.
 
 
Copics
Hair/Basket/Shoes: E31, E35, E37, E39
Skin: E000, E00, E11, E21, R02
Hat: YG11, YG13, YG17, YR23
Trousers: YG11, YG13, YG17
Top: Y08, YR23, YR24, YG11, YG13
Hearts: YR02, YR23, YR24
Hairbobbles: yr13
 

Monday, 9 November 2015

Red and Brown Escutcheon and Keys Tri-Shutter Fold

Today's card is the card that I made for hubby last year. We were playing with Tri-Shutter fold cards at the cardmaking group that I go to, and I decided to have a go at one for hubby.


The first decision to be made was which papers to use. In the end, the K-Ology Hannah papers from the K&Co The Best of K&Co Too paper pad were used, matted onto chocolate brown card.

The next decision was which images would be used. The starting point was the escutcheon image from the Papermania Bird Prints Urban stamp set, which was stamped onto ivory cardstock using Memento Espresso Truffle dye ink. The image was then stamped again onto a Post-It not and cut away, creating a stencil. Ink was then blended through the stencil using Tim Holtz Aged Mahogany and Vintage Photo distress inks.


The keyhole was then cut away from the image and a couple of gold eyelets set in the panel. Natural twine from the My Mind's Eye Follow Your Heart Be Happy twines was then threaded through the eyelets and the panel matted onto the chocolate card.

A number of padlocks and keys were then diecut using the Sizzix Bigz Heart Lock and Keys die from the ivory cardstock. The diecuts were then distressed with the Aged Mahogany and Vintage Photo inks.


The padlocks were threaded with the twine and added in opposite corners on the card.

The keys were joined together with gold jump rings and added in the larger central panels.


A number of scalloped hearts were then diecut using the Sizzix Framelits Scallop Hearts #2 die set from the ivory card and distressed.


These were then added in the smaller squares on the card.

To complete the card, the sentiment, from the Woodware Happy Anniversary stamp set was stamped using the Espresso Truffle ink and matted over a larger scalloped heart diecut in the central section of the card.


Here is a view of the closed card:

Friday, 6 November 2015

Turquoise and Orange Songbird Tree

So, here we are again with one of my older cards. This one is from 2011.
 
I bought this set of papers and stamps when they first came out, full of great ideas. They are the Papermania Birdsong papers. Of course, as soon as I got them home, all ideas fled from my mind and they've been sat in various boxes every since!!!


The patterned paper was chosen firstly and the image stamped to match. The Floral Bird Tree stamp, from the Papermania Birdsong Blossom stamp set, was stamped using Memento Tangelo dye ink and coloured using Copic sketch markers:
    Tree/Leaves/Bird 1: YR00, YR02
    Bird 2: BG11, BG45, BG49
    Flowers: YR00, YR02, BG11, BG45, BG49
    The image was then die cut using a Nestabilities Octagon die and the Tangelo ink was lightly applied through the die, leaving the white edge. A larger pale orange octagon was also die cut and the edges stamped using the Floral Flourish stamp from the Papermania Birdsong stamp set with ColorBox Aqua pigment ink. These were then matted onto a dark orange scalloped octagon die cut.


A strip of the dark orange card was punched with the XCut Lace Trim border punch and a strip of turquoise floral swirl paper from the Papermania Songbird paper pad was added across it, as was a length of teal seam binding. A bow was created from the teal seam binding with a bowmaker and attached over the length using a glue dot. This wasn't as successful as I'd hoped though as the knot wouldn't lie flat!!

The paper strip was then attached across the card blank and the image panel added to the left of the card blank.

The sentiment, from the Papermania Birdsong Blossom stamp set, was stamped in the bottom right corner using the Tangelo ink, as was the Floral Flourish in the other corners.


Clear faux gems were added to the main image and to the sentiment.

Wednesday, 4 November 2015

Teal and Lime CC Designs Rainy Day Emma

This is a nice bright girlie card today, using the cute CC Designs
Rainy Day Emma image.
 
 
To begin with, the image was stamped using Memento Tuxedo Black dye ink and coloured with Copic markers:
 
Hair: E41, E43, E44
Skin: E000, E00, E11, E21, R20
Jacket: B00, BG09, BG10
Gloves/Umbrella: YG11, YG13, YG17
Scarf: YG17
Wellies/Umbrella Handle: BG02, BG09
 
A Papermania Snow White gel pen was used to add highlights to the image.
 
 
The image was then fussy cut and added to an oval die cut using the Nestabilities Classic oval die and matted onto a lime oval and teal scalloped oval, also die cut using the Nestabilities dies.
 
A panel of teal cardstock was diecut using one of the Spellbinders Bracket Borders #1 dies, as was a panel of the patterned paper from the Papermania Venetian Skies Creative Tones paper pad.

These were matted together and the image panel added on top.

As an added detail, the Memory Box Tiny Bow die was used to create a bow from the lime green cardstock and added below the image panel.
 
 
The sentiment, from the Kaisercraft Occasions stamp set, was stamped along the bottom edge of the card using Memento Teal Zeal dye ink.
 

As a final finishing touch, small dots of Ranger Glossy Accents were added to mimic raindrops.

The inside of the card was also decorated to mirror the front of the card, just with a different sentiment, taken from the Kaisercraft Birthday stamp set, also stamped using the Teal Zeal ink.

Sunday, 1 November 2015

Brown and Beige Felicity Bloom

Here is a  card I made recently using the lovely Woodware Felicity Bloom stamp set. I've had my eye on these card candi stamps for a long time and I finally treated myself to one.

It's a simple image that you can embellish to your hearts content.
 
For this card, I stamped the image using Versafine Vintage Sepia archival pigment ink. The leaves were coloured using Promarkers - namely Shale, Sandstone and Tan.

 
All the circles of the design were coloured using the same pens. Brown, beige and ivory spotty Card Candi, from Craftwork Cards, were added to the larger circles and a combination of Papermania ivory pearls and Ranger Platinum Stickles were added to some of the smaller circles.
 
 
The sentiment, from the Hero Arts Anytime Messages stamp set, was stamped onto ivory card using  the Vintage Sepia ink and matted onto brown card, as was the main image panel.
Blog Widget by LinkWithin