






Pages

WELCOME

This blog was created to act as a record of the cards and other projects that I have made. It is for both my own reference and to help inspire anyone who wants to take a look.

I'd love it if you'd leave me a comment so that I know what you think of my projects and that you've been to visit!

Anyone can comment, even those who don't have a blog. (Just look for the word 'Comments' under the three little pictures at the end of each post). Readers without a blog can add an anonymous comment, but please leave your name (and docrafts username if applicable) so I know who you are!

Slideshows of all the cards I've uploaded to my blog can be found at the bottom of the page.


PEOPLE WHO FOLLOW MY BLOG

Showing posts with label Katzelkraft. Show all posts

Sunday, 5 March 2017

30-Day Colouring Challenge Day #4 - Rusty Katzelkraft German Shepherd

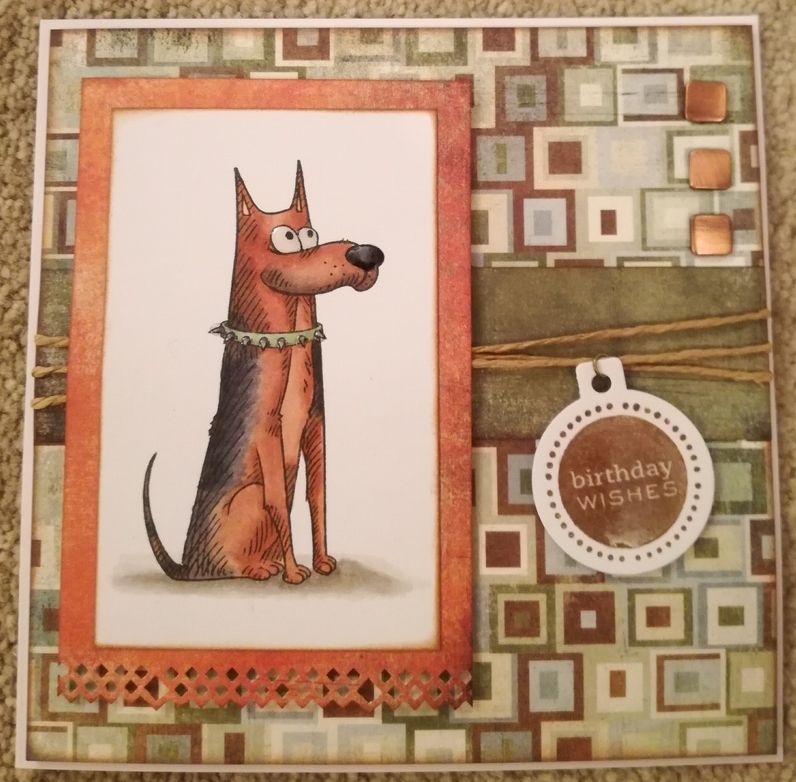
This is my entry for day 4 of the 30-day colouring challenge of March 2017, as organized by the fabulous Kathy Racoosin.


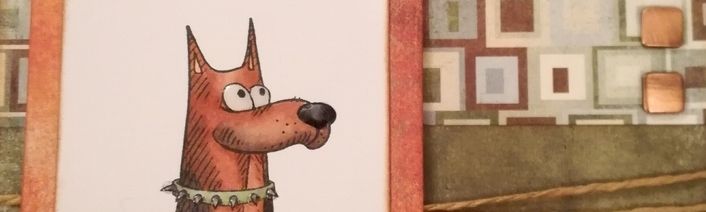
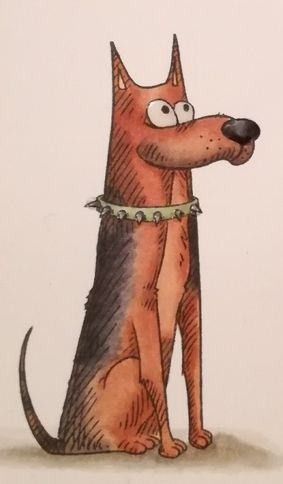
I needed to make a birthday card for my dad, and so, having discovered where I had hidden the Katzelkraft dog images I stamped before Christmas thanks to my friend Kelly, I chose the one I thought resembled a German Shepherd dog the closest.

The image was coloured using Memento Tuxedo Black dye ink and coloured with Copic markers:

Dog: E13, E15, E39, C3, C5, C7, C9, R02
Eyes: C0, C1
Collar: G21, C3, C7
Shadow: W1, W3, W5

I coloured the image so that it looked just like the dog that we had when I was growing up. Rusty, aptly named because of her colouring, was the softest dog you'd ever know and was often a pillow to my little cousins. I thought my dad would appreciate a card like this.

Having coloured the image, the panel was distressed on the edges with Tim Holtz Vintage Photo distress ink, as were the panels of patterned paper from the Basic Grey Archaic paper pad (Relic, Timeworn and Rusty).

The strip of Timeworn paper was added across the Relic paper and wrapped with lengths of natural twine.

Using the round Cuttlebug tag die, a tag was die cut from white card and stamped with the solid 'Birthday Wishes' stamp from the Personal Impressions Paula Pascual Mixed Sentiments stamp set with Versafine Vintage Sepia archival pigment ink. A jump ring was added to the tag and threaded onto one of the lengths of twine.
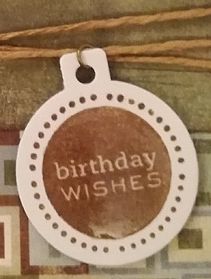

The image panel was matted onto the panel of Rusty paper, the bottom edge having been punched with the Diamond XCut border punch first. This was mounted over the twine with 3d foam tape, as was the sentiment tag.

Three WRMK square copper studs were added to the top right corner and then the panel was mounted to the 5'75" square cardbase.

To finish off the card, Ranger Glossy Accents was added to the dog's eyes and nose, the collar studs and the sentiment.
Monday, 4 October 2010

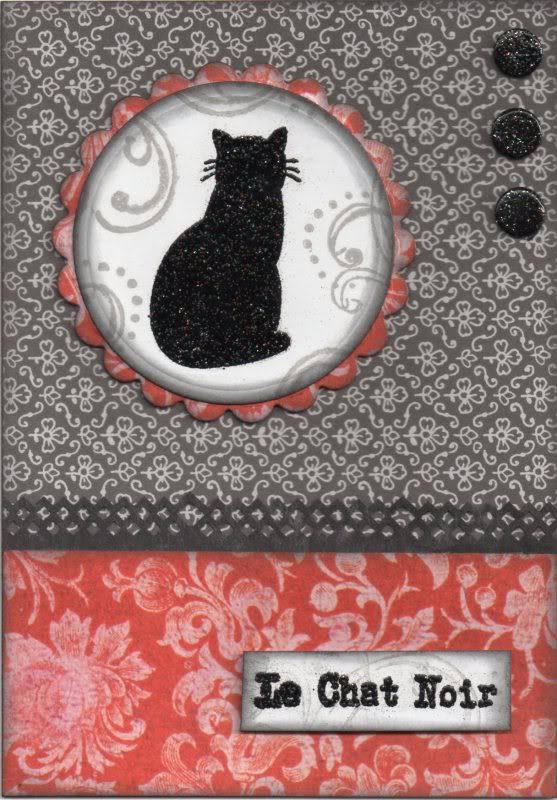
Red and Black Silhouette Cat

This card has been shamelessly copied from one made by Katy Fox in the June 2010 issue of Craft Stamper magazine. I've used different papers and swirl stamps but the card looks very similar to the one that Katy made.


The cat image, the free stamp from Craft Stamper magazine designed by the team at Katzelkraft, was stamped onto white card using Versacolor Black ink and heat embossed using Heat It Up! Black Sparkle embossing powder.

The image was then die cut using a standard circle Nestabilities die, and a swirl image, from the Autumn Leaves Rhona Farrer Flourishes v1 stamp set, was stamped around the edge of the circle using Versafine Smokey Gray archival pigment ink. The edges of the panel were then distressed using Tim Holtz Black Soot distress ink.

This was then matted onto a scalloped circle die cut from the Red Cabbage Rose Flourish paper from the Papermania Red Hot Capsule Collection pack, also distressed with the Black Soot ink.

The card blank was partly covered with a panel of the Black Clover Leaf paper, from the Papermania Monochrome Capsule Collection pack. A strip of black paper was punched using the XCut Diamond border punch and adhered to the reverse of a panel of the same red paper used for the scalloped circle and adhered below the black patterned paper.

The sentiment, the accompanying stamp to the cat image, was stamped using the Versacolor Black ink and heat embossed with the black sparkle powder. This was also overstamped with the swirl stamp and the Smokey Gray ink and distressed with the Black Soot ink.

Three black card candy, from Craftwork Cards, were heat embossed with the black sparkle powder and placed in the top right corner.

TIP:
To heat emboss the card candy, I found the easiest way to do it is to add a small piece of double sided tape to the end of a pencil (preferably not painted) and press the card candy onto it. Tap the card candy into the inkpad you wish to use until the candy is covered in the ink than dip the candy into the embossing powder.


Tap off the excess embossing powder and heat, turning the pencil as the embossing powder starts to melt. Once the embossing powder has all melted, leave to cool for a few seconds then remove from the pencil - the heat will have softened the tape a little, making it easy to peel away. You can then re-use the tape if you need to do multiple card candy pieces.
Blog Widget by LinkWithin