


















Here is my entry for Day #3 of the 30-Day Colouring Challenge
I was out all day yesterday so didn't get a chance to do any colouring, but I did today. Yippee!
I was out all day yesterday so didn't get a chance to do any colouring, but I did today. Yippee!
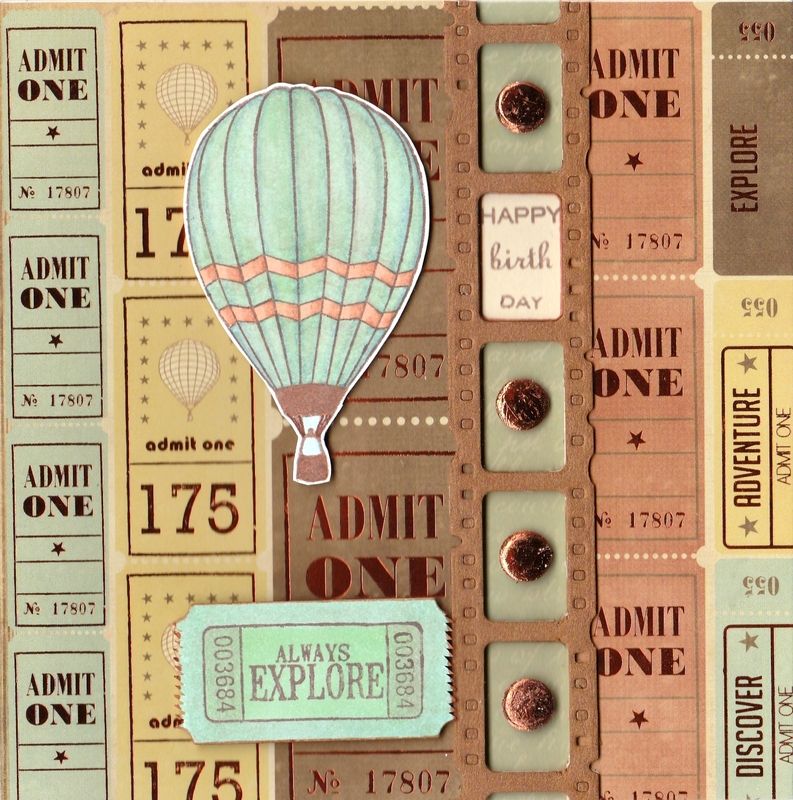
The image I coloured was from a stamp set that I bought at the Newbury Show on Saturday. I think it was a set of stamps that came free in Creative Stamping magazine but not sure.
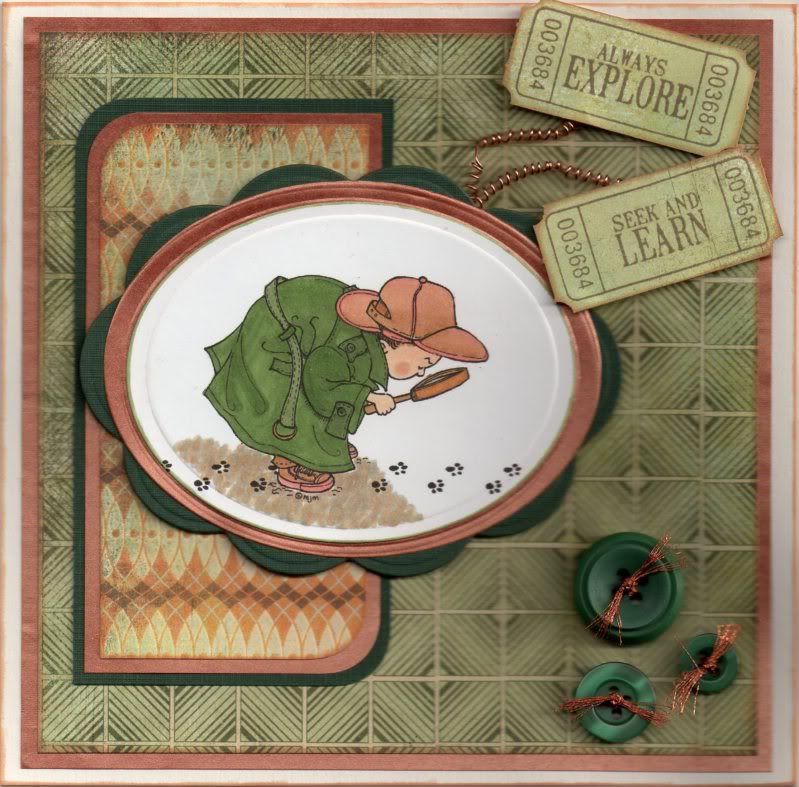
Anyway, I began by creating a 'bridge' card. I covered the card front with a beautiful piece of foiled cardstock from the Kaisercraft Up Up and Away paper pad. Then I chopped the right had side of the card front off and a section to the right of that panel the width of the gap I wished to create.
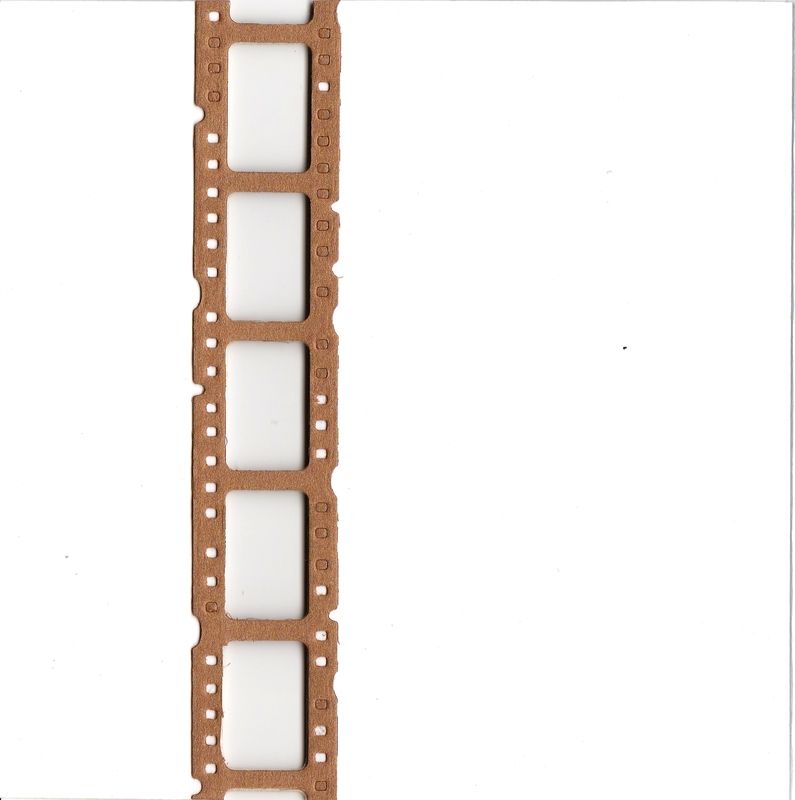
As I was using the Sizzix Mini Filmstrip and Mini Tickets Decorative Strip die, this meant the gap was only 1.5cm.
The filmstrip was diecut using copper pearl cardstock and adhered to the card front. The loose section of cardstock was temporarily taped down using masking tape so it was level with the edge of the card stock and the other side of the filmstrip die was adhered to this piece to complete the card front once again.
The filmstrip was diecut using copper pearl cardstock and adhered to the card front. The loose section of cardstock was temporarily taped down using masking tape so it was level with the edge of the card stock and the other side of the filmstrip die was adhered to this piece to complete the card front once again.
A second diecut was added to the inside of the card front to strengthen it.
Now to the colouring part. The hot air balloon image from the stamp set was stamped using Memento Rich Cocoa dye ink and coloured using Copic markers:
Hot Air Balloon
E11, E15, BG11, G12, W3, B34
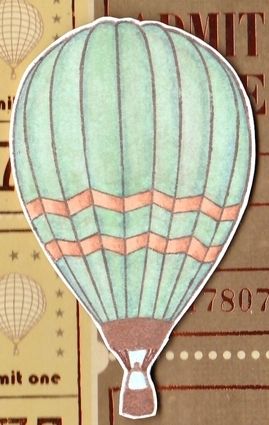
Unfortunately, I didn't have quite the right colour to match the papers so I had to experiment with the colours I have.
I also stamped the 'Always Explore' ticket stamp from the Autumn Leaves Ticketed stamp set onto a ticket die cut from Memory Box's Double Ticket die using the Rich Cocoa ink and coloured it with Copics:
Ticket
W3, BG10, BG11, G12, E15
W3, BG10, BG11, G12, E15
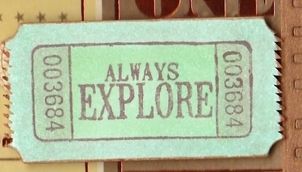
The hot air balloon image was fussy-cut and adhered to the card front, along with the ticket.
A strip of the duck-egg blue script paper from the same paper pad was then added to the inside right of the card so that it shows through the 'bridge', along with the narrow strip cut from the card front.
Using the aperture sections of the filmstrip die cut from cream card, the sentiment was stamped using parts of stamps from a selection of the Personal Impressions Paula Pascual sentiment stamp sets (Double Sayings, Mixed Sentiments, All Year Round and Mix and Match Sentiments). One of the panels was adhered through one of the apertures on the inside of the card and two further panels were adhered alongside.

To replicate the copper foiling on the patterned paper, four copper card candi were taken and Zig 2-way glue pen was added to the front of them all. When this had gone clear, a sheet of copper foil was applied to the card candi to create foiled card candi. These were added through the remaining apertures on the front of the card. The glue was then also added to a star die from the Penny Black Sweet Wishes stamp set and stamped over the 'TO' word on the inside of the card. Once again, the foiling was added to this.


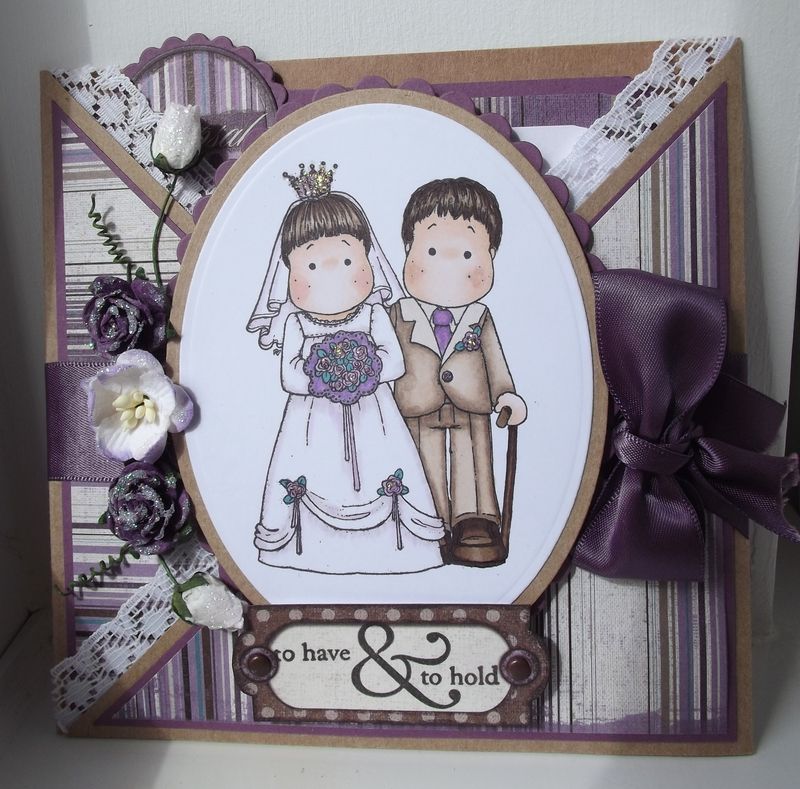

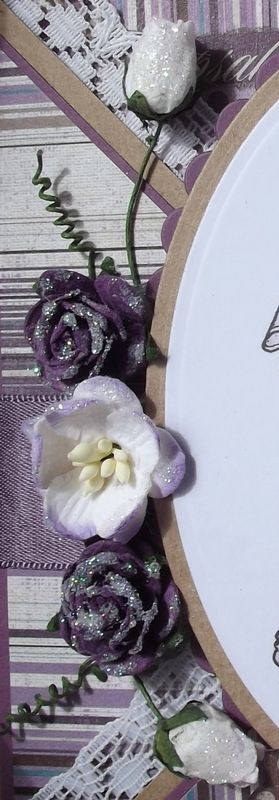
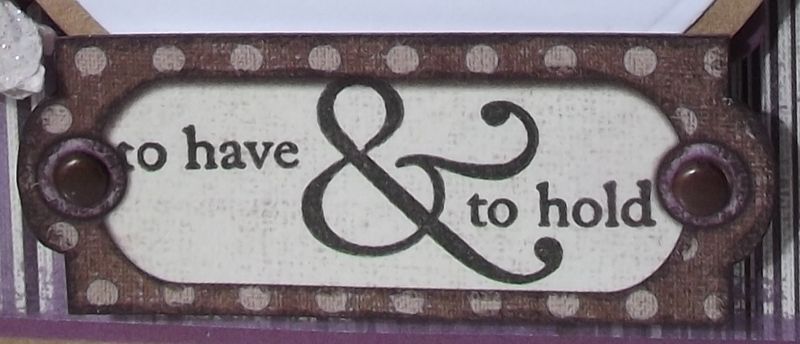

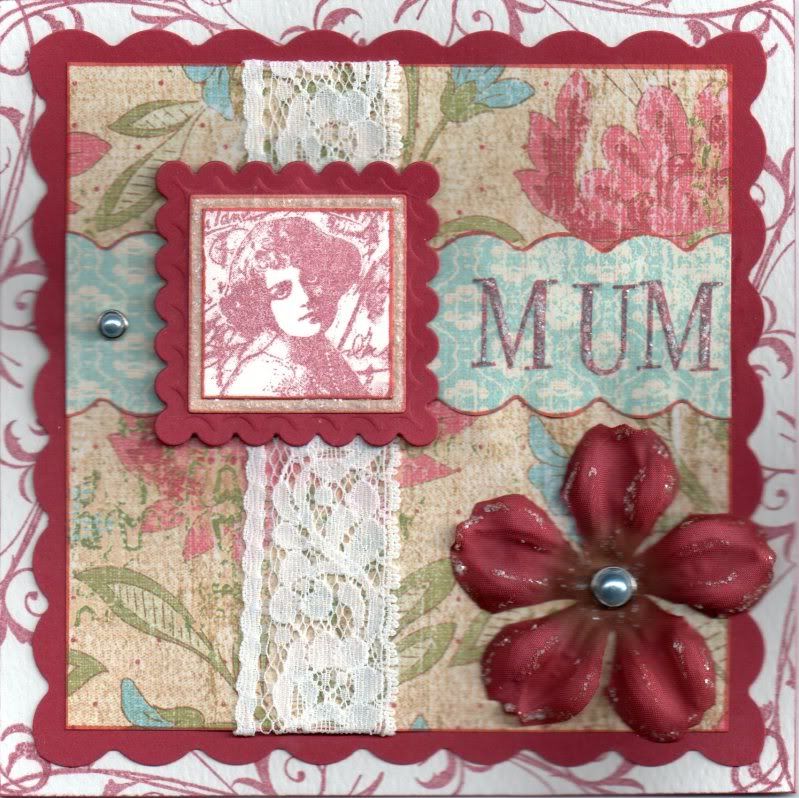 I started by decorating the panel that makes up the front of the easel card.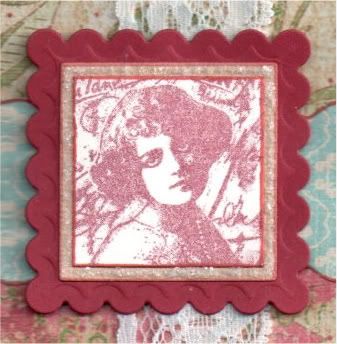
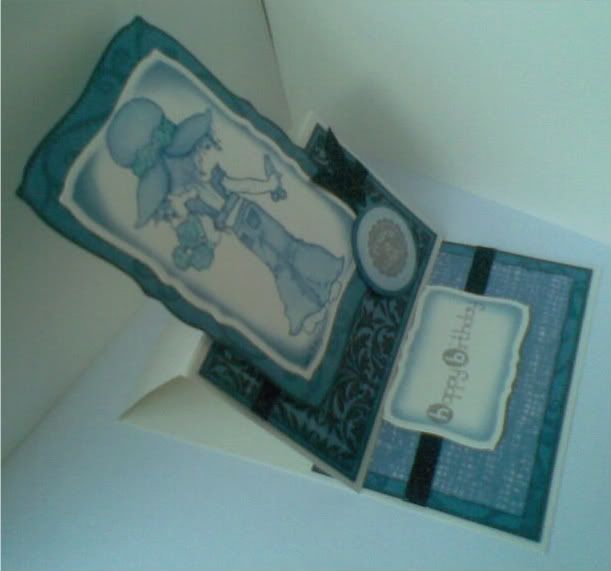
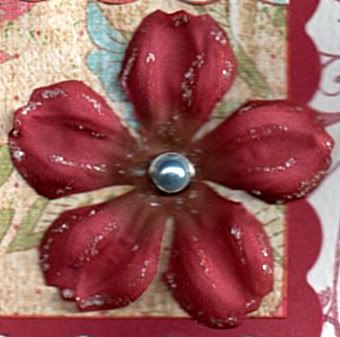 Using the See D's Alphabet stamp set, the word MUM was stamped along the border strip using the Crimson Red ink. The panel was then matted onto a panel of red card punched using the XCut scallop border punch. The letters, flowers and around the image were highlighted using Rock Candy Distress Stickles. This panel was then added to the front of the easel card.
 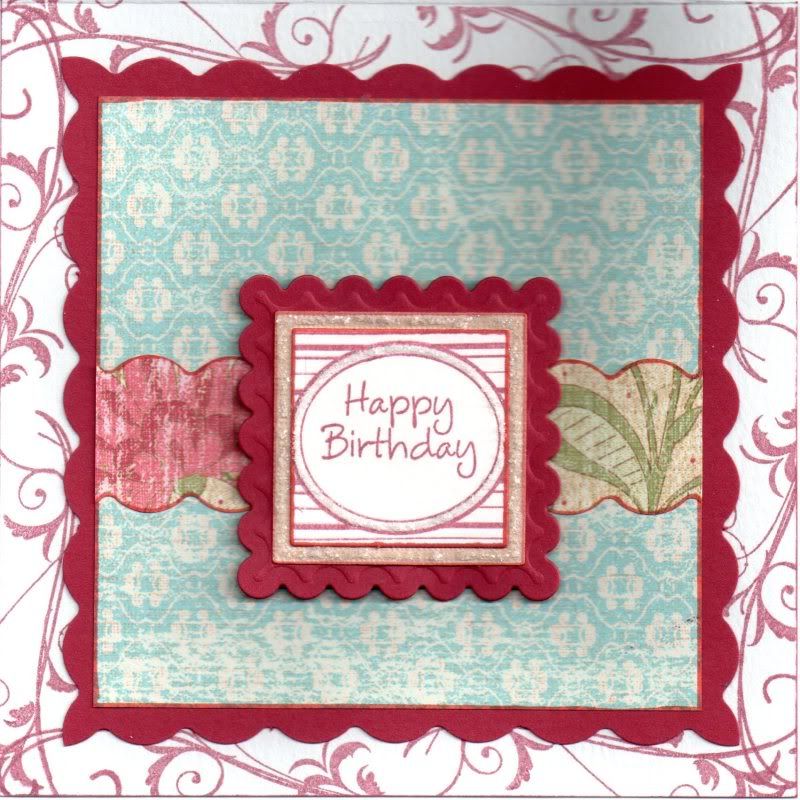 I then started work on the inside of the card. I began by adding the flourish stamp around the edge of the card
  A strip of the floral paper from the K&Co paper pad was punched using the XCut scallop border punch and the edges coloured using the E07 Copic marker. This was matted onto a panel of the blue Moroccan Tile paper. This was then matted onto a panel of red card punched using the XCut scallop border punch. Rock Crystal Distress Stickles were added to the sentiment panel.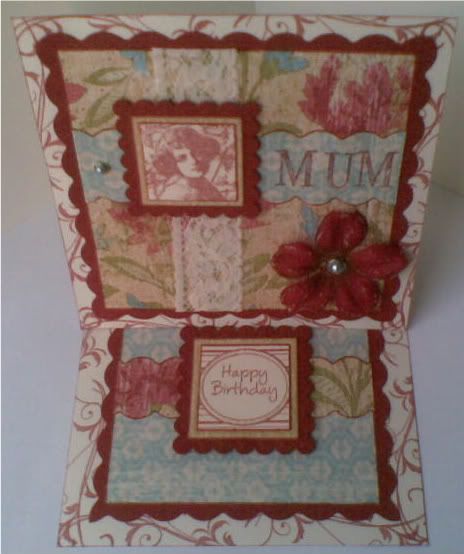
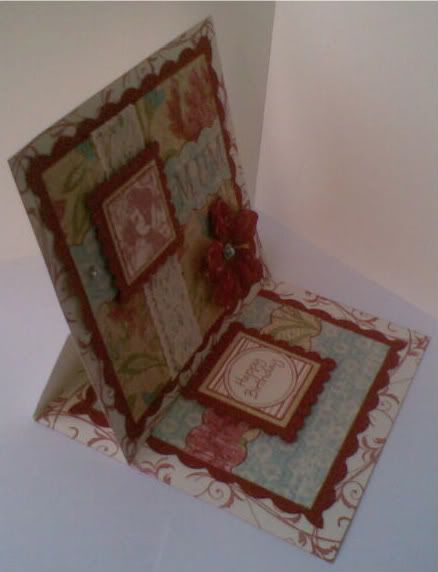
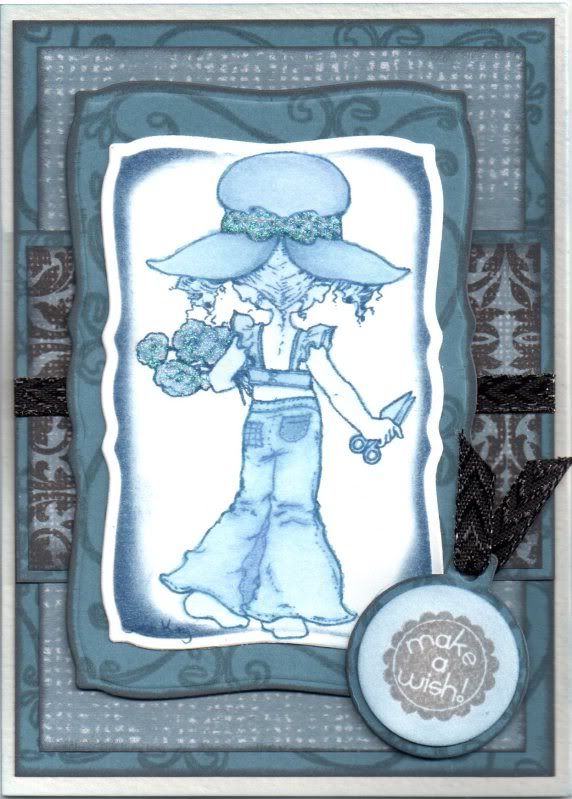 You can see Alex's original card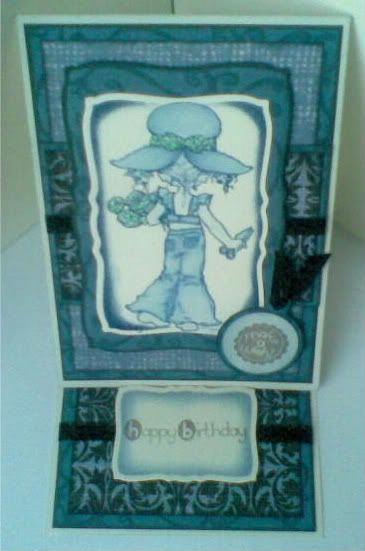
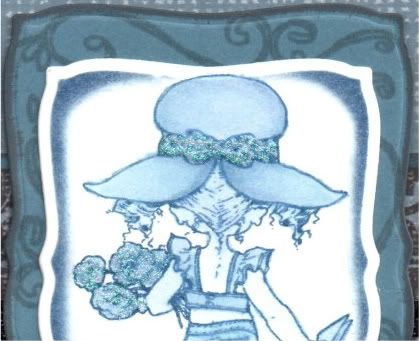
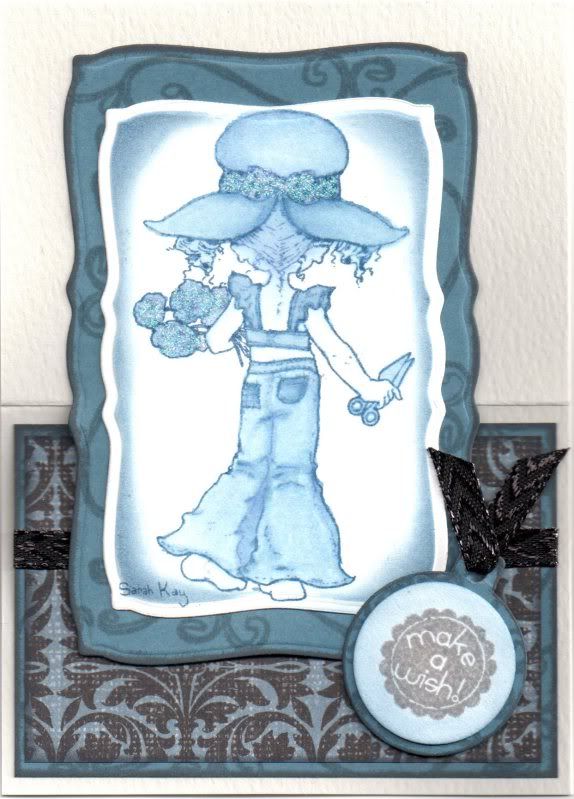
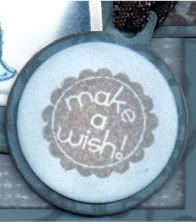 A circle tag was created from the blue card using the Cuttlebug circle tag and stamped with the Flourish stamp. A white circle to mat on top was cut from the watercolour paper using the Sizzix Sizzlets Circles #4 Frames die. The sentiment was stamped in the centre of the circle using the 'Make A Wish' stamp from the Dovecraft Studio G 'Make A Wish' mini stamp set using the Smokey Grey ink. This was then colour tinted using the Faded Jeans ink and a length of the black ribbon was threaded through the hole and the tag attached to the corner of the image panel.
 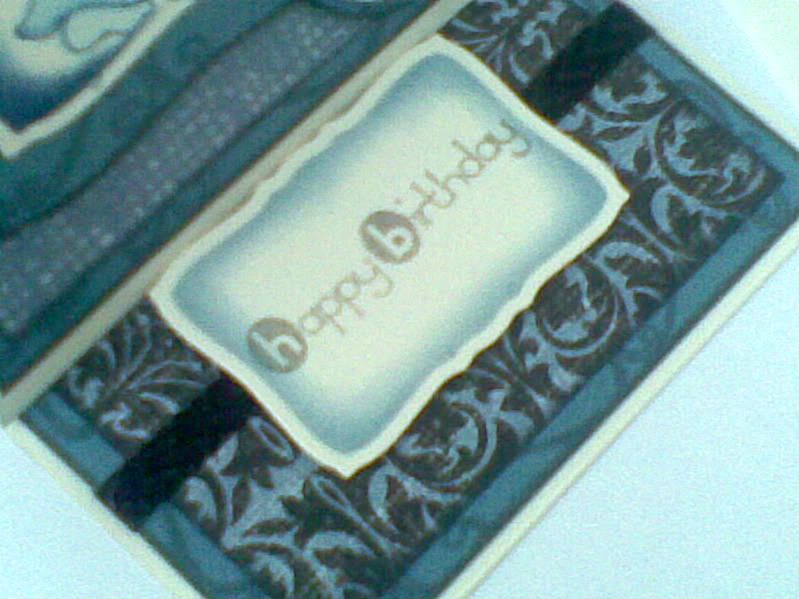 To create the stop part of the easel, the blue hessian effect flourish paper was matted onto a panel of the blue stamped card and a length of the black ribbon wrapped around. A sentiment panel was created using the Mega Curved Rectangles Nestabilities die, coloured using the Faded Jeans ink with the die still in place. the sentiment was stamped using the Happy Birthday stamp from the 'Make A Wish' mini stamp set and the Smokey Grey ink.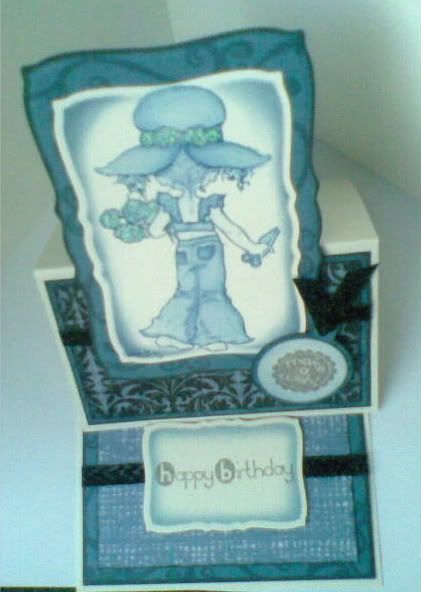
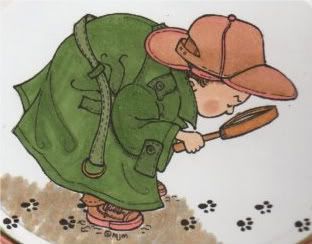
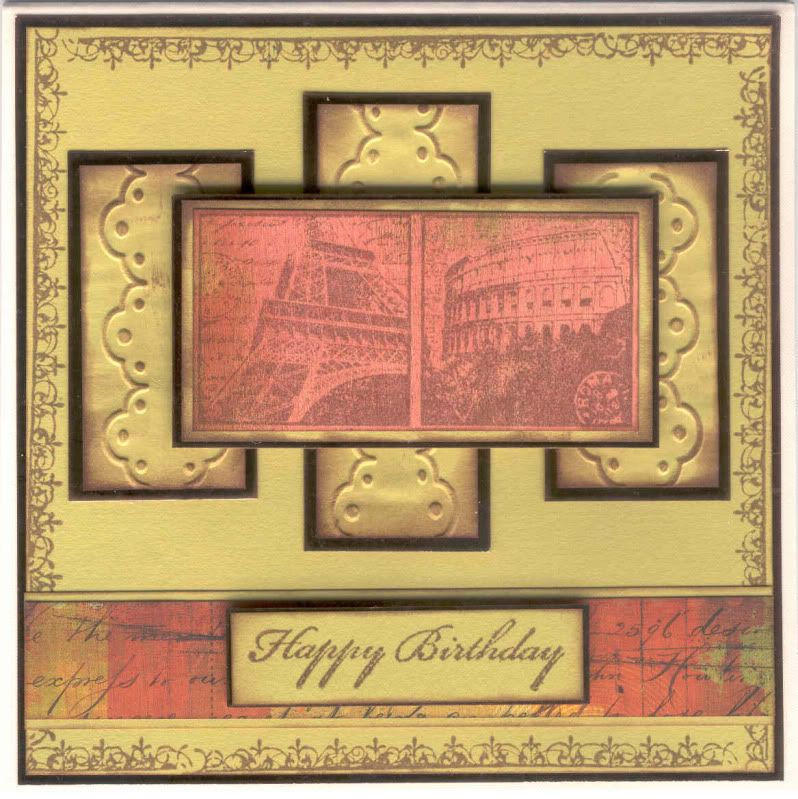
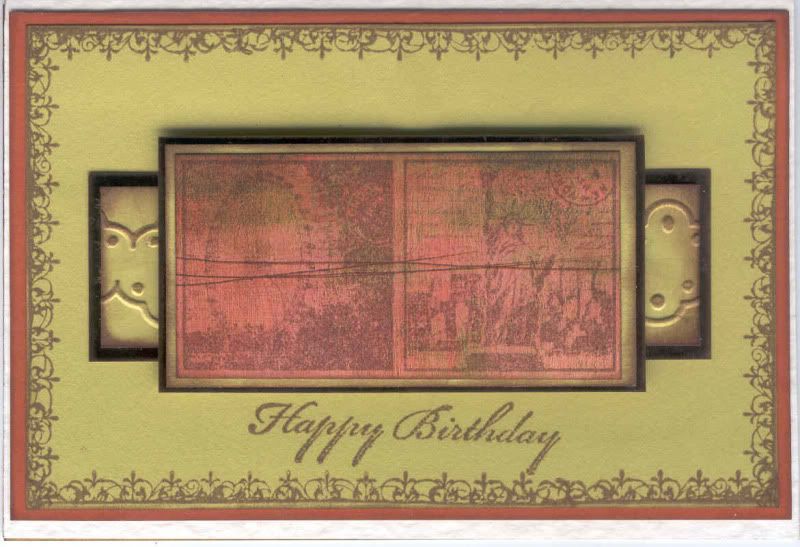 The image was stamped onto the orange brushstroke paper from the K&Co Basic Grey Sublime paper pad using Versafine Vintage Sepia archival pigment ink. This was cut down to two images and matted onto green paper and copper mirror card and also matted onto the copper mirror card.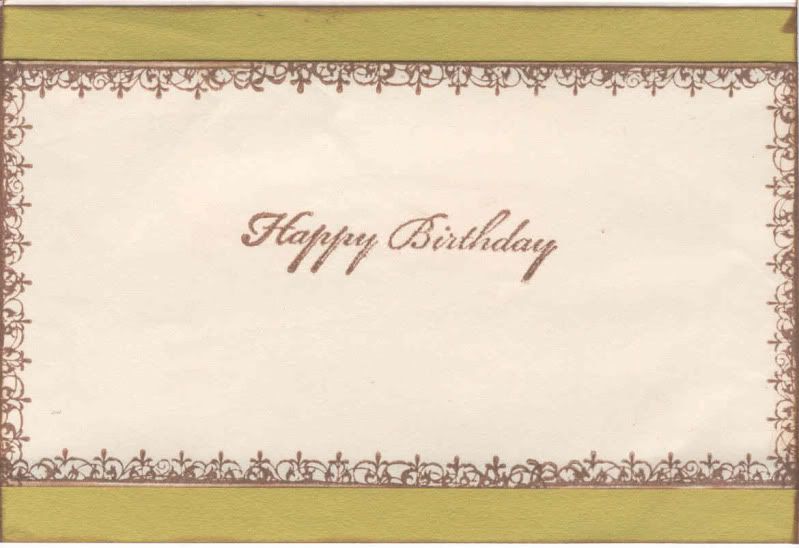





 Posts
Posts