





Pages

WELCOME

This blog was created to act as a record of the cards and other projects that I have made. It is for both my own reference and to help inspire anyone who wants to take a look.

I'd love it if you'd leave me a comment so that I know what you think of my projects and that you've been to visit!

Anyone can comment, even those who don't have a blog. (Just look for the word 'Comments' under the three little pictures at the end of each post). Readers without a blog can add an anonymous comment, but please leave your name (and docrafts username if applicable) so I know who you are!

Slideshows of all the cards I've uploaded to my blog can be found at the bottom of the page.


PEOPLE WHO FOLLOW MY BLOG

Showing posts with label Splitcoaststampers. Show all posts

Friday, 13 November 2015

Green and Grey Chester Pocket Card

This is a different type of card for me. It is based on a project that I found on the Splitcoaststampers tutorials page here, a Pocket Card.

With this design of card, the card doesn't actually open, but the sentiment and handwritten greeting go onto a tag that is placed within the pocket section of the card.
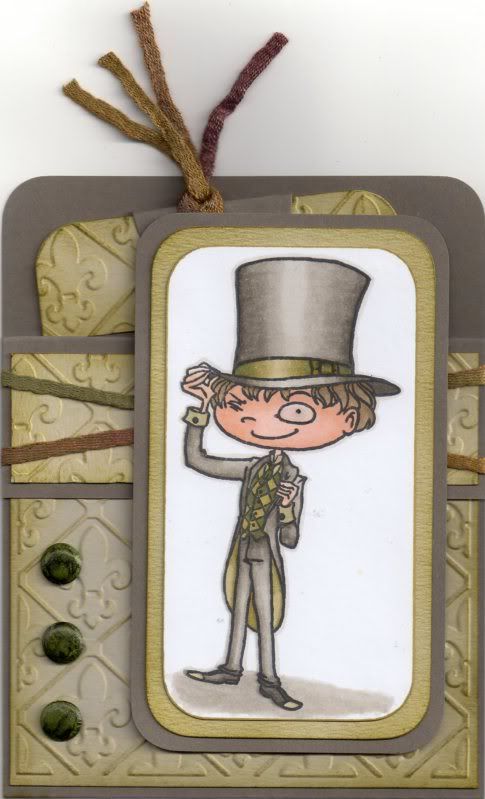
 
 
To begin with, the image, Chester by Kraftin' Kimmie, was stamped using Memento Tuxedo Black dye ink and coloured using Copic markers.
 
Copics:
Skin: E00, E11, E21
Hair: E41, E43, E44
Hat/Jacket/Trousers: W1, W3, W5, W7
Hat Band: YG91, YG95, YG99
Tie: G99
Waistcoat: YG95, G99
Inside Jacket: YG91, YG95
Shirt: YG91
Shoes: W5, W7, YG91
Shadow: W1, W3
Outline: W1

 
 
The image panel was then matted onto green and then grey cardstock.
 
The next step was to create the Pocket Card.
 
A piece of card measuring 4" x 11" was then scored in half and then scored again 1.25" from one edge. A panel of white card was embossed using the Cuttlebug Fleur de Lis embossing folder and distressed with Tim Holtz Crushed Olive and Forest Moss distress inks. This panel was adhered to the large front panel of the card. A smaller strip of white card was also embossed and inked with the Crushed Olive and Forest Moss inks and this panel was then adhered to the front flap panel.
 
A couple of lengths of green fibres from the HOTP Sarabooks Emerald Fibres set were then wrapped around the front flap and the flap then adhered down to the front panel.
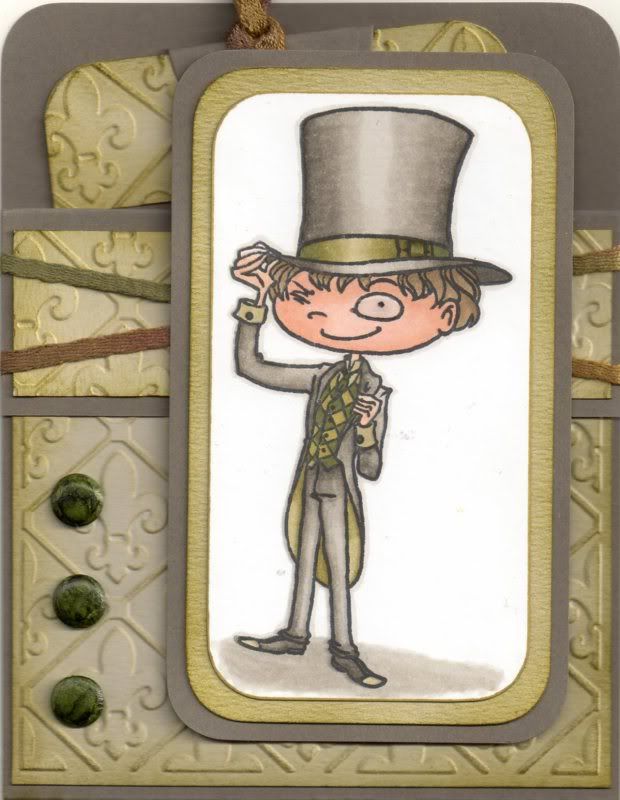
 
 
Three green card candi were then coloured using the G99 Copic marker and added to the front panel, as was the image panel. Glossy accents were added to the monocle in the image.
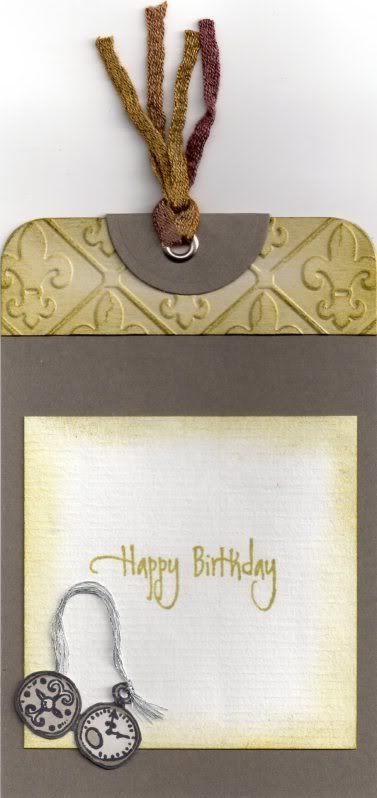
 
 
To complete the card, a tag was created. A strip of the embossed and coloured white card was added across the top of the tag, as was a circle of grey cardstock, diecut using a Nestabilities circle die, and then folded in half.
 
A silver eyelet was set in the top of the tag and more of the green fibres were threaded through it.
 
The pocket watch image was stamped using the Tuxedo Black ink and coloured with the W1, W3 and W5 Copic markers. A length of silver embroidery thread was threaded through the image and added to the tag. The sentiment, from the Elzybells Swirly Sentiments stamp set was stamped onto the tag using Versafine Spanish Moss archival pigment ink.
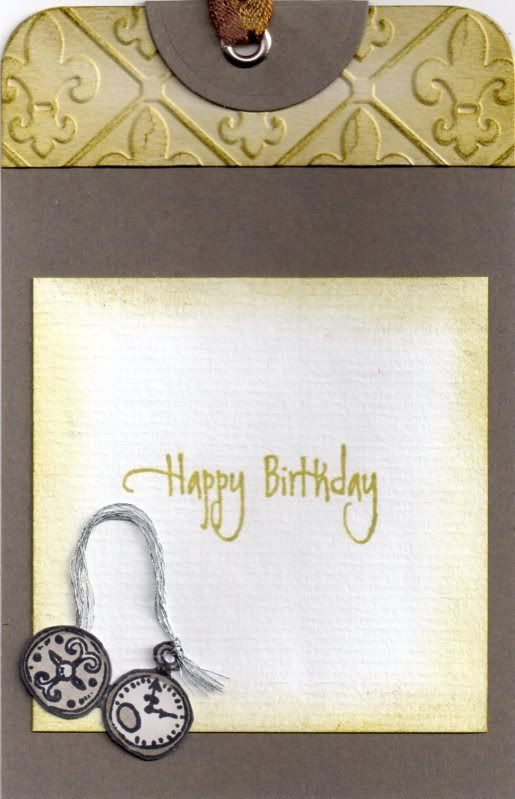
 
 
The tag was then slotted into the pocket on the front of the card.

Friday, 16 September 2011

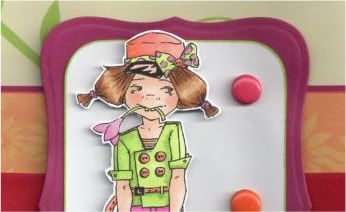
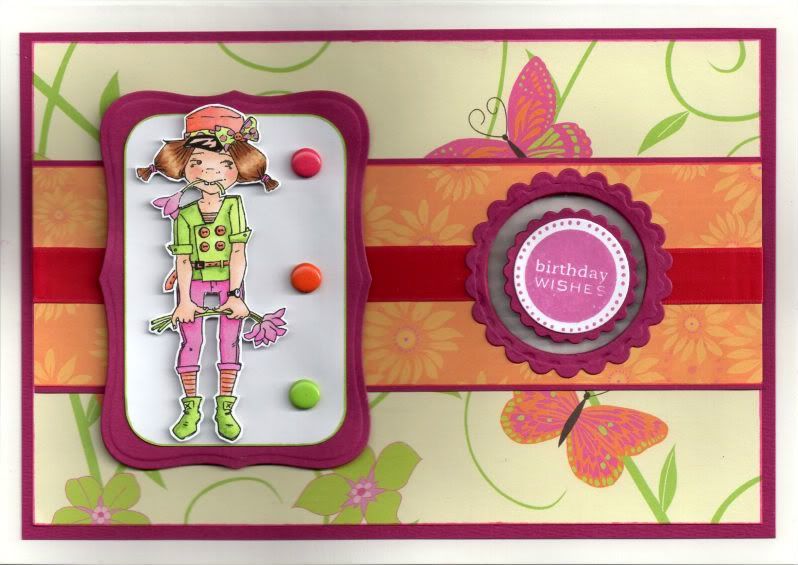
Citrus Lily With Moving Sentiment - Lia Stampz Challenge #3

Well, here goes!! Here is my very first DT card! I was very kindly asked by the ladies at Lia Stampz to join their DT team. The images designed by Lia are pretty quirky and I look forward to using them! You can find them here


Lia Stampz, digital stamps


This card is made for Challenge #3 over at Lia Stampz which was to include a moving element. This took me completely out of my comfort zone I can tell you and took quite a bit of thought and research. In the end, I decided on a card with a moving sentiment. I followed the tutorial over on the Splitcoaststampers site, and you can see the tutorial here.


I've made this card for my sister as I think she'll appreciate the quirky nature of the image. She lives in (sunny) Spain and is enjoying much warmer weather than us here in the UK.

The image, a digi from Lia Stampz called Lily, was coloured using Copic sketch markers:
  • Skin: E00, E11, E21, R02
  • Hat/Top/Socks: YR00, YR02, YR04
  • Bow: RV04, RV11, YG11, YG13
  • Hair: E31, E33, E35, E37
  • Jacket/Boots: YG11, YG13, YG17
  • Flowers/Trousers: RV04, RV06, RV09, RV11
  • Stems: YG13, YG17
  • Hair Ties: RV06, RV09
  • Eyes: YG13, E35
  • Belt/Buttons: YR02, YR04
  • Watch Glass: C0
The image was then cut out.

The image was then matted onto a panel of white card and a panel of hot pink card die cut with a Nestabilities Labels 8 die. Three brads, from the HOTP Ultimate Cardmaker's Creative Pack embellishment kit were then added to the image panel.


An aperture was cut into the card blank using a Classic Circle Nestabilities die. Unfortunately, I don't have a Grand Caliber so I had to cut my aperture through the front and back of the card blank. I tried to cut through just the front, with the back of the card folded over the cutting plate, but it got too damaged to be used so I just cut through the front and back!

A strip of the orange daisies paper from the Dovecraft Kate Knight Wild Blossom paper pack was matted onto the hot pink card and a circle die cut from it the same size as the aperture in the card, making sure it fitted over the aperture. Hot pink satin ribbon was then wrapped around the panel either side of the aperture.

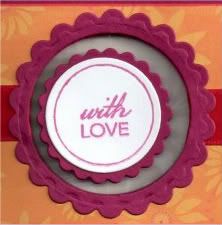
A length of Invisithread was then added across the aperture. Two circles were then die cut from white card and the sentiments from the Personal Impressions Paula Pascual Mixed Sentiments stamp set were stamped in the centre of them using Memento Lilac Posies dye ink. There were matted onto Classic Scalloped circles of pink card and adhered to the Invisithread.


A panel of the light green butterfly paper from the same paper pack was matted onto the pink card and the location of the aperture was marked and then die cut with the circle die. The two patterned paper layers were then matted up and onto the card blank.

A scalloped frame was then created using Nestabilities dies from the pink card and added around the aperture.


The image panel was then added to the left of the card blank.


The inside of the card was also decorated.

Having cut a whacking great hole in the back of my card, I decided to make a feature of it and so decided to use vellum.

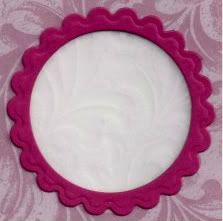
A panel of the pink card and a panel of the leaves vellum from the Papermania Exquisite Vellum Collection pack were die cut to fit over the aperture.

A small panel of the vellum was then added to the reverse of the pink panel and a scalloped frame was cut from the pink card to go around the aperture.


A panel of the orange daisies paper was matted onto the vellum with a panel of writing paper. This was then stamped with the sentiment from the Mixed Sentiments stamp set using the Lilac Posies ink.

So, having seen my card, please pop over to the Lia Stampz blog and have a look at all the different types of 'moving element' cards they've come up with.

Here are the blog challenges I'd like to enter this card into:

Thursday, 8 September 2011

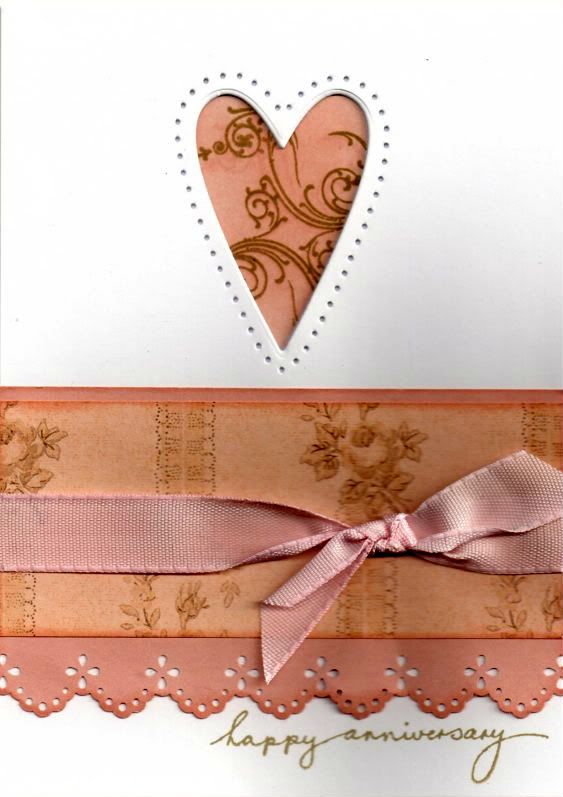
Pink and Brown Reverse Masked Heart Aperture Anniversary

Well, I don't know about you but I've had enough of masculine cards so here's a more feminine anniversary card for you!

This card was inspired by a card I saw over on the Splitcoaststampers gallery by MarieMc and you can see the card that she made here and here on her blog.

I needed to make a couple of anniversary cards and thought this idea would work really well. I'm thinking I might try it with my butterfly die too.


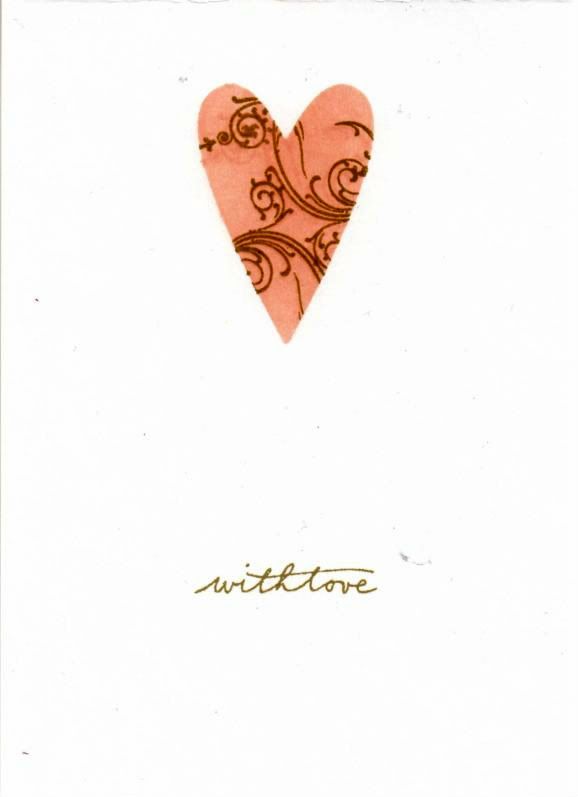
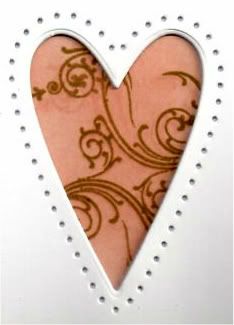
The heart, from the Marianne Creatables set of three heart dies (LR0159), was cut from the card front. A mask was also cut and affixed to the inside of the card behind the aperture so that it lined up.

Colour was added through the mask using Tim Holtz Tattered Rose distress ink and then overstamped using the Tattered Rose and Frayed Burlap distress inks using the flourish stamp from the Personal Impressions Paula Pascual Mix and Match Sentiments stamp set.


The sentiment, from the Woodware Jane's Script sentiment stamp set was then stamped on the inside using the Frayed Burlap ink.

Using the Stampin' Up Mat Pack piercing template, holes were then pierced around the heart aperture.


A panel of pink paper was punched using the Eyelet Lace border punch from Martha Stewart, and a strip of the pink floral stripe paper from the Papermania Regency paper pad was matted onto it. A length of pink woven ribbon was then knotted around it and the panel added to the card blank.

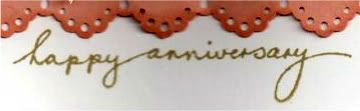
The sentiment, also from the Jane's Script Sentiment stamp set was then stamped at the bottom of the card blank using the Frayed Burlap ink.

 
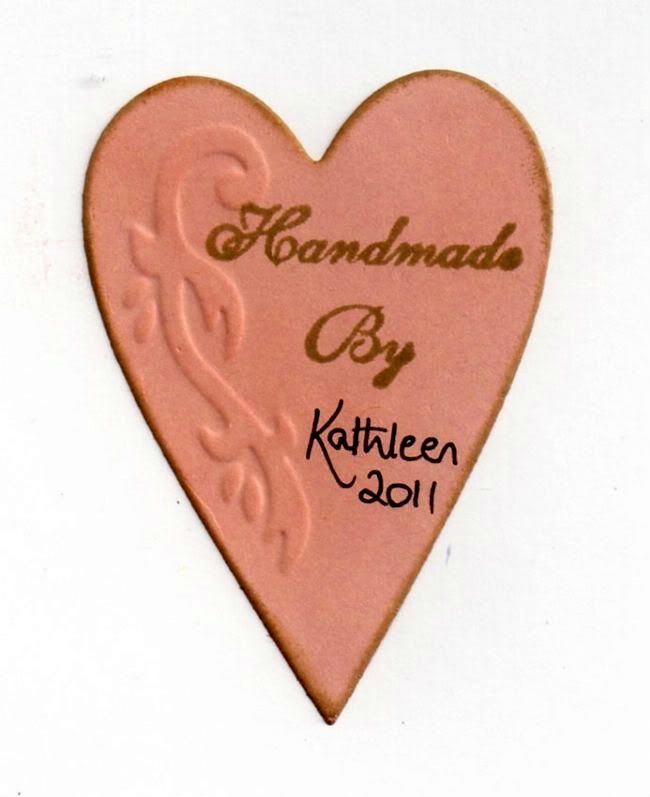
As my personalized 'Handmade By' stamp is a circle and I felt sure you would be able to see it through the card blank if I stamped it on the reverse of the card, I decided to die cut a heart from the pink paper using another of the heart dies in the Marianne Creatables die set. The embossed design was highlighted with the Frayed Burlap ink, and 'Handmade By' was stamped on it using a stamp from the Aspects Of Design Botanical stamp set from The Stampman. It was then added on the reverse of the card behind the inked heart on the inside of the card.


Here are the blog challenges I am entering this card into:

Tuesday, 9 June 2009

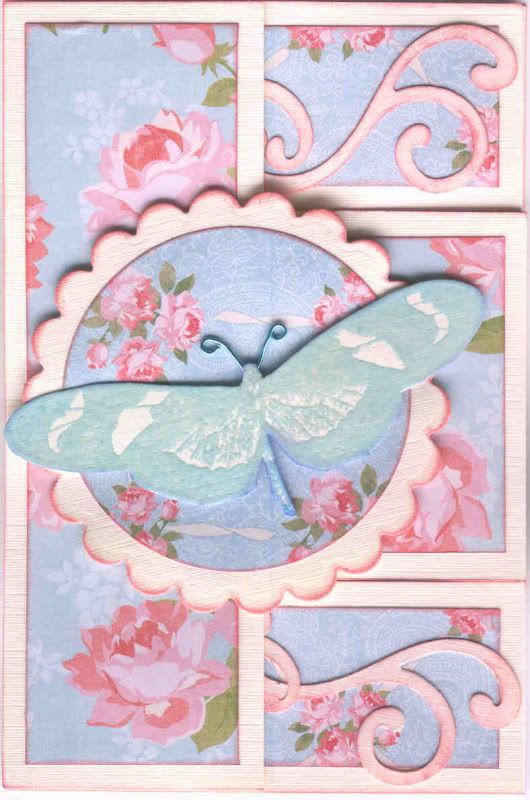
Pink and Blue Butterflies Tri-Shutter Anniversary

Why is it when you need to make a card quickly you decide to try a new card design that ends up taking forever????
I saw this Tri-Shutter card over on the Splitcoaststampers gallery and thought it looked very effective. I shall definitely be making it again, but I have learnt my lesson and won't be making it when I need a card made in double-quick time!

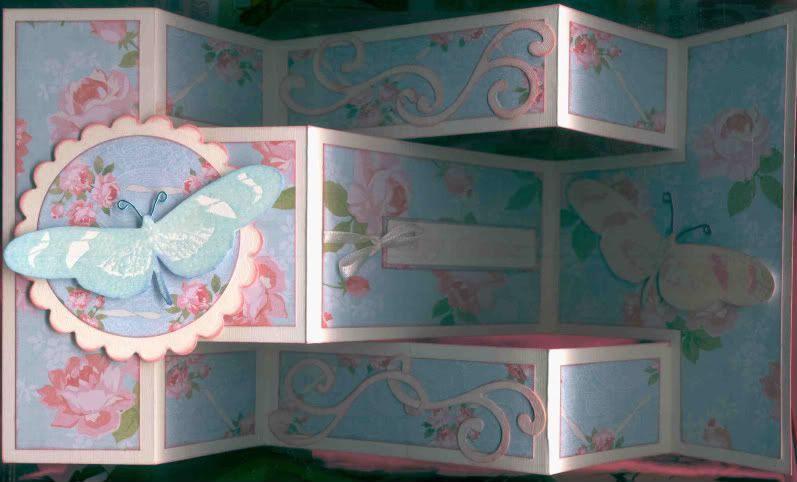
I started by creating the card blank from cream linen cardstock. This consisted of folding a piece of card measuring 30cm x 15cm at the 5cm, 10cm, 20cm and 25cm points. Then the card was cut lengthwise between the 5cm and 25cm folds 4cm from the top and bottom of the card. I used a craft knife and metal edge ruler for this. The edges and cut edges were then coloured using the ColorBox Old Rose pigment ink pad.

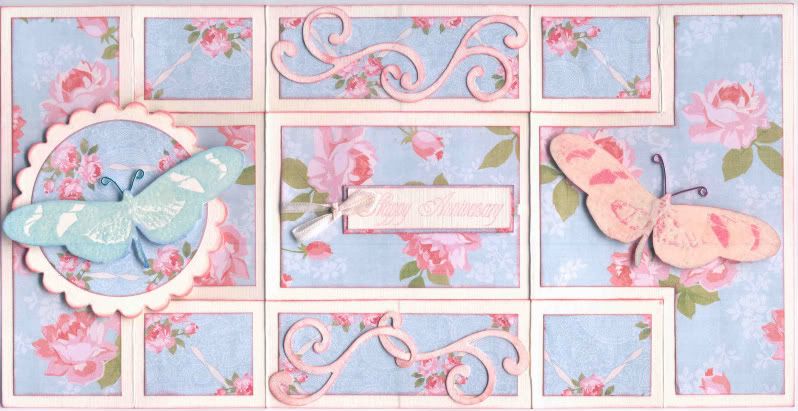
The panels of the card (excluding the large central one) were then covered using two different blue/pink rose papers from the Papermania Blueberry Hill paper pad. Each was edged with the Old Rose pigment ink before attaching them to the panels.

Flourishes were cut from the cream card using the Sizzlit Flower and Flourish #2 die and edged with the Old Rose ink and attached to the larger central panels top and bottom.

A bow was tied (using a bow-maker!) in a narrow cream satin ribbon and attached across the central panel and then attached to the card base. The 'Happy Anniversary' sentiment, by Stamps Away available at Clevercut, was stamped onto a panel of the cream card and matted onto a piece of the rose paper over the cream ribbon.

Using the Butterfly stamp from the Stampman Aspects of Design Botannical stamp set, two butterflies were stamped and clear embossed, one using the ColorBox Old Rose pigment ink and the other ColorBox Aqua pigment ink. ColorBox Pink pigment ink was sponged over the pink butterfly image after it was embossed to make it more pink as the Old Rose pink colour didn't show up much pn the cream linen card.

They were cut out and wire antennae added. The pink butterfly was attached on the right-hand panel and the blue butterfly was attached onto layered circles using the standard and scalloped Nesties using cream card and one of the rose papers.
This is the view of the card when laid out flat and the picture below shows the card when closed up ready to post. It will fit into a C6 envelope (but will need a 'Large' stamp if you embellish it - it might need it even if you don't!!!)
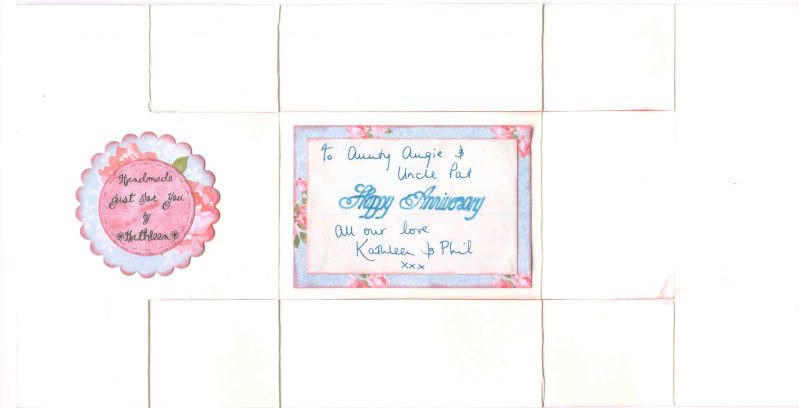
This is what the reverse of the card looked like after I had added the 'Handmade By' medallion and the greeting panel.
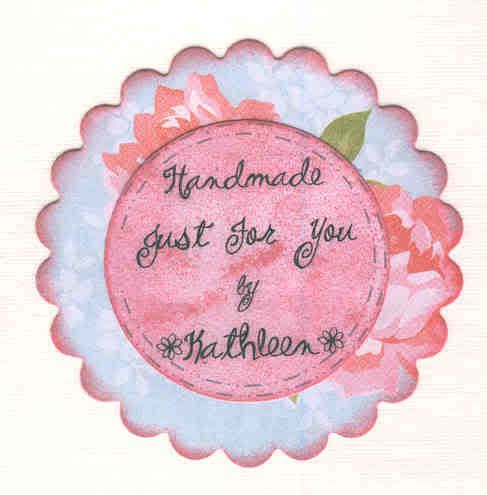
And here are some close ups of the greeting panel and 'Handmade By' medallion, both matted onto the rose papers from the Blueberry Hill paper pad to match the rest of the card.

Wednesday, 22 April 2009

"Awesome" new site for tutorial videos

I happened across this site following a recommendation over on the Splitcoaststampers forum.

The site is the creation of Ann Clemmer. The video that was recommended was one for making your own mock-croc background paper.

I was only thinking the other day that it would be good if Cuttlebug made an embossing folder to create this look, but I love the technique shown on this video. I highly recommend it!

You can see the card that Ann created using this technique here.

Thursday, 27 November 2008

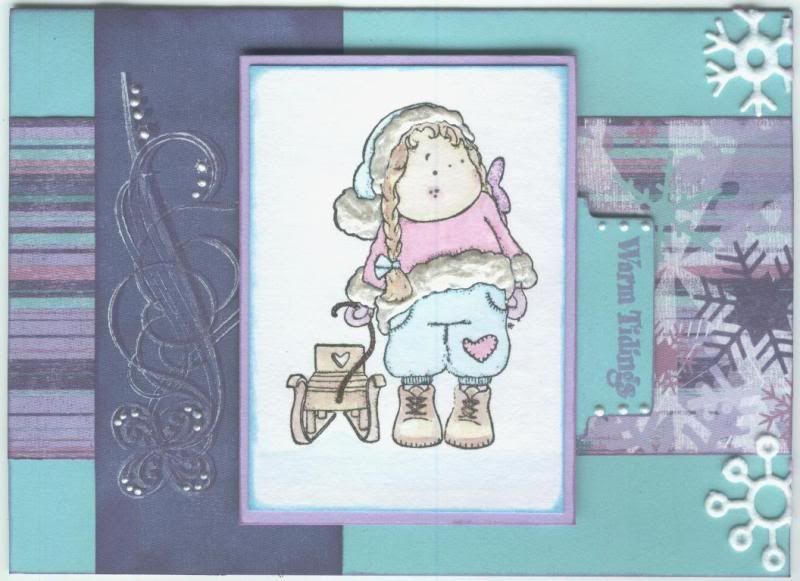
Pink and Turquoise Tilda with Sledge

I'm really pleased with this one, even if I do say so myself!!

Tilda was stamped and watercoloured with Whispers Brushstroke markers, matted onto lilac card and highlighted with Craft Planet Lavender Glitter Glue (more on that later!) and Anita's Metallic White 3D dimensional paint.
Two co-ordinating papers from the HOTP Ultimate Christmas Cardmakers pack were cut to size and the blue piece was stamped using one of the scroll stamps from the HOTP Christmas Scrolls stamp set. This was done using the 3D stamping technique that I only learnt yesterday thanks to the Splitcoaststampers Weekly Newsletter that you can sign up for here. The inks used for this were Brilliance Moonlight White pigment ink and ColorBox Wisteria Fluid Chalk ink. The two panels were attached to the card blank.

A file tab was cut from matching turquoise card to the card blank using a Sizzlet die, and the sentiment stamped using a stamp from the HOTP Christmas Motifs set and ColorBox Wisteria Fluid Chalk. This was attached behind the Tilda image and attached to the card front.

Snowflakes were cut from the Papermania White Snowflake felt ribbon and attached in the corners.

The scroll stamped image and file tab were then highlighted with Anita's Metallic White 3D dimensional paint.

Now, as I mentioned earlier, Tilda's wings were highlighted with Craft Planet Lavender glitter glue. May i make a suggestion - don't try and get the glitter glue down to the nozzle if it's been stood on it's bottom by squeezing it with the lid still on. I ended up with a palm full of glitter glue and a bottle split from top to bottom!!! You've been warned!!!

Thursday, 9 October 2008

Some New Colouring Tutorials

I received the Splitcoaststampers (SCS) newsletter, 'The Weely Inkling', this morning and, having read it, came across a great SCS blog that includes some great colouring tutorials including a couple of techniques I've never heard of but wouldn't mind trying.


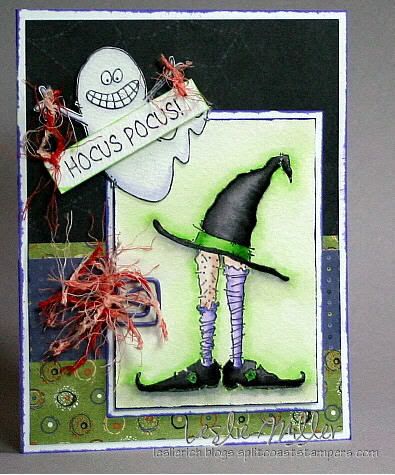
The SCS member in question is Leslierich, and her colouring tutorials can be found here. She has tutorials on watercolouring with markers, chalks, pencils over inks, sponged watercolour backgrounds and watercolouring with H2Os. I'm sure she'll teach you at least one new technique.


Here is an example of her work:

You can subscribe to 'The Weekly Inkling' here- there are some great projects, challenges, tips and techniques included each week.


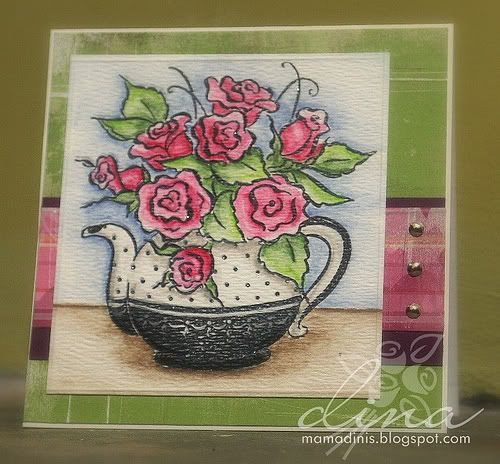
I have also found a tutorial on watercolouring with pencils here. The blog belongs to Dina, and here is an example of her work:
Blog Widget by LinkWithin