Pages

WELCOME

This blog was created to act as a record of the cards and other projects that I have made. It is for both my own reference and to help inspire anyone who wants to take a look.

I'd love it if you'd leave me a comment so that I know what you think of my projects and that you've been to visit!

Anyone can comment, even those who don't have a blog. (Just look for the word 'Comments' under the three little pictures at the end of each post). Readers without a blog can add an anonymous comment, but please leave your name (and docrafts username if applicable) so I know who you are!

Slideshows of all the cards I've uploaded to my blog can be found at the bottom of the page.


PEOPLE WHO FOLLOW MY BLOG

Showing posts with label paper piecing. Show all posts

Saturday, 24 October 2015

Pink Black and Beige Paper-Pieced Prima Doll

I should begin by apologising for the picture quality of this card. Normally I scan my cards in but my scanner had decided to give up the ghost (well, actually the printer had, and so the scanner just played along). Anyway, these were photographed and I couldn't find my mini tripod so getting up close and holding the camera perfectly steady wasn't easy!!

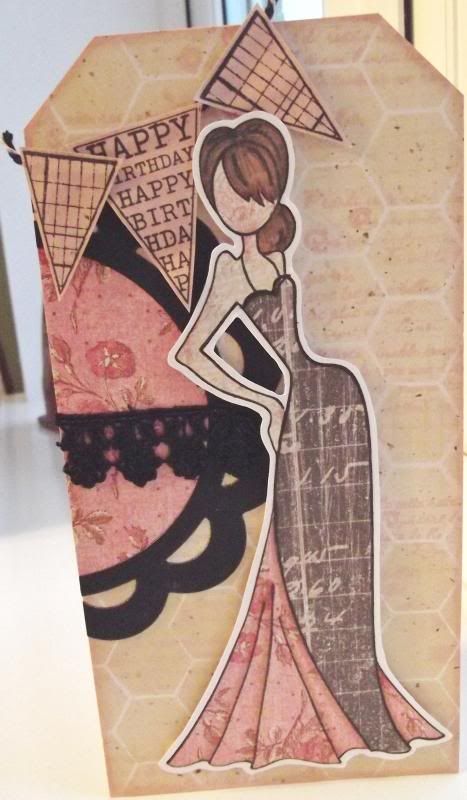
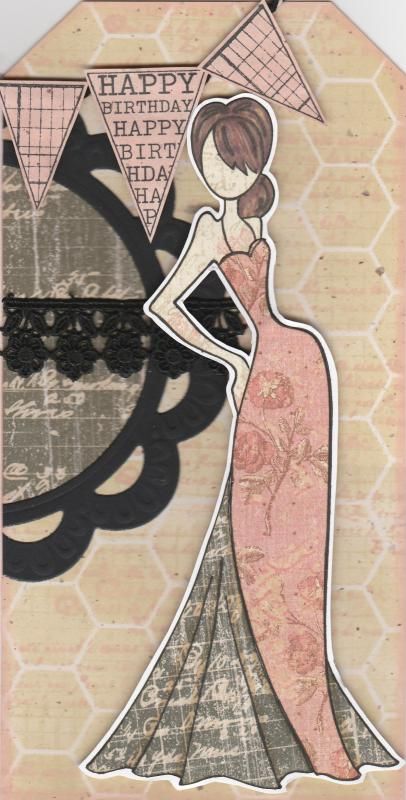
This card shows my first attempt at using my Prima Doll stamp Tasha. I actually made it at the cardmaking group that I go to and it was great fun.
Paper-piecing the image is actually very simple to do. The hard part is choosing which papers to use.
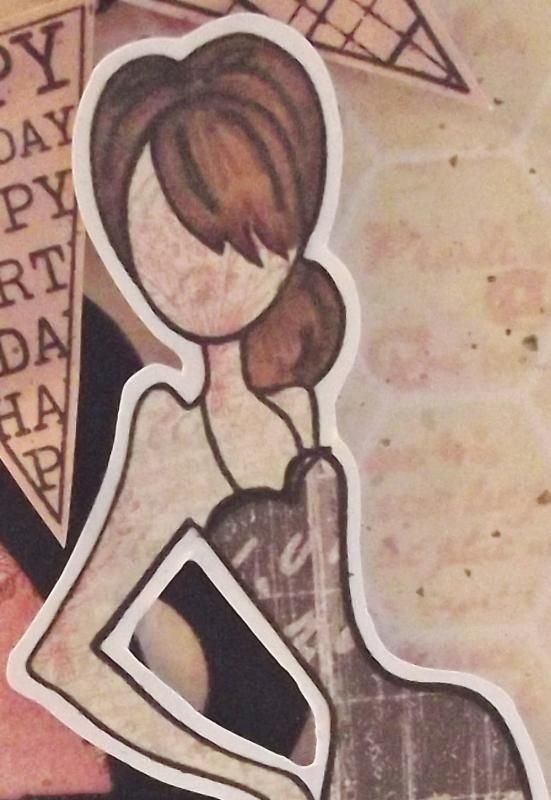
I began by stamping the whole image onto some white card using Memento Tuxedo Black dye ink. The image was then stamped again onto three different patterned papers from the K&Co Best of Too paper pad, using papers from the Life's Journey and K-Ology Hannah collections. I do love this paper pad, and it is much underused. I really should get it out more. The next stage was to cut the various pieces from the different papers and assemble them onto the base image. The hair was coloured onto the patterned paper using Promarkers.

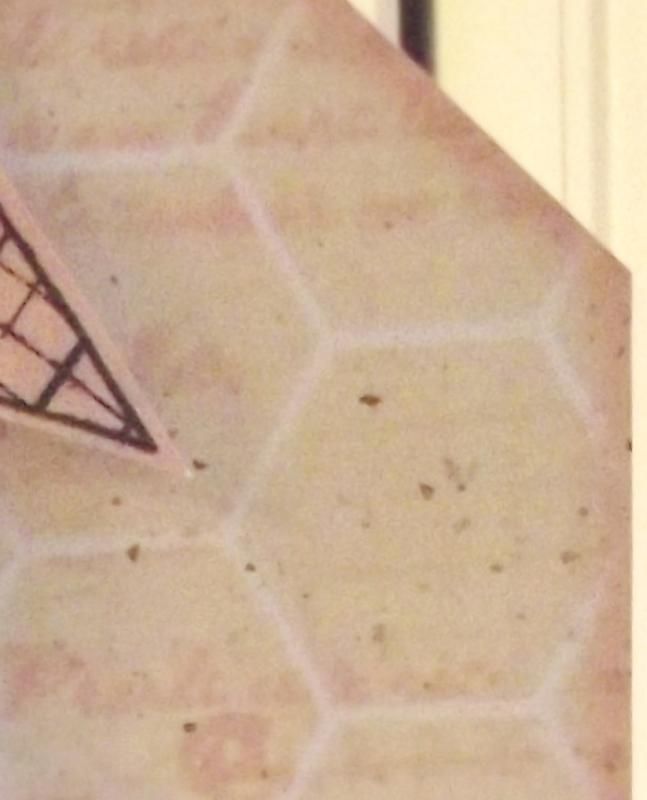
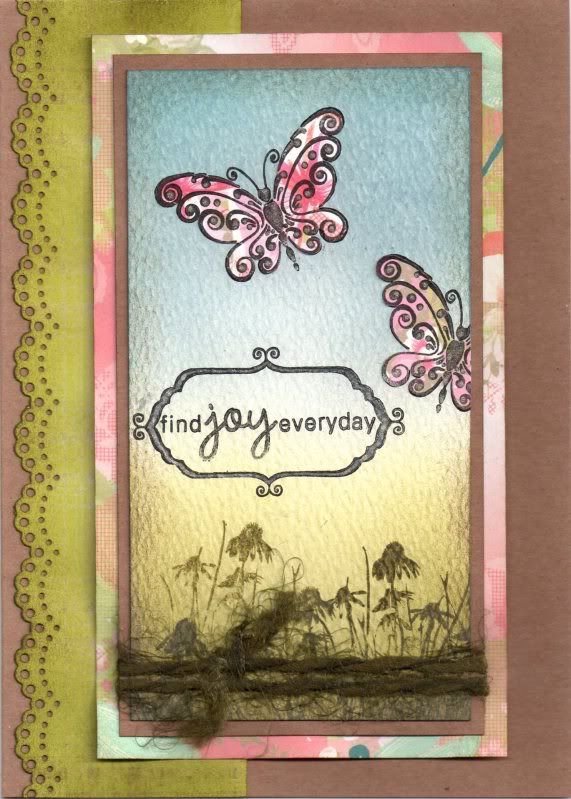
The next stage was to create a background for the image to sit on. I started with a piece of 'natural' paper which has tiny flecks in it. I then taped the Memory Box Chicken Wire stencil over the piece and sponged through Tim Holtz Antique Linen distress ink. Once that was done, with the stencil still in place, the French Text stamp from the Bo Bunny It Is Written stamp set was stamped through the stencil using the Tattered Rose ink. This was matted to the front of a DL card blank that was cut into the shape of a tag.

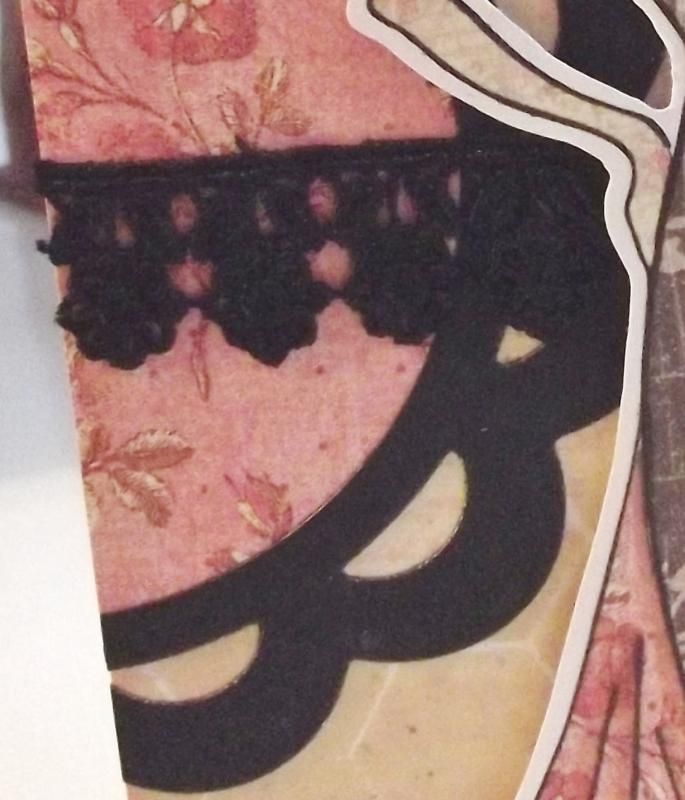
In order to create a bit more interest behind  the doll image, the Marianne scalloped circle frame was diecut from black card and a circle of the pink patterned paper used on the dress was diecut to fit within it. A length of black lace was wrapped around the circle and matted together on the edge of the tag and the excess cut away.


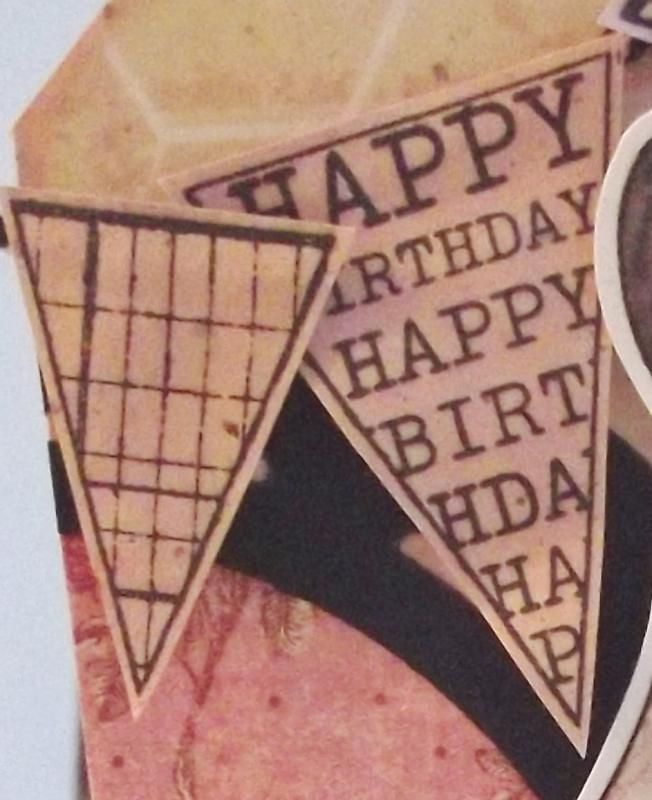
I then wanted to add a sentiment to the card and decided to use the banner stamps from the Hero Arts Friendly Flags stamp set. These were stamped onto the inked natural paper, inked with the Antique Linen and Tattered Rose inks. These were cut out and adhered to black and white Gorjuss Baker's Twine in the top left corner.


I also made a second card using the other parts of the stamped image.

Tuesday, 21 June 2011

Pink Green and Blue Paper Pieced Butterflies

Well, as promised here is my attempt at colouring with Distress Inks and the shaving brushes from Wilkinsons in place of the much more expensive Inkdusters or similar. The card I made, an anniversary card, was actually based on a beautiful tag created by the very talented ClarkyJ and you can see her stunning masterpiece here.

Having looked back at Janet's tag, I realized hers looks more balanced as she has followed the 'rule of thirds' whereas mine is more half and half. I shall try and remember that for the future!!


I started by stamping the Butterfly image, from Chocolate Baroque/Craft Stamper, onto pieces of the pink butterfly paper from the Papermania Summer Bloom paper pad using Brilliance Graphite Black pigment ink and cutting them out.

A piece of white textured card was coloured using the shaving brushes and a selection of Tim Holtz Distress inks. The green area was created using Shabby Shutters and Forest Moss and the blue area using Weathered Wood and Faded Jeans. The edges were then distressed with the Walnut Stain ink. In retrospect, I think maybe Antique Linen may have been a better idea - never mind!

The green area was then overstamped using the Forest Moss ink and the Cone Flower and Grass stamp from the Inkadinkado Meadow stamp set.


The butterfly image was stamped a couple of times onto the blue area and then paper pieced using the pieces already cut out. The excess was cut away from the edge of the panel.


The sentiment, from the Hero Arts Anytime Messages stamp set, was then stamped onto the panel using the Graphite Black ink and then a frame from the Papermania Mix and Match Frames stamp set was stamped to go around it. The frame section was coloured in using a black Whispers Brushstroke marker.

A clear Sakura Stardust pen was then used to trace over the frame and the word 'JOY' and on the swirly sections of the butterflies. You can just make it out on the above pictures.

A length of green fibres from the HOTP Emerald Sarabooks Fibre Pack was then tied around the panel and this was then matted onto a panel of the pink dragonfly paper from the Summer Bloom paper pad.


A strip of the lime green plaid paper from the same paper pad was punched using the Martha Stewart Doilly Lace border punch and distressed with the Forest Moss ink. This was matted directly onto the card blank and the image panel matted over the top to the right of the card blank.

Here are the challenges I am entering this card into:

Friday, 20 March 2009

Basic Grey Challenge #26 - Cupcake Chick

This card was inspired by the very talented Docrafts designer Becky James. She very kindly allowed me to make a copy of her bird template at the last Docrafts demo I went to over at The Range in Swindon. You can see her version of the bird here.

I decided to take part in this week's Basic Grey blog challenge, which is "rounded corners, not an angle in sight!"

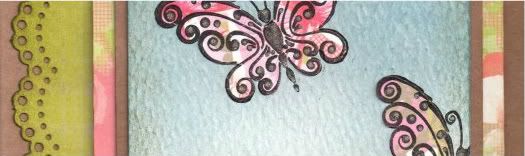
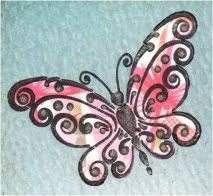
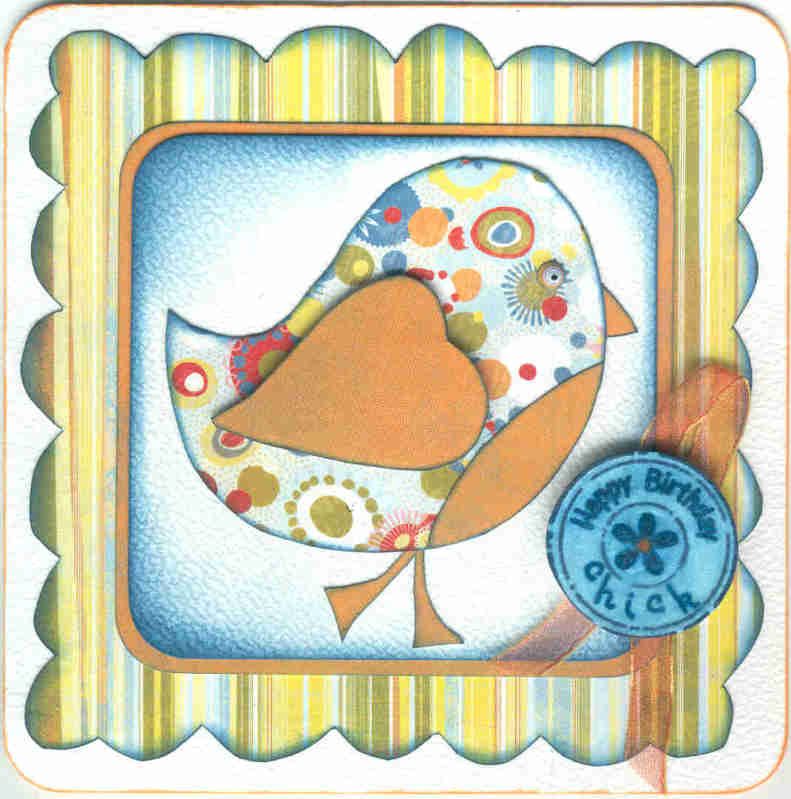
I began by cutting out the pieces for the bird from two co-ordinating papers from the Basic Grey Cupcake paper pad, namely the orange brushstroke paper and the multicoloured flowery dots paper. Each piece of the bird was edged with ColorBox Prussian Blue Fluid Chalk ink. The pieces were assembled and a little googly eye was added.
The bird was then matted onto a piece of white card, which was also coloured with the Prussian Blue ink, and then matted onto the orange paper.
A hand-cut scalloped frame was cut from a piece of the multicoloured stripe paper, also from the Basic Grey Cupcake paper pad, and then edged with the Prussian Blue ink. The bird panel was then attached on top of the frame.
The daisy birthday sentiment circle from Aud Designs was then selectively inked using a blue Whispers Brushstroke marker pen and stamped onto white card. The word 'chick' was stamped using a set of the Studio G mini alphabet stamps.
The text and image of the sentiment circle was then traced over using a blue Sakura Stardust pen and the colour drawn out with a damp paintbrush to create a wash over the whole image. The sentiment circle was then cut out and attached to the card over a loop of orange organza ribbon.

This is something a little bit out of the ordinary for me, as I normally like everything to be straight and symmetrical, but having seen the beautiful card that Becky made at the demo, I felt compelled to make this one.
Hopefully the recipient of this card will like it as much as I do!!!
Blog Widget by LinkWithin