



Pages

WELCOME

This blog was created to act as a record of the cards and other projects that I have made. It is for both my own reference and to help inspire anyone who wants to take a look.

I'd love it if you'd leave me a comment so that I know what you think of my projects and that you've been to visit!

Anyone can comment, even those who don't have a blog. (Just look for the word 'Comments' under the three little pictures at the end of each post). Readers without a blog can add an anonymous comment, but please leave your name (and docrafts username if applicable) so I know who you are!

Slideshows of all the cards I've uploaded to my blog can be found at the bottom of the page.


PEOPLE WHO FOLLOW MY BLOG

Showing posts with label new baby. Show all posts

Wednesday, 13 April 2011

Aqua The Stork Delivers

Some friends of ours (finally) had their little baby last Wednesday - we will have no excuse to forget that birthday as the poor mite shares a birthday with my hubby now!

The little baby, a boy, is called Max and I just had to use this super-cute image from The Clipart Fairy - especially after what I saw Kerry had done with it.
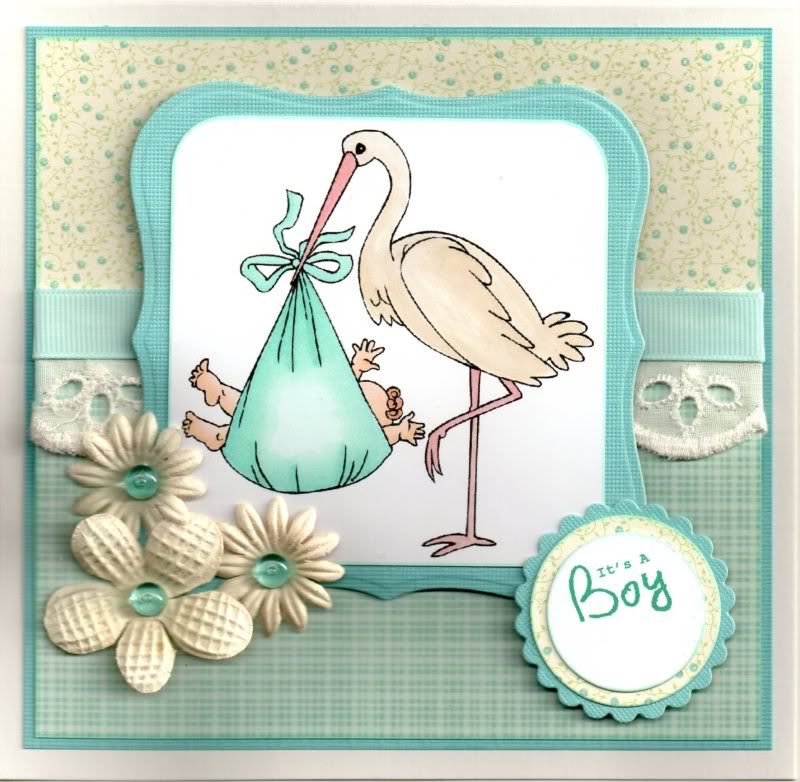

The digi image, The Stork Delivers, was coloured using Copic sketch markers:
  • Skin: E00, E21, E51
  • Hair: E11, E13
  • Blanket: BG11, BG32, B00
  • Stork - Feathers: E40, E41
  • Stork: Bill/Legs: R20, E40
The corners of the panel were rounded using the large XCut corner rounder punch and then matted onto a panel of aqua card from the DCWV Brights Mat Stack, die cut using a Labels 1 Nestabilities die.

A length of cream broderie anglaise and aqua Dovecraft grosgrain ribbon were wrapped around the join of two patterned papers from the DCWV Nana's Nursery Baby Boy mat stack and then matted onto the same aqua card.
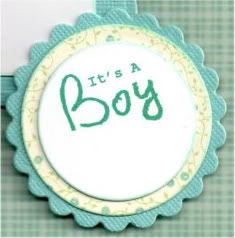

A computer-generated sentiment was die cut using a classic circle die from Nestabilities and matted onto a circle of the blossom paper and a scalloped circle of the aqua card.
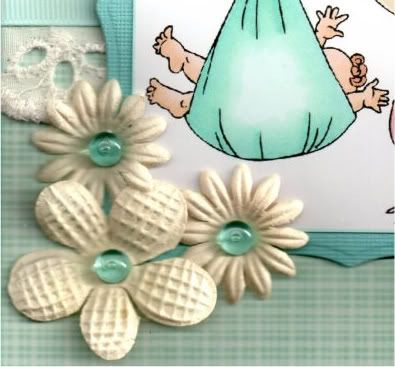

Three cream paper flowers from the Prima Botanicals Mix were adhered over the bottom left corner of the image and aqua dewdrops (Patti's Pretties) were added in their centres. The sentiment was added over the bottom right corner of the image.
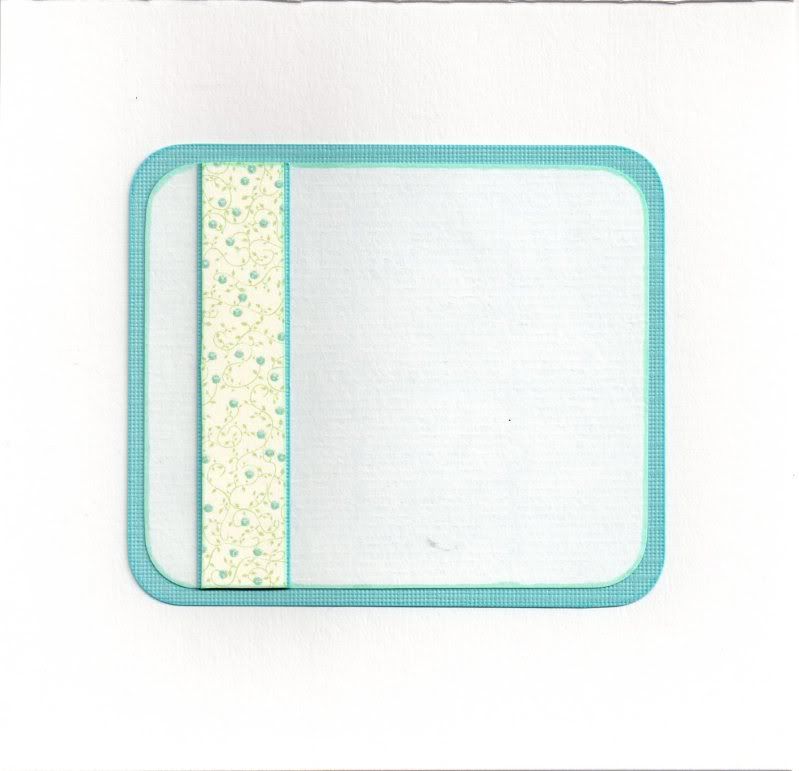

I also decorated the inside of the card, but kept it simple, just using strips of the aqua card and the blossom paper.

Here are the challenges I am entering this card into:

Monday, 31 August 2009

Coral Pink Tingla New Baby Girl

Whilst 'blurfing' over on Tara's blog Happily Ever Crafting, I saw some links to some new challenge blogs (well, new to me, anyway). I've added links to them on my sidebar if you're interested.

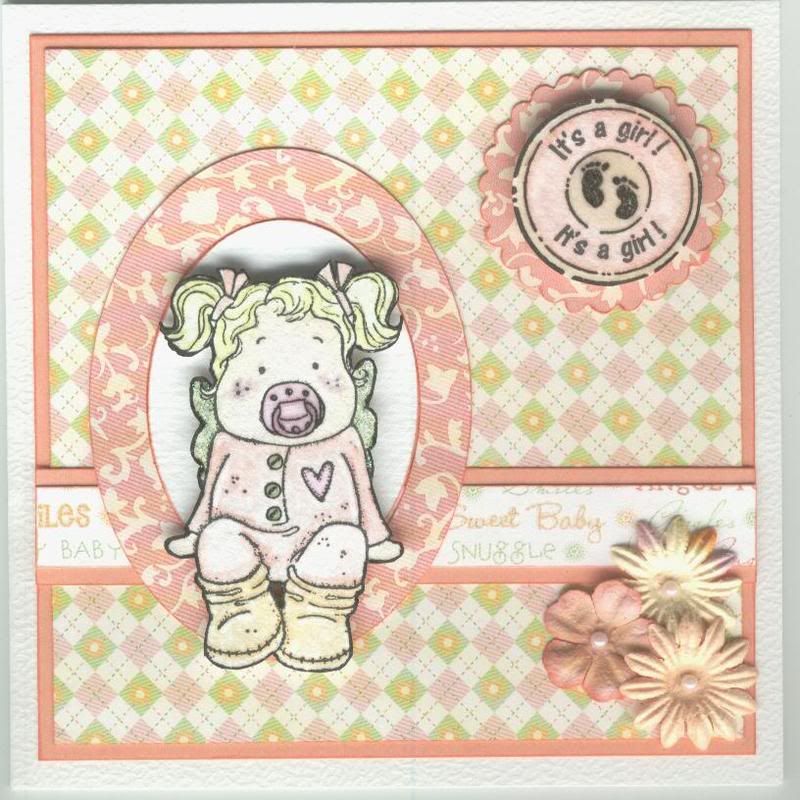
One of the blogs, Stampin' For The Weekend, has a challenge to make an 'Anything Baby' card. It was then that I realized that I had never uploaded the New Baby Girl card I made for my cousin and his wifewhen their baby Evie Grace was born. I figured it was perfect for the challenge.

So, here's the card I made:

The image is one that I stamped during my trip down to West Sussex last November down at Alex's.
Baby Tingla was watercoloured using Whispers Brushstroke markers, cut out and highlighted with Sakura clear gel pen and Craft Planet Green glitter glue.

The 'It's A Girl' circle sentiment from Aud Designs was stamped and watercoloured using the Whispers Brushstroke markers and highlighted using Sakura clear glaze pen.

The patterned papers are from the DCWV Nana's Nursery It's A Girl paper stack and were matted onto coral card.

Ovals were cut from matching paper and white card using the Fiskars Shapecutter, and the scalloped circle was cut using PI scallop decorative scissors.

Paper Prima flowers were attached in the bottom right hand corner and self-adhesive pearls were added in their centres. I changed the colour of one of the flowers by colouring the petal tips and the centre with Whispers Brushstroke markers and then flooding each petal with water to make the pigments run. Once dry, the petals were re-shaped using an embossing tool and one of the mini purple stamping mats from See D.

Tuesday, 18 August 2009

A Day At Julie's

Just wanted to let you all know how my day at Julie's went. Early morning (6am!!) and an early train journey into London (or the outskirts at least). I bumped into Alex at the train station as we'd managed somehow to synchronize our arrivals.

After a bit of a chat, and the handing out of goodies, we got underway. Thankfully, they all liked their post-it note holders that I'd made for them (and they didn't fall to pieces in my bag, which I was rather worried about!!). But, I did forget to take a photograph of them, so girls, if you get a chance, please email me a couple of pictures so I can put them on here!

Alex had very kindly given us all one of her little boxes that was filled with chocolate. My dear hubby has been looking at it longingly but I'm blowed if I'm going to let him have them. I might just suck them a little every night so I can taste them but not actually eat them. They should last a while that way too!!! Darn this diabetes!!!

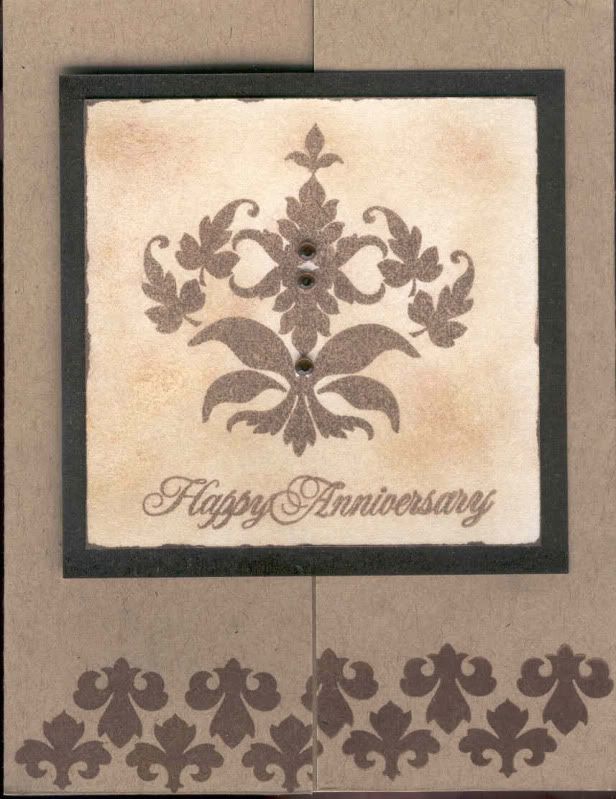
Alex had also assembled a card kit for us all in another beautifully constructed and decorated box. The card was a nice clean and simple design, using the gorgeous Papertrey Ink Damask stamp set (if only they would find a UK distributor/retailer, I'd snap them up in a moment, but with such exorbitant P&P charges, I could never justify the expense).

Anyway, having made my version of the card, I then proceeded to get inky finger prints (Versafine Vintage Sepia) all over it, which I had to disguise when I got home by sponging on the lightest brown colour from the Brilliance Tiramisu ink pad. I also failed to match up the border stamp in the centre of the gatefold!! I really should have a think before I commit anything to paper or card!!

Here is what I managed to create. I don't think it turned out that badly. The card blank was made from brown Kraft card, also available from Papertrey Ink, and brown gems were added to embellish the ornament image.


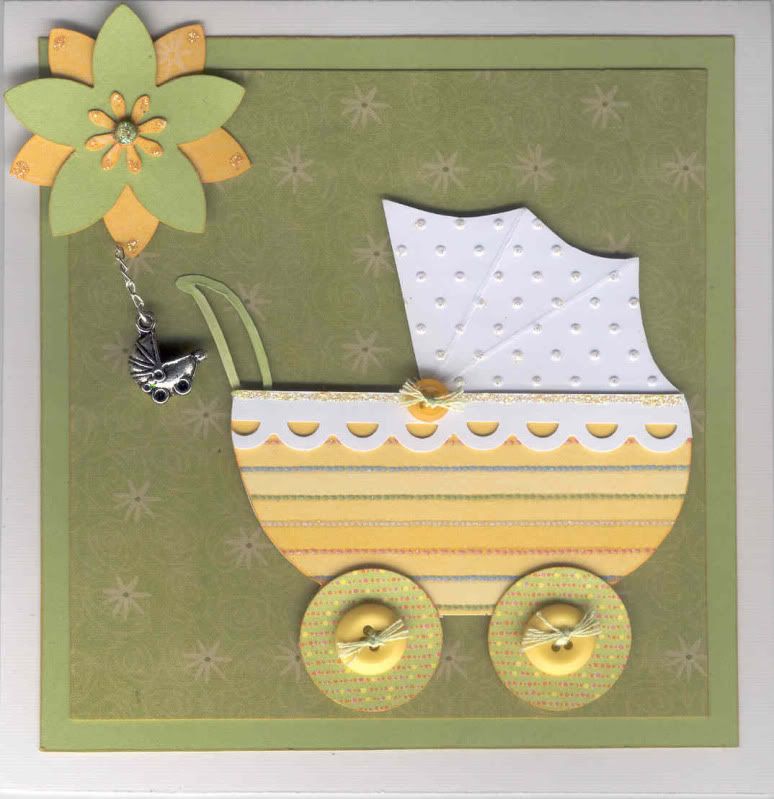
The second project I attempted was given to us by Julie's friend Lesley. She had prepared a pram template for us all to use, and this time we all managed to make completely different cards. Cutting the template out was the hardest part for some of us (wasn't it "stompy-feet Julie"), but we all produced lovely cards.

Here is my attempt!! I'm not sure what make of papers these are, but I thought they were perfect for a 'just in case' baby card, to keep for when you do need one!!

The Cuttlebug Swiss Dots embossing folder was used on the hood and the Fiskars Apron Lace border punch was used to create the lace trim. Craft Planet yellow glitter glue was added to the dots on the hood and along the top of the paper lace trim. A large Stampin' Up flower punch and a second smaller flower punch were used to create the layered flower in the top corner. The brad was originally pink, so was coloured using a green Copic marker and a blob of the yellow glitter glue.

Buttons from my stash were added to the wheels and the hood (when I got home), after threading them with green embroidery thread.

Alex very kindly did a demonstration of how to use the Copics to their best, so when/if I get around to buying any, I'll have more of an idea of how to get those great effects that so many of you all produce!!!

Also we all had a go at the monochrome look using the Tim Holtz Distress inks on a stamp and dragging the colour out, just as Alex had done on a Sarah Kay card she made last week. I decided to use the technique on one of the lovely house stamps from Papertrey Ink and the Weathered Wood ink. I haven't made the images into cards as yet, but will upload them when I have.

The rest of the day (and somehow there wasn't much more!) was spent stamping up each others various images that we had brought with us. Before we knew it, it was almost 7pm and we had to start tidying everything away.

Amazingly, that didn't take as long as we had anticipated, so we made our way back to the train station. We said our goodbyes (reluctantly) and headed off home. It was 10.45pm when I got home and was pretty bushed, but it was all worth it for an amazing day spent with friends - 'cos that's what you are girls!!! I never thought that two very special friends could be made through a forum, but they can and you are the proof!! Hopefully my move up north won't spell the end of our get-togethers. We'll have to figure a way around that! Not sure how big my new house is going to be, but maybe a weekend in Lincolnshire is on the cards.

Well, enough of all this soppy-ness! Hopefully I'll get around to uploading a few more cards tomorrow. Not sure which ones though. I'm still a bit behind on my uploads, so I might add a few of the anniversary cards I've been making.
Blog Widget by LinkWithin