



Pages

WELCOME

This blog was created to act as a record of the cards and other projects that I have made. It is for both my own reference and to help inspire anyone who wants to take a look.

I'd love it if you'd leave me a comment so that I know what you think of my projects and that you've been to visit!

Anyone can comment, even those who don't have a blog. (Just look for the word 'Comments' under the three little pictures at the end of each post). Readers without a blog can add an anonymous comment, but please leave your name (and docrafts username if applicable) so I know who you are!

Slideshows of all the cards I've uploaded to my blog can be found at the bottom of the page.


PEOPLE WHO FOLLOW MY BLOG

Showing posts with label Ali. Show all posts

Tuesday, 25 March 2014

Kristina Werner Inspired #3

Well, here we are again. This time I decided to try something different. I went through all of Kristina's blog, from start to finish, and made a note of the cards that I wouldn't mind having a go at at some stage. I wrote the dates of the posts onto a slip of paper and popped them all into a tub. This is the card idea that I pulled out of the tub to be the inspiration for this card. I am hoping that Ali will play along with me on this one. When she posts her version, I'll add a link to her card somewhere in this post. If you want to play along too, add a link to your creation in the comments below. I'd love to see what you come up with.


So, the first change I made to my version of this card was to create an embossed panel rather than embossing the card blank. I wasn't sure if the cardstock I was using would hold up to the embossing. I think I was right to be cautious, as the embossing folder I used (Sizzix Diamonds) did push through the card in a couple of spots which I think would have been more obvious on a card blank.
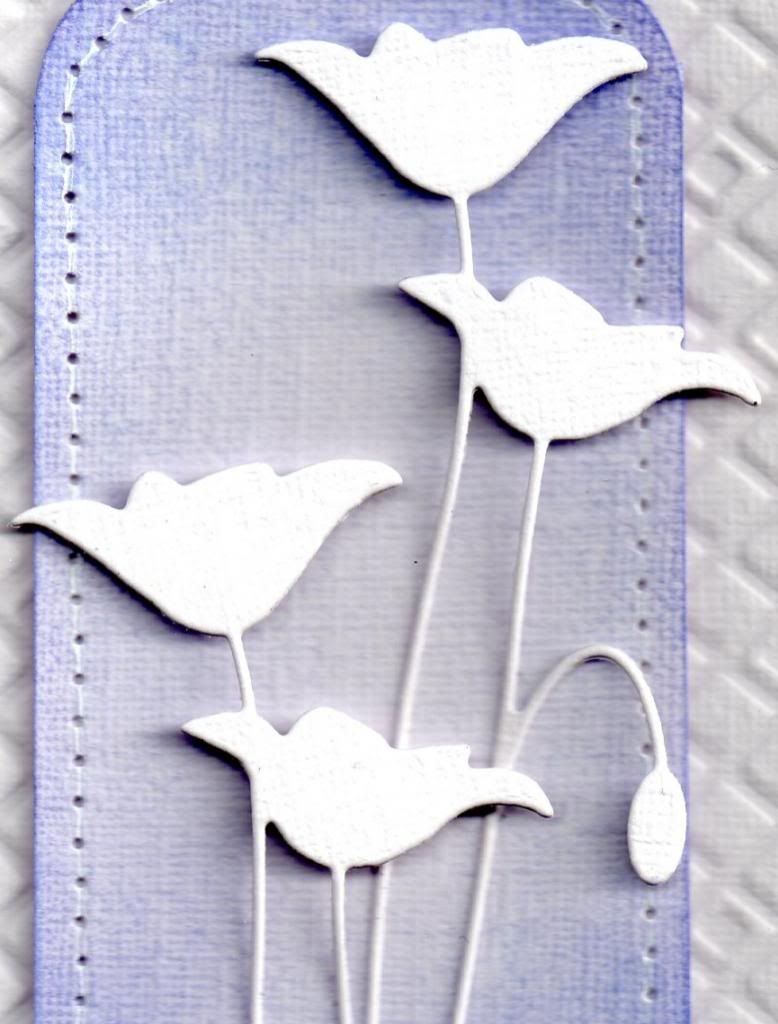

The next step was to create the coloured panel. This consisted of a rectangle of the same white hessian cardstock, with the corners rounded using the WRMK Corner Chomper. I wanted to create a Spring coloured card, so the panel was then coloured using Tim Holtz Shaded Lilac distress ink (I'm ashamed to say I think this is the first time I've used this colour!) I decided I wanted to add a bit more detail to this panel, so I pulled out my Stampin' Up! Mat Stack and pierced a border around the panel.
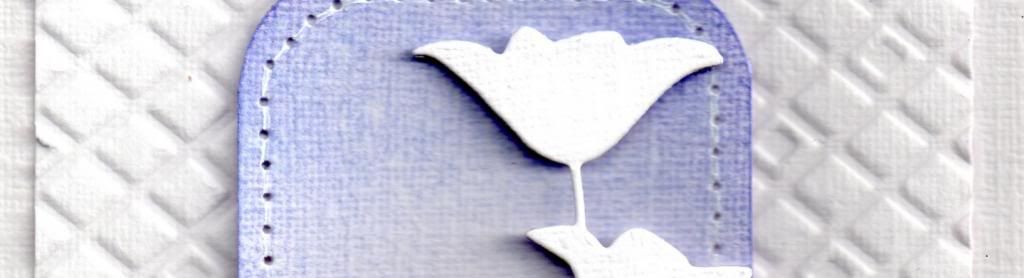

Then I created the die cut flowers using the Memory Box Prim Poppy die. The flowerbud was snipped off the second diecut and the diecuts arranged on the panel. To create dimension, the flowerheads were adhered using 3d foam and the stems using Zig glue.
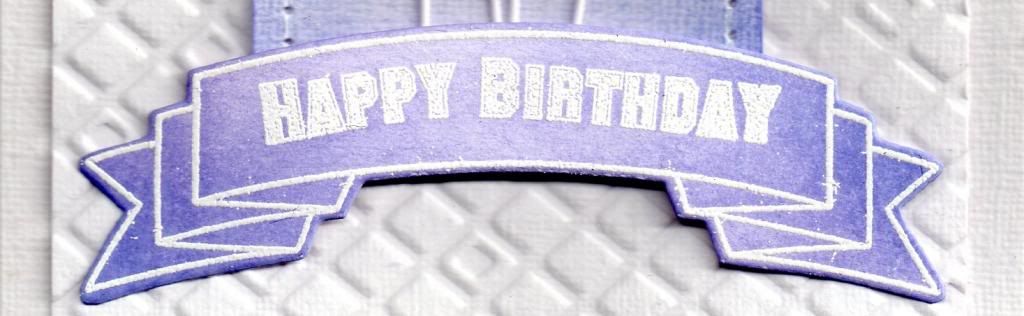

To create the greeting panel, the multi-folded banner from Clearly Besotted Basic Banners was die cut and then stamped on top using the matching stamp from the co-ordinating stamp set using Versamark ink. The banner was then heat embossed using Stampendous Detail White embossing powder. The sentiment, from the same stamp set, was then stamped and embossed within the banner shape. Once the embossing powder had cooled, the Shaded Lilac ink was applied to the diecut to help the detail stand out.
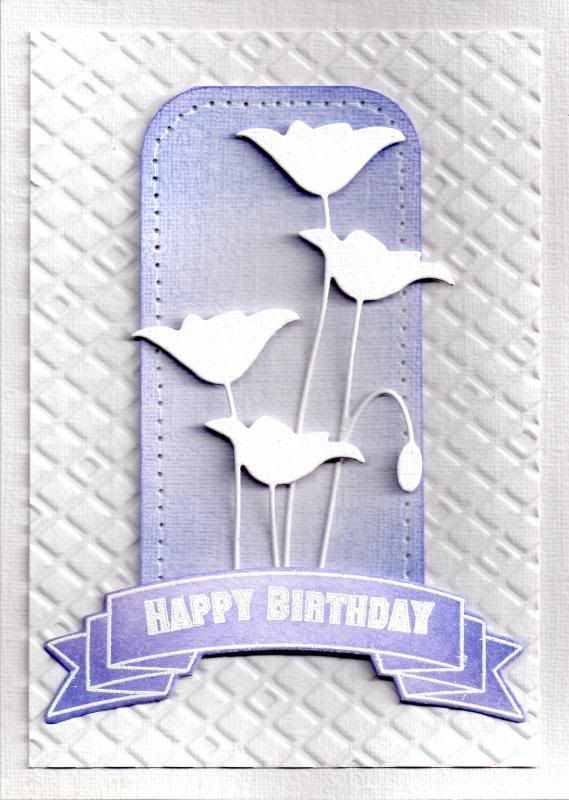
Here is a picture of the finished card in all of its glory.


Monday, 17 February 2014

Kristina Werner Inspired Card #2

Well, here we are again. This time it was my turn to choose the card from Kristina that we were to CASE and here is the link to the video showing the card I chose and a link here to Kristina's blog post showing this card.

In need of a few anniversary cards, that's what I decided to make based on this card design.


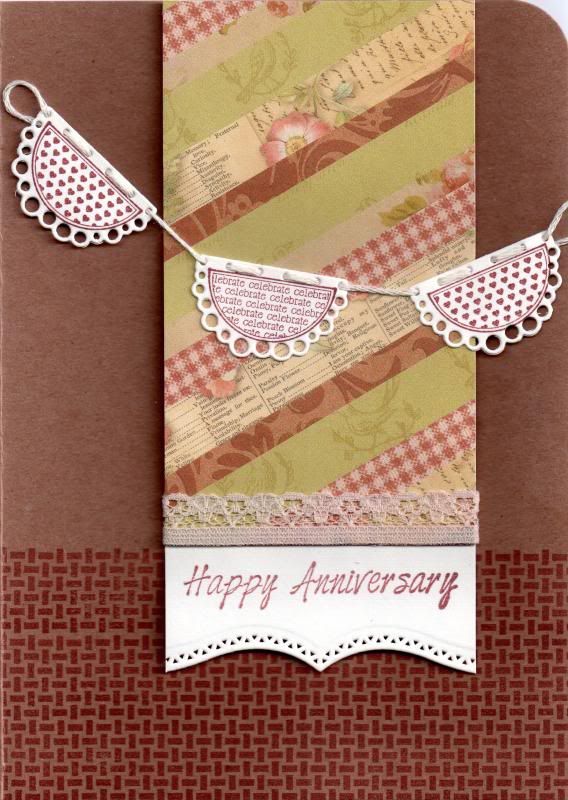
To begin with, create the patterned paper panels. To make these, cut up strips of various papers from the K&Co Brianna paper pad in varying widths. I found the easiest way to adhere these to the panel and ensure they stay attached was to cover the panel entirely with adhesive, making sure the adhesive goes right up to the edges. This is particularly important if you have small bits in the corners. Once covered, turn the panel over and trim away the overhanging bits.

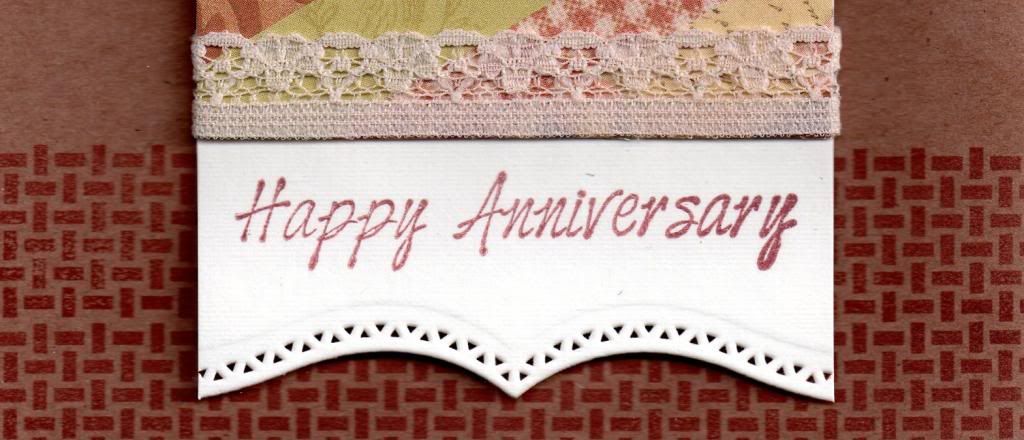
Panels of cream cardstock were then stamped using the Happy Anniversary stamp from the Kaisercraft Occasion's stamp set and the Brilliance Cocoa Bean pigment ink. The lower edge of the panel was then diecut using one of the Spellbinders Bracket Borders dies. The paper strip panel was then adhered to this diecut panel and a length of lace adhered to hide the edge of the paper strips.


The next step was to add some detail to the card blank. Using the basket weave stamp from the Waltzing Mouse Picnic Patterns stamp set and the Cocoa Bean ink, the border stamp was stamped three times across the bottom of the cardblank. Remember to mask off the left panel of the card first so the reverse of your card is protected.

Once the ink is dry, adhere the paper strip panel to the card using 3d foam.


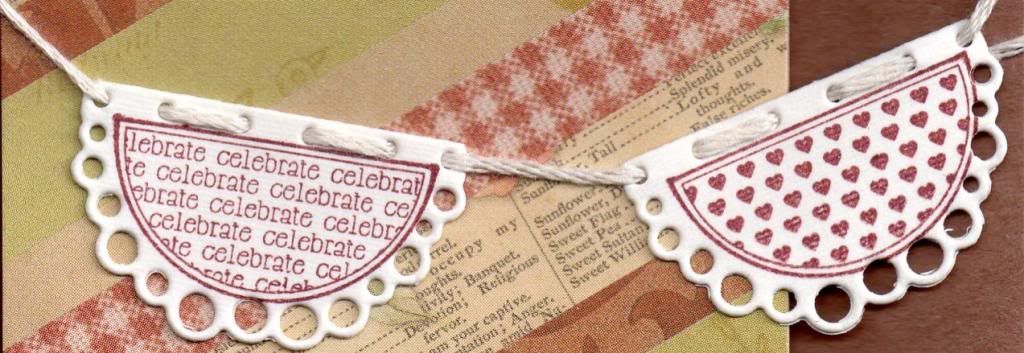
To create the banner detail, two different designs of pennants were stamped from the Whimsy Stamps Celebration Circle Pennants stamp set using the Cocoa Bean ink and die cut using the frilly Whimsy Stamps Shapeology Circle Pennants die. These were connected together using cream embroidery thread and placed across the card.


As a finishing touch, the top right corner was then punched using the WRMK Corner Chomper, using the 1/2" corner. 

Here is an image of the front of the finished card.


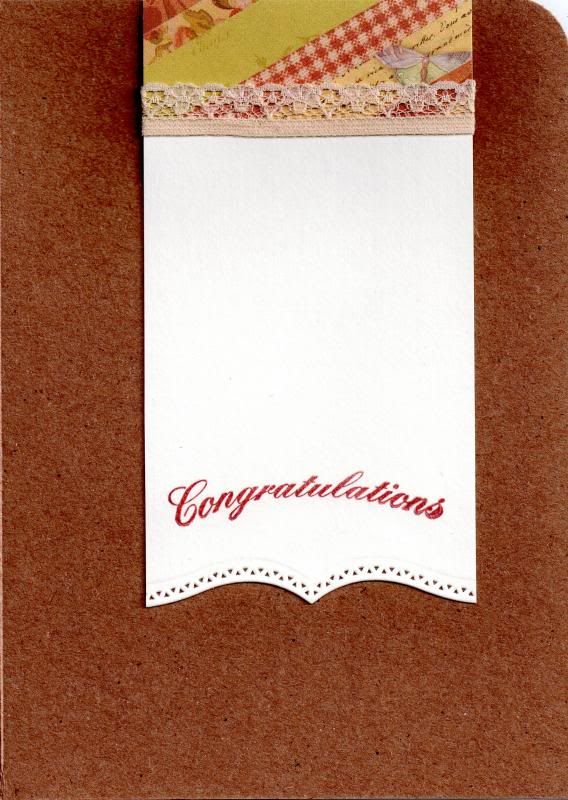
The inside of the card was also decorated to match and complement the front of the card. This time the greeting was stamped using the Congratulations stamp from the Papermania Mix and Match Scrolls and Sentiments stamp set with the Cocoa Bean ink.


Once Ali has uploaded her version, I will add a link to her creations which I'm sure are stunning!

Here is a link to Skipper's take on this card. It's a beauty!

Friday, 17 January 2014

Kristina Werner Inspired Card #1

So, I am trying to blog more, and so here goes!

This project is one that was inspired by a lady whose youtube videos I watch religiously. Namely, Kristina Werner. You can find her blog here and her youtube channel here.

 I am not the only person who appreciates her work and the very talented Ali and I decided we'd challenge ourselves to select one of her projects and do our own takes on it.

So, Ali chose the first project that we'd attempt and here is the video of the project that she chose, and here is the blog post.

I decided to make birthday cards based on her design and to make a masculine and feminine version of it.

The first design was the feminine version, using the First Edition Spring Feast paper pad. These papers are perfect for girlie cards!


Having chosen the papers I wanted to use, I die cut a number of banners from them using a die from the Sizzix Banners #2 Framelits die set. Using an old XCut daisy punch, I punched a daisy from some of the banners, leaving a couple of the banners plain.


Each of the banner shapes were edged using ColorBox Chestnut Roan Fluid Chalk ink.

Two more panels of patterned papers were chosen and matted onto each other. The sentiment, from the Paper Smooches Sentiment Sampler stamp set, was stamped onto the smaller panel using the Chestnut Roan ink. A design was also pierced in two of the cornes using the Stampin' Up! Mat pack.

A thin line of Aleene's Tacky glue was run across the two panels and a length of green embroidery thread was run along it. Once dried, the ends were trimmed and the panel attached to the card blank. The banners, each trimmed to fit the panel so as not to obscure the sentiment, were then 3d mounted along the thread, and a brown Kort & Godt faux pearl was added in three corners of the smaller panel.


For the inside of the card, a panel of writing paper was matted onto a panel of matching patterned paper and adhered to the left hand side of the card. Using another of the banner dies from the Banners #2 die set and the Sentiment Sampler stamp set, the sentiment panel was stamped using the Chestnut Roan ink and placed to the right of the panel. A selection of the daisy punchouts from the banners on the front of the card were then placed around the sentiment panel.

The masculine card was made in a similar fashion, using the DCWV Retro Prints paper pad.


The smaller panel on the front of the card was this time created from white card and run through the Cuttlebug Basket Weave embossing folder. A large blue brad from Papermania was added in the top right corner. Stars were punched from the banners using a small punch I got in Tescos many years ago!

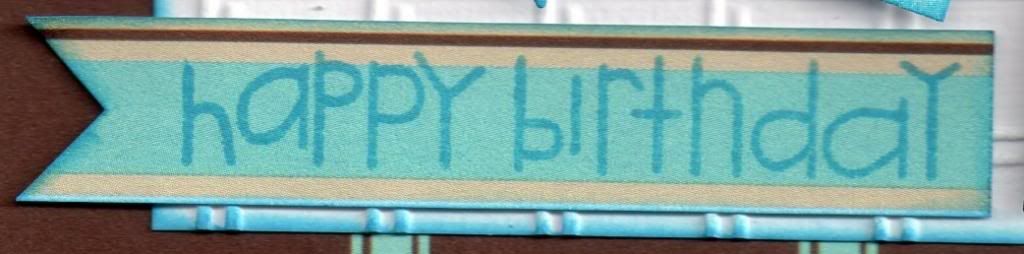
The sentiment was stamped onto a strip of the striped paper using Memento Bahama Blue dye ink and a fishtail banner was handcut at the end.


The inside of the card was created in much the same way as the feminine card, using the star punch outs around the sentiment. The sentiment was stamped onto the patterned paper using Versamark ink and heat embossed using Stampendous Detail Opaque White embossing powder.


I'm liking this idea of choosing a card and making your own version of it.

You can see Ali's versions of the card here.

It's my turn to choose the next card to be inspired by, so I'm off now to choose one.


Blog Widget by LinkWithin