


Well, here we are again. This time it was my turn to choose the card from Kristina that we were to CASE and here is the link to the video showing the card I chose and a link here to Kristina's blog post showing this card.
In need of a few anniversary cards, that's what I decided to make based on this card design.
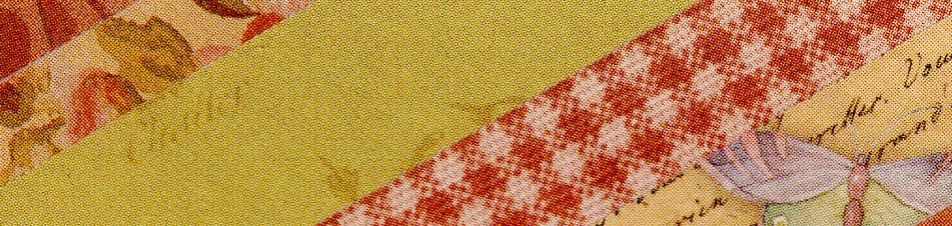
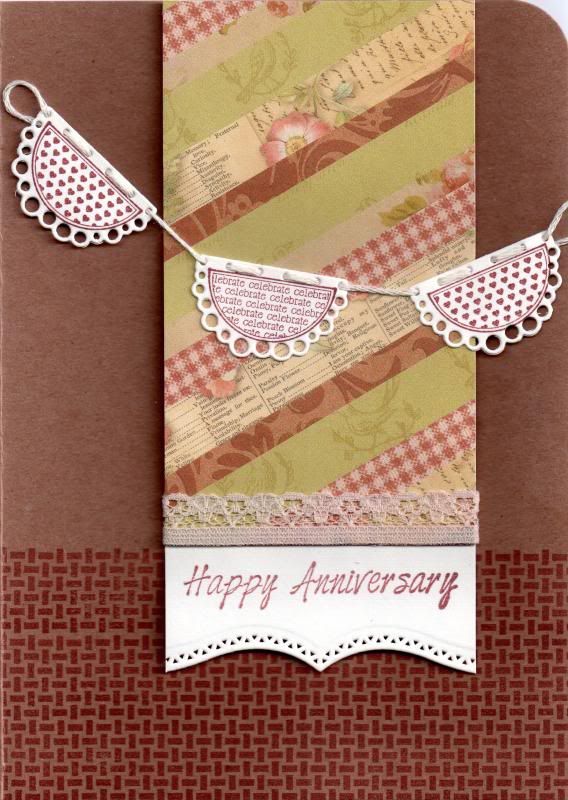
To begin with, create the patterned paper panels. To make these, cut up strips of various papers from the K&Co Brianna paper pad in varying widths. I found the easiest way to adhere these to the panel and ensure they stay attached was to cover the panel entirely with adhesive, making sure the adhesive goes right up to the edges. This is particularly important if you have small bits in the corners. Once covered, turn the panel over and trim away the overhanging bits.
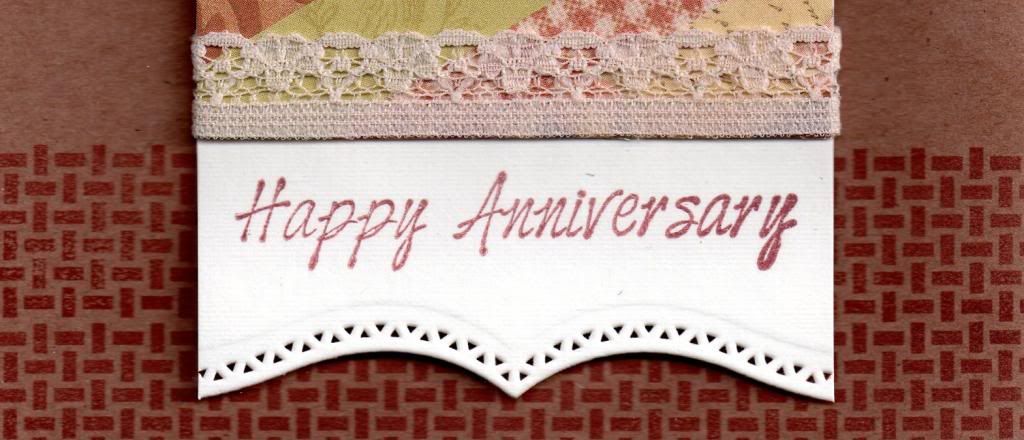
Panels of cream cardstock were then stamped using the Happy Anniversary stamp from the Kaisercraft Occasion's stamp set and the Brilliance Cocoa Bean pigment ink. The lower edge of the panel was then diecut using one of the Spellbinders Bracket Borders dies. The paper strip panel was then adhered to this diecut panel and a length of lace adhered to hide the edge of the paper strips.
The next step was to add some detail to the card blank. Using the basket weave stamp from the Waltzing Mouse Picnic Patterns stamp set and the Cocoa Bean ink, the border stamp was stamped three times across the bottom of the cardblank. Remember to mask off the left panel of the card first so the reverse of your card is protected.
Once the ink is dry, adhere the paper strip panel to the card using 3d foam.

To create the banner detail, two different designs of pennants were stamped from the Whimsy Stamps Celebration Circle Pennants stamp set using the Cocoa Bean ink and die cut using the frilly Whimsy Stamps Shapeology Circle Pennants die. These were connected together using cream embroidery thread and placed across the card.

As a finishing touch, the top right corner was then punched using the WRMK Corner Chomper, using the 1/2" corner.
Here is an image of the front of the finished card.
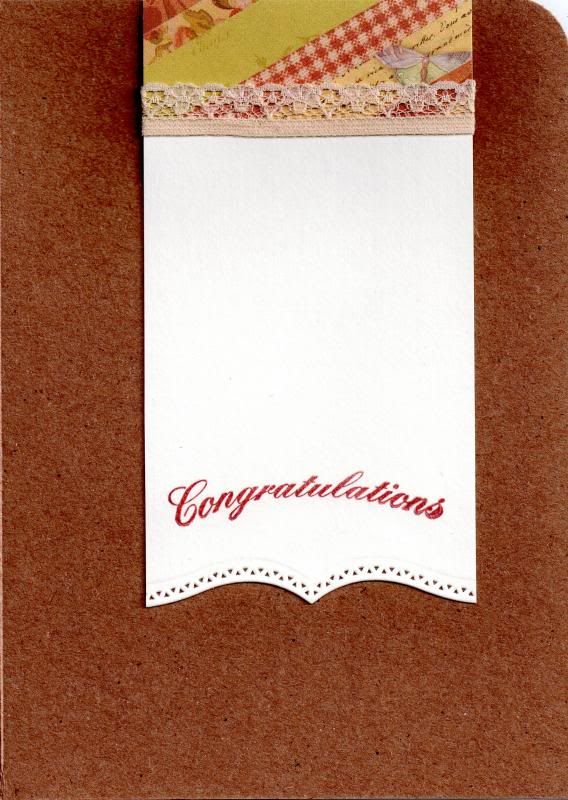
The inside of the card was also decorated to match and complement the front of the card. This time the greeting was stamped using the Congratulations stamp from the Papermania Mix and Match Scrolls and Sentiments stamp set with the Cocoa Bean ink.
Once Ali has uploaded her version, I will add a link to her creations which I'm sure are stunning!
Here is a link to Skipper's take on this card. It's a beauty!


4 comments:
Oh this is amazing x
Wow Brilliant but got loads of horrid ads coming up from your page. Love Alison x
Having received this gorgeous card I have to say I was most impressed x
Absolutely gorgeous Kathleen. I'm having to pop into work today but hoping to finish mine off tonight so will post pics then. Love yours x
Post a Comment