




Pages

WELCOME

This blog was created to act as a record of the cards and other projects that I have made. It is for both my own reference and to help inspire anyone who wants to take a look.

I'd love it if you'd leave me a comment so that I know what you think of my projects and that you've been to visit!

Anyone can comment, even those who don't have a blog. (Just look for the word 'Comments' under the three little pictures at the end of each post). Readers without a blog can add an anonymous comment, but please leave your name (and docrafts username if applicable) so I know who you are!

Slideshows of all the cards I've uploaded to my blog can be found at the bottom of the page.


PEOPLE WHO FOLLOW MY BLOG

Showing posts with label Hobby House. Show all posts

Tuesday, 19 January 2016

Red, Teal and Green Katy Sue Hat and Stand

My apologies for the lateness of this post but I have been having issues with Internet Explorer all day. I can't upload pictures of my cards using Microsoft Edge and today IE has just not wanted to play ball. Anyway, it seems to be working at the moment, so I'll get on with uploading this as quickly as possible.

This is a card that I made, finally using the beautiful set of stamps by Katy Sue Designs that I bought at the Newbury Artstamps Show. Yet another of those 'must have' purchases that have been sitting in my stash unused.

I decided to use the Prima Madeline paper pad as I really love the colours and they matched the guide illustration on the packaging.
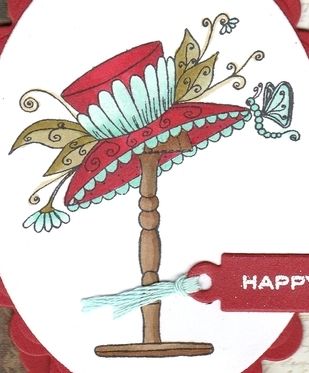
 
The hat and stand image, from the Katy Sue Designs Gerbera stamp set, was stamped using Memento Tuxedo Black dye ink and coloured using Copic markers:

Copics:
Hat: R27, R37, R39, BG10, BG11, BG32;
Flowers: BG10, BG11, BG32;
Leaves/Stems: G00, YG91, YG95;
Fronds: YG91;
Butterfly: BG11, BG32;
Hatstand: E43, E44, E57;
 
The image was diecut using a Classic Oval Nestabilities die and matted on to a Scalloped Classic oval diecut from red cardstock.

The cardblank was covered using the border paper and the cream script papers from the Prima Madeline paper pad, and the join was covered with a strip of card diecut using the Solid Bracket die from MFT Die-Namics.

 
The image panel was then added in the centre of the cardblank.

The 'Happy Birthday' sentiment, from the Personal Impressions Paula Pascual Mix & Match stamp set, was stamped using Emboss clear embossing ink and white heat embossed using Stampendous Detail White Opaque embossing powder. This was then diecut using a tag die from the Sizzix Tags, Sentiments Framelits die set. The tag was threaded with aqua embroidery thread and added over the image panel.
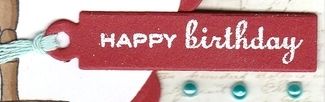
 
Details of the hat image were then highlighted using the clear Wink of Stella brush pen, and three teal pearls from Hobby House Sea Charm pearls.


Thursday, 29 October 2015

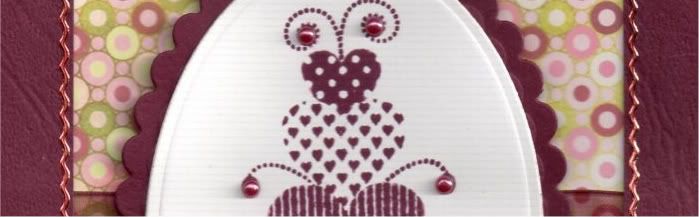
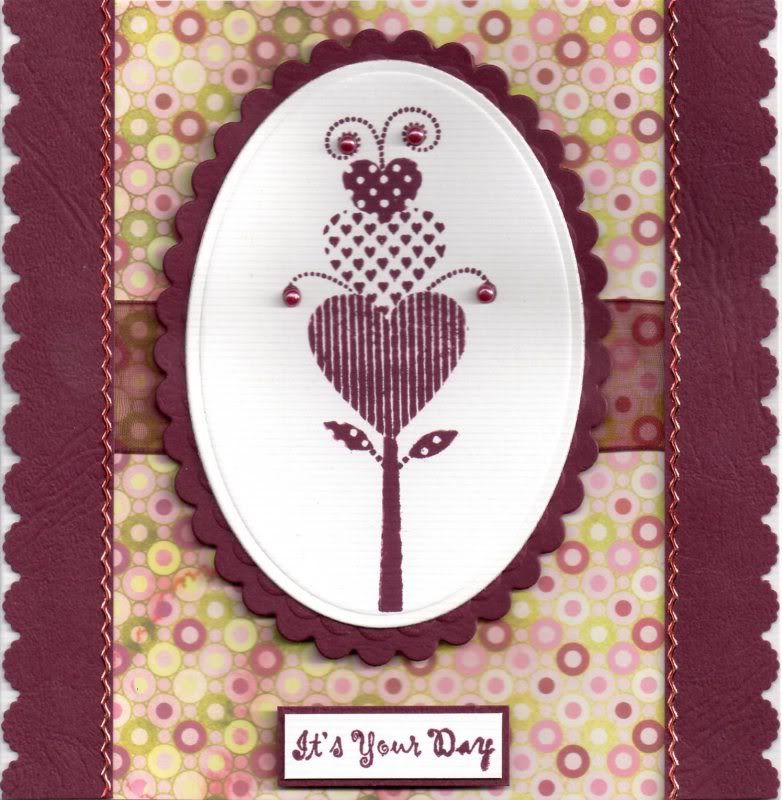
Burgundy, Pink and Green Pink Gem Heart Flower

So, in the spirit of #TBT, I have decided to post one card each week that is a few years old and still waiting to be blogged.

This particular card was made back in 2011 I believe, using a stamp set that I won from Pink Gem Designs, called Funky Flowers.

The Heart Flower image, from the Pink Gem Funky Flowers stamp set, was stamped using Adirondack Currant dye ink and die cut using a Petite Oval die from Nestabilities, and matted onto a burgundy Petite Scalloped Oval.

A length of burgundy organza ribbon was wrapped around a panel of the Courtier paper from the Basic Grey Eva paper pad and adhered to the card blank.

Two borders were punched from the burgundy cardstock using the EK Success Scalloped Scallop border punch and adhered over the edges of the patterned paper.


The 'It's Your Day' sentiment, from the Papermania Clare Curd Sentiments stamp set, was stamped using the Currant dye ink and matted onto the burgundy cardstock.

Burgundy self-adhesive pearls, from the Hobby House Ruby Mix, were added to the Heart Flower image, and gold border peel-offs, from Lakeland/Starform were coloured with a red Copic marker and added along the edge of the border strips.

Yes, I know, peel-offs!!!! I wonder if they will make more appearances in these throwback posts???

Wednesday, 17 August 2011

Light Blue and Cream Pollycraft Cherry Kisses Tea in the 20s

Here is the birthday card that I made for my aunt. She is only four years older than me so thought this image was appropriate. I think it's a really cute image and is one I won in a blog challenge.


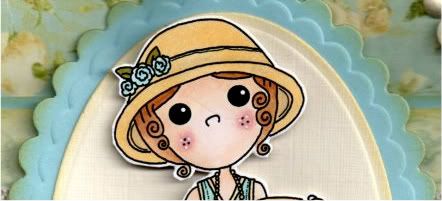
The digi image, Cherry Kisses Tea in the 20s, from Pollycraft, was printed out and coloured with Copic Sketch markers:
  • Hat: E41, Y21, BG11
  • Flowers: BG11, B00
  • Leaves: YG95, G07
  • Hair: E33, E35, E37
  • Skin: E00, E21, E51, R02, R20
  • Dress: Y21, BG10, BG11, B00
  • Shoes: BG10, BG11, B00
  • Cup: Y21, E41, BG11, B00
For quite a lot of this image I used what is called the Transfer Blending technique whereby a darker colour chisel nib is held to the brush nib of a lighter colour, thereby transferring the ink. Whilst colouring, the two colours blend together. This was done on the flowers, leaves, shoes and the dress in particular. I discovered this technique in the Copic Coloring Guide book that I recently purchased from WHSmith Online.

The image was then cut out.


A scalloped petite oval was die cut, using a Nestabilities die, from light blue cardstock and distressed around the edges using Tim Holtz Antique Linen distress ink and a plain petite oval, also distressed, was matted on top. The image was then centrally matted using 3D foam pads.

A strip of the light blue and cream scroll paper from the Prima Botanical paper pad was matted onto a strip of the light blue card that has been punched with the XCut Lace Trim border punch and a length of cream crochet lace was wrapped around it.

This was then matted onto a panel of the light blue and cream roses paper from the same paper pad and matted onto the light blue cardstock. All panels were distressed with the Antique Linen ink.

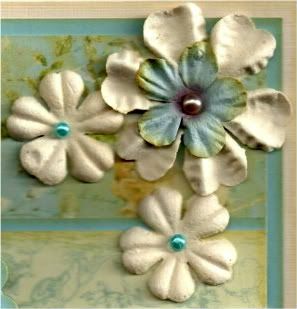
Three cream Prima paper flowers from the Botanical Mix were added in the top right corner. A light blue Prima flower was added in the centre of the large flower and turquoise self-adhesive pearls from the Hobby House Sea Green set were added in the centres of the smaller flowers and a champagne pearl from the Kort & Godt Autumn set of pearls was added in the centre of the larger flower.


The sentiment, from the Papermania Clare Curd Sentiments stamp set, was stamped onto the cream card using Memento Rich Cocoa dye ink and matted onto the light blue cardstock and added in the bottom right corner of the card.


Here are the blog challenges I am entering this card into:

Sunday, 14 August 2011

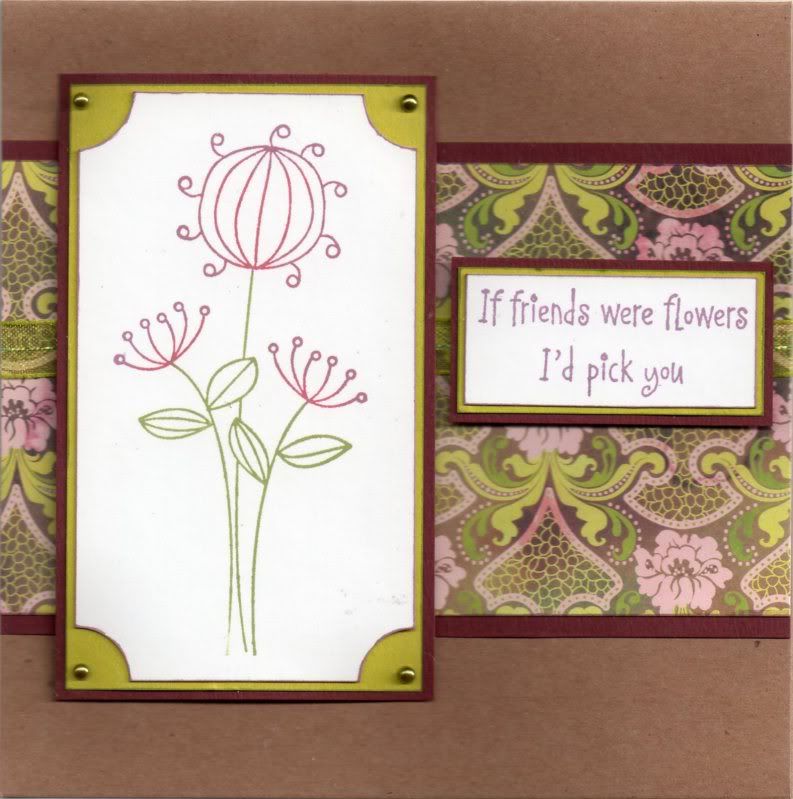
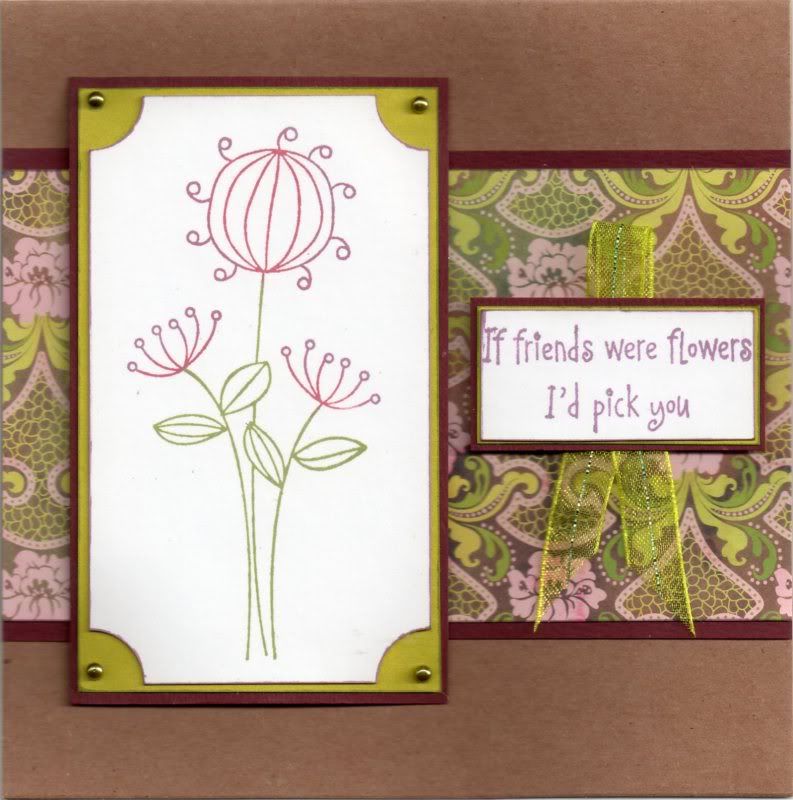
Burgundy and Lime Curly Flowers Friends

This card was made with a stamp I bought from a fellow crafter who was having a clear-out. I also used the Memento inks I bought from her too!! I really must have a clear-out myself - I just seem to be helping everyone else clear out!!


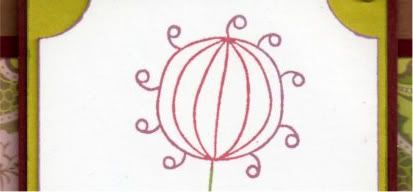
The Curly Flower image, from Hero Arts, was inked up using the Sweet Plum, Bamboo Leaves and Rhubarb Stalk Memento inkpads. The corners of the panel were punched using the Woodware Inverted Corner punch and matted onto lime green paper and burgundy card.

Lime green self-adhesive pearls, from the Hobby House Green To Go set, were added in the corners.

A panel of the French Lace paper from the Basic Grey Eva paper pad was matted onto the burgundy card and a length of lime green organza ribbon was wrapped around the panel and then added across the Papermania Kraft card blank.

The image panel was added to the left of the panel.


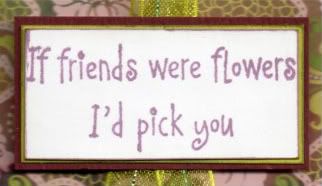
The sentiment, from Elzybells, was stamped using the Sweet Plum ink and matted onto the lime green paper and burgundy card and added to the right of the card blank.


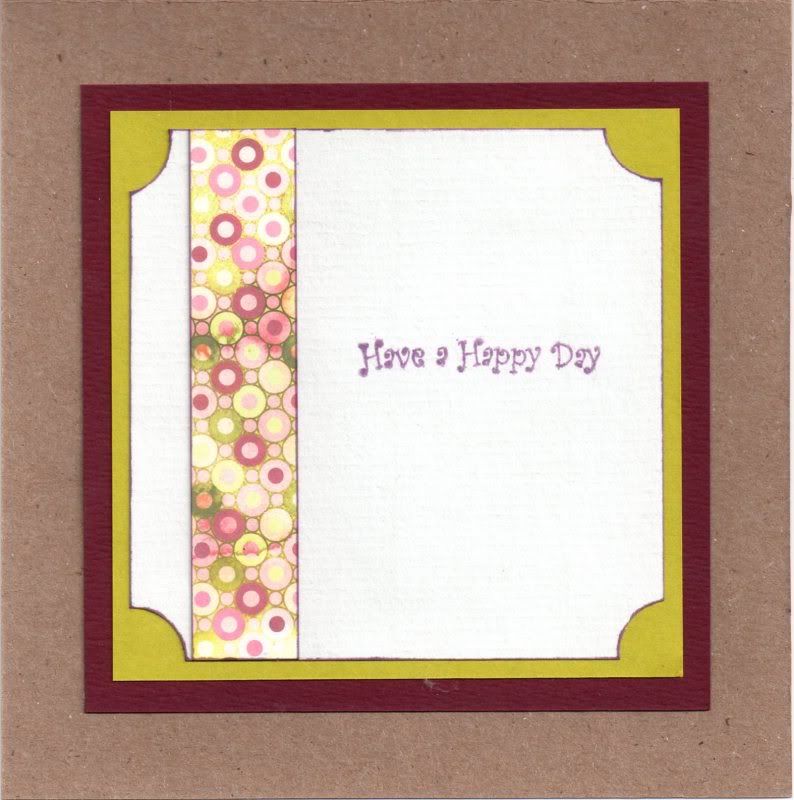
The inside of the card was also decorated using a strip of the Courtier paper from the Eva paper pad, and the sentiment from the Papermania Clare Curd Sentiments stamp set inked with the Sweet Plum ink.


On the original card I made, I forgot to wrap the ribbon around the panel before I stuck it to the card blank so added a loop of the ribbon behind the sentiment panel.


Here are the blog challenges I am entering this card into:

Thursday, 21 July 2011

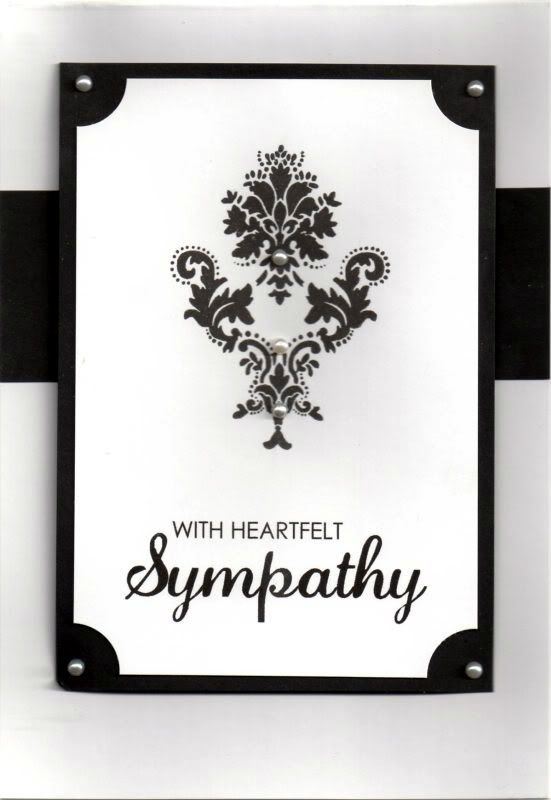
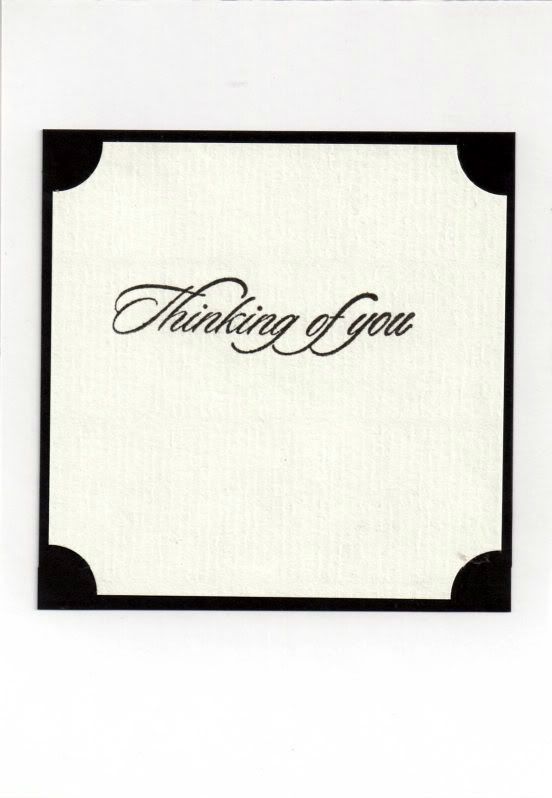
Black and White Ornament Sympathy Card For Liz G's Family

This was a difficult card to make. Just last week I discovered that a lady who is very active on the docrafts forum, Liz G, sadly passed away suddenly. Her lovely daughter, Pixie-Lou, also a forum member, kindly took the time  to let us know despite her obvious grief.


So, having reclaimed my craft room after the in-laws had visited, I got my stash out and had a think. I went with a clean and simple idea.

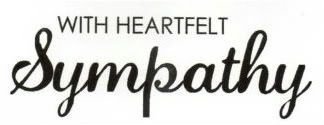
I didn't have a suitable sentiment stamp so created something in Word using Century Gothic and Lauren Script fonts and cut it into a panel.


The ornament image, from the Papermania Chatsworth Furnishings stamp set, was stamped centrally using Versafine Onyx Black archival pigment ink. The corners of the panel were punched with the Woodware Inverted Corner Rounder punch and matted onto black card.


Ivory pearls, from the Hobby House Wedding Day set of self-adhesive pearls were added in the corners and on the ornament image.

A strip of the black card was added across a tent fold card and the image panel added over it.


I also decorated the inside of the card using the Thinking Of You stamp from the Hot Off The Press Sentiments stamp set and the Onyx Black ink.

Monday, 21 March 2011

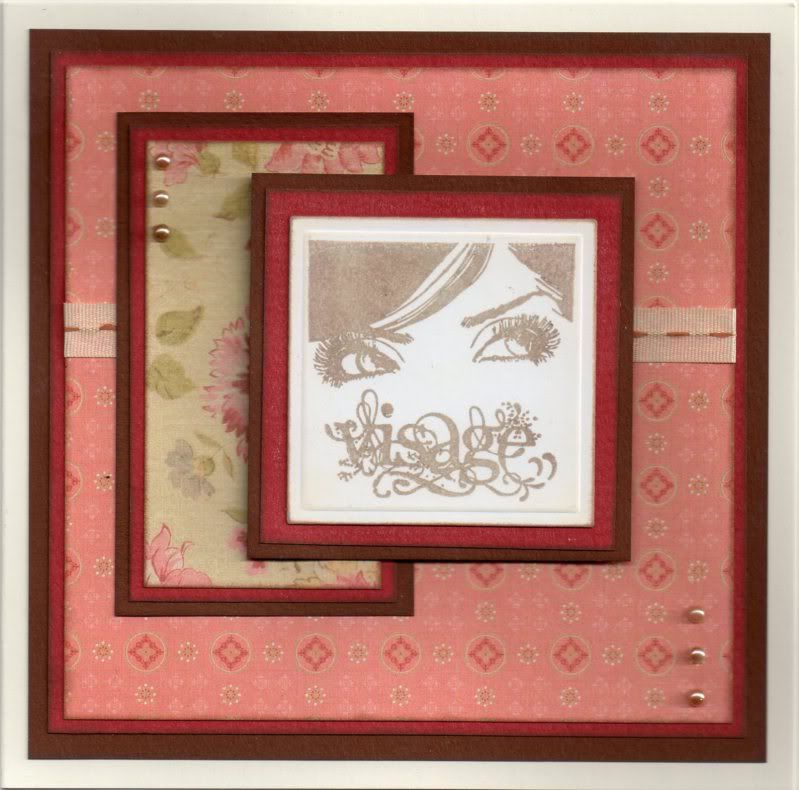
Coral, Red and Brown Visage Eyes

I really liked the effect of the first card I made using this stamp so I decided to have a go at a new one, this time using more muted colours.

The Visage Eyes image, from The Stamp Man/Craft Stamper magazine was stamped using Versafine Vintage Sepia archival pigment ink and distressed with ColorBox Alabaster Fluid Chalk ink. This was matted onto red and brown paper.


A length of the cream stitched satin ribbon, from the Chatterbox Chocolate ribbon pack was wrapped around a panel of the coral circles paper, from the K&Co McKenna paper pad and then matted onto the red and brown paper.

A small panel of the cream floral paper, from the same paper pad, was also matted up and layered up with the image panel.

Cream self-adhesive pearls, from the Hobby House Chocolate Heaven pack, were added in the bottom right corner of the coral paper and in the top left corner of the cream patterned paper.

Here are the blog challenges I am entering this card into:

Wednesday, 6 October 2010

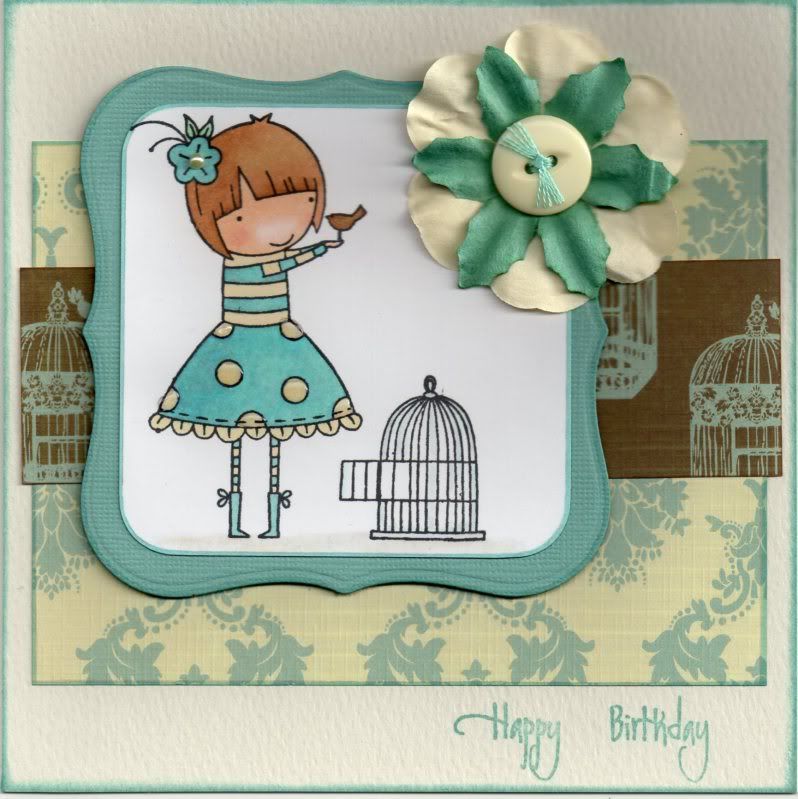
Duck-Egg Blue and Cream Sugar Nellie Fly Free

Here is the card that I made for Natalie for her birthday. I know that she has received it now so I can post it without spoiling the surprise!!


I love this cute Leanne Ellis image, available form Funky Kits. It's called Fly Free image, and it was stamped using Memento Tuxedo Black dye ink and coloured using Copic Sketch markers:
  • Hair: E13, E31, E35
  • Skin: E00, E21, E51, R20
  • Flower: BG02, BG11, N3,
  • Leaf: BG32, YG41
  • Top/Skirt/Socks: E41, Y00, BG02, BG11, N3
  • Boots: BG02, BG11, N3
  • Bird: E35, E39, N3
  • Cage: C2, BG11
  • Shadow: E41, N1, 0
The image was matted onto a panel die cut using the Labels 1 Nestabilities die from duck-egg blue Core'dinations card from the Elements card pack.

A panel of the cream and blue flourish paper from the Papermania Chatsworth paper pad was added to the centre of the card blank with a strip of the brown and blue bird cage paper from the same paper pad over the top.

Embroidery thread was tied through a cream button and assembled with a cream Papermania paper flower and a blue Prima paper flower and added to the top right corner of the image panel.

The spots on the image were then highlighted using Anita's 3D Gloss, and a cream self-adhesive pearl from The Hobby House was added to the centre of the flower in her hair.

The sentiment, from the Elzybells Swirly Sentiments stamp set, was then stamped in the bottom right corner of the card blank using ColorBox Celadon pigment ink.

Here are the challenges that I will be entering this card into:
Blog Widget by LinkWithin