

















Well, things are moving apace now. We are off up to Lincoln in the next hour and tomorrow morning we sign for the new house. I'm keeping my fingers crossed that they have chosen a nice house for us, but most importantly one that is big enough to fit all our junk, I mean stuff in.
In the nearly eleven years that I've been married, I'm about to move into 5th house, and the MOD have decided that each time they assign us a house it will be smaller than the one before, so I'm hoping they've bucked the trend because we can't fit all our stuff in the one we're in as it is!!!
So, I'll be away until tomorrow evening and then there'll be lots of sorting and packing so I don't know when I'll be back on.
Not sure if Crafting Gill from the docrafts forum comes on here, but I just wanted to let her know that I have made the Wallet Card for the swap, just haven't stamped anything to go in it as yet, and I'm not sure I've got enough white card at the moment so that probably won't get sent out until after we move. I'll be in touch with you soon about that though!!
Well, better go and finish the packing.
Wish me luck!!!
Wednesday, 30 September 2009
Tuesday, 29 September 2009
Pink and Green Regency Chair
This is the card that I made for my nan's birthday using the beautiful Papermania Signature Regency paper pad. I actually cut out the chair image from one of the papers.
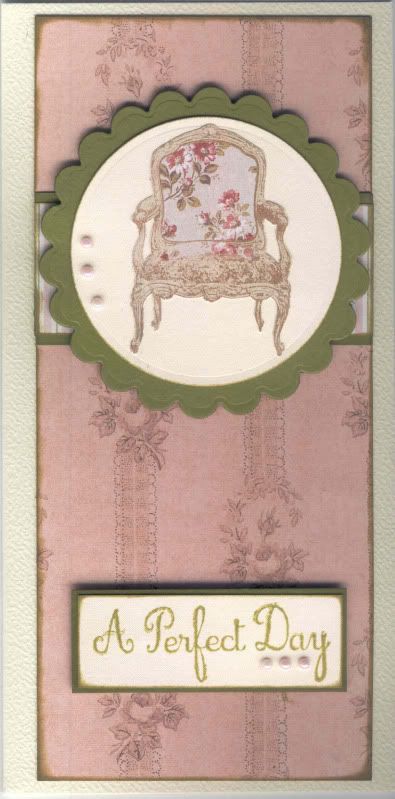
This is a very simple card to make. The chair image was cut out from the patterned paper and adhered to a circle of cream card cut into a circle using the Nestabilities die. This was then matted onto a green scalloped circle, also using the Nestabilities.
A strip of the striped paper from the Regency paper pad was matted onto the green card and then across a panel of the pink paper and attached to the card blank.
The greeting was stamped using the 'A Perfect day' stamp from the Papermania Jesse Edwards Boutique stamp set and the Versafine Spanish Moss archival pigment ink. This was cut out and matted onto the green card. The chair panel was attached at the top of the card and the sentiment to the bottom.
Lavender self-adhesive pearls were then added to the edge ofthe chair panel and the sentiment panel.
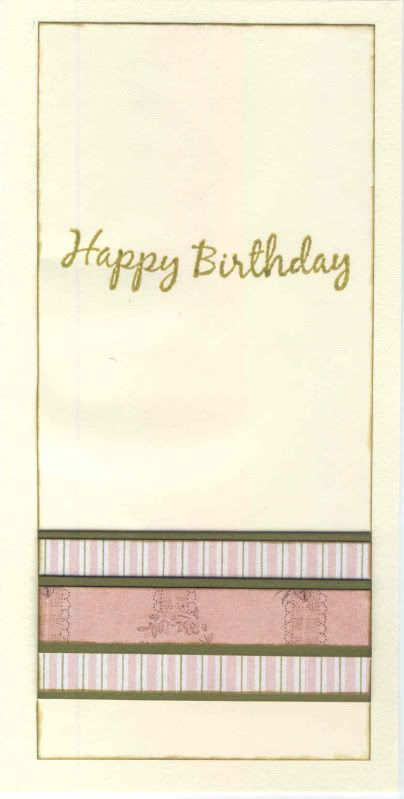
The inside of the card was then decorated using the Regency papers and the 'Happy Birthday' stamp from the Papermania Clare Curd Sentiment stamp set.
This is a very simple card to make. The chair image was cut out from the patterned paper and adhered to a circle of cream card cut into a circle using the Nestabilities die. This was then matted onto a green scalloped circle, also using the Nestabilities.
A strip of the striped paper from the Regency paper pad was matted onto the green card and then across a panel of the pink paper and attached to the card blank.
The greeting was stamped using the 'A Perfect day' stamp from the Papermania Jesse Edwards Boutique stamp set and the Versafine Spanish Moss archival pigment ink. This was cut out and matted onto the green card. The chair panel was attached at the top of the card and the sentiment to the bottom.
Lavender self-adhesive pearls were then added to the edge ofthe chair panel and the sentiment panel.
The inside of the card was then decorated using the Regency papers and the 'Happy Birthday' stamp from the Papermania Clare Curd Sentiment stamp set.
Saturday, 26 September 2009
Green and Heather Penny Black Water Lily Skiing
This week I decided to have a go at the Secret Crafter blog challenge #51. The theme this week is Animal Antics.
I decided to use an image kindly donated by Donna/Princesskarra over on docrafts in an image swap.
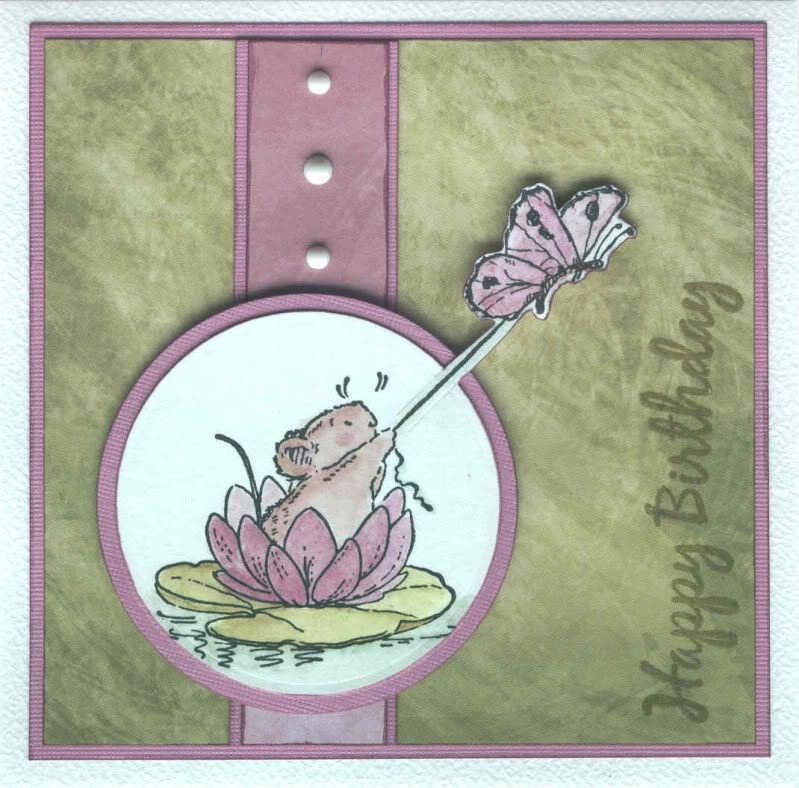 The Penny Black Water Lily Skiing image was watercoloured using the Whispers Brushstroke markers and the butterfly and water lily was highlighted using Crayola Baby Pink pearlescent glitter glue.
The image was then cut out using one of the standard circle Nestabilities dies and the 'out of the box' technique. This was then matted onto heather cardstock from the DCWV Brights Mat Stack.
A square of olive green Brushstroke paper from the Papermania Oriental Spice paper pad was matted onto the heather cardstock, and a strip of the plum Brushstroke paper from the same paper pad was matted onto a strip of the heather card was matted onto the green panel with the image panel matted over the top.
The 'Happy Birthday' sentiment, from the Papermania Clare Curd Sentiments stamp set, was stamped on the green panel using ColorBox Dark Moss fluid chalk ink. This was traced over with the pink glitter glue.
Papermania white adhesive pearls were added to the plum paper strip.
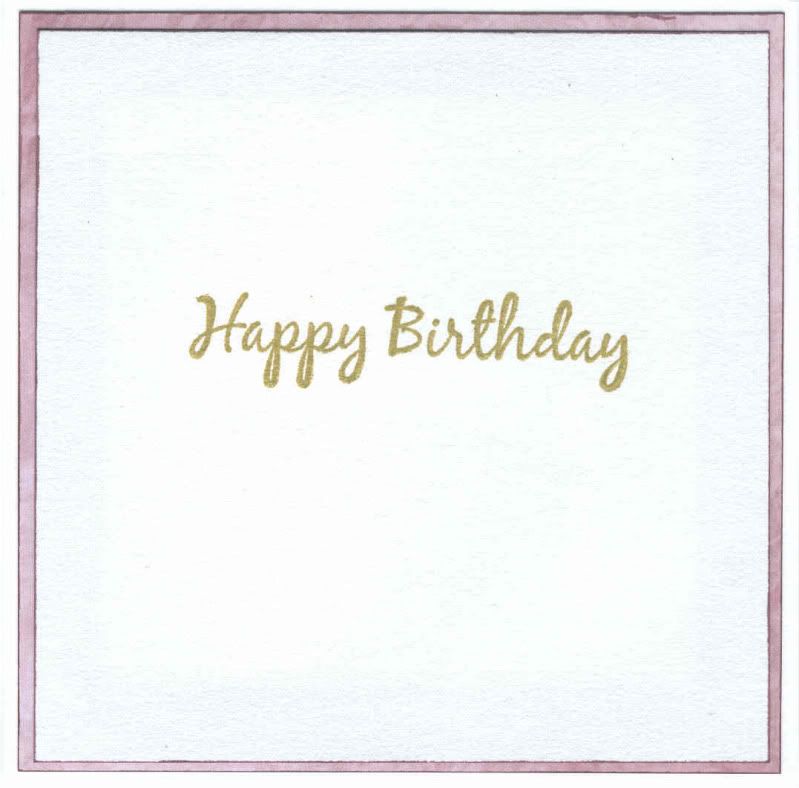 The inside of the card was only minimally decorated using the plum Brushstroke paper, and the 'Happy Birthday' stamp with the ColorBox Dark Moss fluid chalk ink.
I decided to use an image kindly donated by Donna/Princesskarra over on docrafts in an image swap.
The Penny Black Water Lily Skiing image was watercoloured using the Whispers Brushstroke markers and the butterfly and water lily was highlighted using Crayola Baby Pink pearlescent glitter glue.The image was then cut out using one of the standard circle Nestabilities dies and the 'out of the box' technique. This was then matted onto heather cardstock from the DCWV Brights Mat Stack.
A square of olive green Brushstroke paper from the Papermania Oriental Spice paper pad was matted onto the heather cardstock, and a strip of the plum Brushstroke paper from the same paper pad was matted onto a strip of the heather card was matted onto the green panel with the image panel matted over the top.
The 'Happy Birthday' sentiment, from the Papermania Clare Curd Sentiments stamp set, was stamped on the green panel using ColorBox Dark Moss fluid chalk ink. This was traced over with the pink glitter glue.
Papermania white adhesive pearls were added to the plum paper strip.
The inside of the card was only minimally decorated using the plum Brushstroke paper, and the 'Happy Birthday' stamp with the ColorBox Dark Moss fluid chalk ink.
Thursday, 24 September 2009
Blue and Brown Penny Black Cat with Balloons
I love this cute cat image - perfect for any cards you have to make for the men in your life.
The cat image is from the Penny Black B for Bubbly stamp set. The image was stamped in Versafine Onyx Black archival pigment ink and watercoloured using Whispers Brushstroke markers. Anita's 3D Gloss was added over the balloons.
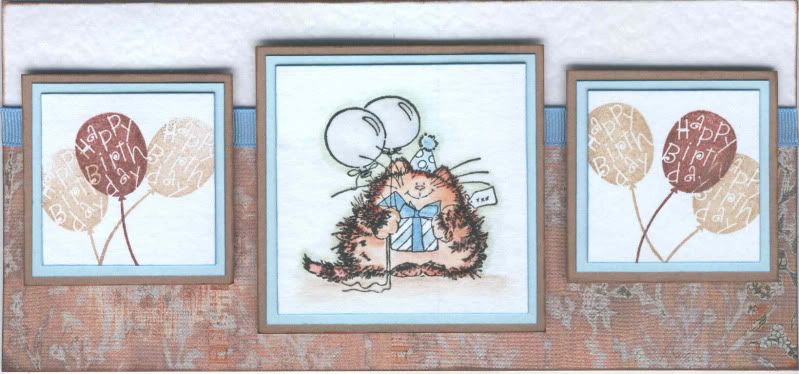 The 'Happy Birthday' balloons from the Hero Arts Birthday Messages stamp set were stamped using the two brown inks in the Brilliance Tiramisu triple inkpad. All the image panels were matted onto blue and brown cardstock.
Patterned paper from the DCWV Old World mat stack was adhered to the lower part of the card blank and a length of light blue grosgrain ribbon from Dovecraft was attached over the join.
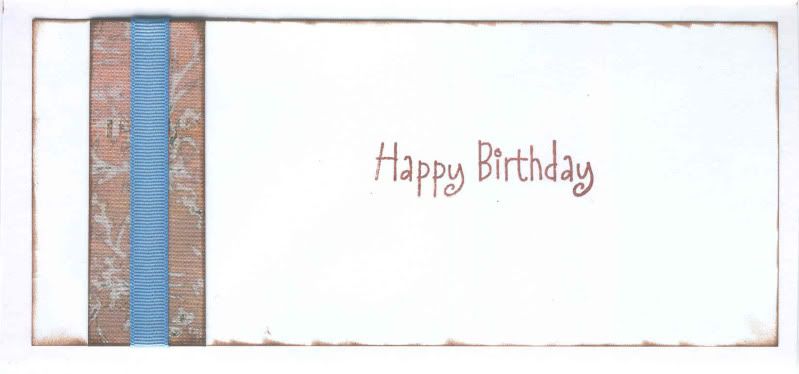 The inside of the card was also decorated using a strip of the Old World paper and a length of the grosgrain ribbon. The 'Happy Birthday' stamp, from the Hero Arts Birthday Messages stamp set, was stamped using the dark brown ink from the Tiramisu ink pad.
The cat image is from the Penny Black B for Bubbly stamp set. The image was stamped in Versafine Onyx Black archival pigment ink and watercoloured using Whispers Brushstroke markers. Anita's 3D Gloss was added over the balloons.
The 'Happy Birthday' balloons from the Hero Arts Birthday Messages stamp set were stamped using the two brown inks in the Brilliance Tiramisu triple inkpad. All the image panels were matted onto blue and brown cardstock.Patterned paper from the DCWV Old World mat stack was adhered to the lower part of the card blank and a length of light blue grosgrain ribbon from Dovecraft was attached over the join.
The inside of the card was also decorated using a strip of the Old World paper and a length of the grosgrain ribbon. The 'Happy Birthday' stamp, from the Hero Arts Birthday Messages stamp set, was stamped using the dark brown ink from the Tiramisu ink pad.Tuesday, 22 September 2009
Brown and Teal Penny Black Garden Buggy
Here is my entry to this week's Stamp Something Blog Challenge. The theme this week is to use your favourite colours on your card. My favourite colours at the moment are teal blue and chocolate brown, which seem to be featuring increasingly in home decor.
I decided to use a new paper pad that I bought as a result of my trip to Julie's. Yes, she made me buy something else!! I saw the papers in her pad and thought 'I've got to get me some of them!'
The paper pad in question is the Making Memories Funky Vintage Ruby Collection pad. It has some beautiful bold patterned papers in there!
So, here is my card:
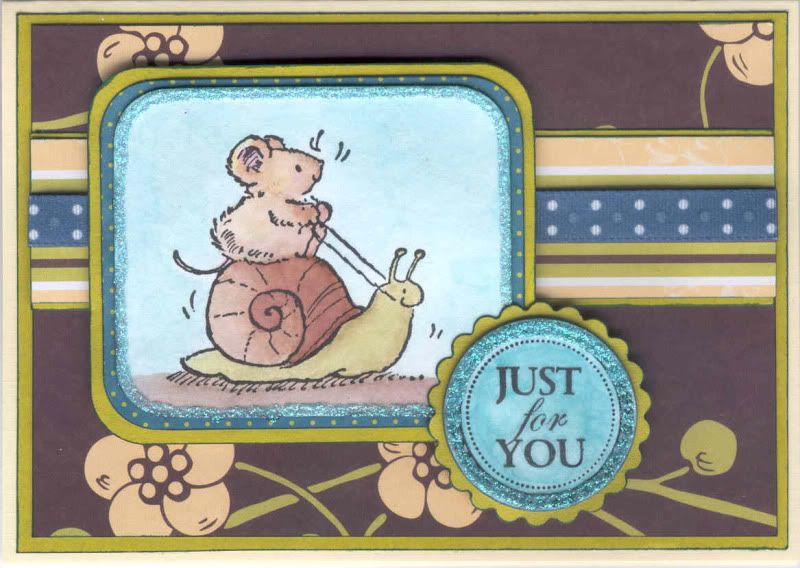
I started by picking out the papers that I wanted to use and coloured my image to match. The image is a Penny Black image called 'Garden Buggy' that I received from Princesskarra over on the docrafts forum. I watercoloured the image using the Whispers Brushstroke markers.
The image was matted onto a panel of the teal mini dots paper from the paper pad and green paper.
A strip of the multi stripe paper was matted onto the green paper and a length of Anita's spotted teal grosgrain ribbon was adhered across the striped paper and attached across a panel of the brown flower and berry paper.
The 'Just For You' sentiment from the Papermania 'Just For You' stamp set was stamped using Versafine Onyx Black archival pigment ink onto white card and watercoloured using the teal Whispers Brushstroke marker. This was cut out using a standard circle Nestie die and matted onto a scalloped circle of the green paper.
Craft Planet Ice Blue glitter glue was used to trace around the edge of the image panel and the sentiment circle.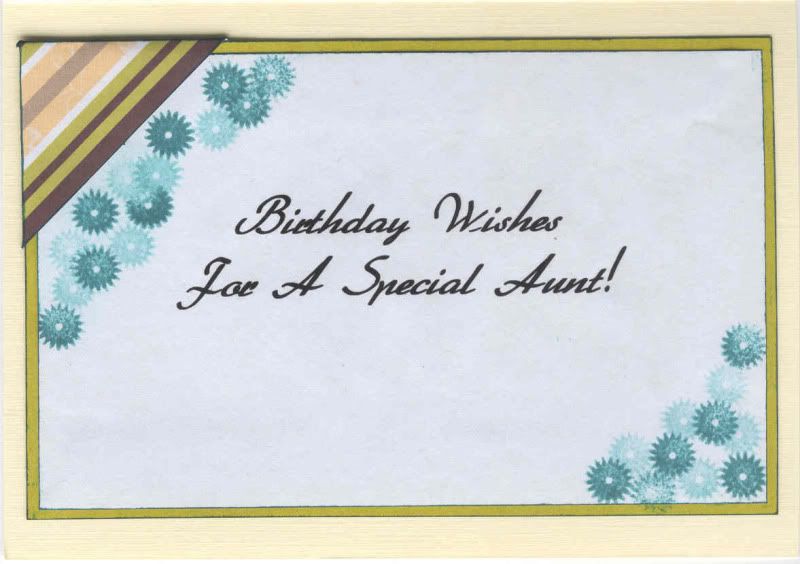
I also decorated the inside of the card. This was decorated slightly differently to how I had intended to decorate it, mainly because I managed to smudge the blue ink used to edge the panel onto the white paper. So, I decided to overstamp the area with the daisy stamp from the Papermania 'Just For You' stamp set with Marvy Matchables Turquoise dye ink. A folded corner was created using the multi stripe paper from the Ruby paper pad.

 Labels
Anitas,
Birthday,
Craft Planet,
Julie,
Making Memories,
Nesties,
Penny Black,
PMania,
ribbon,
Whispers
Monday, 21 September 2009
Coral Pink and Dark Grey Birthday Rose Concertina - Secret Crafter Challenge #50
Here is my entry to this week's Secret Crafter Saturday Blog Challenge. The theme this week, #50, is:
'One For The Girls', and I think this fits the bill perfectly!
I've had this salmon pink concertina card blank for many years, but never knew what to do with it, because of the colour. Then, when I decided to use these papers, I knew exactly which card blank to turn to. I think I received it as part of a subscription gift for Quick Cards Made Easy.
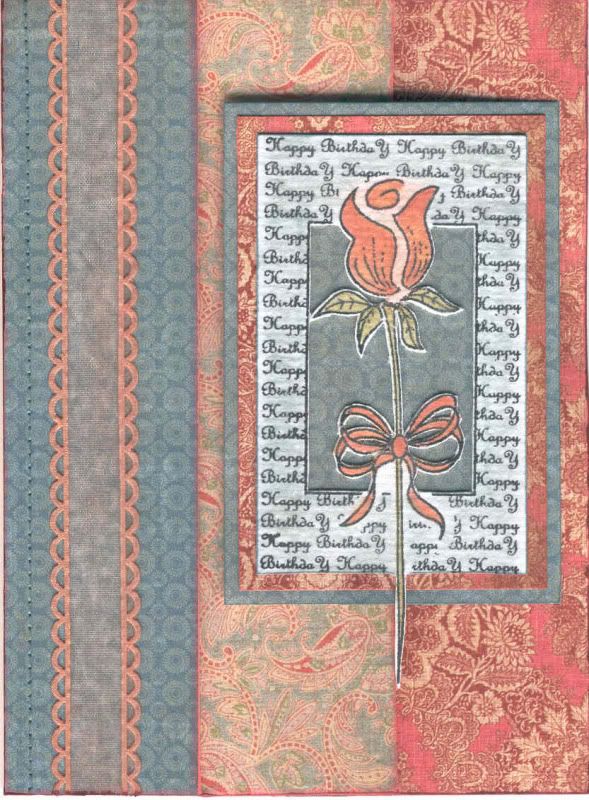 To make the card, I started by covering the panels with papers from the K&Co Bailey paper pad. A length of coral pink picot edge organza ribbon from Chatterbox was attached along the front panel and a dressmaker's tracer wheel was run along the edge of the panel and faux stitching was added using a blue fineliner pen.
The birthday rose image from Anita's was stamped using Versafine Onyx Black archival pigment ink and watercoloured using Whispers Brushstroke markers and highlighted with Papermania Earth Tones Shimmer Chalks. The image was cut out, including the centre area, and matted onto matching papers from the Bailey paper pad. This was attached to the centre panel.
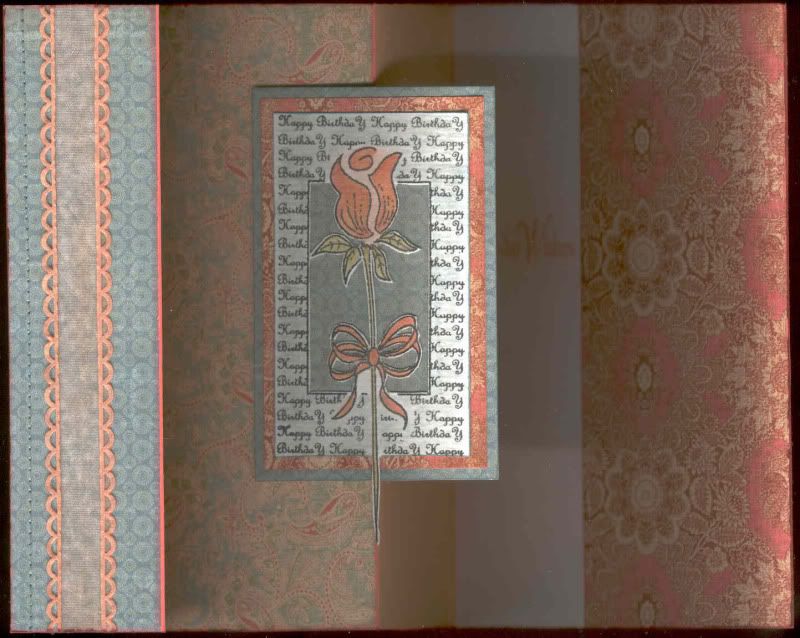
Here is a view of the open card, showing the inside of the panels.
 I was rather pleased with this card, even if I say so myself!!
'One For The Girls', and I think this fits the bill perfectly!
I've had this salmon pink concertina card blank for many years, but never knew what to do with it, because of the colour. Then, when I decided to use these papers, I knew exactly which card blank to turn to. I think I received it as part of a subscription gift for Quick Cards Made Easy.
To make the card, I started by covering the panels with papers from the K&Co Bailey paper pad. A length of coral pink picot edge organza ribbon from Chatterbox was attached along the front panel and a dressmaker's tracer wheel was run along the edge of the panel and faux stitching was added using a blue fineliner pen.The birthday rose image from Anita's was stamped using Versafine Onyx Black archival pigment ink and watercoloured using Whispers Brushstroke markers and highlighted with Papermania Earth Tones Shimmer Chalks. The image was cut out, including the centre area, and matted onto matching papers from the Bailey paper pad. This was attached to the centre panel.
Here is a view of the open card, showing the inside of the panels.
I was rather pleased with this card, even if I say so myself!!
Subscribe to:
Posts (Atom)





 Posts