The lovely Jules has very kindly awarded me with a Hug Award.
Thursday, 26 February 2009
Tuesday, 24 February 2009
Tags and Tiles
I had to pack up my craft room last week as my brother-in-law and his wife announced (the day before) that they were coming to visit and stay the night. Now, technically, my craft room is the spare room but it only gets used 2-3 times a year. Unfortunately, last Thursday was one of those times.
As it was, I was going to have to tidy the room up as we had a scheduled electrical inspection on the Friday, meaning the poor electrician needed access to sockets, heaters etc, but with their impending arrival, I was actually going to have to tidy everything away, rather than make nice piles of things on my table!!!
If I get a chance, I'll take some photos of my room, if only for my own reference so I know how tidy the room can look!!!
Anyway, before I tidied everything away, I managed to make a couple of cards. They were based on a design in the Just Cards magazine, and I made a male and female version of the design.
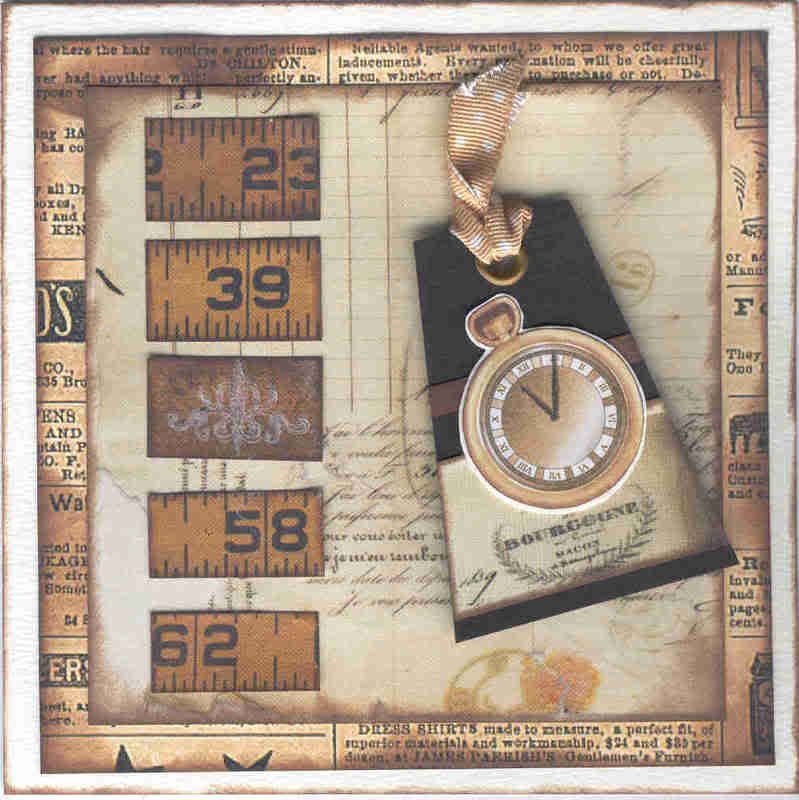
The first was the male version.
I created a tag from brown card, and attached strips of paper from the K&Co Life's Journey Ruler pad across it and and set a large eyelet at the top. The pocket watch image was cut from the HOTP Masculine Paper Artsy book and adhered to the tag. Anita's beige polka dot grosgrain ribbon was threaded through the eyelet.
Two squares of matching patterned paper from the Ruler paper pad were distressed with ColorBox Chestnut Roan Fluid Chalk ink and layered up. Sections of the ruler paper were adhered to the left hand side and the tag on the right.
A flourish from the Making Memories Ornaments stamp set was stamped onto one of the ruler tiles using Brilliance Moonlight White pigment ink.
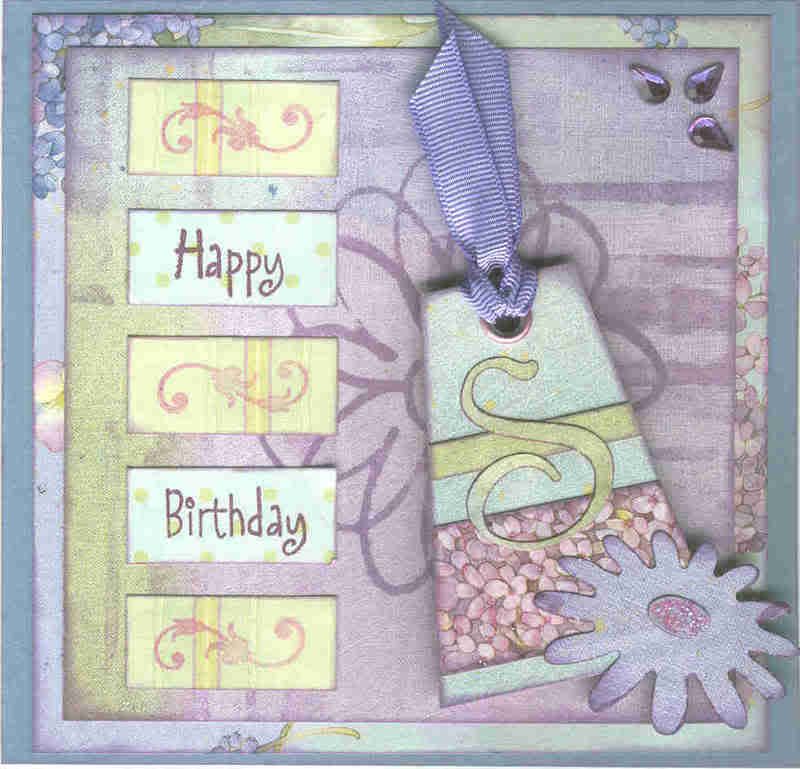
The design was adapted slightly for the more feminine version.
I created the tag using a scrap of paper from the K&Co Brenda Walton Lilac paper pad, which I adhered onto a piece of card to strengthen it. Strips of matching paper were attached across the tag, and an eyelet was set at the top. Lilac grosgrain ribbon was threaded through the eyelet.
The initial was cut from matching paper using the Ellison Curlie Girlie die cut set. A flower was cut out using an X Cut die, also cut from matching paper from the Lilac paper pad.
A square of the patterned paper was over stamped using the Scribble Flower and Irregular Lines foam stamps from a Creative Expressions foam stamp set using ColorBox Wisteria Fluid Chalk ink pad. This was matted onto another square of matching paper and matted onto a card blank.
Tiles of paper were cut from two matching papers from the Lilac paper pad.
The greeting was stamped onto two of the tiles using a stamp from the See D's Celebration Messages stamp set using ColorBox Wisteria fluid Chalk ink. A flourish from the Making Memories Ornaments stamp set was stamped onto the remaining three tiles using ColorBox Warm Violet Pigment ink.
Once the card was assembled, lilac teardrop gems were attached in the top right corner.
Valentine's Day Card
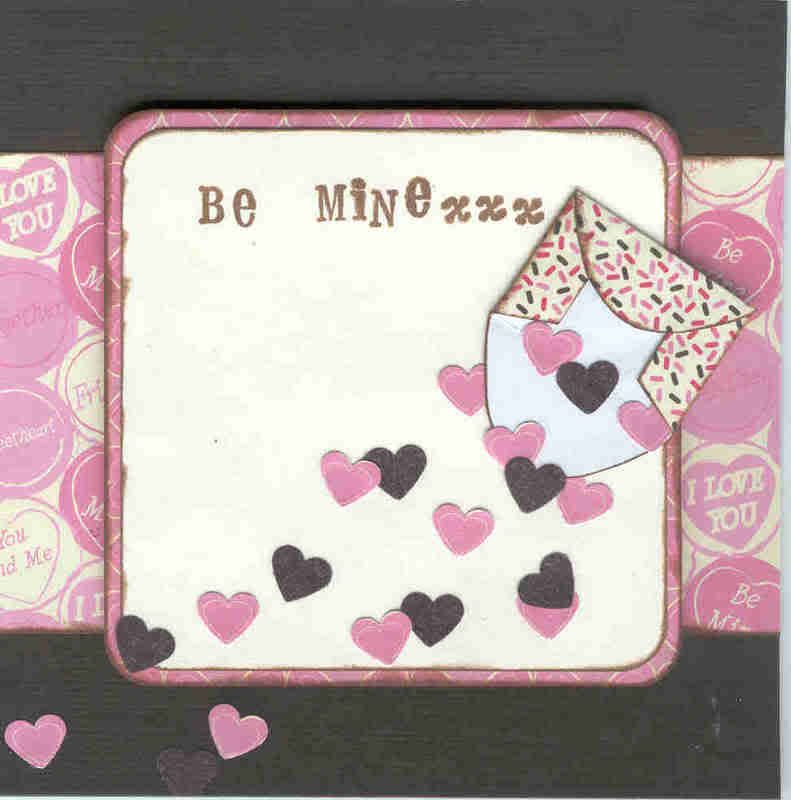
This is the Valentine's Day card that I made for my hubby. I have to admit that the design is more or less copied from a card that I saw in the Quick Cards Made Easy magazine last year.
A strip of the 'Lovehearts' paper from the Papermania Scrumptious paper pad was adhered across the chocolate brown card blank.
A square of cream paper was layered onto a square of a matching paper from the Scrumptious paper pad.
The sentiment was stamped using ColorBox Chestnut Roan Fluid Chalk ink and one of the Studio G mini alphabet stamp sets.
A mini envelope was made from a matching paper using the HOTP Mini Envelope template.
Mini hearts were punched from brown paper and from one of the patterned papers, and adhered to appear as though falling from the envelope.
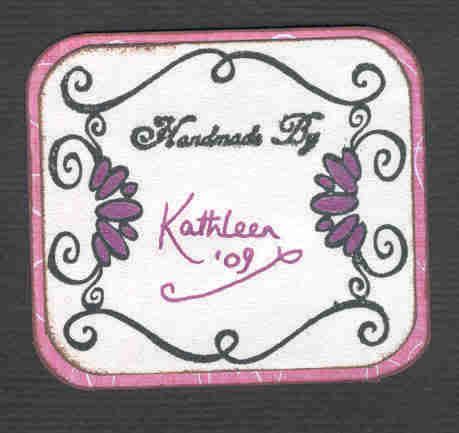
I also created a 'Handmade By' panel for the reverse of the card. I used a frame stamp from one of the new Papermania Clear Stamp Duo stamp sets, stamped it in Versafine Onyx Black pigment ink and coloured the ovals using a pink Sakura Metallic pen. The 'Handmade By' stamp is from the new Papermania Marie Curie clear stamp set.
The frame was cut into a panel, and mounted onto a piece of matching paper from the Papermania Scrumptious paper pad.
Monday, 23 February 2009
Another Christmas Card
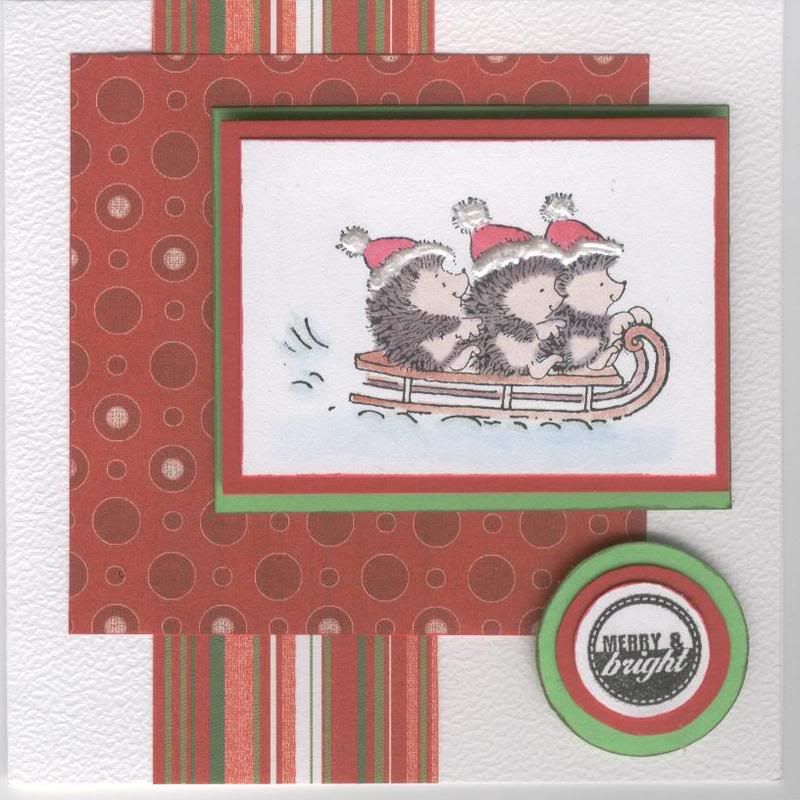
I've just realized that I forgot to upload a couple of Christmas card designs, so here they are.
The image was kindly donated by Judith B in the Sep 08 docrafts image swap.
The 'Sledging Hedgies' image was watercoloured with Whispers Brushstroke markers and highlighted with Anita's Metallic White 3D Dimensional Paint.
Red and green papers from the HOTP Ultimate Christmas Creative Pack were layered up on the card blank.
The 'Merry & Bright' sentiment, from the HOTP Christmas Sentiment stamp set, was stamped and cut out and both stamped images were layered onto red and green card.
This image was donated by Judith B in the docrafts Sep 08 image swap.
The 'Stocking Treat' image was watercoloured with Whispers Brushstroke markers and highlighted with Anita's Metallic White 3D Dimensional Paint.
Red and green papers from the HOTP Ultimate Christmas Creative Pack were layered up on the card blank.
The 'Warm Tidings' sentiment, from the HOTP Christmas Sentiments stamp set, was stamped and cut out and both stamped images were layered onto red and green card.
RED AND GREEN SLEDGING HEDGIES
The image was kindly donated by Judith B in the Sep 08 docrafts image swap.
The 'Sledging Hedgies' image was watercoloured with Whispers Brushstroke markers and highlighted with Anita's Metallic White 3D Dimensional Paint.
Red and green papers from the HOTP Ultimate Christmas Creative Pack were layered up on the card blank.
The 'Merry & Bright' sentiment, from the HOTP Christmas Sentiment stamp set, was stamped and cut out and both stamped images were layered onto red and green card.
RED AND GREEN STOCKING HEDGIE
This image was donated by Judith B in the docrafts Sep 08 image swap.
The 'Stocking Treat' image was watercoloured with Whispers Brushstroke markers and highlighted with Anita's Metallic White 3D Dimensional Paint.
Red and green papers from the HOTP Ultimate Christmas Creative Pack were layered up on the card blank.
The 'Warm Tidings' sentiment, from the HOTP Christmas Sentiments stamp set, was stamped and cut out and both stamped images were layered onto red and green card.
Friday, 6 February 2009
Three Birthday Cards
As promised, here are the three birthday cards I made this week.
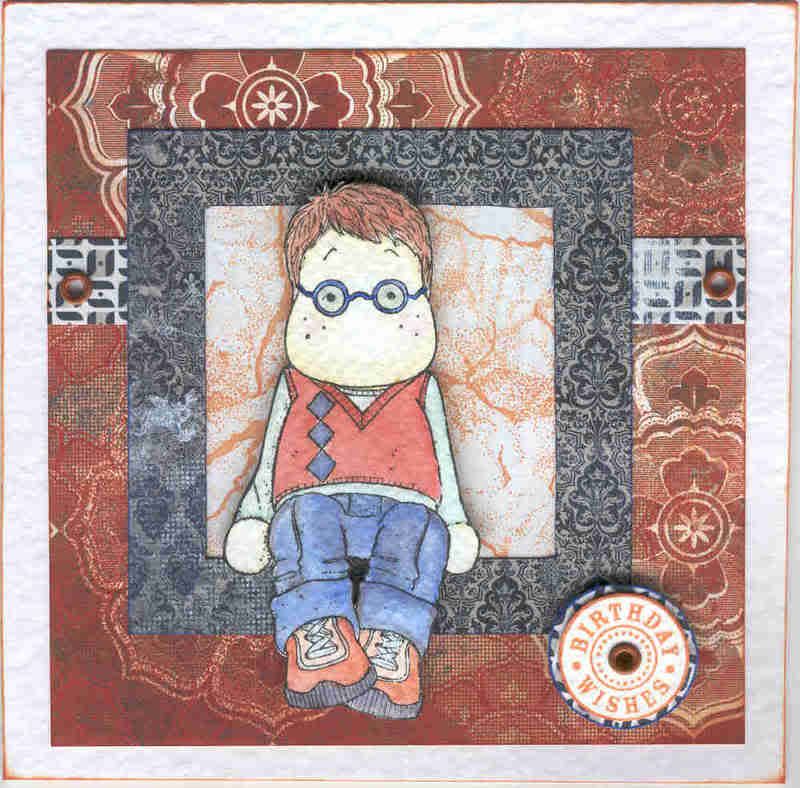
The first was an Edwin card that I made for my cousin. I used one of the images that was kindly donated to me by Alex (Eisbaerin). I wanted to use my Basic Grey Boxer papers and watercoloured the image using the Whispers Brushstroke markers to match the colours. The glasses were highlighted with clear Sakura glaze pen.
A strip of blue/grey geometric paper from the Basic Grey Boxer pad was matted onto a red floral paper from the same paper pad and mini eyelets were attached at the edges. A frame was cut from a third paper from the paper pad and matted over a piece of paper stamped with the Stone Texture stamp from the Judikins Artefacts cube and Whispers Caramel Delight Permanent Dye ink.
The 'Birthday Wishes' stamp, from the Hero Arts Birthday Greetings stamp set, was stamped using Whispers Caramel Delight Permanent Dye ink, matted onto a matching patterned paper from the Boxer paper pad and a matching mini eyelet was set in the centre.
The Edwin image was attached over the frame and the greeting in the corner.
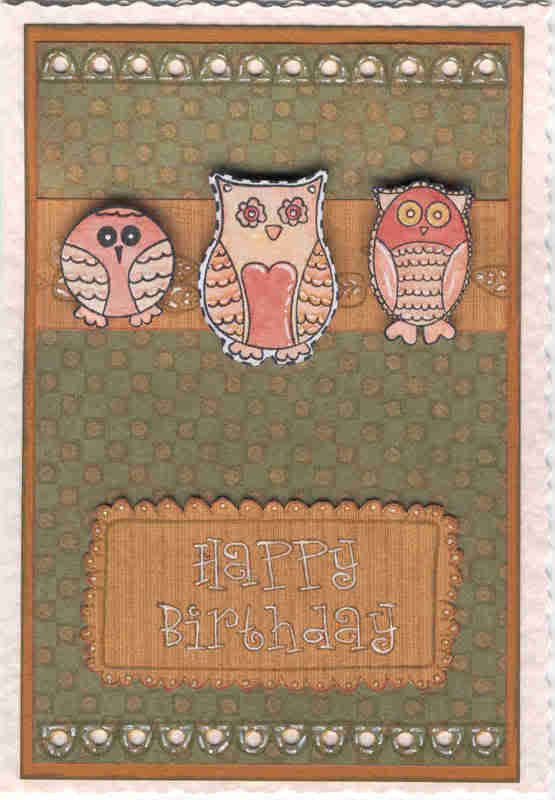
The second was a card for another of my cousins. This time I used the owl images from the Papermania Secret Garden stamp set. They were stamped using Versafine Onyx Black ink and watercoloured using Whispers Brushstroke markers. These were then highlighted with white gel pen.
A piece of green patterned paper from the HOTP Earth's Palette Creative Pack was stamped with the scallop border stamp. A co-ordinating strip of yellow paper, from the same paper pack, was stamped with the leaves stamp and highlighted with white gel pen. This strip was attached across the green panel and then attached to a piece of mustard yellow paper. Holes were punched in the scallop borders and highlighted with white gel pen. The owl images were attached over the yellow strip of paper.
The scallop frame, from the Papermania Sweet Nothings stamp set, was stamped onto the yellow patterned paper and the Happy Birthday greeting was stamped in the centre. The lettering and scallops were highlighted with white gel pen. The frame was cut out and attached at the bottom of the panel. The panel was attached to a cream deckle-edged A6 card.
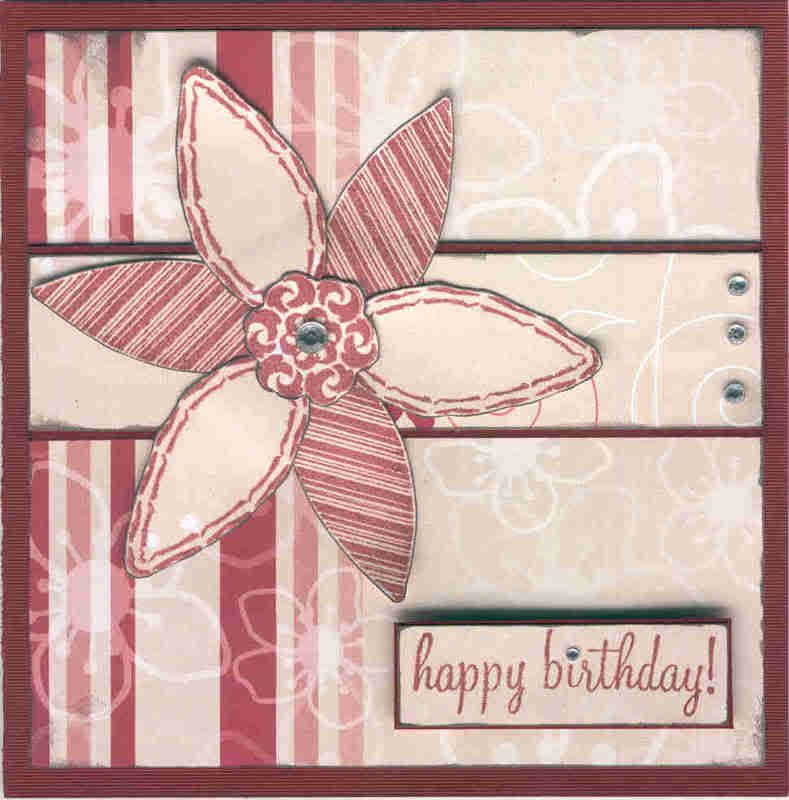
The third and final card was made using the Autumn Leaves Build-a-Flower stamp set. Three each of the pinstripe petals and wiggly petals and a decorative centre were stamped out using Versafine Crimson Red ink. These were cut out, edged using Ancient Page Flannel Grey ink and assembled to create a flower.
A strip of cherry blossom and swirls paper from the Raspberry and Champagne Creative Tones paper pad was attached to a strip of burgundy card and then attached to a square of cherry blossom and stripes paper from the same paper pad. This panel was attached to a square burgundy card blank.
A 'Happy Birthday' greeting, from the HOTP Sentiments stamp set, was stamped onto matching patterned paper and matted onto the burgundy card. The greeting and flower were attached to the card, and gems were added to the flower, greeting and the paper strip.
Red and Blue Edwin with Glasses
The first was an Edwin card that I made for my cousin. I used one of the images that was kindly donated to me by Alex (Eisbaerin). I wanted to use my Basic Grey Boxer papers and watercoloured the image using the Whispers Brushstroke markers to match the colours. The glasses were highlighted with clear Sakura glaze pen.
A strip of blue/grey geometric paper from the Basic Grey Boxer pad was matted onto a red floral paper from the same paper pad and mini eyelets were attached at the edges. A frame was cut from a third paper from the paper pad and matted over a piece of paper stamped with the Stone Texture stamp from the Judikins Artefacts cube and Whispers Caramel Delight Permanent Dye ink.
The 'Birthday Wishes' stamp, from the Hero Arts Birthday Greetings stamp set, was stamped using Whispers Caramel Delight Permanent Dye ink, matted onto a matching patterned paper from the Boxer paper pad and a matching mini eyelet was set in the centre.
The Edwin image was attached over the frame and the greeting in the corner.
Green and Yellow Owls
The second was a card for another of my cousins. This time I used the owl images from the Papermania Secret Garden stamp set. They were stamped using Versafine Onyx Black ink and watercoloured using Whispers Brushstroke markers. These were then highlighted with white gel pen.
A piece of green patterned paper from the HOTP Earth's Palette Creative Pack was stamped with the scallop border stamp. A co-ordinating strip of yellow paper, from the same paper pack, was stamped with the leaves stamp and highlighted with white gel pen. This strip was attached across the green panel and then attached to a piece of mustard yellow paper. Holes were punched in the scallop borders and highlighted with white gel pen. The owl images were attached over the yellow strip of paper.
The scallop frame, from the Papermania Sweet Nothings stamp set, was stamped onto the yellow patterned paper and the Happy Birthday greeting was stamped in the centre. The lettering and scallops were highlighted with white gel pen. The frame was cut out and attached at the bottom of the panel. The panel was attached to a cream deckle-edged A6 card.
Raspberry and Champagne Flower
The third and final card was made using the Autumn Leaves Build-a-Flower stamp set. Three each of the pinstripe petals and wiggly petals and a decorative centre were stamped out using Versafine Crimson Red ink. These were cut out, edged using Ancient Page Flannel Grey ink and assembled to create a flower.
A strip of cherry blossom and swirls paper from the Raspberry and Champagne Creative Tones paper pad was attached to a strip of burgundy card and then attached to a square of cherry blossom and stripes paper from the same paper pad. This panel was attached to a square burgundy card blank.
A 'Happy Birthday' greeting, from the HOTP Sentiments stamp set, was stamped onto matching patterned paper and matted onto the burgundy card. The greeting and flower were attached to the card, and gems were added to the flower, greeting and the paper strip.
Posted by
Kathleen
at
4:33 pm
Labels
Autumn Leaves,
Basic Grey,
Birthday,
Edwin,
eyelets,
gems,
Hero Arts,
HOTP,
Magnolia,
masculine,
PMania,
w/colouring,
Whispers
Apologies for the long absence
Well, I'm back - although there's no guarantee my postings will be very regular from now on. There really don't seem to be very many hours in the day at the moment.
We got back from Dublin on the 9th of January to a much colder England than we left. As we got to Oxfordshire, we hit freezing fog, which isn't much fun when your water jets freeze up too!!!
Last week we finally got round to having a look at the TV we won at the Christmas Ball - only to discover that there's no remote with it and you need a remote to tune it all in. Typical. Bet they got it at a discounted price due to the fact there's no remote!!! Just our luck! So, it's back in the box for now.
We were also supposed to have the 2.5 and 5 yearly electrical test done on our house. This was originally supposed to happen back in October but we had to cancel it, so it was rescheduled for the start of December. We both spent ages cleaning the house and making sure all the plug sockets were accessible (which isn't easy when you've got a room full of craft stash and removal boxes around the house that still haven't been unpacked since last January!!!). To cut a long story short, that was then cancelled by them and rescheduled for the 18th January - and then the 2nd of February - and then again til the 20th February. I wouldn't mind but I have to clean each time. It's exhausting!!!!
So, hence the lack of cardmaking. I've been trying to sort out the carnage of my craft room after the mad cardmaking spree of December for Christmas. (It really was horrendous - and to be honest doesn't seem that much better even now!!!)
I've only managed to make three cards since I returned from Ireland - not at all productive!!
And each of those three cards were belated birthday cards as I didn't manage to finish them until the day before their birthdays!!
Now, more for my own reference, although there might be the odd mad person out there who is still making Christmas cards and wants some inspiration (I'm certainly not one of them!!) I shall upload the rest of the Christmas cards that I made last year.
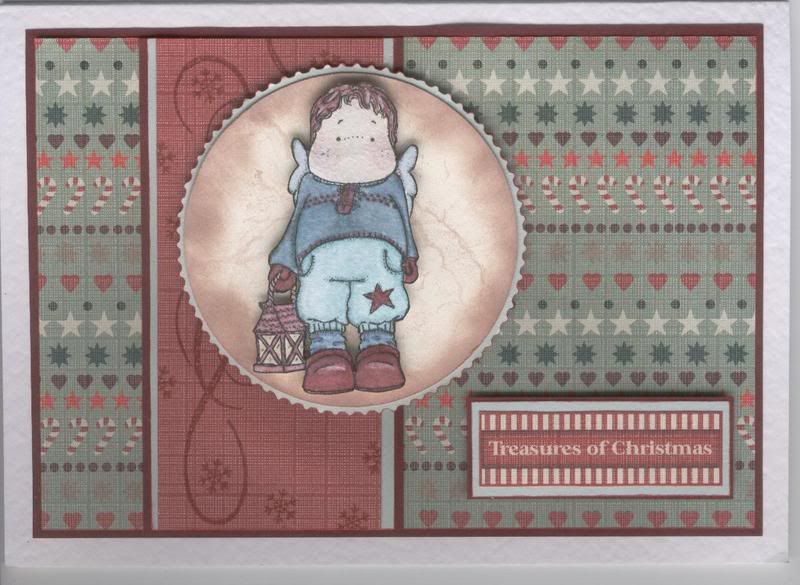
Red and Blue Edwin with Lantern
This was actually the last card I made but it's the card I made for my darling husband. I think he was actually quite impressed with it, and if I say so myself, so am I.
The image is one that was very kindly donated by Alex (Eisbaerin) that I watercoloured using the Whispers Brushstroke markers and then cut out.
The glass on the lantern was highlighted with a clear Sakura glaze pen.
A circle was cut out and stamped using the Stone Texture stamp from the Judikins Artefacts Cube using Whispers Chestnut Permanent Dye ink, which was also used to distress the edges of the circle. This was matted onto blue paper cut out with the Dovecraft Postage Stamp decorative scissors.
Patterned papers from the HOTP Christmas Ultimate paper pack were matted onto the card blank. The red paper was stamped using one of the swirl stamps from the HOTP Swirl stamp set and a mini snowflake stamp from the HOTP Christmas Motifs stamp set, both using Versafine Crimson Red Archival Pigment ink.
The greeting was cut out from the art in the HOTP Christmas Ultimate pack and matted onto the blue and red papers.
Red and Green Holly Jolly
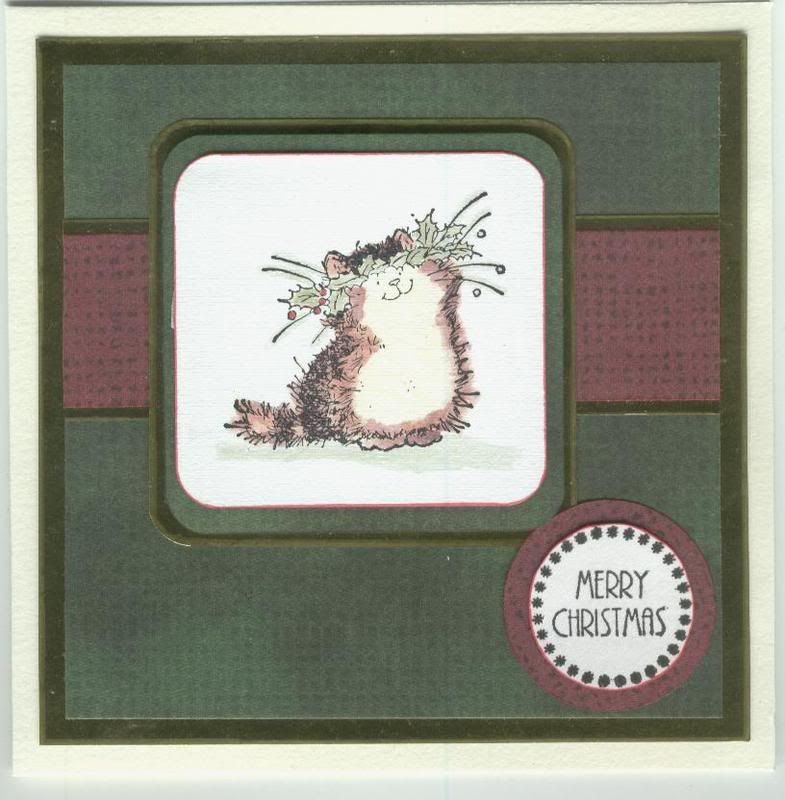
This was the last of the Penny Black cards that I made using the images swapped with Judith B from the docrafts cardmaking forum.
I watercoloured the image the using Whispers Brushstroke markers.
Red and green papers were taken from the HOTP Christmas Creative Pack and matted onto gold mirror card.
The 'Merry Christmas' greeting circle, from the HOTP Christmas Sentiments stamp set, was stamped and matted onto the red paper.
Glittered Holly Medallion
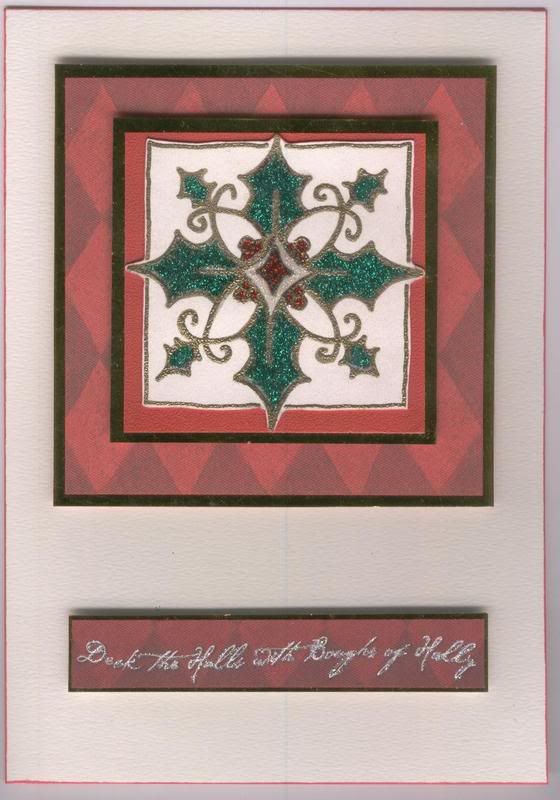
Now this was a bit of a cheat card. I was going to just send the card that was left over from last year, but then I discovered that there was an insert stuck inside it. So, I chopped the front of the original card up and stuck the parts onto the front of an A5 card.
When I made the original card back in 2007, it was something a bit different for me.
The design was traced from a book called the Crafters' Design Library - Florals. I traced the image in pencil and then went back over the lines with an embossing pen and then heat embossed it in gold. I then coloured in the image using the Whispers Brushstroke markers and added glitter over the top. The glitter was then covered with Anita's 3D Gloss, to stop it from shedding.
The image was cut out and matted onto red and gold card, and then on to patterned paper from the K&Co Tim Coffey Christmas paper pad. Crystal Glamour Dust was then added over the top of the text on a sheet of patterned paper from the same paper pad and attached to the bottom of the card.
The last of my Christmas cards for 2008 consisted of a series of cards made using the Penny Black Twelve Days of Christmas stamp set.
Red and Green Partridge in a Pear Tree
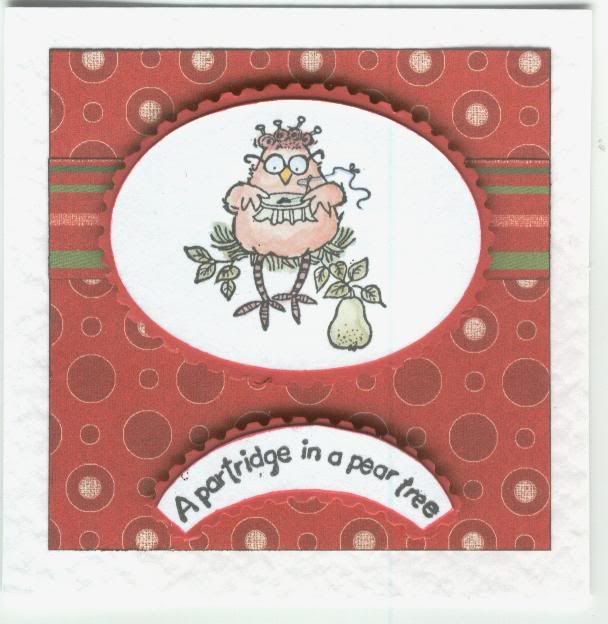
HOTP Ultimate Christmas Creative pack
Versafine Onyx Black Archival Pigment ink
Whispers Brushstroke markers
Dovecraft Postage Stamp decorative scissors
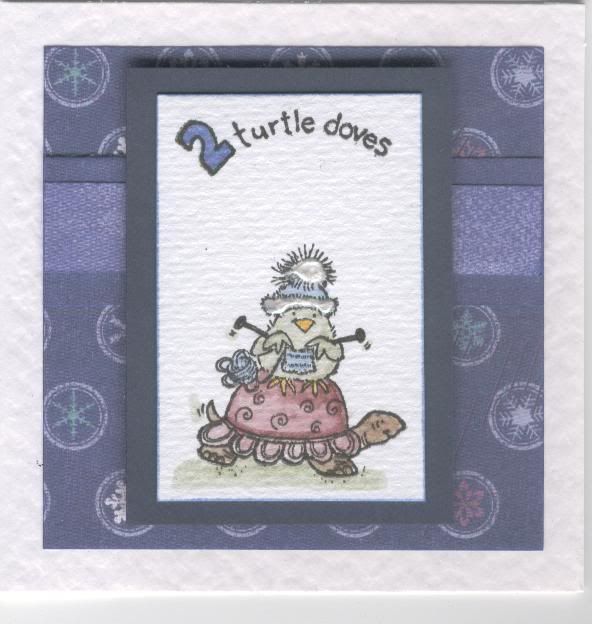
Blue Two Turtle Doves
HOTP Ultimate Christmas Creative pack
Versafine Onyx Black Archival Pigment ink
Whispers Brushstroke markers
Anita's Metallic White 3D Dimensional Paint
Red and Black Three French Hens
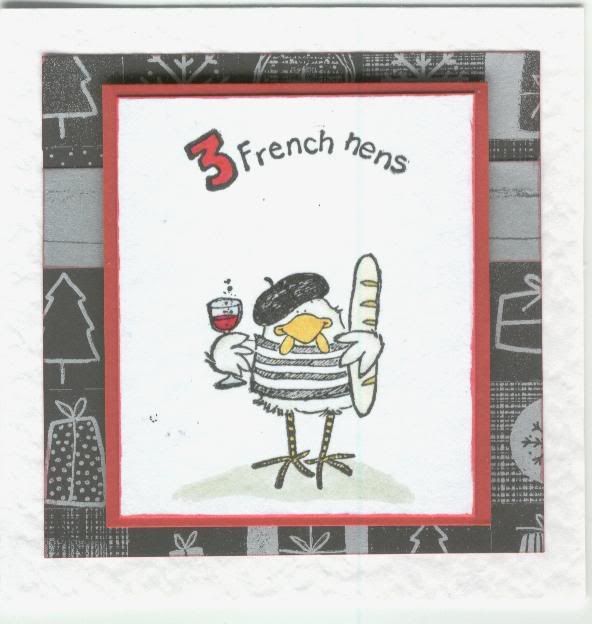
Anita's Classic Christmas Black Paper pack
Versafine Onyx Black Archival Pigment ink
Whispers Brushstroke markers
Clear Sakura Glaze pen
Blue Four Calling Birds
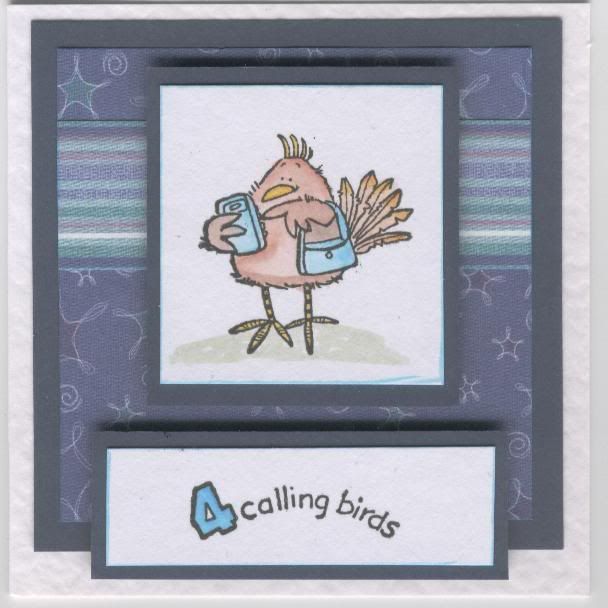
HOTP Ultimate Christmas Creative pack
Versafine Onyx Black Archival Pigment ink
Whispers Brushstroke markers
Black and Gold Five Golden Rings
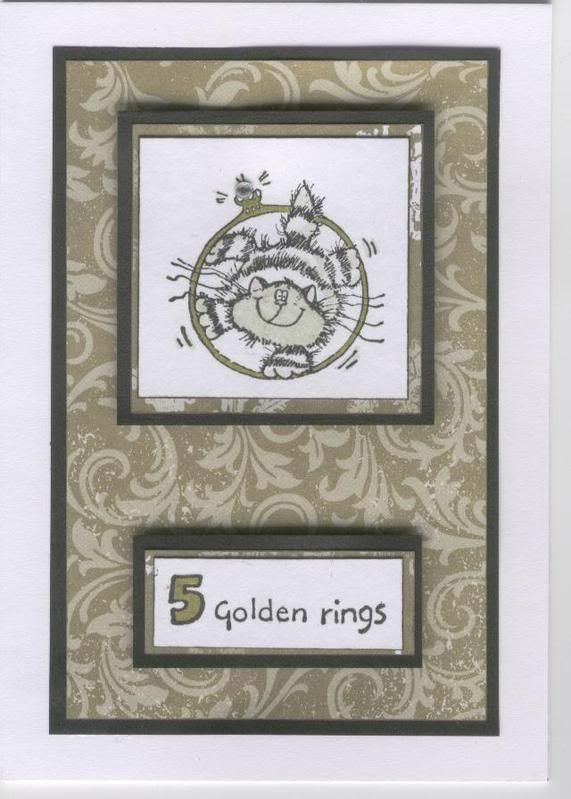
Anita's Tradional Designs paper pack
Versafine Onyx Black Archival Pigment ink
Whispers Brushstroke markers
Clear faux gem
Red Six Geese-a-Laying
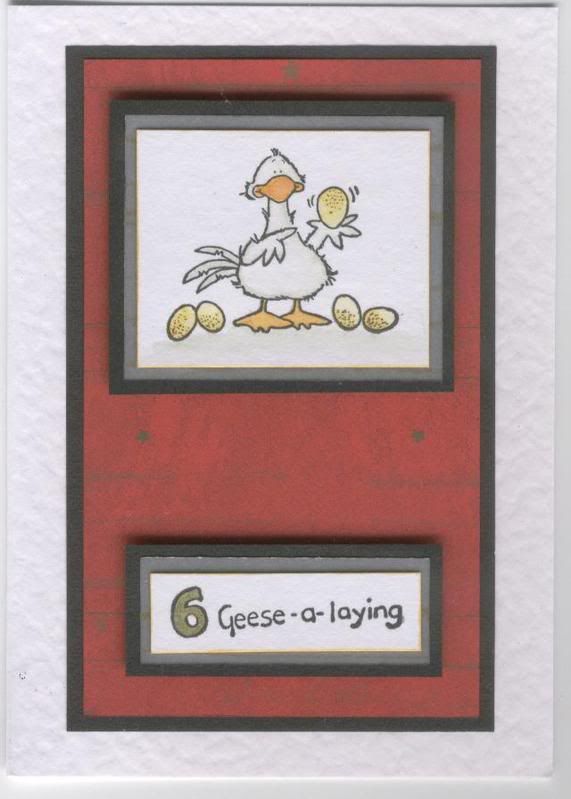
Anita's Traditional Designs paper pack
Anita's Classic Christmas Gold Vellum pack
Versafine Onyx Black Archival Pigment ink
Whispers Brushstroke markers
Versafine Onyx Black Archival Pigment ink
Whispers Brushstroke markers
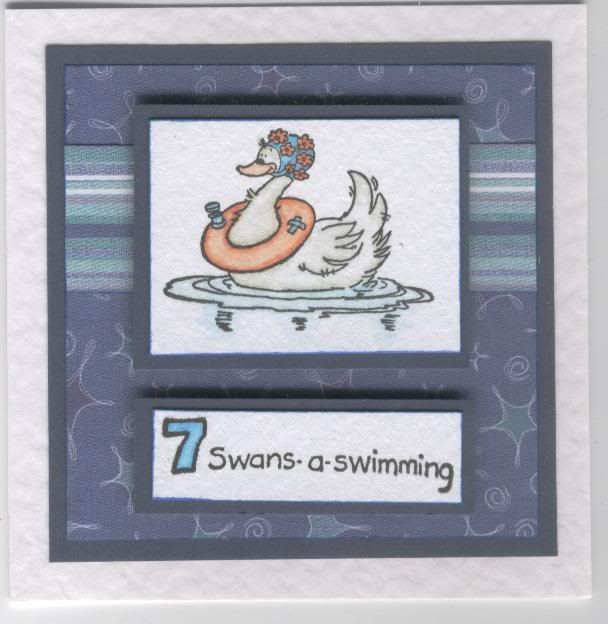
Blue Seven Swans-a-Swimming
HOTP Ultimate Christmas Creative pack
Versafine Onyx Black Archival Pigment ink
Whispers Brushstroke markers
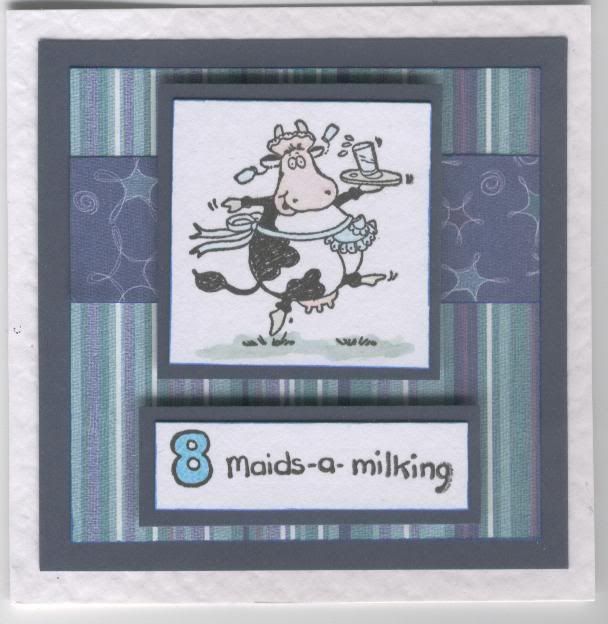
Blue Eight Maids-a-Milking
HOTP Ultimate Christmas Creative pack
Versafine Onyx Black Archival Pigment ink
Whispers Brushstroke markers
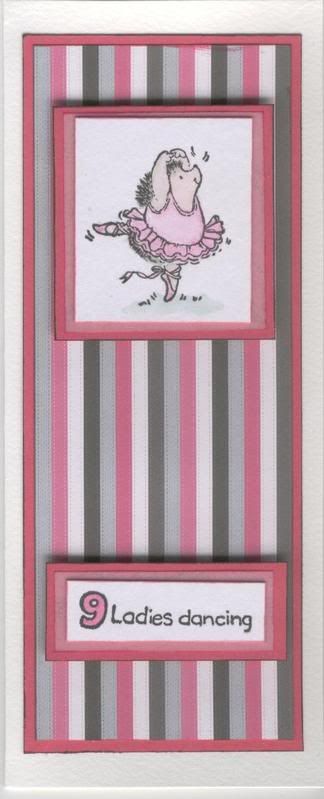
Pink/Grey/Black Nine Ladies Dancing
DCWV Rose Tinted Christmas Multi Stack
Anita's Classic Christmas Silver Vellum pack
Versafine Onyx Black Archival Pigment ink
Whispers Brushstroke markers
Pink Sakura Stardust pen
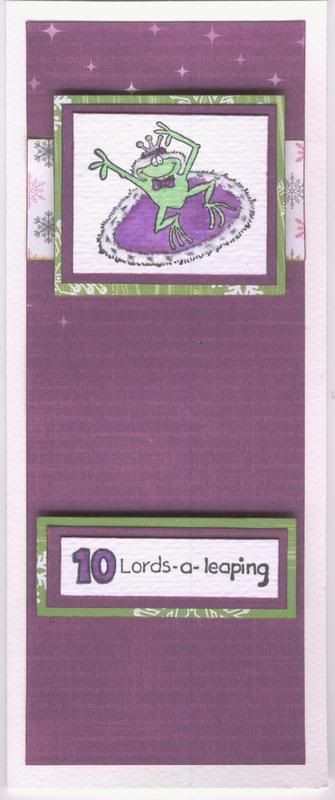
Purple and Green Ten Lords-a-Leaping
Anita's Naughty and Nice Christmas Paper pack
DCWV Rose Tinted Christmas Multi Stack
Versafine Onyx Black Archival Pigment ink
ColorBox Lime Pastel Fluid Chalk ink
Whispers Brushstroke markers
Papermania White Glitter Flock
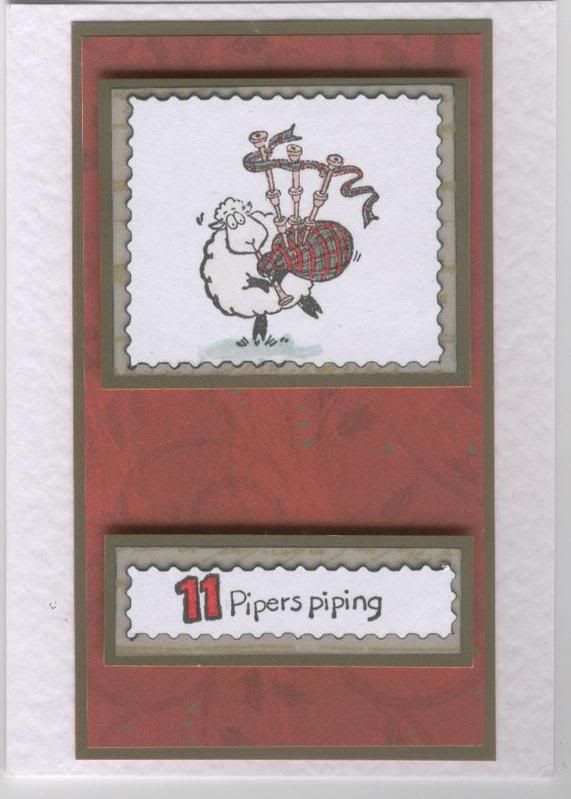
Red and Gold Eleven Pipers Piping
Anita's Traditional Christmas Paper pack
Anita's Classic Christmas Gold Vellum pack
Versafine Onyx Black Archival Pigment ink
Whispers Brushstroke markers
Dovecraft Postage Stamp decorative scissors
Whispers Brushstroke markers
Dovecraft Postage Stamp decorative scissors
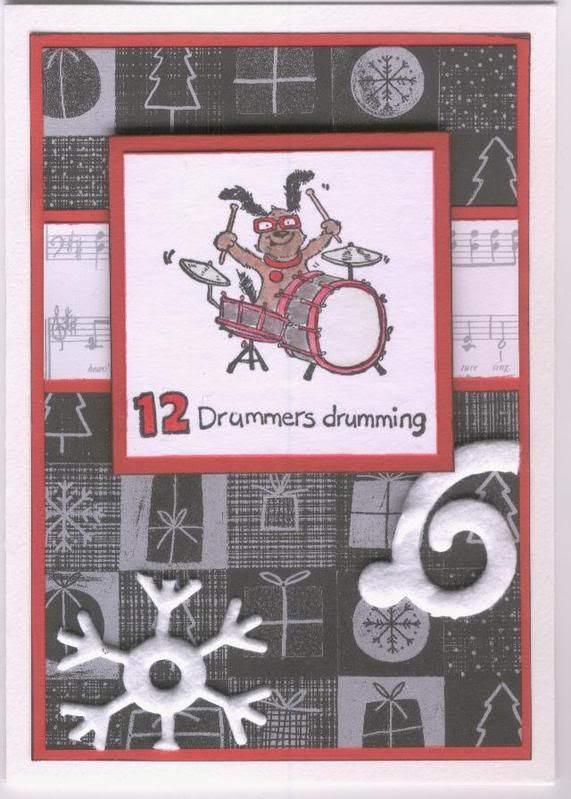
Red and Black Twelve Drummers Drumming
Anita's Classic Christmas Black Paper pack
Versafine Onyx Black Archival Pigment ink
Whispers Brushstroke markers
Papermania White Snowflake Felt Ribbon
Well, that's should be enough to tide you over for now!!!
I'll upload the three birthday cards that I made this week later on today if I get a chance.
Also, if anyone can tell me why it is almost impossible to centre only a paragraph of text on here without altering random other paragraphs I'd be very grateful. Might have to get my html-writing hat on again - it's been a while!!!

Subscribe to:
Posts (Atom)