



Pages

WELCOME

This blog was created to act as a record of the cards and other projects that I have made. It is for both my own reference and to help inspire anyone who wants to take a look.

I'd love it if you'd leave me a comment so that I know what you think of my projects and that you've been to visit!

Anyone can comment, even those who don't have a blog. (Just look for the word 'Comments' under the three little pictures at the end of each post). Readers without a blog can add an anonymous comment, but please leave your name (and docrafts username if applicable) so I know who you are!

Slideshows of all the cards I've uploaded to my blog can be found at the bottom of the page.


PEOPLE WHO FOLLOW MY BLOG

Friday, 6 November 2015

Turquoise and Orange Songbird Tree

So, here we are again with one of my older cards. This one is from 2011.
 
I bought this set of papers and stamps when they first came out, full of great ideas. They are the Papermania Birdsong papers. Of course, as soon as I got them home, all ideas fled from my mind and they've been sat in various boxes every since!!!
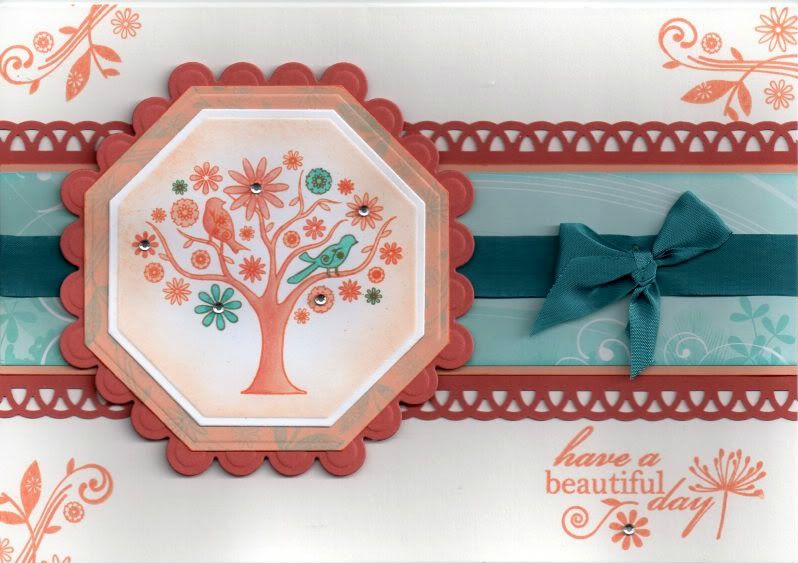

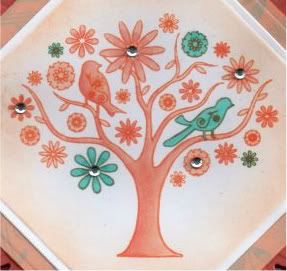
The patterned paper was chosen firstly and the image stamped to match. The Floral Bird Tree stamp, from the Papermania Birdsong Blossom stamp set, was stamped using Memento Tangelo dye ink and coloured using Copic sketch markers:
    Tree/Leaves/Bird 1: YR00, YR02
    Bird 2: BG11, BG45, BG49
    Flowers: YR00, YR02, BG11, BG45, BG49
    The image was then die cut using a Nestabilities Octagon die and the Tangelo ink was lightly applied through the die, leaving the white edge. A larger pale orange octagon was also die cut and the edges stamped using the Floral Flourish stamp from the Papermania Birdsong stamp set with ColorBox Aqua pigment ink. These were then matted onto a dark orange scalloped octagon die cut.

A strip of the dark orange card was punched with the XCut Lace Trim border punch and a strip of turquoise floral swirl paper from the Papermania Songbird paper pad was added across it, as was a length of teal seam binding. A bow was created from the teal seam binding with a bowmaker and attached over the length using a glue dot. This wasn't as successful as I'd hoped though as the knot wouldn't lie flat!!

The paper strip was then attached across the card blank and the image panel added to the left of the card blank.

The sentiment, from the Papermania Birdsong Blossom stamp set, was stamped in the bottom right corner using the Tangelo ink, as was the Floral Flourish in the other corners.
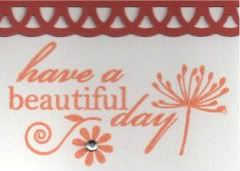

Clear faux gems were added to the main image and to the sentiment.

Wednesday, 4 November 2015

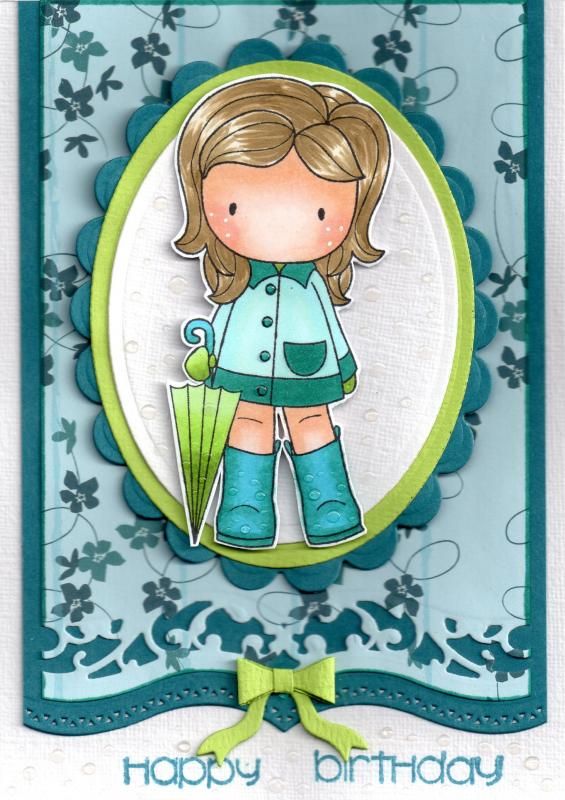
Teal and Lime CC Designs Rainy Day Emma

This is a nice bright girlie card today, using the cute CC Designs
Rainy Day Emma image.
 
 
To begin with, the image was stamped using Memento Tuxedo Black dye ink and coloured with Copic markers:
 
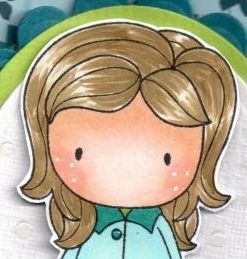
Hair: E41, E43, E44
Skin: E000, E00, E11, E21, R20
Jacket: B00, BG09, BG10
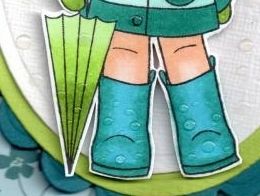
Gloves/Umbrella: YG11, YG13, YG17
Scarf: YG17
Wellies/Umbrella Handle: BG02, BG09
 
A Papermania Snow White gel pen was used to add highlights to the image.
 
 
The image was then fussy cut and added to an oval die cut using the Nestabilities Classic oval die and matted onto a lime oval and teal scalloped oval, also die cut using the Nestabilities dies.
 
A panel of teal cardstock was diecut using one of the Spellbinders Bracket Borders #1 dies, as was a panel of the patterned paper from the Papermania Venetian Skies Creative Tones paper pad.

These were matted together and the image panel added on top.

As an added detail, the Memory Box Tiny Bow die was used to create a bow from the lime green cardstock and added below the image panel.
 
 
The sentiment, from the Kaisercraft Occasions stamp set, was stamped along the bottom edge of the card using Memento Teal Zeal dye ink.
 

As a final finishing touch, small dots of Ranger Glossy Accents were added to mimic raindrops.

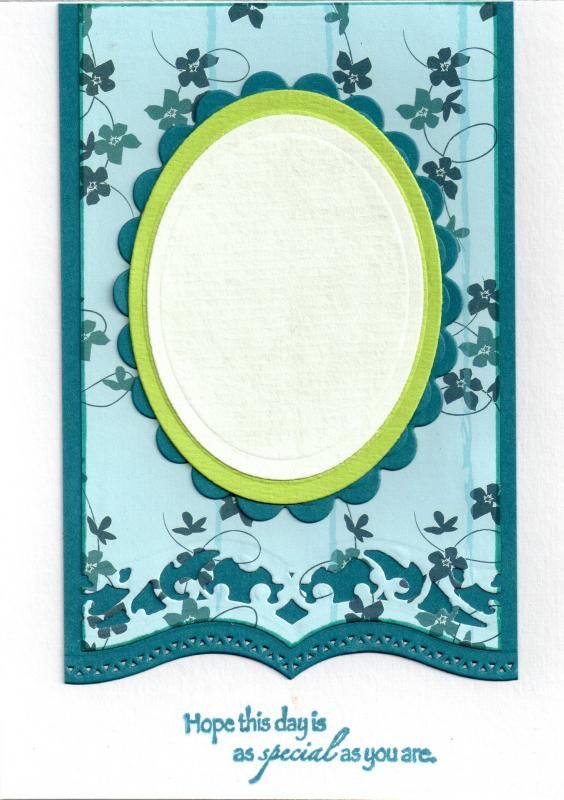
The inside of the card was also decorated to mirror the front of the card, just with a different sentiment, taken from the Kaisercraft Birthday stamp set, also stamped using the Teal Zeal ink.

Monday, 2 November 2015

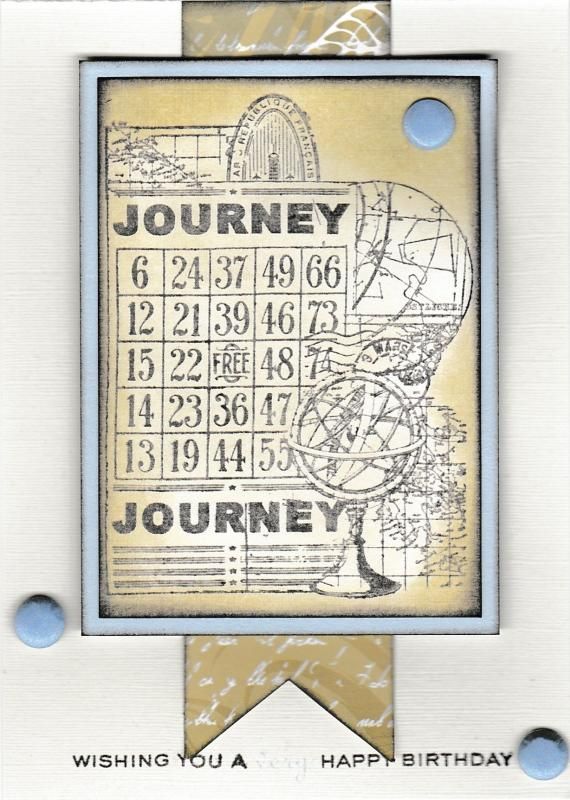
Blue and Beige Journey Collage Masculine

Another masculine card for you today.
 
This card uses one of the Kaisercraft Collage stamps, this one being Journey.
 
The image was stamped onto ivory cardstock using Memento Espresso Truffle dye ink and distressed with Tim Holtz Old Paper distress ink. The image panel was then matted onto baby blue cardstock.
 
A fishtail banner was cut from a strip of the beige script paper from the Perfect Prints Vintage 2 paper pad and added to the centre of the cardblank.
 
The sentiment, from the Personal Impressions Paula Pascual Double Saying stamp set was stamped at the bottom of the cardblank using the Espresso Truffle ink and Memento Summer Sky dye ink was used on the 'very' word in the sentiment. (Although that doesn't show up very well in the image). The image panel was then added over the top of the fishtail banner.

To add some more interest to the card, some baby blue card candi from Craftwork Cards were added, creating a 'visual triangle'.
 
 
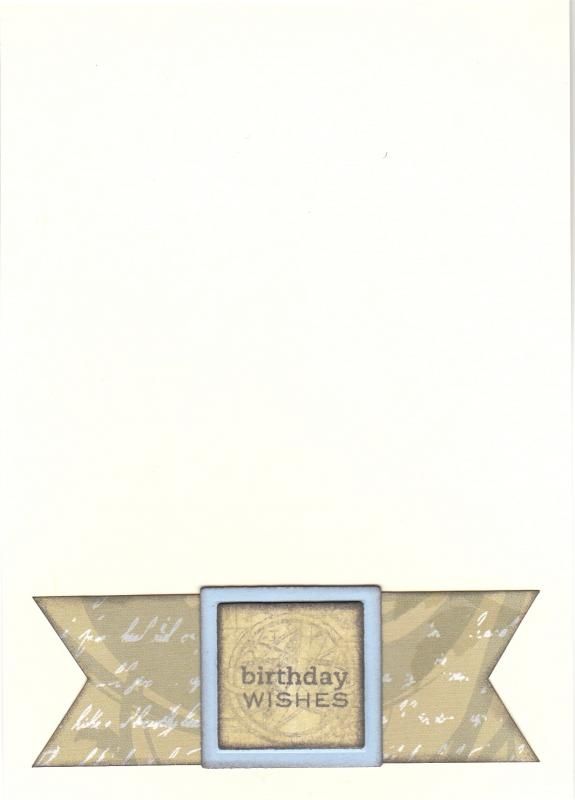
For the inside of the card, a double ended fishtail banner was created from the script paper and added to the lower sector of the card.

The Journey image was stamped again onto ivory card using the Old Paper ink and die cut using a Nestabilities square die. This was then overstamped with the 'Birthday Wishes' stamp from the Personal Impression Paula Pascual Mixed Sentiments stamp set using the Espresso Truffle ink, and then matted onto a square of the baby blue cardstock and then onto the fishtail banner.

Sunday, 1 November 2015

Brown and Beige Felicity Bloom

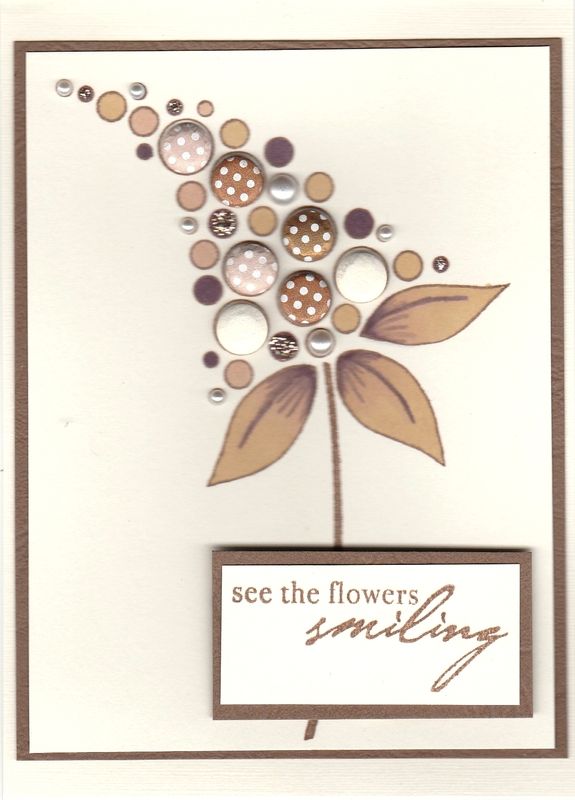
Here is a  card I made recently using the lovely Woodware Felicity Bloom stamp set. I've had my eye on these card candi stamps for a long time and I finally treated myself to one.

It's a simple image that you can embellish to your hearts content.
 
For this card, I stamped the image using Versafine Vintage Sepia archival pigment ink. The leaves were coloured using Promarkers - namely Shale, Sandstone and Tan.

 
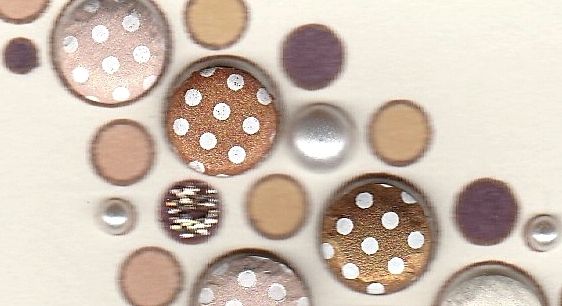
All the circles of the design were coloured using the same pens. Brown, beige and ivory spotty Card Candi, from Craftwork Cards, were added to the larger circles and a combination of Papermania ivory pearls and Ranger Platinum Stickles were added to some of the smaller circles.
 
 
The sentiment, from the Hero Arts Anytime Messages stamp set, was stamped onto ivory card using  the Vintage Sepia ink and matted onto brown card, as was the main image panel.

Saturday, 31 October 2015

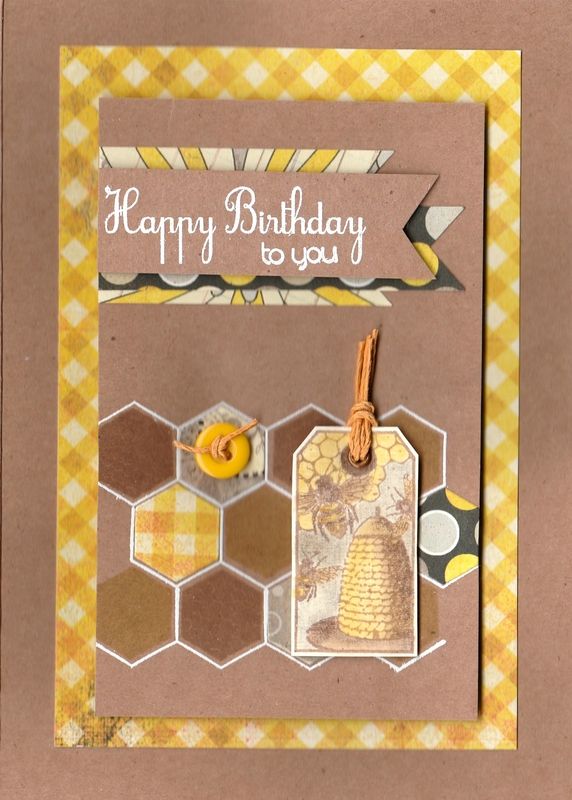
Yellow and Kraft Bee and Honeycomb Masculine

Time for a masculine card I think.

This was the card that I made for my father-in-law this year. It actually came together rather well and I was pretty pleased with it. Especially the colouring!
 
 
This card uses my much-coveted yet much under-used honeycomb stamp and die set.
 
 
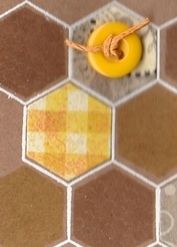
So, to begin this card, the honeycomb image from the Clearly Besotted Honeycomb stamp set was stamped onto Kraft card using Versamark ink and heat embossed using Stampendous Opaque White detail embossing powder. Using Versafine Toffee and Vintage Sepia archival pigment inks, the honeycomb hexagon and the solid hexagon from the same stamps set were stamped into the honeycomb framework. To complete the honeycomb image, honeycomb pieces were die cut from the gingham paper, spotty paper and the floral paper from the Authentique Blissful paper pad using the Clearly Besotted Honeycomb die.
 
 
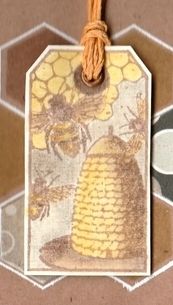
The next stage was to create the tag. The bee skep tag stamp from the Invoke Arts Nature Tags stamp set was stamped using the Vintage Sepia ink and coloured using pencils from the WHSmith tin of pencils, including the white to add highlights. This was then cut out and a metallic Papermania eyelet added and threaded with a length of yellow hemp cord. This, along with a yellow button also tied with the same hemp cord were added to the honeycomb.
 
 
The sentiment, also from the Honeycomb stamp set was stamped in Versamark and white heat embossed onto Kraft card. This was hand cut into a fishtail banner and adhered to the panel over fishtail banner pieces cut from papers also from the Blissful paper pad.
 
The panel was then adhered to a panel of the yellow gingham paper and then to the card front.
 
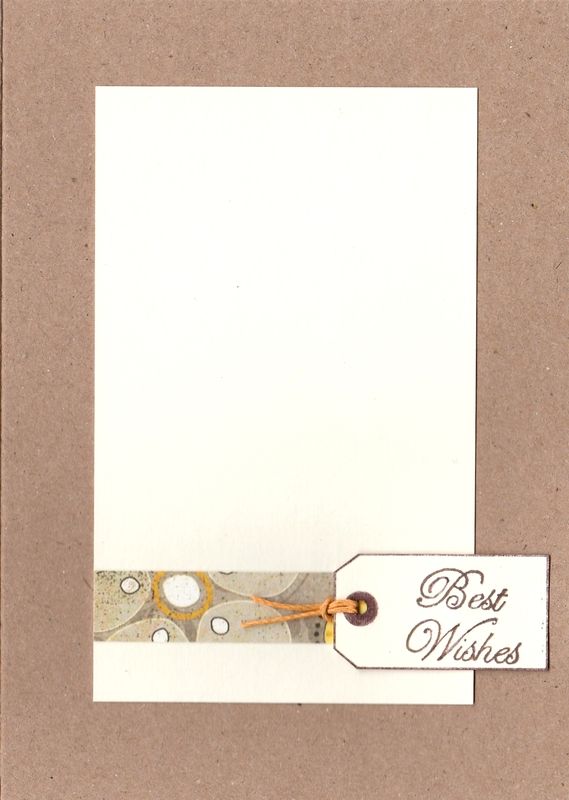
The inside of the card was also decorated using just a strip of matching patterned paper and a tag.
 
 
The tag was created by only inking up the edge of the tag and the eyelet feature with a brown pen and stamping out. The sentiment, from the See D's Celebration Messages stamp set, was stamped using the Vintage Sepia ink within the tag shape and fussy cut out. The tag was threaded with the yellow hemp cord and added to the inside of the card over the patterned paper.
 

Friday, 30 October 2015

Green and Orange Dressy Miss Anya Pencils On Kraft Card

This is an up-to-date card from me today.

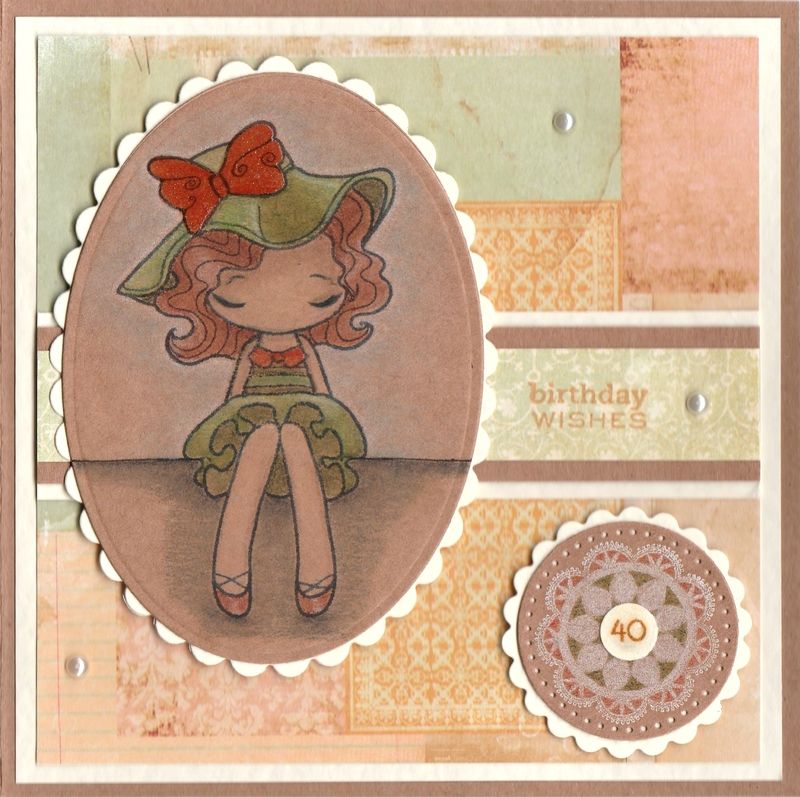
This is the card that I made for my sister for her 40th birthday earlier this month. It's always a worry when your 'little sister' hits 40 - a big reminder that you are the 'big sister'!!!
 
Anyway, back to the card!
 
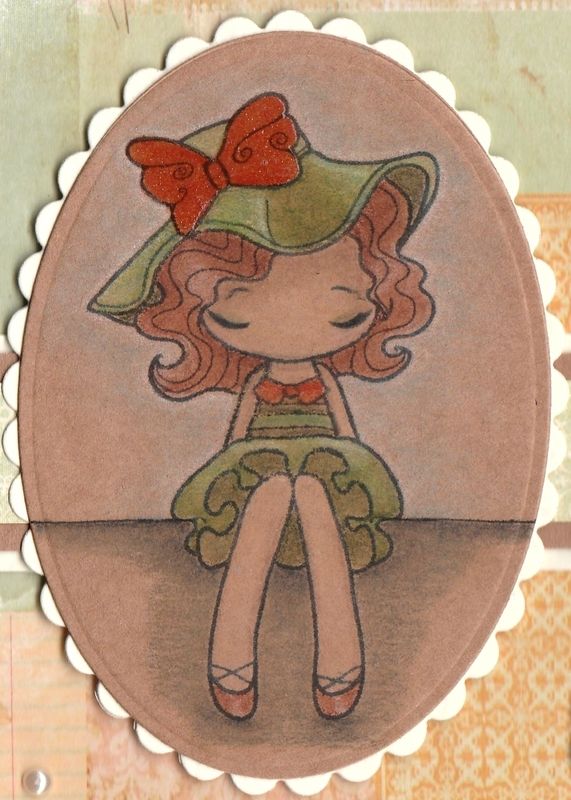
This card uses a technique I've never used before - colouring with pencils onto kraft card. Unfortunately I can't afford the lovely Prismacolor pencils, so I have used the WHSmiths set of 36 colouring pencils here. The results probably aren't as striking as they might have been had I used those pencils, but I think it works all the same.
 
 
I started by stamping the Miss Anya Dressy image from The Greetings Farm with Memento Tuxedo Black dye ink onto the kraft card and used a selection of the pencils to colour her in. To blend  the pencils, I used plain old baby oil.
 
Once the colouring was finished, I added some clear Wink Of Stella to the orange sections of the image, so her collar, shoes and bow.
 
The image was then diecut using a Petite Oval Nestabilities die and matted onto a cream scalloped Petite Oval die.
 
 
 A piece of collaged patterned paper from the Prima Songbird paper pad was matted onto the front of the card and a strip of blue paper from the same paper pad was matted across it.
 
The sentiment, from the Personal Impressions Paula Pascual Mixed Sentiments stamp set was stamped directly onto the patterned paper using Memento Cantaloupe dye ink.
 
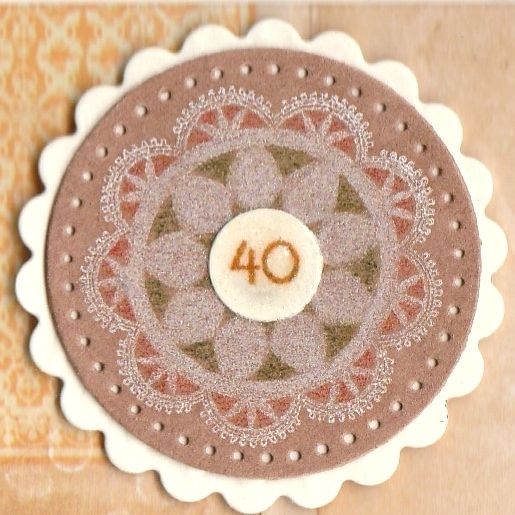
The next step was to remind my sister as subtly as possible that she was hitting a landmark birthday. To do this, I needed some small number stamps, but I don't have any. So I resorted to printing some out from the computer and diecutting them using one of my cog dies from the XCut Chronology Cogs set.
 
 
The die highlighted above has just the right sized circles that I required.
 
Firstly, the doily image from the Martha Stewart Doily stamp set was stamped onto kraft card using Memento Luxe Wedding Dress pigment ink. This was then coloured using a couple of the WHSmiths pencils that were used in the main image.
 
 
The inside of the card was also decorated, using matching papers and an oval diecut panel. The sentiment, also from the Mixed Sentiments stamp set, was stamped using the Cantaloupe ink and die cut using a circle Nestabilities die.

Blog Widget by LinkWithin