Pages

WELCOME

This blog was created to act as a record of the cards and other projects that I have made. It is for both my own reference and to help inspire anyone who wants to take a look.

I'd love it if you'd leave me a comment so that I know what you think of my projects and that you've been to visit!

Anyone can comment, even those who don't have a blog. (Just look for the word 'Comments' under the three little pictures at the end of each post). Readers without a blog can add an anonymous comment, but please leave your name (and docrafts username if applicable) so I know who you are!
Slideshows of all the cards I've uploaded to my blog can be found at the bottom of the page.


PEOPLE WHO FOLLOW MY BLOG

Monday, 29 August 2011

Red Yellow and Blue Superduper Boy Aged Four

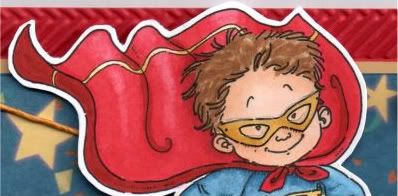
I really enjoyed making this one!! It's for a friend's little boy. We went to stay with them down in Devon a few weeks back and he was constantly dressing up in super-hero costumes so I knew straight away which image I was going to use on his card.


The Superduper Boy image from Mo's Digital Pencil was coloured using Copic Sketch markers:
  • Cape: R20, R24, R27, R29, E09, Y00, Y21, Y26
  • Shorts: R24, R27, R29, Y21, Y26
  • Gloves/Mask: Y21, Y26
  • S & Panel: R24, R27, R29, Y21
  • Boots: R20, R24, R27, R29
  • Body Suit: B32, B34, B37
  • Hair: E43, E51, E57
  • Skin: E00, E21, E51
The image was then cut out.

A strip of the dark blue stars and banners paper from the HOTP Ultimate Cardmaker's Creative Pack was matted onto dark cream card and a panel of red card embossed with the Cuttlebug Herringbone embossing folder.


Lengths of yellow hemp cord were wrapped around the panel to form a cross and the panel was adhered to the card blank.

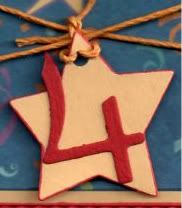
A star was die cut from the cream card using the Sizzix Sizzlit Hearts, Stars and Tags die and the number 4, die cut from red card using the Ellison Curlie Girlie alphabet set, was adhered in the centre of the star. A hole was punched in the top of the star using the Big Bite and was then threaded with more of the hemp cord and tied to the cord across the card.


Three soft white Card Candi from Craftwork Cards were coloured yellow with a Copic marker:
  • Card Candi: Y21
These were then attached in the top right corner of the patterned paper.

Here are the blog challenges I am entering this card into:

Sunday, 28 August 2011

I Am A Winner Over On Paper Creator's Crafts

I've just found out that I am a winner over on the Paper Creator's Crafts Blog Challenge.


My Red and Aqua Tilda with Hawaiian Flower card was picked as the winner of the Red and Blue challenge.


You can see the original post for this card here.

Friday, 26 August 2011

I Am A Winner Over On The Stamp Something Blog Challenge

I have just seen that I am a winner over on the Stamp Something blog challenge.


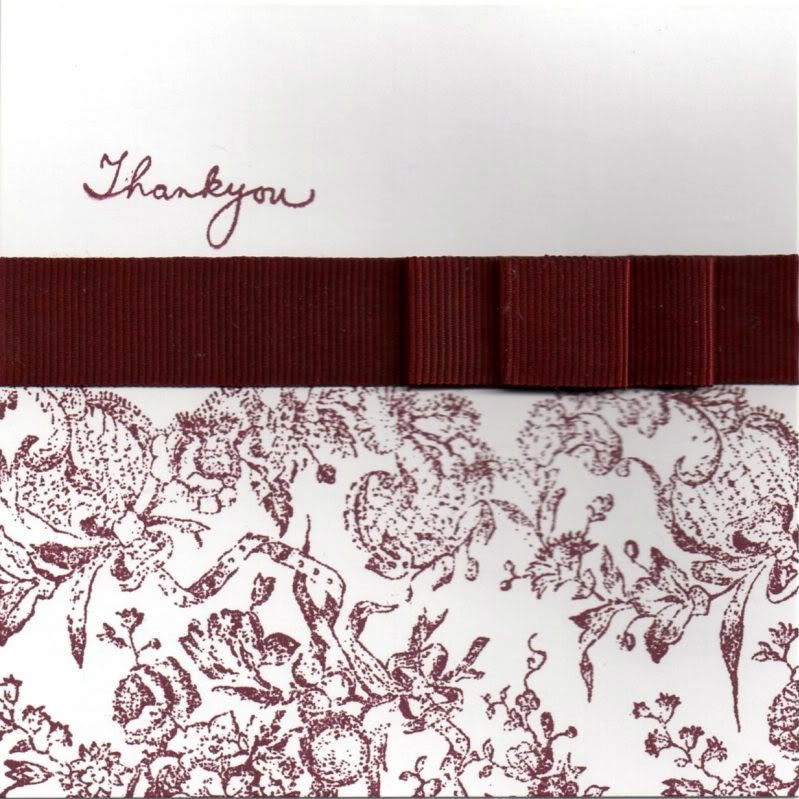
My Burgundy Floral Thank You card was chosen as the winner of their Thank You Something challenge.


You can see the original post for this card here.

I Am A Winner Over On The Rainbow Lady's Blog Challenge

I have just learnt that I am a winner over on The Rainbow Lady's Blog Challenge.

My Burgundy Floral Thank You card was chosen as a winner in their #166 - Song Of Choice challenge. I chose Dido's Thank You!


You can see my original post for this card here.

Wednesday, 24 August 2011

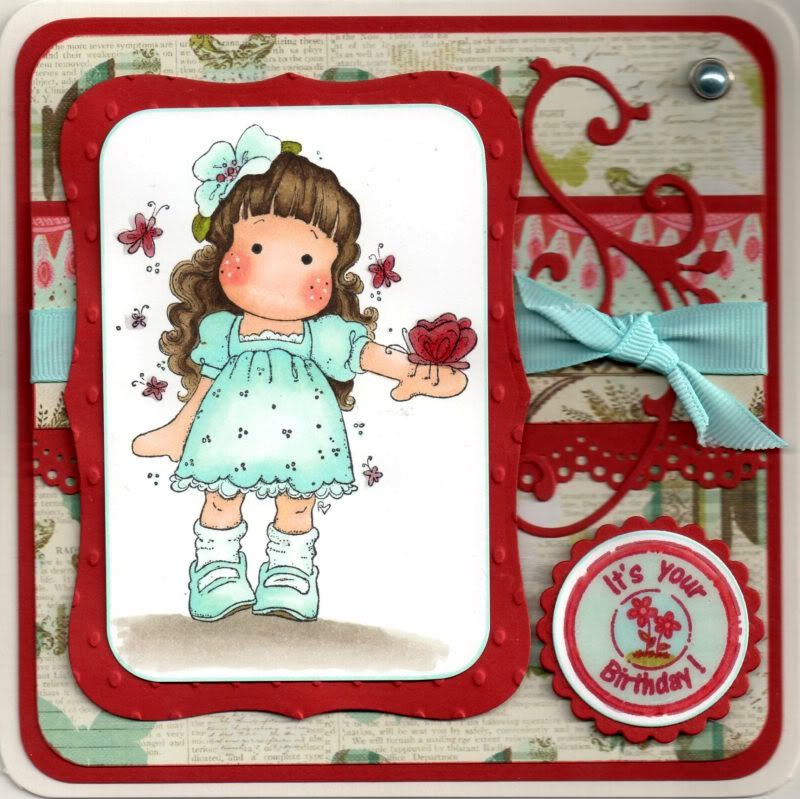
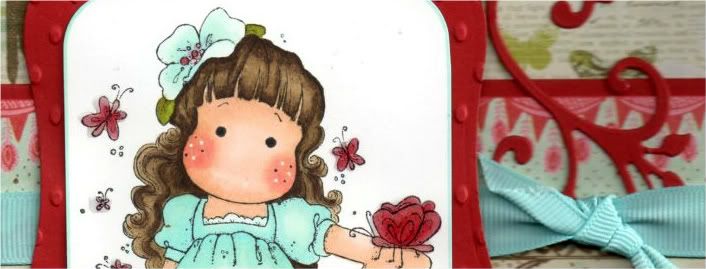
Red and Aqua Tilda With Hawaiian Flower

The Tilda with Hawaiian Flower image from Magnolia was very kindly donated to me by the lovely, talented Teresa/Craftingallday.

The image was stamped with Memento Tuxedo Black dye ink and coloured with Copic sketch markers:
  • Hair: E43, E44, E49
  • Skin: E00, E21, E51, R02, R20
  • Dress; B00, BG10, BG11
  • Flower: B00, BG10, BG11, R32, R37
  • Leaves; YG13, YG95, E44
  • Butterflies: R32, R37, R39
  • Socks: BG10
  • Lace Frills: BG10
  • Shoes: B00, BG10, BG11, E44
Tilda's cheeks were then highlighted with the Papermania Snow White gel pen.

Once again, large parts of this image were coloured using the Transfer Technique as discovered in the Copic Colouring Guide, using both the lighter shades and the blender pen.

The image panel was then trimmed and the corners rounded with the large XCut corner rounder punch. This was then matted onto a panel of red card die cut using a Labels 8 Nestabilities die and embossed with the Indentz Ellipse embossing folder.

A strip of the blue floral border paper from the Prima Madeline paper pad was matted onto a strip of the red card that was punched with the Martha Stewart Doilly Lace punch. A length of aqua grosgrain ribbon was wrapped around the strip and a shorter piece was knotted to the right.

This strip was then attached across a panel of the butterflies paper from the same paper pad and a Marianne Creatables leaf flourish die cut, also cut from the red card, was tucked under the ribbon.

The image panel was then added over the ribbon.

A large pale blue pearl brad from Papermania was added in the top right corner.

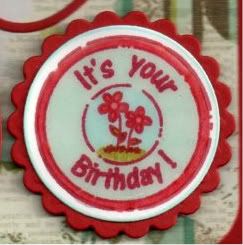
The circle sentiment, from Aud Designs, was stamped using Memento Rhubarb Stalk dye ink and coloured with Copic markers:
  • R32, R37, BG10, BG11, B00, YG13, YG95

This was then die cut using a classic circle Nestabilities die and matted onto a red classic scalloped circle.
Once the card was fully assembled, the circle sentiment and the butterflies in the image were then highlighted using Ranger Glossy Accents.

I also decorated the inside of the card using a strip of the border paper matted onto a strip punched with the Doilly Lace punch. The sentiment stamp, from the Papermania Clare Curd Sentiments stamp set, was stamped using the Rhubarb Stalk ink.

Here are the blog challenges I am entering this card into:

Monday, 22 August 2011

I Am A Winner Over On Creative Craft

I am a winner over on the Creative Craft blog challenge.


My Burgundy and Lime Curly Flowers Friends card was selected as a winner in their It's Summertime blog challenge.


You can see my original post for this card here.

Saturday, 20 August 2011

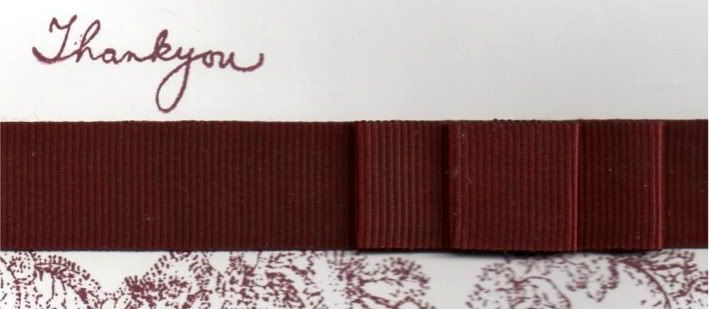
Burgundy Floral Thank You

This card was inspired by a card I saw over on Kerry/Pickle's blog.

I changed the layout a bit but I'm sure you can see the influence!


The picture isn't the best as it was scanned in and I always struggle with white cards and cards with dimension!!

The floral background stamp, from the Non Sequitur Memories of Italy stamp set, was stamped directly onto the card front using Adirondack Currant dye ink.


A length of burgundy grosgrain ribbon was attached across the card blank and a faux bow was created from two lengths of the ribbon.

Just wanted to add a tip on how to make the faux bow.
I created two loops of ribbon from a 9cm and 4cm length of ribbon, joining the loops with narrow double-sided tape. A small piece of double-sided tape was added in the centre of the loops to create two small side -by-side loops in a sort of figure of eight shape. The smaller loop was stuck on top of the larger one and both stuck to the length of ribbon. You could also add a brad in the centre to ensure they maintain their shape.

The sentiment, from the Woodware Jane's Script stamp set, was stamped using the Currant ink above the ribbon.

Here are the blog challenges I am entering this card into:

Thursday, 18 August 2011

I Won Over On Paper Creations Ink

I've just noticed that I was picked as the winner over on Paper Creations Ink.


"Stop By Anytime And See All The Latest News, Causes, Tutorials, And Our Most Current Challenge!"

My Pink and Blue Floral Chandelier Tags Anniversary card was randomly chosen as winner of their Stitching challenge.


You can see my original post for this card here.

Wednesday, 17 August 2011

Light Blue and Cream Pollycraft Cherry Kisses Tea in the 20s

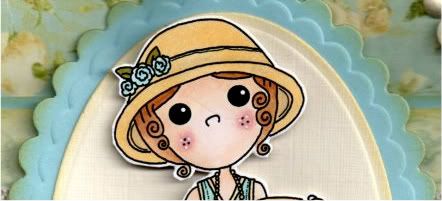
Here is the birthday card that I made for my aunt. She is only four years older than me so thought this image was appropriate. I think it's a really cute image and is one I won in a blog challenge.


The digi image, Cherry Kisses Tea in the 20s, from Pollycraft, was printed out and coloured with Copic Sketch markers:
  • Hat: E41, Y21, BG11
  • Flowers: BG11, B00
  • Leaves: YG95, G07
  • Hair: E33, E35, E37
  • Skin: E00, E21, E51, R02, R20
  • Dress: Y21, BG10, BG11, B00
  • Shoes: BG10, BG11, B00
  • Cup: Y21, E41, BG11, B00
For quite a lot of this image I used what is called the Transfer Blending technique whereby a darker colour chisel nib is held to the brush nib of a lighter colour, thereby transferring the ink. Whilst colouring, the two colours blend together. This was done on the flowers, leaves, shoes and the dress in particular. I discovered this technique in the Copic Coloring Guide book that I recently purchased from WHSmith Online.

The image was then cut out.


A scalloped petite oval was die cut, using a Nestabilities die, from light blue cardstock and distressed around the edges using Tim Holtz Antique Linen distress ink and a plain petite oval, also distressed, was matted on top. The image was then centrally matted using 3D foam pads.

A strip of the light blue and cream scroll paper from the Prima Botanical paper pad was matted onto a strip of the light blue card that has been punched with the XCut Lace Trim border punch and a length of cream crochet lace was wrapped around it.

This was then matted onto a panel of the light blue and cream roses paper from the same paper pad and matted onto the light blue cardstock. All panels were distressed with the Antique Linen ink.

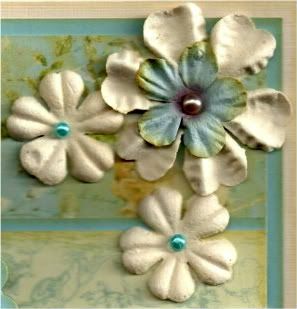
Three cream Prima paper flowers from the Botanical Mix were added in the top right corner. A light blue Prima flower was added in the centre of the large flower and turquoise self-adhesive pearls from the Hobby House Sea Green set were added in the centres of the smaller flowers and a champagne pearl from the Kort & Godt Autumn set of pearls was added in the centre of the larger flower.


The sentiment, from the Papermania Clare Curd Sentiments stamp set, was stamped onto the cream card using Memento Rich Cocoa dye ink and matted onto the light blue cardstock and added in the bottom right corner of the card.


Here are the blog challenges I am entering this card into:

Monday, 15 August 2011

I Won Over On The C.R.A.F.T. Challenge

I've just seen that I am a winner over on the C.R.A.F.T. Challenge.

C.R.A.F.T. WINNER BLINKIE


My Pink and Blue Floral Chandelier Tags Anniversary card was chosen as a winner in their Anniversary challenge.


You can see the original post for this card here.

Sunday, 14 August 2011

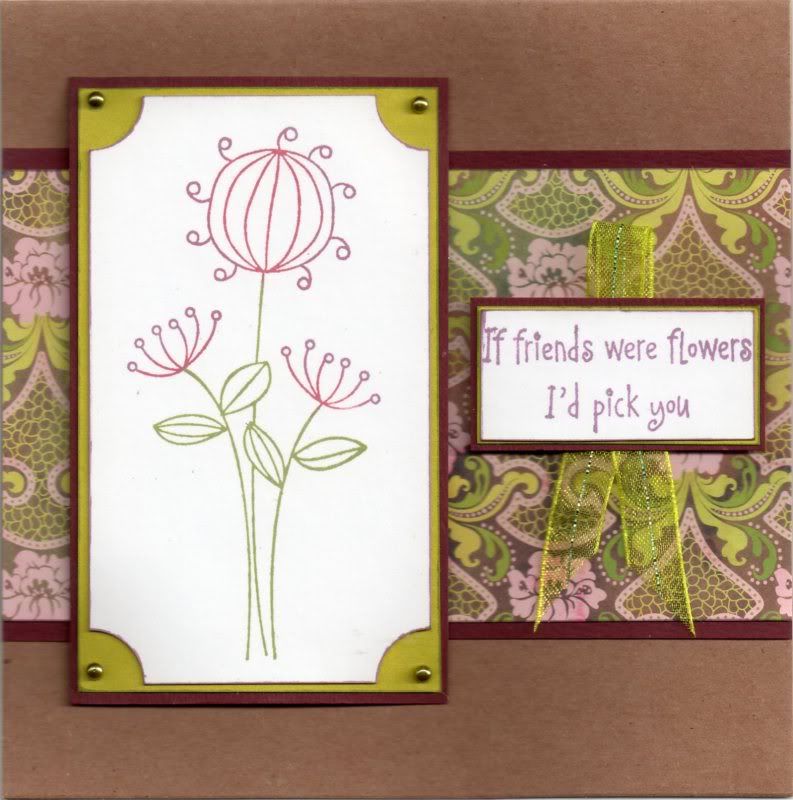
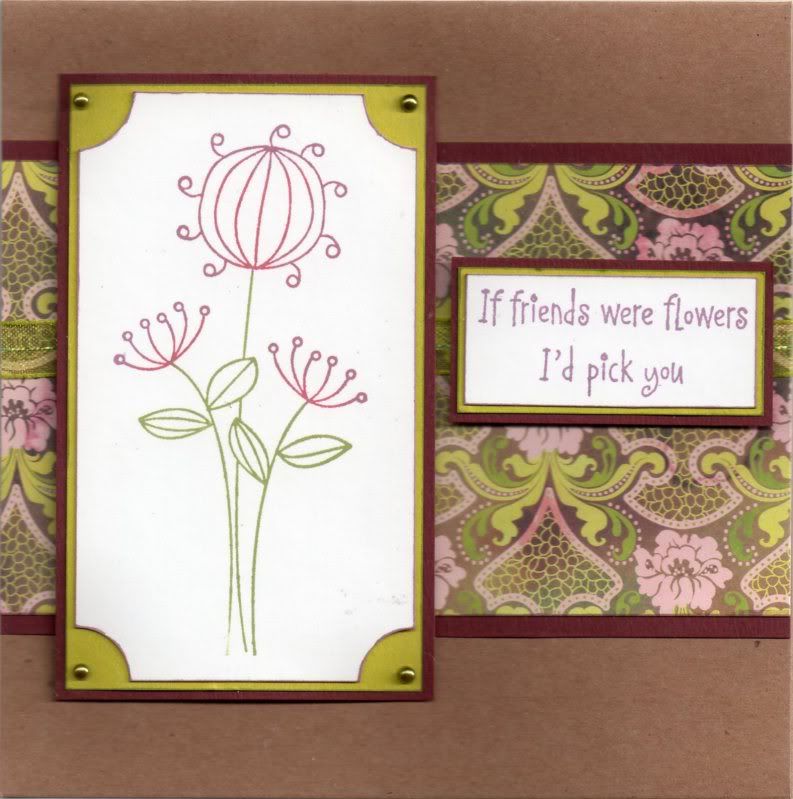
Burgundy and Lime Curly Flowers Friends

This card was made with a stamp I bought from a fellow crafter who was having a clear-out. I also used the Memento inks I bought from her too!! I really must have a clear-out myself - I just seem to be helping everyone else clear out!!


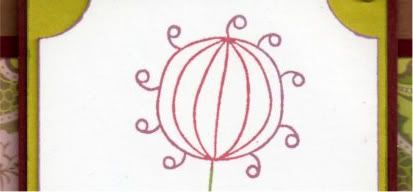
The Curly Flower image, from Hero Arts, was inked up using the Sweet Plum, Bamboo Leaves and Rhubarb Stalk Memento inkpads. The corners of the panel were punched using the Woodware Inverted Corner punch and matted onto lime green paper and burgundy card.

Lime green self-adhesive pearls, from the Hobby House Green To Go set, were added in the corners.

A panel of the French Lace paper from the Basic Grey Eva paper pad was matted onto the burgundy card and a length of lime green organza ribbon was wrapped around the panel and then added across the Papermania Kraft card blank.

The image panel was added to the left of the panel.


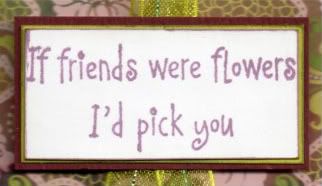
The sentiment, from Elzybells, was stamped using the Sweet Plum ink and matted onto the lime green paper and burgundy card and added to the right of the card blank.


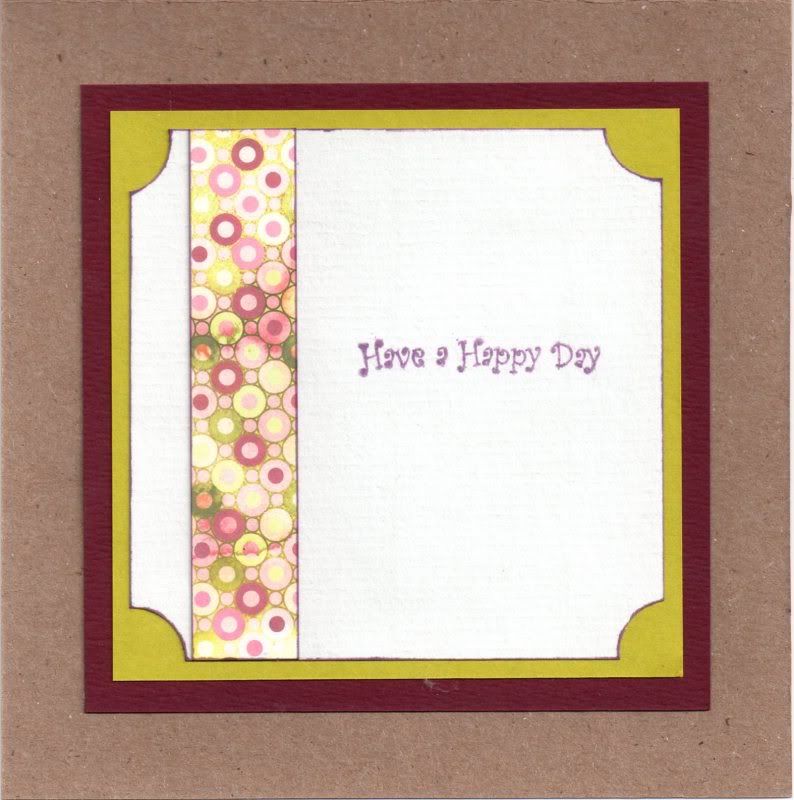
The inside of the card was also decorated using a strip of the Courtier paper from the Eva paper pad, and the sentiment from the Papermania Clare Curd Sentiments stamp set inked with the Sweet Plum ink.


On the original card I made, I forgot to wrap the ribbon around the panel before I stuck it to the card blank so added a loop of the ribbon behind the sentiment panel.


Here are the blog challenges I am entering this card into:

Wednesday, 10 August 2011

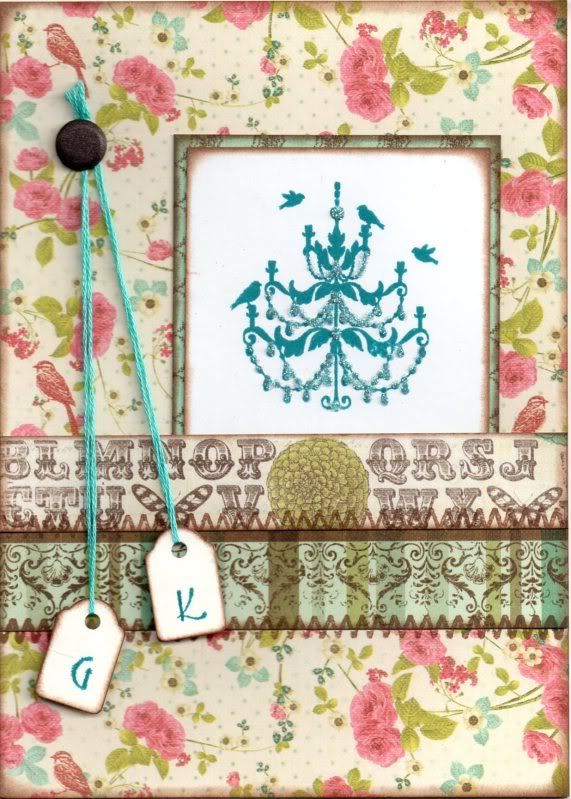
Pink and Blue Floral Chandelier Tags Anniversary

Here is an anniversary card that I made for a couple of friends. I really like the design (I actually adapted it from one of the projects in the July 2011 issue of Craft Stamper magazine using this particular stamp).


I absolutely love the Chandelier image tht came with the July 2011 issue of Craft Stamper magazine. The image was stamped using Adirondack Stream dye ink and matted onto the blue diamonds paper from the Prima Madeline paper pad.


The card blank was completely covered with the Floral Bird paper from the same paper pad and the image panel added to the right.

A strip of the Alphabet paper was added to a strip of the Multi Border paper (both from the Madeline paper pad), and this was then added over the image panel.

Faux stitching was then added over the joins of the paper pieces using the Zigzag Stitch stamp from the HOTP Stitches stamp set and ColorBox Chestnut Roan Fluid Chalk ink.

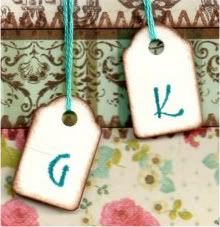
Two mini tags, that have been in my stash since the beginning of time, were coloured around the edges using the Chestnut Roan ink and letters were stamped using the Stream ink and a Studio G mini alphabet stamp set (also underused!!). The tags were attached to some teal embroidery thread and added to the card and a brown Card Candi from Craftwork Cards was added over the ends of the threads.


Highlights were added to the Chandelier image using Glossy Accents and DecoArt Crystal Glamour dust.

All papers were distressed with the Chestnut Roan ink.

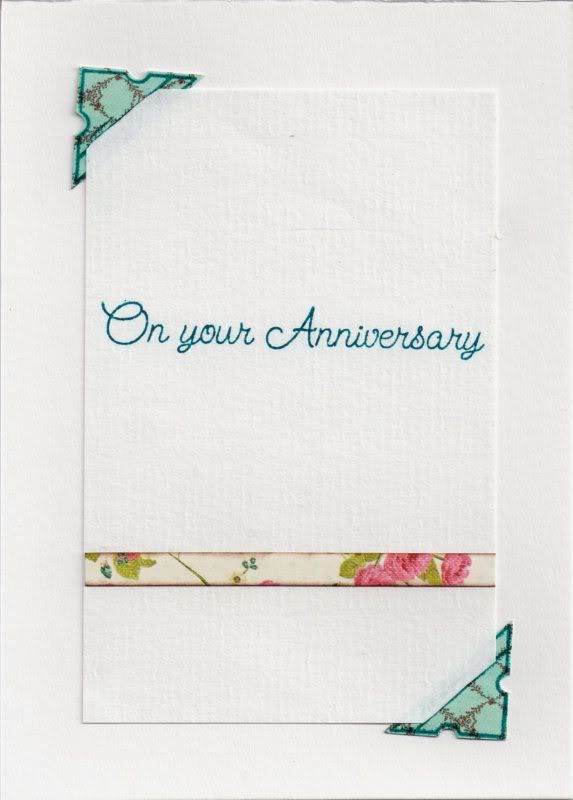
The inside of the card was also decorated using a photo corner stamp from the Stamps Away Bookplates, Corners and Anchors stamp set, stamped onto the blue diamonds paper used on the front of the card using the Stream ink and cut out.


Slits were cut into the photo corners and  the writing paper inserted into the corners, and a strip of the Floral Bird paper used on the front of the card was added across the paper and the sentiment, from Elzybells, was stamped using the Stream ink.

Here are the blog challenges I am entering this card into:

Thursday, 4 August 2011

I Was Awarded Bronze Medal Over On Shelly's Images Blog Challenge

I've just discovered that I was awarded the Bronze Medal over on the Shelly's Images blog challenge.


You can see the original post for this card over on my blog here.

Tuesday, 2 August 2011

Red and Green Butterfly Scalloped Circle

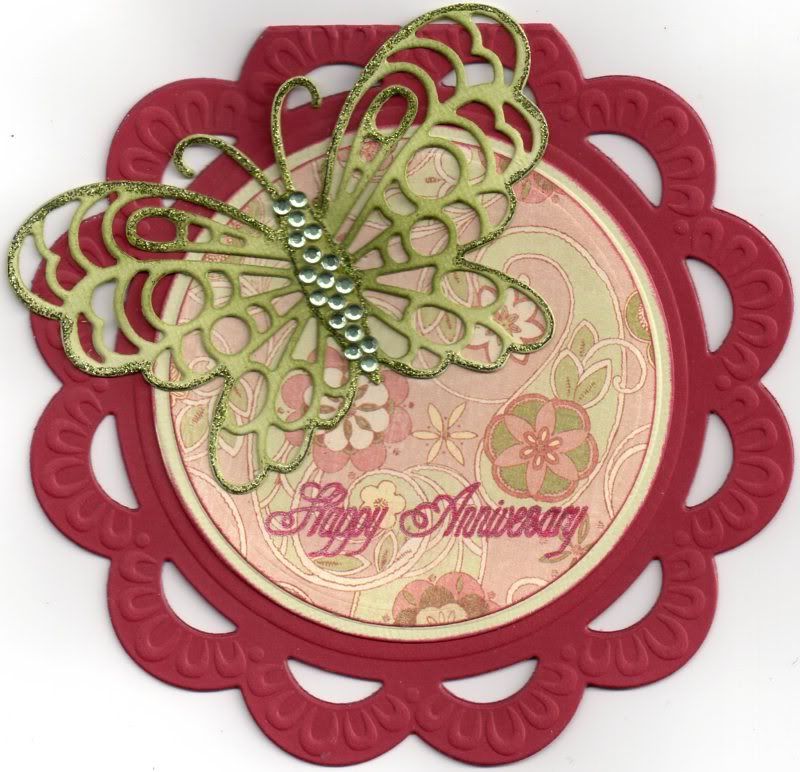
Here is the anniversary card that I made for the in-laws. It's their 48th wedding anniversary this year.


The card blank was created by die cutting it with the Marianne Creatables Frame Circle die and it was then embossed.

Layers were die cut using circle Nestabilities dies, cut from pale green linen card and the floral paisley paper from the K&Co Classic McKenna paper pad. These were matted together in the centre of the card.

A butterfly was die cut using the Marianne Creatables Butterfly 2 die from the light green card and coloured with the Marvy Matchables Jungle Green dye ink with a shaving brush and then outlined with Glitz It Pear Green glitter glue.

Small light green gems from the Anita's Gem Wheel were then added along the body of the butterfly.


The sentiment, from Stamps Away, was stamped onto the patterned paper using Versafine Crimson Red archival pigment ink but as it didn't show up too well, I traced over the top with a red Sakura Stardust pen.

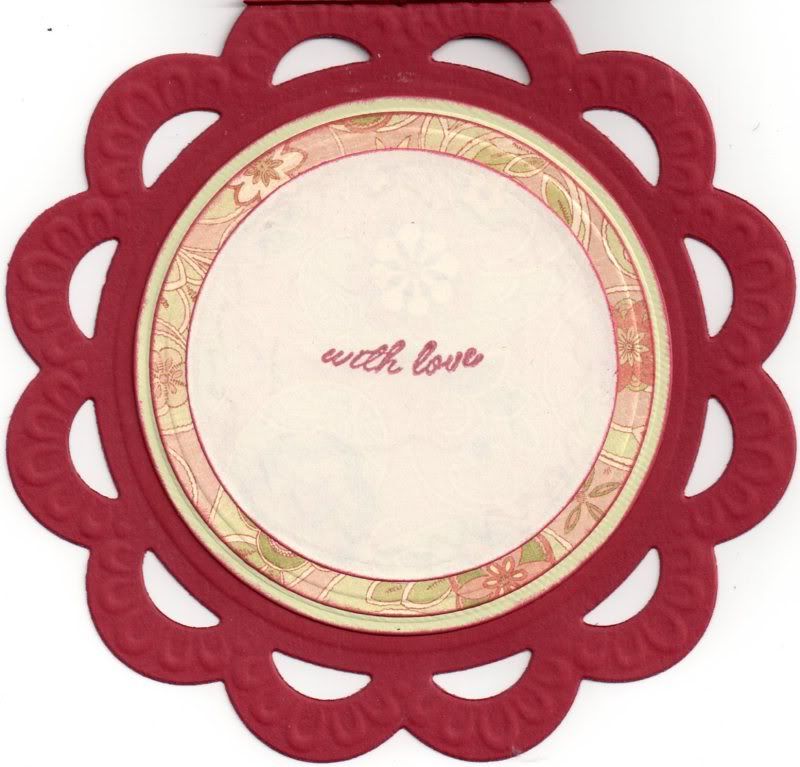
I also decorated the inside of the card using circles of the green card and patterned paper, and the sentiment, from the Papermania Mix and Match Scrolls and Sentiments stamp set, was also stamped using the Crimson Red ink.


And I finally got to use my new personalized stamp that I bought from this ebay seller. I stamped it up with the Crimson Red ink and matted it onto the patterned paper and green card die cut with Nestabilities Circle and Big Circle dies.


Here are the blog challenges I am entering this card into:
Blog Widget by LinkWithin