Pages

WELCOME

This blog was created to act as a record of the cards and other projects that I have made. It is for both my own reference and to help inspire anyone who wants to take a look.

I'd love it if you'd leave me a comment so that I know what you think of my projects and that you've been to visit!

Anyone can comment, even those who don't have a blog. (Just look for the word 'Comments' under the three little pictures at the end of each post). Readers without a blog can add an anonymous comment, but please leave your name (and docrafts username if applicable) so I know who you are!

Slideshows of all the cards I've uploaded to my blog can be found at the bottom of the page.


PEOPLE WHO FOLLOW MY BLOG

Thursday, 29 October 2015

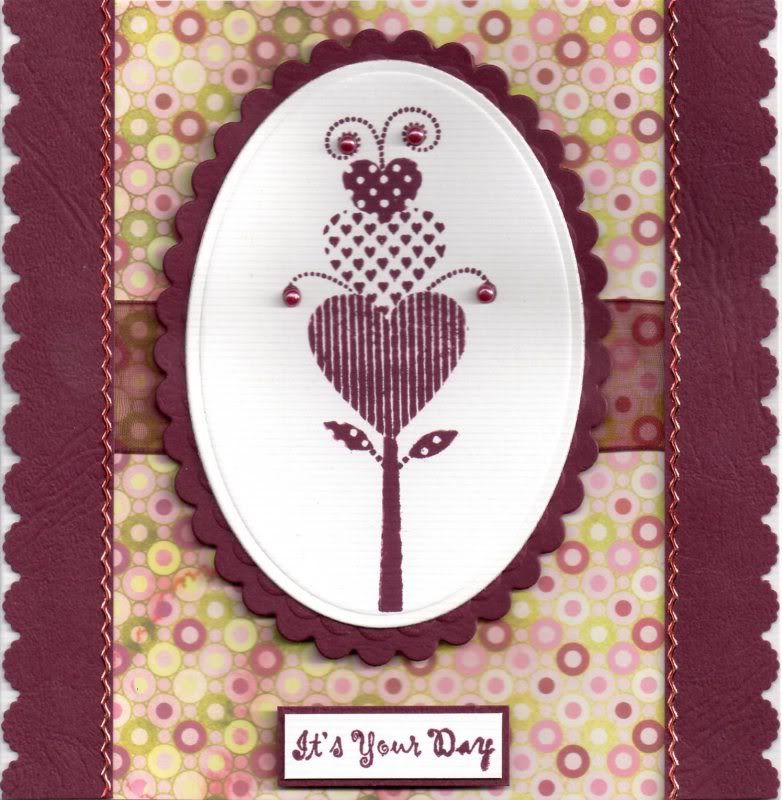
Burgundy, Pink and Green Pink Gem Heart Flower

So, in the spirit of #TBT, I have decided to post one card each week that is a few years old and still waiting to be blogged.

This particular card was made back in 2011 I believe, using a stamp set that I won from Pink Gem Designs, called Funky Flowers.

The Heart Flower image, from the Pink Gem Funky Flowers stamp set, was stamped using Adirondack Currant dye ink and die cut using a Petite Oval die from Nestabilities, and matted onto a burgundy Petite Scalloped Oval.

A length of burgundy organza ribbon was wrapped around a panel of the Courtier paper from the Basic Grey Eva paper pad and adhered to the card blank.

Two borders were punched from the burgundy cardstock using the EK Success Scalloped Scallop border punch and adhered over the edges of the patterned paper.


The 'It's Your Day' sentiment, from the Papermania Clare Curd Sentiments stamp set, was stamped using the Currant dye ink and matted onto the burgundy cardstock.

Burgundy self-adhesive pearls, from the Hobby House Ruby Mix, were added to the Heart Flower image, and gold border peel-offs, from Lakeland/Starform were coloured with a red Copic marker and added along the edge of the border strips.

Yes, I know, peel-offs!!!! I wonder if they will make more appearances in these throwback posts???

Wednesday, 28 October 2015

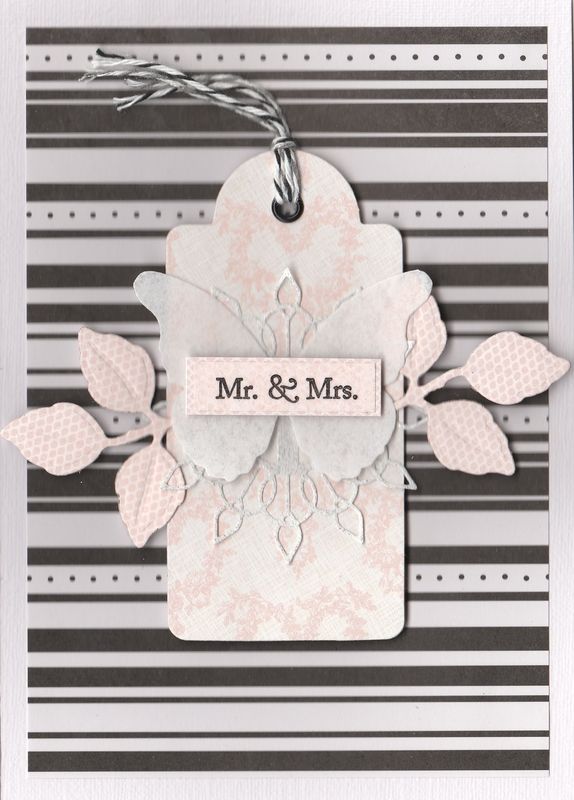
Pink Black and White Butterfly Tag Wedding

So, here is the second of the two wedding cards I made. This one was very highly influenced by Laura Bassen and you can see her version of this card here over on her blog.
 
Ideally I would have liked to have used a grey patterned paper in the background, but it wasn't until after I'd made it that I realized I actually had some I could have used! Typical!!!

Anyway, this card began with a sheet of the black and white striped paper from the Papermania Clare Curd The Big One paper pad. The panel was adhered to the front of an A5 card blank.
 
 
A piece of card was then covered with a piece of the pink floral patterned paper from the HOTP Wedding paper pad an die cut using the Sizzix Tags #3 Bigz die. A Papermania black eyelet was added.
 
Using a sheet of white glitter paper, the Seville Buckle by Memory Box was die cut and added to the tag.
 
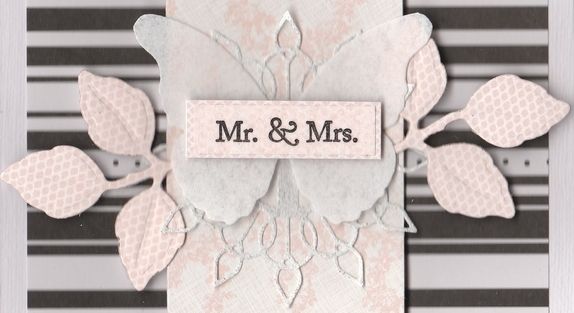
Another piece of card was then covered with the pink mesh-effect paper also from the Wedding paper pad and die cut using a leaf die from the Spellbinders Foliage die set. The two leaf branches were added behind a butterfly which was die cut using the Willoughby Butterfly die by Memory Box with a heavyweight vellum. This was then 3d'd to the tag.
 
 
The sentiment panel was created using a pre-printed panel in the Wedding paper pad and stamped using the Mr & Mrs stamp from the American Crafts Wedding stamp set.
 
Black and white Baker's twine was threaded through the black eyelet on the tag and it was added to the front of the card.
 
 
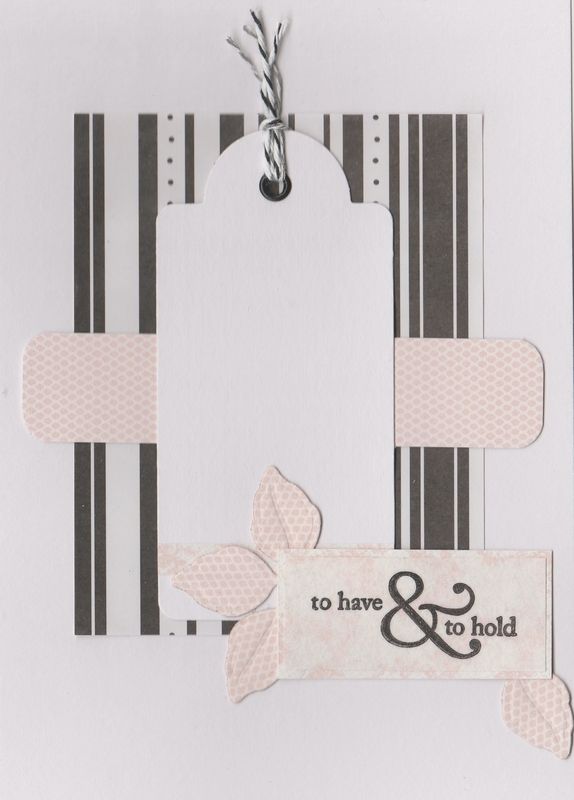
For the inside of the card, the same patterned paper was used, and a second tag was created, this time from white card. 
More leaves were die cut using the same patterned paper and the sentiment, also from the Wedding stamp set was stamped onto a panel of patterned paper from the Wedding paper pad.
 
 
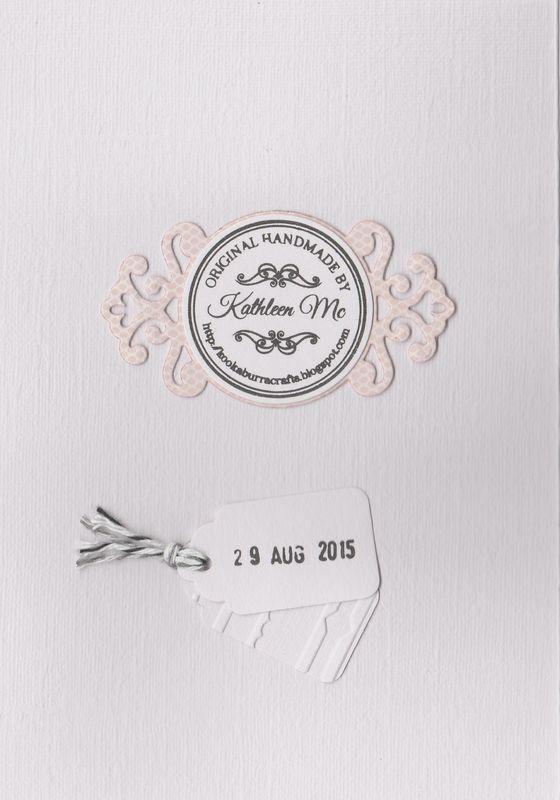
On the reverse of the card, a couple of small Sizzix Sizzlits Scalloped tags were added, stamped with the date of the wedding. Behind the 'Handmade By' stamp was a label created using a die from the Spellbinders Parisian Accents die set and paper from the Wedding paper pad.
 
 
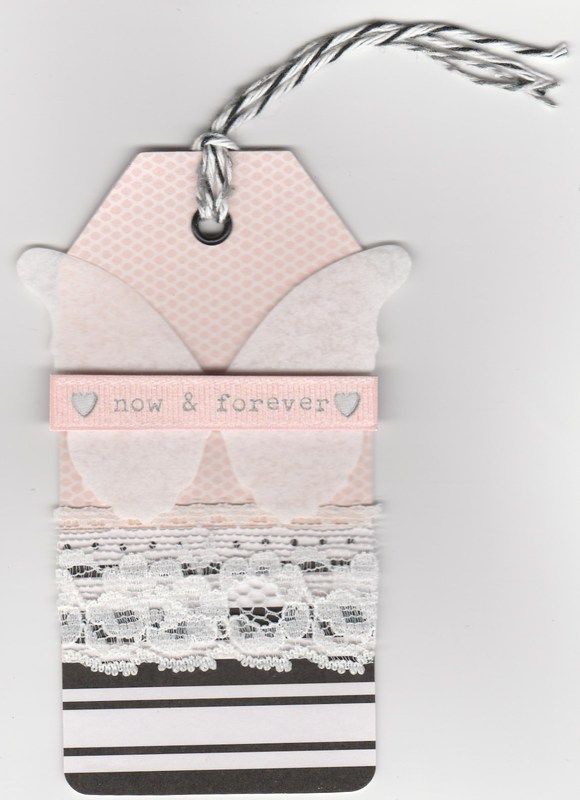
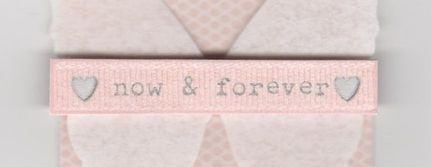
 To complement the card, a tag was also created for the gift. This time a length of lace was added and a sentiment panel from the Wedding paper pad was added across the butterfly die cut. 


Tuesday, 27 October 2015

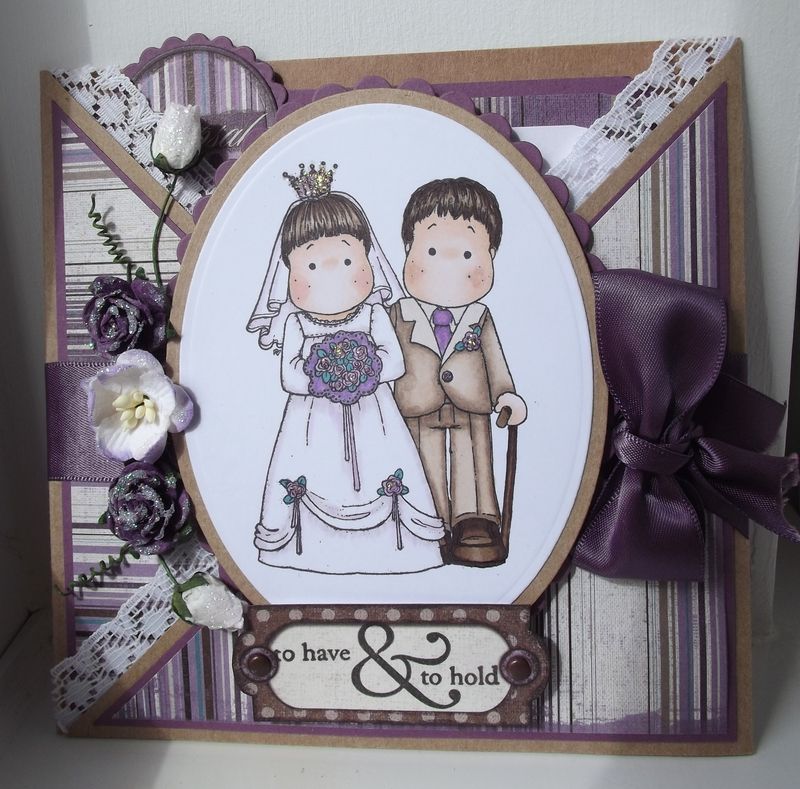
Mauve and Brown Tilda and Edwin Wedding Criss-Cross Card

This is the first of two wedding cards that I made for hubby's cousin and her new husband.
 
They had an amazing reception on board HMS Warrior. It really was remarkable (if a little dark) eating your meal at the tables in the same conditions as the seamen. The kids thought it was great as well, as they had the run of the ship for the whole evening.
 
The inspiration for this card came from this card by Christine, that you can see on her blog here.
 
 
This is a style of card that I've been wanting to make for a number of years now, especially having seen the wonderful cards that Teresa makes!!!

The card in question is a criss-cross card, that actually requires a stand in order to actually stand up, or needs to be leant up against the wall.

Two pieces of craft card were cut to 5.75" x 11.5" and scored in half to create two 5.75" square card blanks. The upper triangle was then cut away from each piece, one on the left flap, the other the right. The two pieces were then adhered together in the centre to create the basis of the criss-cross card.

Each of the front panels were then decorated with mauve card and striped patterned paper from the HOTP Vintage paper pad. A length of ivory lace was then attached to the inside of both of the flaps.

The next step was to stick down the two flaps, but ensuring that they created a pocket to enable a tag to be slotted into the card at a later date. This was done by adding red-liner tape to the lower edge of the left flap and adhering down to the centre panel. The right hand panel had red-liner tape added to the lower edge and a little way up the diagonal side.
 

The image, Classic Bridal Couple by Magnolia, was then stamped using Memento Tuxedo Black ink and coloured using Copic markers:
 
Tilda
Hair: E41, E43, E44, E49
Skin:  E000, E00, E21, R20
Crown: W1, V12, V15
Veil/Dress: V12, W1
Flowers: V04, V12, V15
Leaves: BG09
Lace Frill (Bouquet): V17
Ribbons: V15
 
Edwin
Skin: E000, E00, E21, E13
Hair: E41, E43, E44, E49
Suit: E40, E41, E43, E44, E49
Shoes/Cane: E43, E44, E49
Shirt: E40
Tie: V12, V15
Button: V15
 
The image was diecut using a Classic Oval Nestabilities die and matted onto a Kraft oval and mauve Scalloped Nestabilities Oval.
 
A length of mauve satin ribbon was wrapped around the whole card and the image panel adhered on the front of the card. A bow was tied in a length of the ribbon and added to the side of the image panel.
 
 
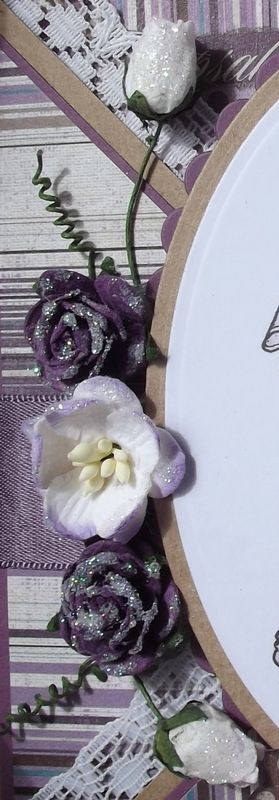
A bouquet of paper flowers from Wild Orchid Crafts were then added to the left of the image panel, which were dusted in DecoArt Crystal Glamour Dust. 
 

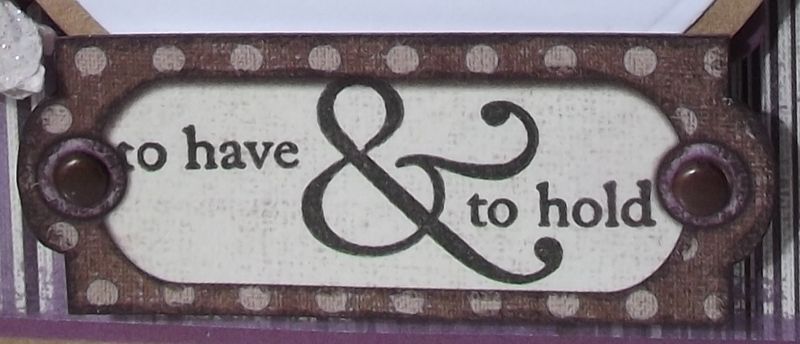
The last step for the front of the card was to add the sentiment. The panel was taken from the Vintage paper pad, and stamped using the 'To Have & To Hold' stamp from the American Crafts Wedding stamp set. A couple of brads were added to the sentiment panel and this was then added below the image panel.
  
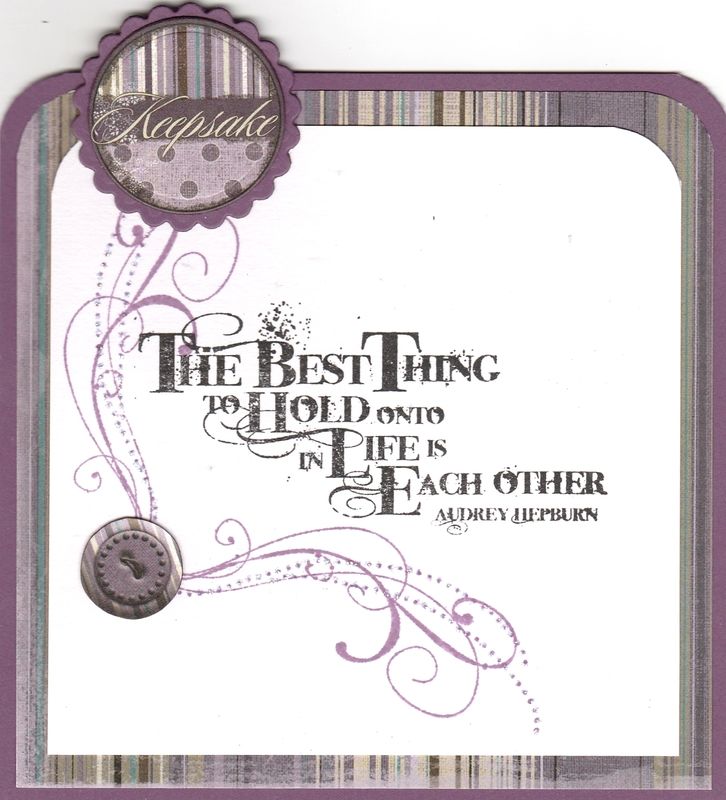
To finish the card, a tag was created using papers and tags from the Vintage paper pad. The front of the tag was stamped using a Lili of the Valley sentiment stamp and Versafine Onyx Black archival pigment ink and a flourish stamp from the Autumn Leaves Rhona Farrer Flourishes v2 stamp set, stamped with Memento Sweet Plum ink.
 

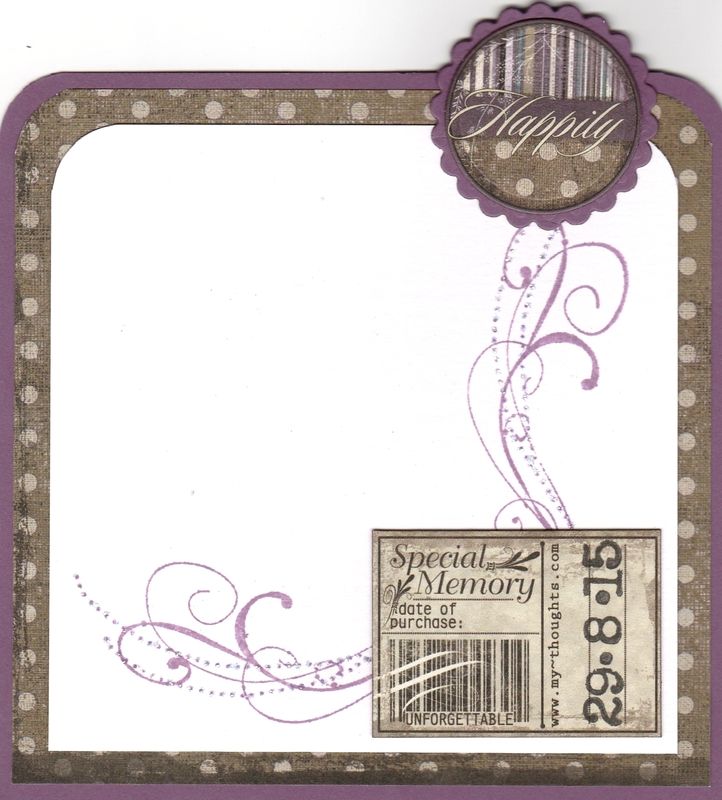
The reverse was also stamped using the flourish stamp and a tag from the Vintage paper pad was added in the corner. The date of the wedding was stamped onto the tag using number stamps from the Labelled With Love  stamp set that was free with the Simply Homemade magazine.
 
 
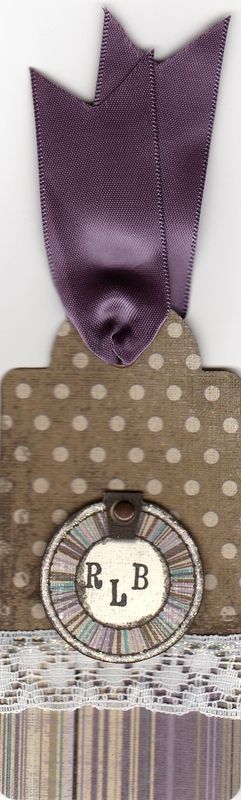
To accompany the card, a tag was created to go on to the wedding present. This was made using papers from the Vintage paper pad, a short length of lace and the mauve satin ribbon.
 
The bride and groom's initials were added to a tag from the paper pad using a Dovecraft mini alphabet stamp set. A brad to match the front of the card was added to the initialled tag before it was attached to the front of the tag.
 

Monday, 26 October 2015

Green And Beige Eiffel Tower

I thought it was time to add a masculine card to my blog.

 
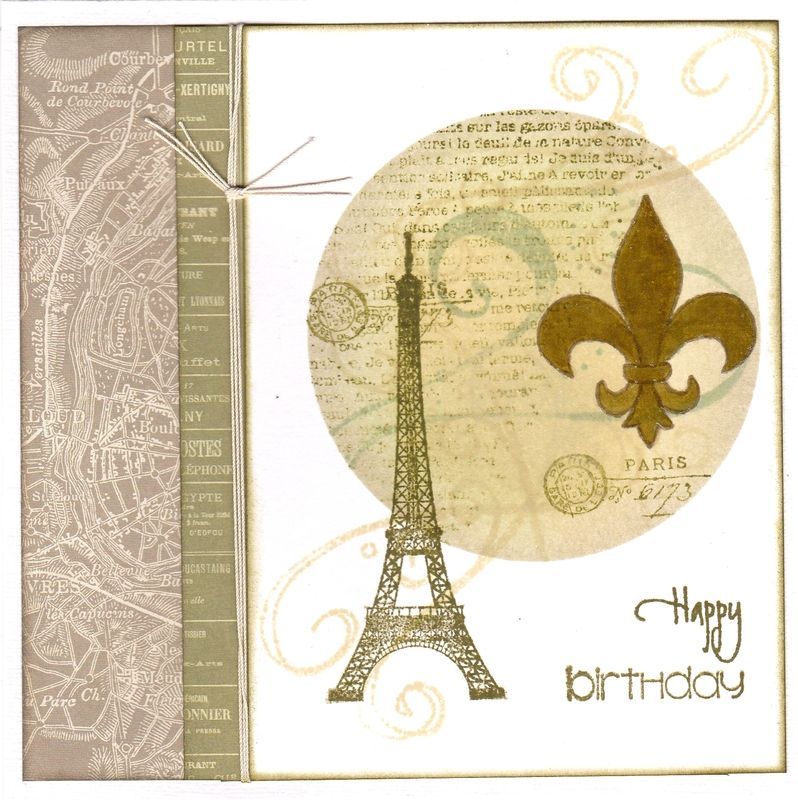
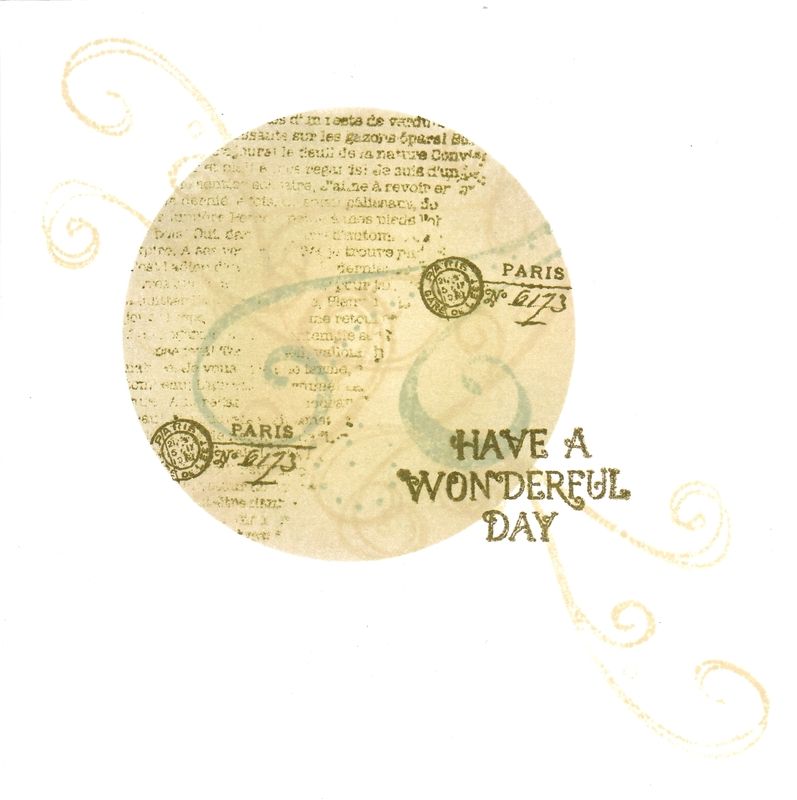
This is the card that I made for my dad this year, using the Dovecraft Sweet Paris papers and matching stamps.

Firstly, a couple of strips of different papers from the Dovecraft Sweet Paris were cut and added to the left side of the card blank. A few lengths of cream crochet thread were then wrapped around the papers and tied.

Next, the front of the card was masked off using a scrap of paper die cut with a Nestie circle. Then the circle area was blended using Tim Holtz Antique Linen and Bundled Sage distress inks.


Whilst the mask was still in place, the flourish stamp from the Autumn Leaves Rhona Farrer Flourishes v.2 was stamped using the Bundled Sage ink. The French Text background stamp from the Bo Bunny It Is Written stamp set was also stamped using the Tim Holtz Forest Moss distress ink as was the Paris Postmark stamp from the Stampers Anonymous Visual Artistry stamp set.

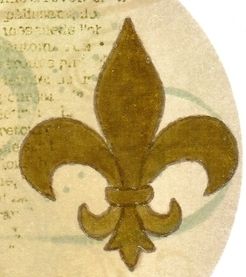
Next, the mask was removed and the flourish stamp was stamped across the circle using the Antique Linen ink. The Fleur de Lis stamp, from the Dovecraft Sweet Paris Eiffel Tower stamp set, was stamped into the circle using the Forest Moss ink, but coloured over using Copic marker YG95 as it didn't show up enough. This was also covered with Ranger Glossy Accents to make it stand out even more.


Next the Eiffel Tower image from the same stamp set was also stamped over the edge of the circle using the Forest Moss ink.

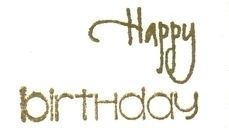
The sentiment was composed using stamps from two stamp sets. The 'Happy' stamp was from the Elzybells Swirly Sentiments stamp set and the 'Birthday' stamp from the Kaisercraft Birthday stamp set. Both were stamped using Tim Holtz Pumice Stone Distress ink.

 
The inside of the card was also masked and inked and stamped to match the front of the card.
 
 
The sentiment, from the Dovecraft Sweet Paris Sentiments stamp set using the Pumice Stone ink. 

Sunday, 25 October 2015

Brown, Cream and Blue Patchwork Background Bumble Bee Gorjuss Girl

Well, as promised, here is an older card that I made that is waiting to be blogged. This is a card that I made for my mum's birthday using the Bumble Bee Gorjuss Girl by Sugar Nellie.

I also decided to use my Sizzix Hexagon Framelits dies and create a patchwork background.


So, the image was stamped using Memento Tuxedo Black dye ink and coloured using Copic markers:

Hair: E31, E33,E35
Skin: E000, E00, E04, E21, R20
Sash/Hearts/Socks: YR04, W1
Wings/Dress: G00, G21,W1

The image was then fussy cut.


A Classic Oval Nestie was used to die cut white card and was embossed using the Sizzix Basic Grey Snow Cap embossing folder. This was then matted onto a scalloped oval of sky blue cardstock from the DCWV Brights Matstack.

A number of hexagons were die cut from ivory hammer cardstock as well as papers from the Prima Songbird paper pad. These were matted and layered together and pieced together on a square of the sky blue cardstock to create the background.


A length of the Dovecraft blue and brown striped ribbon was knotted and then adhered across the patchwork panel before the panel was adhered to the cardblank.
The Gorjuss Girl image was then matted onto the ovals and then they were added to the centre of the patchwork background.

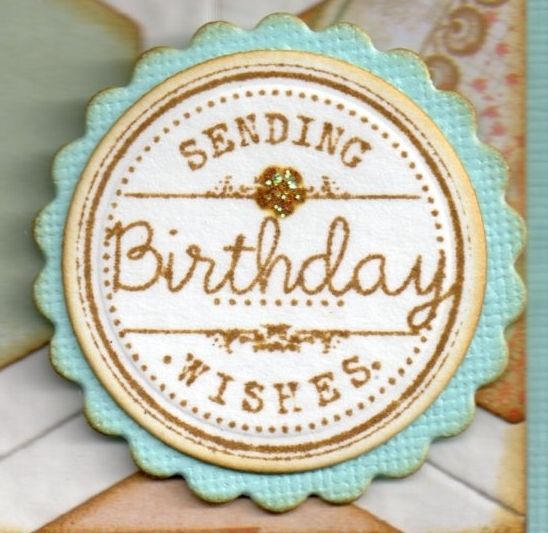
The sentiment, from the Wild Rose Studio Birthday Circles stamp set, was stamped using Tim Holtz Frayed Burlap distress ink and die cut with a Nestie circle die and matted onto a scalloped circle Nestie diecut.

As a finishing touch, Ranger Crystal Stickles glitter glue were added to the wings on the image and details on the sentiment.

Saturday, 24 October 2015

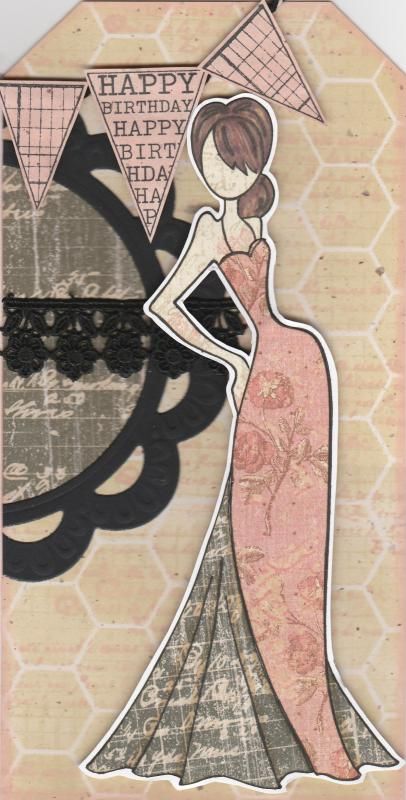
Pink Black and Beige Paper-Pieced Prima Doll

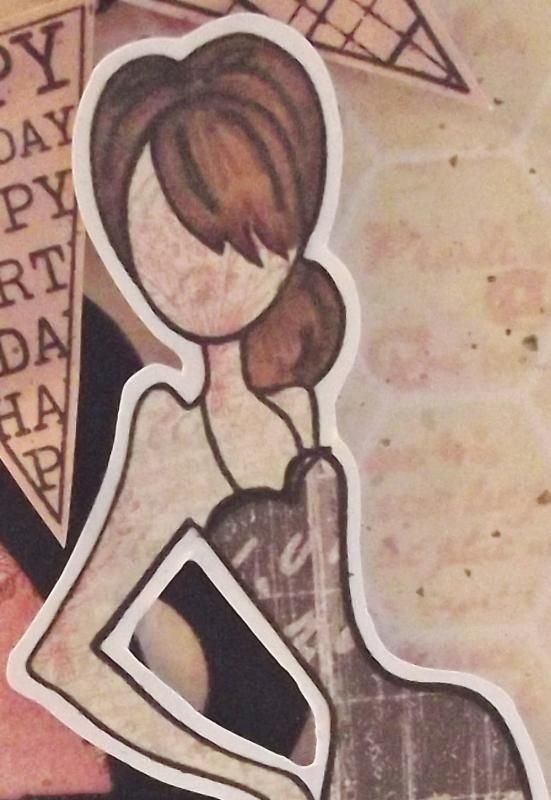
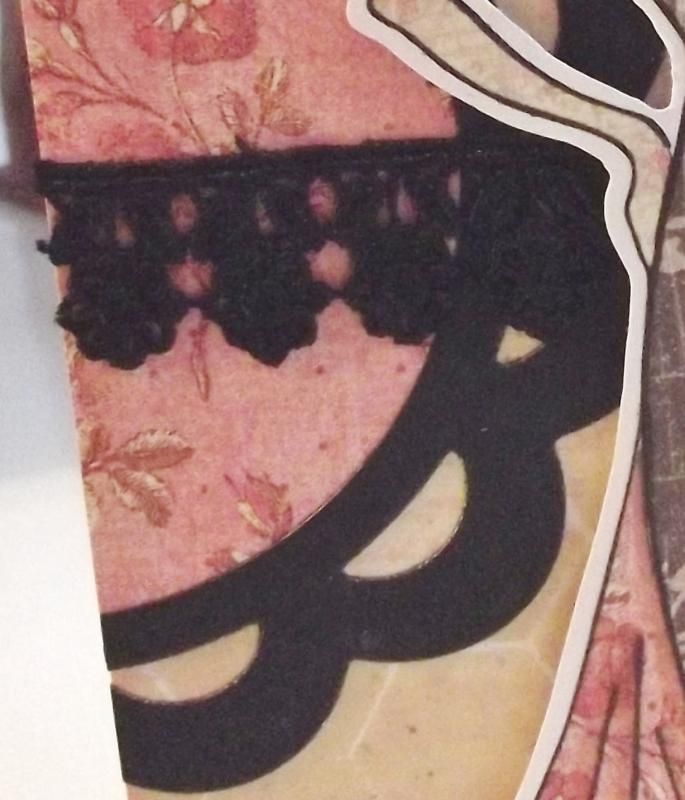
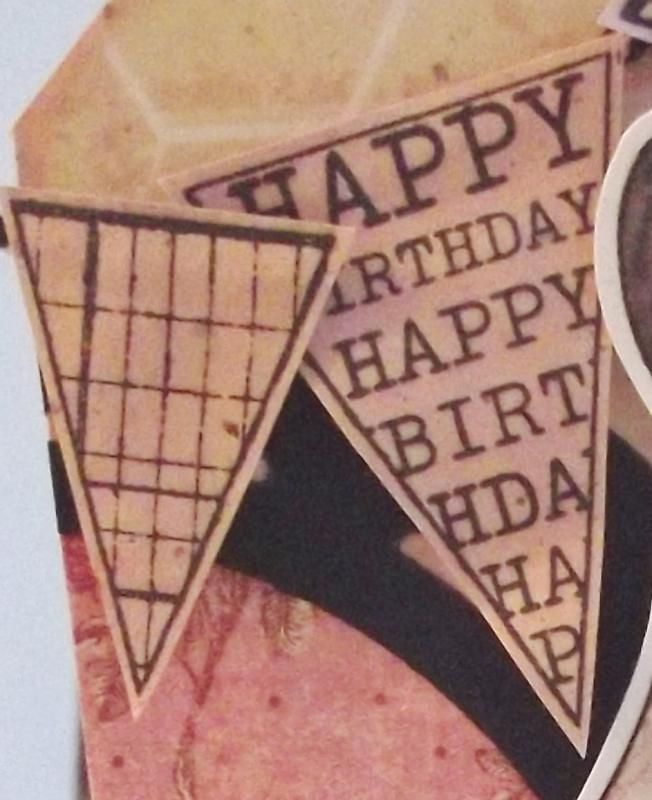
I should begin by apologising for the picture quality of this card. Normally I scan my cards in but my scanner had decided to give up the ghost (well, actually the printer had, and so the scanner just played along). Anyway, these were photographed and I couldn't find my mini tripod so getting up close and holding the camera perfectly steady wasn't easy!!

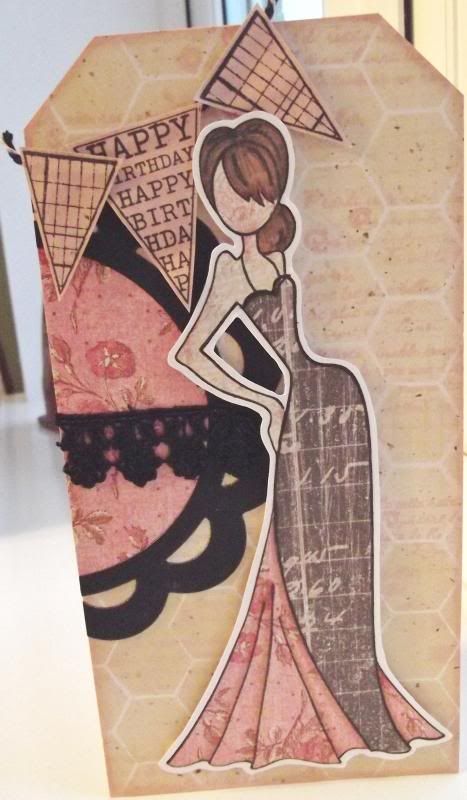
This card shows my first attempt at using my Prima Doll stamp Tasha. I actually made it at the cardmaking group that I go to and it was great fun.
Paper-piecing the image is actually very simple to do. The hard part is choosing which papers to use.
I began by stamping the whole image onto some white card using Memento Tuxedo Black dye ink. The image was then stamped again onto three different patterned papers from the K&Co Best of Too paper pad, using papers from the Life's Journey and K-Ology Hannah collections. I do love this paper pad, and it is much underused. I really should get it out more. The next stage was to cut the various pieces from the different papers and assemble them onto the base image. The hair was coloured onto the patterned paper using Promarkers.

The next stage was to create a background for the image to sit on. I started with a piece of 'natural' paper which has tiny flecks in it. I then taped the Memory Box Chicken Wire stencil over the piece and sponged through Tim Holtz Antique Linen distress ink. Once that was done, with the stencil still in place, the French Text stamp from the Bo Bunny It Is Written stamp set was stamped through the stencil using the Tattered Rose ink. This was matted to the front of a DL card blank that was cut into the shape of a tag.

In order to create a bit more interest behind  the doll image, the Marianne scalloped circle frame was diecut from black card and a circle of the pink patterned paper used on the dress was diecut to fit within it. A length of black lace was wrapped around the circle and matted together on the edge of the tag and the excess cut away.


I then wanted to add a sentiment to the card and decided to use the banner stamps from the Hero Arts Friendly Flags stamp set. These were stamped onto the inked natural paper, inked with the Antique Linen and Tattered Rose inks. These were cut out and adhered to black and white Gorjuss Baker's Twine in the top left corner.


I also made a second card using the other parts of the stamped image.

Blog Widget by LinkWithin