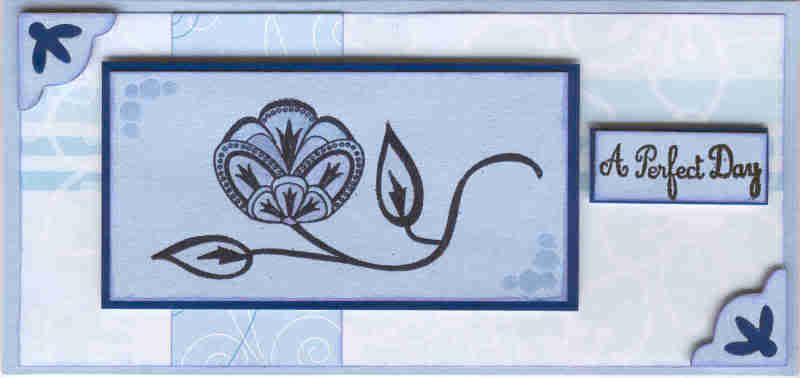
The theme for this week's Stamp Something Challenge is 'Flowers or Showers'. I opted for the flowers part of the challenge and used a stamp I bought ages ago but haven't got around to using until now (sound familiar anyone?).
The flower image by Papermania was stamped onto blue card using clear pigment ink and embossed using Personal Impressions Violet Pearl embossing powder. The image was coloured using Stamps Away mica powders. The dots, from the Papermania Marie Curie Daffodil set, were stamped in the corners and clear embossed.
The image was then matted onto royal blue alchemy pearl card.
Patterned papers from the Papermania Venetian Skies Creative Tones paper pad were matted onto a blue DL card and the flower panel was added on top. Corners were die cut using the Sizzix Sizzlet Elegant Enhancement #3 die using the light blue and royal blue cardstock.
The sentiment, taken from the Papermania Jesse Edwards mini set of stamps was stamped and embossed using Versacolor Black pigment ink and the violet pearl embossing powder.
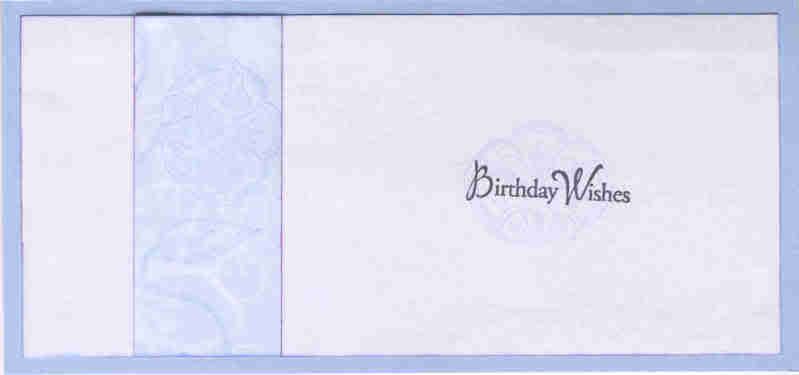
I decorated the inside of the card by adding a strip of the patterned paper stamped with the flower stamp and ColorBox Lavender pigment ink, which was also stamped in the centre of the white paper. This was over-stamped with the sentiment from the Hero Arts Birthday Messages stamp set using Versafine Imperial Purple archival pigment ink.
Wednesday, 29 April 2009
Blue Art Nouveau Flower
Posted by
Kathleen
at
6:22 pm
Labels
Birthday,
Hero Arts,
PersImpressions,
PMania,
Sizzix,
Stamps Away
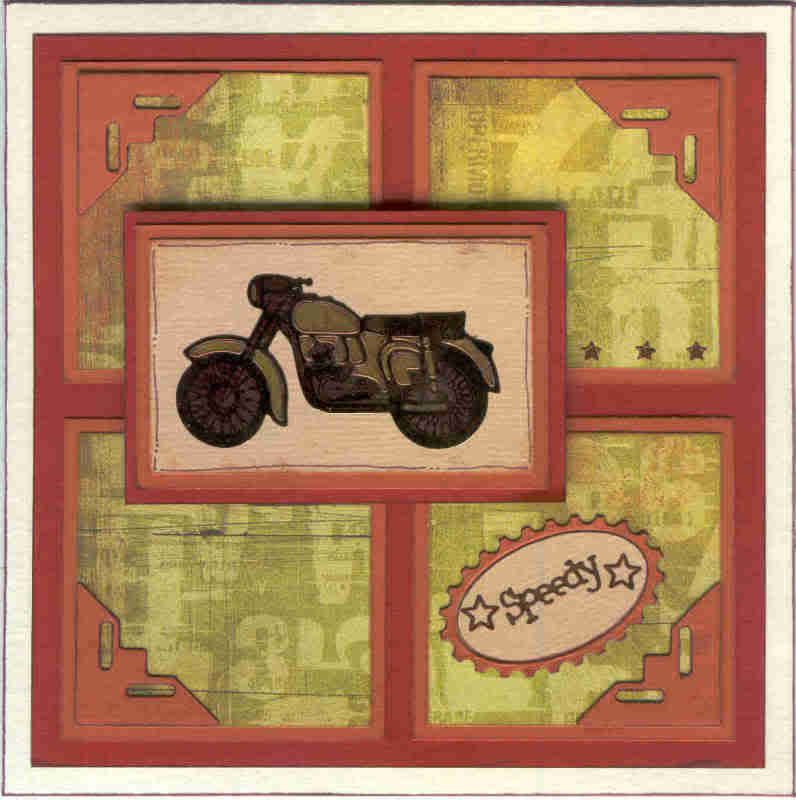
Brown, Green and Orange Motorbike - Colour Create Challenge #13
Here is my entry to this week's Colour Create Challenge, Challenge #13, which this week is to create a card using the colours brown, green and orange.
As I had a couple of men cards to make, and decided to drag my peel-offs out of hiding following my recent peel-off win, I went with a motorbike theme.
The Anita's gold motorbike peel-off was coloured brown using a peel-off marker pen. The inny parts of the peel-off were coloured using brown, orange and green metallic pens. This was matted onto beige card and brown cardstocks.
Patterned paper from the K&Co Basic Grey Sublime paper pad was cut into squares and matted onto the brown cardstocks. The corners were cut from the brown card using the Ellison Photo Corners die cut.
The ovals were die cut using the oval Cuttlebug stamp die and the peel-off greeting was coloured using the three pens and adhered onto it.
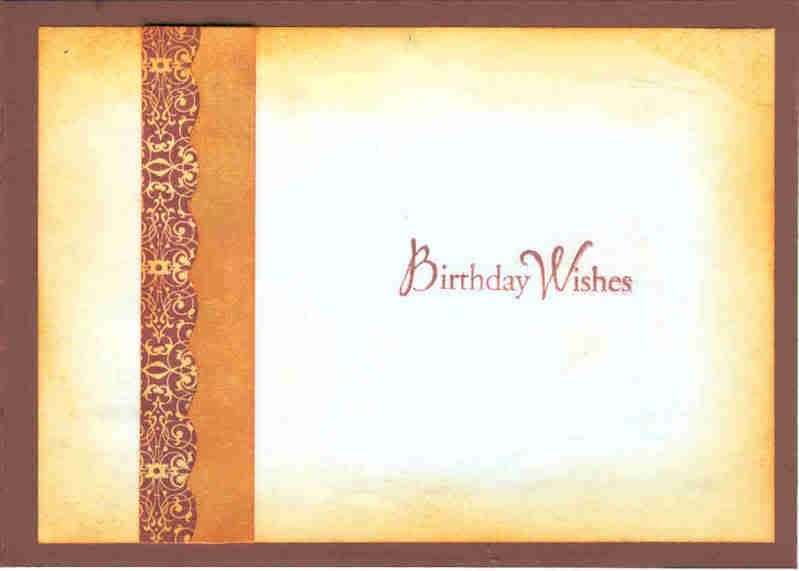
I decorated the inside of the card using a strip of the patterned paper and Tim Holtz Shabby Shutters distress ink.
The greeting is taken from the Hero Arts Birthday Messages stamp set and stamped using Versafine Spanish Moss archival pigment ink.
Monday, 27 April 2009
I Won Something Else - And I Forgot All About It!!
I forgot all about this! Even when it fell through the letter box with an American postmark and a customs note saying 'Stickers Book' it didn't ring any bells.
Hubby was asking me what else I'd bought and I was trying to convince him nothing. It all fell on deaf ears.
Then I opened the parcel and I remembered! When Paper Wishes launched their new forum they had a competition and so many people would be chosen to win 10 sheets of Dazzles (that's peel-offs to you and me), and a book with card designs and Hot Off The Press papers and die-cuts in it to make some cards. The examples in the book are lovely and I'm actually tempted to get some of my peel-offs out again to make some cards with. They've been very neglected over the past twelve months as I've concentrated on making good use of my many stamps!!!
Watch this space!!!
Friday, 24 April 2009
I've Won! I've Won!
Amazingly, I've won over on the Stamp Something Blog Challenge. The challenge was to create a card using the colours blue, green and yellow. You can see my entry here.
My prize is to choose three downloadable files from The Cutting Cafe. They produce printable stamped images and cutting files that can either be simply printed or cut out using an electronic cutter. (I haven't yet discovered if they will be compatible with my Craft Robo yet - I have to do a little more investigation!)
So, I am off to bed now, but I shall be checking out The Cutting Cafe's website in the morning to choose my goodies!!
Posted by
Kathleen
at
4:42 am
Pink and Green Strawberry Miss-Chief
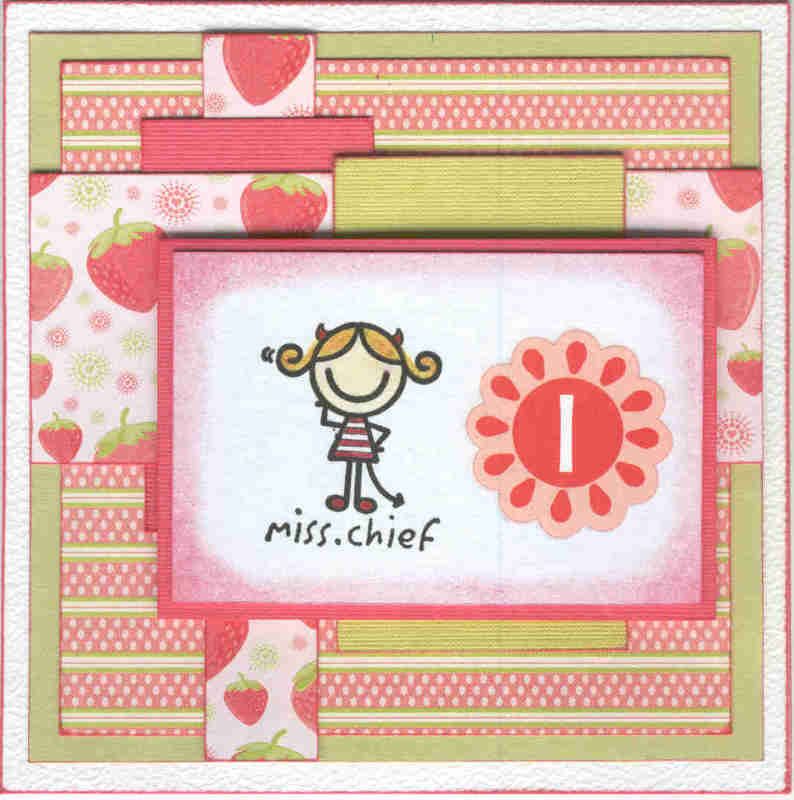
Here is my entry to the current Truly Scrumptious blog challenge. This is challenge #5, and follows a sketch.
I decided to make a card for my cousin's little girl (actually I made two, one for my friend's little girl as well!)
I began by stamping the 'Miss-Chief' image from the Studio G Smirk range onto the reverse of a piece of white hammer card using Versafine Onyx Black archival pigment ink. It was then coloured using Sakura Stardust pens and Whispers Brushstroke markers. The edges of the panel were sponged using Whispers Grand Cranberry permanent dye ink.
Now I have a confession to make. About 3 and a half years ago, I saw a product spotlighted in a cardmaking magazine and thought 'Ooh, those look good!'. An internet search ensued and I found the products on ebay as part of a bumper kit. They were in the US, but I worked out how much they would cost if I bought the whole lot in the UK, and put in my maximum bid. Needless to say, I won the auction and a bumper ppack of monogram and alphabet rub-ons were winging their way across the Atlantic. Now, three and a half years later, I have actually used one of them (or two if you remember I made two cards to this design!!)
So, using one of my now quite old rub-ons from the Me And My Big Ideas Chester pack, I added an initial to the right hand side of the 'Miss-Chief' panel.
This panel was matted onto a piece of pink card from the DCWV Brights card mat stack. A selection of patterned papers from the DCWV Nana's Nursery Baby Girl mat stack and the card mat stack were then layered up according to the sketch from the blog challenge. These were in turn matted onto a piece of green paper and then onto a Craft Tonic square white card.
Pink, Black and White Love Birds - Colour Create #12
Here is my entry for this week's Colour Create blog challenge. I'm ashamed to say that this is my first entry to this challenge, especially as it is run by some good pals from the docrafts forum!!
But, as they say, better late than never, and hopefully this will be the first of many entries. (I might even go back and make up some cards for the earlier challenges if I get a chance!)
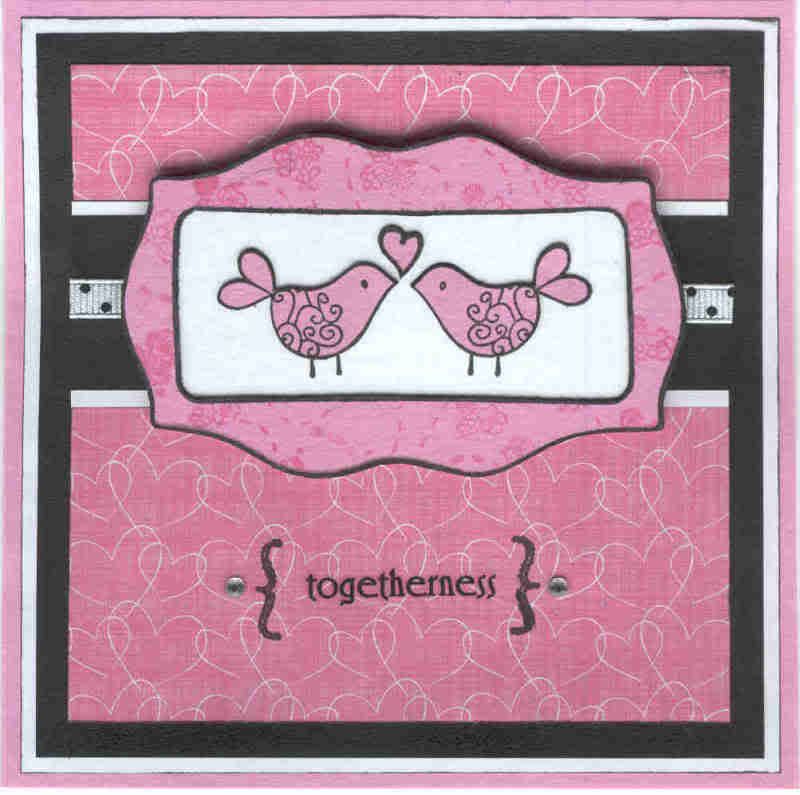
Firstly, the Love Birds image from the Papermania Sweet Nothings stamp set and the frame image from the Papermania Spring Burst stamp set were stamped onto the reverse of white hammer card using Versafine Onyx Black archival pigment ink and cut out. Both images were stamped out again onto pink card and again cut out.
The daisy background stamp from the Papermania Secret Garden stamp set was used to stamp a background onto the frame using Ink It Up! Pink pigment ink.
Strips of black and white paper were matted onto the pink and white heart paper from the Papermania Scrumptious paper pad and a length of Anita's self-adhesive black and white polka dot ribbon was adhered on top. This panel was then matted onto black and white paper, and attached to the front of a square pink card blank. The Love Bird panel was attached over the ribbon on 3D foam.
A rub-on from the Royal and Langnickel Friends Sentiments sheet was added to the bottom of the hearts panel, along with stamped parentheses and clear faux gems.
Posted by
Kathleen
at
3:47 am
Labels
Anitas,
anniversary,
gems,
Ink It Up,
PMania,
ribbon,
Royal+Langnickel,
rub-ons
Wednesday, 22 April 2009
"Awesome" new site for tutorial videos
I happened across this site following a recommendation over on the Splitcoaststampers forum.
The site is the creation of Ann Clemmer. The video that was recommended was one for making your own mock-croc background paper.
I was only thinking the other day that it would be good if Cuttlebug made an embossing folder to create this look, but I love the technique shown on this video. I highly recommend it!
You can see the card that Ann created using this technique here.
Posted by
Kathleen
at
3:55 pm
Monday, 20 April 2009
Blue, Green and Yellow Nellie with Spring Flower
Here is my entry for this week's Stamp Something blog challenge. The theme for this challenge is a colour one - blue, green and yellow.
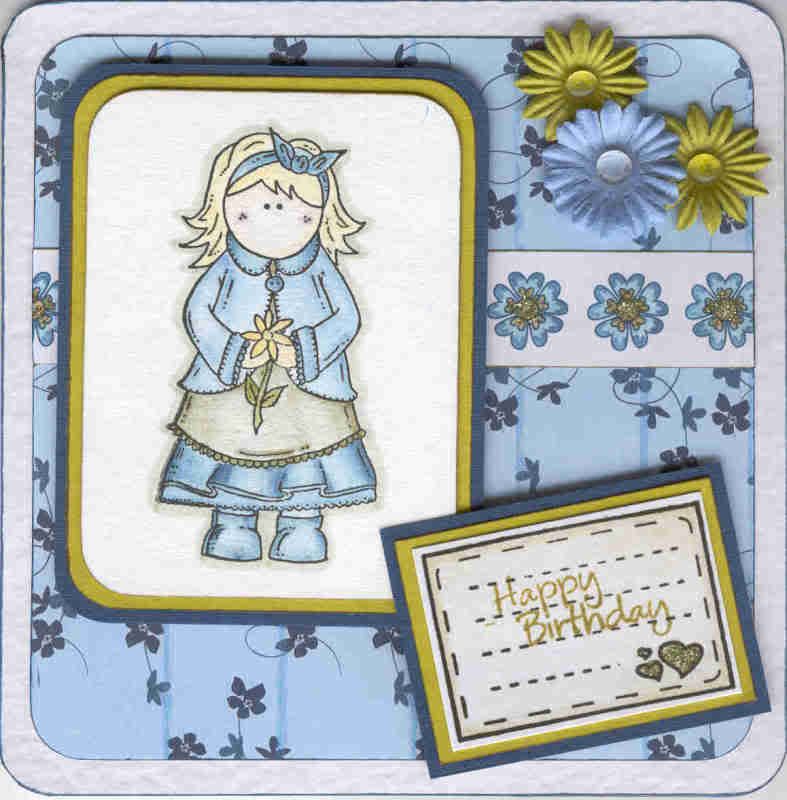
The Nellie with Spring Flower image by Sugar Nellie was kindly donated by Alex K.
The image was watercoloured using the Whispers Brushstroke markers and the blender pen. This was matted onto green paper and blue card. The blue flower and stripe paper from the Papermania Venetian Skies Creative Tones paper pad was matted onto the card blank and a strip of the outline flower paper from the same paper pad was watercoloured and matted onto it.
The journalling panel from the Papermania Sweet Nothings stamp set was stamped using Versafine Onyx Black Archival pigment ink, and watercoloured. The hearts were then highlighted with Glitz It Pear Green glitter glue and the sentiment was stamped onto the journalling panel using Versafine Spanish Moss Archival pigment ink. This was also matted onto the green paper and blue card.
The Pear Green glitter glue was added to the coloured flowers on the paper strip as well as the flower on the image panel.
Paper flowers (green from The Crafty Cow and Faded Jeans Blue from Papermania Imaginisce), were adhered to the top corner and Patti's Pretties (glass pebbles) were added to their centres.
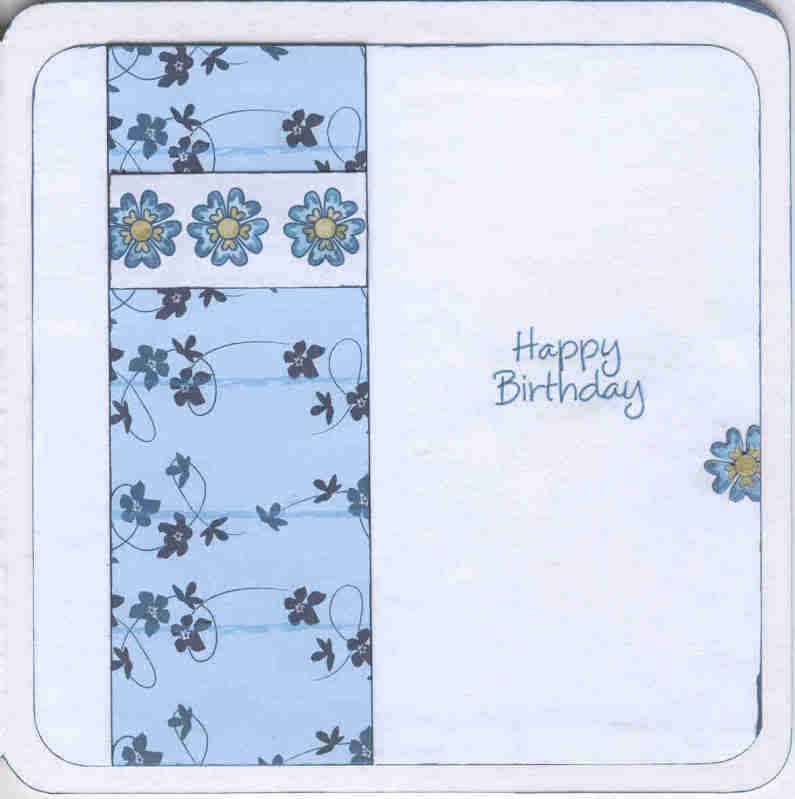
I also decorated the inside of the cards, using a strip of the blue flower and stripe paper and the watercoloured outline flower paper as used on the front of the card.
The sentiment was stamped using the 'Happy Birthday' stamp from the Hero Arts Birthday Messages stamp set and ColorBox Prussian Blue Fluid Chalk ink.
The Nellie with Spring Flower image by Sugar Nellie was kindly donated by Alex K.
The image was watercoloured using the Whispers Brushstroke markers and the blender pen. This was matted onto green paper and blue card. The blue flower and stripe paper from the Papermania Venetian Skies Creative Tones paper pad was matted onto the card blank and a strip of the outline flower paper from the same paper pad was watercoloured and matted onto it.
The journalling panel from the Papermania Sweet Nothings stamp set was stamped using Versafine Onyx Black Archival pigment ink, and watercoloured. The hearts were then highlighted with Glitz It Pear Green glitter glue and the sentiment was stamped onto the journalling panel using Versafine Spanish Moss Archival pigment ink. This was also matted onto the green paper and blue card.
The Pear Green glitter glue was added to the coloured flowers on the paper strip as well as the flower on the image panel.
Paper flowers (green from The Crafty Cow and Faded Jeans Blue from Papermania Imaginisce), were adhered to the top corner and Patti's Pretties (glass pebbles) were added to their centres.
I also decorated the inside of the cards, using a strip of the blue flower and stripe paper and the watercoloured outline flower paper as used on the front of the card.
The sentiment was stamped using the 'Happy Birthday' stamp from the Hero Arts Birthday Messages stamp set and ColorBox Prussian Blue Fluid Chalk ink.
Posted by
Kathleen
at
9:52 pm
Labels
Birthday,
dew drops,
flowers,
Glitz It,
Imaginisce,
Pattis Pretties,
PMania,
Sugar Nellie,
The Crafty Cow,
Whispers
Saturday, 18 April 2009
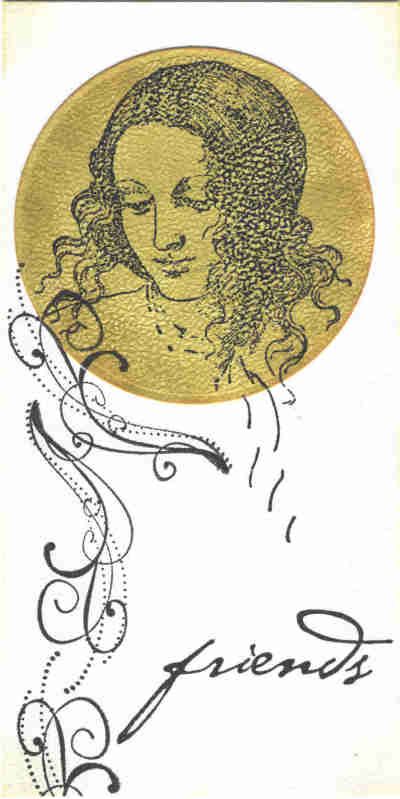
Green Classical Face and Flourishes
This card was inspired by a card in Craft Stamper magazine, and also by Jules B's take on it.
The face image, from the Non Sequitur Memories of Italy stamp set, was stamped onto the card blank using Versfine Onyx Black pigment ink.
A circle of matching card was coloured using Tim Holtz Shabby Shutters Distress ink and edged with ColorBox Amber Clay Fluid Chalk ink. The image was then stamped onto it, and the circle was attached onto the card over the top of the first image.
A flourish from the Autumn Leaves Rhona Farrer Flourishes v.2 stamp set were stamped directly onto the card blank, as was the word, which was taken from the Clear Choice! Butterflies stamp set.
The face image, from the Non Sequitur Memories of Italy stamp set, was stamped onto the card blank using Versfine Onyx Black pigment ink.
A circle of matching card was coloured using Tim Holtz Shabby Shutters Distress ink and edged with ColorBox Amber Clay Fluid Chalk ink. The image was then stamped onto it, and the circle was attached onto the card over the top of the first image.
A flourish from the Autumn Leaves Rhona Farrer Flourishes v.2 stamp set were stamped directly onto the card blank, as was the word, which was taken from the Clear Choice! Butterflies stamp set.
Posted by
Kathleen
at
6:55 pm
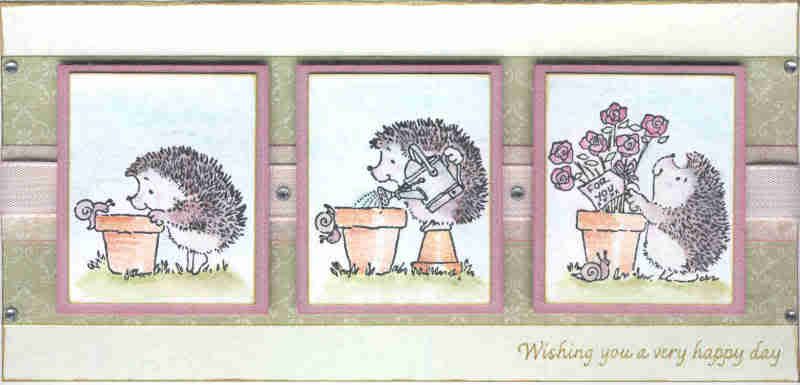
Pink and Green Gardening Hedgies
Here is my entry for this week's Papertake Weekly blog challenge, the theme for which is pastel colours. You can see the Design Team's take on this challenge here, along with the links to the other entries.
The Penny Black image was watercoloured using the Whispers Brushstroke markers. The images were cut up and matted onto pink card.
Patterned papers from the HOTP Floral Ultimate Creative Pack were matted onto a pale green card blank with a length of pink woven ribbon wrapped around them.
Clear faux gems were added to the corners of the patterned paper and between the images.
The sentiment was taken from the See D's Celebration Messages stamp set and stamped with ColorBox Olive Green Fluid Chalk ink.
Posted by
Kathleen
at
6:07 pm
Chocolate Orange Medallion - Basic Grey Challenge #30
Well, I've done it again. Slaved over a card for a blog challenge only to miss the deadline. I wouldn't mind, but I had made it in time, just didn't get round to uploading it to my blog!!!
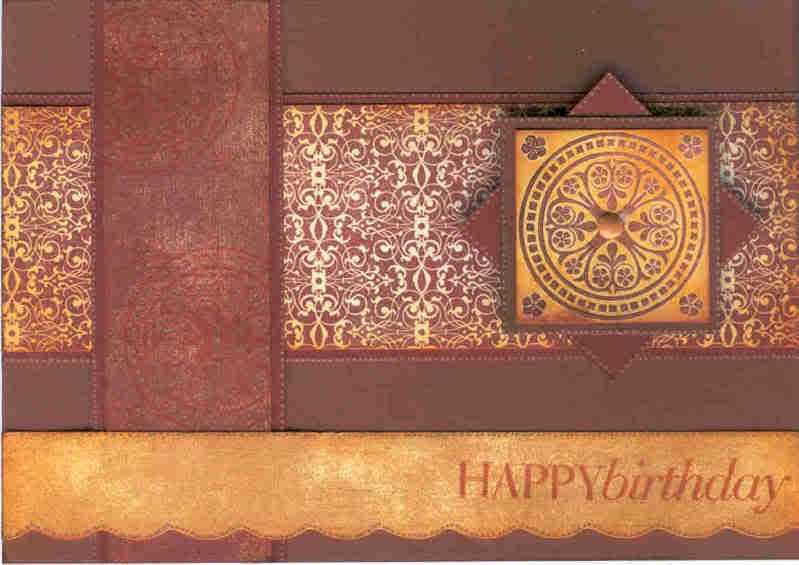
Anyway, I've got round to it now, so here it is - or should I say, they are. I made one, and wasn't 100% happy with it, so decided to make a second version. Let me know which one you prefer!
For a change, the card blank is a side opening A6 card.
The image, from the Lakeland set of small medallion stamps, was stamped onto smooth white card using Ink It Up! Light Chocolate pigment ink and then clear embossed. The panel was then colour tinted with Tim Holtz Spiced Marmalade Distress ink. The image panel was then matted onto brown card and paper, and a small orange brad was added to the centre.Strips of three co-ordinating papers from the Basic Grey Sugared paper pad were colour tinted with the Tim Holtz Spiced Marmalade Distress ink, and the same ink was used to repeatedly stamp the medallion image on the brown strip. The paper strips were then matted onto brown paper. A further strip of paper was cut using the Fiskars Shapecutter and the small scalloped edge of the Fiskars Circles template. A sentiment from the Hero Arts Birthday Messages set was double stamped on this strip with the Whispers Barn Brown permanent dye ink and the Tim Holtz Spiced Marmalade Distress ink.
Little dots were added along the edges of each of the brown panels and to highlight the dots already on the medallion images.
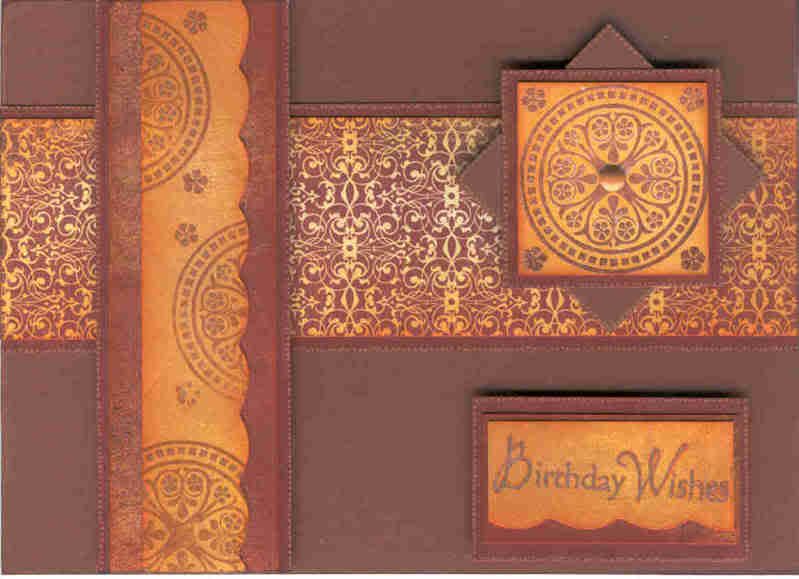
The second version of the card isn't that dissimilar.
The main differences are that I added the scalloped strip to the vertical brown strip and stamped the medallions on it in the Whispers Barn Brown permanent dye ink.
I added the sentiment to a shorter panel of the scalloped strip, and traced over the lettering with the orange metallic Sakura gel pen.
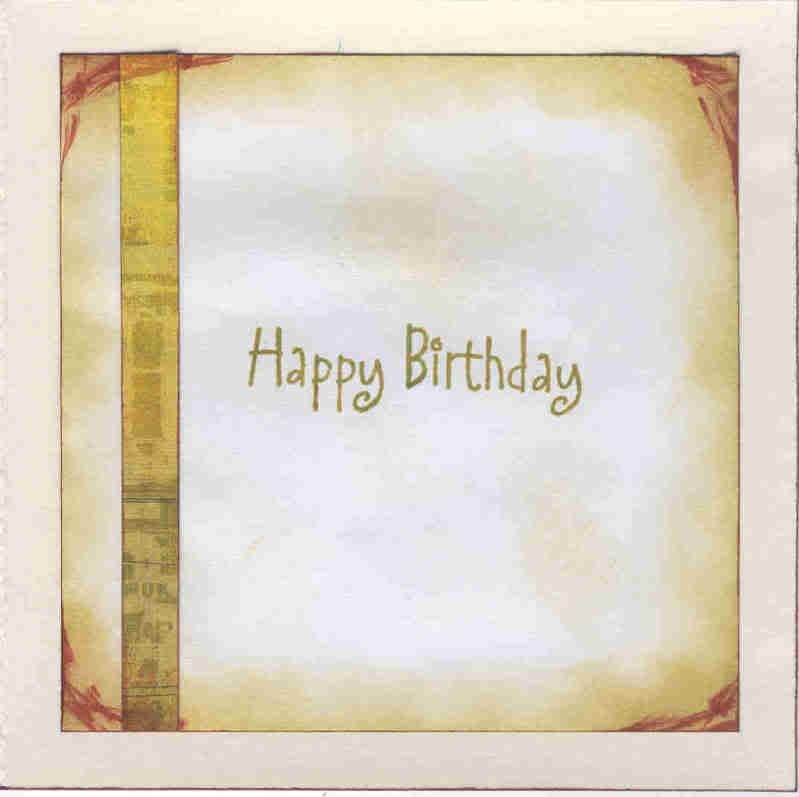
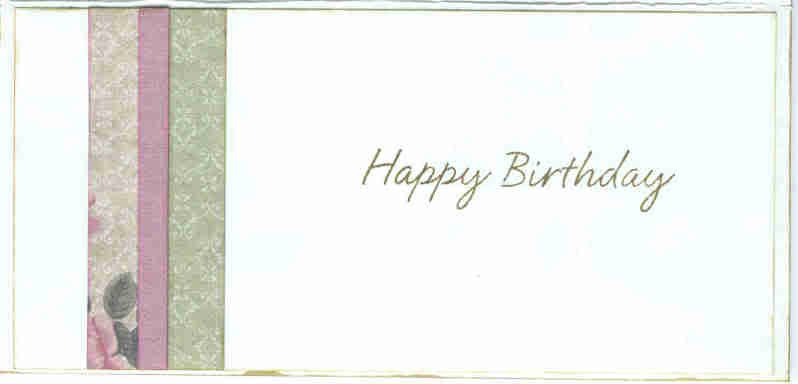
I also decorated the inside of the cards,
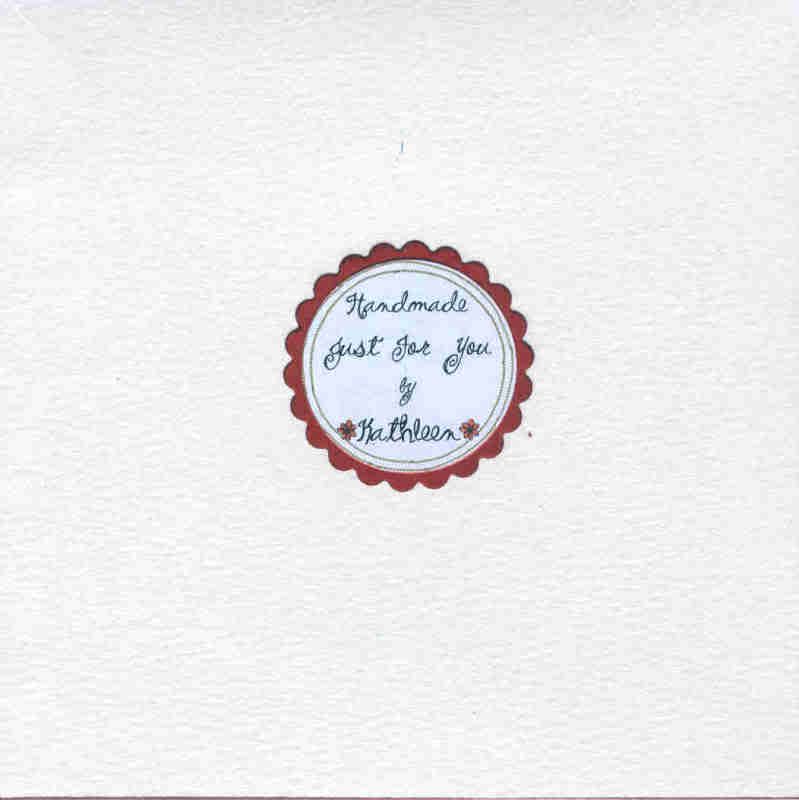
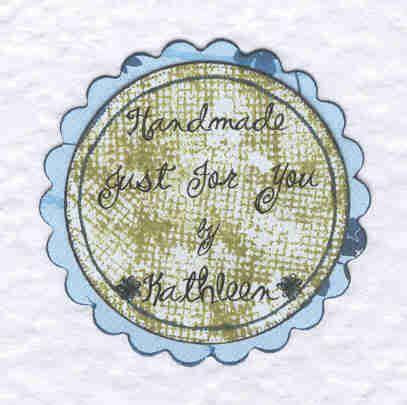
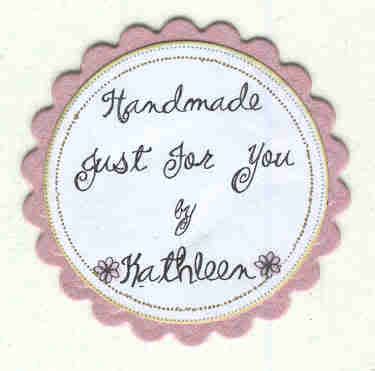
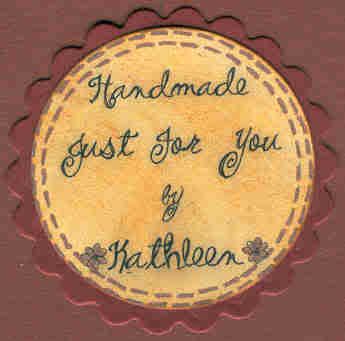
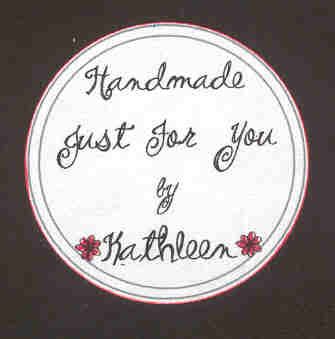
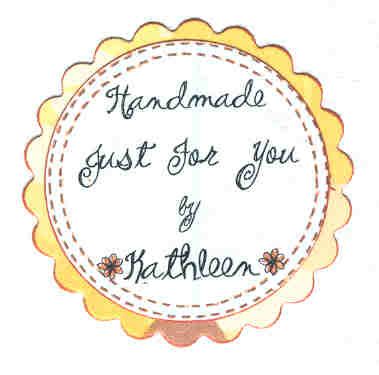
and added my 'Handmade By' medallions to the reverse of the cards.
Posted by
Kathleen
at
4:48 am
Labels
Basic Grey,
Birthday,
brads,
Distress inks,
Fiskars,
Hero Arts,
Ink It Up,
Lakeland,
masculine,
Shapecutter
Friday, 17 April 2009
Sugar Nellie Knight In Shining Armour - UPDATE
I've been asked on the comment form for some information regarding my Sugar Nellie Knight card that I made for my husband. Unfortunately, as the comment was left anonymously, I can't reply to them privately, so I shall have to do it this way.
The knight stamp is available exclusively from Funky Kits.
I got the Cuttlebug folder from either Oyster Stamps or Cutting Edge Crafts.
The Craft Planet silver satin cardstock was from The Range.
I'm not sure of the best place to get the Hot Off The Press Creative Pack papers, See D stamp sets or the Fiskars Shapecutter at the moment. I got mine quite some time ago, and I'm almost certain that the online shop where I got the papers has long since gone out of business. It might be worth doing a Google search for them.
Posted by
Kathleen
at
3:16 am
Labels
CBug,
Craft Planet,
Cutting Edge Crafts,
Fiskars,
Funky Kits,
HOTP,
masculine,
Oyster Stamps,
See Ds,
Sugar Nellie
Monday, 13 April 2009
Caroline's Blog Candy - CLOSED
Caroline is offering some great blog candy over on her blog at the moment.
To be in with a chance of winning, head over to Caroline's blog and leave her a comment on the blog candy post.
The candy will be open until the 8pm on the 27th of April, when she will make the draw.
Monday, 6 April 2009
Sugar Nellie Knight Card For Hubby
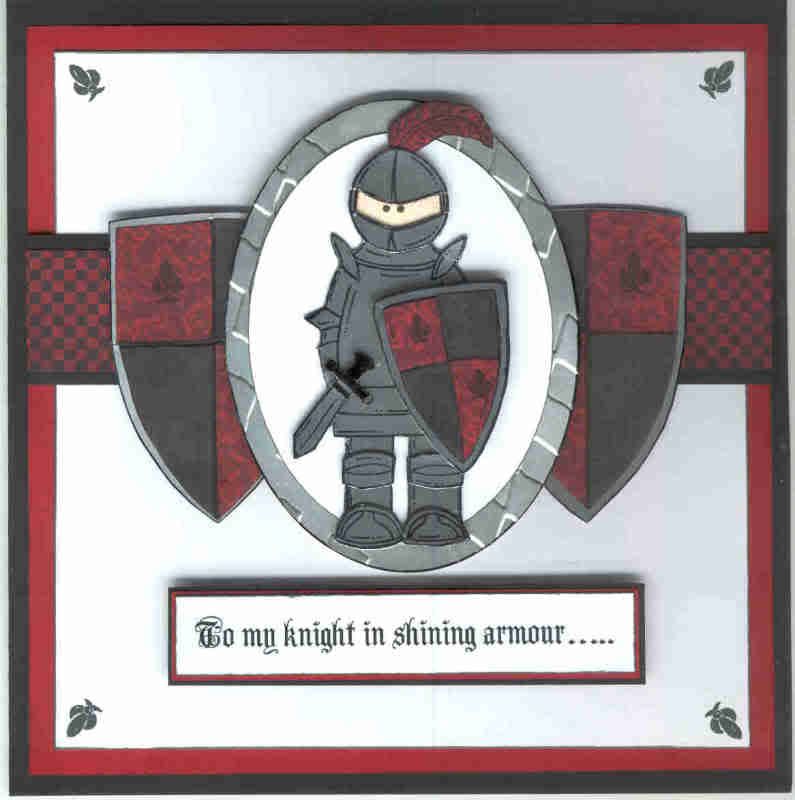
Here is the card I made for my lovely hubby's birthday.
It is also my entry for this week's Truly Scrumptious blog challenge, which consists of a sketch and the added challenge of 'Flower Power'. I used a little artistic licence and used Fleur de Lys for my flowers as it's a masculine-themed card.
I decided to use the Sugar Nellie Knight Luca stamp for this card. I stamped it out twice onto Craft Planet Silver Satin card using Jet Black Staz-On ink and cut the images out. The feather and shield quadrants were stamped onto patterned papers from the HOTP Classic Cardmakers Creative pack and attached to the shield image.
The image was matted onto ovals of white card and silver satin card embossed with the Cuttlebug Diamond in the Rough folder.
Two shields were cut out and decorated with papers from the Classic Creative pack, along with a matching panel.
The Fleur de Lys were stamped using morsel stamps from the See D's Vintage Collection stamp set in the corners of the white panel and on the shields. The sentiment was computer-generated.
It is also my entry for this week's Truly Scrumptious blog challenge, which consists of a sketch and the added challenge of 'Flower Power'. I used a little artistic licence and used Fleur de Lys for my flowers as it's a masculine-themed card.
I decided to use the Sugar Nellie Knight Luca stamp for this card. I stamped it out twice onto Craft Planet Silver Satin card using Jet Black Staz-On ink and cut the images out. The feather and shield quadrants were stamped onto patterned papers from the HOTP Classic Cardmakers Creative pack and attached to the shield image.
The image was matted onto ovals of white card and silver satin card embossed with the Cuttlebug Diamond in the Rough folder.
Two shields were cut out and decorated with papers from the Classic Creative pack, along with a matching panel.
The Fleur de Lys were stamped using morsel stamps from the See D's Vintage Collection stamp set in the corners of the white panel and on the shields. The sentiment was computer-generated.
Posted by
Kathleen
at
5:18 pm
Labels
Birthday,
CBug,
Craft Planet,
HOTP,
masculine,
See Ds,
Sugar Nellie
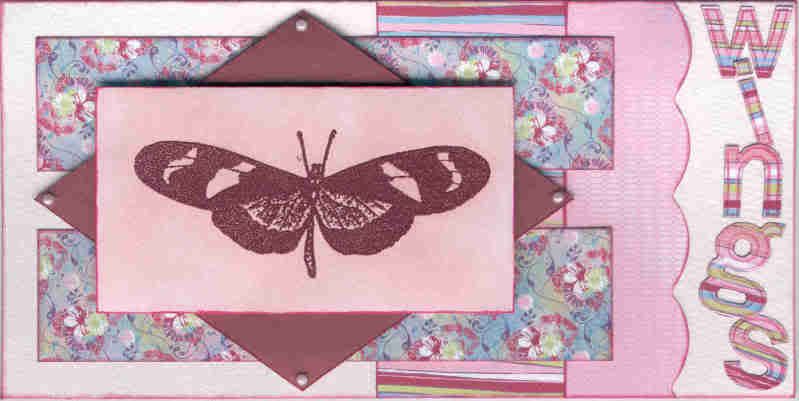
Pink Butterfly Wings - Basic Grey Challenge #29
Here is my entry for this week's Basic Grey blog challenge. The theme for this week's challenge is Spring/Easter.
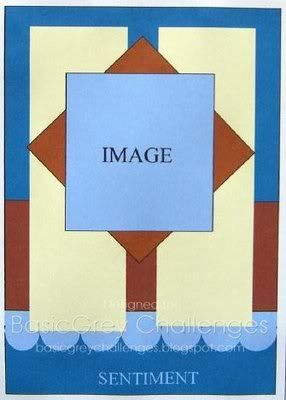
I actually made this card to last week's sketch but I finished it too late to enter it. I turned the sketch 90 degrees and adapted it to a DL card.
I started by stamping the butterfly image from the Stampman Botanical Aspects of Design stamp set onto smooth white card using ColorBox Magenta pigment ink and embosssed it using Heat It Up! Cranberry embossing powder. The edges of the card panel were coloured with the magenta ink and clear embossed.
The panel was then coloured with Tim Holtz Tattered Rose Distress ink. A diamond panel was cut from Papermania dusky red textured card, and also edged and clear embossed. Baby pink pearls were adhered to the corners of the panels.
Panels were cut from Basic Grey Euphoria papers and edged with ColorBox Warm Violet fluid chalk ink. A scalloped edge was cut along one panel using the edge of the Fiskars oval template.
The sentiment was stamped onto matching paper using the Papermania Standard Font stamp set and the warm violet chalk ink.
Posted by
Kathleen
at
4:55 pm
Labels
Basic Grey,
Birthday,
Fiskars,
pearls,
PMania,
The Stampman
Couple of Easter Cards
Here are a couple of Easter cards that I made last week. I decided I wanted to make two different styles of cards, one a more traditional design.
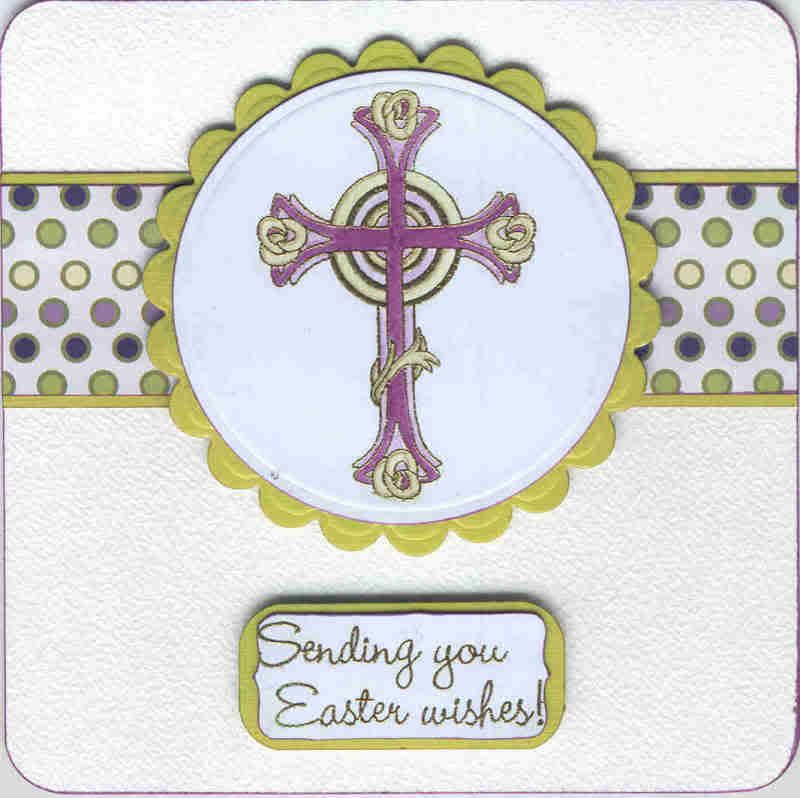
For the first card, I stamped the Celtic Cross image from the See D's Easter Kit stamp set onto a circle of smooth white card using ColorBox Fresh Green pigment ink and then gold embossed it.
This was then watercoloured using the Whispers Brushstroke markers and then matted onto a scalloped circle of Papermania lime green textured card. A panel of patterned paper from the Papermania Spring Burst paper pad was also matted onto the lime green card.
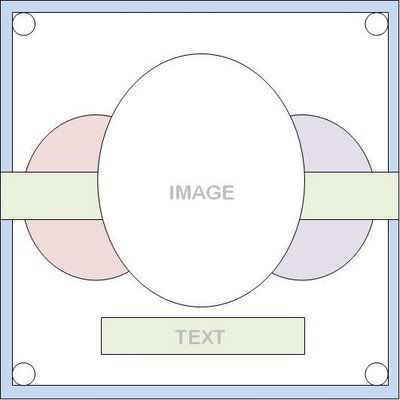
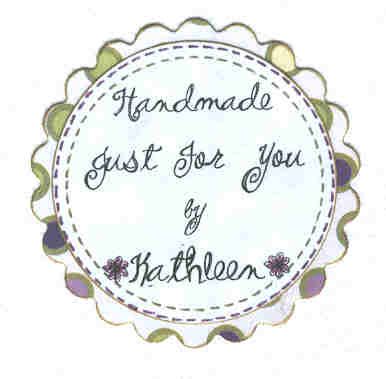
The sentiment, from the See D's Easter Kit stamp set, was stamped using ColorBox Fresh Green pigment ink and gold embossed. The panel was then cut out using the HOTP Labels template and matted onto the lime green card.I made a 'Handmade By' label for the reverse of the card by printing off a WordArt circle message and matted it onto a scalloped circle cut from a matching paper from the Papermania Spring Burst paper pad.
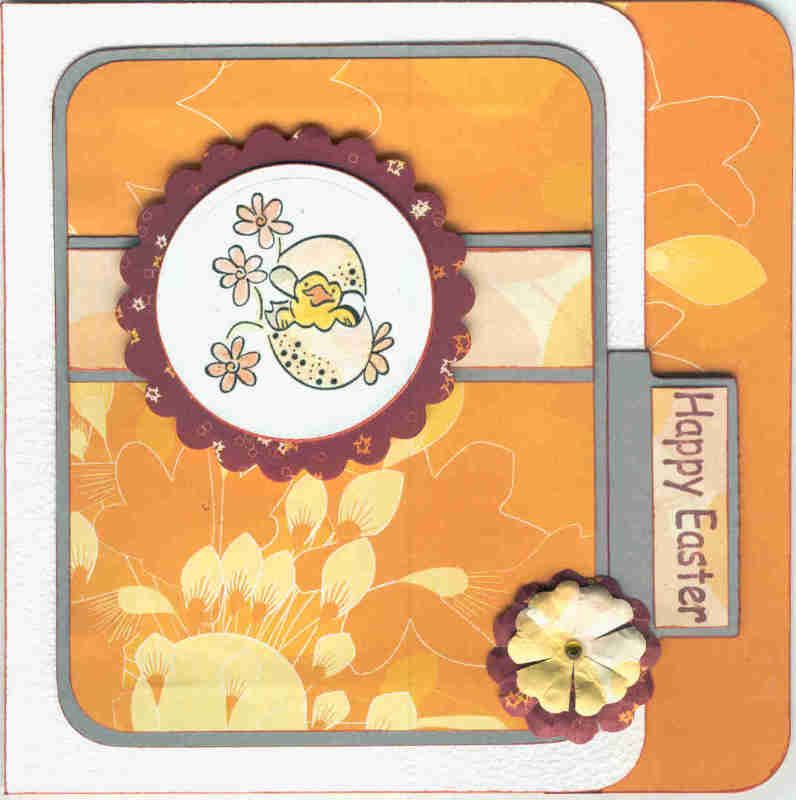
I wanted the second card to have a less traditional feel and so went with an Easter Chick theme. I also wanted to use the Basic Grey Ambrosia papers, but since I don't have them (yet!) I tried to find papers in my stash of similar colours to imitate them. I think I've almost pulled it off!
I stamped the Easter Chick image from the See D's Easter kit stamp set onto a circle of smooth white card using Versafine Onyx Black pigment ink and watercoloured it using the Whispers Brushstroke markers. This was matted onto a scalloped circle of paper from the Papermania 'The Big One' Temptations paper pack.
The edge of the card front was cut away, and strips of yellow and chestnut brown papers from the Temptations paper pack was attached to the inside of the card. Matching yellow papers were matted onto grey card and layered onto the card front. A file tab was cut from grey card using the Sizzix Sizzlet File Tab #4, and the sentiment was added using a Docrafts stamp and Brilliance Crimson Copper pigment ink onto the yellow patterned paper.
Two flowers were cut out using the Flower Parts Sizzlet dies. They were cut to the centre to create petals and embossed from the reverse to create dimension. A yellow faux gem was attached to the centre of the flowers. If I remember who it was who posted about this technique, I'll add it here later as it's a very good technique and I'd like to acknowledge who it was.
For the first card, I stamped the Celtic Cross image from the See D's Easter Kit stamp set onto a circle of smooth white card using ColorBox Fresh Green pigment ink and then gold embossed it.
This was then watercoloured using the Whispers Brushstroke markers and then matted onto a scalloped circle of Papermania lime green textured card. A panel of patterned paper from the Papermania Spring Burst paper pad was also matted onto the lime green card.
The sentiment, from the See D's Easter Kit stamp set, was stamped using ColorBox Fresh Green pigment ink and gold embossed. The panel was then cut out using the HOTP Labels template and matted onto the lime green card.I made a 'Handmade By' label for the reverse of the card by printing off a WordArt circle message and matted it onto a scalloped circle cut from a matching paper from the Papermania Spring Burst paper pad.
I wanted the second card to have a less traditional feel and so went with an Easter Chick theme. I also wanted to use the Basic Grey Ambrosia papers, but since I don't have them (yet!) I tried to find papers in my stash of similar colours to imitate them. I think I've almost pulled it off!
I stamped the Easter Chick image from the See D's Easter kit stamp set onto a circle of smooth white card using Versafine Onyx Black pigment ink and watercoloured it using the Whispers Brushstroke markers. This was matted onto a scalloped circle of paper from the Papermania 'The Big One' Temptations paper pack.
The edge of the card front was cut away, and strips of yellow and chestnut brown papers from the Temptations paper pack was attached to the inside of the card. Matching yellow papers were matted onto grey card and layered onto the card front. A file tab was cut from grey card using the Sizzix Sizzlet File Tab #4, and the sentiment was added using a Docrafts stamp and Brilliance Crimson Copper pigment ink onto the yellow patterned paper.
Two flowers were cut out using the Flower Parts Sizzlet dies. They were cut to the centre to create petals and embossed from the reverse to create dimension. A yellow faux gem was attached to the centre of the flowers. If I remember who it was who posted about this technique, I'll add it here later as it's a very good technique and I'd like to acknowledge who it was.
Posted by
Kathleen
at
3:03 pm
Labels
Docrafts,
Easter card,
gems,
HOTP,
PMania,
See Ds,
Sizzix,
w/colouring,
Whispers
Wednesday, 1 April 2009
Brand New Forum from Hot Off The Press
I have just discovered that Hot Off The Press/Paper Wishes have just launched their new forum here.
This is something I've been wanting for a while now as I absolutely love the HOTP range and can't wait to see everybody's work using the lovely papers, templates, stamps etc.
They have also got a few challenges on their for cardmakers, scrapbookers and papercrafters, as well as designer cards that they encourage you to copy or reinterpret.
I have kept my usual Username of Kathleen Mc so you'll know who I am!! Hopefully I'll see a few of you over there in the future.
Subscribe to:
Posts (Atom)