


I decided to take part in this week's Basic Grey blog challenge, which is "rounded corners, not an angle in sight!"
 I began by cutting out the pieces for the bird from two co-ordinating papers from the Basic Grey Cupcake paper pad, namely the orange brushstroke paper and the multicoloured flowery dots paper. Each piece of the bird was edged with ColorBox Prussian Blue Fluid Chalk ink. The pieces were assembled and a little googly eye was added.
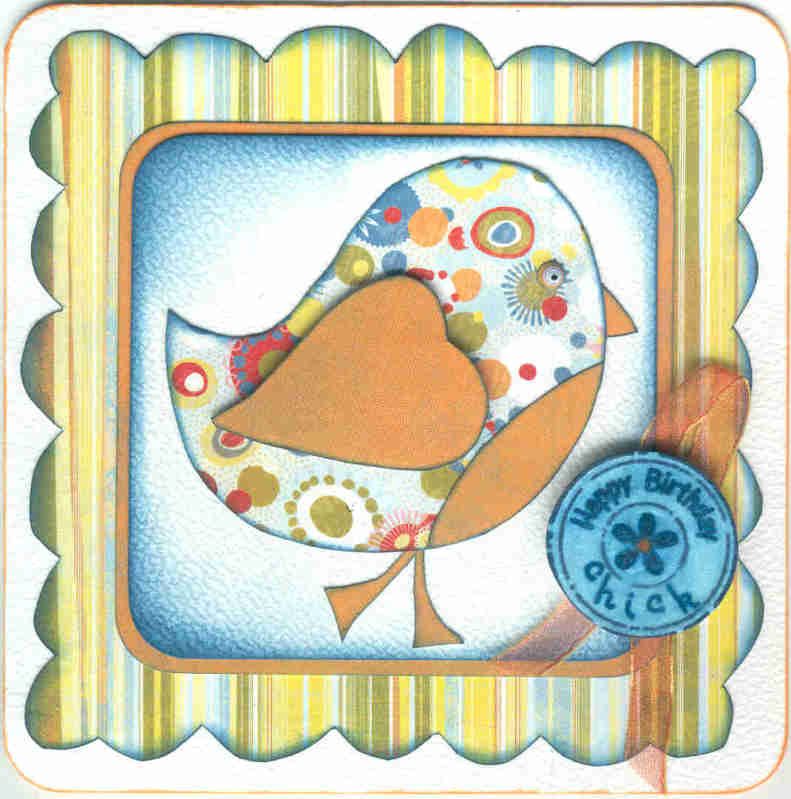
The bird was then matted onto a piece of white card, which was also coloured with the Prussian Blue ink, and then matted onto the orange paper.
A hand-cut scalloped frame was cut from a piece of the multicoloured stripe paper, also from the Basic Grey Cupcake paper pad, and then edged with the Prussian Blue ink. The bird panel was then attached on top of the frame.
The daisy birthday sentiment circle from Aud Designs was then selectively inked using a blue Whispers Brushstroke marker pen and stamped onto white card. The word 'chick' was stamped using a set of the Studio G mini alphabet stamps.
The text and image of the sentiment circle was then traced over using a blue Sakura Stardust pen and the colour drawn out with a damp paintbrush to create a wash over the whole image. The sentiment circle was then cut out and attached to the card over a loop of orange organza ribbon.
This is something a little bit out of the ordinary for me, as I normally like everything to be straight and symmetrical, but having seen the beautiful card that Becky made at the demo, I felt compelled to make this one.
Hopefully the recipient of this card will like it as much as I do!!!


10 comments:
Fabulous card, love that chick.
wow its gorgeous so different i love it.
Fabulous card Kathleen. Love your chosen papers and that little bird is adorable. You inked edges are brilliant and I so admire your patience cutting that scalloped edge by hand.
Gload you could join us at BG.
hugs Heather xx
Gorge card! Love the papers and colour combo!
Hugs Tab xxx
Gorgeous card Kathleen, I love the BG papers you have used and your cute little bird.
Thank you for joining us in our challenge this week.
Jo x
Fantastic card Kathleen and such dedication cutting the scalloping. Love the bird and the papers are so pretty. Chris x
adorable card,love your chick.
kayx
Hi Kathleen - delighted you enjoyed using the template!!! :o) I have to say it has been one of the most popular I have demonstrated. I love the colours you've used - its a lovely card!!!!
Take care
Love
Becky
xxx
Gorgeous card! Love that birdie!
Stunning card, love those lovely bright colours. Fab!
erin x
Post a Comment