Pages

WELCOME

This blog was created to act as a record of the cards and other projects that I have made. It is for both my own reference and to help inspire anyone who wants to take a look.

I'd love it if you'd leave me a comment so that I know what you think of my projects and that you've been to visit!

Anyone can comment, even those who don't have a blog. (Just look for the word 'Comments' under the three little pictures at the end of each post). Readers without a blog can add an anonymous comment, but please leave your name (and docrafts username if applicable) so I know who you are!

Slideshows of all the cards I've uploaded to my blog can be found at the bottom of the page.


PEOPLE WHO FOLLOW MY BLOG

Monday, 29 September 2008

Blogging Friends Forever Award

I've just remembered - having received the Wylde Women Award from Tara and Sharon that Tara gave me another award way back in July but she gave it to me just before I went away to my cousin's wedding and on holiday, so forgot all about it.


Now, the award is the Blogging Friends Forever award. It means a great deal to receive this award, as it never fails to amaze me how some of your best friends can be people you've never met (and let's face it we're unlikely to ever meet in person unfortunately) and how much of an influence they can have on your life.

Now naturally, I would like to offer the award right back to Tara as she is one of the people whose cardmaking has had an amazing influence on my own cardmaking (and my bank balance!!!). Every time I take a look at her blog or in her docrafts gallery I just think 'Wow!' and ' I wish I could make cards like that'. Her endless generosity of self never fails to amaze me either. She's always ready to help people out in one way or another. I just wish I lived near her so we could meet up and have cardmaking sessions. I know I'd learn lots more that way!

Anyway, here are the rules:

1. Only 5 people allowed
2. 4 have to be dedicated followers of your blog
3. One has to be someone new or recently new to your blog and live in another part of the world
4. You must link it back to whoever gave you the award.

Quite simply it is a way of saying thank you to those who take time out for wonderful comments to boost your day.

So, my five nominees for this award are:

Jo (Boots)

Please head over to their blogs and take a peek at their lovely work.

Wylde Women Award

I have been awarded an award by two people at the same time - namely Sharon at 'Cards n Greetings' and Tara at 'Happily Ever Crafting'.

I am very grateful to both of these ladies for thinking of me when deciding who to give this to. And, not unlike Tara - it is a rather apt description of me first thing in the morning - dragged through a hedge backwards would be an understatement!!!

The award is called the Wylde Women Award and the purpose of it is to send love to and acknowledge women who brighten your day, teach you new things and live their lives fully with generosity and joy.

Here are the award rules:

1. You can give it to one or one hundred and any number in between - your choice

2. Make sure you link to their site

3. Link back to this blog site http://www.tammyvitale.com/ so Tammy can visit all these wonderful women

4. Remember the purpose of the award

So, the people (with blogs) that I would like to pass on this award to (whether they already have it or not) are:


I would also like to pass it on to a couple of people who, as yet, don't have blogs.

They are:

Alex K (Eisbaerin)
Loretta H
Jules B
Stressed (Ashley)

I have added links to their docrafts gallery so you can see their creations.
Sunday, 28 September 2008

Jewels and Tilda - what more could you want???

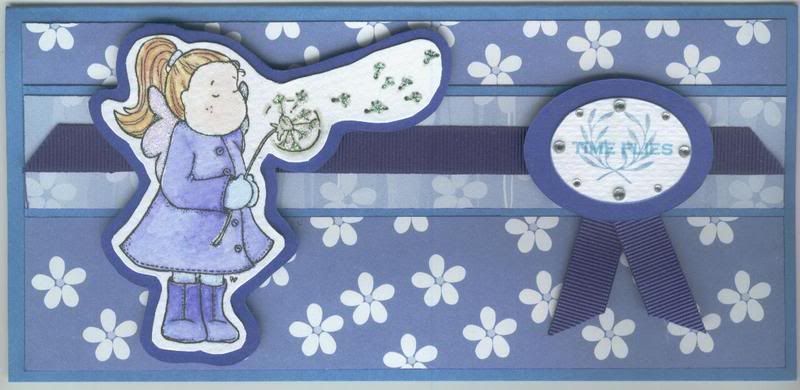
Here is my entry to this week's ABC Challenge. The challenge this week is 'J is for Jewels'.
The card is actually a wallet card for a fellow docrafts member (hopefully Carla/Little Miss Naughty isn't peeking or she'll spoil the surprise!) as we agreed to an image swap. She very kindly sent me some masculine stamped images and I am returning the favour with some Tildas and Kerry Jos.

The card consists of a sheet of A4 card divided into 3, with the 3rd section trimmed to create a flap inside the card to hold the stamped images.

The 'Tilda with Dandelion' image was stamped using Versafine Onyx Black ink and watercoloured using Whispers Brushstroke markers. The wings and dandelion were then highlighted with Craft Planet Iridescent Sparkle glitter glue. The image was then cut out and mounted onto a piece of royal blue card and cut out again leaving a small border.

Hopefully this will not only fulfill the criteria for the challenge but Carla will also like the card.
Two ovals were cut out using the Fiskars ovals template and Shapecutter. The sentiment was stamped onto the white oval using the 'Time Flies' stamp from the Making Memories 'Express It' set and the wreath flourish was stamped over the top of the sentiment using the stamp from the Making Memories 'Ornaments' set.

Clear crystal gems were added around the edge of the sentiment oval, and royal blue grosgrain ribbon was added to create tails to the back of the oval medallion.

Large blue flower paper from the Papermania Citrus Colossal paper pack was attached to the card blank, and a strip of the large blue flower and stripe paper from the Papermania Pastel paper pack was matted over the top, having been matted onto blue card. A length of the royal blue grosgrain ribbon was attached along this strip.

Saturday, 27 September 2008

Cards Received From Very Talented Cardmakers

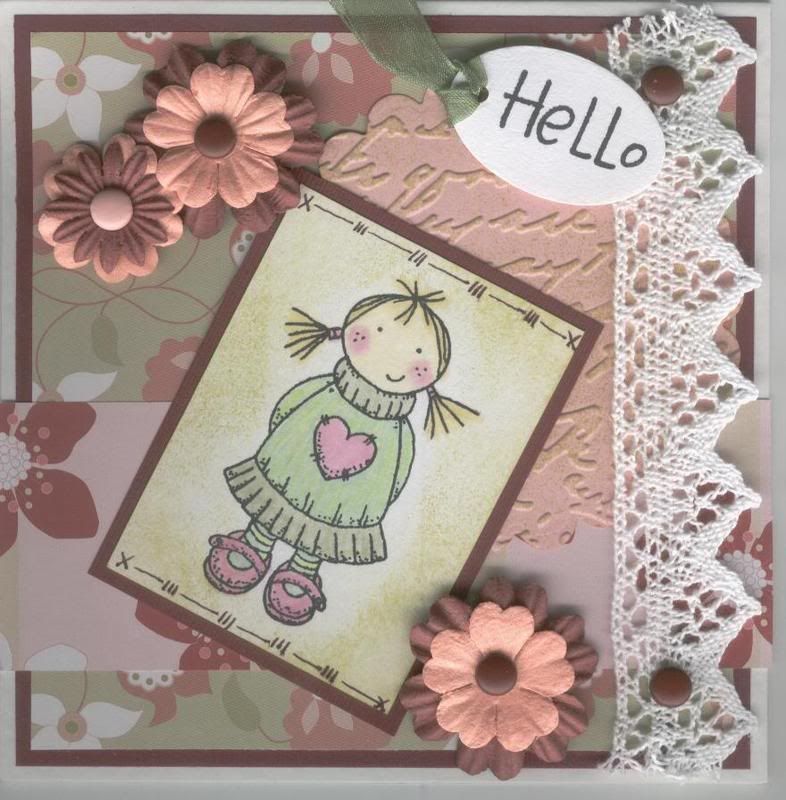
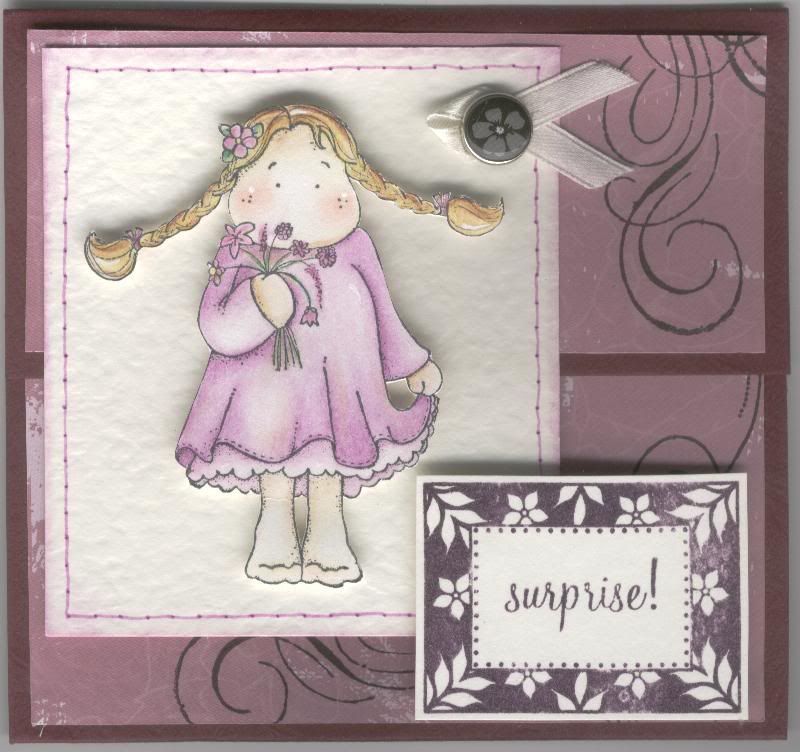
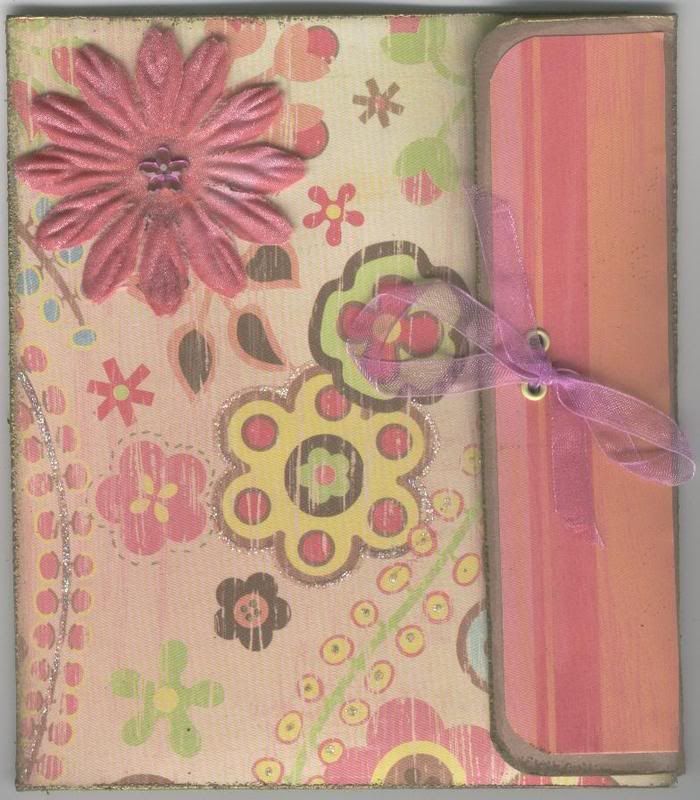
Over the past few months I have been involved in a few image swaps with fellow Docrafters and thought it was about time I shared the wonderful cards that they have sent to me with the rest of you. They have all been of different styles and using different techniques.
The first I received from the very talented Tara - I'm honoured to have one of her masterpieces!!!

The second I received from the equally talented Alex - an unusual style wallet card and a beautiful image.

The third was from Melanie and used some of the (then) new masculine stamps and papers from Anita's.

The fourth was from Jackie, with a beautiful Penny Black stamped image and lovely papers.
The fifth was from Loretta - a wallet card that she reckons isn't very good but I beg to differ. And I'm sure you do too!!
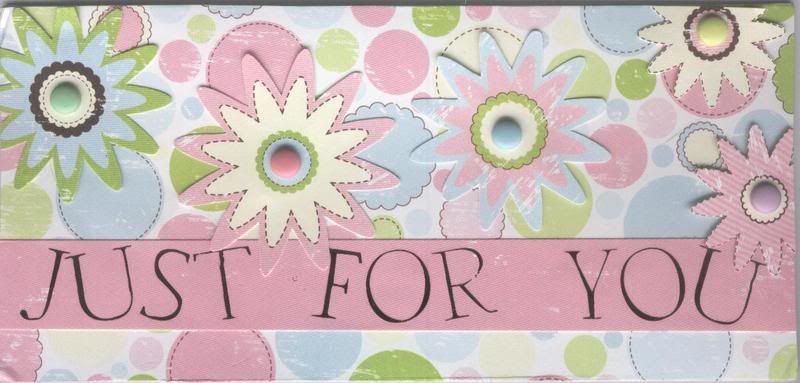
The sixth was from Mina - a lovely design and papers.

And the seventh and last card I've received to date was from Judith - a lovely wallet card with a beautifully coloured Tilda and really nice and pretty papers.I'm sure you'll agree that they are all lovely cards. I've added links to either their blogs or docrafts galleries so you can see some more of their work.
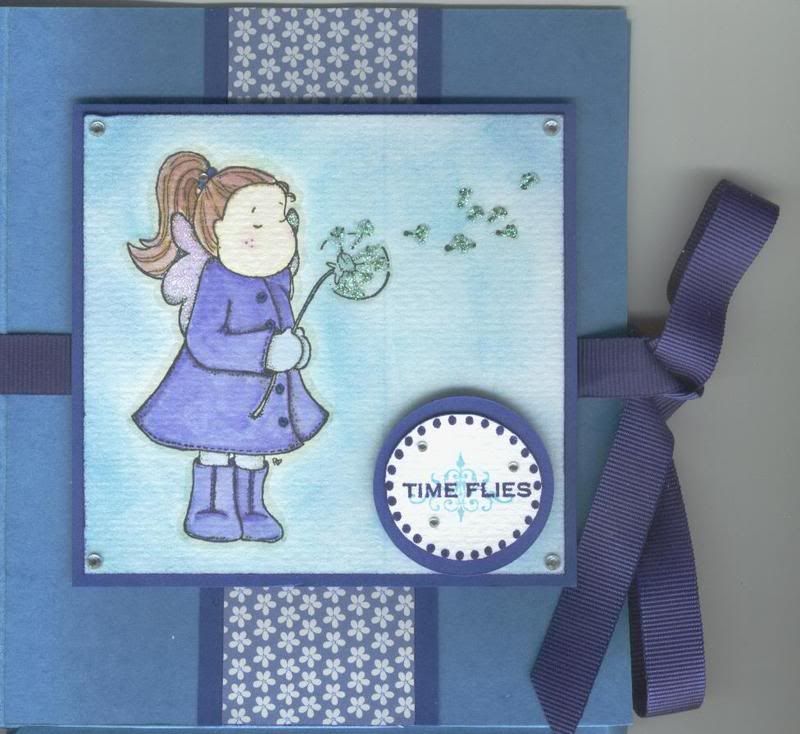
Budget Tilda with Dandelion Card

The challenge over on the Tilda and Co Blog Challenge this week is to make a card on a budget of less than £1.

I had a wallet card to make for my Docrafts Image Swap for September so decided to try and fulfil the criteria with this one.

The wallet card was made according to the instructions over on Katharina's blog, but slightly adjusted to give it a spine to accommodate the stamped images.
The 'Tilda with Dandelion' image was stamped using Versafine Onyx Black ink and watercoloured using Whispers Brushstroke markers. The wings and dandelion were highlighted with Craft Planet Iridescent Sparkle glitter glue. Whispers Azure Seas permanent ink was sponged around the Tilda image.

The dots from the 'A Little Something' stamp were selectively inked using the markers, cut out and matted onto a larger circle that was cut out using the Fiskars circles template and Shapecutter.

The sentiment was stamped using the 'Time Flies' stamp from the Making Memories 'Express It' set and the flourish was stamped over the sentiment using from Making Memories 'Ornaments' set.

Clear crystal gems were added around circle, at the corners of the Tilda panel and on Tilda's hairband.

To make up the wallet card, a strip of blue mini daisy paper from the Papermania Citrus paper pack was attached down the centre of the front, having been matted onto a piece of royal blue card.

Royal blue grosgrain ribbon was attached around the wallet card to enable it to be tied up.

Shopping List:

Card blank: box of card from Papermill Shop = £6.99/250 sheets - 1 sheet used = 2.8p
Other card (white and blue): as above - 1/2 sheet card total = 1.25p
Patterned paper: £7.99 for 100 sheets = 7.99p/sheet - 1/4 sheet paper total = 2p
Glitter glue: £1.99 for 120ml = 1.66p/ml =1p
Gems: £2.79 for 1500 = 0.19p each - 8 x0.19=1.5p
Ribbon: 20p/m - 0.5m used = 10p

Total cost: 18.55p

Thursday, 25 September 2008

And some more blog candy - CLOSED

Beth has some blog candy to celebrate her 200th post. She has some lovely Forever Friends goodies. For some reason I can't copy the picture to put on here but hop over and take a look yourself.

You have until October 5th to enter!

She is a member of the DT for the Penny Black Saturday Challenge, and has some wonderful creations on her blog.

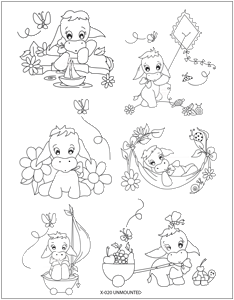
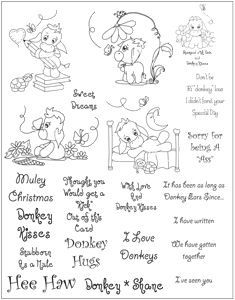
There is also some blog candy up for grabs over on Michelle's blog. She is celebrating 25,000 hits (wow!) and has put together $50 worth of goodies including 2 sheets of gorgeous donkey stamps from Alota, as well as some flowers and ribbons.

You have until October 8th to enter this one!


Michelle also has some beautiful cards on her blog so please go and check it out.

More Blog Candy To Be Won! - CLOSED

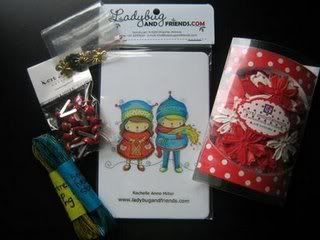
To celebrate 1000 hits on her blog, Line has some WONDERFUL blog candy to be won at the moment.

Up for grabs is a really cute Rachelle Anne Miller stamp, some Prima flowers, 10m of string from Panduro and some brads.
Head over and take a look at Line's blog - she has some lovely creations on there. Very inspirational.

Tuesday, 23 September 2008

Tartan Sheep

I decided to have a go at this week's Penny Black Saturday Challenge - the challenge being to decorate both the front and inside of the card.
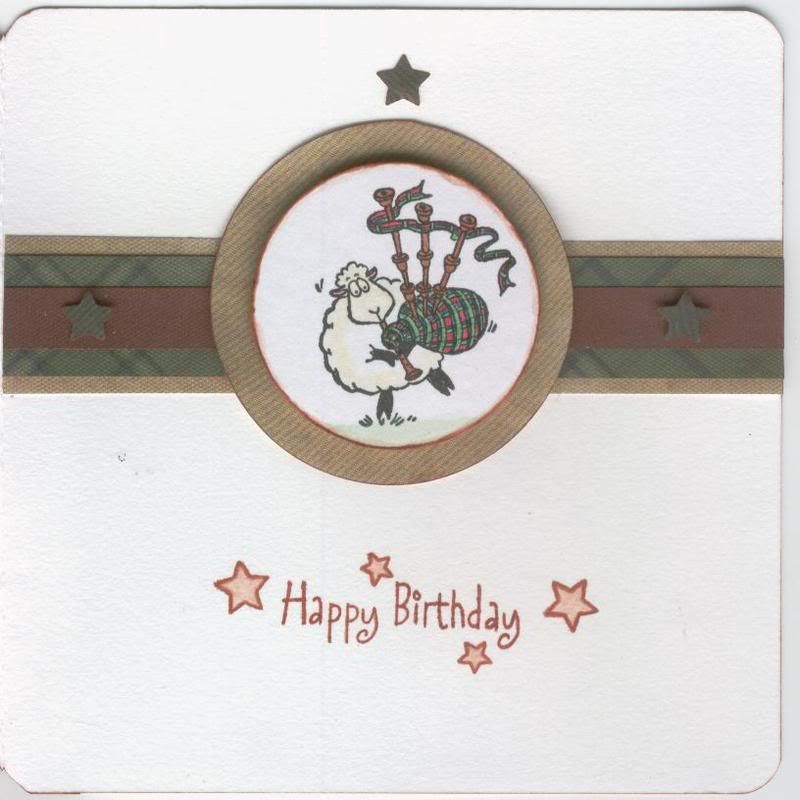
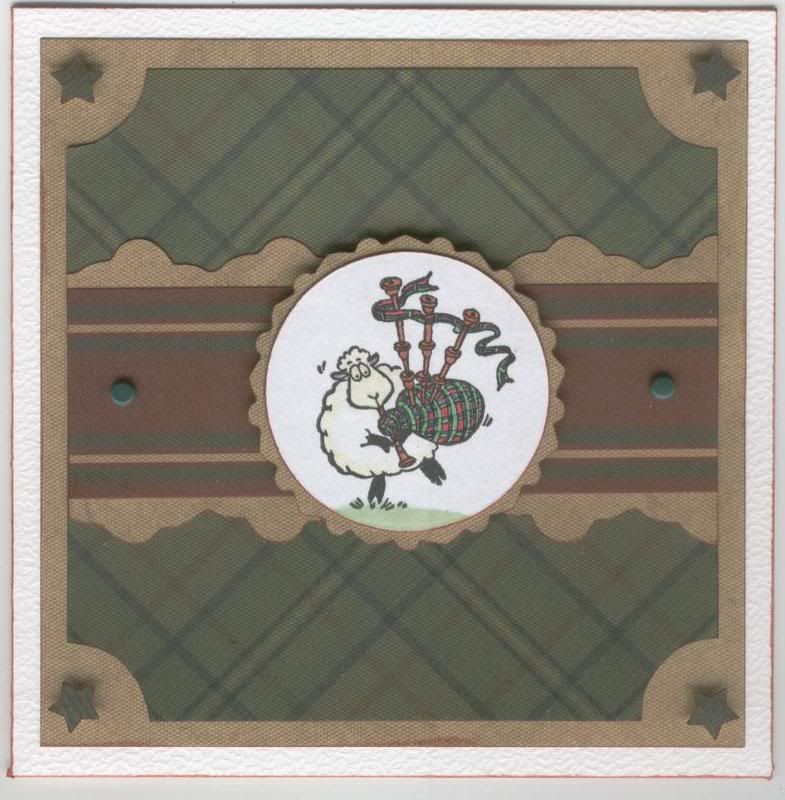
I decided to use the Piping Sheep image from my new Penny Black Twelve Days Of Christmas stamp set, stamped with Versafine Onyx Black pigment ink, and coloured with Whispers Brushstroke markers and cut into a circle.

Papers from the K&Co Hampton paper pad were layered up on the card blank and a circle cut into the card front, slightly larger than the image circle.

To decorate the inside of the card, strips of paper from the K&Co Hampton paper pad were cut into strips and layered. A circle was cut from a square of the beige texture paper from the paper pad and matted within the circle cut from the card front, on the inside of the card. The image was 3D'd on top of it.

The beige square was matted over the aperture to frame it. Stars were cut from a matching paper from the K&Co Hampton paper pad and 3D'd on the frame and along the strip inside the card and above the image.

The sentiment was stamped using the 'Happy Birthday' stamp and stars from the See D's Celebration Messages.

Tartan Sheep Birthday

This is my entry for this week's Sketch Saturday blog challenge.

I decided to use one of my new Penny Black Twelve Days Of Christmas stamps, but without the sentiment. I still haven't decided whether to add a birthday sentiment to it yet or leave it as it is.

The image was coloured using Whispers Brushstroke markers and cut into a circle with the Fiskars Shapecutter. The larger circle was cut from the beige texture paper from the K&Co Hampton paper pad using Personal Impressions decorative scissors.

The strip of papers were cut from matching papers, the beige texture paper cut using the edge of the Fiskars Frames template and the Fiskars Shapecutter. Punched stars were 3D'd in the corners and a couple of green brads were added to the paper strip.

Here is the original sketch:

Sunday, 21 September 2008

Blog Candy Up For Grabs! - CLOSED

There's some blog candy up for grabs over at Carole's blog stardustgemsandribbon. It's available until the 25th September.

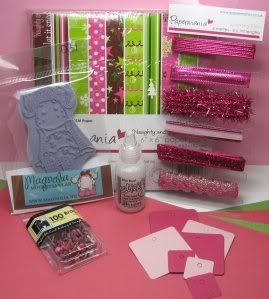
The prize (above) includes:

A brand new (still in sealed packet) Magnolia Tilda in cherry dress stamp, 6×6 Papermania Naughty and Nice paper pack, Papermania sparkly trims, brads, StarDust glitter, paper tags and two sheets of Bazzill cardstock.

Saturday, 20 September 2008

I've Been Tagged!!!

I suppose it had to happen at some stage.

I've been tagged by Sharon.

Apparently the rules are as follows:

I have to add the rules to my blog before actually tagging anyone else.

Here are the rest of the rules:

1. Link your tagger and list the rules on your blog.

2. Share 7 facts about yourself on your blog some random, some weird.

3. Tag 7 people at the end of your post by leaving their names as well as links to their blogs.

4. Let them know that they have been tagged by leaving a comment on their blog.

1. - check.

a- I was born near Melbourne in Australia and left before I was 4 years old so don't remember it at all!

b- I have lived in many places, namely Birmingham, Keswick, Carlisle, Leeds, Moenchengladbach, Blandford Forum, Bulford and Hermitage.

c- I have a BA in German with French which I was able to use when I worked in the British Forces in Germany Press Office for three years.

d- I have what I call kinky hair, which means it is neither curly nor straight!!

e- I hate housework with a passion but if I could afford a cleaner then I'd actually get round to doing some because I'd be too ashamed to let them through the front door otherwise.

f- I am a passionate sports spectator but hopeless at actually competing.

g- I love doing crosswords, and most Sunday mornings are spent on the phone with my father-in-law trying to solve the You crossword.

2. check.

a. Tara

b. Katy

c. Mar1ene

d. Mumur

e. Katharina

f. Aud

g. Janet

3. check.

These are the people whose blogs I check out on an almost daily basis now and they have all inspired me in one way or another. And they have been duly tagged!!!!

Hopefully they'll play along!!
Thursday, 18 September 2008

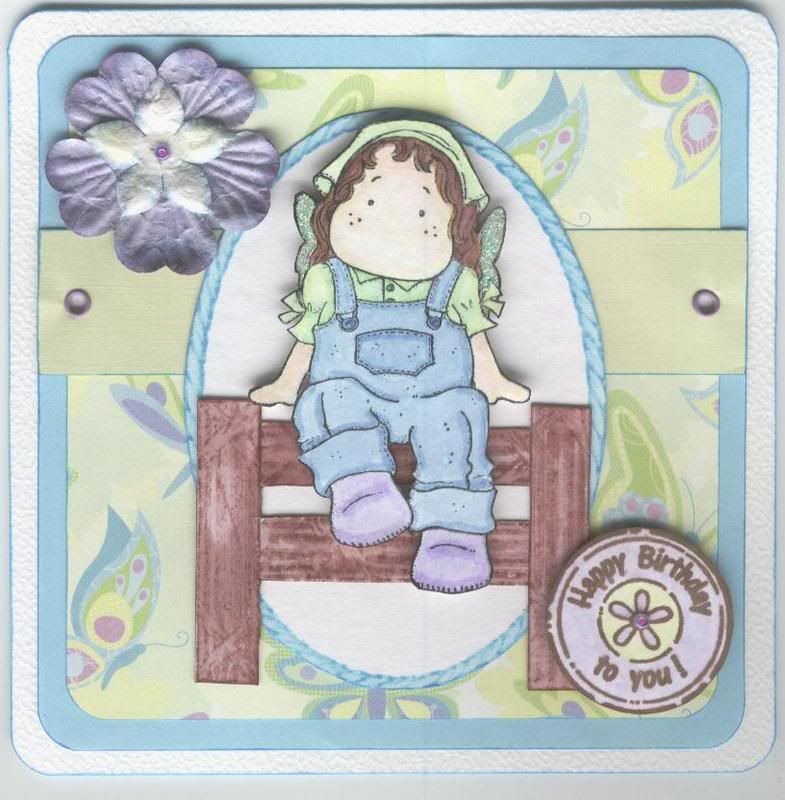
Butterfly Farmer Tilda


I made this card with a Tilda image kindly donated by Cleo/Sylvia P over on the docrafts cardmaking forum.

I watercoloured the `Farmer Tilda` image using Whispers Brushstrokes markers and highlighted with Craft Planet Green glitter glue, and cut out.

I created the wooden fence by stamping out the 'Wooden Beam' stamp from the Non Sequitur Memories of Italy stamp set.

Butterfly paper from the K&Co Sparkly Sweet paper pad was layered onto blue paper, and a strip of green paper layered across that, and lilac eyelets added. It was then added to a square card blank.

An oval frame was stamped by selectively inking one from the Whispers Multiple Oval Frames stamp, watercoloured and cut out.

The sentiment is from an Aud Designs set, stamped using ColorBox Chestnut Roan Fluid Chalk ink, and watercoloured, and a violet seed bead added to the centre of the daisy.

The flowers are Prima, layered up and a violet seed bead added in the centre.

How To Improve The Reverse Of Your Cards

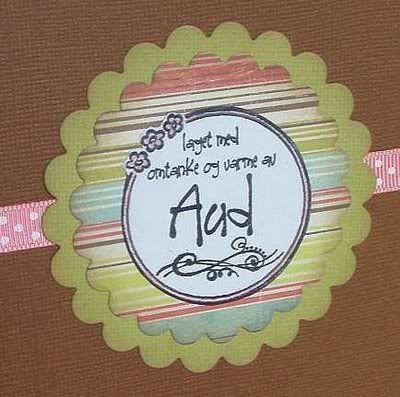
On my travels today, I came across the blog of the stamp designer Aud, from whom I bought my lovely circle greeting stamp set.
She has some beautiful cards on her blog, and she has also highlighted how she decorates the reverse of her cards.

I normally just use one of my 'Handmade by' or 'Handstamped by' stamps directly on the back of the card and then sign and add the year, but her method looks so much more professional.
I really need to get my Craft Robo set up so I can do proper scallops, but until then I'll have to improvise or try something different.
**EDIT** Just discovered that you can buy a stamp like this one (or other designs) from an online store called Scrapmagasinet that has a very unusual range of stamps. I am very tempted, although I suppose I could also design my own.

Wednesday, 17 September 2008

Chocolate Delight Tilda

Here is my entry for the latest Tilda and Co Challenge.
The theme for this week is 'Chocolate Delight' with a colour theme of chocolate brown, pink and white.

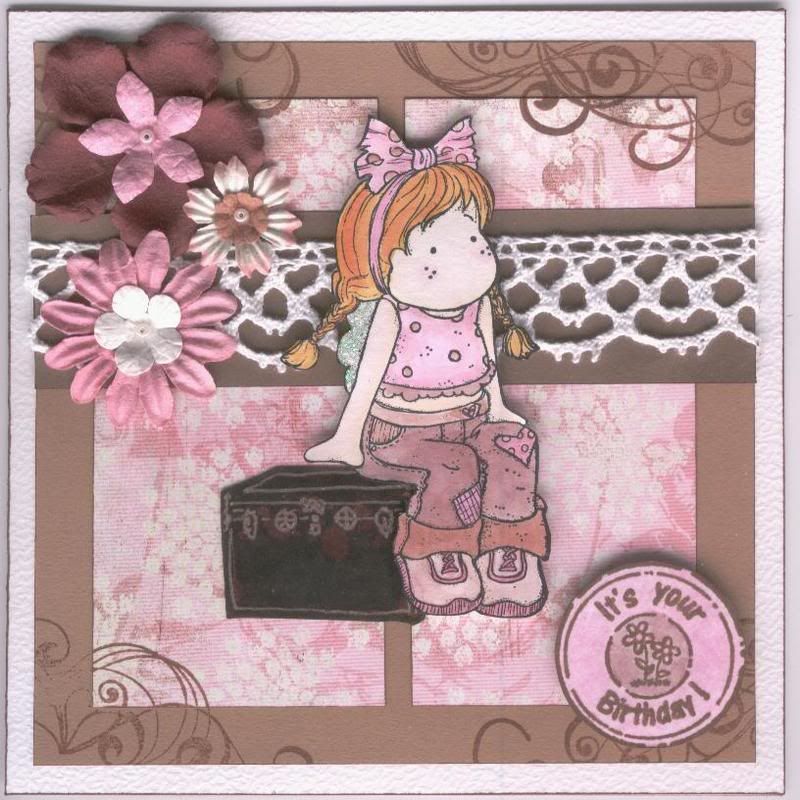
The Tilda is the 'Sitting Summer Tilda' that I received from Tara in an image swap.

As she is sitting, I had to find something for her to sit on and found this travelling trunk stamp amongst my stash in the Clear Choice! Travel set.

The patterned paper is from the Basic Grey Sugared paper pad, and the sentiment is from a set from Aud Designs. The flourishes were stamped over the corners using a stamp from the HOTP Flourishes stamp set and the dark brown ink from the Brilliance Tiramisu(3) ink.

The flowers are from both Prima and Papermania, and layered up with a white seed bead adhered in the centre.

It's not my usual style but I'm warming to these 'layered' styles of card, especially the more I see on the various blogs I hop around.
I have also used some of the woven trim that I bought a few months back but forgot about!
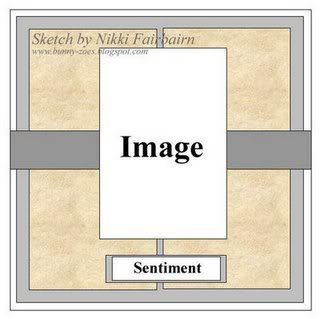
The card is also loosely based on last week's A Spoon Full Of Sugar Blog Challenge sketch by Nikki.

Blog Candy To Be Won! - CLOSED

Well, today has been a fairly quiet day, and all I seemed to do is surf the web (very slowly for some reason today) and watch TV. And, considering the number of cards I have to make, that was very naughty of me!!!

But, my surfing did find me a couple of new blogs and blog challenges (including a couple in languages even I couldn't fathom, even with my degree in German and French, and I can usually work out about 50% of words - I reckon it must be Finnish!!!) where I can continued to be inspired.
Also on my travels I came across some blog candy.
Bev, a DT member from Whiff of Joy, the new company owned by the greatly talented Katharina, has some blog candy to offer. Up for grabs is 'Willow With Hot Chocolate', as well as some other goodies.

To be in with a chance of winning, all you have to do is comment on Bev's post here and post a link to the blog candy on offer on your own blog. You have until Monday 22nd September at 18.00hours UK time to enter.

Monday, 15 September 2008

Make Your Own 'Prima-like' Flowers

A tutorial was flagged up over on the docrafts cardmaking forum and I thought not only will I bookmark it on here for my own future reference but would share it with the rest of you.

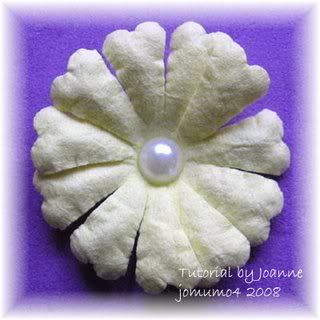
The very clever lady, Joannne, has worked out how to make your own 'Prima-like' flowers using some very basic tools, namely some handmade/mulberry paper, a scallop punch or die cut, scissors and an embossing tool.

This is a picture of the finished product and I can't see much difference between this and the more expensive bought variety.

To find out exactly how to make them, have a look here.

Sunday, 14 September 2008

Watercolouring Tutorials

A few months ago I found a couple of tutorials on how to watercolour your stamped images. I found them very informative, as did a lot of people on the docrafts forum where I flagged up the web addresses for them.

I've decided to add them to my blog for a couple of reasons. The first is so I can easily access them without having to keep referring back to my original posting on the docrafts forum and the second is so everyone else can easily access the without having to trawl through the forum trying to find them.

So, the first one was found on the High Hopes stamps website, and can be found here.

The second was on the Paper Pleasing Ideas blog from Julie Buhler here.

They show two different watercolouring techniques and are most informative giving beautiful results.

Friday, 12 September 2008

A Tutorial: Watercolouring With Distress Inks

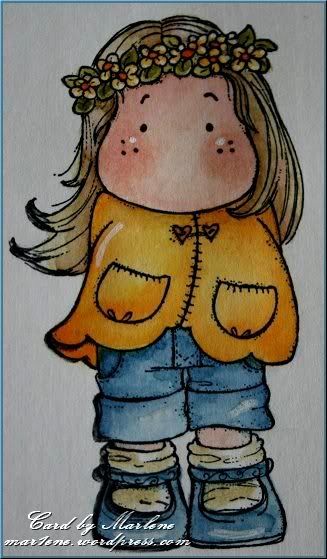
I was recently pointed in the direction of Mar1ene's wonderful blog. She's a very talented cardmaker, and I've just found a great tutorial showing how to watercolour using the great Distress Inks from Ranger.

Here is an example of her work:
The link to view the tutorial is here and I'd highly recommend it. I'll definitely be having a go at it! If I can achieve anything like Mar1ene's results I'll be very happy.
I'm A Winner!!!

Oh my goodness!!! I don't believe it.

Thanks to the RNG (that's a random number generator to you and me!), my name was picked as the winner of the Stamp Something Blog Challenge - and it was the first blog challenge I'd entered!!!!

The card I entered can be seen here.

This might explain the increased activity on my blog!!! It never occured to me that I might win - I never win anything!!!

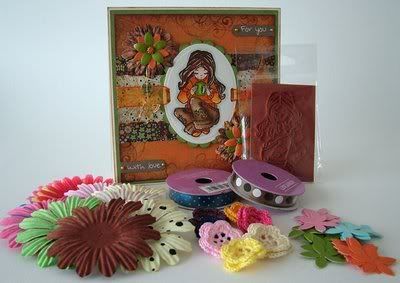
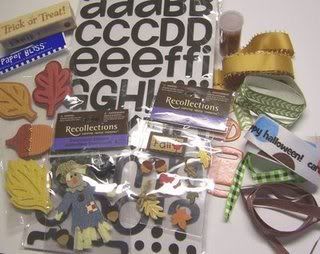
I've added a picture of the prize I'll be getting - I can't wait!!!
Lots Of New Visitors

I've just noticed from the Feedjit widget on the side of my blog that I'm getting lots of new visitors from all over the place (US, Australia, .......), probably due to entering a couple of blog challenges. I just wanted to say welcome and hopefully you'll enjoy your visit here.

Feel free to leave comments or ask me questions - I promise I won't bite!!

I just hope you get a fraction of the inspiration from my cards that I've got from looking at the other blog challenge entries!!!

Green Rainin' Daisies

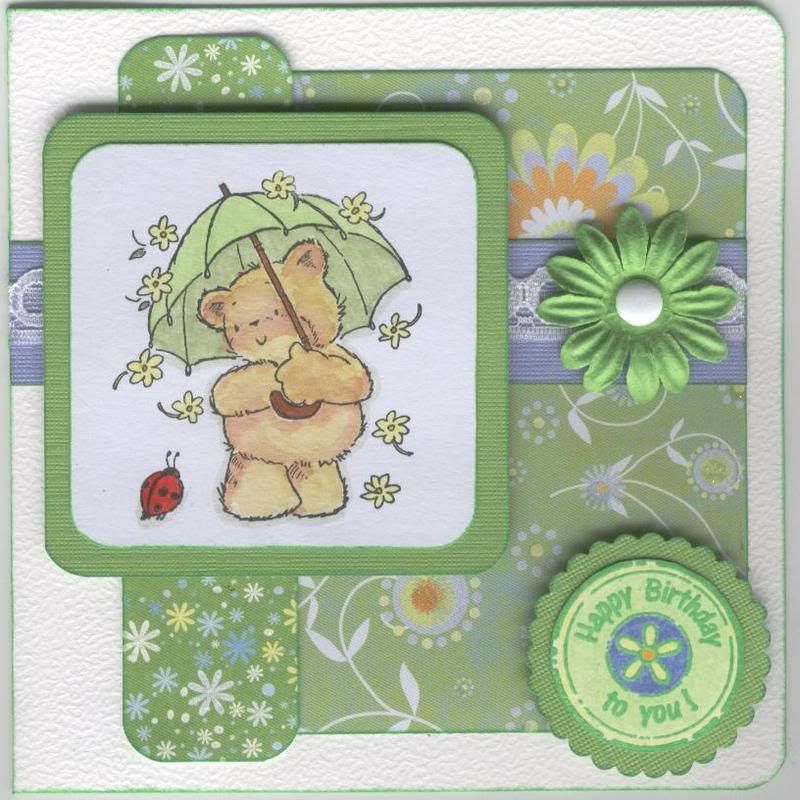
Continuing with my endeavours to enter the blog challenges, here is my entry for this weeks Penny Black Saturday Challenge. The theme for this week is 'One For The Girls'.
The image is obviously from Penny Black, namely Rainin' Daisies, which I got from Jackie/mp3mills over at docrafts in the July 08 Image Swap.

The image was coloured/watercoloured using Whispers Brushstroke markers and matted onto lime green card from the DCWV Brights stack.

The patterned card is from the DCWV Glitter Stack and the Pocket Full of Posies Stack. A strip of DCWV powder blue card was added across the card and narrow white lace was adhered across that.
A large white brad from Papermania was added through a lime green Prima flower and attached over the lace.
The 'Happy Birthday' circular greeting from Aud Designs was stamped in ColorBox Fresh Green pigment ink and clear embossed, and then coloured using Whispers Brushstrokes markers. It was cut out and added to a lime green circle cut out using scallop decorative scissors.
This was one of those cards that just kind of evolves. I started out with the image, as it's for a lady with a bit of a teddy bear thing going!! I also knew I wanted to use the green daisy backing paper from the DCWV Glitter Stack. Then I chose a matching pattern and then the flower.
Then I decided it needed an accent colour as everything seemed to be blending into everything else, so I opted for the strip of blue. Thought this looked a bit plain but didn't want to add ribbon and then remembered all the lace and other trimmings I bought a few months back but still not used and went for a narrow lace.
All that was left then was to decide on a greeting. I really like the circular greetings from Aud Designs and went for the birthday one. It looked a bit stark on the white card so I opted to colour it in in colours that matched the backing papers.

Wednesday, 10 September 2008

Pretty In Pink Penny Black


I decided to take part in the Cute Card Thursday Challenge this week. The theme is 'Pretty In Pink' - and, despite my aversion to pink I decided to have a go.

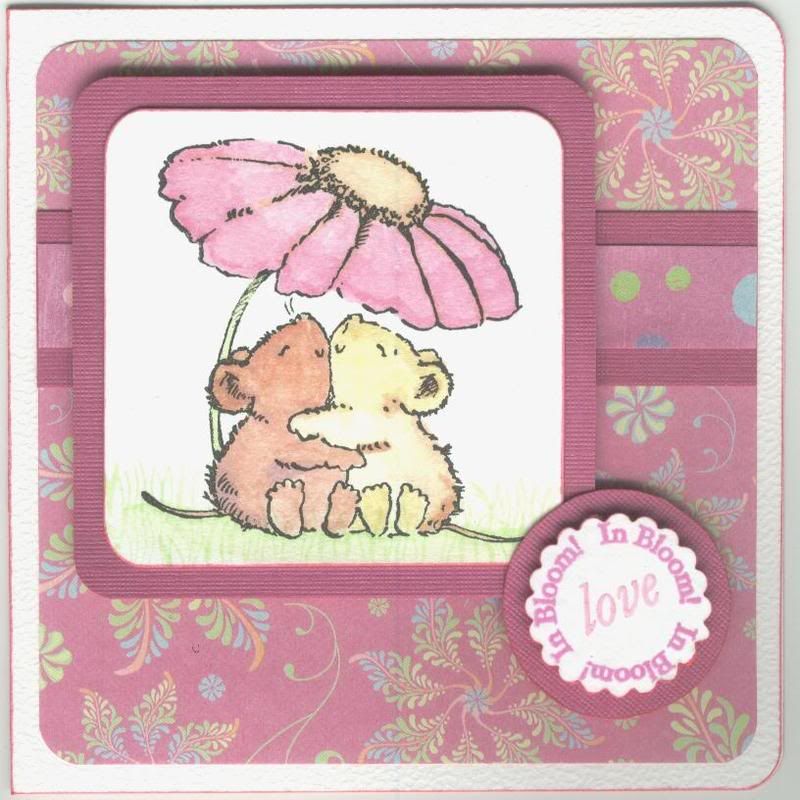
I decided to use the Penny Black image 'Squeeze Til I Squeak', which was very kindly donated by Alex (Eisbaerin over at docrafts), and I thought it was the perfect image for an anniversary card I had to make.

I watercoloured the image using Whispers Brushstroke markers, and added the grass from the See D's Garden Of Friendship set. It was then matted onto DCWV candy pink card from the Brights Card Stack.

The patterned papers are from the K&Co Sparkly Sweet paper pad.

The sentiment panel was created by stamping the 'In Bloom' circle from the See D's Garden Of Friendship set. The word 'love' was selectively inked from a Whispers Words stamp, and stamped in the centre. It was then cut out using scallop decorative scissors.

Tuesday, 9 September 2008

The Witching Hour

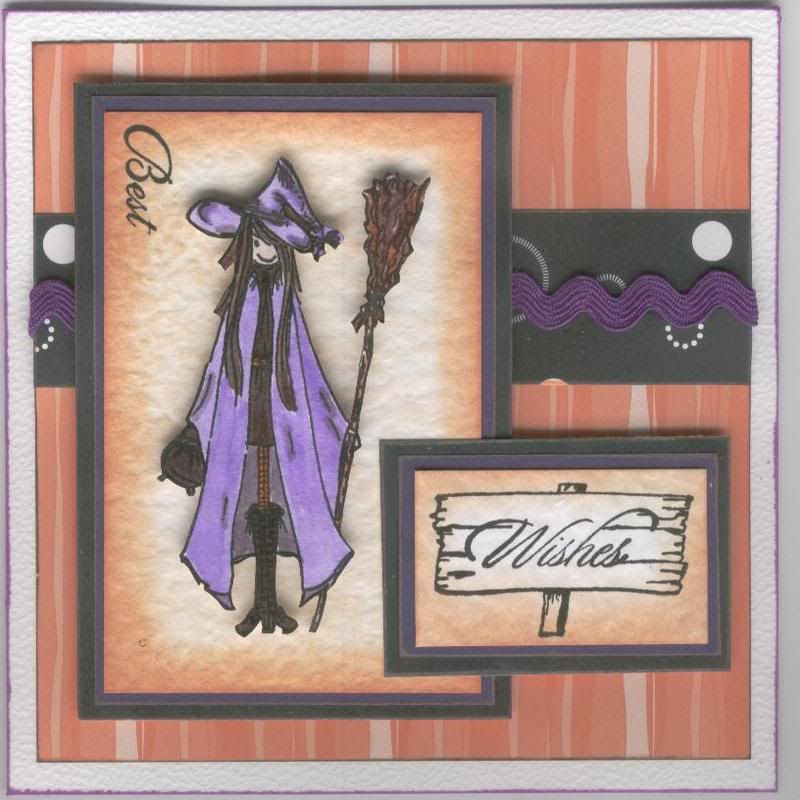
Here is my entry for the Stamp Something blog challenge, whose theme for this week is 'Stamp Something For The Fall'. I figured Hallowe'en is in the autumn/fall so this would fit the bill.
The stamp is from the Kerry Jo collection available from Debbi Moore in a set of twelve stamps.

The witch girl image was stamped and watercoloured using Whispers Brushstroke markers, cut out and matted onto a piece of white hammer card coloured with Whispers Butterscotch ink.

The wooden sign from Clevercut was stamped onto coloured white hammer card and the sentiment 'Wishes' from the HOTP Sentiments set was stamped within it. The 'Best', from The Stampman Botannical set was added to the witch panel.

Both images were matted onto purple and black paper.

A strip of patterned paper from the Dovecraft Charcoal Designer paper pack was added across a square of orange stripe paper from the Papermania Citrus Colossal paper pack, and a length of Papermania purple ricrac ribbon was added across the panel, and all matted onto a white square Craft Tonic card.

You have until midnight 11th September BST to upload your entries, and the winner will be announced sometime after that.

Sunday, 7 September 2008

Pink and Green Oriental Lady Aspire Card Wallet


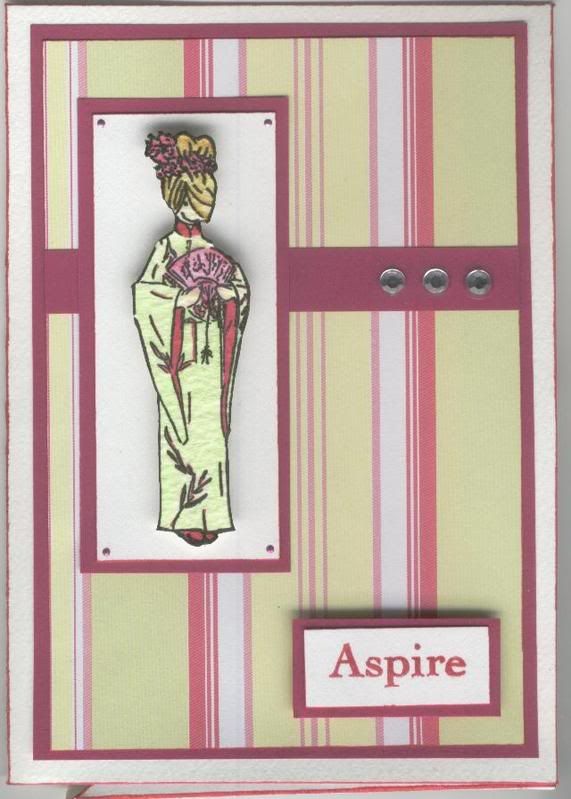
Here is the card wallet that I made for Loretta over at Docrafts for the July 08 Image Swap. She received it on Wednesday so I know I can show it off here now and not spoil the surprise for her.

The Kerry Jo Oriental Girl image was stamped using Onyx Black Versafine ink and watercoloured using Whispers Brushstroke markers. The image was cut out and matted onto white card and pink paper.

The patterned paper is from the DCWV Floral Prints stack and also matted onto pink paper.

Clear crystal gems were added to a strip of the pink paper.

The 'Aspire' sentiment is from Making Memories Express It stamp set.

Saturday, 6 September 2008

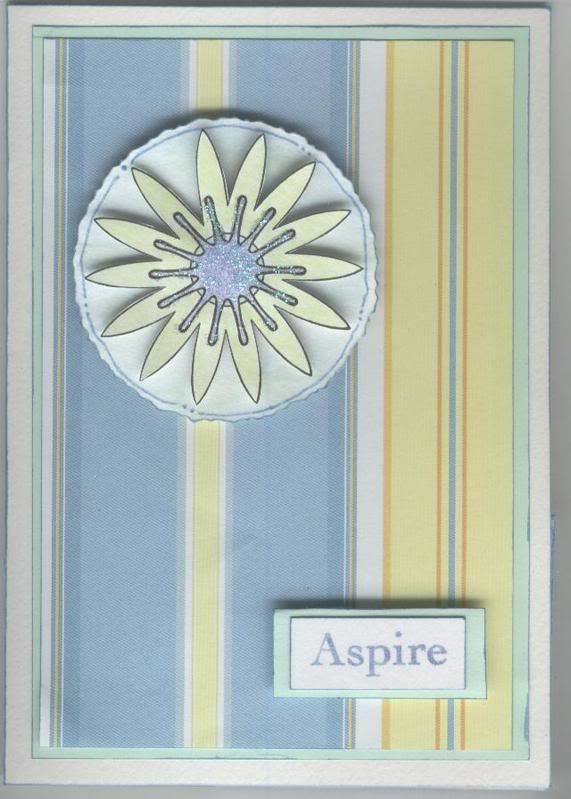
Daisy Aspire Card Wallet

Here is the card wallet that I made for Jackie (mp3mills) over on the Docrafts forum for the July image swap. Due to the wedding I went to and the last-minute holiday I wasn't able to make it back in July when I was supposed to, but I know she has received it now so I can happily show it to the rest of the world.
The daisy image is an Anita's stamp and was supplied by April83 in the Docrafts June 08 image swap.

The daisy image was watercoloured using the Whispers Brushstroke markers and glittered using Craft Planet ice blue glitter glue.
The circle was cut out using decorative scissors, given a colourwash using the Whispers Brushstroke markers and faux stitching added around the edge.
The patterned paper is from the DCWV Floral Prints paper stack, and the 'Aspire' sentiment is from the Making Memories Express It stamp set.
Hopefully Jackie likes it and enjoys using the stamped images I sent to her inside it.

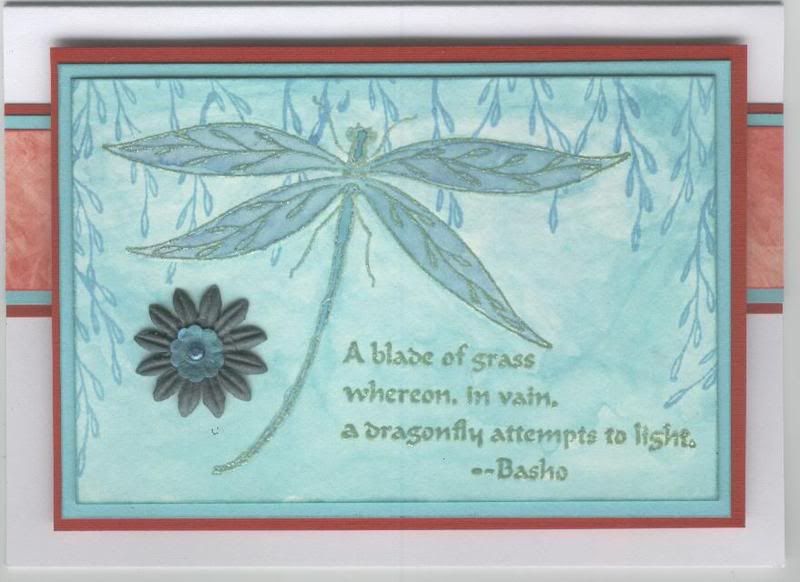
More Oriental Dragonflies

Having made my brown/green oriental dragonfly card, I decided I liked it so much I'd try it in a few different colours.

So, I went for turquoise


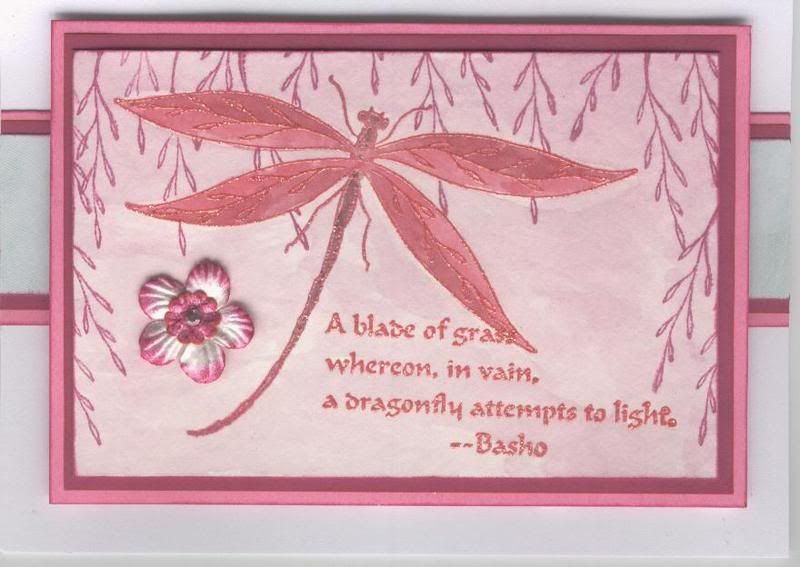
pink/red

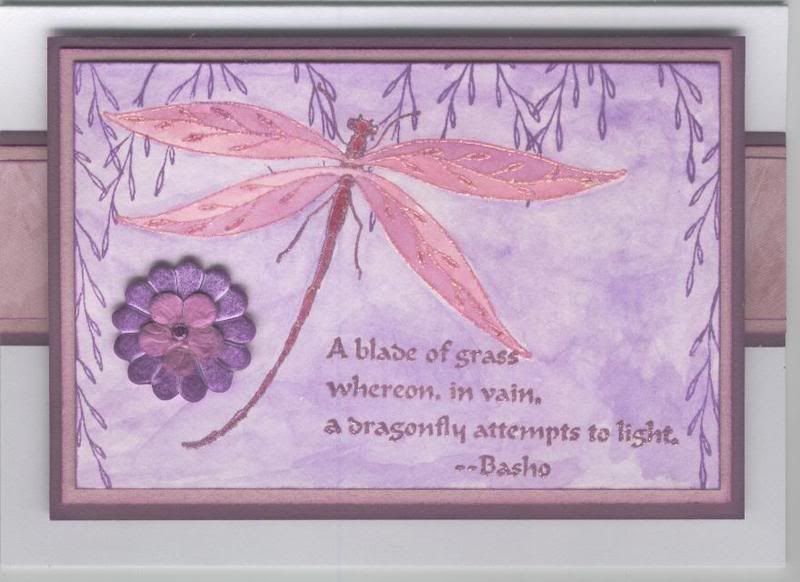
and lilac/purple

The patterned papers were also from the Papermania Oriental Spice paper pad (red, blue and dusky plum).

The images were stamped using the ColorBox Pigment inks (Celadon and Aqua, Magenta and Peony and Violet and Lilac), and heat embossed using Heat It Up! Enchanted Gold powder.

The flowers are Prima, except for the Lilac/Purple version which uses both Papermania and Prima flowers.

Friday, 5 September 2008

Distressing Tutorial

The lovely Debs (MeandLilG over at Docrafts) has put together a great tutorial on distressing the edges of paper.

Check out her tutorial here.

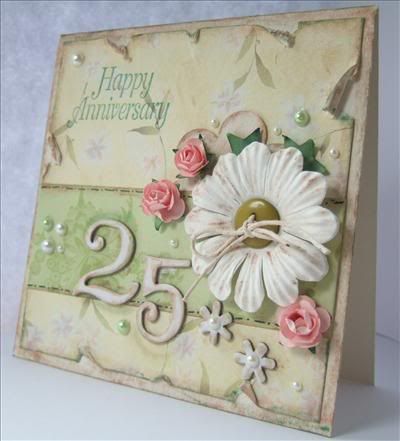
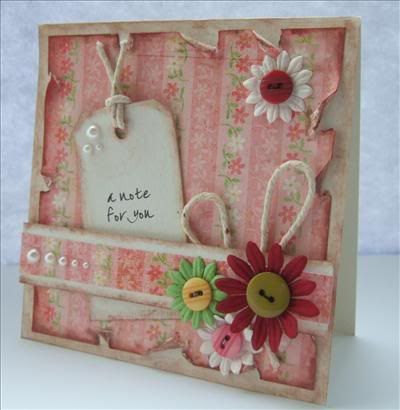
The cards that she has made using this technique are absolutely beautiful and I've added a couple of examples here to showcase them (and to remind me to use this technique because I love it!)


I think you'll agree, they are some of the loveliest cards ever made.

Tuesday, 2 September 2008

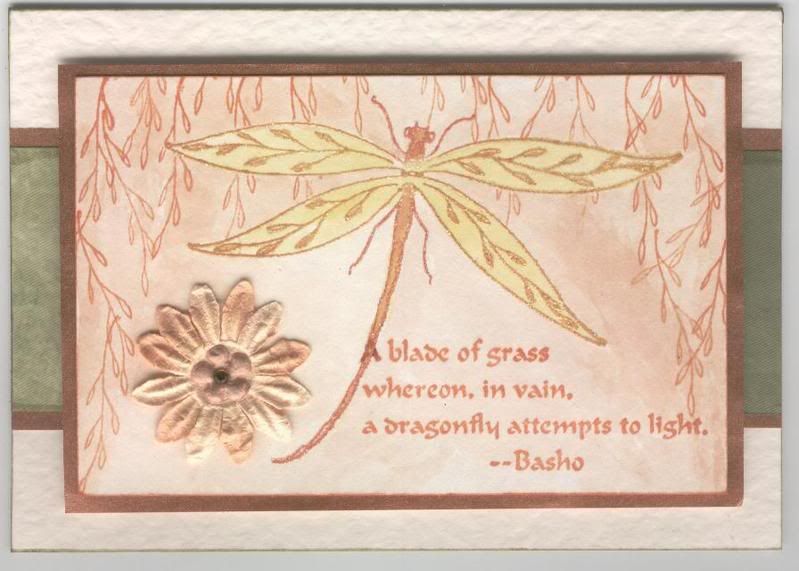
Brown and Green Oriental Dragonfly


A few years ago I found out from my aunt that my grandfather was quite ill and so I wrote a Get Well card for him. But, before I could get it in the post, he passed away, and I think I've probably still got that card somewhere.

So, as a result, I detest making Get Well Soon cards.

I found out yesterday that an elderly friend of my husband's family is ill in hospital so I've decided to make a Thinking of You card for her instead.

I used a few of the stamps from the Non Sequitur Oriental Collage Elements and Dragonflies set. The dragonfly was stamped and embossed using the Heat It Up! Enchanted Gold powder, and watercoloured using the Whispers Brushstrokes markers.

The leaf branch and quote were stamped using the Whispers Caramel Delight, and a light brown colour wash was given to the rest of the panel.

I layered up a couple of Prima flowers and added a crystal gem to the centre and added to the stamped panel, then matted it on pearlescent copper paper.

The green patterned paper is from the Papermania Oriental Spice pad, also matted on pearlescent copper paper.

Liverpool Footballer Card


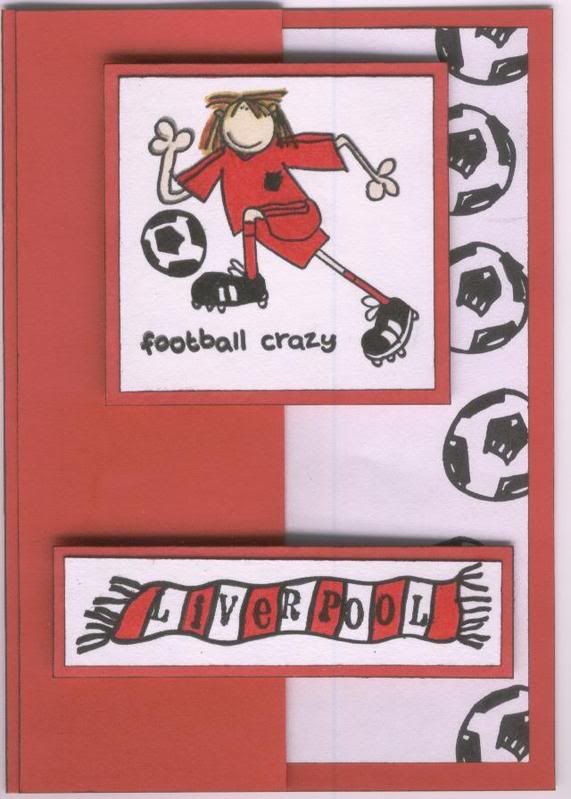
I found out on Saturday evening that it was the birthday of a friend of ours yesterday, so not much notice to make a card. He's a HUGE Liverpool FC fan, so figured that was the best way to go with my card design.

I used the Bang On The Door Football Crazy set and added the images to a fold-back A6 card. I added the team name on the scarf using one of the mini alphabet stamps from Studio G.

I thought the inside of the card didn't add enough of a contrast to the red mat behind the two images, so decided to add a white insert and stamped the 'Large Football' image along the right-hand edge.

I actually think it kind of looks like Torres!!
Blog Widget by LinkWithin