Pages

WELCOME

This blog was created to act as a record of the cards and other projects that I have made. It is for both my own reference and to help inspire anyone who wants to take a look.

I'd love it if you'd leave me a comment so that I know what you think of my projects and that you've been to visit!

Anyone can comment, even those who don't have a blog. (Just look for the word 'Comments' under the three little pictures at the end of each post). Readers without a blog can add an anonymous comment, but please leave your name (and docrafts username if applicable) so I know who you are!

Slideshows of all the cards I've uploaded to my blog can be found at the bottom of the page.


PEOPLE WHO FOLLOW MY BLOG

Showing posts with label Basic Grey. Show all posts

Sunday, 5 March 2017

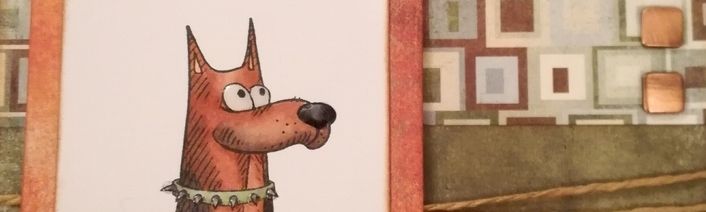
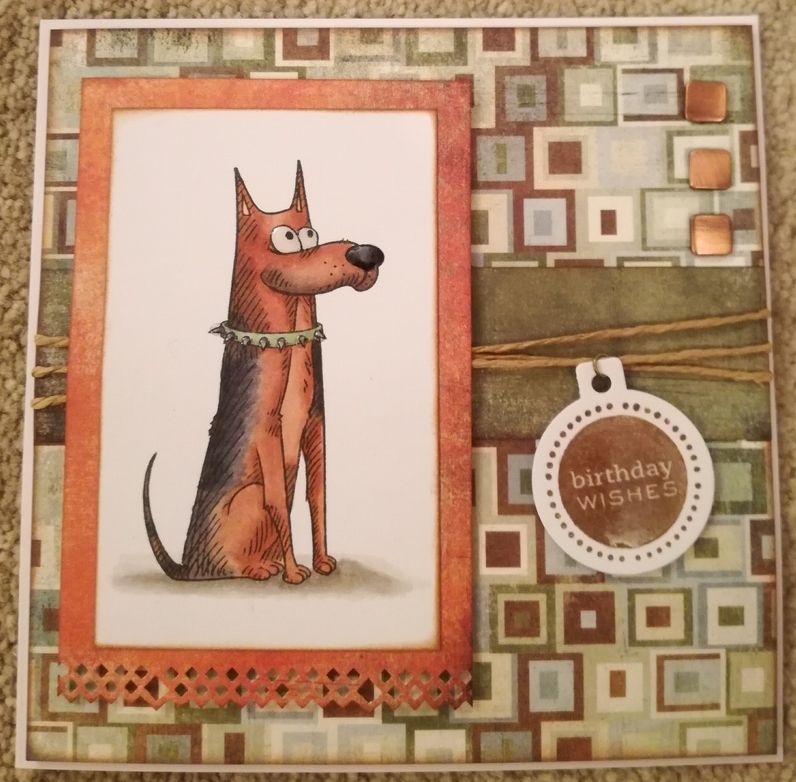
30-Day Colouring Challenge Day #4 - Rusty Katzelkraft German Shepherd

This is my entry for day 4 of the 30-day colouring challenge of March 2017, as organized by the fabulous Kathy Racoosin.


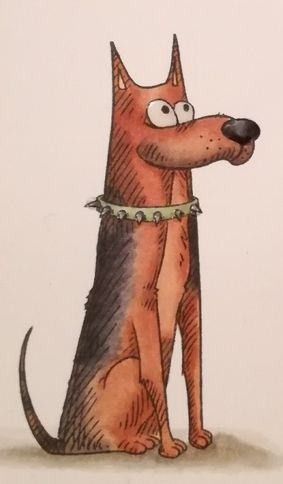
I needed to make a birthday card for my dad, and so, having discovered where I had hidden the Katzelkraft dog images I stamped before Christmas thanks to my friend Kelly, I chose the one I thought resembled a German Shepherd dog the closest.

The image was coloured using Memento Tuxedo Black dye ink and coloured with Copic markers:

Dog: E13, E15, E39, C3, C5, C7, C9, R02
Eyes: C0, C1
Collar: G21, C3, C7
Shadow: W1, W3, W5

I coloured the image so that it looked just like the dog that we had when I was growing up. Rusty, aptly named because of her colouring, was the softest dog you'd ever know and was often a pillow to my little cousins. I thought my dad would appreciate a card like this.

Having coloured the image, the panel was distressed on the edges with Tim Holtz Vintage Photo distress ink, as were the panels of patterned paper from the Basic Grey Archaic paper pad (Relic, Timeworn and Rusty).

The strip of Timeworn paper was added across the Relic paper and wrapped with lengths of natural twine.

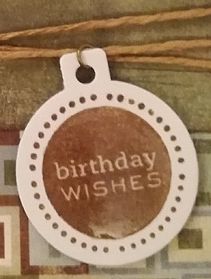
Using the round Cuttlebug tag die, a tag was die cut from white card and stamped with the solid 'Birthday Wishes' stamp from the Personal Impressions Paula Pascual Mixed Sentiments stamp set with Versafine Vintage Sepia archival pigment ink. A jump ring was added to the tag and threaded onto one of the lengths of twine.

The image panel was matted onto the panel of Rusty paper, the bottom edge having been punched with the Diamond XCut border punch first. This was mounted over the twine with 3d foam tape, as was the sentiment tag.

Three WRMK square copper studs were added to the top right corner and then the panel was mounted to the 5'75" square cardbase.

To finish off the card, Ranger Glossy Accents was added to the dog's eyes and nose, the collar studs and the sentiment.
Friday, 4 December 2015

Lilac and Brown Chapel Road Bramble

Firstly, I have to announce that this is my 500th blog post - wow!!!
 
More impressive is that I have managed to maintain this blogging schedule for well over a month now!!! I'm hoping to keep it up over the Christmas period but it's more likely that it will have to go on sabbatical for a few weeks over the holiday period.
 
Anyway, here is another 'throwback' card from 2011.
This card uses one of those 'must-have' stamp sets that in actual fact has only been used the once - here!!!
 
I saw some beautiful samples using this stamp set at the Newbury Stamp Show back in 2011 by the Snazzy's team, and of course had to buy it. Of course, once I got home, all that inspiration had disappeared from my head. I really should get this stamp set out again in the New Year - somebody remind me!!!
 
Anyway, back to this card.
 
 
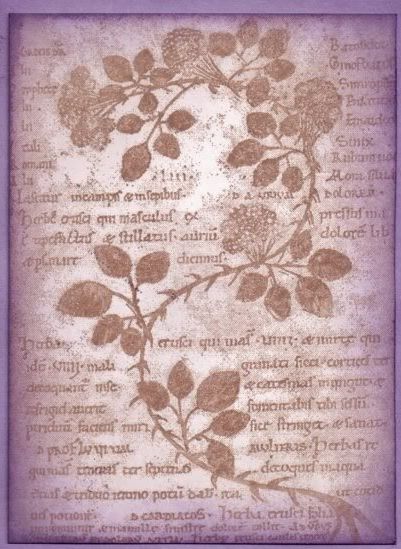
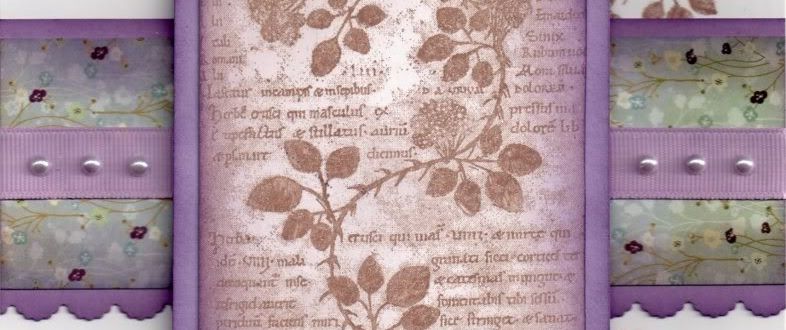
Firstly, the Bramble Collage image from the Chapel Road Artstamps Bramble stamp set was stamped onto white card using Memento Rich Cocoa dye ink and then distressed using Tim Holtz Milled Lavender and Dusty Concord inks. The image panel was then matted onto lilac cardstock.
 
A strip of the Violet paper from the Basic Grey Wisteria paper pad was matted onto a strip of the lilac card that was punched using the EK Success Scalloped Scallop border punch, and then a length of Dovecraft lilac grosgrain ribbon was wrapped around.
 
Next, the Bramble image from the same stamp set, was stamped in the corners of the card blank using the Rich Cocoa ink. The patterned paper strip was then added across the centre of the card and the image panel matted over the top.
 
 
Once the image panel was in place, lavender pearls from Kort & Godt were added either side of the panel, and the sentiment, from the Personal Impressions Paula Pascual Mix and Match stamp set was stamped below the image using the Rich Cocoa ink.
 

Thursday, 29 October 2015

Burgundy, Pink and Green Pink Gem Heart Flower

So, in the spirit of #TBT, I have decided to post one card each week that is a few years old and still waiting to be blogged.

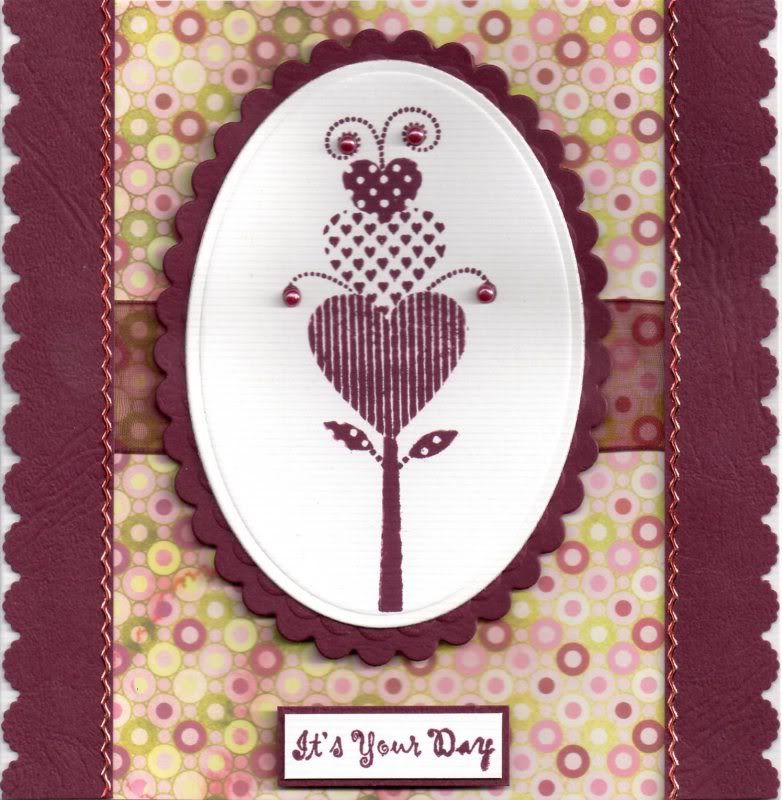
This particular card was made back in 2011 I believe, using a stamp set that I won from Pink Gem Designs, called Funky Flowers.

The Heart Flower image, from the Pink Gem Funky Flowers stamp set, was stamped using Adirondack Currant dye ink and die cut using a Petite Oval die from Nestabilities, and matted onto a burgundy Petite Scalloped Oval.

A length of burgundy organza ribbon was wrapped around a panel of the Courtier paper from the Basic Grey Eva paper pad and adhered to the card blank.

Two borders were punched from the burgundy cardstock using the EK Success Scalloped Scallop border punch and adhered over the edges of the patterned paper.


The 'It's Your Day' sentiment, from the Papermania Clare Curd Sentiments stamp set, was stamped using the Currant dye ink and matted onto the burgundy cardstock.

Burgundy self-adhesive pearls, from the Hobby House Ruby Mix, were added to the Heart Flower image, and gold border peel-offs, from Lakeland/Starform were coloured with a red Copic marker and added along the edge of the border strips.

Yes, I know, peel-offs!!!! I wonder if they will make more appearances in these throwback posts???

Sunday, 25 October 2015

Brown, Cream and Blue Patchwork Background Bumble Bee Gorjuss Girl

Well, as promised, here is an older card that I made that is waiting to be blogged. This is a card that I made for my mum's birthday using the Bumble Bee Gorjuss Girl by Sugar Nellie.

I also decided to use my Sizzix Hexagon Framelits dies and create a patchwork background.


So, the image was stamped using Memento Tuxedo Black dye ink and coloured using Copic markers:

Hair: E31, E33,E35
Skin: E000, E00, E04, E21, R20
Sash/Hearts/Socks: YR04, W1
Wings/Dress: G00, G21,W1

The image was then fussy cut.


A Classic Oval Nestie was used to die cut white card and was embossed using the Sizzix Basic Grey Snow Cap embossing folder. This was then matted onto a scalloped oval of sky blue cardstock from the DCWV Brights Matstack.

A number of hexagons were die cut from ivory hammer cardstock as well as papers from the Prima Songbird paper pad. These were matted and layered together and pieced together on a square of the sky blue cardstock to create the background.


A length of the Dovecraft blue and brown striped ribbon was knotted and then adhered across the patchwork panel before the panel was adhered to the cardblank.
The Gorjuss Girl image was then matted onto the ovals and then they were added to the centre of the patchwork background.

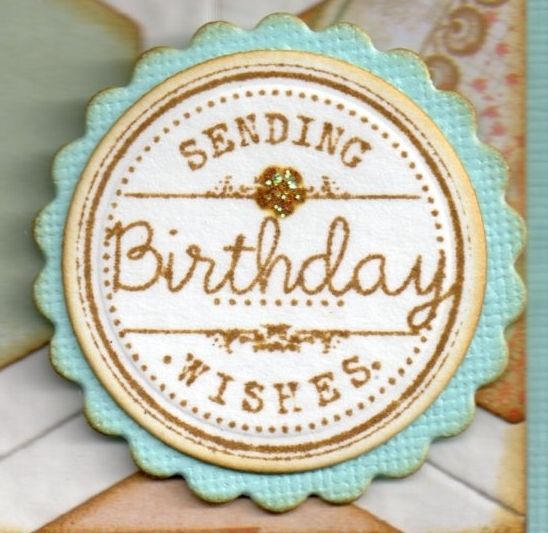
The sentiment, from the Wild Rose Studio Birthday Circles stamp set, was stamped using Tim Holtz Frayed Burlap distress ink and die cut with a Nestie circle die and matted onto a scalloped circle Nestie diecut.

As a finishing touch, Ranger Crystal Stickles glitter glue were added to the wings on the image and details on the sentiment.
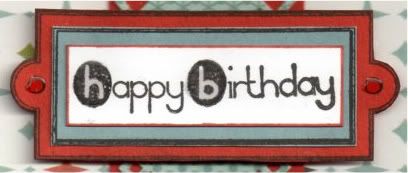
Wednesday, 2 April 2014

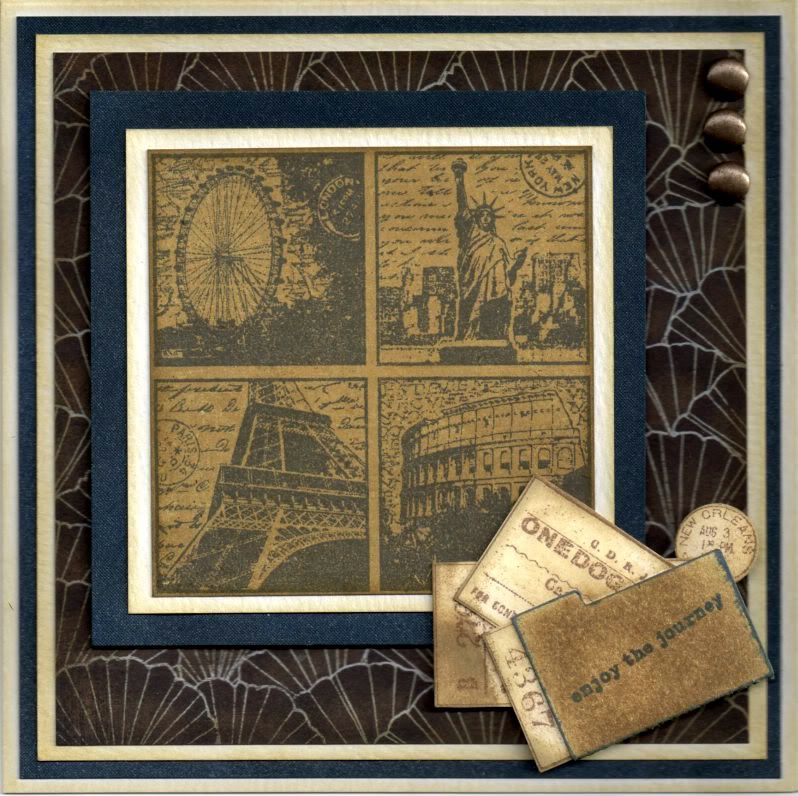
Dark Blue and Brown Landmarks and Tickets 40th

So, my latest upload is a card I made for a friend who was turning 40. He has always called me 'aunty Kathleen' ever since I used to feed him curry when we were based in Germany. Even though he is actually older than me!!


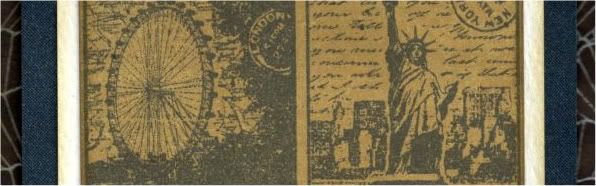
I pulled out the trusty Landmarks image, from Crafty Individuals, and stamped it onto the Honey paper from the Basic Grey Granola paper pad using Memento Paris Dusk dye ink and trimmed it up into a square. The image was then matted onto cream and navy shimmer cardstocks.

A panel of the Wild Oats paper from the same paper pad was also matted onto the cream and navy cardstocks.

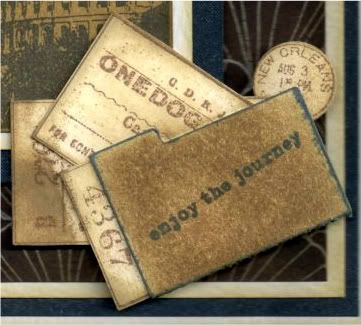
A file folder was die cut from cream card using the Sizzix Sizzlits die and coloured using Tim Holtz Frayed Burlap distress ink and stamped with a sentiment from the Making Memories Express It! stamp set using the Paris Dusk ink.


The Travel Tickets stamp, also from Crafty Individuals, was then stamped onto cream card using the Versafine Vintage Sepia archival pigment ink and the individual tickets were cut out. Tim Holtz Old Paper and Frayed Burlap distress inks were then added to distress them. The tickets were arranged inside the file folder and added at the bottom right corner of the image panel.


Three large old gold brads from Papermania were then added in the top right of the panel and the panel was then added to the card blank.


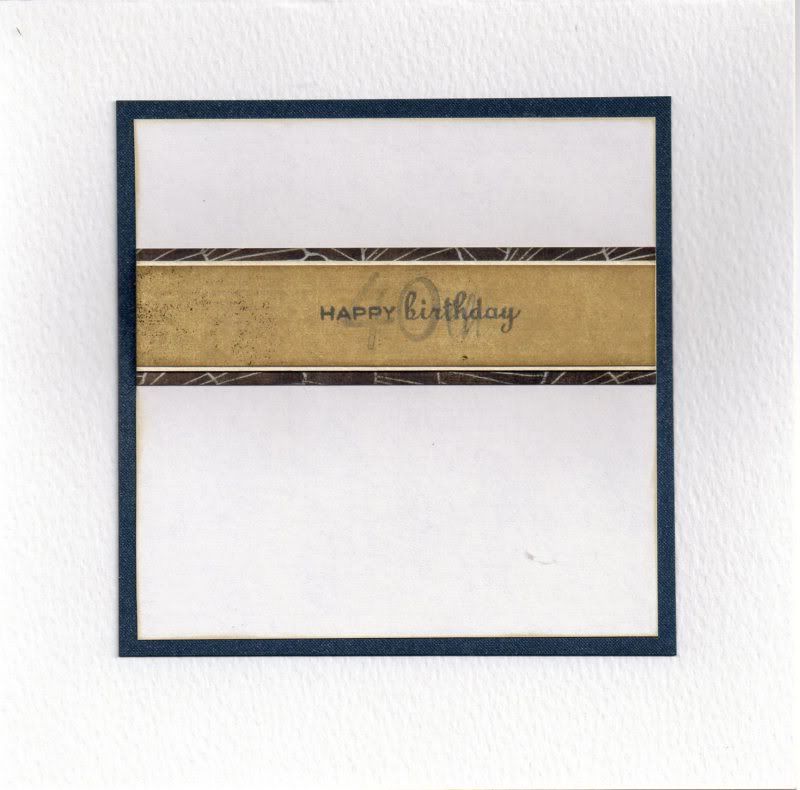
The inside of the card was also decorated using strips of the papers used on the front of the card. The sentiment was stamped across the Honey paper using the Paris Dusk ink, the Happy Birthday stamp from the Personal Impressions Paula Pascual Mix and Match Sentiments stamp set and the '4', '0' and 'th' stamps from the See D's Lower Case Script Alphabet stamp set. The '40th' text was stamped using the second generation of ink, giving it a more faded look.


Here are the blog challenges I am entering this card into:

Sunday, 14 August 2011

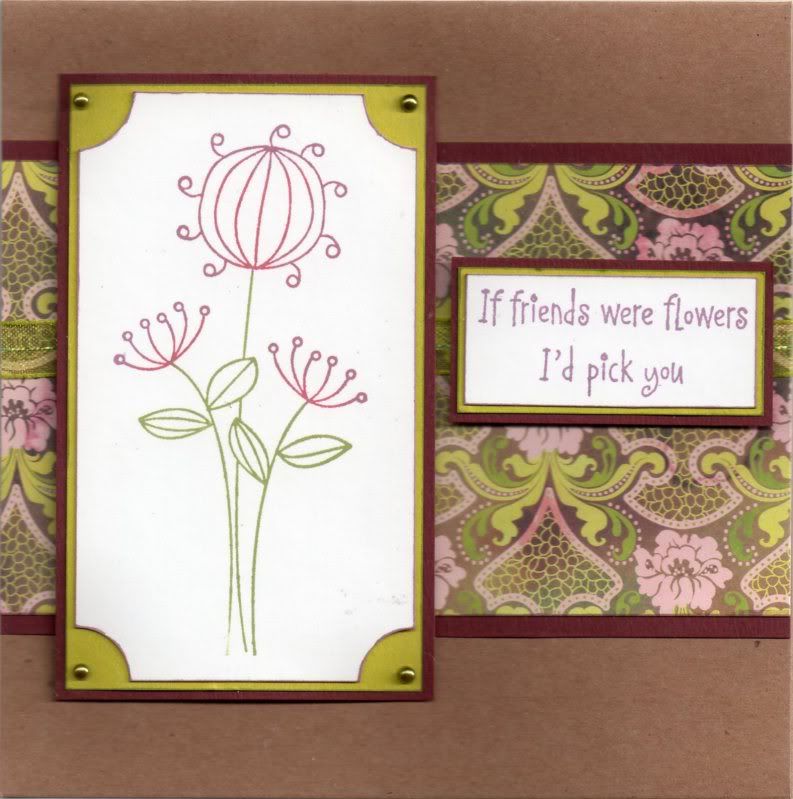
Burgundy and Lime Curly Flowers Friends

This card was made with a stamp I bought from a fellow crafter who was having a clear-out. I also used the Memento inks I bought from her too!! I really must have a clear-out myself - I just seem to be helping everyone else clear out!!


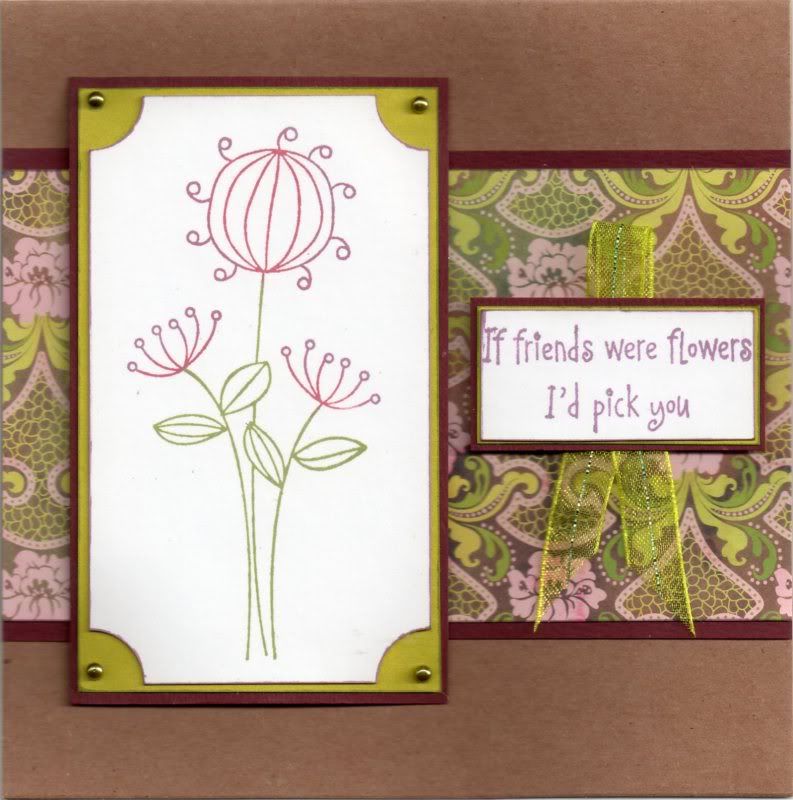
The Curly Flower image, from Hero Arts, was inked up using the Sweet Plum, Bamboo Leaves and Rhubarb Stalk Memento inkpads. The corners of the panel were punched using the Woodware Inverted Corner punch and matted onto lime green paper and burgundy card.

Lime green self-adhesive pearls, from the Hobby House Green To Go set, were added in the corners.

A panel of the French Lace paper from the Basic Grey Eva paper pad was matted onto the burgundy card and a length of lime green organza ribbon was wrapped around the panel and then added across the Papermania Kraft card blank.

The image panel was added to the left of the panel.


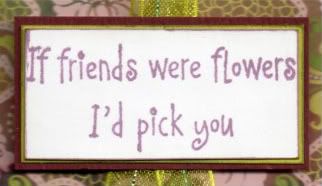
The sentiment, from Elzybells, was stamped using the Sweet Plum ink and matted onto the lime green paper and burgundy card and added to the right of the card blank.


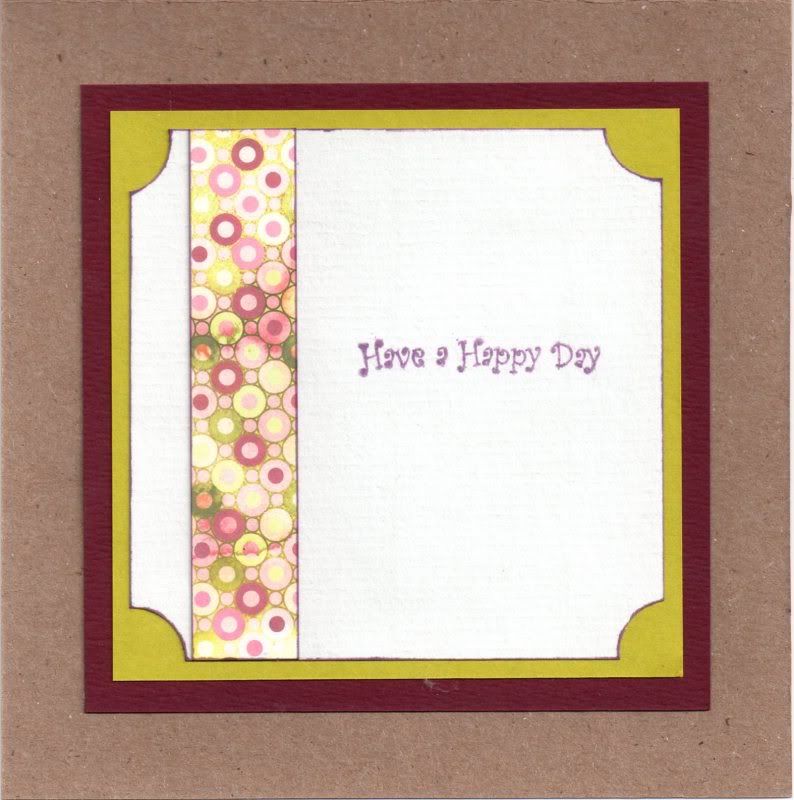
The inside of the card was also decorated using a strip of the Courtier paper from the Eva paper pad, and the sentiment from the Papermania Clare Curd Sentiments stamp set inked with the Sweet Plum ink.


On the original card I made, I forgot to wrap the ribbon around the panel before I stuck it to the card blank so added a loop of the ribbon behind the sentiment panel.


Here are the blog challenges I am entering this card into:

Saturday, 30 July 2011

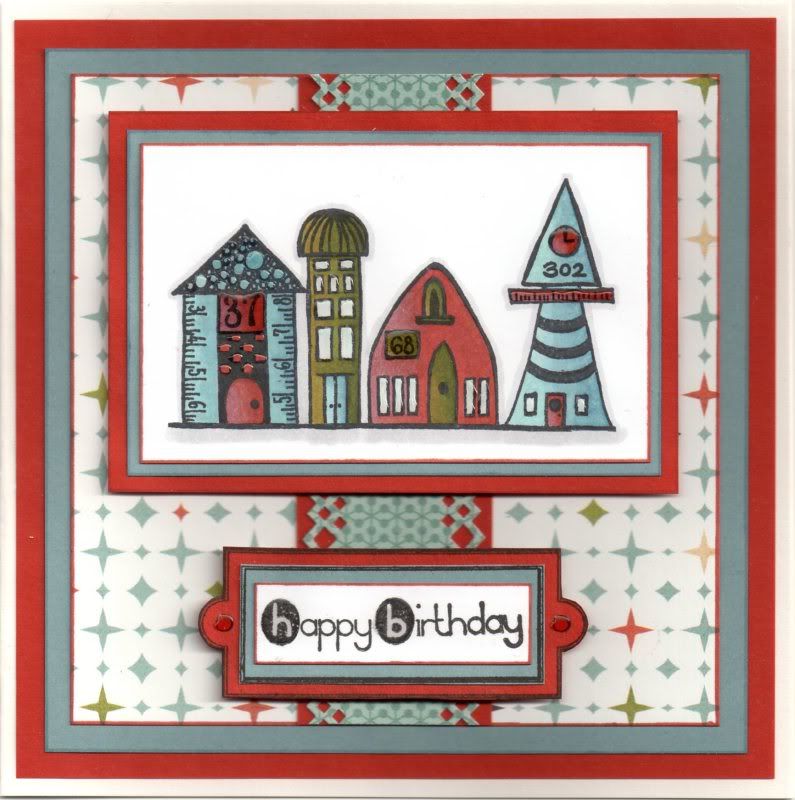
Blue, Rust and Olive Paper Artsy Houses

This is the first time I've used this stamp set. I know - it's terrible as I've had it a while now and only got around to mounting it up yesterday.


This is the card I have made for my father-in-law. I figured he'd had enough cutesy character cards of late and decided I'd dig these stamps out. I've loved them for ages and have seen some lovely cards using them.

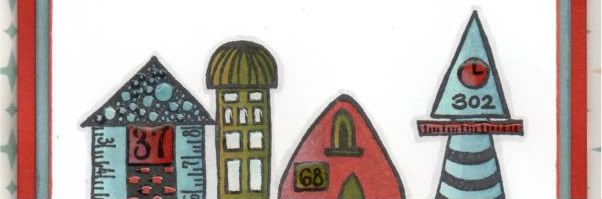
The line of houses image, from the Paper Artsy Bricks and Mortar 2 stamp set, was stamped using Memento Tuxedo Black dye ink and coloured with the Copic sketch markers:
  • Houses 1 & 4: B41, B45, B93, BG11, N1, E04, E07, E09
  • House 2: G99, YG17, YG95, BG11, B41, B45, B93
  • House 3: E04, E07, E09, G99, YG17, YG95
  • Windows: BG10
  • Outline/Shadow: N1
Houses 1 and 4 took some adjusting as I didn't really have a colour to match the paper so I tried blending with the grey and the blue/green to try and get as close a match as I could. I think it worked.


The image was then matted onto blue and rust paper.

A strip of the Light-Hearted paper from the Basic Grey Offbeat paper pad was punched along both edges using the XCut Diamonds border punch and matted onto the rust paper. This was then matted onto a panel of the Alternative paper from the same paper pad, which in turn was matted onto the blue and rust papers.

The image panel was then matted towards the top of the panel.


To create the sentiment panel, the rectangular bookplate image from the Stamps Away Bookplates, Photo Corners and Anchors stamp set was stamped onto the rust and blue papers using Versafine Onyx Black archival pigment ink and layered up. The sentiment, from the Dovecraft Make A Wish mini stamp set, was then stamped onto the white card using the Onyx Black ink and matted on top.

The sentiment was then added below the image panel.

Highlights were then added to the image and the sentiment panel with Ranger Glossy Accents.


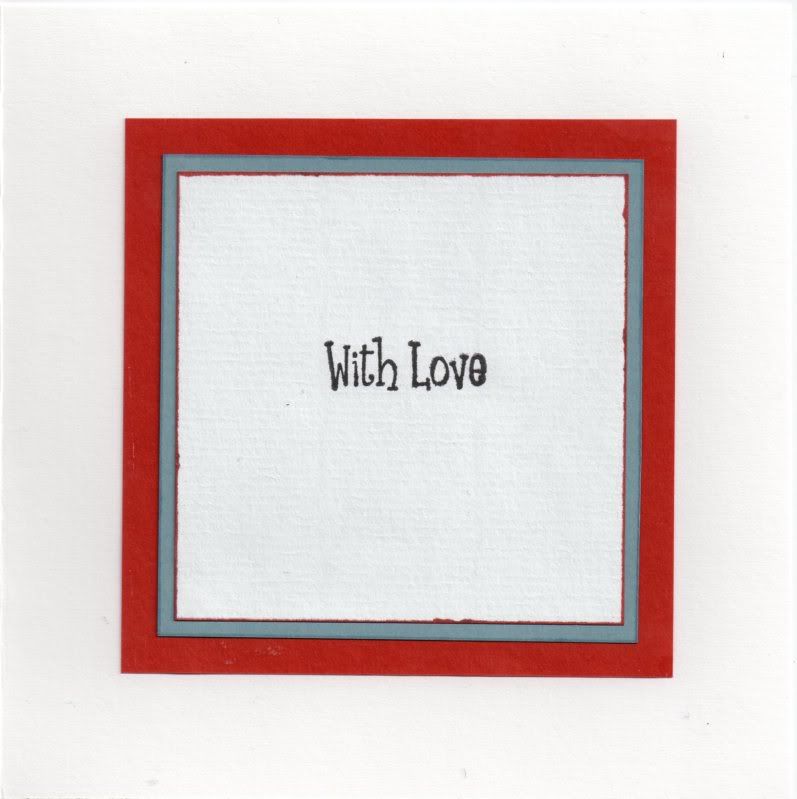
The inside was also decorated using the blue and rust papers, and the sentiment, from the Papermania Clare Curd Sentiments stamp set stamped with the Onyx Black ink.

Here are the blog challenges I am entering this card into:

Thursday, 30 June 2011

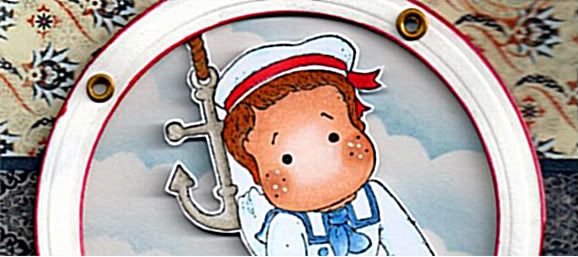
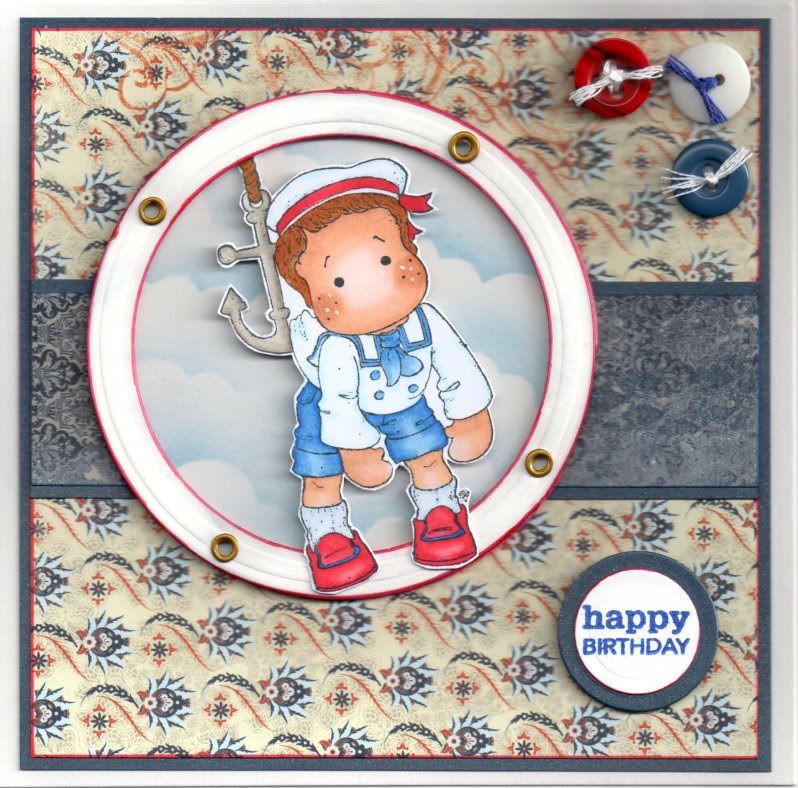
Red, White and Blue Dangling Sea Edwin with Shaving Brush Clouds

Well, I have finally had a go at the shaving brush clouds with the Distress Inks and I have to say I love the technique. A couple of tips I will give however are add a little ink at a time and dab your brush on some scrap paper before applying to your project to check you don't have too much ink on the brush..


Firstly, the Dangling Sea Edwin image, from Magnolia, was stamped using Memento Tuxedo Black dye ink and coloured with Copic markers:
  • Hair: YR00, YR14, YR24, E35
  • Skin: E00, E13, E21, E51
  • Hat: R20, R24, R27, R29, B00, 0
  • Matelot Jacket: B23, B24, B00, 0
  • Shorts/Tie: B21, B23, B24, B26
  • Buttons: B24
  • Socks: B00, C0
  • Shoes: R20, R24, R27, R29. B26
The anchor in the image was highlighted with a clear Sakura Stardust pen, and highlights were added to Edwin's cheeks with a Papermania Snow White gel pen. Tthe image was then cut out.

A circle was cut from white card using a circle Nestabilities die and clouds were created using Tim Holtz Faded Jeans Distress Ink, a hand-cut mask cut from a Post-It note and a shaving brush. Basically, the brush with very little ink, was swirled over the edge of the mask, pinching the bristles of the brush together, focusing them on a smaller area.

A frame was also die cut from white card using two circle Nestabilities dies positioned on a piece of magnetic paper. The shape was then embossed and lightly coloured with Tim Holtz Weathered Wood Distress Ink. The edges of the circle were then coloured with a Copic marker (R29) to make them stand out more and small gold Papermania eyelets were set around the circle to create a porthole.

The cloud background, Edwin image and porthole were then all layered up.


A strip of the Wide Tie paper from the Basic Grey Boxer paper pad was matted onto a strip of navy
shimmer card and matted across a panel of the Oxford paper from the same paper pad. This was then also matted onto the navy shimmer card.

A red and blue button (items I've had in my stash for a very long time now!) were threaded with white embroidery thread and a white button with blue thread and positioned in the top right hand corner.

The 'Happy Birthday' sentiment, from the Personal Impressions Paula Pascual Mixed Sentiments stamp set, was stamped onto a die cut circle of the white card using Versafine Majestic Blue archival pigment ink and matted onto a circle of the navy shimmer card.

Here are the challenges I am entering this card into:

Monday, 13 June 2011

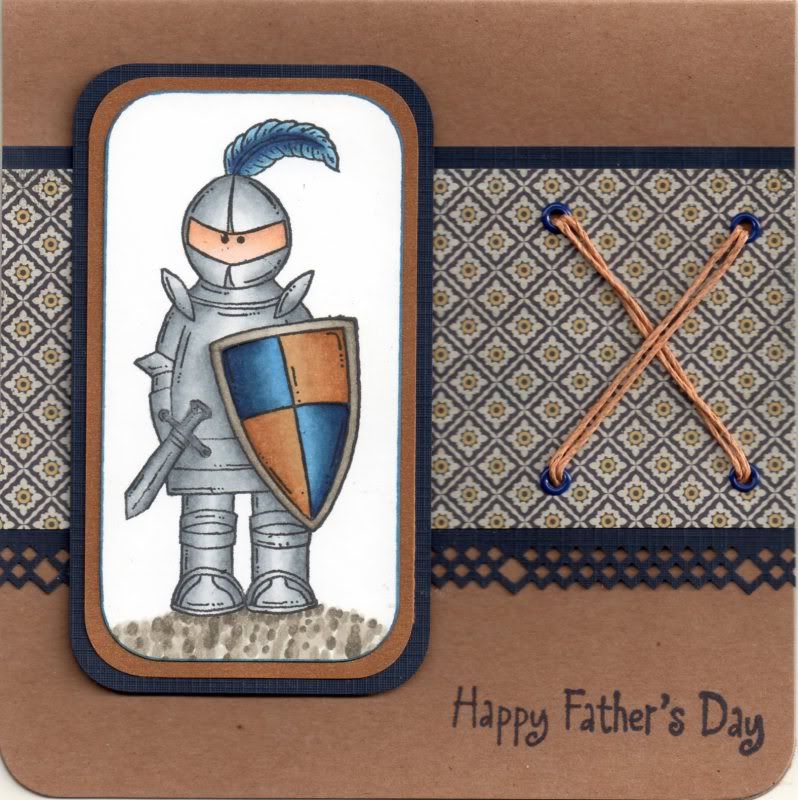
Blue and Brown Father's Day Sugar Nellie Knight

Here is the design of this year's Father's Day cards that I've made for my dad and hubby's dad. I decided to go with the Sugar Nellie Knight image.


The image was stamped using Memento Tuxedo Black dye ink and coloured using Copic sketch markers:
  • Armour: C0, C1, C3, C4, C6
  • Sword: C2, C4, C6
  • Skin: E00, E13, E21, E51
  • Shield: W1, W3, W5, W7, B32, B34, B37, B39, E31, E33, E35
  • Feather: B32, B34, B37, B39
  • Shadow: W1, W3, W5
Somehow I actually managed to get the armour and shield to look quite metallic and shiny!!

The corners were rounded using the large XCut corner rounder punch and matted onto bronze shimmer paper and navy card.


A panel of the Jute paper from the Basic Grey Granola paper pad was matted onto the navy card, punched with the XCut Diamonds border punch.

I wanted to add an element of texture but also keep it masculine, so four holes were punched using the Cropodile Big Bite and the Stampin' Up Mat Pack template and small dark blue Papermania eyelets were added. The holes were then threaded with a double strand of tan hemp cord from Hobbycraft.

The card was assembled and the 'Happy Father's Day' sentiment, from Elzybells, was stamped in the corner using Versafine Majestic Blue archival pigment ink.

Here are the challenges I am entering this card into:

Thursday, 31 March 2011

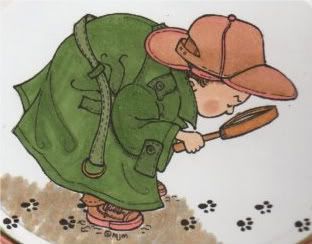
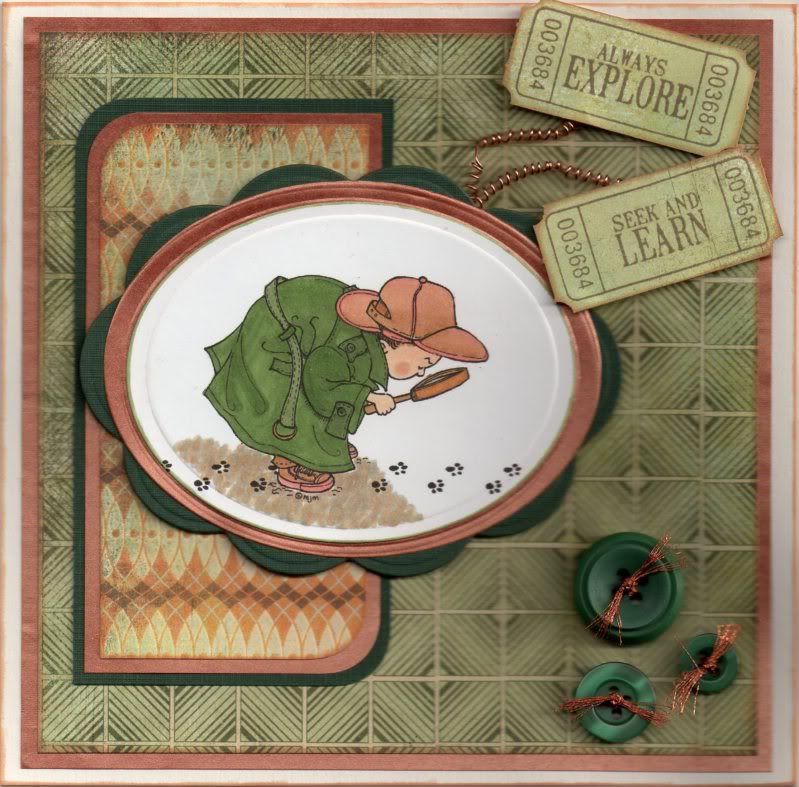
Green and Brown Lookin' For Clues

Well, another card made with a beautiful digi image.

This one was made using the Lookin' For Clues image from Mo's Digital Pencil.


The image was coloured using Copic sketch markers:
  • Hat/Shoes: YR02, E13, E35
  • Skin: E00, E21, E51, E13
  • Coat: YG67, G85, N3
  • Belt: G85, N3
  • Buckle: Y17, E35
  • Trousers: E35
  • Magnifying Glass: Y17, E35, N3
  • Shadow: N3, E43, E13
The image was then die cut using a classic oval Nestabilities die and matted onto a copper oval and dark green big scalloped oval.


Two corners of a panel of the Fossil paper, from the Basic Grey Archaic paper pad, were rounded using the large XCut corner rounder and matted on the copper paper and green cardstock. A panel of the Passe paper, also from the Archaic paper pad, was matted onto the copper paper and centred on the card blank.

The tickets, from the Autumn Leaves Ticketed stamp set, were stamped onto the Earth Worm paper from the same paper pad using Memento Rich Cocoa dye ink. Using a small hole punch and a perforating blade, the strips were transformed into tickets. Copper wire was wound around a pricking tool and attached to the reverse of the tickets and the oval panel.

The panels were then added to the card blank and three green buttons were threaded with metallic copper thread and added in the bottom right hand corner.

Here are the blog challenges I am entering this card into:

Sunday, 20 February 2011

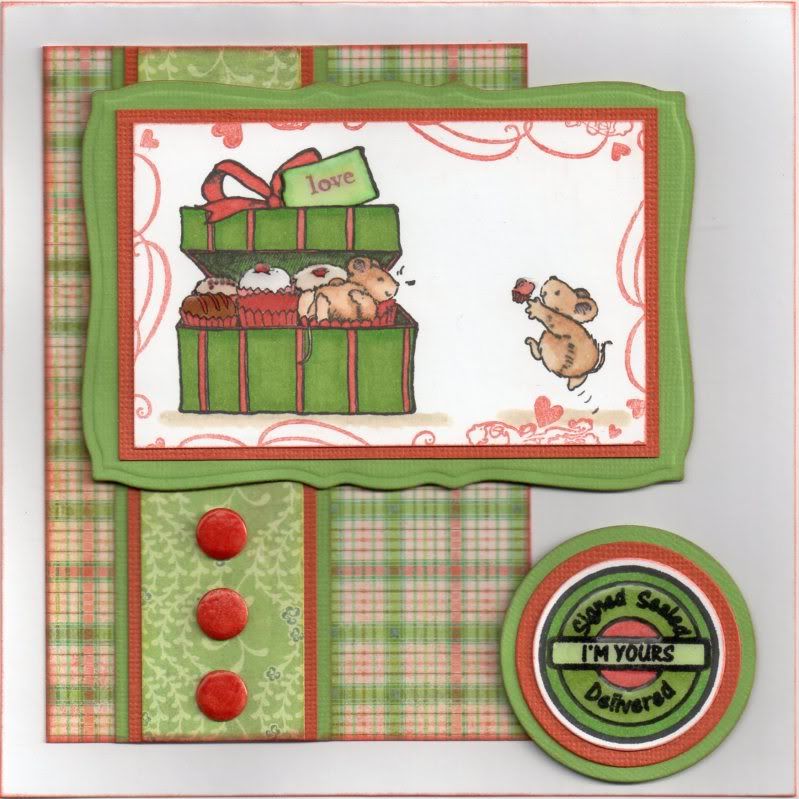
Green and Terracotta Penny Black Cupcake Mice Anniversary

Here is the card I made for my hubby for our anniversary. Unfortunately, due to us moving house the day after, it didn't really get any mantlepiece time!! So, I packed it with the 'going to Ireland' stuff and put it up at the in-laws!!
This was an unusual colour combination for me but I really liked the plaid paper so coloured everything to match it.

The Cupcake Box Mouse image, from the Penny Black Piece Of My Heart stamp set, was stamped using Versafine Onyx Black archival pigment ink to the left of the panel and the single mouse from the Mice Chasing Cat stamp from the same set was stamped to the right, masking off the extra detail from the image.

The images were coloured using Copic Sketch markers:
  • Mice: E13, E51, E35, R20
  • Box: G05, YG17, E07, YR02, C4
  • Cupcake Cases/Ribbon: E07, YR02
  • Cupcakes: E57, E07, YR02, E41
  • Label: YG11, YG17, G05
  • Shadow: N3, E41
The cupcakes were then highlighted with Anita's 3D Gloss.

The sentiment from the same stamp set was then stamped into the tag on the image using ColorBox Terracotta pigment ink.

The edges of the panel were then stamped using the heart border stamp from the Autumn Leaves 'On The Edge' stamp set and the Terracotta ink.

The image panel was matted onto terracotta card from the Core'dinations Elements card pack, and onto a panel die cut from green card from the same pack using a Mega Curved Rectangle die from Nestabilities.

A strip of the Pistachio Almond paper from the Basic Grey Two Scoops paper pad was matted onto the terracotta and green cardstocks and then across a panel of the Waffle Cone paper from the same paper pad.

The image panel was matted to the top of the card and three orange card candy, from Craftwork Cards, were coloured with Copic markers (E07), and added below the image along the strip.

The circle sentiment, from Aud Designs, was stamped using Memento Tuxedo Black dye ink and coloured using the Copic markers:
  • Sentiment panel: YG11, YG17, G05, E07, YR02
This was die cut using the standard circle Nestabilities die and matted onto circles of the terracotta and green cardstocks. This was then adhered in the bottom right corner of the card and highlighted with Anita's 3D Gloss.

Here are the challenges that I am entering this card into:

Wednesday, 9 February 2011

Blue and Tan Floating Monkey

This is the first time I've used a digi stamp image and what a great image it is. It's one of the lovely freebies from the Dustin Pike blog.

I needed to make a card for my cousin and decided to have a go with this image, which you can find here.


I started by colouring the image using my Copic sketch markers:
  • Monkey: E00, E21, E35, E51
  • Balloon: B00, B12
  • Sky: B00
  • Clouds: N1
Once the image was coloured, it was then trimmed up and Anita's 3D Gloss was added over the balloon.
The image, once dried, was then matted onto tan handmade paper and a panel of blue card that was embossed using the Moroccan Screen embossing folder from Cuttlebug.

A strip of the Crunchy paper, from the Basic Grey Granola paper pad was matted onto the tan handmade paper and the blue card and then across a panel of the Natural paper from the same paper pad.
This was then matted onto larger panels of the tan paper and blue card.

The sentiment, from the Woodware Jane's Script Sentiments stamp set, was stamped using Versafine Onyx Black Archival pigment ink and trimmed. The panel was then coloured using Copic markers:
  • Panel: B00, E13
This was then matted onto the tan paper and embossed blue card and matted onto the card below the image panel.

Here are the challenges that I am entering this card into:

Sunday, 12 December 2010

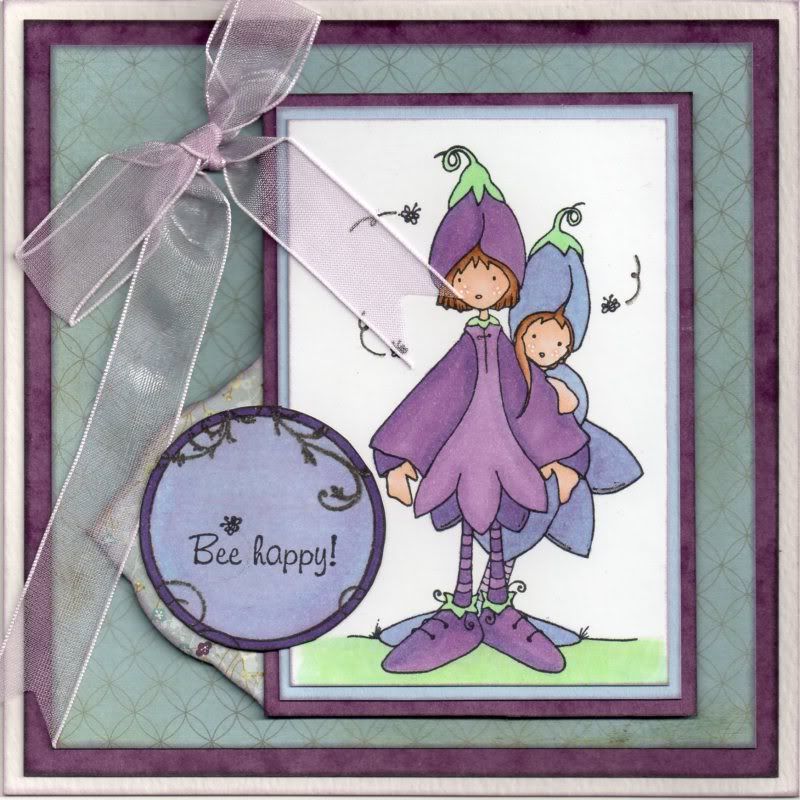
Light Blue and Violet Foxglove Friends

I can now blog this card as I know the recipient (Alex K/Eisbaerin) has now opened her card!

I fell in love with this image the first time I saw it and managed to get hold of it a few months ago. I decided to use the lovely Basic Grey Wisteria papers and coloured my image to match.


The Mr and Mrs Foxglove image, from Whiff of Joy, was stamped using Memento Tuxedo Black dye ink and coloured using Copic Sketch markers:
  • Foxglove 1: V12, V15, V17, B21, G00, BG11, YG11
  • Foxglove 2: V12, B21, G00, BG11, YG11
  • Hair: E13, E35, E57
  • Skin: E00, E21, E51, R20
  • Bees: V12, N1
  • Grass: BG11, YG11
I decided to interpret the image as two females as it's not obvious that it's a 'Mr & Mrs' image, at least I don't think so. The image was then matted onto light blue and purple card.

A panel of the Pond paper from the Basic Grey Wisteria paper pad was matted onto the purple card and then onto the card blank.

Using the Violet paper from the same paper pad, a panel was die cut using a Labels 3 Nestabilities die and attached behind the image panel.

The circle flourish stamp from the Fiskars Harlequin Charm stamp set was stamped using Versafine Onyx Black archival pigment ink and cut out along the outer edge of the circle. The sentiment from the Foxglove stamp was stamped in the centre of the circle using the Tuxedo Black ink and the circle was then coloured using the Copic markers:
  • Sentiment panel: V17, B21, V12
This was then attached over the Labels 3 panel and the edge of the image panel.

A bow was created from lilac organza ribbon using a bowmaker and attached in the top left corner of the card.

Highlights were then added to the image using a Papermania Snow White gel pen and to both the image and sentiment panels using a clear Sakura Stardust pen.

Here are the challenges that I am entering this card into:
Blog Widget by LinkWithin