Pages

WELCOME

This blog was created to act as a record of the cards and other projects that I have made. It is for both my own reference and to help inspire anyone who wants to take a look.

I'd love it if you'd leave me a comment so that I know what you think of my projects and that you've been to visit!

Anyone can comment, even those who don't have a blog. (Just look for the word 'Comments' under the three little pictures at the end of each post). Readers without a blog can add an anonymous comment, but please leave your name (and docrafts username if applicable) so I know who you are!

Slideshows of all the cards I've uploaded to my blog can be found at the bottom of the page.


PEOPLE WHO FOLLOW MY BLOG

Showing posts with label BoBunny. Show all posts

Wednesday, 18 November 2015

Rust Green and Brown Fox

This is a nice simple masculine card made using a free set of stamps that came with the first issue of Get Stamping. (I've not seen whether there was an Issue 2 or not).


The fox image was stamped onto white card using Memento Potter's Clay die ink and die cut using a Nestabilities circle die. This was then matted onto a rust-coloured cardstock diecut with a Labels 3 Nestabilities die.

A strip of the striped paper from the First Edition New Leaf paper pad was also matted onto the rust cardstock and added across the centre of the card, with the image panel matted over the top to the left hand side.
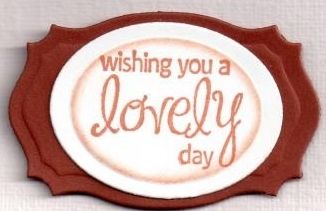
 
The sentiment, from the Amy R Be Happy sentiments stamp set, was stamped using the Potter's Clay ink and die cut using a Classic Oval Nestabilities die. The oval was shaded using the Potter's Clay ink with the die still in place over the die cut, creating a white frame. This was then matted onto a Labels 25 die cut and added in the bottom right corner.
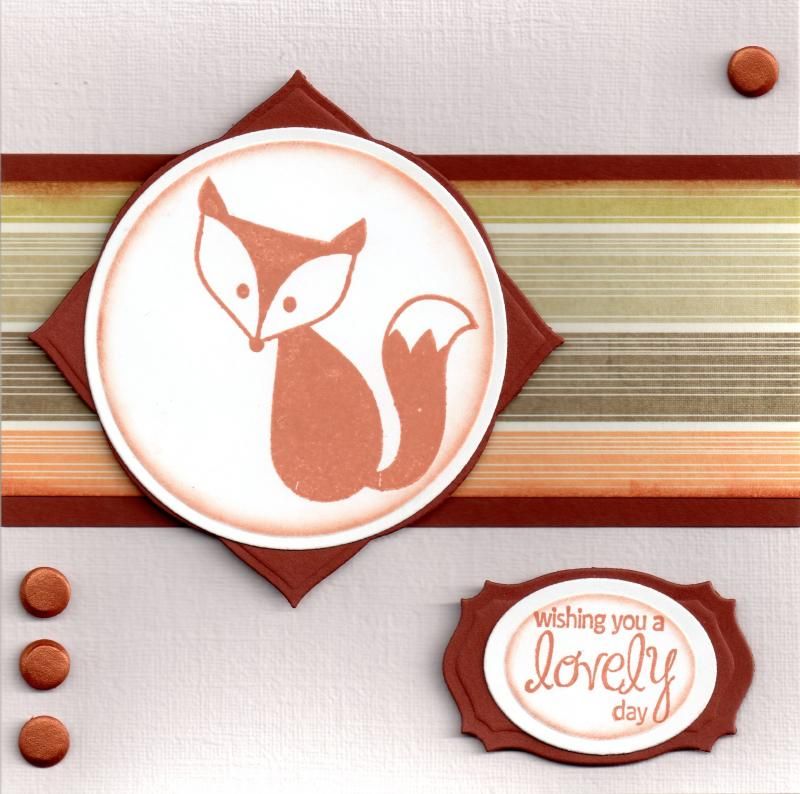
 
To finish the front of the card, copper coloured Card Candi by Craftwork Cards were added in the top right and bottom left corners of the card.
 
The inside of the card was also decorated, using almost an identical layout as the front.
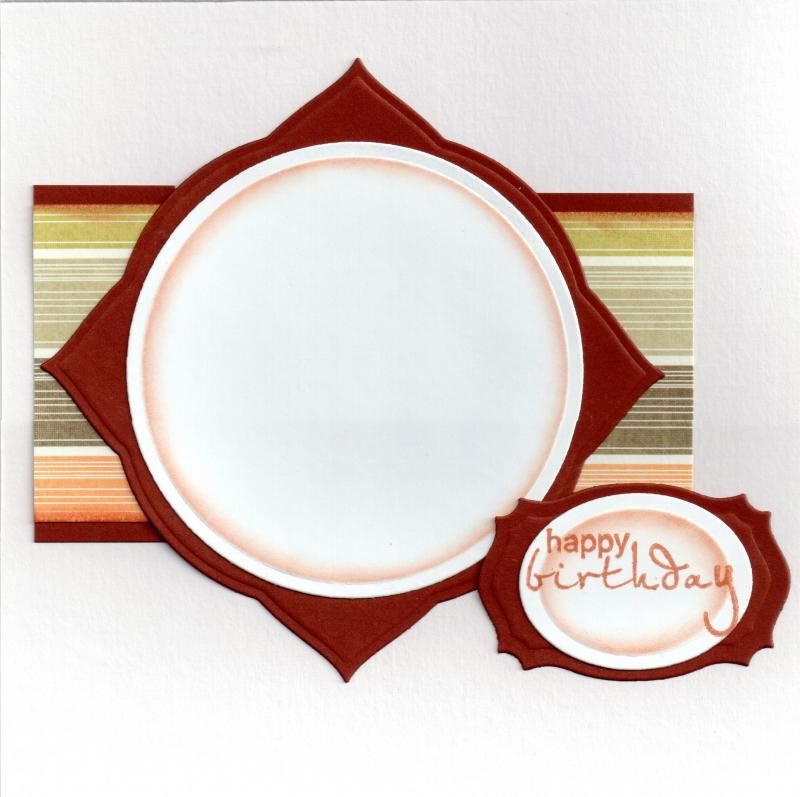
 
The sentiment, from the Bo Bunny Sentiments stamp set, was used to add the greeting to the inside of the card.

Monday, 26 October 2015

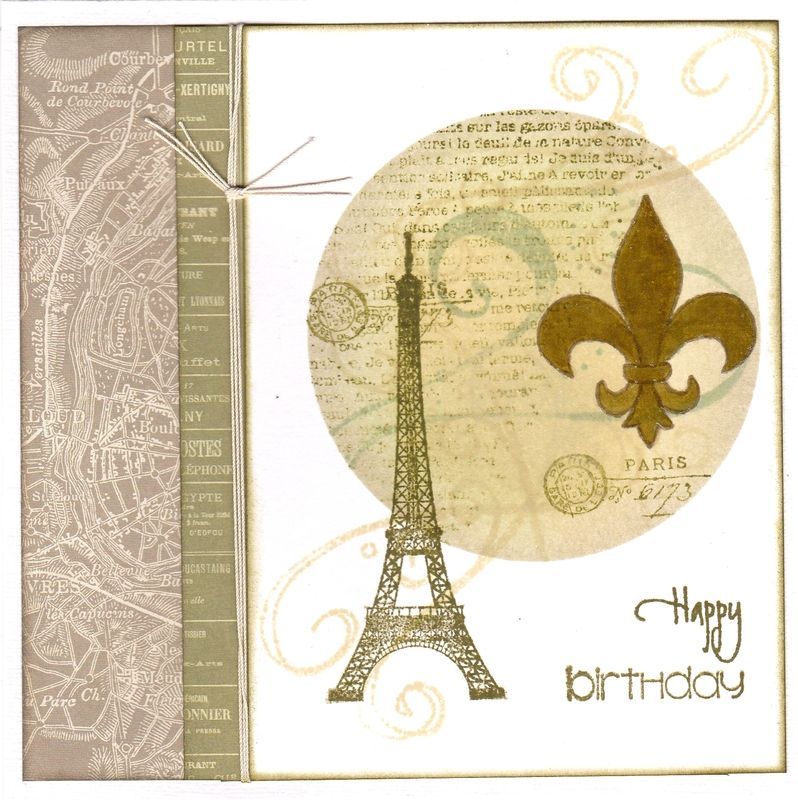
Green And Beige Eiffel Tower

I thought it was time to add a masculine card to my blog.

 
This is the card that I made for my dad this year, using the Dovecraft Sweet Paris papers and matching stamps.

Firstly, a couple of strips of different papers from the Dovecraft Sweet Paris were cut and added to the left side of the card blank. A few lengths of cream crochet thread were then wrapped around the papers and tied.

Next, the front of the card was masked off using a scrap of paper die cut with a Nestie circle. Then the circle area was blended using Tim Holtz Antique Linen and Bundled Sage distress inks.


Whilst the mask was still in place, the flourish stamp from the Autumn Leaves Rhona Farrer Flourishes v.2 was stamped using the Bundled Sage ink. The French Text background stamp from the Bo Bunny It Is Written stamp set was also stamped using the Tim Holtz Forest Moss distress ink as was the Paris Postmark stamp from the Stampers Anonymous Visual Artistry stamp set.

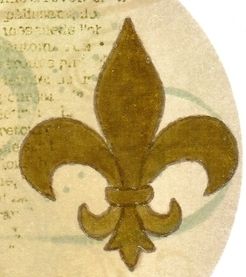
Next, the mask was removed and the flourish stamp was stamped across the circle using the Antique Linen ink. The Fleur de Lis stamp, from the Dovecraft Sweet Paris Eiffel Tower stamp set, was stamped into the circle using the Forest Moss ink, but coloured over using Copic marker YG95 as it didn't show up enough. This was also covered with Ranger Glossy Accents to make it stand out even more.


Next the Eiffel Tower image from the same stamp set was also stamped over the edge of the circle using the Forest Moss ink.

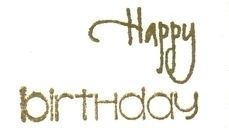
The sentiment was composed using stamps from two stamp sets. The 'Happy' stamp was from the Elzybells Swirly Sentiments stamp set and the 'Birthday' stamp from the Kaisercraft Birthday stamp set. Both were stamped using Tim Holtz Pumice Stone Distress ink.

 
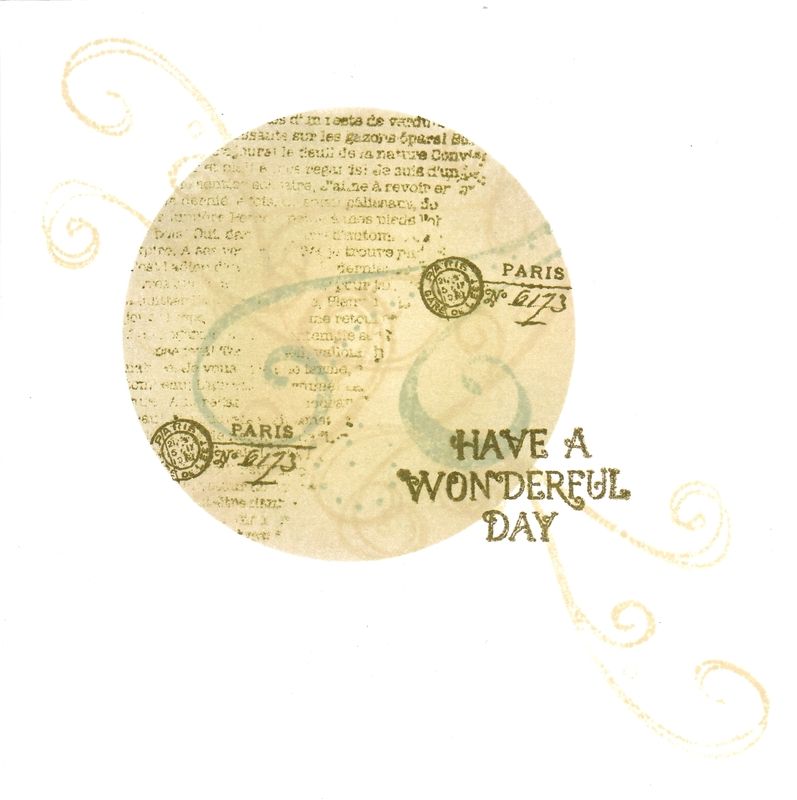
The inside of the card was also masked and inked and stamped to match the front of the card.
 
 
The sentiment, from the Dovecraft Sweet Paris Sentiments stamp set using the Pumice Stone ink. 

Saturday, 24 October 2015

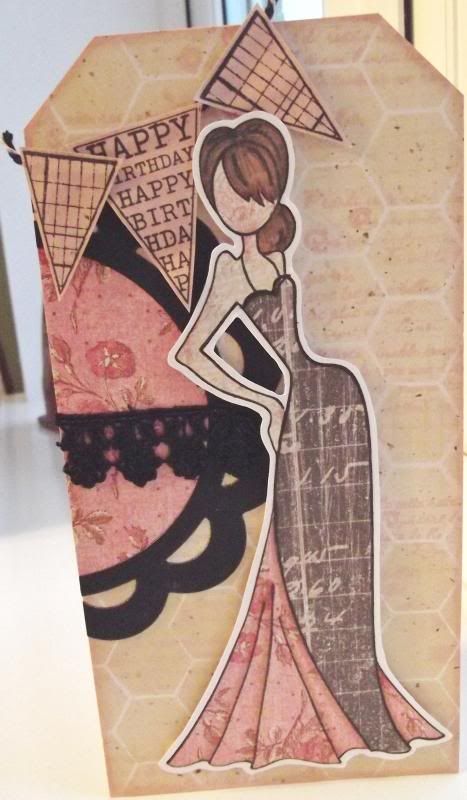
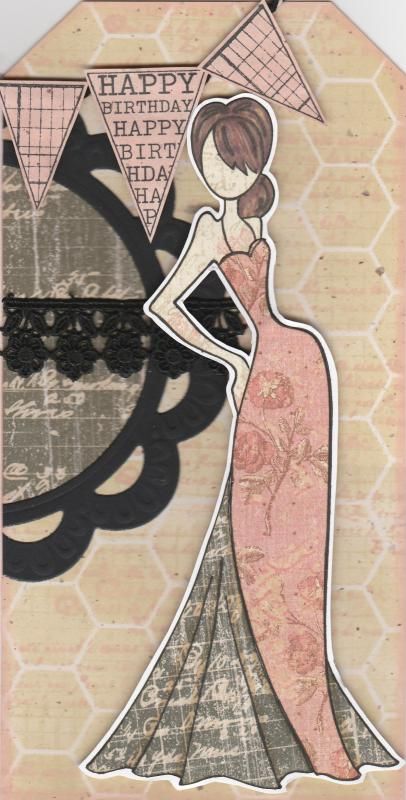
Pink Black and Beige Paper-Pieced Prima Doll

I should begin by apologising for the picture quality of this card. Normally I scan my cards in but my scanner had decided to give up the ghost (well, actually the printer had, and so the scanner just played along). Anyway, these were photographed and I couldn't find my mini tripod so getting up close and holding the camera perfectly steady wasn't easy!!

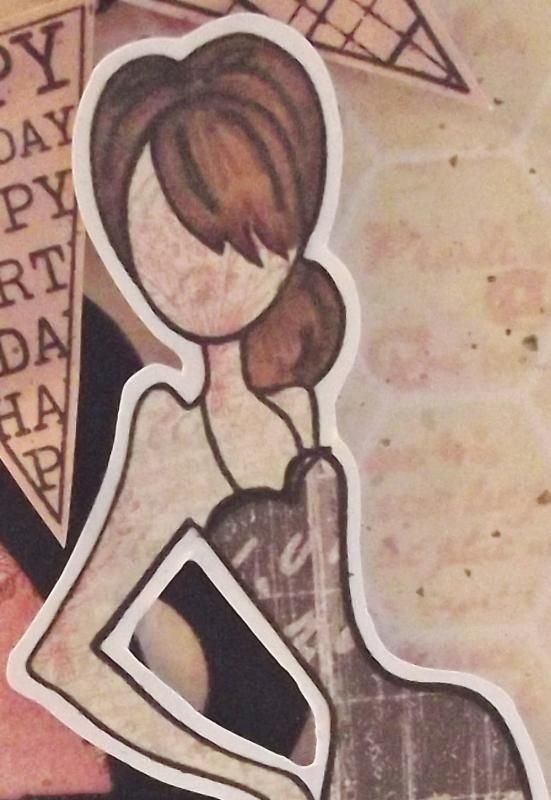
This card shows my first attempt at using my Prima Doll stamp Tasha. I actually made it at the cardmaking group that I go to and it was great fun.
Paper-piecing the image is actually very simple to do. The hard part is choosing which papers to use.
I began by stamping the whole image onto some white card using Memento Tuxedo Black dye ink. The image was then stamped again onto three different patterned papers from the K&Co Best of Too paper pad, using papers from the Life's Journey and K-Ology Hannah collections. I do love this paper pad, and it is much underused. I really should get it out more. The next stage was to cut the various pieces from the different papers and assemble them onto the base image. The hair was coloured onto the patterned paper using Promarkers.

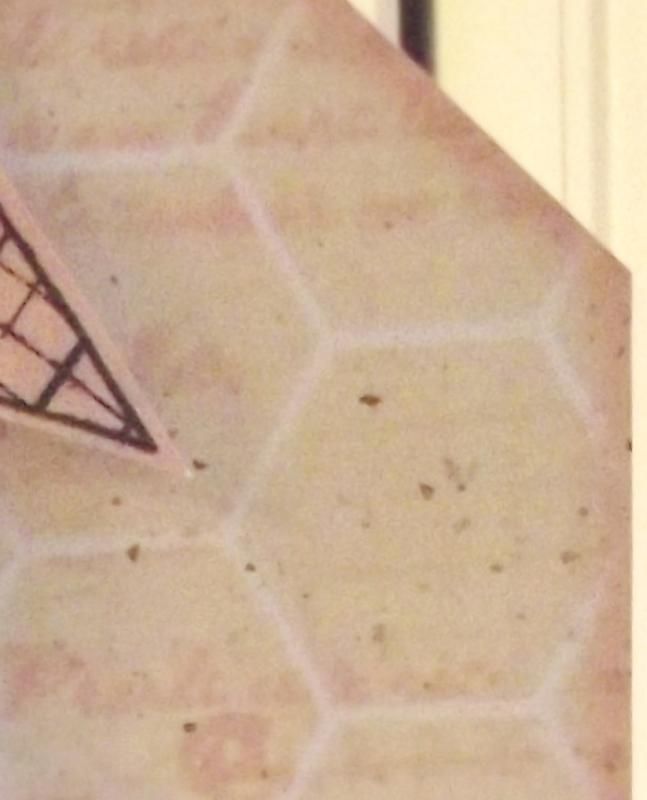
The next stage was to create a background for the image to sit on. I started with a piece of 'natural' paper which has tiny flecks in it. I then taped the Memory Box Chicken Wire stencil over the piece and sponged through Tim Holtz Antique Linen distress ink. Once that was done, with the stencil still in place, the French Text stamp from the Bo Bunny It Is Written stamp set was stamped through the stencil using the Tattered Rose ink. This was matted to the front of a DL card blank that was cut into the shape of a tag.

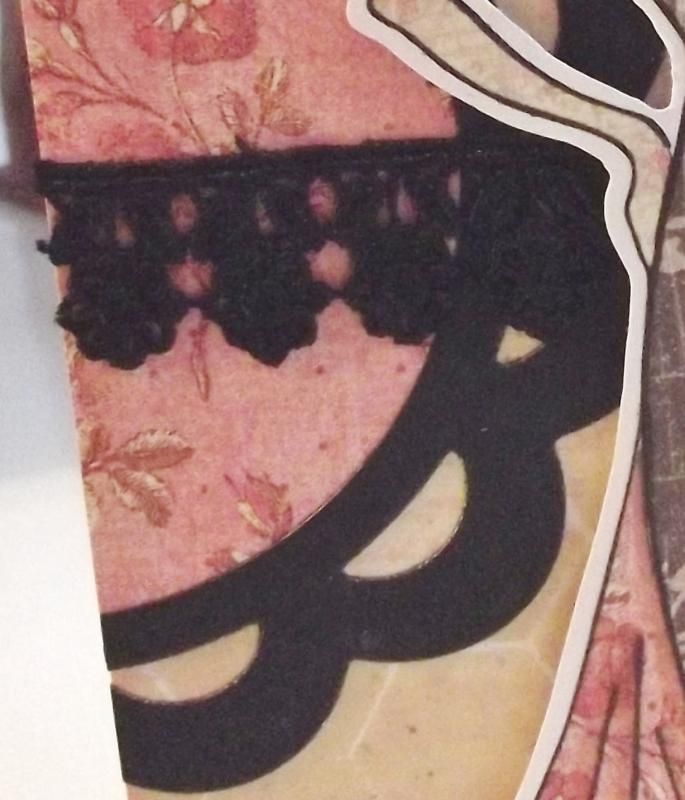
In order to create a bit more interest behind  the doll image, the Marianne scalloped circle frame was diecut from black card and a circle of the pink patterned paper used on the dress was diecut to fit within it. A length of black lace was wrapped around the circle and matted together on the edge of the tag and the excess cut away.


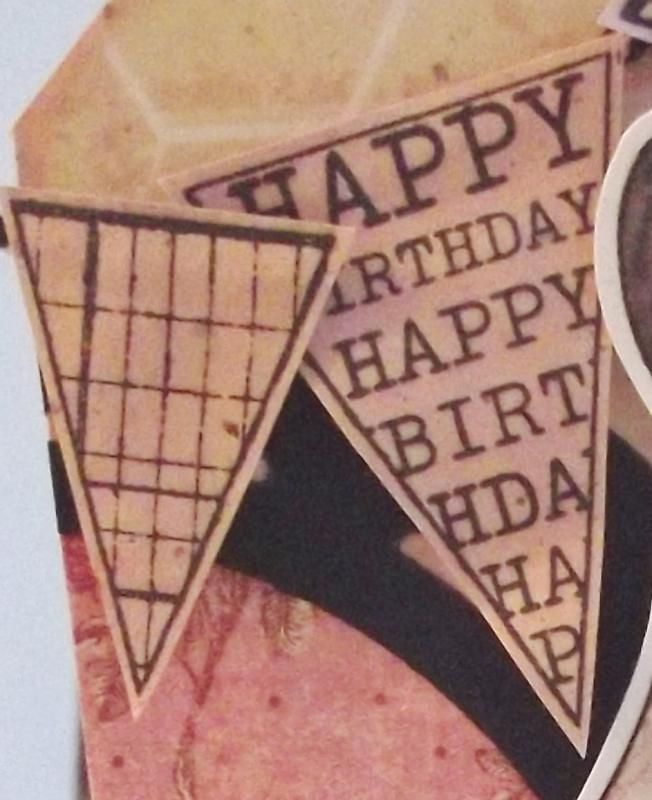
I then wanted to add a sentiment to the card and decided to use the banner stamps from the Hero Arts Friendly Flags stamp set. These were stamped onto the inked natural paper, inked with the Antique Linen and Tattered Rose inks. These were cut out and adhered to black and white Gorjuss Baker's Twine in the top left corner.


I also made a second card using the other parts of the stamped image.

Saturday, 31 January 2015

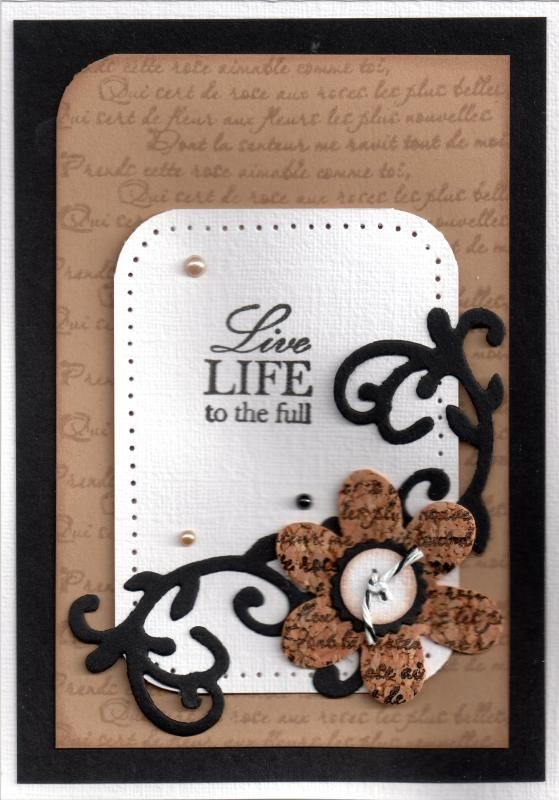
Beige White and Cork Flower and Flourish

This is a card that I made last year that was inspired by a card I saw over on Amy Rysavy's blog.
 
 
For my card, I started by creating the background. For that, I took a piece of beige card and stamped it with the French Script stamp from the Bo Bunny It Is Written stamp set using Memento Toffee Crunch dye ink for a tone-on-tone effect. I then punched the top left corner using the WRMK 1/2" Corner Chomper.
 
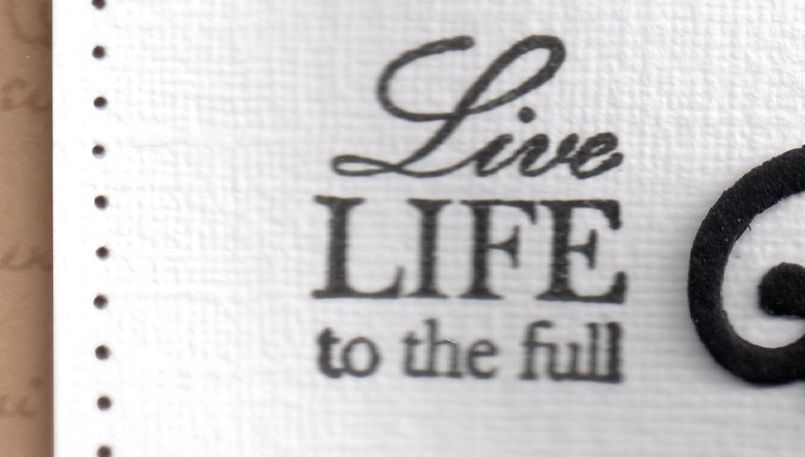
I then created a panel from white hessian effect card and added pricking detail using the Stampin' Up piercing template and a pricking tool. The sentiment, from the Kaisercraft Life Sentiments stamp set was stamped onto this panel using Versafine Onyx Black archival pigment ink.
 
 
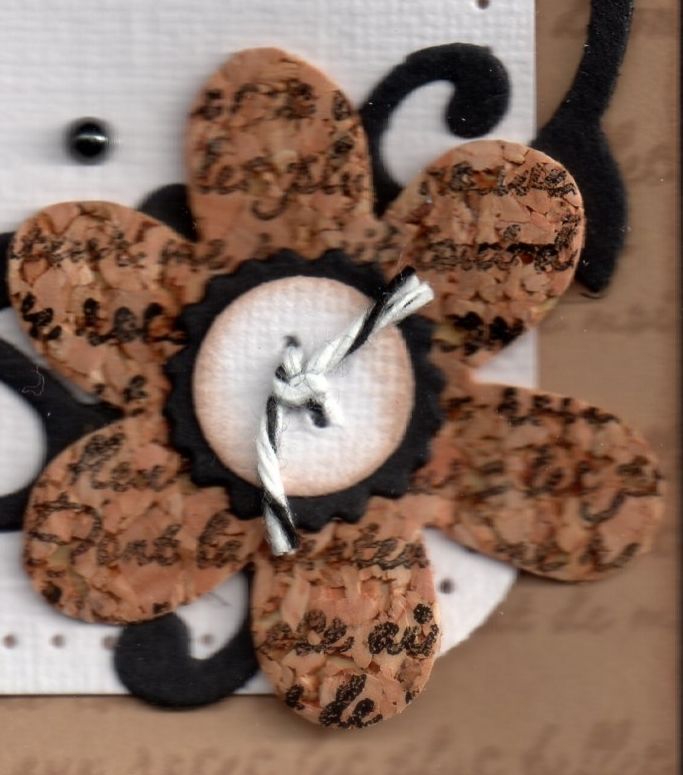
Next I created the flower detail. To do this, I die cut some Fablon self-adhesive cork sheet using the Sizzix Sizzlits Flower, Centre and Leaf die. This was overstamped using the script stamp and the Onyx Black ink. The Flower Centre, from the same die, was cut from the white hessian card and distressed with the Toffee Crunch ink, and the scalloped circle from the Sizzix Sizzlits Flower and Flourish die using black cardstock. Black and white Baker's Twine was then threaded through the centre holes.
 
 
To complete the corner detail, two flourishes were also die cut from the black card using the Sizzix Sizzlits Vine #2 die.

The card was then assembled as shown in the main picture., mounting the beige card onto black card and positioning the flourishes and flower in the bottom right hand corner.

To finish the card, flat-back pearls from the Kort & Godt Autumn Shades selection were randomly added.

Here are the challenges that I shall be entering this card into:

Art By Mi Ran - #24 - Anything Goes
Brown Sugar - #131 - 3 Embellishments
Crafts 4 Eternity - #211 - No Patterned Paper
Sister Act - #91 - Anything Goes
Stamplorations - Stamps & Inks
The Stamping Boutique - Make Your Own Background
4 Crafty Chicks - #231 - Anything Goes
Red Rubber Inspiration - #204 - CAS
Scrap & Craft - #1 - Anything Goes
Baffies Kreativladen - #40 - Anything Goes
The Crafter's Café - #101 - Make Own Background
Inspiration Destination - #18 - Anything Goes
Penny's Paper Crafty - #212 - Anything Goes
Simon Says Stamp - Anything Goes
Wonderful Wednesday - Anything Goes
Creative Moments - #60 - Anything Goes/Optional Sketch
Inky Chicks - #45 - Anything Goes
Party Time Tuesdays - #194 - Anything Goes
Through The Craft Room Door - Anything Goes
Crafting From The Heart - #44 - Anything Goes
Craft Your Passion - #246 - Anything Goes
Love To Scrap - #46 - Anything Goes
Melonheadz Friends - CAS
My Craft Creations - Anything Goes
Not Just Cards - Anything Goes
Scrapbook Stamp Society - #58 - Anything Goes/Happy Birthday
The Paper Girls - #72 - Cork
The Paper Nest Dolls - #1 - Anything Goes
The Pink Elephant - #283 - Anything Goes
Whoopsi Daisy - #1 - Anything Goes
613 Avenue Create - #108 - Anything Goes
Amusing - Anything Goes
Fairytale Stampers - #50 - Flowers
Glitter and Sparkle - #121 - Pearls and Swirls
Pile It On - #53 - Hearts and/or Flowers
Paper Creator's Crafts - #34 - Anything Goes

Sunday, 18 January 2015

Frantaged Collage and Charms Masculine Birthday

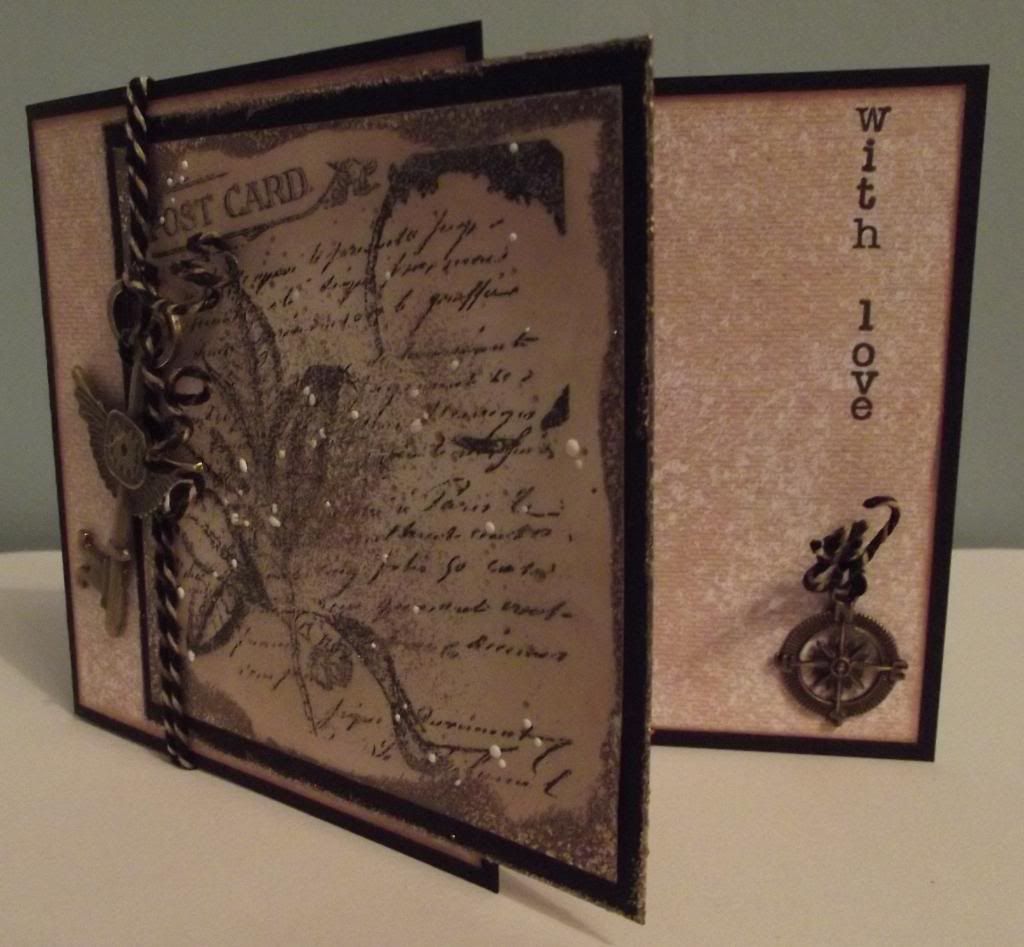
This is the card that I made for my hubby's birthday this year. It involved using the Frantage embossing powders which were new to me before making this card, although I have of course watched the demos on Create & Craft.


To begin with, I stamped the collage image of Folium from Papermania using Versafine Onyx Black archival pigment ink. The panel was then distressed using Tim Holtz Antique Linen and Walnut Stain inks. Once the distress ink was dry, Versamark was added around the edge of the panel and Aged Taupe Frantage powder was added. Once that was heat set, extra Aged Taupe and White powders were sprinkled over the centre of the panel to give a speckled appearance.

To create the card blank, a sheet of A4 card was trimmed to 5" wide and then scored at 7". Panels of beige mottled paper by Craftwork Cards were cut to fit both the front and inside of the card, the edges first being distressed with the Walnut Stain ink.

The stamped and Frantaged panel was matted onto the black card as used for the card blank and adhered overlapping the edge of the front panel.


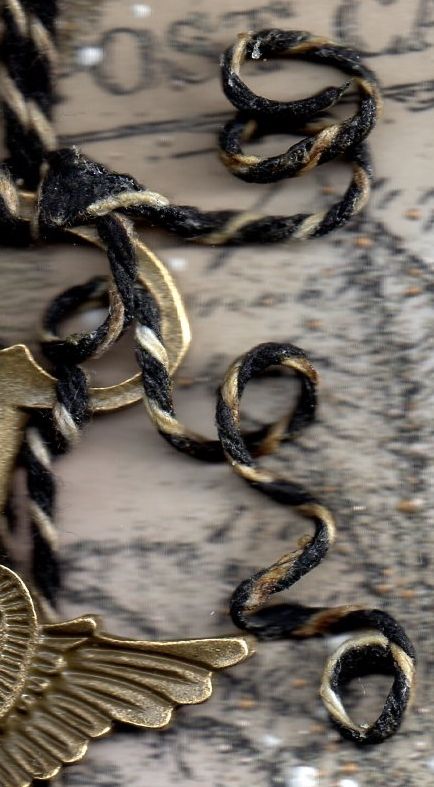
The next stage was to add the charms. These were very kindly donated by Donna at the cardmaking group that I attend. The large key charm was looped onto a length of black and white Gorjuss twine that was coloured with the Antique Linen and Walnut Stain inks, to tie it in with the rest of the card. The twine was wrapped around the front of the card and tied to the top of the charm.


The ends of the twine were then wiped with Aleene's Tacky Glue and wound around a paintbrush until the glue was dry, allowing the twists in the twine to remain. The same was done to the twine threaded through the compass charm.


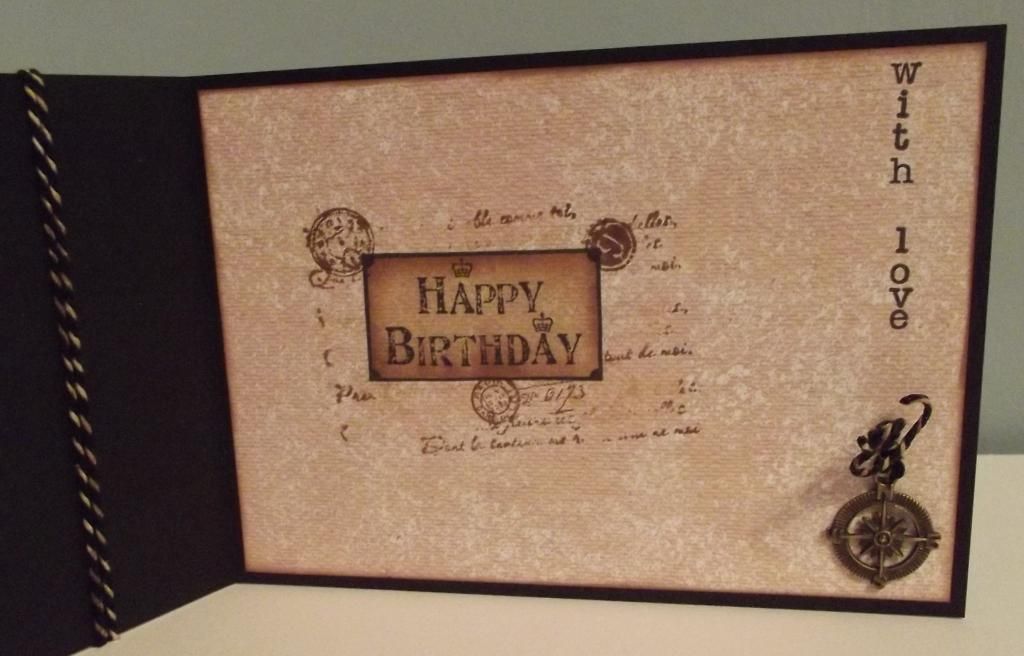
The next stage was to work on the inside of the card.

The first step was to add some sentiments.


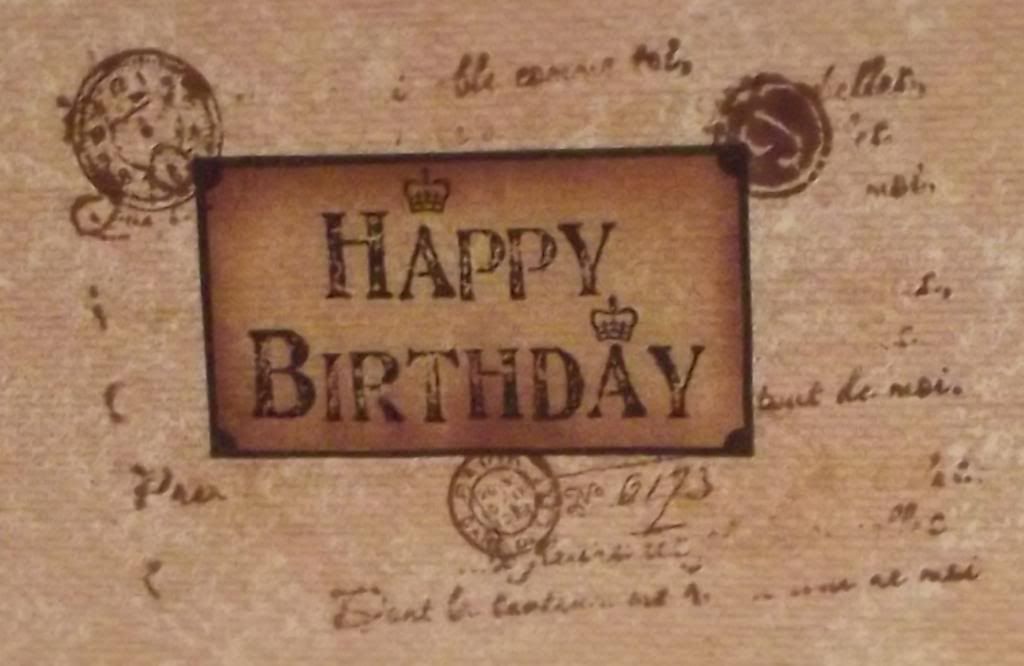
Firstly, the 'Happy Birthday' panel stamp, from the Papermania Portabello range, was stamped on the inside of the card using the Onyx Black ink. The panel was reverse masked and coloured using the Antique Linen and Walnut Stain inks. Using the positive mask, the panel was covered and overstamped using the postmark and clock stamps from the Tim Holtz Stampers Anonymous Visual Artistry stamp set, and the script stamp and number stamp from the Bo Bunny It's In The Words stamp set, all stamped using the two brown distress inks.


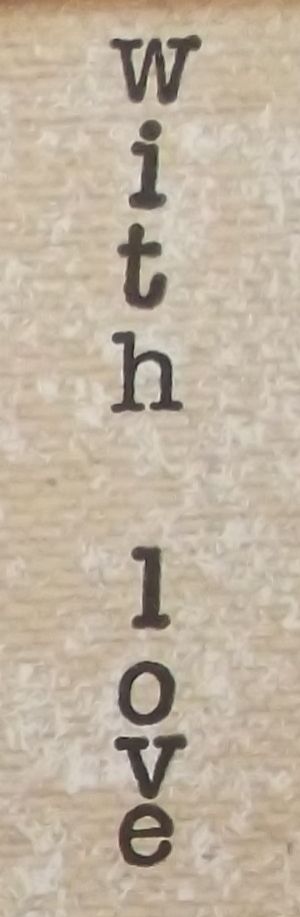
The final stage was to add a sentiment that could be read both when the card was open and closed. A line was drawn down the side of the card using a T-square ruler and a pencil, and, using individual alphabet stamps from a Studio G/Hampton Art alphabet stamp set and a Stamp-a-ma-jig, the sentiment 'with love' was stamped down the side of the card using Memento Tuxedo Black dye ink.


Versafine Onyx Black ink would have been better, but the Memento was out on my desk from when I had stamped the alphabet stamps onto the plastic sheet of the Stamp-a-ma-jig, and was used by mistake!

Here are the challenges that I am entering this card into:

A Girl Who Crafts - Anything Goes
Crafts Galore Encore - Anything Goes
Crafty Hazelnuts Patterned Paper - Anything Goes (Not Square)
Creative Craft Cottage - #31 - Anything Goes
Mema's Crafts - Anything Goes
Seema Crafts - Anything Goes
The Sisters Of Crafts - Anything Goes
Bastel - Traum - Anything Goes
Vandicrafts Artistry - Anything Goes
Sweet Stampin' - Masculine
Art By Miran - Anything Goes
Jo's Scrap Shack - #71 - Anything Goes
Sister Act - #89 - Anything Goes
Wags 'n' Whiskers - #145 - Anything Goes
Aud Sentiments - #123 - Anything Goes
Dream It Up! - Birthdays
Little Miss Muffet - #102 - Anything Goes
Scrap & Craft - #1 - Anything Goes
Baffies Kreativladen - #40 - Anything Goes
The House That Stamps Built - #114 - Black, Brown and White
Penny's Paper-Crafty - #210 - Anything Goes
Simon Says Stamp - It's A Guy Thing
Whimsy Stamps - #78 - Anything Goes
Cardz 4 Guyz - Happy Birthday
Inky Chicks - #45 - Anything Goes
Party Time Tuesdays - #194 - Anything Goes
Through The Craft Room Door - Anything Goes
Crafting From the Heart - #42 - Anything Goes
Sparkle N Sprinkle - Anything Goes (Glitter, Embossing Powders, Flock)
Squigglefly - #2 - Anything Goes
The Paper Nest Dolls - #1 - Anything Goes
Whoopsi Daisy - Anything Goes
Robyn's Fetish - #247 - Vintage Look
Blog Widget by LinkWithin