Pages

WELCOME

This blog was created to act as a record of the cards and other projects that I have made. It is for both my own reference and to help inspire anyone who wants to take a look.

I'd love it if you'd leave me a comment so that I know what you think of my projects and that you've been to visit!

Anyone can comment, even those who don't have a blog. (Just look for the word 'Comments' under the three little pictures at the end of each post). Readers without a blog can add an anonymous comment, but please leave your name (and docrafts username if applicable) so I know who you are!

Slideshows of all the cards I've uploaded to my blog can be found at the bottom of the page.


PEOPLE WHO FOLLOW MY BLOG

Showing posts with label My Minds Eye. Show all posts

Monday, 23 November 2015

Coral and Green Dressy Miss Anya

A pretty girlie card for today. This one features the cute Dirndl-wearing Dressy Miss Anya from The Greeting Farm.

The image was stamped using Memento Tuxedo Black dye ink and coloured using Copic markers.
 
 
Copics:
Skin: E000, E00, E11, R20
Hair/Apron: E11, E13, E15
Shoes/Dress: E11, R02, R08
Polka Dot Trim/Socks: YG03, YG11

Highlights were added to the cheeks using a Papermania Snow White gel pen.
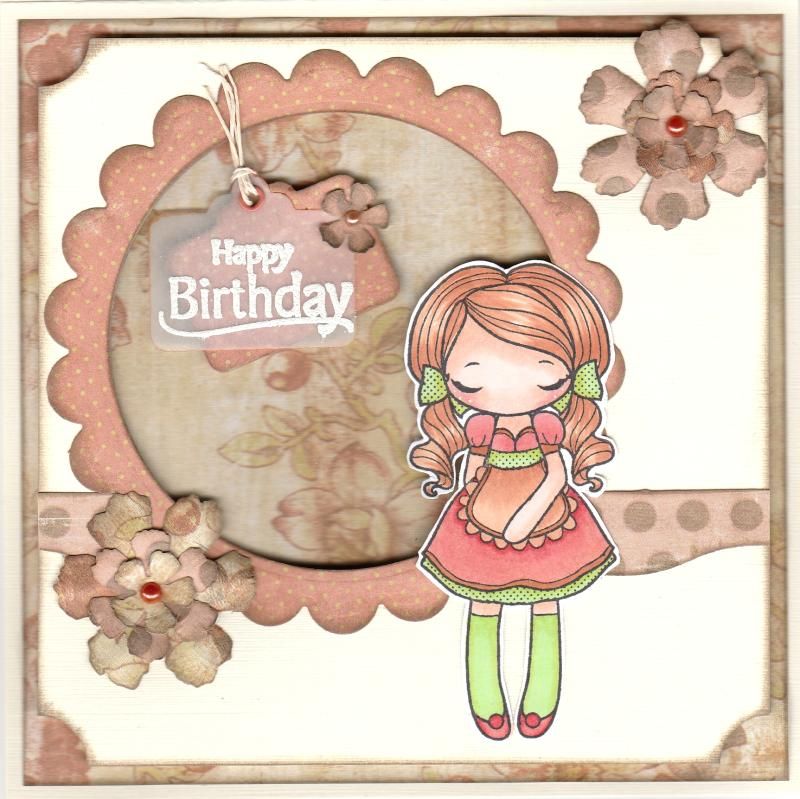
 
 
The papers used to decorate the front of the card were from the My Mind's Eye Wild Asparagus paper pack.  The card-edge die cut, created using the Sizzix Card Edges #2 Decorative Strip die was cut from the polka dot paper and added to a panel of ivory card. This was then diecut with a circle Nestabilities die to create an aperture, and a frame was created from the coral coloured polka dot paper from the paper pack using a scalloped circle and plain circle Nestabilities die and added around the aperture.
 
The corners of this panel were punched with the inverted corner rounder from Woodware, and then matted to the card front over a panel of a floral paper from the paper pack.
 
The Miss Anya image was then fussy cut and added over the aperture.
 
,
 
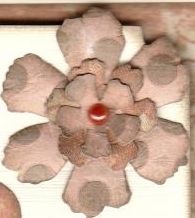
 A couple of flowers were created using the Sizzix Tattered Floral Garland Decorative Strip die and added to the card front with a small orange pearl in their centres.
 
Two tags were die cut from vellum and the polka dot patterned paper cut using a die from the Sizzix Framelits Tags, Sentiments die set. The sentiment, from the Kanban Moulin Divas Très Chic stamp set, was stamped onto the vellum tag using Versamark ink and heat embossed using Heat It Up! Seafoam White embossing powder.
 
The two tags were joined together using a small orange eyelet and threaded with cream hemp cord. The tags were added inside the aperture and decorated with the small flower dies from the Tattered Floral Garland die.
 
 
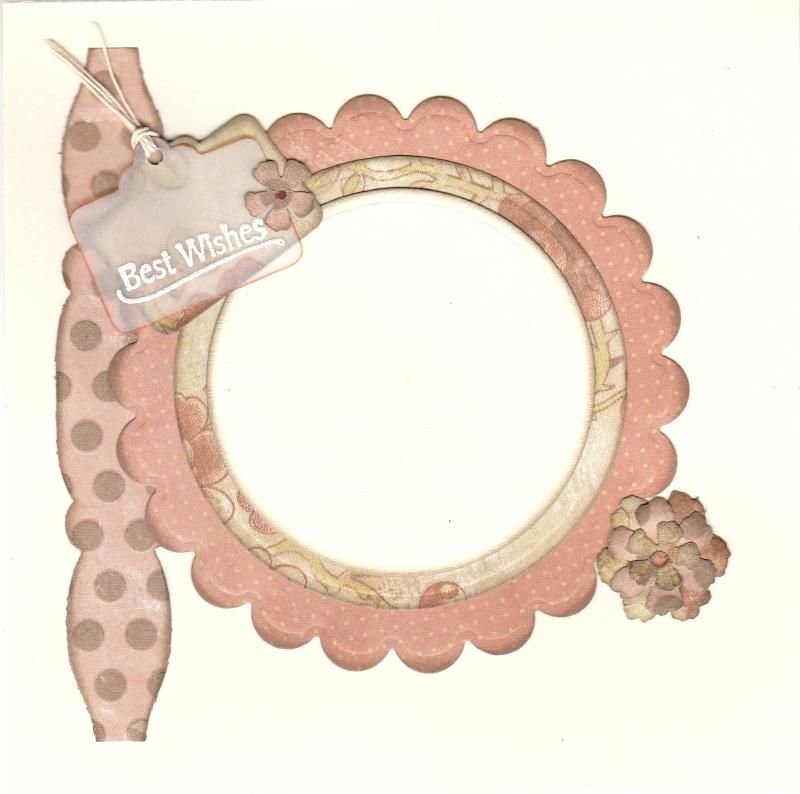
 The inside of the card was also decorated using matching papers and dies, and a sentiment stamp also from the Très Chic stamp set.
 

Wednesday, 11 November 2015

Orange and Green Gingerbread Tilda

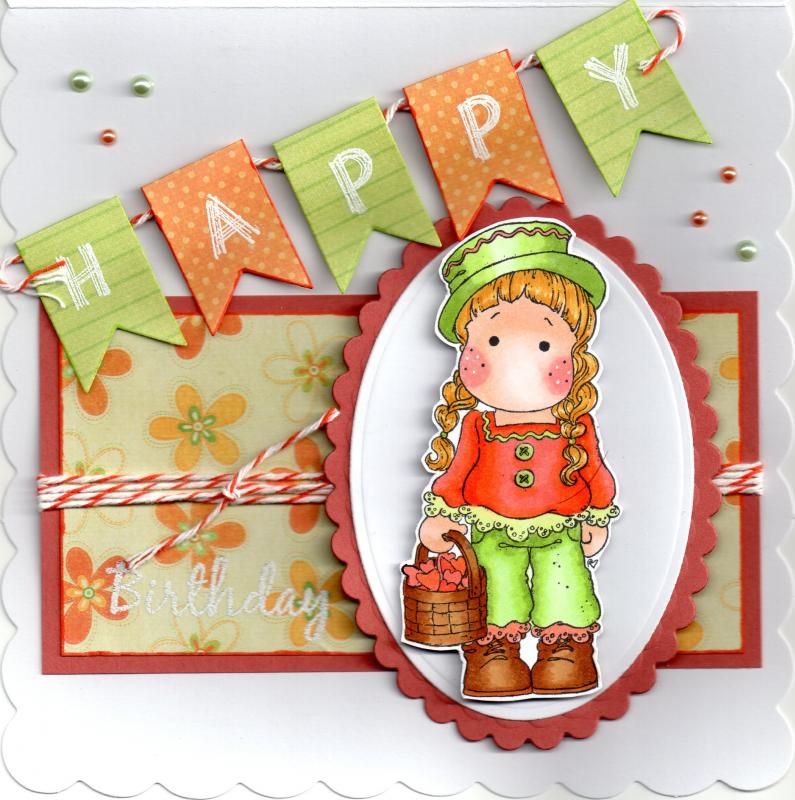
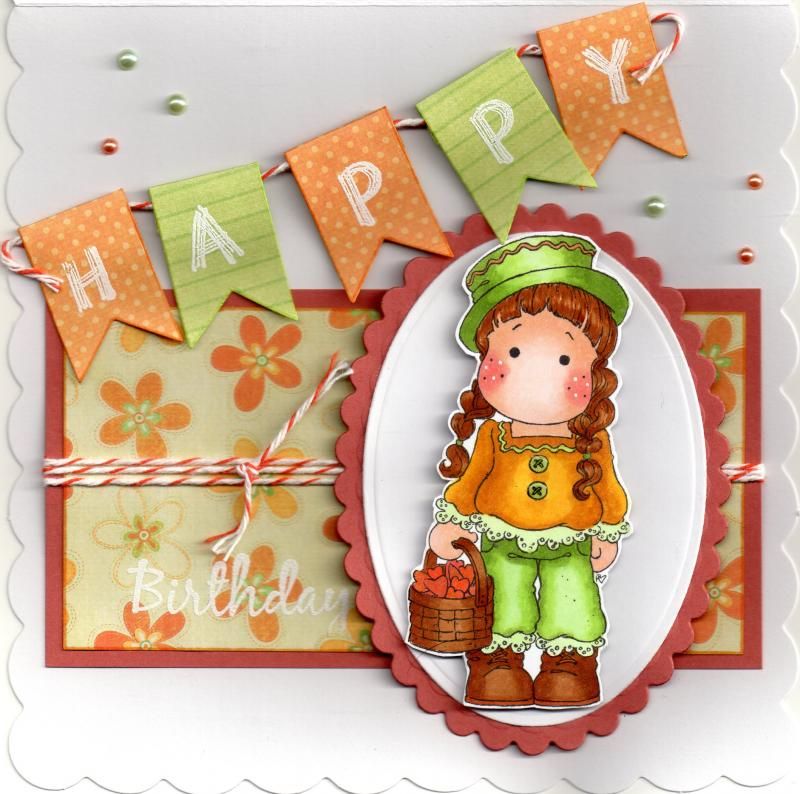
These are a couple of cards that I made using the Gingerbread Tilda stamp from Magnolia. I really like this stamp and I really ought to use it more. I made two versions of this card using different hair colours.

Here is the first with a more blond colouring:

 
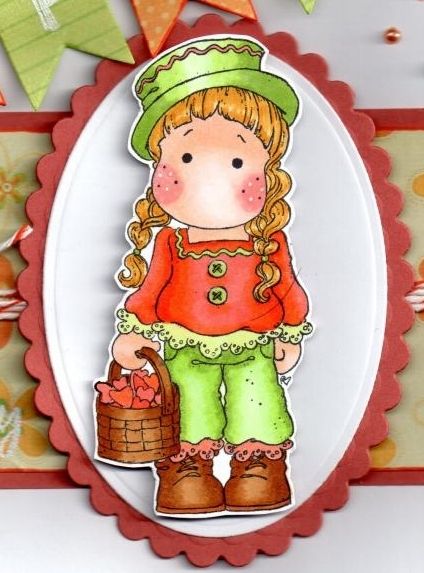
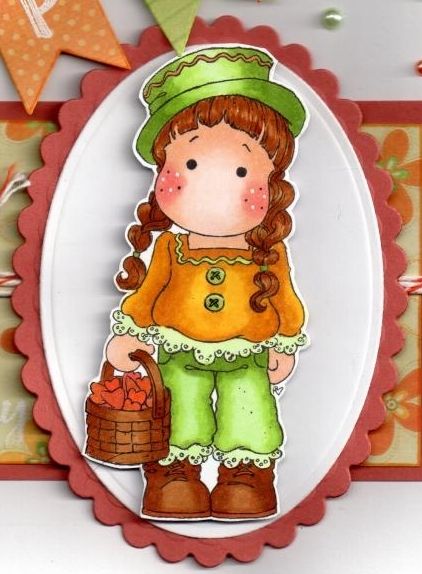
To begin with, the Tilda image was stamped using Memento Tuxedo Black dye ink and coloured with Copics:
 
Hair: Y21, Y26, YR23
Skin: E000, E00, E11, E21, R02
Hat: YG11,YG13, YG17, YR04
Trousers: YG11, YG13, YG17, Y11, YR02
Top: YR02, YR04, YR07, YG11, YG13, Y11
Shoes/Basket: E31, E35, E37, E39
Hearts: YR02, YR23, YR24
Hairbobbles: YR13
 
Highlights were added to here cheeks with a Papermania Snow White gel pen, and to the buttons and hearts with Ranger Glossy Accents.
 
 
The image was then fussy cut and layered onto an oval and scalloped oval die cut using the Spellbinders Petite Ovals and Petite Scalloped Ovals Nestabilities.
 
A floral paper from the My Mind's Eye Bloom and Grow paper pack was matted onto the orange cardstock and the Birthday sentiment, from the Papermania Clare Curd Sentiments stamp set, was white heat embossed in the corner using Versamark and the Stampendous Detail Opaque White embossing powder. A length of the orange baker's twine from Divine Twine was wrapped around the panel and tied and this was then adhered to the card front with the image panel positioned to the right.
 
 
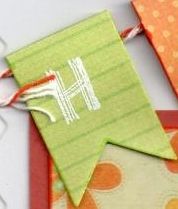
Using the small fishtail banner die from the Sizzix Framelits Banners #2 die set, five banners were diecut from patterned papers from the Bloom and Grow paper pack and stamped with the letters of the word Happy using the Hero Arts Fine Lines Alphabet stamp set and then heat embossed with the white detail powder.
 
These were then adhered across a length of the orange baker's twine across the corner of the card.
 
Small green and orange pearls from Papermania and Kort and Godt were then randomly placed around the card front.
 
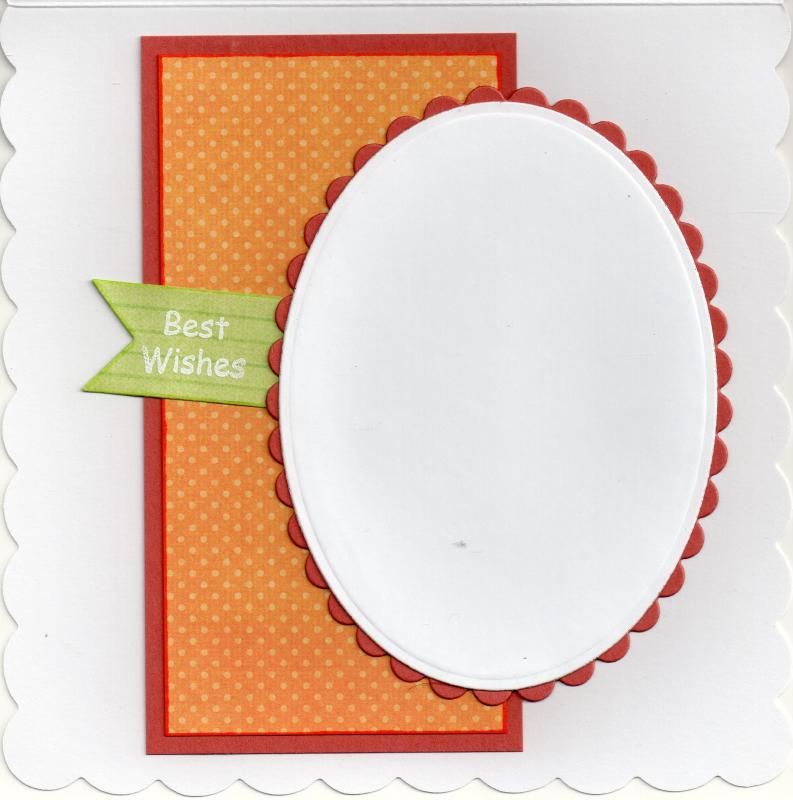
The inside of the card was also decorated, adding a panel of the orange spotty paper from the Bloom and Grow paper pack onto orange card stock. A white oval was matted onto an orange scalloped oval and the sentiment, from the Papermania Clare Curd Sentiments stamp set white embossed onto the green stripe paper and tucked behind the oval panel.


The card was also produced with a Tilda with a more brown shade of hair and a more yellow top.
 
 
Copics
Hair/Basket/Shoes: E31, E35, E37, E39
Skin: E000, E00, E11, E21, R02
Hat: YG11, YG13, YG17, YR23
Trousers: YG11, YG13, YG17
Top: Y08, YR23, YR24, YG11, YG13
Hearts: YR02, YR23, YR24
Hairbobbles: yr13
 

Monday, 9 November 2015

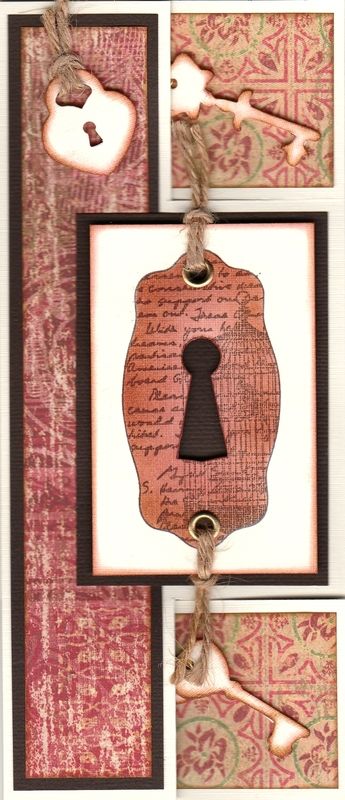
Red and Brown Escutcheon and Keys Tri-Shutter Fold

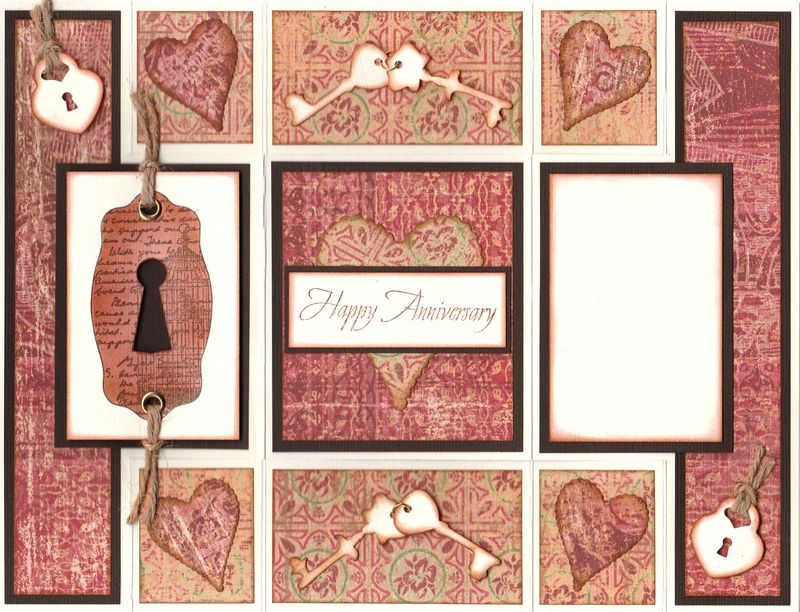
Today's card is the card that I made for hubby last year. We were playing with Tri-Shutter fold cards at the cardmaking group that I go to, and I decided to have a go at one for hubby.


The first decision to be made was which papers to use. In the end, the K-Ology Hannah papers from the K&Co The Best of K&Co Too paper pad were used, matted onto chocolate brown card.

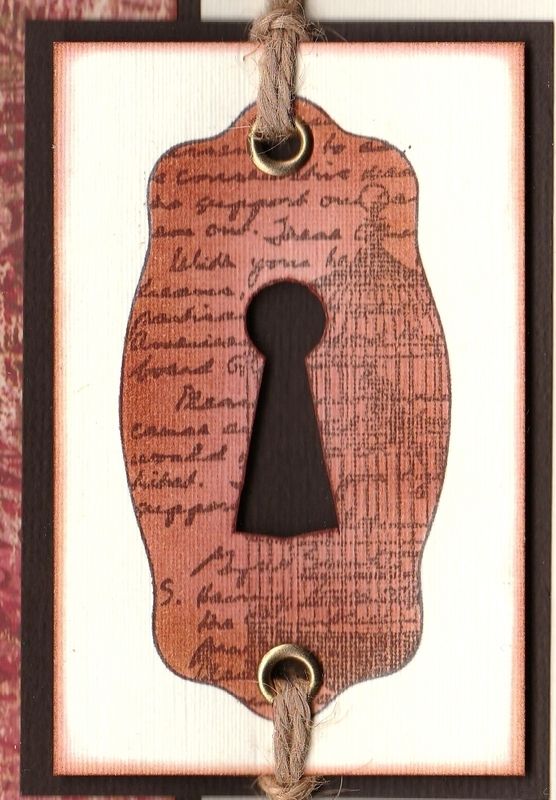
The next decision was which images would be used. The starting point was the escutcheon image from the Papermania Bird Prints Urban stamp set, which was stamped onto ivory cardstock using Memento Espresso Truffle dye ink. The image was then stamped again onto a Post-It not and cut away, creating a stencil. Ink was then blended through the stencil using Tim Holtz Aged Mahogany and Vintage Photo distress inks.


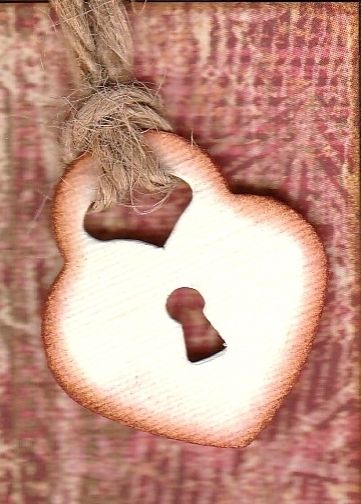
The keyhole was then cut away from the image and a couple of gold eyelets set in the panel. Natural twine from the My Mind's Eye Follow Your Heart Be Happy twines was then threaded through the eyelets and the panel matted onto the chocolate card.

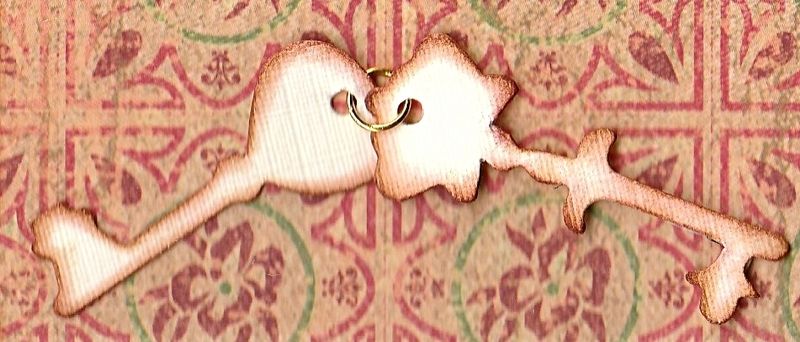
A number of padlocks and keys were then diecut using the Sizzix Bigz Heart Lock and Keys die from the ivory cardstock. The diecuts were then distressed with the Aged Mahogany and Vintage Photo inks.


The padlocks were threaded with the twine and added in opposite corners on the card.

The keys were joined together with gold jump rings and added in the larger central panels.


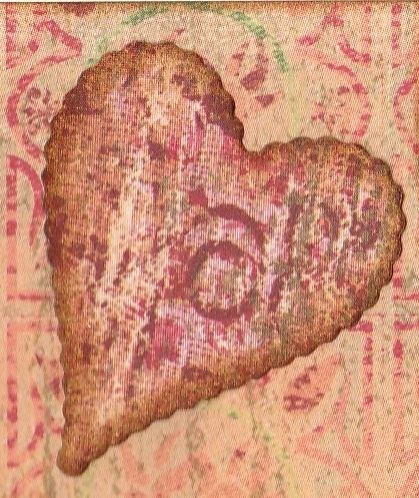
A number of scalloped hearts were then diecut using the Sizzix Framelits Scallop Hearts #2 die set from the ivory card and distressed.


These were then added in the smaller squares on the card.

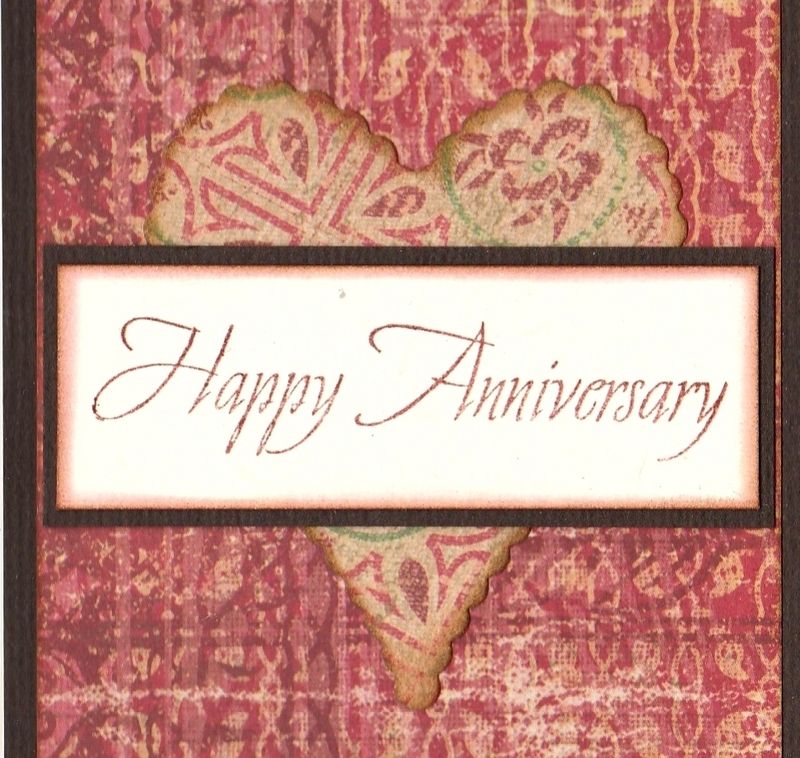
To complete the card, the sentiment, from the Woodware Happy Anniversary stamp set was stamped using the Espresso Truffle ink and matted over a larger scalloped heart diecut in the central section of the card.


Here is a view of the closed card:

Monday, 31 August 2009

Stephanie's Blogerversary Blog Candy - CLOSED

Stephanie is celebrating her one month blogerversary by offering some amazing blog candy.

She is offering a selection of papers from the My Mind's Eye Wild Asparagus 6x6 papers, matching buttons and four Manga Sugar Nellie stamps and a Tuxedo Black Memento Dew Drop inkpad.

Pop over here to see a pic of all the goodies!!

For a chance to win, Stephanie asks that you leave a comment on the blog candy post here & link the candy on your Blog.

This candy is open to everyone worldwide and a winner will be drawn randomly on Tuesday 8th September 2009.

Saturday, 29 August 2009

Yellow, Orange and Green Miss Anyas

I made a couple of cards using my new Miss Anya stamps. I decided to use the beautiful My Mind's Eye Bloom and Grow papers and watercoloured the images using a selection of Tim Holtz distress inks. Once coloured, Anita's 3D gloss was added to the headband, handbag and boots.

The greetings panels were created by stamping the sentiments on a selection of card and patterned papers, cut out and layered up.

Yellow and Orange Fashion Miss Anya
STAMPS
Miss Anya stamp - The Greetings Farm
'It's Your Birthday' Circle Greeting stamp - Aud Designs

PATTERNED PAPERS/CARD
Bloom and Grow paper pad - My Mind's Eye
Yellow and Green card - Core'dinations Card

INKS ETC
Versafine Onyx Black archival pigment ink
Tim Holtz Distress Inks - Spiced Marmalade, Shabby Shutters, Frayed Burlap, Scattered Straw & Tattered Rose
Whispers Brushstroke markers
Anita's 3D Gloss

EMBELLISHMENTS

Orange Skeleton Leaves - Papermania
Patti's Pretties Domes
Yellow grosgrain ribbon - Anita's

Green and Yellow Fashion Miss Anya


STAMPSMiss Anya stamp - The Greetings Farm
'It's Your Birthday' Circle Greeting stamp - Hero Arts Birthday Messages stamp set

PATTERNED PAPERS/CARDMy Mind's Eye Bloom and Grow paper pad
Yellow and Green card - Core'dinations Card

INKS ETCVersafine Onyx Black archival pigment ink
Tim Holtz Distress Inks - Spiced Marmalade, Shabby Shutters, Frayed Burlap, Scattered Straw & Tattered Rose
Anita's 3D Gloss

EMBELLISHMENTSGreen Skeleton Leaf - Papermania
Patti's Pretties Domes
Yellow grosgrain ribbon - Anita's
Blog Widget by LinkWithin