Pages

WELCOME

This blog was created to act as a record of the cards and other projects that I have made. It is for both my own reference and to help inspire anyone who wants to take a look.

I'd love it if you'd leave me a comment so that I know what you think of my projects and that you've been to visit!

Anyone can comment, even those who don't have a blog. (Just look for the word 'Comments' under the three little pictures at the end of each post). Readers without a blog can add an anonymous comment, but please leave your name (and docrafts username if applicable) so I know who you are!

Slideshows of all the cards I've uploaded to my blog can be found at the bottom of the page.


PEOPLE WHO FOLLOW MY BLOG

Showing posts with label Marianne Creatables. Show all posts

Saturday, 24 October 2015

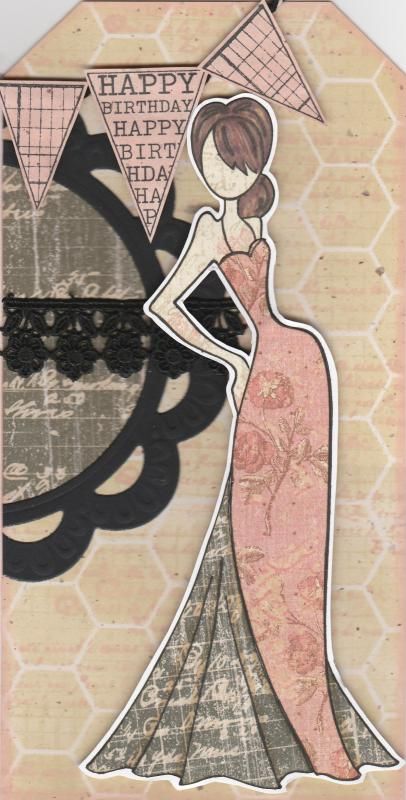
Pink Black and Beige Paper-Pieced Prima Doll

I should begin by apologising for the picture quality of this card. Normally I scan my cards in but my scanner had decided to give up the ghost (well, actually the printer had, and so the scanner just played along). Anyway, these were photographed and I couldn't find my mini tripod so getting up close and holding the camera perfectly steady wasn't easy!!
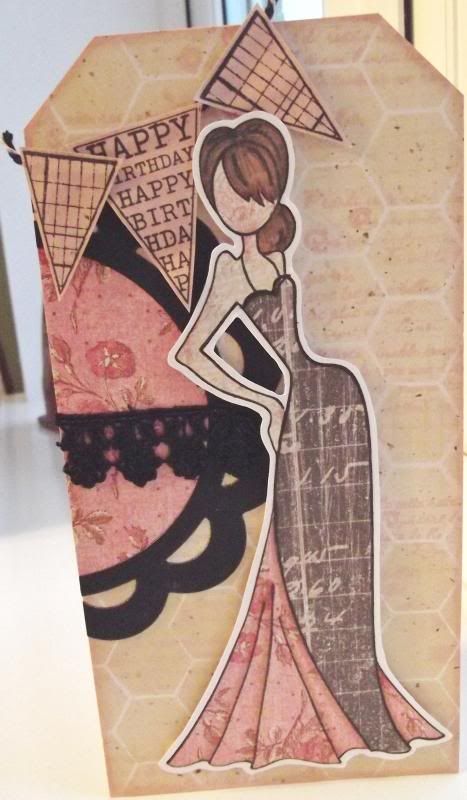
This card shows my first attempt at using my Prima Doll stamp Tasha. I actually made it at the cardmaking group that I go to and it was great fun.
Paper-piecing the image is actually very simple to do. The hard part is choosing which papers to use.
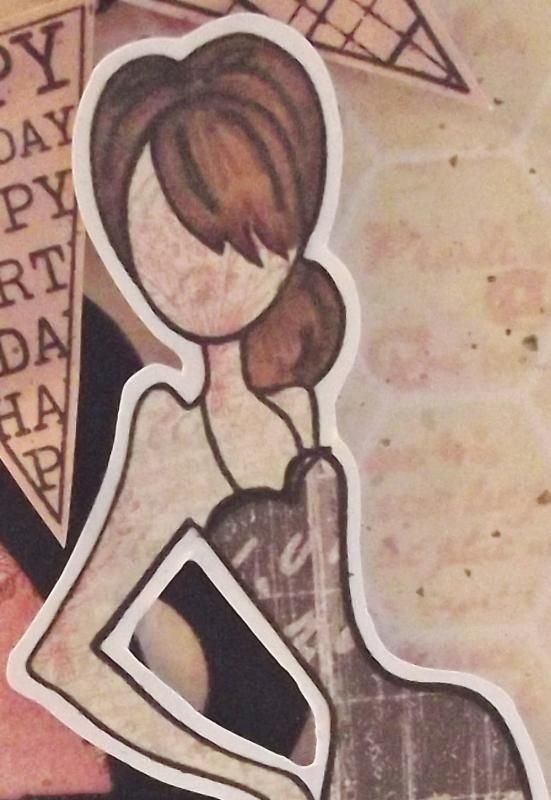
I began by stamping the whole image onto some white card using Memento Tuxedo Black dye ink. The image was then stamped again onto three different patterned papers from the K&Co Best of Too paper pad, using papers from the Life's Journey and K-Ology Hannah collections. I do love this paper pad, and it is much underused. I really should get it out more. The next stage was to cut the various pieces from the different papers and assemble them onto the base image. The hair was coloured onto the patterned paper using Promarkers.
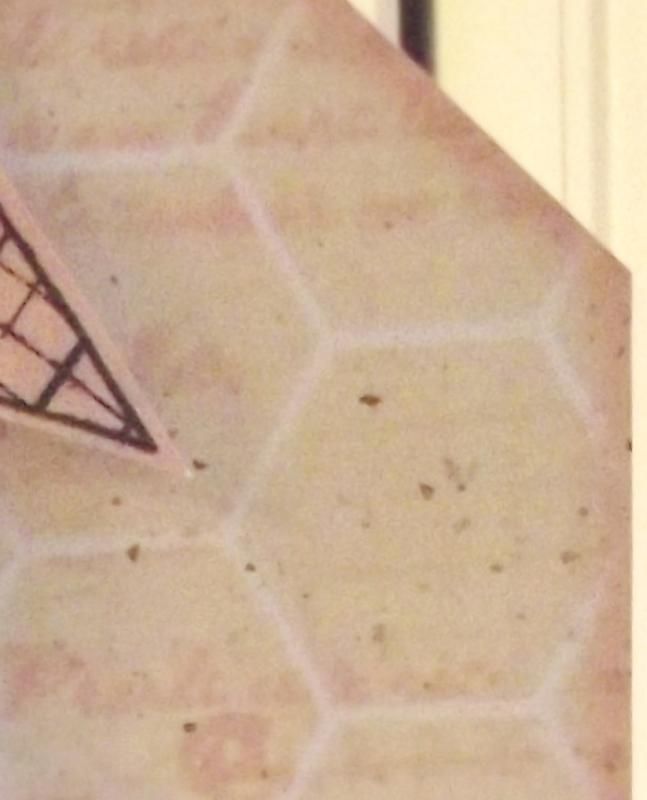
The next stage was to create a background for the image to sit on. I started with a piece of 'natural' paper which has tiny flecks in it. I then taped the Memory Box Chicken Wire stencil over the piece and sponged through Tim Holtz Antique Linen distress ink. Once that was done, with the stencil still in place, the French Text stamp from the Bo Bunny It Is Written stamp set was stamped through the stencil using the Tattered Rose ink. This was matted to the front of a DL card blank that was cut into the shape of a tag.
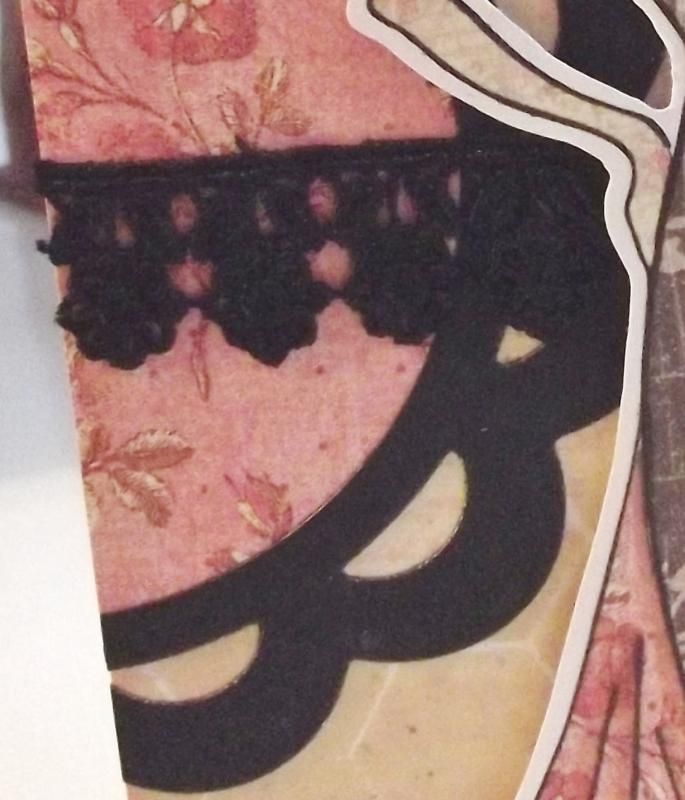
In order to create a bit more interest behind  the doll image, the Marianne scalloped circle frame was diecut from black card and a circle of the pink patterned paper used on the dress was diecut to fit within it. A length of black lace was wrapped around the circle and matted together on the edge of the tag and the excess cut away.

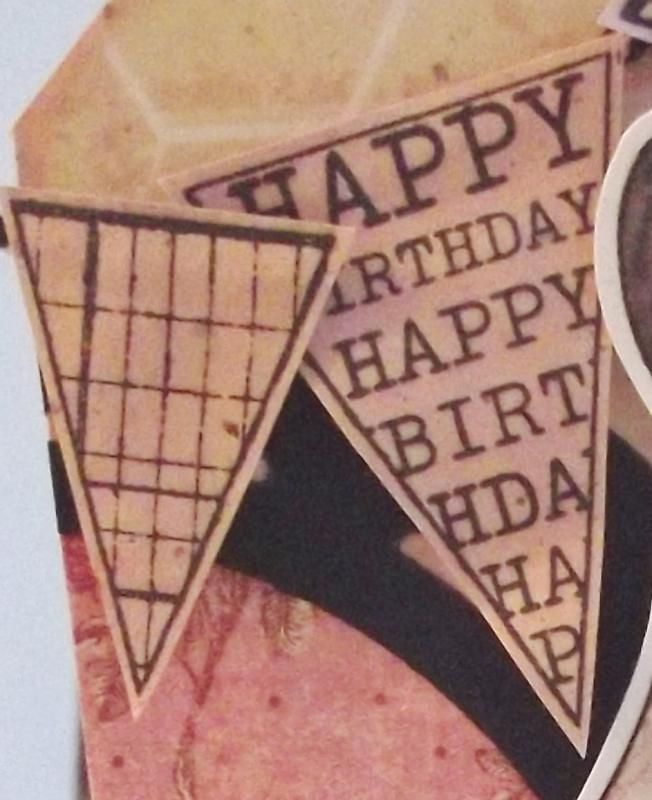
I then wanted to add a sentiment to the card and decided to use the banner stamps from the Hero Arts Friendly Flags stamp set. These were stamped onto the inked natural paper, inked with the Antique Linen and Tattered Rose inks. These were cut out and adhered to black and white Gorjuss Baker's Twine in the top left corner.

I also made a second card using the other parts of the stamped image.
Thursday, 8 September 2011

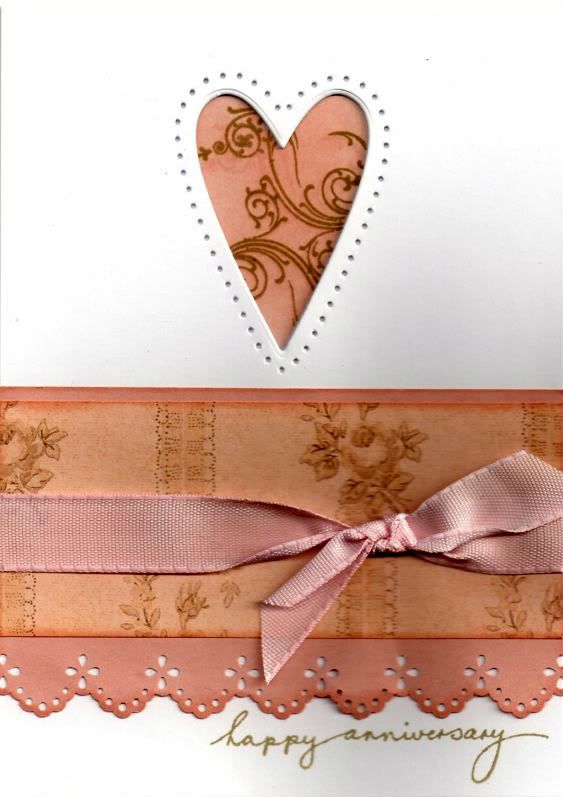
Pink and Brown Reverse Masked Heart Aperture Anniversary

Well, I don't know about you but I've had enough of masculine cards so here's a more feminine anniversary card for you!

This card was inspired by a card I saw over on the Splitcoaststampers gallery by MarieMc and you can see the card that she made here and here on her blog.

I needed to make a couple of anniversary cards and thought this idea would work really well. I'm thinking I might try it with my butterfly die too.


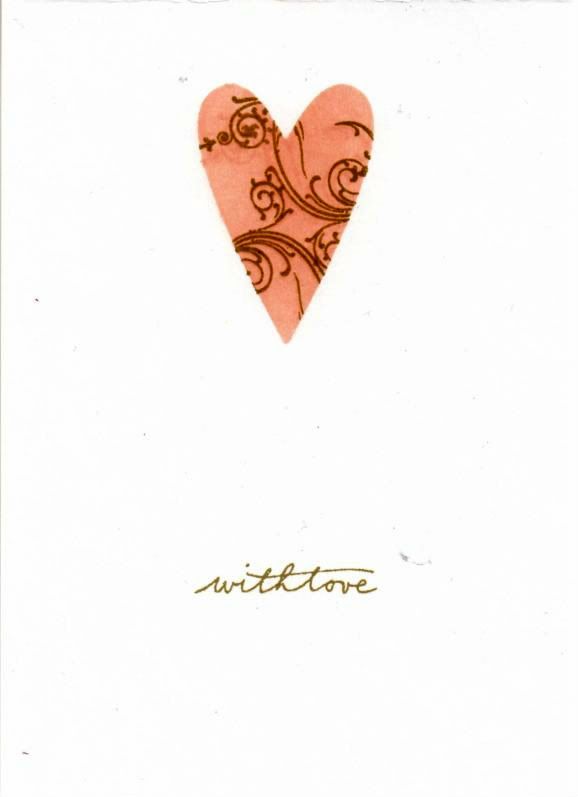
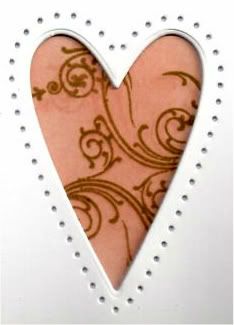
The heart, from the Marianne Creatables set of three heart dies (LR0159), was cut from the card front. A mask was also cut and affixed to the inside of the card behind the aperture so that it lined up.

Colour was added through the mask using Tim Holtz Tattered Rose distress ink and then overstamped using the Tattered Rose and Frayed Burlap distress inks using the flourish stamp from the Personal Impressions Paula Pascual Mix and Match Sentiments stamp set.


The sentiment, from the Woodware Jane's Script sentiment stamp set was then stamped on the inside using the Frayed Burlap ink.

Using the Stampin' Up Mat Pack piercing template, holes were then pierced around the heart aperture.


A panel of pink paper was punched using the Eyelet Lace border punch from Martha Stewart, and a strip of the pink floral stripe paper from the Papermania Regency paper pad was matted onto it. A length of pink woven ribbon was then knotted around it and the panel added to the card blank.

The sentiment, also from the Jane's Script Sentiment stamp set was then stamped at the bottom of the card blank using the Frayed Burlap ink.

 
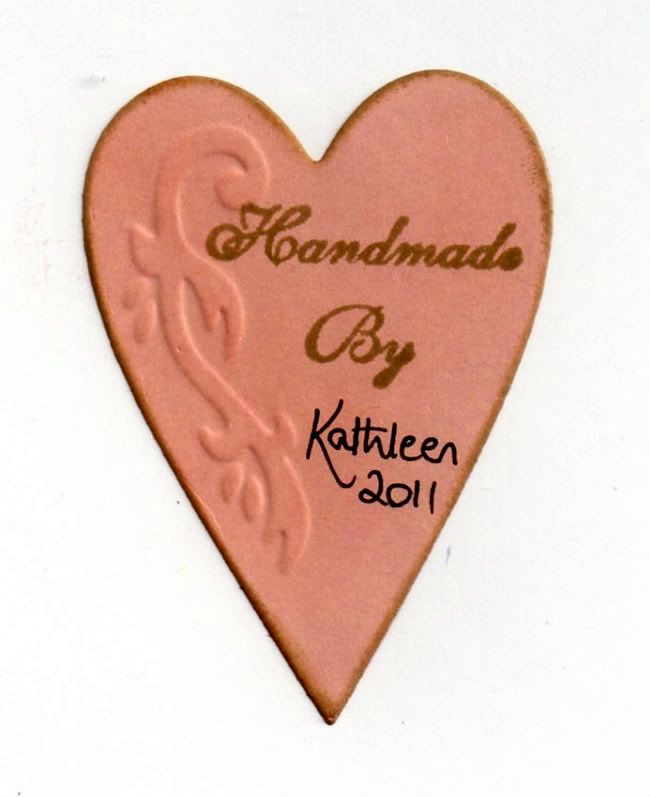
As my personalized 'Handmade By' stamp is a circle and I felt sure you would be able to see it through the card blank if I stamped it on the reverse of the card, I decided to die cut a heart from the pink paper using another of the heart dies in the Marianne Creatables die set. The embossed design was highlighted with the Frayed Burlap ink, and 'Handmade By' was stamped on it using a stamp from the Aspects Of Design Botanical stamp set from The Stampman. It was then added on the reverse of the card behind the inked heart on the inside of the card.


Here are the blog challenges I am entering this card into:

Wednesday, 24 August 2011

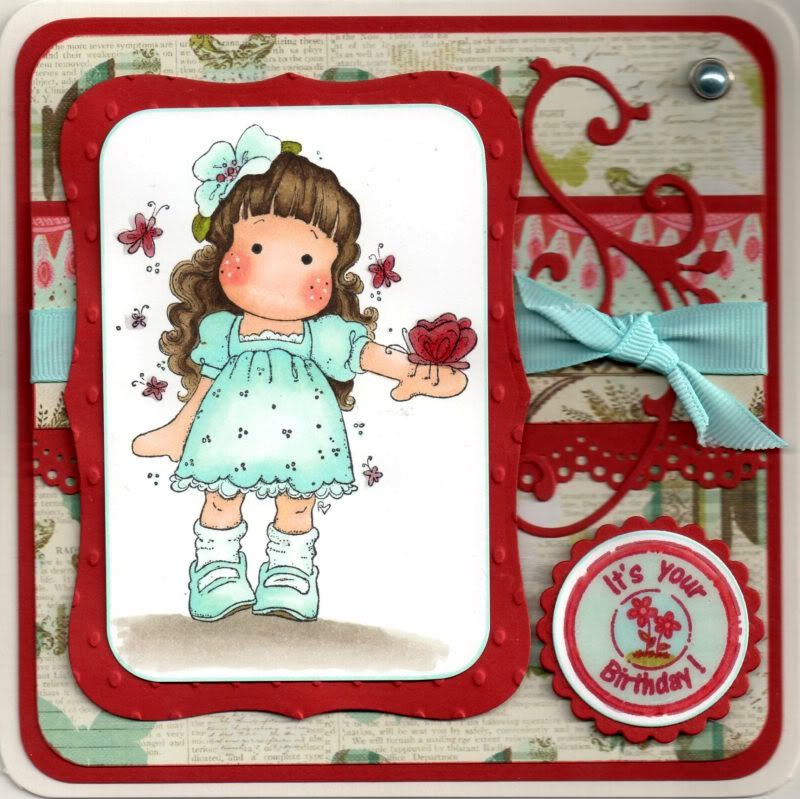
Red and Aqua Tilda With Hawaiian Flower

The Tilda with Hawaiian Flower image from Magnolia was very kindly donated to me by the lovely, talented Teresa/Craftingallday.

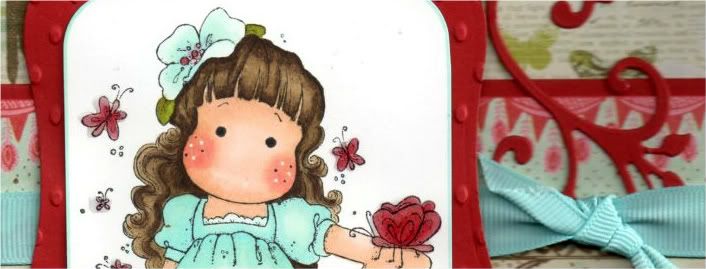
The image was stamped with Memento Tuxedo Black dye ink and coloured with Copic sketch markers:
  • Hair: E43, E44, E49
  • Skin: E00, E21, E51, R02, R20
  • Dress; B00, BG10, BG11
  • Flower: B00, BG10, BG11, R32, R37
  • Leaves; YG13, YG95, E44
  • Butterflies: R32, R37, R39
  • Socks: BG10
  • Lace Frills: BG10
  • Shoes: B00, BG10, BG11, E44
Tilda's cheeks were then highlighted with the Papermania Snow White gel pen.

Once again, large parts of this image were coloured using the Transfer Technique as discovered in the Copic Colouring Guide, using both the lighter shades and the blender pen.

The image panel was then trimmed and the corners rounded with the large XCut corner rounder punch. This was then matted onto a panel of red card die cut using a Labels 8 Nestabilities die and embossed with the Indentz Ellipse embossing folder.

A strip of the blue floral border paper from the Prima Madeline paper pad was matted onto a strip of the red card that was punched with the Martha Stewart Doilly Lace punch. A length of aqua grosgrain ribbon was wrapped around the strip and a shorter piece was knotted to the right.

This strip was then attached across a panel of the butterflies paper from the same paper pad and a Marianne Creatables leaf flourish die cut, also cut from the red card, was tucked under the ribbon.

The image panel was then added over the ribbon.

A large pale blue pearl brad from Papermania was added in the top right corner.

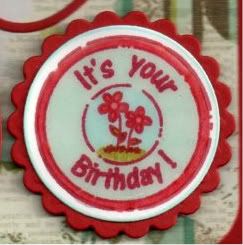
The circle sentiment, from Aud Designs, was stamped using Memento Rhubarb Stalk dye ink and coloured with Copic markers:
  • R32, R37, BG10, BG11, B00, YG13, YG95

This was then die cut using a classic circle Nestabilities die and matted onto a red classic scalloped circle.
Once the card was fully assembled, the circle sentiment and the butterflies in the image were then highlighted using Ranger Glossy Accents.

I also decorated the inside of the card using a strip of the border paper matted onto a strip punched with the Doilly Lace punch. The sentiment stamp, from the Papermania Clare Curd Sentiments stamp set, was stamped using the Rhubarb Stalk ink.

Here are the blog challenges I am entering this card into:

Tuesday, 2 August 2011

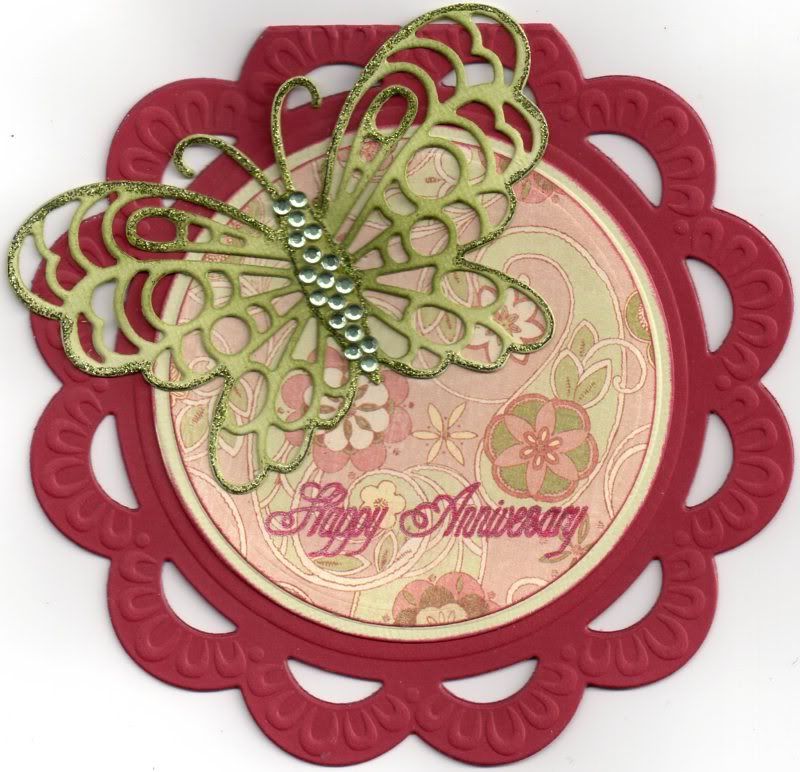
Red and Green Butterfly Scalloped Circle

Here is the anniversary card that I made for the in-laws. It's their 48th wedding anniversary this year.


The card blank was created by die cutting it with the Marianne Creatables Frame Circle die and it was then embossed.

Layers were die cut using circle Nestabilities dies, cut from pale green linen card and the floral paisley paper from the K&Co Classic McKenna paper pad. These were matted together in the centre of the card.

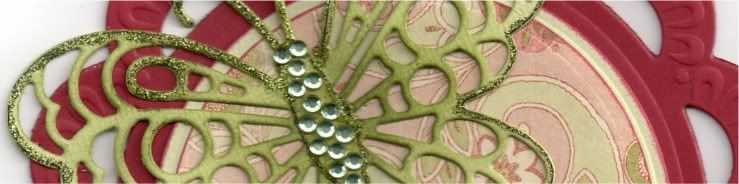
A butterfly was die cut using the Marianne Creatables Butterfly 2 die from the light green card and coloured with the Marvy Matchables Jungle Green dye ink with a shaving brush and then outlined with Glitz It Pear Green glitter glue.

Small light green gems from the Anita's Gem Wheel were then added along the body of the butterfly.


The sentiment, from Stamps Away, was stamped onto the patterned paper using Versafine Crimson Red archival pigment ink but as it didn't show up too well, I traced over the top with a red Sakura Stardust pen.

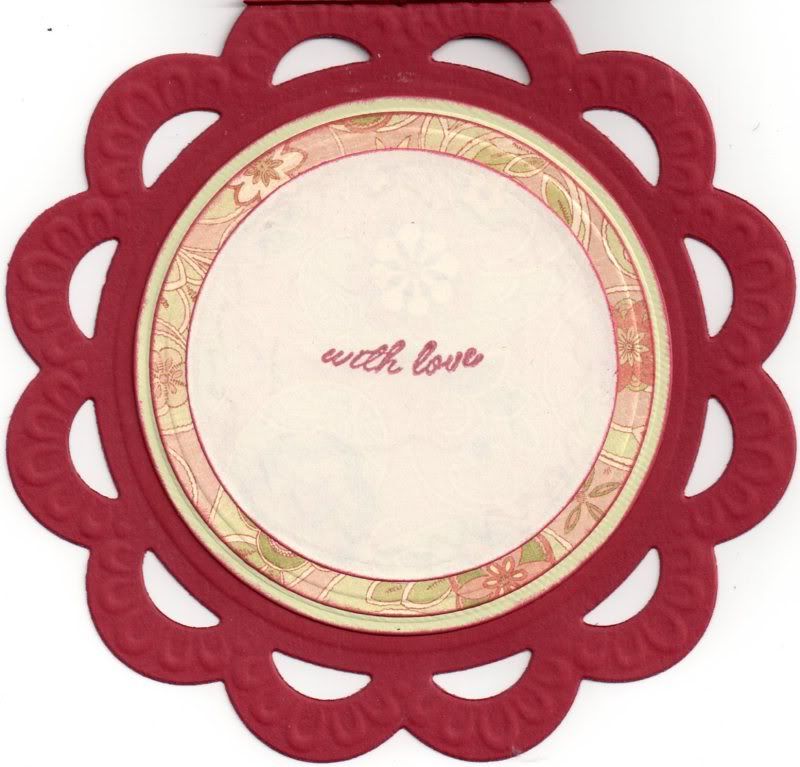
I also decorated the inside of the card using circles of the green card and patterned paper, and the sentiment, from the Papermania Mix and Match Scrolls and Sentiments stamp set, was also stamped using the Crimson Red ink.


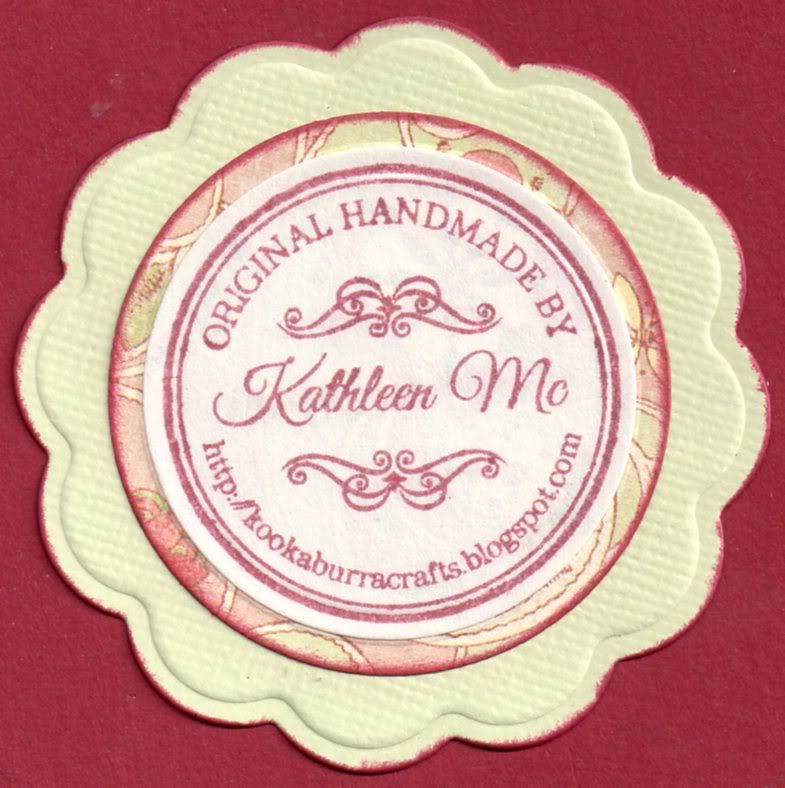
And I finally got to use my new personalized stamp that I bought from this ebay seller. I stamped it up with the Crimson Red ink and matted it onto the patterned paper and green card die cut with Nestabilities Circle and Big Circle dies.


Here are the blog challenges I am entering this card into:

Wednesday, 27 July 2011

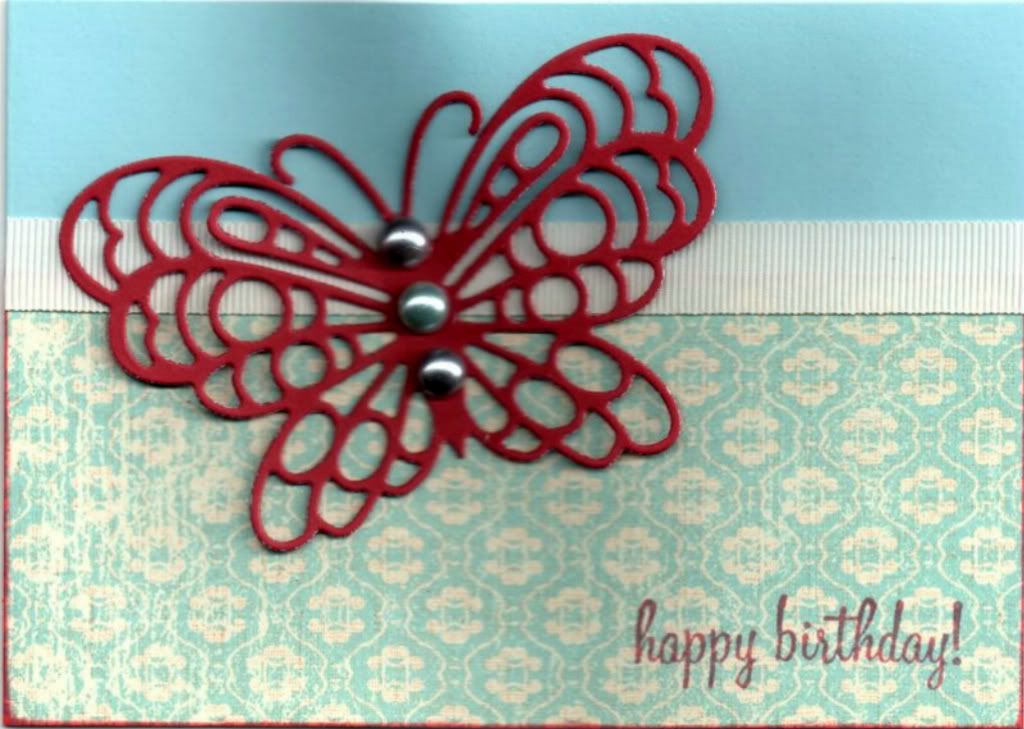
Red and Blue Butterfly Landscape

This was a really quick and simple card to make - something I really need at the moment to try and get on top of the list of cards I need to make.

The die is one that I bought at the Newbury Artstamps Show at the start of July - and it was reduced in price so a bit of a bargain.

I started by inking the edges of a panel of the light blue Moroccan Tile paper from the K&Co The Best of K&Co Too paper pad using ColorBox Maroon fluid chalk ink and then attached it to the bottom of a side fold A6 card. A length of cream grosgrain ribbon was then added across the join.


Using my new Marianne Creatables Butterfly 2 die, a butterfly was die cut from red card and added in the top left corner, adhering only the body of the butterfly to the card so the wings are fluttering.

The body of the butterfly was then embellished with large grey and aqua pearls from the Create and Craft carousel.


The sentiment, from the HOTP Sentiments stamp set was added in the bottom right corner using Versafine Crimson Red archival pigment ink.

Here are the challenges I'm entering this card into:

Tuesday, 8 February 2011

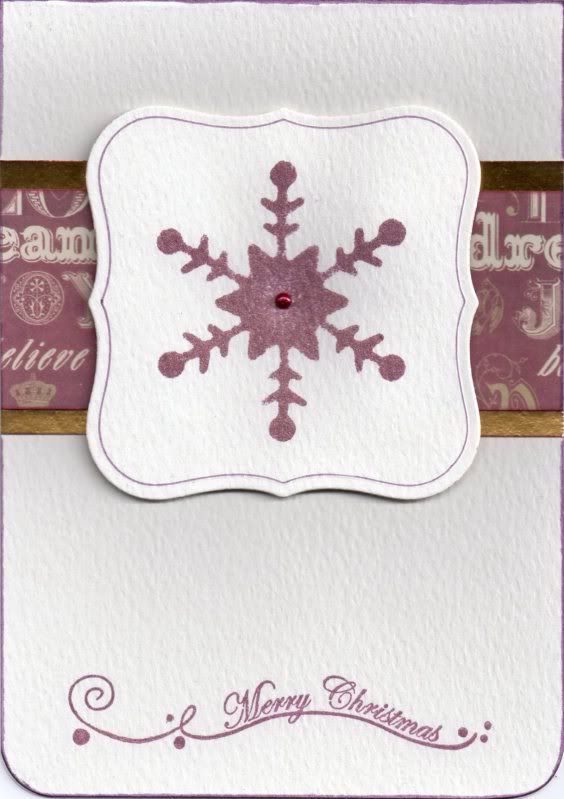
Burgundy and Gold Snowflake Panel

Here are the next two of my Christmas cards.I became very creative with this card as I actually made my own stamp!!!


A panel was die cut from cream card using the Nestabilities Labels 1 die and a line was drawn along the inside edge of the die using a Whispers Brushstroke marker. (I have to say I really like this effect!)

Having had a look through my many Christmas stamps, I realized that I didn't have a large snowflake stamp and so decided that the only way to get one was to create one using my Marianne Creatables die.

I die-cut some funky foam with the die and then stamped it onto the die cut panel using Brilliance Crimson Copper pigment ink. A deep red pearl, from The Hobby House Ruby Mix set of pearls was added in the centre.

A panel of the deep red text paper from the Papermania Silent Night paper pad was matted onto a panel of gold mirror card and matted across the card blank.

The sentiment, using the Papermania 'Merry Christmas' swirl stamp, was stamped at the bottom of the card blank using the Crimson Copper ink, and the image panel was matted over the patterned paper panel.


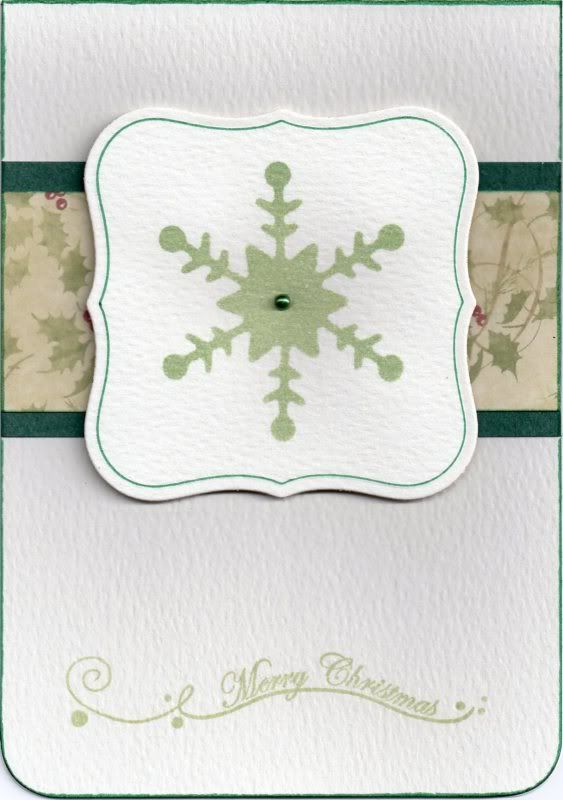
I also made a green version of this card, using Whispers Pine Green permanent dye ink and a green pearl from the Green To Go pearl set from The Hobby House.

A panel of the cream holly paper from the Papermania Silent Night paper pad was matted onto green card across the card blank.

Saturday, 5 February 2011

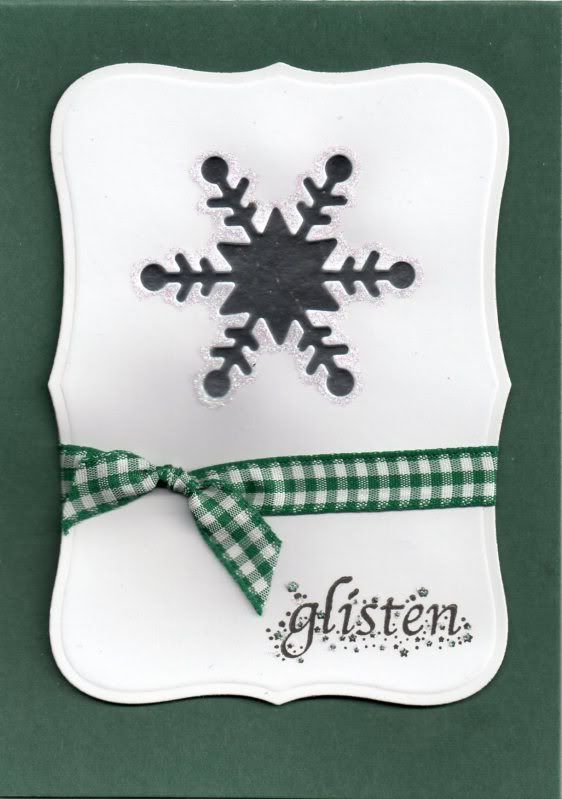
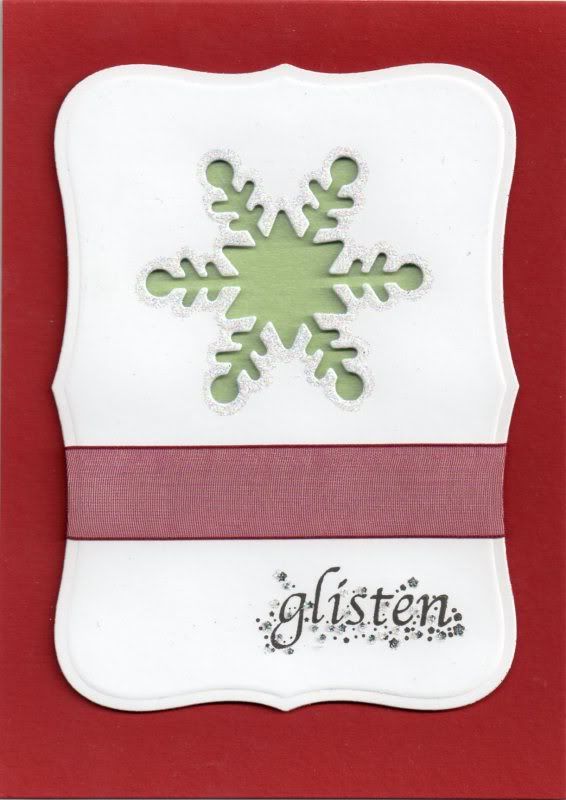
Glitter Snowflake Aperture

Here is the next in the line of Christmas cards from the 2010 collection!!!

I was rather pleased with these designs. I like the effect of the aperture in the shaped panel.


A panel was die cut from white card using the Labels 8 Nestabilities die and a snowflake, using a Marianne Creatables die, was die cut at the top of the panel.

The sentiment, from the Dovecraft Studio G Snow Words stamp set, was stamped at the bottom of the Label die cut using Versafine Onyx Black archival pigment ink.

A knot was then tied in a length of green gingham ribbon and wrapped around the die cut panel.

A small panel of silver mirror card was adhered to the card blank and the die cut panel matted over the top with the mirror card showing through the aperture.

The snowflake and the sentiment were then highlighted with Craft Planet Iridescent glitter glue.

I also made this card in a red colourway, using deep red organza ribbon, Anita's Lime Green pearlescent paper behind the aperture, and DecoArt Crystal Glamour Dust to highlight the snowflake and the sentiment.

Tuesday, 1 February 2011

Blue and Cream and Green Snowflakes

So, here are the next Christmas cards!!!

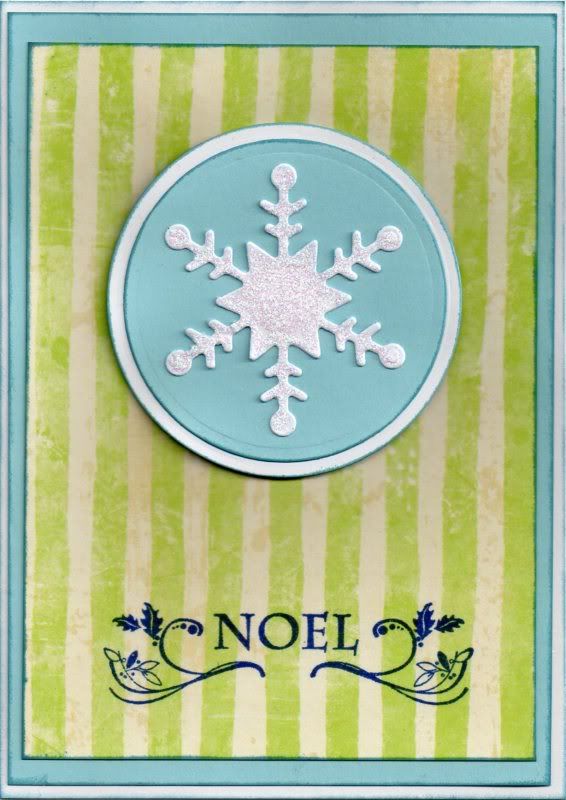
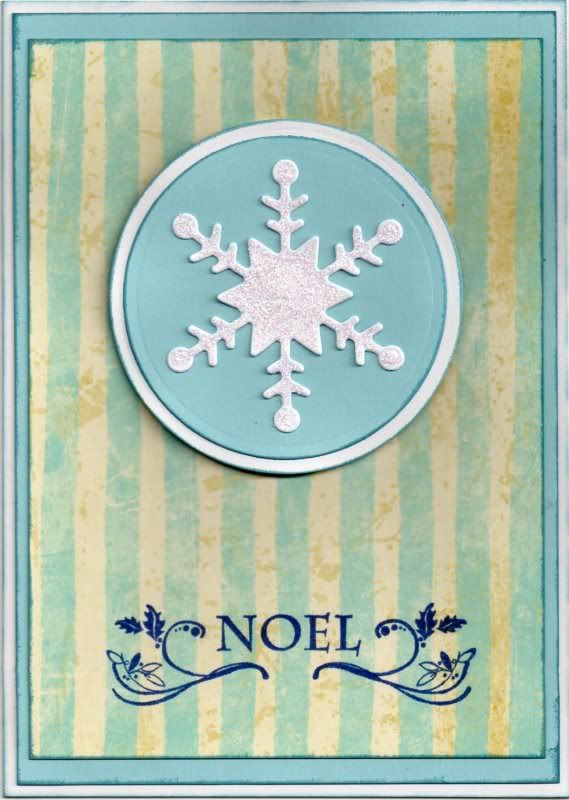
I made the cards using the Marianne Creatables snowflake die and a selection of papers from the Dovecraft Let It Snow paper pad.

All the cards were made in the same way, using different papers and different sentiment stamps.

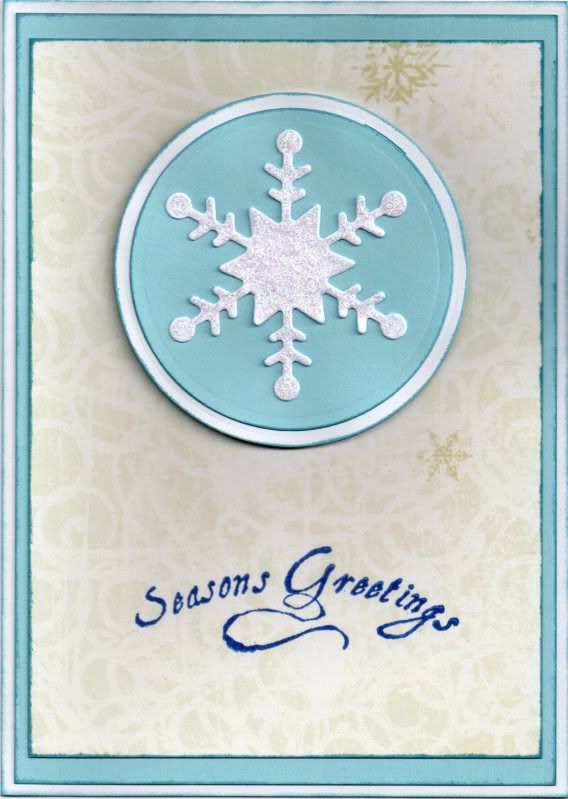
The first card was created by die-cutting a snowflake from white card using the Marianne Creatables die and covering it with Craft Planet Iridescent Sparkle glitter glue. This was then matted onto circles of light blue and white card, die cut using Nestabilities circle dies.


A panel of the lime green and cream stripe paper, from the Dovecraft Let It Snow paper pad, was matted onto the light blue card and the Noël sentiment, from Dovecraft Studio G, was stamped at the bottom of the panel using Versafine Majestic Blue archival pigment ink.

The second version of the card used the light blue and cream stripe paper from the same paper pad:


and the third version used the cream swirl and snowflakes paper and the Seasons Greetings stamp from the Papermania Home For Christmas by Jesse Edwards stamp set:

Blog Widget by LinkWithin