Pages

WELCOME

This blog was created to act as a record of the cards and other projects that I have made. It is for both my own reference and to help inspire anyone who wants to take a look.

I'd love it if you'd leave me a comment so that I know what you think of my projects and that you've been to visit!

Anyone can comment, even those who don't have a blog. (Just look for the word 'Comments' under the three little pictures at the end of each post). Readers without a blog can add an anonymous comment, but please leave your name (and docrafts username if applicable) so I know who you are!

Slideshows of all the cards I've uploaded to my blog can be found at the bottom of the page.


PEOPLE WHO FOLLOW MY BLOG

Showing posts with label eyelets. Show all posts

Monday, 23 November 2015

Coral and Green Dressy Miss Anya

A pretty girlie card for today. This one features the cute Dirndl-wearing Dressy Miss Anya from The Greeting Farm.

The image was stamped using Memento Tuxedo Black dye ink and coloured using Copic markers.
 
 
Copics:
Skin: E000, E00, E11, R20
Hair/Apron: E11, E13, E15
Shoes/Dress: E11, R02, R08
Polka Dot Trim/Socks: YG03, YG11

Highlights were added to the cheeks using a Papermania Snow White gel pen.
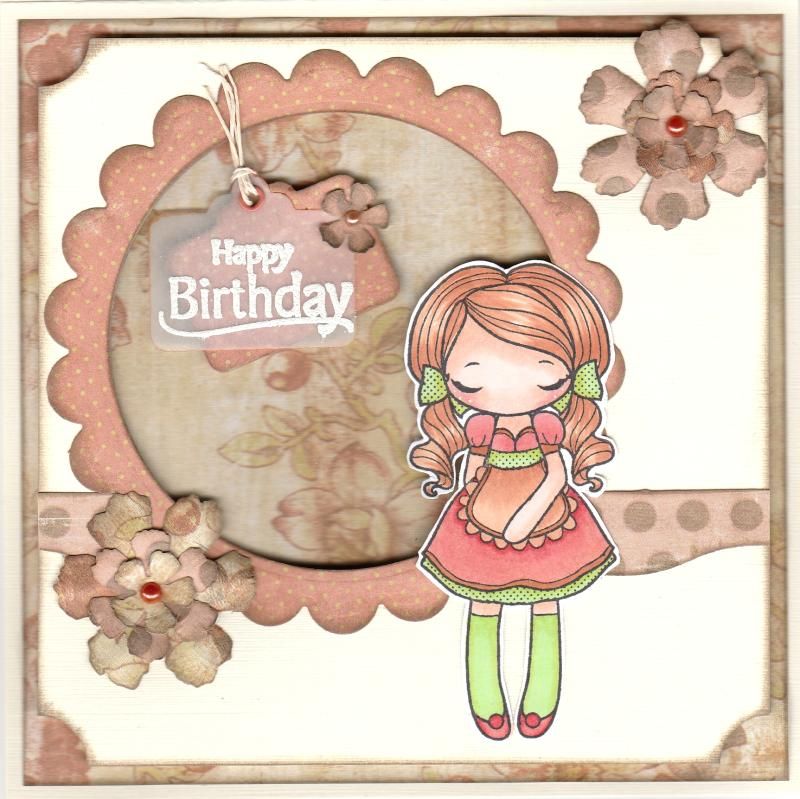
 
 
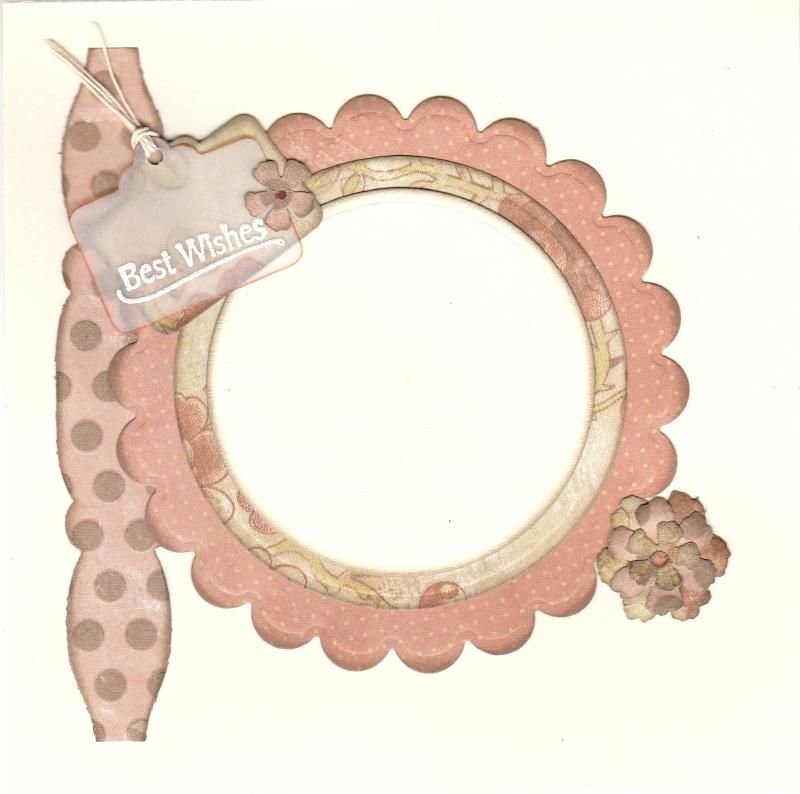
The papers used to decorate the front of the card were from the My Mind's Eye Wild Asparagus paper pack.  The card-edge die cut, created using the Sizzix Card Edges #2 Decorative Strip die was cut from the polka dot paper and added to a panel of ivory card. This was then diecut with a circle Nestabilities die to create an aperture, and a frame was created from the coral coloured polka dot paper from the paper pack using a scalloped circle and plain circle Nestabilities die and added around the aperture.
 
The corners of this panel were punched with the inverted corner rounder from Woodware, and then matted to the card front over a panel of a floral paper from the paper pack.
 
The Miss Anya image was then fussy cut and added over the aperture.
 
,
 
 A couple of flowers were created using the Sizzix Tattered Floral Garland Decorative Strip die and added to the card front with a small orange pearl in their centres.
 
Two tags were die cut from vellum and the polka dot patterned paper cut using a die from the Sizzix Framelits Tags, Sentiments die set. The sentiment, from the Kanban Moulin Divas Très Chic stamp set, was stamped onto the vellum tag using Versamark ink and heat embossed using Heat It Up! Seafoam White embossing powder.
 
The two tags were joined together using a small orange eyelet and threaded with cream hemp cord. The tags were added inside the aperture and decorated with the small flower dies from the Tattered Floral Garland die.
 
 
 The inside of the card was also decorated using matching papers and dies, and a sentiment stamp also from the Très Chic stamp set.
 

Friday, 13 November 2015

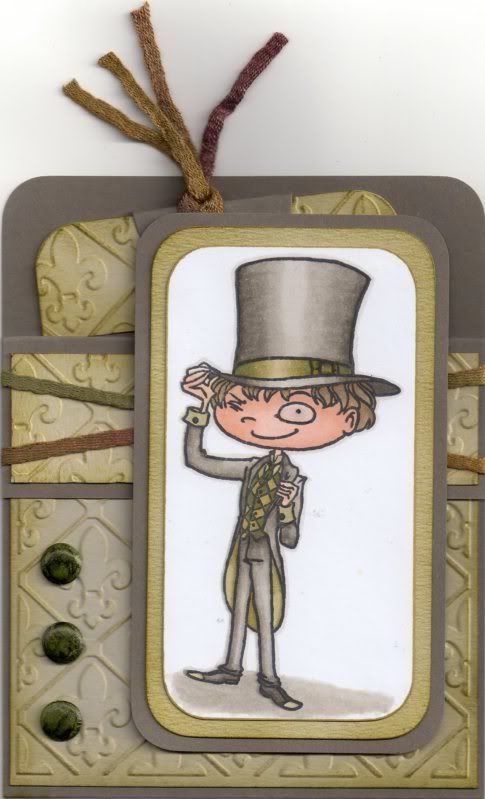
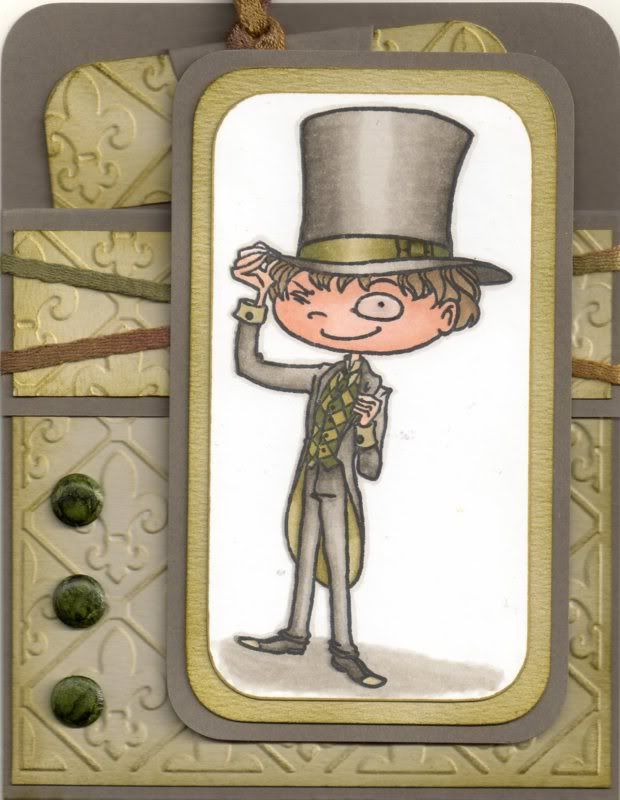
Green and Grey Chester Pocket Card

This is a different type of card for me. It is based on a project that I found on the Splitcoaststampers tutorials page here, a Pocket Card.

With this design of card, the card doesn't actually open, but the sentiment and handwritten greeting go onto a tag that is placed within the pocket section of the card.
 
 
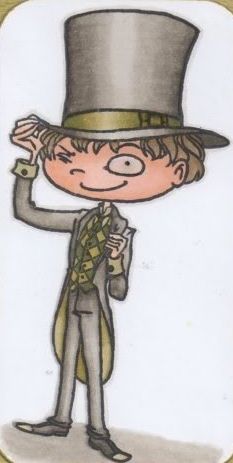
To begin with, the image, Chester by Kraftin' Kimmie, was stamped using Memento Tuxedo Black dye ink and coloured using Copic markers.
 
Copics:
Skin: E00, E11, E21
Hair: E41, E43, E44
Hat/Jacket/Trousers: W1, W3, W5, W7
Hat Band: YG91, YG95, YG99
Tie: G99
Waistcoat: YG95, G99
Inside Jacket: YG91, YG95
Shirt: YG91
Shoes: W5, W7, YG91
Shadow: W1, W3
Outline: W1
 
 
The image panel was then matted onto green and then grey cardstock.
 
The next step was to create the Pocket Card.
 
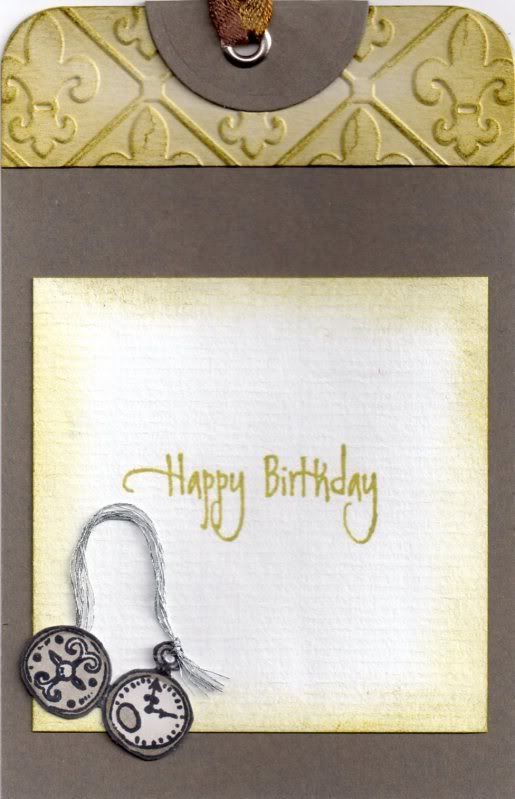
A piece of card measuring 4" x 11" was then scored in half and then scored again 1.25" from one edge. A panel of white card was embossed using the Cuttlebug Fleur de Lis embossing folder and distressed with Tim Holtz Crushed Olive and Forest Moss distress inks. This panel was adhered to the large front panel of the card. A smaller strip of white card was also embossed and inked with the Crushed Olive and Forest Moss inks and this panel was then adhered to the front flap panel.
 
A couple of lengths of green fibres from the HOTP Sarabooks Emerald Fibres set were then wrapped around the front flap and the flap then adhered down to the front panel.
 
 
Three green card candi were then coloured using the G99 Copic marker and added to the front panel, as was the image panel. Glossy accents were added to the monocle in the image.
 
 
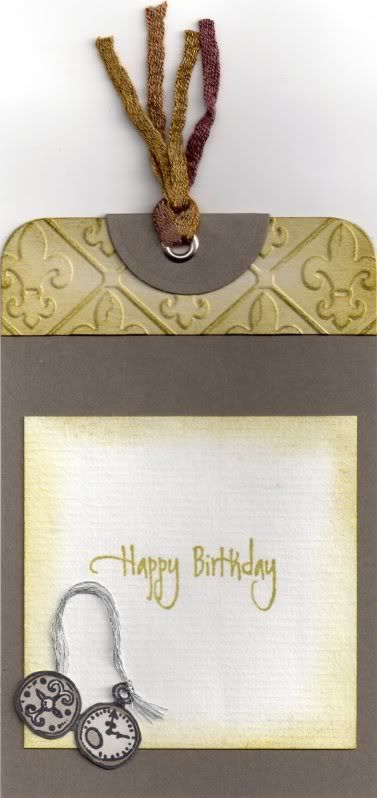
To complete the card, a tag was created. A strip of the embossed and coloured white card was added across the top of the tag, as was a circle of grey cardstock, diecut using a Nestabilities circle die, and then folded in half.
 
A silver eyelet was set in the top of the tag and more of the green fibres were threaded through it.
 
The pocket watch image was stamped using the Tuxedo Black ink and coloured with the W1, W3 and W5 Copic markers. A length of silver embroidery thread was threaded through the image and added to the tag. The sentiment, from the Elzybells Swirly Sentiments stamp set was stamped onto the tag using Versafine Spanish Moss archival pigment ink.
 
 
The tag was then slotted into the pocket on the front of the card.

Saturday, 31 October 2015

Yellow and Kraft Bee and Honeycomb Masculine

Time for a masculine card I think.

This was the card that I made for my father-in-law this year. It actually came together rather well and I was pretty pleased with it. Especially the colouring!
 
 
This card uses my much-coveted yet much under-used honeycomb stamp and die set.
 
 
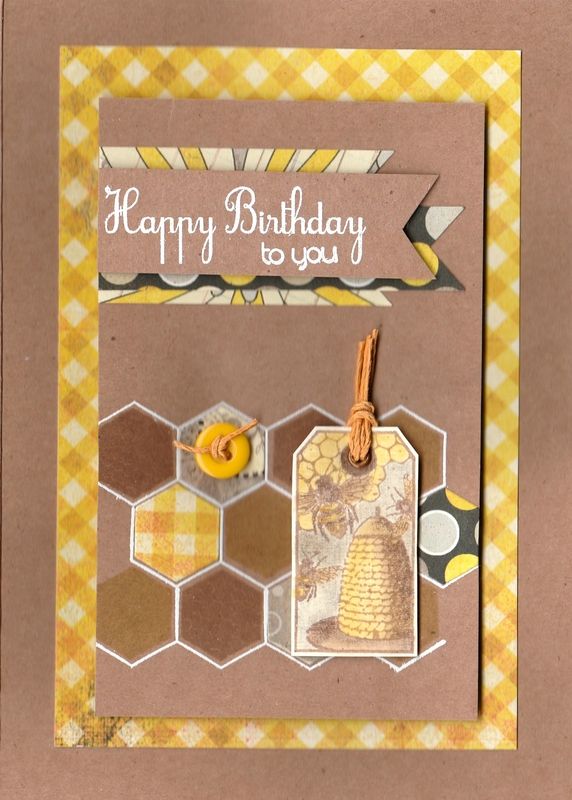
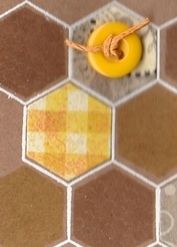
So, to begin this card, the honeycomb image from the Clearly Besotted Honeycomb stamp set was stamped onto Kraft card using Versamark ink and heat embossed using Stampendous Opaque White detail embossing powder. Using Versafine Toffee and Vintage Sepia archival pigment inks, the honeycomb hexagon and the solid hexagon from the same stamps set were stamped into the honeycomb framework. To complete the honeycomb image, honeycomb pieces were die cut from the gingham paper, spotty paper and the floral paper from the Authentique Blissful paper pad using the Clearly Besotted Honeycomb die.
 
 
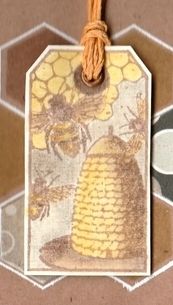
The next stage was to create the tag. The bee skep tag stamp from the Invoke Arts Nature Tags stamp set was stamped using the Vintage Sepia ink and coloured using pencils from the WHSmith tin of pencils, including the white to add highlights. This was then cut out and a metallic Papermania eyelet added and threaded with a length of yellow hemp cord. This, along with a yellow button also tied with the same hemp cord were added to the honeycomb.
 
 
The sentiment, also from the Honeycomb stamp set was stamped in Versamark and white heat embossed onto Kraft card. This was hand cut into a fishtail banner and adhered to the panel over fishtail banner pieces cut from papers also from the Blissful paper pad.
 
The panel was then adhered to a panel of the yellow gingham paper and then to the card front.
 
The inside of the card was also decorated using just a strip of matching patterned paper and a tag.
 
 
The tag was created by only inking up the edge of the tag and the eyelet feature with a brown pen and stamping out. The sentiment, from the See D's Celebration Messages stamp set, was stamped using the Vintage Sepia ink within the tag shape and fussy cut out. The tag was threaded with the yellow hemp cord and added to the inside of the card over the patterned paper.
 

Sunday, 5 April 2015

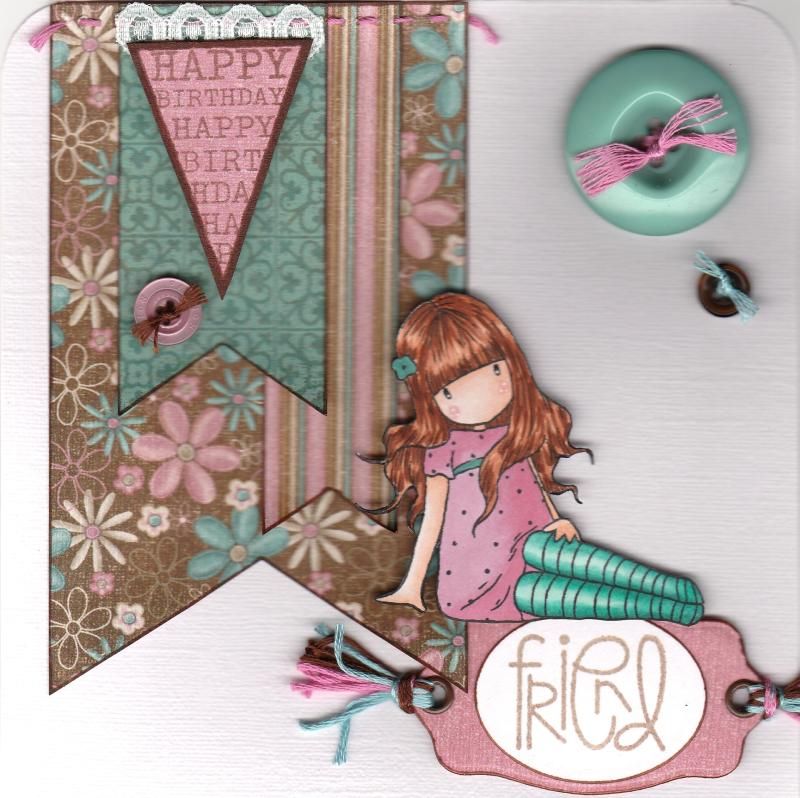
Teal Pink and Brown Sitting Gorjuss Girl with Banners

OK, so I thought I'd have another go at blogging a card as it's been so long since I last did it!
I've decided I'm going to try and blog a current card and then an older card that's still waiting to be blogged after I was offline for so long.

So, it's time to blog a current card. This is one that has been received so I know I can blog it.
 
 
This was a card I was rather pleased with, I have to say. It used one of my older Sugar Nellie Gorjuss Girl stamps, called 'Sitting'.

The papers used on this card are from the Hot Off The Press Floral Ultimate Creative Cardmaker's Pack. There are some lovely colour combo in this paper pad.
 
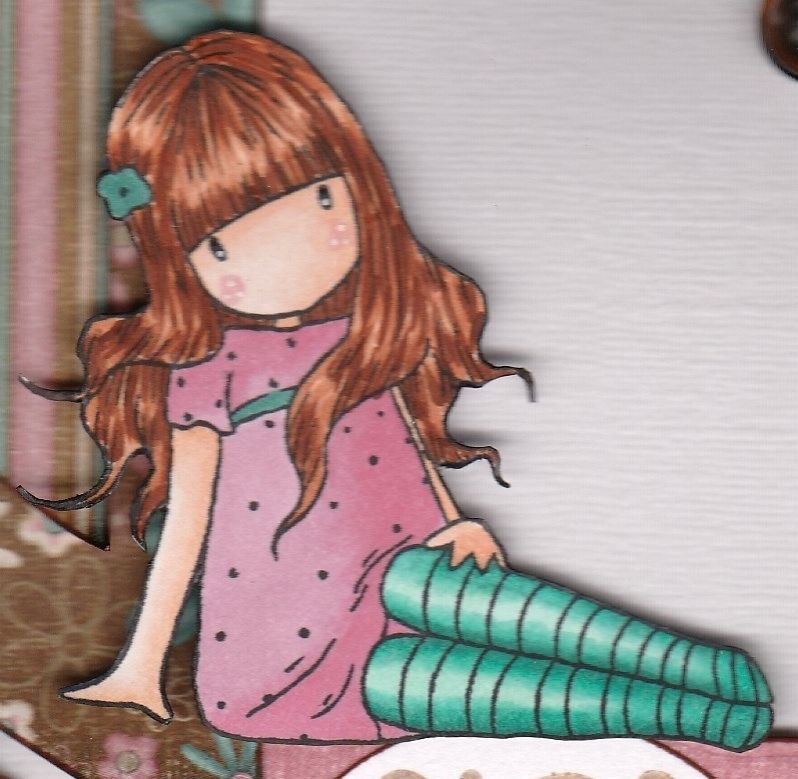
 The image was stamped using Memento Tuxedo Black dye ink and coloured using Copic markers and then fussy cut.


Copics used:
Hair: E11, E13, E15, E29
Skin: E000, E00, E11, R20
Dress: RV11, RV34
Socks: BG10, BG13, BG15, BG18
Belt/Flower: BG18
 
Fishtail banners were then handcut from a few other patterned papers from the same paper pad and handstitching was added to the top of the largest one. These were then added in the top left corner of the card blank.
 
The Happy Birthday banner from the Hero Arts Friendly Flags stamp set was stamped using Versafine Vintage Sepia archival pigment ink and fussy cut. A small length of white lace was added to the reverse of the image and layered over the handcut banners.
 
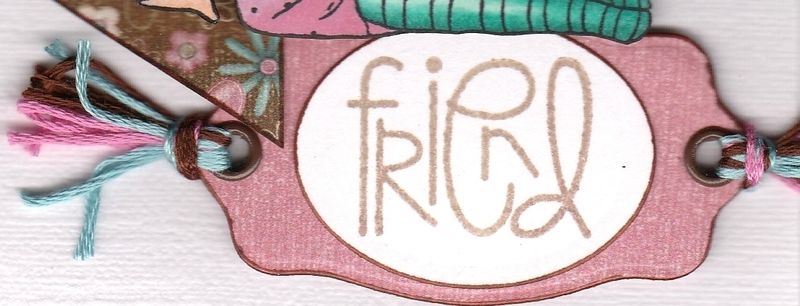
The 'Friend' sentiment from the Paper Smooches Sentiment Sampler stamp set was also stamped with the Vintage Sepia ink and was die cut using a Classic Oval Nestabilities die. This was then matted onto a bookplate diecut from a paper from the same paper pad using a die from the XCut Tags and Bookplates set of dies.
 
Brown eyelets were added through the holes of the diecut and co-ordinating embroidery threads were added.
 
 
The sentiment panel was then added in the bottom right corner of the card blank and the Gorjuss Girl image placed sitting on top of it.
A few co-ordinating buttons were threaded with the embroidery threads and added to the card blank.

Monday, 5 September 2011

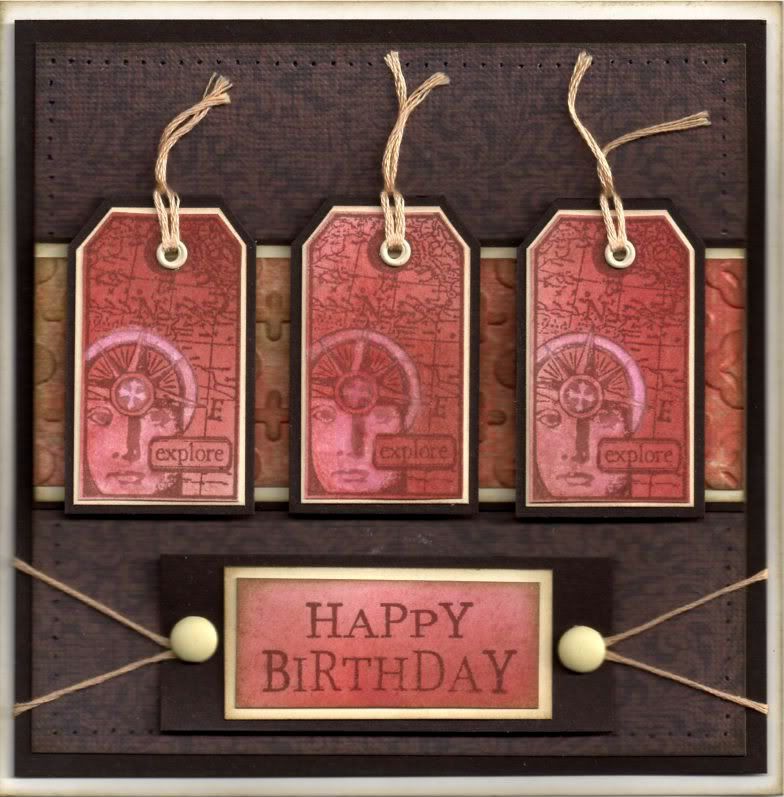
Red and Brown Explore Invoke Arts Tags

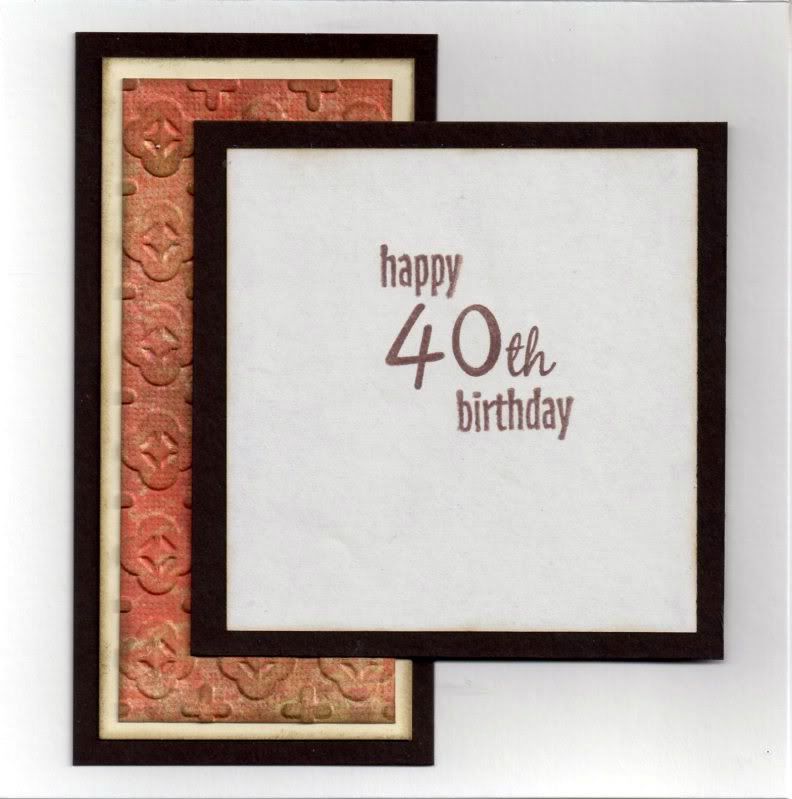
Well, here is the first of the masculine 40th birthday cards that I need to make. Got to get my thinking cap on for the second one now!


A piece of white card was coloured using Tim Holtz Fired Brick, Aged Mahogany and Frayed Burlap distress inks using the shaving brushes.

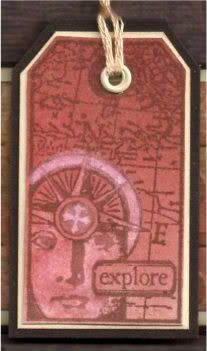
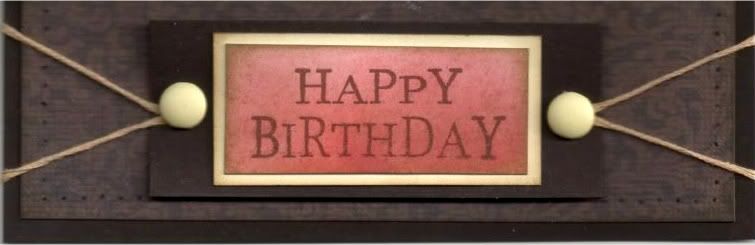
This was then overstamped with the Explore tag from the Invoke Arts Travel Tags stamp set and the 'Happy Birthday' sentiment stamp from the See D's Celebration Messages stamp set. All were stamped using Memento Rich Cocoa Dye ink.
Using a damp paint brush and a piece of tissue (OK, toilet roll, but I couldn't be bothered going downstairs to get a tissue!!), some of the colour was removed from the face image on the tag. Areas of the compass were then lightly coloured using the Angel Green Mica Pigment from Stamps Away. Unfortunately that doesn't show up on the scan.

The tags were then cut out by hand and matted onto cream card and dark brown card. Holes were punched in the top of each tag using the Big Bite and small cream eyelets from Papermania were set in the holes. Each hole was then threaded with cream embroidery thread.


The sentiment was also matted onto cream and dark brown cardstock and large cream brads from Papermania were added either side of the sentiment, with a length of cream embroidery thread threaded through the legs of the brads.


A strip of the red/brown paper from the DCWV Old World mat stack was embossed using the Moroccan Screen embossing folder from Cuttlebug and Frayed Burlap ink was added to highlight the embossing using Cut 'n' Dry foam.

This was then matted onto cream and dark brown card and then matted across a panel of the dark brown flourish paper from the same paper pad.

Once matted onto the dark brown cardstock, the panel was then paper pierced all the way around using the Stampin' Up Mat Stack piercing template.


The tags were adhered onto the card in the centre over the embossed strip and the sentiment was added beneath, wrapping the lengths of embroidery thread behind the panel before adhering to the card front.
The inside of the card was also decorated, using another strip of the embossed cardstock. The sentiment was stamped using the Rich Cocoa ink and stamps from the See D's Lower Case Script stamp set ('4', '0' and 'th') and the HOTP Sentiments stamp set (Happy and Birthday).


Here are the blog challenges I am entering this card into:

Friday, 2 September 2011

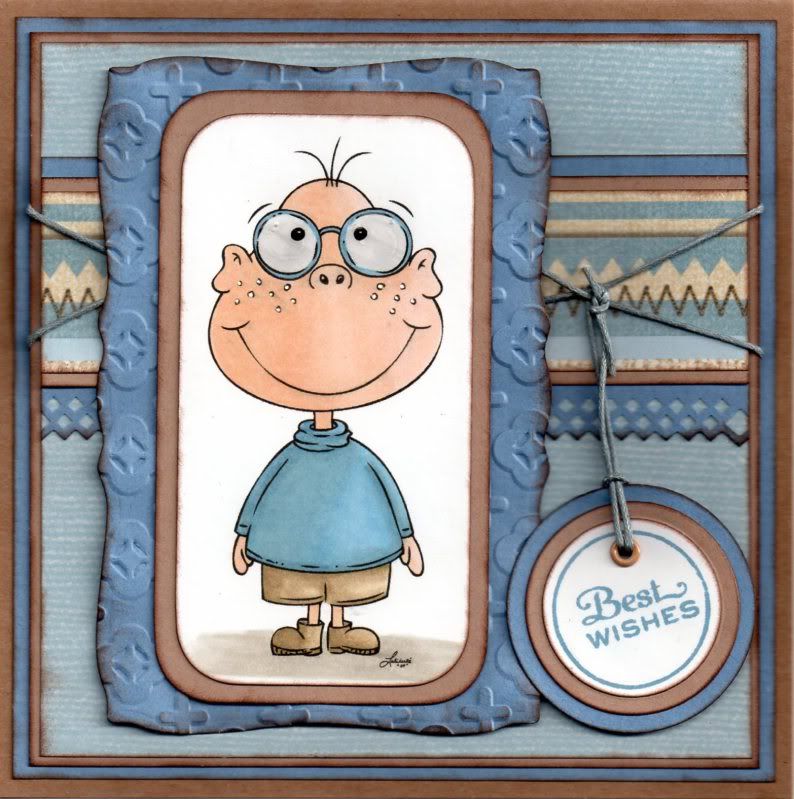
Light Blue and Brown Prairie Fairy Lewis

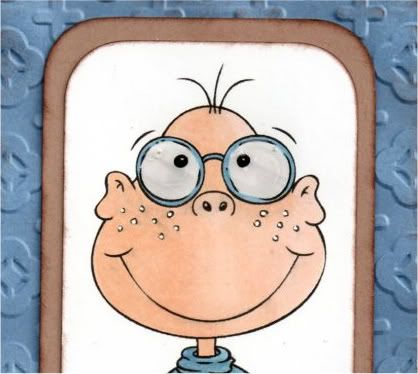
This is one of the many masculine cards I need to make at the moment. I decided to use the amusing digi image of Lewis from the Prairie Fairy.


The image was coloured with Copic markers:
  • Skin: E00, E11, E21
  • Glasses: B45
  • Glass: N1
  • Jumper: B41, B45, B93
  • Shorts/Boots: E41, E43, E44
  • Shadow: W1, W3
Highlights were then added to the cheeks on the image using the Papermania Snow White gel pen.

 The image was then trimmed and the corners rounded with the XCut large corner rounder punch. This was then matted onto a panel die cut using a Mega Curved Rectangle die from Nestabilities that was embossed with the Cuttlebug Moroccan Screen embossing folder.


A strip of the light blue and brown stripe paper from the HOTP Ultimate Cardmaker's Creative Pack was matted onto beige card and a strip of blue paper punched with the XCut Diamonds border punch.

This was added across a panel of the light blue paper from the same paper pad.

A couple of lengths of mid-blue hemp cord were added across the stripe panel and the panel was then matted up onto the card blank.

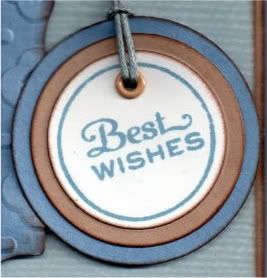
The sentiment, from the Personal Impressions Paula Pascual Mixed Sentiments stamp set was stamped using Tim Holtz Faded Jeans distress ink and die cut using a classic circle Nestabilities die and matted onto circles of the beige card and blue paper.


A small beige eyelet was added to the tag and threaded with the blue hemp cord and tied to the cord across the card.

I also decorated the inside of the card, using the same papers as the front of the card and the sentiment, from the Personal Impressions Paula Pascual Mix and Match Sentiments stamp set, was stamped across the patterned paper using the Faded Jeans ink.


Here are the blog challenges I am entering this card into:

Thursday, 30 June 2011

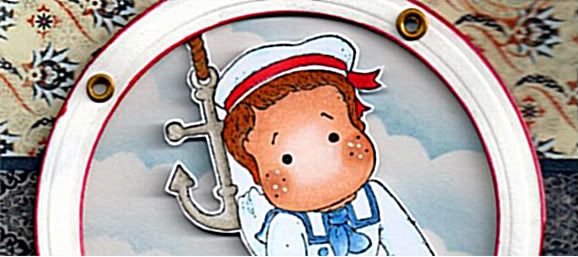
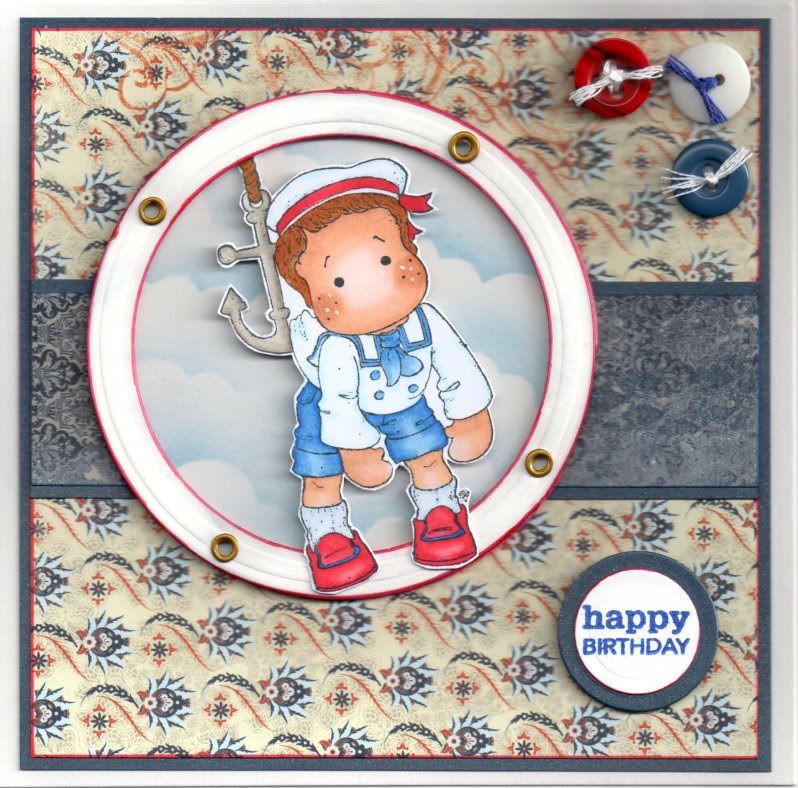
Red, White and Blue Dangling Sea Edwin with Shaving Brush Clouds

Well, I have finally had a go at the shaving brush clouds with the Distress Inks and I have to say I love the technique. A couple of tips I will give however are add a little ink at a time and dab your brush on some scrap paper before applying to your project to check you don't have too much ink on the brush..


Firstly, the Dangling Sea Edwin image, from Magnolia, was stamped using Memento Tuxedo Black dye ink and coloured with Copic markers:
  • Hair: YR00, YR14, YR24, E35
  • Skin: E00, E13, E21, E51
  • Hat: R20, R24, R27, R29, B00, 0
  • Matelot Jacket: B23, B24, B00, 0
  • Shorts/Tie: B21, B23, B24, B26
  • Buttons: B24
  • Socks: B00, C0
  • Shoes: R20, R24, R27, R29. B26
The anchor in the image was highlighted with a clear Sakura Stardust pen, and highlights were added to Edwin's cheeks with a Papermania Snow White gel pen. Tthe image was then cut out.

A circle was cut from white card using a circle Nestabilities die and clouds were created using Tim Holtz Faded Jeans Distress Ink, a hand-cut mask cut from a Post-It note and a shaving brush. Basically, the brush with very little ink, was swirled over the edge of the mask, pinching the bristles of the brush together, focusing them on a smaller area.

A frame was also die cut from white card using two circle Nestabilities dies positioned on a piece of magnetic paper. The shape was then embossed and lightly coloured with Tim Holtz Weathered Wood Distress Ink. The edges of the circle were then coloured with a Copic marker (R29) to make them stand out more and small gold Papermania eyelets were set around the circle to create a porthole.

The cloud background, Edwin image and porthole were then all layered up.


A strip of the Wide Tie paper from the Basic Grey Boxer paper pad was matted onto a strip of navy
shimmer card and matted across a panel of the Oxford paper from the same paper pad. This was then also matted onto the navy shimmer card.

A red and blue button (items I've had in my stash for a very long time now!) were threaded with white embroidery thread and a white button with blue thread and positioned in the top right hand corner.

The 'Happy Birthday' sentiment, from the Personal Impressions Paula Pascual Mixed Sentiments stamp set, was stamped onto a die cut circle of the white card using Versafine Majestic Blue archival pigment ink and matted onto a circle of the navy shimmer card.

Here are the challenges I am entering this card into:

Monday, 13 June 2011

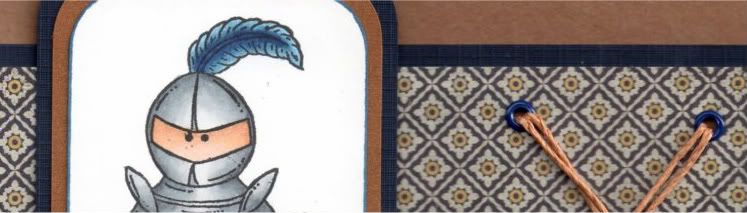
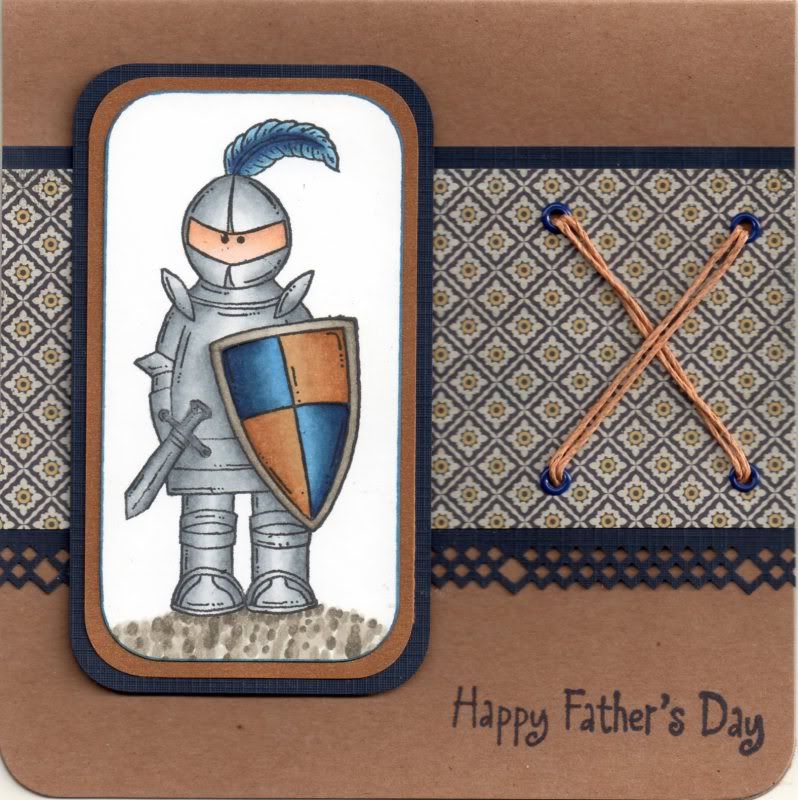
Blue and Brown Father's Day Sugar Nellie Knight

Here is the design of this year's Father's Day cards that I've made for my dad and hubby's dad. I decided to go with the Sugar Nellie Knight image.


The image was stamped using Memento Tuxedo Black dye ink and coloured using Copic sketch markers:
  • Armour: C0, C1, C3, C4, C6
  • Sword: C2, C4, C6
  • Skin: E00, E13, E21, E51
  • Shield: W1, W3, W5, W7, B32, B34, B37, B39, E31, E33, E35
  • Feather: B32, B34, B37, B39
  • Shadow: W1, W3, W5
Somehow I actually managed to get the armour and shield to look quite metallic and shiny!!

The corners were rounded using the large XCut corner rounder punch and matted onto bronze shimmer paper and navy card.


A panel of the Jute paper from the Basic Grey Granola paper pad was matted onto the navy card, punched with the XCut Diamonds border punch.

I wanted to add an element of texture but also keep it masculine, so four holes were punched using the Cropodile Big Bite and the Stampin' Up Mat Pack template and small dark blue Papermania eyelets were added. The holes were then threaded with a double strand of tan hemp cord from Hobbycraft.

The card was assembled and the 'Happy Father's Day' sentiment, from Elzybells, was stamped in the corner using Versafine Majestic Blue archival pigment ink.

Here are the challenges I am entering this card into:

Friday, 26 November 2010

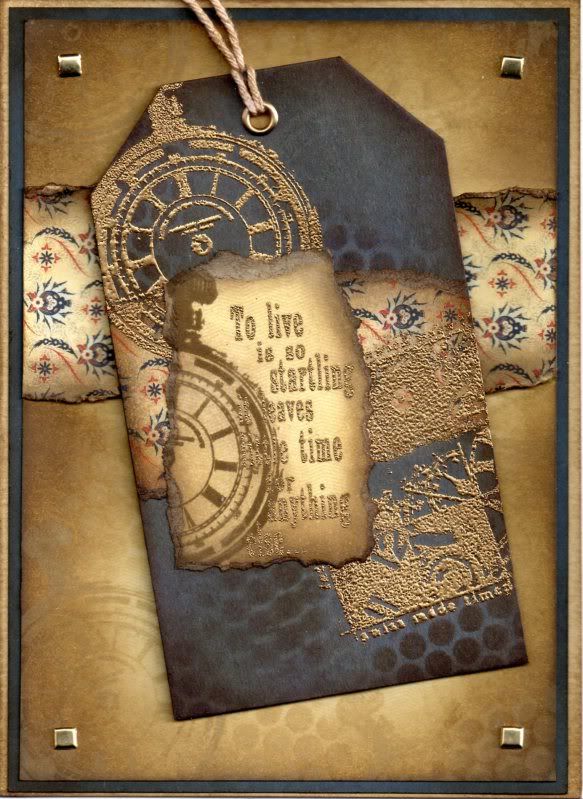
Blue and Brown Timepiece Tag

This is a something a little bit different from me - stamping, embossing and distressing. It's the first time I've used sequin waste as a stencil!!

A blue luggage tag was distressed using a combination of Antique Linen, Frayed Burlap and Walnut Stain Tim Holtz distress inks. The Antique Linen and Walnut Stain inks were used to colour through a piece of sequin waste and then the tag was overstamped with the Pocket Watch stamp from the Paper Artsy Clocks 3 stamp set with the Antique Linen ink.


A strip of the Oxford paper from the Basic Grey Boxer paper pad was colour distressed with the three brown Tim Holtz inks and the edges curled. This was matted across the tag and overstamped with the Pocket Watch stamp and the Time Piece Collage stamp, also from the Clocks 3 stamp set, and gold embossed.

The 'To Live Is Startling...' sentiment, also from the Clocks 3 stamp set, was stamped onto the Commando paper from the same paper pad and gold embossed. This was then overstamped with the Pocket Watch image using the Walnut Stain ink. The image was then torn out and the edges distressed with the brown inks. A large gold eyelet was set in the top of the tag and threaded with string, which was coloured with the Walnut Stain ink.

A larger panel of the Commando paper was distressed with the Antique Linen and Walnut Stain inks and the Pocket Watch image was stamped over it with the Antique Linen ink. This was also used to colour through the sequin waste.

Another strip of the Oxford paper was distressed and matted across the stamped panel. This was matted onto blue card and gold square brads from Dovecraft were added in the corners.

Here are the blog challenges I'm entering with this card:

Friday, 19 November 2010

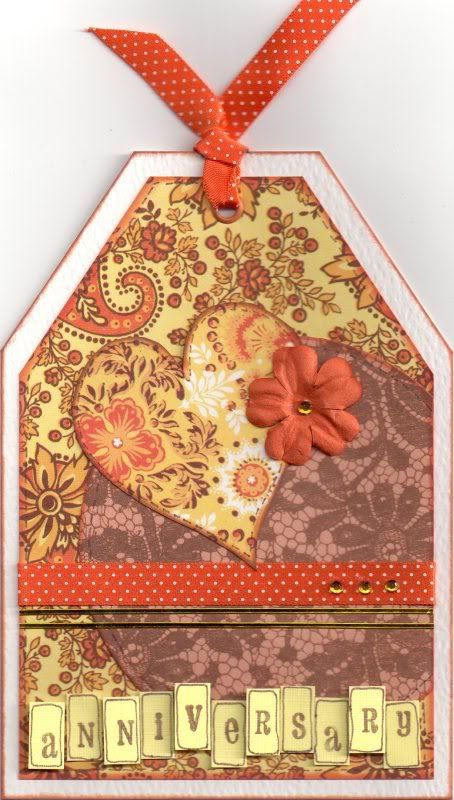
Yellow and Orange Anniversary Heart Tag

This card was based on a design in Creativity magazine (Issue 19) and uses the Papermania Sunshine Capsule Collection.

The card blank was cut into a tag shape. A circle of the orange lace paper from the Papermania Sunshine Capsule Collection paper pad was added over the edge of a tag shaped panel of the orange and yellow floral paisley paper and the excess trimmed away. A heart shape was cut from the yellow and orange medallion paper and attached over the two papers.

A length of the orange polka dot satin ribbon and some gold border peel-offs were added across the panel and three yellow faux gems were added to the ribbon.

A hole was punched at the top and an orange eyelet set and threaded with the orange ribbon. An orange paper flower was added over the edge of the heart and a yellow faux gem was added in the centre.

The letter panels were created by cutting rectangles from yellow linen card and stamped using the Studio G Hampton Art mini alphabet stamp set with the Versafine Vintage Sepia archival pigment ink and a line drawn around the edge with a fine liner. The letter panels were then added to the bottom of the tag, some flat and some 3D'd.

Saturday, 25 September 2010

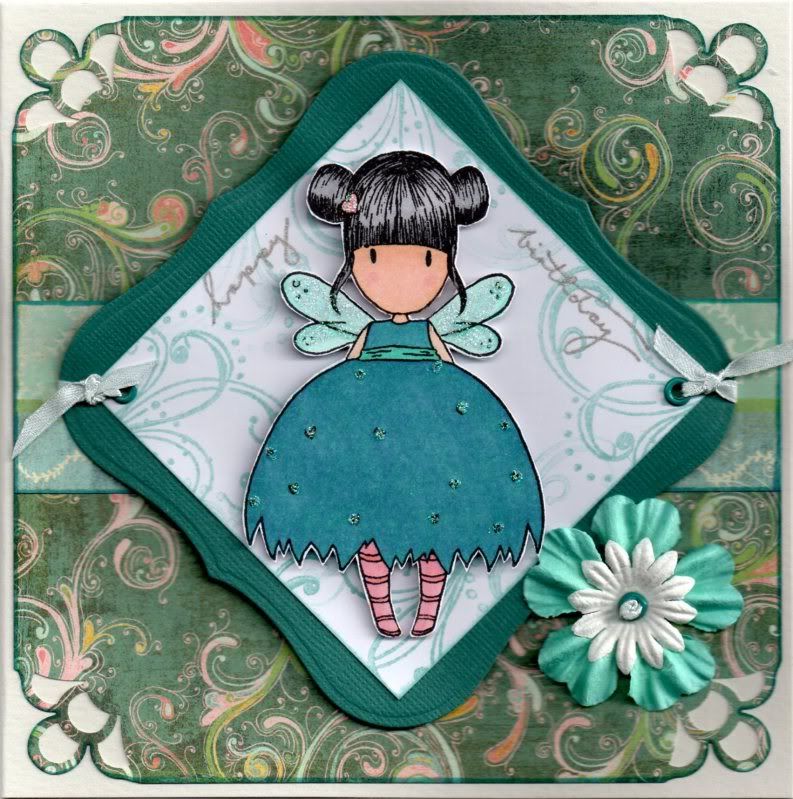
Teal, Pink and Turquoise Bumble Bee Gorjuss Girl

This is one of my favourite Gorjuss Girl images. This image was stamped at Julie's house last August using one of Julie's stamps! I really can't believe how long ago that was now - over 13 months!!!


The Bumble Bee Gorjuss Girl image was stamped using Versafine Onyx Black archival pigment ink, coloured using Copic sketch markers:
  • Hair: N1, N3, N5
  • Skin: E00, E21, E51, R20
  • Socks/Hearts: R20, YR02
  • Dress: BG13, B45
  • Wings: BG11, BG13

and cut out.

A panel of white card was cut out and stamped using one of the flourish stamps from the Autumn Leaves  v1 Flourish Rhonna Farrer stamp set and ColorBox Celadon pigment ink. This was then matted onto a panel of blue Core'dinations card die cut using a Labels 1 Nestabilities die.

A panel of the Spumoni paper from the much underused Basic Grey Two Scoops paper pad was cut and the corners punched using the Martha Stewart Double Loops corner punch.

A strip of the Ice-Cream Parlour paper, from the same paper pad, was adhered across the centre of the punched panel and matted on to the card blank.

The Gorjuss Girl image was placed over the white stamped panel and the 'Happy Birthday' words, from the Woodware Jane's Script sentiments stamp set were stamped either side of the image using the Versafine Smokey Gray archival pigment ink and traced over using the Sakura clear Stardust pen.

Holes were punched in two corners of the Label shape using the Big Bite and small teal Papermania eyelets were set in the holes and light blue satin ribbon was knotted through them.

The Gorjuss Girls image was then added to the centre of the panel using 3D foam pads and Craft Planet Iridescent Sparkle glitter glue was added over the wings, small heart and dress hearts of the image.

A white Papermania Imaginisce paper flower was layered over an aqua Prima flower and a small teal Papermania eyelet was added to the centre. A length of the light blue ribbon was knotted and threaded through the centre as a finishing touch.

Saturday, 11 September 2010

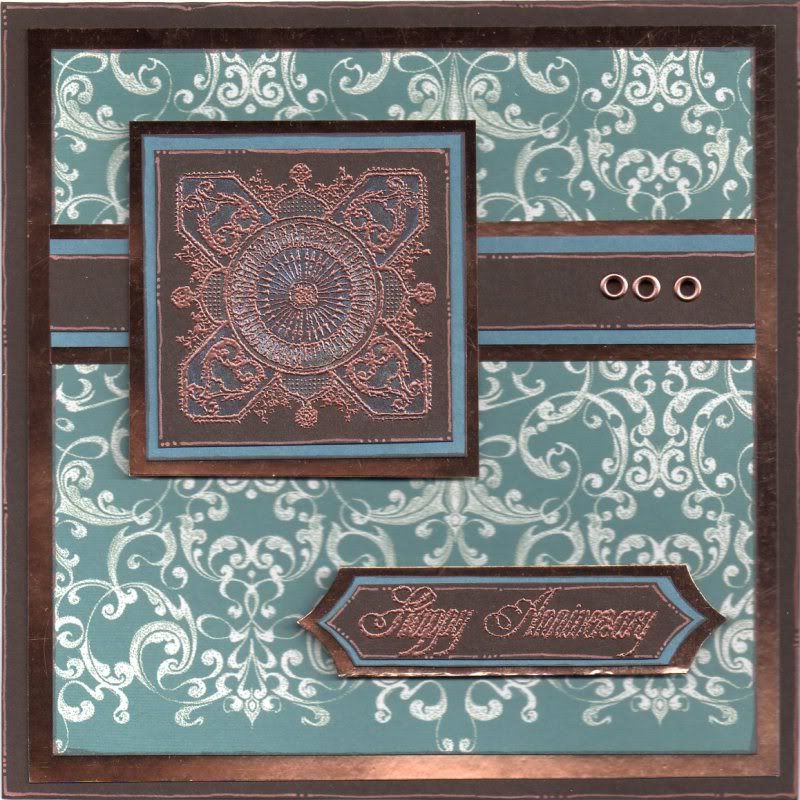
Copper and Blue Medallion Anniversary

This is the card I made for my hubby last year for our anniversary. I wanted to use my set of Laurence Llewellyn-Bowen stamps and decided to use them in conjunction with my mica powders.


The medallion stamp from the Laurence Llewellyn-Bowen Venaissance stamp set was stamped onto brown card using ColorBox Topaz pigment ink and embossed using Heat It Up! copper embossing powder. The image was then coloured using Stamps Away mica powders. They don't really show up in the picture, but I also think that maybe I need to use more of them rather than being quite so stingy with them!!! The image was matted onto blue card and copper mirror card.

A strip of the brown card was matted onto the blue and copper card and three small copper eyelets were set (rather lopsidedly!!) in the strip of card. This was then matted across a panel of the blue flourish paper from the LLB Venaissance paper pad, which in turn was matted onto the copper mirror card and onto the card blank.
The sentiment, from Stamps Away, was stamped onto the brown card using the Topaz ink and copper embossed. This was cut out in a label shape using the HOTP Labels template and matted onto the blue and copper card.

I will be entering this card into a few blog challenges:

Sunday, 5 September 2010

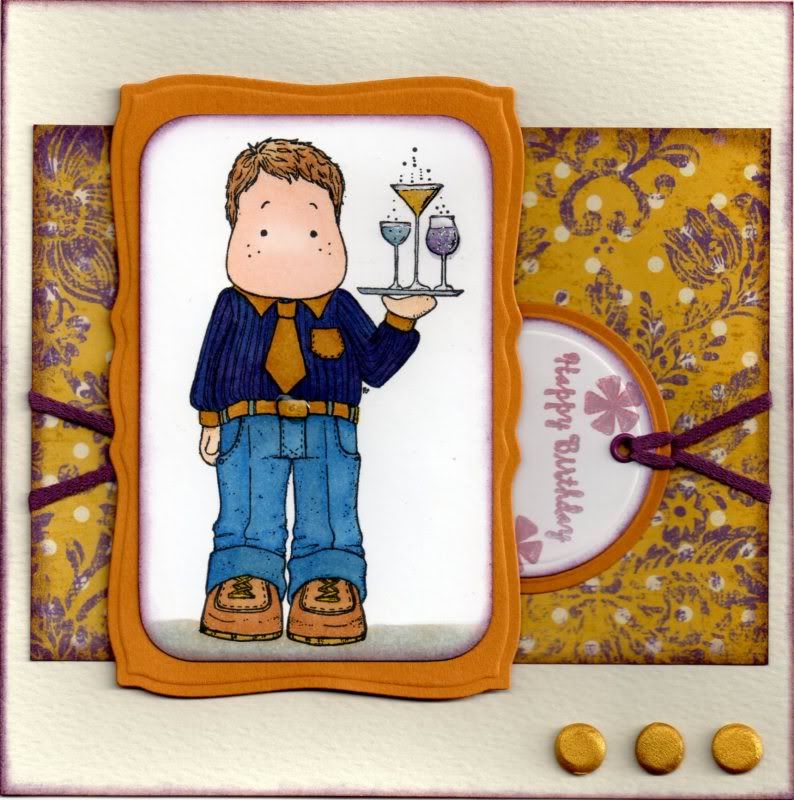
Mustard and Purple Bartender Edwin

Here's a card I made for my sister's fiancé - he's actually a Spanish waiter so thought this image was perfect for a card for him.


I picked the papers first, from the Papermania Persimmon paper pad, and coloured the image to match.

The Bartender Edwin image from Magnolia was stamped using Memento Tuxedo Black dye ink and coloured using Copic sketch markers:
  • Hair: E31, E35,E57
  • Skin: E00, E21, E51
  • Collar/ Tie/Cuffs/Belt/Shoes: Y08, E31, E35
  • Shirt: B18, B45, V17
  • Trousers: B18, B24, B45
  • Tray: C4, C6
  • Glasses: C0, C2
  • Cocktails: BV31 & B45; Y08 & E31; V17 & C2
  • Shadow: E31, C0, C2
The image was then cut out and the corners rounded using the large XCut corner rounder punch, and the edges of the image panel were distressed using Tim Holtz distress inks in Aged Mahogany and Dusty Concord. The image panel was then matted onto a panel of mustard coloured card die cut using the Mega Curved Rectangles die from Nestabilities.

Circles were die cut from white and mustard yellow card using standard circle Nestabilities dies and the sentiment, from the Papermania Clare Curd Sentiments stamp set, was stamped on the white circle using a combination of Wisteria and Warm Violet ColorBox Fluid Chalk inks. Asterisks, from the Fiskars Make A Wish Quotes stamp set, were also stamped using the same chalk inks.

The edge of the white circle was distressed using the Aged Mahogany and Dusty Concord inks and matted onto the mustard circle. A hole was punched in the circles and a small mauve Papermania eyelet set and a length of purple fibre was threaded through. This was then attached to the reverse of a panel of the mustard and purple flourish polka dot paper from the Papermania Persimmon paper pack. A second length was then attached to the left side of the panel to give the appearance of being wrapped all around the panel.

The patterned paper panel was then adhered to the centre of a square card blank and the image panel was adhered over the circles.

Three gold card candy from Craftwork Cards were coloured using the Tim Holtz Scattered Straw, Wild Honey and Walnut Stain distress inks and added in the bottom right hand corner.

Anita's 3D Gloss was then added to the glasses and the belt buckle, and DecoArt Crystal Glamour Dust was sprinkled into the gloss on the glasses.


I shall be entering this card into a few challenges this week:

Wednesday, 4 August 2010

Lilac Up, Up and Away Gorjuss Girl

This is my entry to this week's Simon Says blog challenge, which has a theme of 'Sing It Baby'.

Now, apparently, Nancy Sinatra sang 'Up, Up & Away' so this seems perfect!!


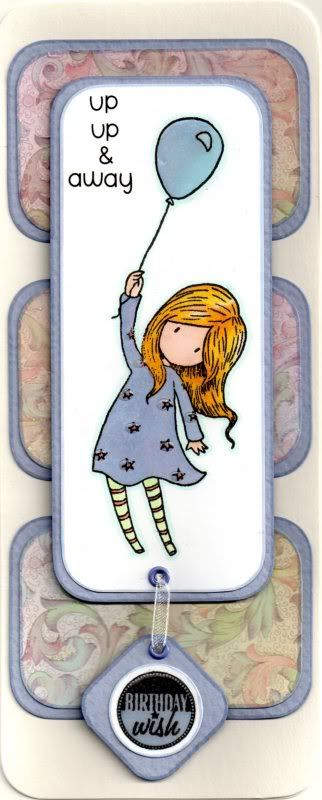
The Up, Up and Away Gorjuss Girl image, from Sugar Nellie, was stamped (at Julie's) using Versafine Onyx Black archival pigment ink and coloured using Copic Sketch markers:
  • Hair: Y08, Y17, YR02, E41
  • Skin: E00, E21, E51, R20
  • Balloon: B41, BV00
  • Dress: B41, BV00, R20, YR02
  • Socks: YG11, R20, YR02
  • Outline: BG11
The image was cut out and the corners rounded using the large XCut corner rounder punch. The image was matted onto lilac card and the sentiment was added using the Doodlebug Beetle Black Simply Sweet alphabet rub-ons.

Three panels were cut form the lilac, pink and green botanical flourish paper from the DCWV Once Upon A Time mat stack and matted onto the lilac card.

The 'Birthday Wish' circle sentiment was stamped onto white card using the Onyx Black ink and coloured using the Copic markers
  • Circle Sentiment: BV00, B41
A square was cut from the lilac card and the corners rounded with the XCut punch. Holes were punched in the bottom of the image panel and in the top of the square. Small lilac Papermania eyelets were set in the holes and white organza ribbon was threaded through creating a dangling sentiment panel.

The image panel was matted over the three panels and Anita's 3D Gloss was added over the balloon, dress stars and circle sentiment.
Blog Widget by LinkWithin