Pages

WELCOME

This blog was created to act as a record of the cards and other projects that I have made. It is for both my own reference and to help inspire anyone who wants to take a look.

I'd love it if you'd leave me a comment so that I know what you think of my projects and that you've been to visit!

Anyone can comment, even those who don't have a blog. (Just look for the word 'Comments' under the three little pictures at the end of each post). Readers without a blog can add an anonymous comment, but please leave your name (and docrafts username if applicable) so I know who you are!

Slideshows of all the cards I've uploaded to my blog can be found at the bottom of the page.


PEOPLE WHO FOLLOW MY BLOG

Showing posts with label Hero Arts. Show all posts

Friday, 27 November 2015

Cream and Blue Tatty Teddy Panels

Another look back into the past here with a couple of old cards from 2011!!!

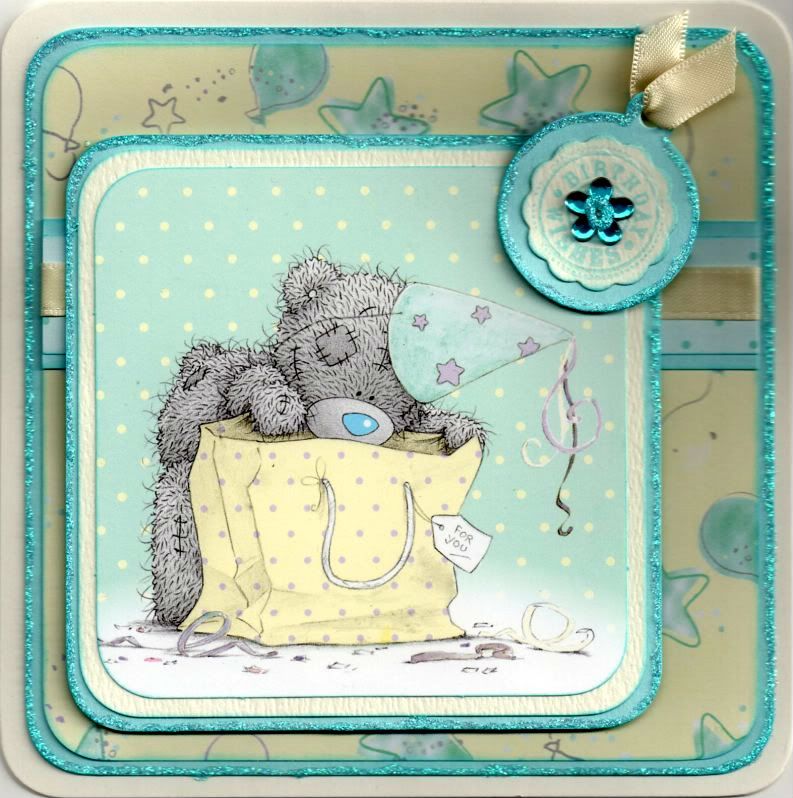
These are a couple of quick cards I made for a couple of 8-year old girls using the printed panels in the Me To You Especially For You paper pack.


The corners of the printed image were rounded using the large XCut corner rounder punch and matted onto light blue and cream card.

A strip of the blue polka dot paper from the same paper pack was matted onto the light blue card and a length of cream satin ribbon was wrapped around and matted onto a panel of the yellow stars and balloons paper. This was then matted onto the light blue card.

A tag was die cut from the light blue card using the Cuttlebug round tag die. A big scalloped circle was die cut from cream card using a Nestabilities die and stamped with the 'Birthday Wishes' circle sentiment from the Hero Arts Birthday Messages stamps set using ColorBox Aqua pigment ink. The scalloped circle was matted onto the tag and a blue Papermania flower gem was added in the centre. A short length of the cream satin ribbon was threaded through the tag and added in the top right corner of the image panel.

All the edges of the blue layers and the centre of the flower gem were highlighted with Craft Planet Ice Blue glitter glue.

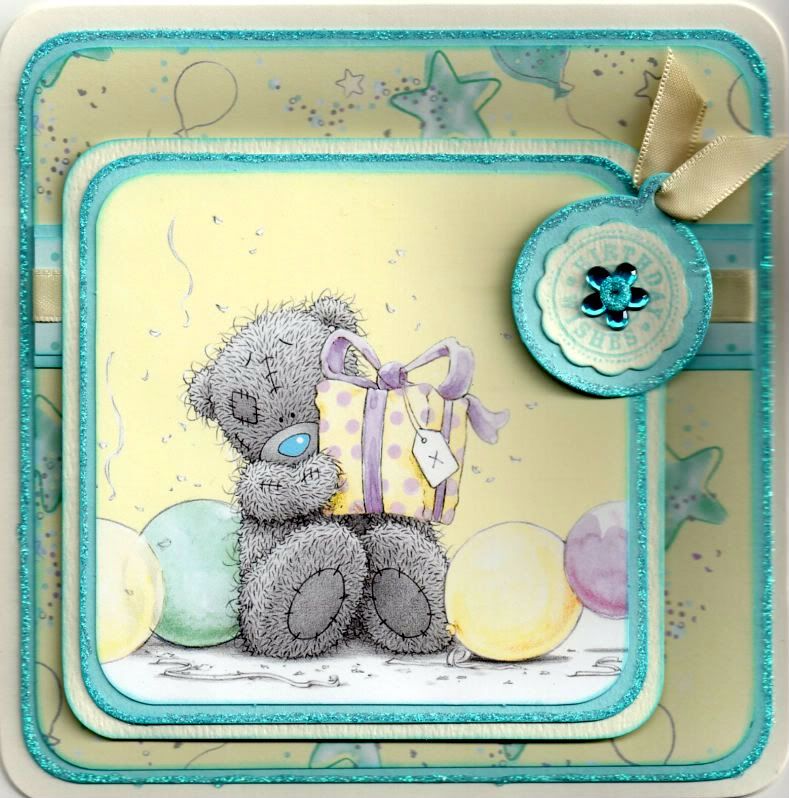
A similar card was made with a different image panel from the same paper pack.

Monday, 16 November 2015

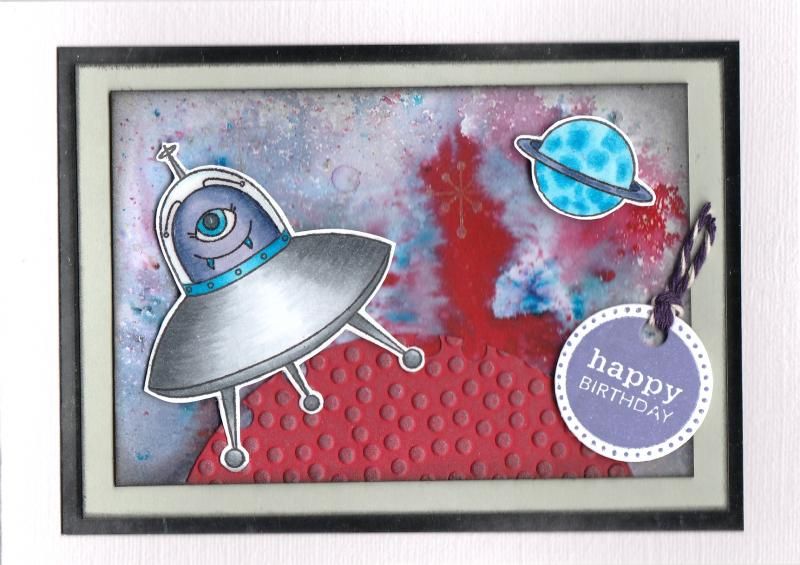
Red Grey and Purple Brusho Aliens

OK - I'll admit it. I had a go with some Brushos. These are definitely not my type of crafting. Far too messy and uncontrollable!!
 
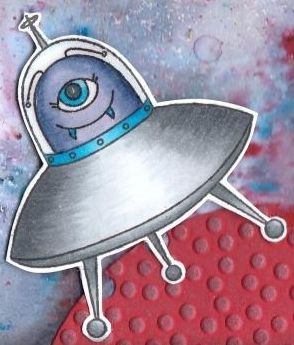
But, I made a background using my friend's set and I decided to make it into a card. When looking at the background, I decided it looked a bit space-like, so I thought I'd make a kids' card and use my alien stamp set.
 
So, to create the background, I used quite a few different Brusho colours onto a sheet of white card, namely black, grey, crimson, scarlet, cobalt blue and then these were spritzed with some water. Once the colour was almost dry, some white Brusho was sprinkled over the top and no water added to create some contrast.
 
The background was then over-stamped with a dotty star stamp from the Kirsty Wiseman Terrestrial Friends stamp set using the Heat It Up! Metallic Silver pigment ink.

 
The next stage was to select the best area of the background for the card. This piece had a flare of red which I thought fitted well with my idea of the card. The edge of the panel was then distressed using Tim Holtz Black Soot distress ink.
 
The alien and spacecraft stamp and the planet stamp, also from the Terrestrial Friends stamp set, were stamped using Memento Tuxedo Black dye ink and coloured with Copics:
 
Copics

 
Monster/Planet: B01, B02, B05, B06, BV00, BV04, BV08
Spaceship: C1, C3, C5, C7, B02, B05, B06
 
 
These images were then fussy cut and Ranger's Glossy Accents were added to the glass section of the spacecraft image.
 
To ground the image and create a foreground, a planet was created by cutting a piece of red card into a circle using a Nestabilities die and then embossed using the Crafts-Too Polka Dots embossing folder. Silver-Blue and Golden White metallic wax rub-ons from Craf-T Color Kit #3 were rubbed over the embossed detail to highlight it. The circle was trimmed into a semi-circle and adhered to the Brusho panel, after a few 'craters' were cut from the edge of the circle using a single hole punch.
 
 
The sentiment, from the Personal Impressions Paula Pascual Mixed Sentiments stamp set, was stamped onto white card using the Versafine Majestic Purple archival pigment ink and die cut using the circle tag die from the XCut Tags and Bookplates set of dies. This was then threaded with purple Baker's twine from Gorjuss.


All the components were then adhered to the card front, matted and layered onto grey and silver mirror card.


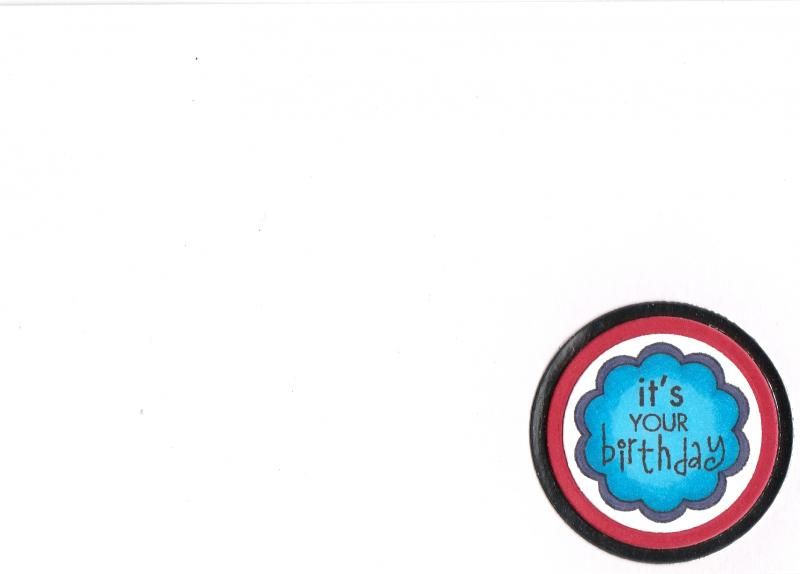
The inside of the card was also decorated, using the It's Your Birthday circle sentiment stamp from the Hero Arts Birthday Messages stamp set. The sentiment was coloured using Copics to match the images on the front of the card, and then diecut using a circle Nestabilities die and matted onto red and silver mirror circles.

Wednesday, 11 November 2015

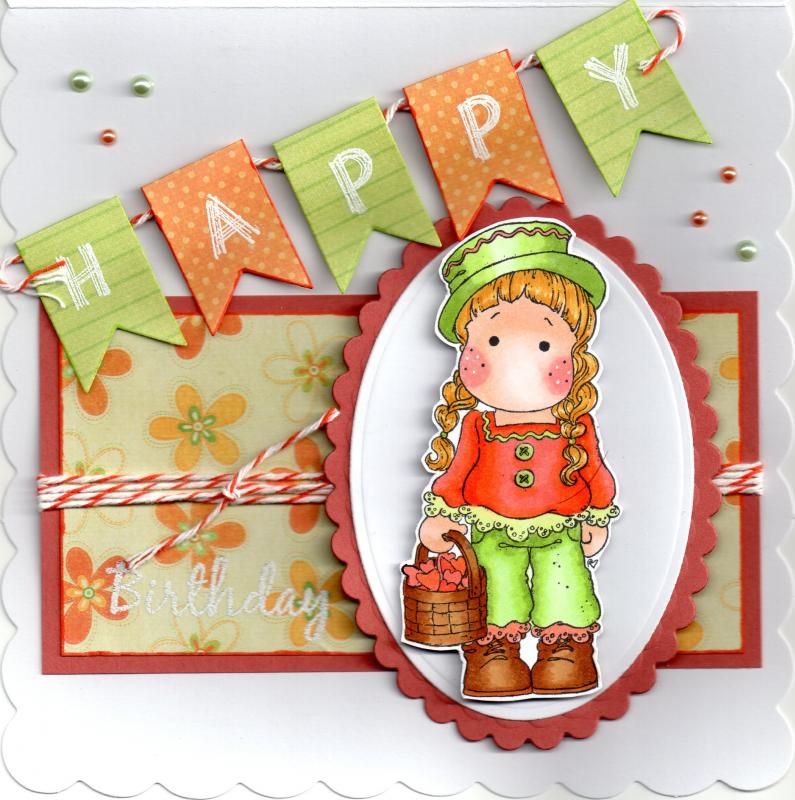
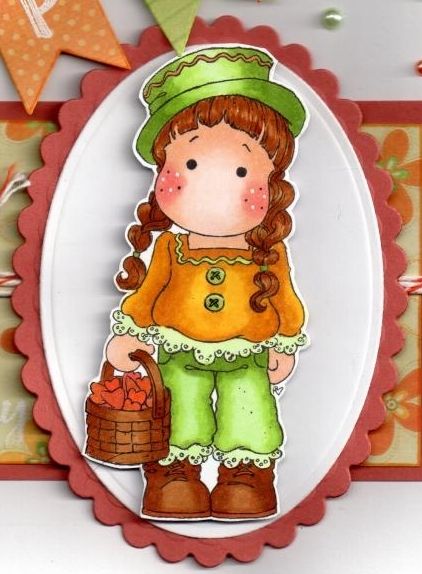
Orange and Green Gingerbread Tilda

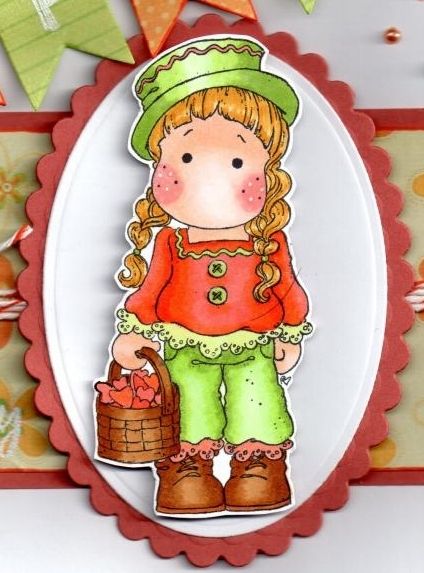
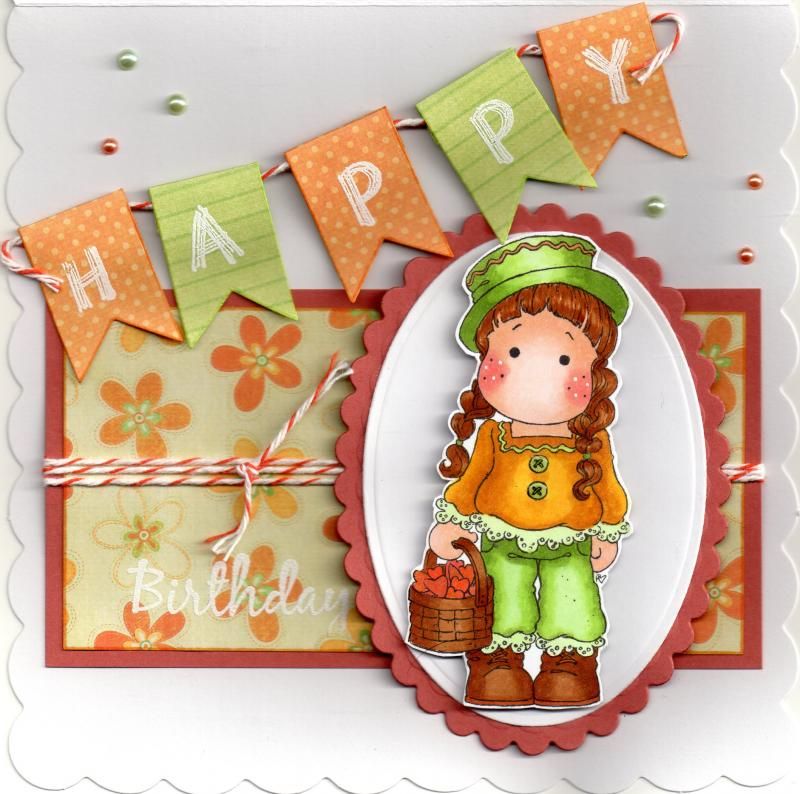
These are a couple of cards that I made using the Gingerbread Tilda stamp from Magnolia. I really like this stamp and I really ought to use it more. I made two versions of this card using different hair colours.

Here is the first with a more blond colouring:

 
To begin with, the Tilda image was stamped using Memento Tuxedo Black dye ink and coloured with Copics:
 
Hair: Y21, Y26, YR23
Skin: E000, E00, E11, E21, R02
Hat: YG11,YG13, YG17, YR04
Trousers: YG11, YG13, YG17, Y11, YR02
Top: YR02, YR04, YR07, YG11, YG13, Y11
Shoes/Basket: E31, E35, E37, E39
Hearts: YR02, YR23, YR24
Hairbobbles: YR13
 
Highlights were added to here cheeks with a Papermania Snow White gel pen, and to the buttons and hearts with Ranger Glossy Accents.
 
 
The image was then fussy cut and layered onto an oval and scalloped oval die cut using the Spellbinders Petite Ovals and Petite Scalloped Ovals Nestabilities.
 
A floral paper from the My Mind's Eye Bloom and Grow paper pack was matted onto the orange cardstock and the Birthday sentiment, from the Papermania Clare Curd Sentiments stamp set, was white heat embossed in the corner using Versamark and the Stampendous Detail Opaque White embossing powder. A length of the orange baker's twine from Divine Twine was wrapped around the panel and tied and this was then adhered to the card front with the image panel positioned to the right.
 
 
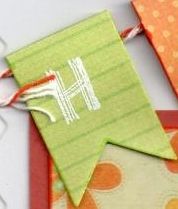
Using the small fishtail banner die from the Sizzix Framelits Banners #2 die set, five banners were diecut from patterned papers from the Bloom and Grow paper pack and stamped with the letters of the word Happy using the Hero Arts Fine Lines Alphabet stamp set and then heat embossed with the white detail powder.
 
These were then adhered across a length of the orange baker's twine across the corner of the card.
 
Small green and orange pearls from Papermania and Kort and Godt were then randomly placed around the card front.
 
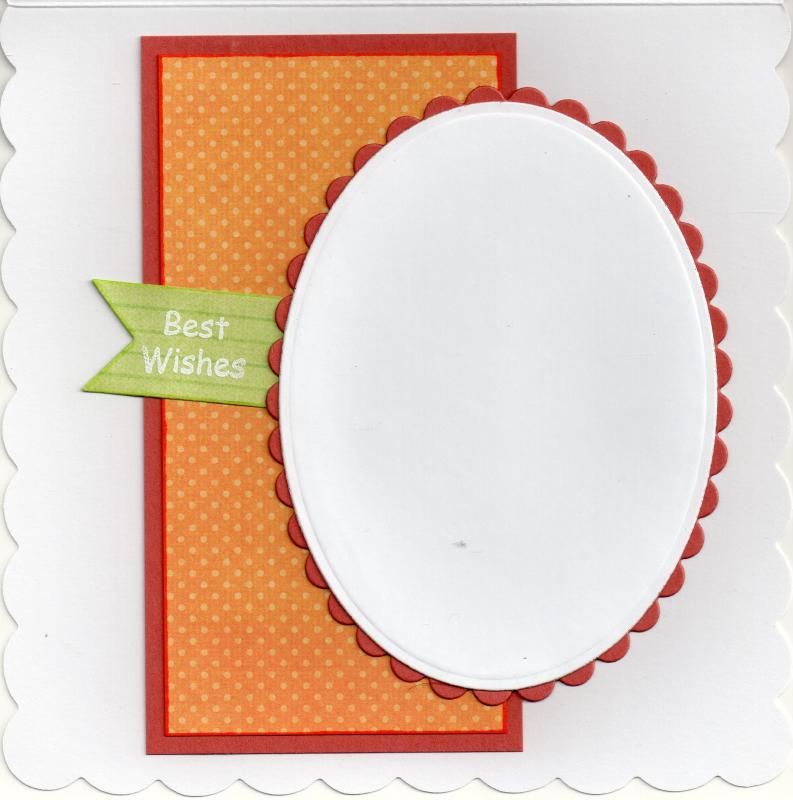
The inside of the card was also decorated, adding a panel of the orange spotty paper from the Bloom and Grow paper pack onto orange card stock. A white oval was matted onto an orange scalloped oval and the sentiment, from the Papermania Clare Curd Sentiments stamp set white embossed onto the green stripe paper and tucked behind the oval panel.


The card was also produced with a Tilda with a more brown shade of hair and a more yellow top.
 
 
Copics
Hair/Basket/Shoes: E31, E35, E37, E39
Skin: E000, E00, E11, E21, R02
Hat: YG11, YG13, YG17, YR23
Trousers: YG11, YG13, YG17
Top: Y08, YR23, YR24, YG11, YG13
Hearts: YR02, YR23, YR24
Hairbobbles: yr13
 

Sunday, 1 November 2015

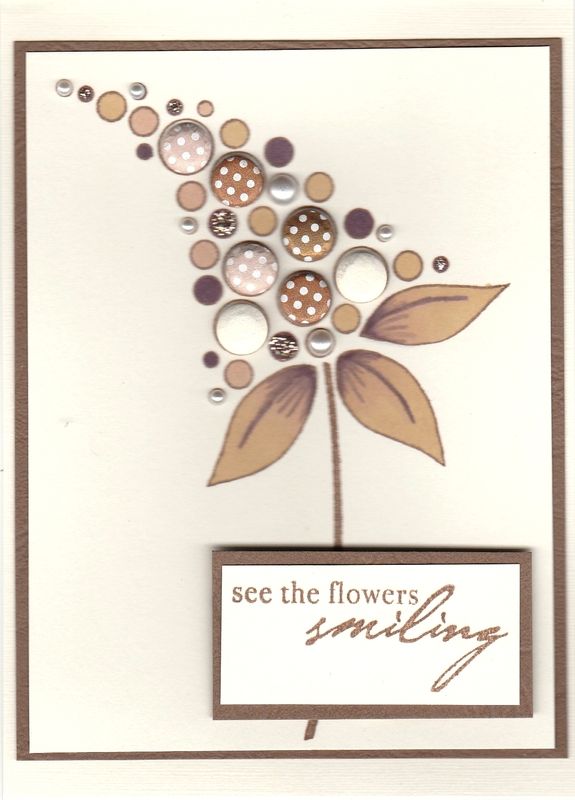
Brown and Beige Felicity Bloom

Here is a  card I made recently using the lovely Woodware Felicity Bloom stamp set. I've had my eye on these card candi stamps for a long time and I finally treated myself to one.

It's a simple image that you can embellish to your hearts content.
 
For this card, I stamped the image using Versafine Vintage Sepia archival pigment ink. The leaves were coloured using Promarkers - namely Shale, Sandstone and Tan.

 
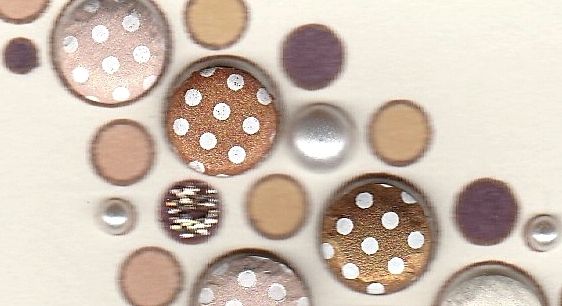
All the circles of the design were coloured using the same pens. Brown, beige and ivory spotty Card Candi, from Craftwork Cards, were added to the larger circles and a combination of Papermania ivory pearls and Ranger Platinum Stickles were added to some of the smaller circles.
 
 
The sentiment, from the Hero Arts Anytime Messages stamp set, was stamped onto ivory card using  the Vintage Sepia ink and matted onto brown card, as was the main image panel.

Saturday, 24 October 2015

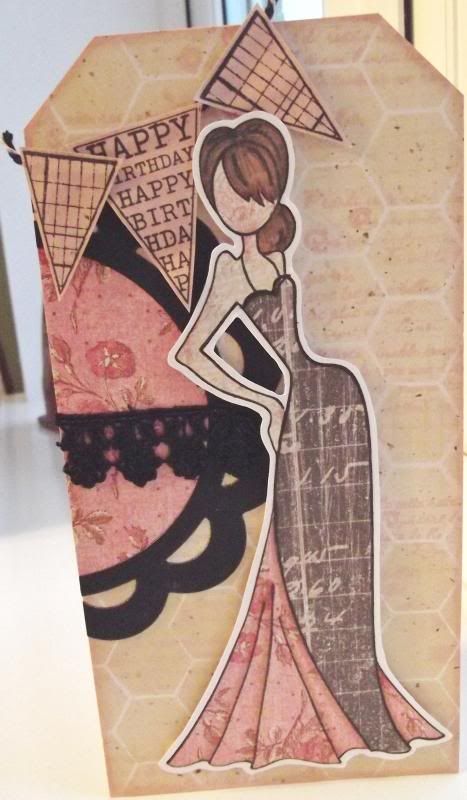
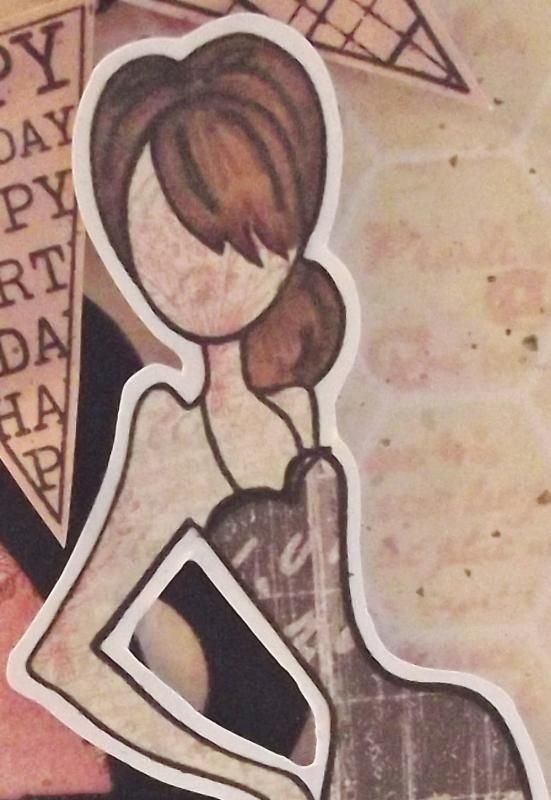
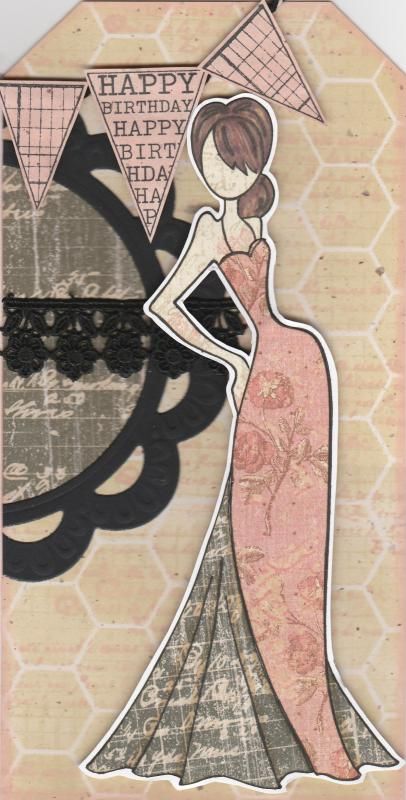
Pink Black and Beige Paper-Pieced Prima Doll

I should begin by apologising for the picture quality of this card. Normally I scan my cards in but my scanner had decided to give up the ghost (well, actually the printer had, and so the scanner just played along). Anyway, these were photographed and I couldn't find my mini tripod so getting up close and holding the camera perfectly steady wasn't easy!!

This card shows my first attempt at using my Prima Doll stamp Tasha. I actually made it at the cardmaking group that I go to and it was great fun.
Paper-piecing the image is actually very simple to do. The hard part is choosing which papers to use.
I began by stamping the whole image onto some white card using Memento Tuxedo Black dye ink. The image was then stamped again onto three different patterned papers from the K&Co Best of Too paper pad, using papers from the Life's Journey and K-Ology Hannah collections. I do love this paper pad, and it is much underused. I really should get it out more. The next stage was to cut the various pieces from the different papers and assemble them onto the base image. The hair was coloured onto the patterned paper using Promarkers.

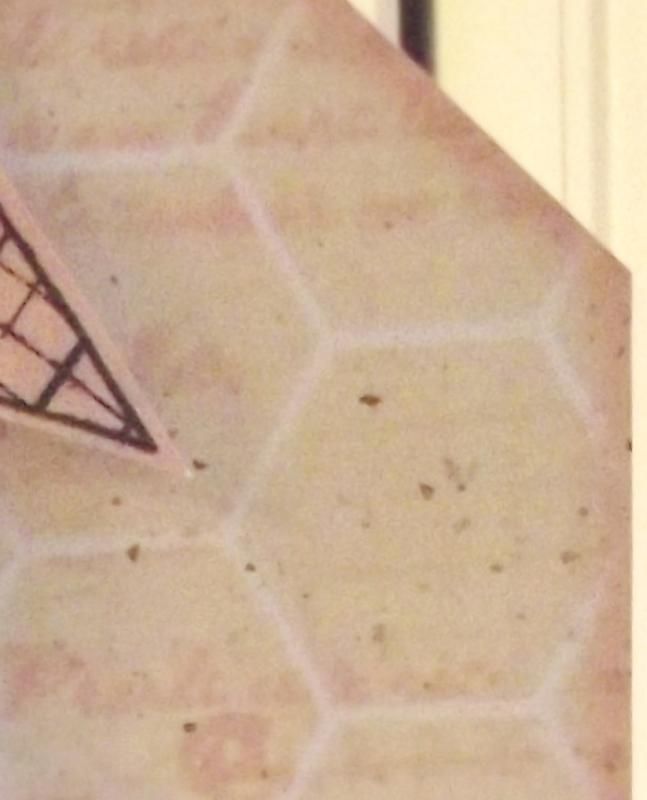
The next stage was to create a background for the image to sit on. I started with a piece of 'natural' paper which has tiny flecks in it. I then taped the Memory Box Chicken Wire stencil over the piece and sponged through Tim Holtz Antique Linen distress ink. Once that was done, with the stencil still in place, the French Text stamp from the Bo Bunny It Is Written stamp set was stamped through the stencil using the Tattered Rose ink. This was matted to the front of a DL card blank that was cut into the shape of a tag.

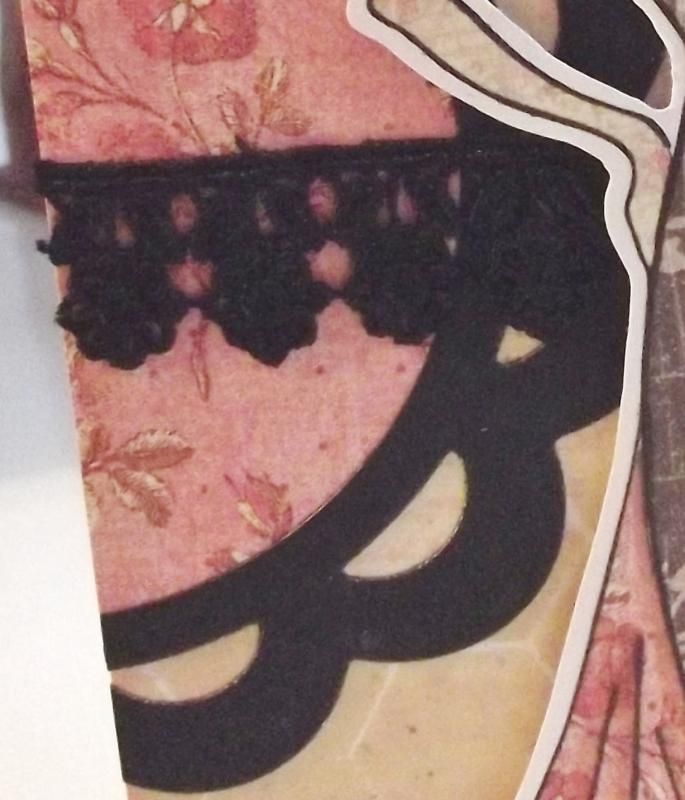
In order to create a bit more interest behind  the doll image, the Marianne scalloped circle frame was diecut from black card and a circle of the pink patterned paper used on the dress was diecut to fit within it. A length of black lace was wrapped around the circle and matted together on the edge of the tag and the excess cut away.


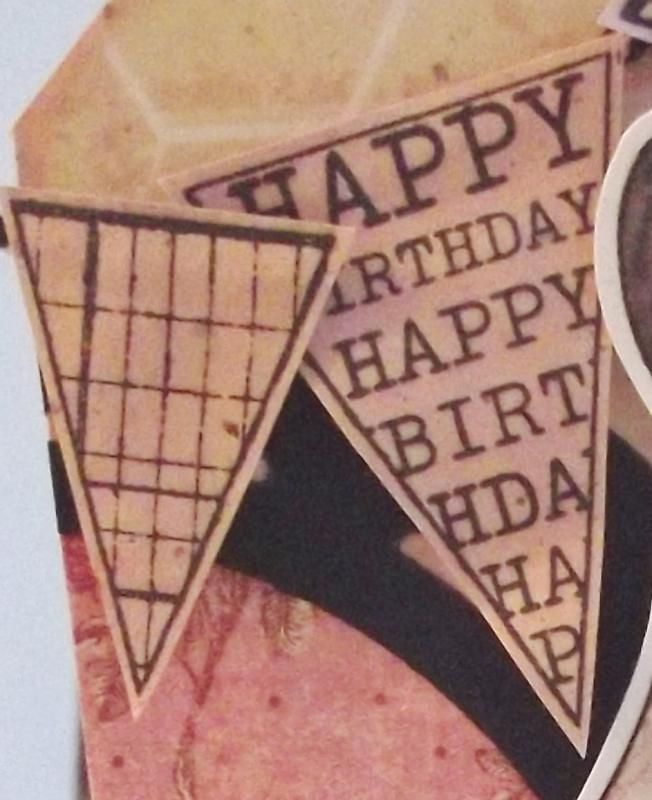
I then wanted to add a sentiment to the card and decided to use the banner stamps from the Hero Arts Friendly Flags stamp set. These were stamped onto the inked natural paper, inked with the Antique Linen and Tattered Rose inks. These were cut out and adhered to black and white Gorjuss Baker's Twine in the top left corner.


I also made a second card using the other parts of the stamped image.

Sunday, 5 April 2015

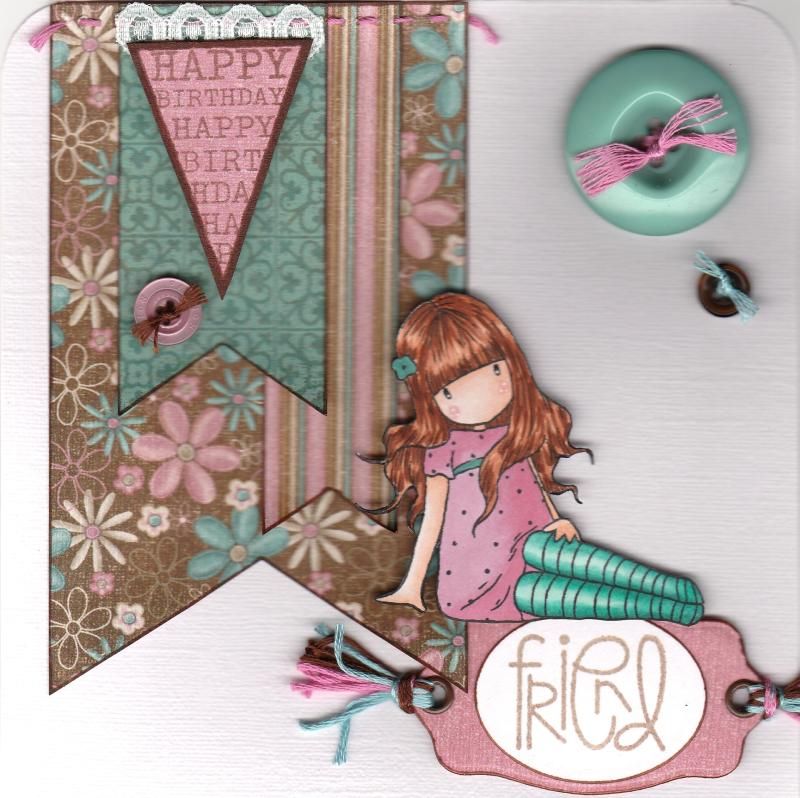
Teal Pink and Brown Sitting Gorjuss Girl with Banners

OK, so I thought I'd have another go at blogging a card as it's been so long since I last did it!
I've decided I'm going to try and blog a current card and then an older card that's still waiting to be blogged after I was offline for so long.

So, it's time to blog a current card. This is one that has been received so I know I can blog it.
 
 
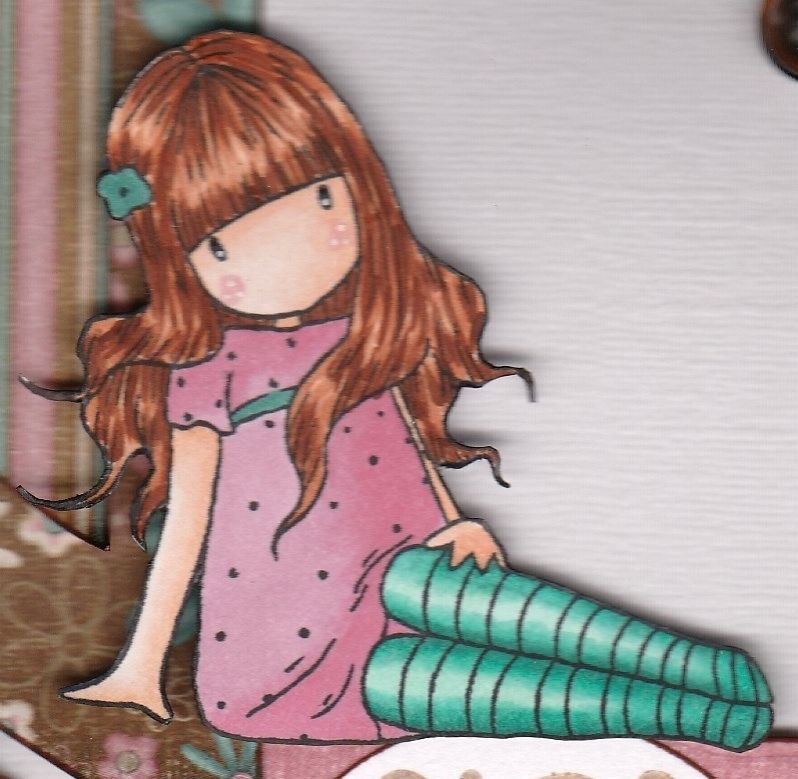
This was a card I was rather pleased with, I have to say. It used one of my older Sugar Nellie Gorjuss Girl stamps, called 'Sitting'.

The papers used on this card are from the Hot Off The Press Floral Ultimate Creative Cardmaker's Pack. There are some lovely colour combo in this paper pad.
 
 The image was stamped using Memento Tuxedo Black dye ink and coloured using Copic markers and then fussy cut.


Copics used:
Hair: E11, E13, E15, E29
Skin: E000, E00, E11, R20
Dress: RV11, RV34
Socks: BG10, BG13, BG15, BG18
Belt/Flower: BG18
 
Fishtail banners were then handcut from a few other patterned papers from the same paper pad and handstitching was added to the top of the largest one. These were then added in the top left corner of the card blank.
 
The Happy Birthday banner from the Hero Arts Friendly Flags stamp set was stamped using Versafine Vintage Sepia archival pigment ink and fussy cut. A small length of white lace was added to the reverse of the image and layered over the handcut banners.
 
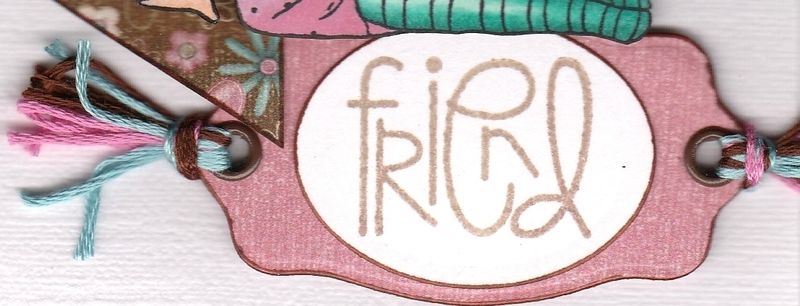
The 'Friend' sentiment from the Paper Smooches Sentiment Sampler stamp set was also stamped with the Vintage Sepia ink and was die cut using a Classic Oval Nestabilities die. This was then matted onto a bookplate diecut from a paper from the same paper pad using a die from the XCut Tags and Bookplates set of dies.
 
Brown eyelets were added through the holes of the diecut and co-ordinating embroidery threads were added.
 
 
The sentiment panel was then added in the bottom right corner of the card blank and the Gorjuss Girl image placed sitting on top of it.
A few co-ordinating buttons were threaded with the embroidery threads and added to the card blank.

Thursday, 15 January 2015

Sizzix Mega Sale 2015 Haul

Well, it seems I was early to this party as I placed my order a week before most people knew this sale was even on.
I got my goodies on Wednesday and amazingly I got everything I ordered.
So, what did I get?
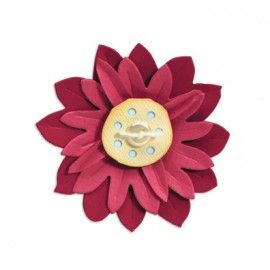
To begin with, I got two medium Originals dies. I desperately need a floral die, so opted for the Flower Layers with Leaf #2. It's an unusual looking flower but looks a lot more organic and realistic than a lot of the flower dies around.
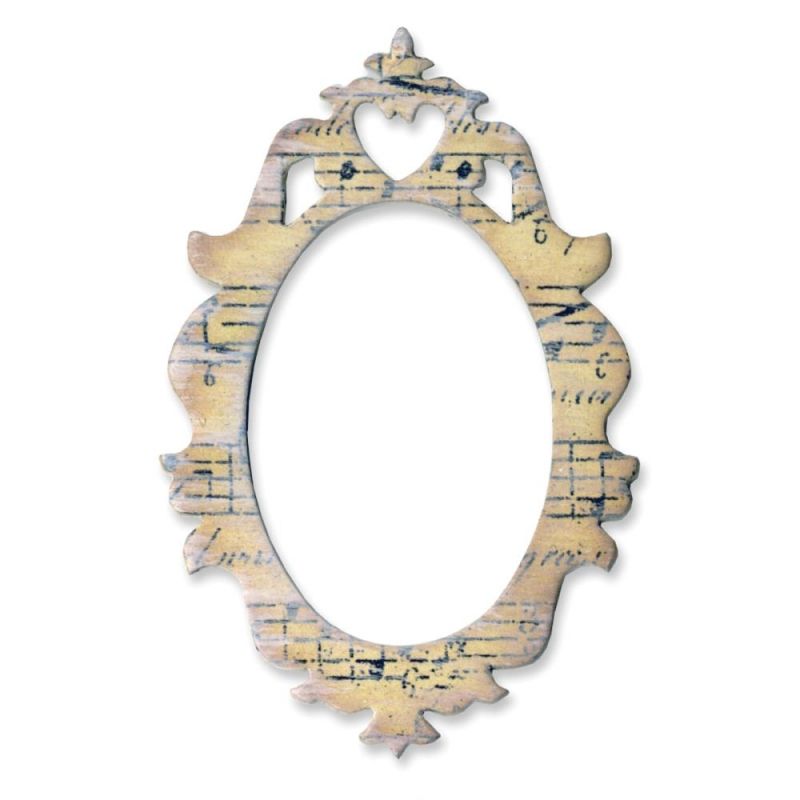
I also liked the look of the Frame, Ornate #2. A bit smaller than I thought it would be but very 'ornate' and like the look of the sample using music paper.
 
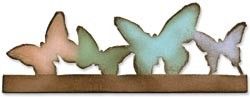
The next item was one of the On The Edge dies. Now that I've worked out the best way to use these (draw a straight line across the foam using a white gel pen to line the paper or card up against!) I'm using the ones I have a lot more, so felt justified in getting another one. The one I've been coveting for a while is the Butterflight one.
 
 
I'm looking forward to trying to paper piece the butterflies onto it using patterned papers.
 
There were also a number of Bigz dies that I wanted but had to limit myself to just (?) four.
 
The first was another floral die. I went for Flower Layers #8. The die cut has crease lines along all the petals, adding more detail to them.
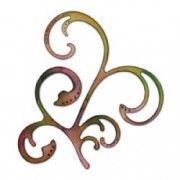
The next one I went for was a flourish die. I don't own a large one and liked the fact this one looked quite pretty rather than distressed. The one I went with was Classique, which is designed by Prima.
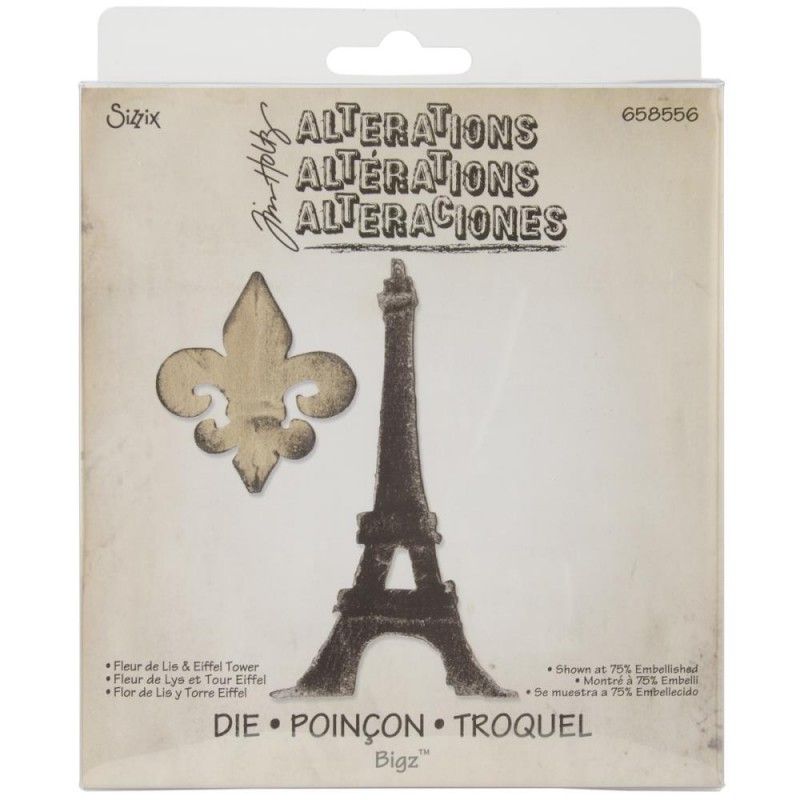
I also went for a die to complement my collection of masculine dies and stamps, namely the Fleur de Lis and Eiffel Tower die, although I suspect it's also possible to make it feminine as well.
 
 
I think this will work particularly well with my Prima paper pads.
 
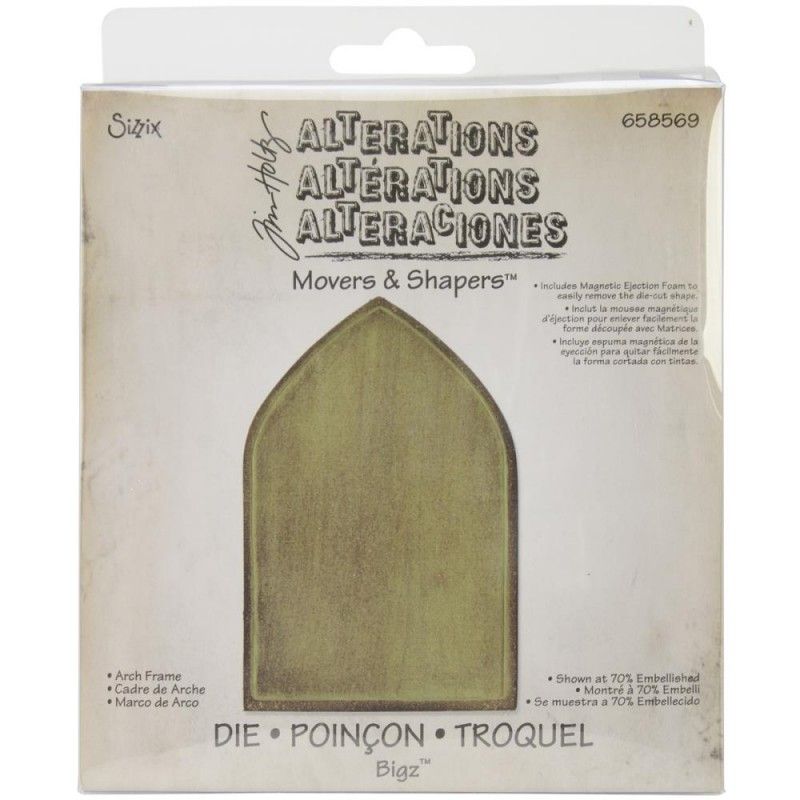
The last of the Bigz dies in my haul box was the Arch Frame Movers and Shapers die.
 
I'm looking forward to using it with the smaller Movers & Shapers dies I've got. Think I might have to look at more of those in the next sale!!!
 
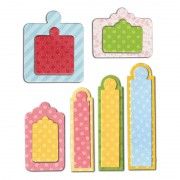
The rest of the dies I got were Framelit die sets. The first was one that will suit my obsession with sentiment stamps. This set, Tags, Sentiments will allow me to die cut them out, something I like to do a lot. There are 12 dies in the set allowing for 6 layered up tags or 12 separate ones. They work well either way.
 
 
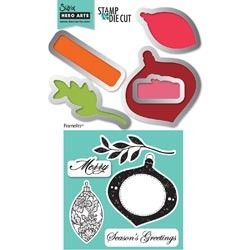
The next was the only Christmas set that I went for. It's a set of stamps with matching dies designed with Hero Arts. The set is Ornaments #3 and has 5 dies and 5 stamps.
 
 
The last two are sets I've been coveting ever since I saw them over on Stephanie Barnard's website. They are Framelit Flip-It die set. Unlike the Movers and Shapers versions, these come with a selection of dies to allow you to create layers for the base card as well as a selection of dies for the focal area of the flip-it card.
 
The first of the two sets that I went for is Card, Fancy Frame Flip-Its #2.
Of course, I will now have to get the matching Framelits for the centre shape as they aren't the same as the ones I have and ideally you need a selection of sizes to properly layer up on the focal section.
The second one I got was the Card, Circle Flip-Its #2 which has a good selection of decorative circle dies including one with pricked detail. I can also use all my circle and scalloped circle dies with it.
 
I look forward to using them all!!!
 

Sunday, 14 August 2011

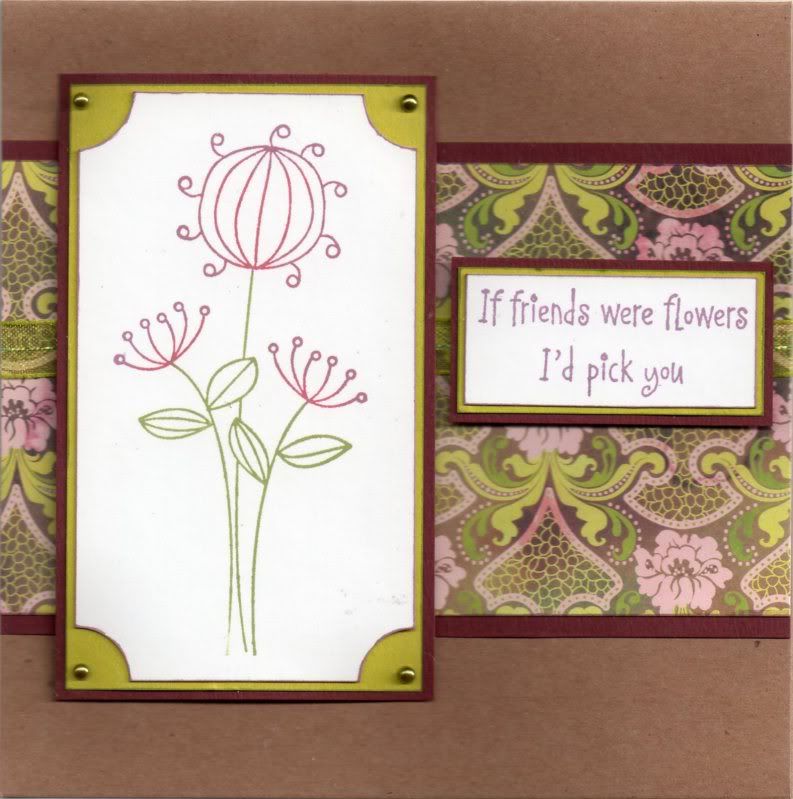
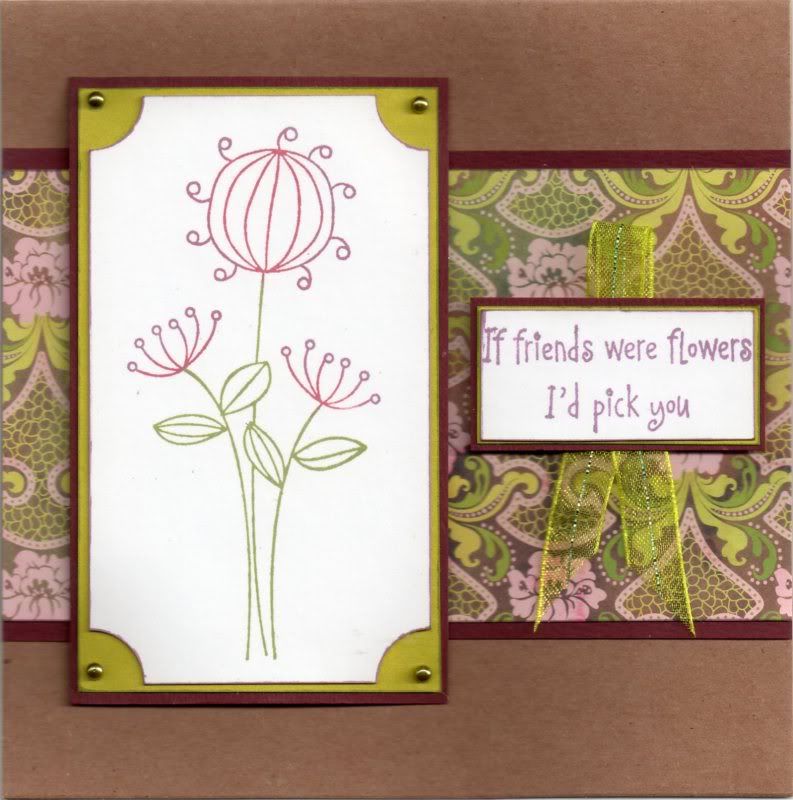
Burgundy and Lime Curly Flowers Friends

This card was made with a stamp I bought from a fellow crafter who was having a clear-out. I also used the Memento inks I bought from her too!! I really must have a clear-out myself - I just seem to be helping everyone else clear out!!


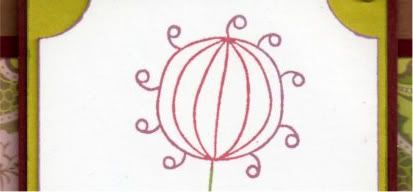
The Curly Flower image, from Hero Arts, was inked up using the Sweet Plum, Bamboo Leaves and Rhubarb Stalk Memento inkpads. The corners of the panel were punched using the Woodware Inverted Corner punch and matted onto lime green paper and burgundy card.

Lime green self-adhesive pearls, from the Hobby House Green To Go set, were added in the corners.

A panel of the French Lace paper from the Basic Grey Eva paper pad was matted onto the burgundy card and a length of lime green organza ribbon was wrapped around the panel and then added across the Papermania Kraft card blank.

The image panel was added to the left of the panel.


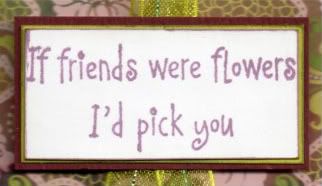
The sentiment, from Elzybells, was stamped using the Sweet Plum ink and matted onto the lime green paper and burgundy card and added to the right of the card blank.


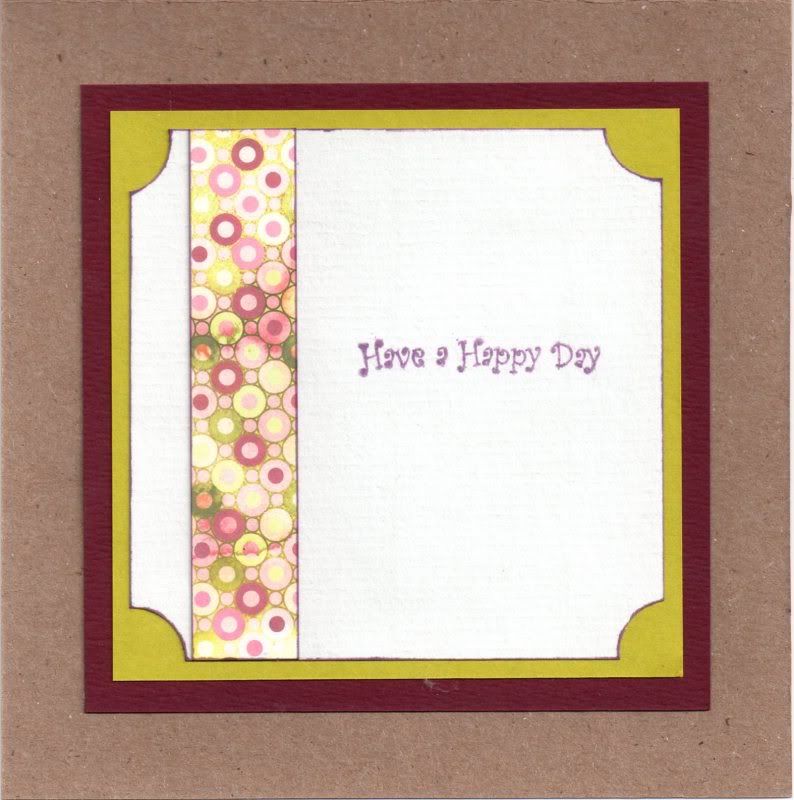
The inside of the card was also decorated using a strip of the Courtier paper from the Eva paper pad, and the sentiment from the Papermania Clare Curd Sentiments stamp set inked with the Sweet Plum ink.


On the original card I made, I forgot to wrap the ribbon around the panel before I stuck it to the card blank so added a loop of the ribbon behind the sentiment panel.


Here are the blog challenges I am entering this card into:

Monday, 27 June 2011

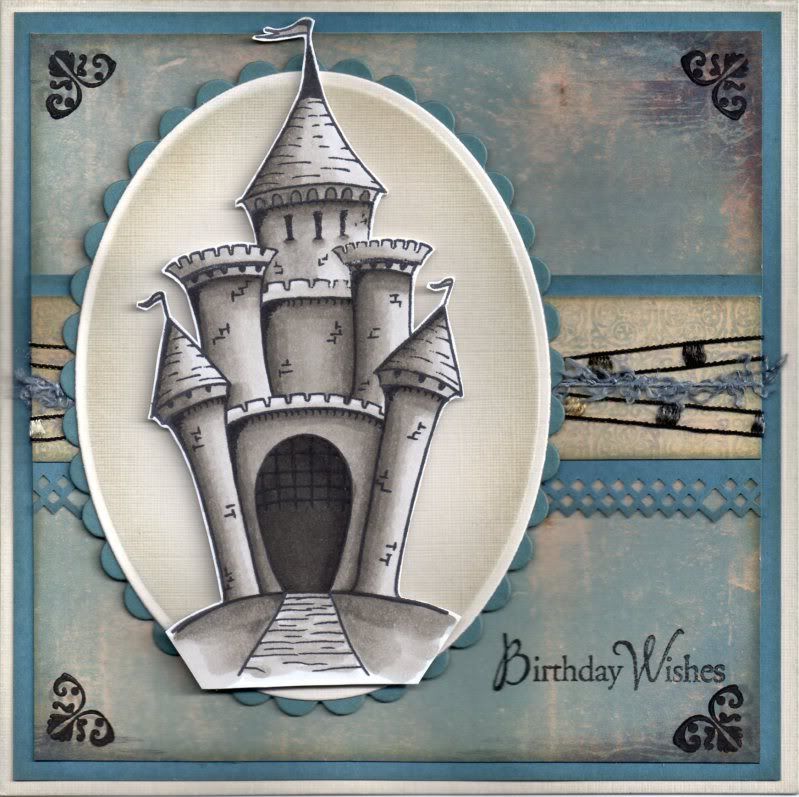
Blue and Grey Paper Artsy Castle

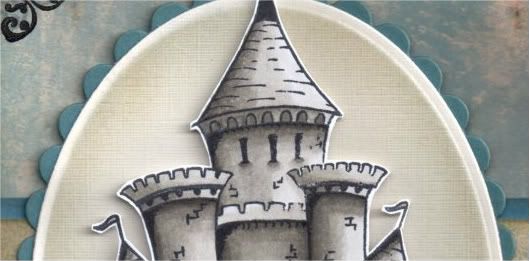
So, as promised, here is the card I made using the Castle stamp from the Paper Artsy Crowns and Castles 4 stamp set.


The Castle image was stamped using Memento Tuxedo Black dye ink and coloured with Copic markers:
  • Castle: W1, W3,W5,W7,W9
The image was then cut out.

Using Nestabilities dies, a petite cream oval and petite scalloped blue oval were die cut. Keeping the cream die cut within the die, the edges were distressed using Tim Holtz Weathered Wood and Antique Linen distress inks with shaving brushes. I much prefer the effect using the brushes to the Cut & Dry foam as I always get heavy smudges when I use the foam, whereas this gives a much softer look.

The Castle image was then mounted in the centre of the ovals.

A panel of the cream and blue medallion paper from the DCWV Once Upon A Time mat stack was then matted onto a strip of the blue card punched with the XCut Diamonds border punch and lengths of brown ladder ribbon and blue fibre from the HOTP Sapphire Sarabooks fibres were wrapped around it.


This was then matted across the blue distressed birds paper from the same mat stack. The edges of all of these pieces were distressed with the two distress inks and then matted onto blue card.

The corners of the blue distressed paper were then stamped using a small corner flourish stamp from the Fiskars Friends Forever Quotes stamp set and Versafine Smokey Gray archival pigment ink and then overstamped with Brilliance Graphite Black pigment ink.

The Birthday Wishes sentiment, from the Hero Arts Birthday Messages stamp set, was stamped in the bottom right corner also using the Graphite Black ink.

Here are the challenges I am entering this card into:

Friday, 24 June 2011

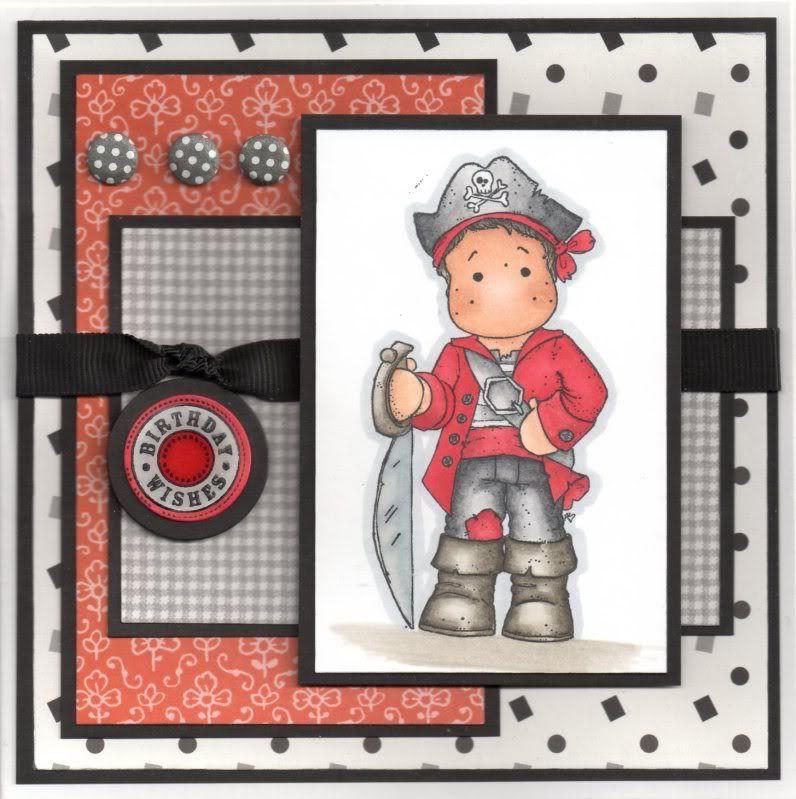
Red, Black and Grey Captain Edwin

This card was based on a layout in Issue 68 of Papercraft Essentials magazine.


The Captain Edwin image, from Magnolia, was stamped using Memento Tuxedo Black dye ink and coloured with Copics:
  • Hat/Trousers/T-Shirt/Belt: N1, N3, N5, N7
  • Jacket/Bandana: R20, R24, R27, R29, R32, R37, R39
  • Sash/Patch: R32, R37, R39
  • Boots/Sword Hilt: W1, W3, W5, W7
  • Sword Blade/Buckle: C0, C2, C4
  • Buttons: N5
  • Hair: W3, W5, W7
  • Skin: E00, E13, E21, E51
  • Shadow: W1, W3
  • Outline: C2
The image was then matted onto black card.

Patterned papers from the Dovecraft Charcoal Designer paper pack (Dots and Squares), Papermania Monochrome Capsule Collection paper pad (gingham) and Papermania Red Hot Capsule Collection paper pad (red Clover Leaf) were cut to size and matted on the black card and layered up.


A length of black grosgrain ribbon was knotted and added across the layers and the image panel added over the top.

The Birthday Wishes circle sentiment, from the Hero Arts Birthday Messages stamp set, was stamped using Brilliance Graphite Black pigment ink and coloured using Copics:
  • Sentiment Circle: R24, R27, R29, C2
This was then added beneath the knot of the ribbon.

Three dark grey polka dot Card Candi, from Craftwork Cards, were then added in the top left corner.

The sword blade in the image and the circle sentiment were then both highlighted with Anita's 3D gloss.

Here are the blog challenges that I am entering this card into:

Tuesday, 21 June 2011

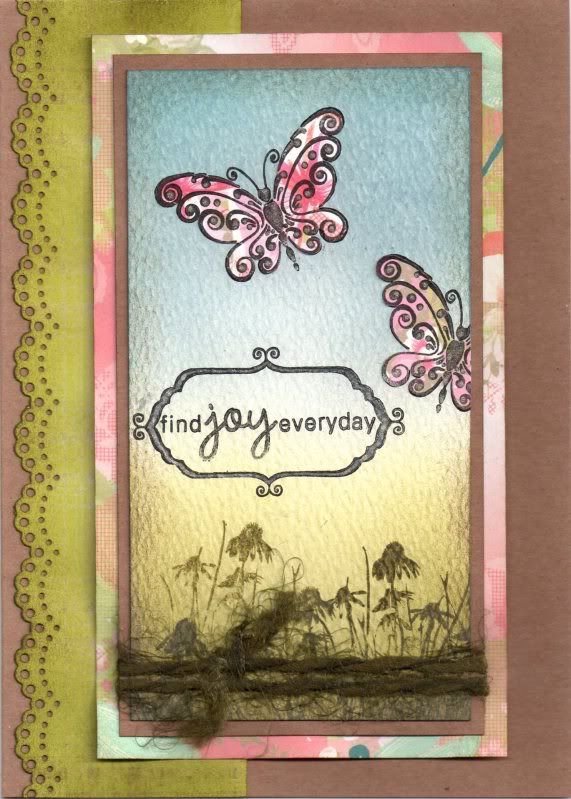
Pink Green and Blue Paper Pieced Butterflies

Well, as promised here is my attempt at colouring with Distress Inks and the shaving brushes from Wilkinsons in place of the much more expensive Inkdusters or similar. The card I made, an anniversary card, was actually based on a beautiful tag created by the very talented ClarkyJ and you can see her stunning masterpiece here.

Having looked back at Janet's tag, I realized hers looks more balanced as she has followed the 'rule of thirds' whereas mine is more half and half. I shall try and remember that for the future!!


I started by stamping the Butterfly image, from Chocolate Baroque/Craft Stamper, onto pieces of the pink butterfly paper from the Papermania Summer Bloom paper pad using Brilliance Graphite Black pigment ink and cutting them out.

A piece of white textured card was coloured using the shaving brushes and a selection of Tim Holtz Distress inks. The green area was created using Shabby Shutters and Forest Moss and the blue area using Weathered Wood and Faded Jeans. The edges were then distressed with the Walnut Stain ink. In retrospect, I think maybe Antique Linen may have been a better idea - never mind!

The green area was then overstamped using the Forest Moss ink and the Cone Flower and Grass stamp from the Inkadinkado Meadow stamp set.


The butterfly image was stamped a couple of times onto the blue area and then paper pieced using the pieces already cut out. The excess was cut away from the edge of the panel.


The sentiment, from the Hero Arts Anytime Messages stamp set, was then stamped onto the panel using the Graphite Black ink and then a frame from the Papermania Mix and Match Frames stamp set was stamped to go around it. The frame section was coloured in using a black Whispers Brushstroke marker.

A clear Sakura Stardust pen was then used to trace over the frame and the word 'JOY' and on the swirly sections of the butterflies. You can just make it out on the above pictures.

A length of green fibres from the HOTP Emerald Sarabooks Fibre Pack was then tied around the panel and this was then matted onto a panel of the pink dragonfly paper from the Summer Bloom paper pad.


A strip of the lime green plaid paper from the same paper pad was punched using the Martha Stewart Doilly Lace border punch and distressed with the Forest Moss ink. This was matted directly onto the card blank and the image panel matted over the top to the right of the card blank.

Here are the challenges I am entering this card into:

Wednesday, 6 April 2011

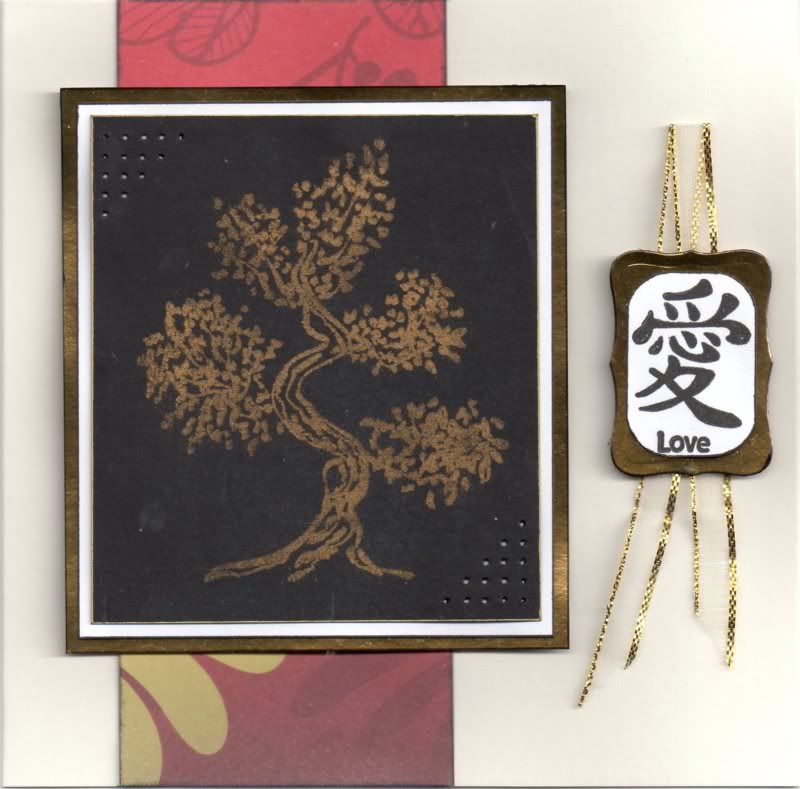
Red Black and Gold Bonsai Tree

Here is the card that I made for my hubby's birthday today. I wanted to make something a little bit different as he's had Edwins the past couple of years.


I decided to go with an oriental theme and used my reasonably new Papermania Oriental Treasures stamps and papers.

The Bonsai Tree image was stamped onto black card using Emboss Clear pigment ink and dusted over with Stamps Away Gold Lustre Iridescent Mica Pigment powder. Unfortunately you can't really see the shimmerr that these powders give the image in this scan. The corners of the panel were then pierced using the Stampin' Up piercing template (Mat Pack) and then matted onto white and Craft Planet Gold Mirror card.

A strip of the red and gold ginkgo leaf paper from the Papermania Oriental Treasures paper pad was matted onto the card blank and the image panel was matted over the top.


The Love character from the same stamp set was stamped using Versafine Onyx Black archival pigment ink and the Love word was stamped below it. The corners were then rounded using the small corner rounder punch by Avec and matted onto a gold mirror panel die cut using a Labels 8 Nestabilities die. A length of cream and gold organza ribbon from the Papermania Sparkly trim pack was then adhered behind the panel.

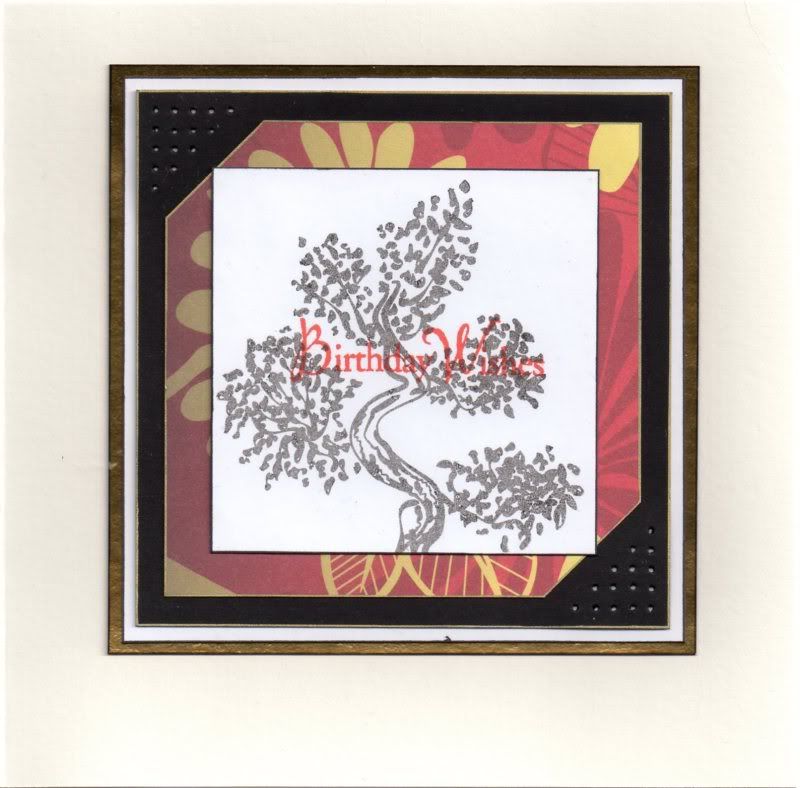
I also decorated the inside of the card and decided to produce a faded image of the tree on the inside.

A second generation stamping of the Bonsai Tree image was stamped onto a panel of white card and overstamped with the Birthday Wishes sentiments stamp from the Hero Arts Birthday Messages stamp set using Adirondack Red Pepper dye ink.


This was then matted onto a panel of the red and gold ginkgo paper and then onto panels of the black, white and gold mirror cardstocks.

Here are the challenges I am entering this card into:
Blog Widget by LinkWithin