Pages

WELCOME

This blog was created to act as a record of the cards and other projects that I have made. It is for both my own reference and to help inspire anyone who wants to take a look.

I'd love it if you'd leave me a comment so that I know what you think of my projects and that you've been to visit!

Anyone can comment, even those who don't have a blog. (Just look for the word 'Comments' under the three little pictures at the end of each post). Readers without a blog can add an anonymous comment, but please leave your name (and docrafts username if applicable) so I know who you are!

Slideshows of all the cards I've uploaded to my blog can be found at the bottom of the page.


PEOPLE WHO FOLLOW MY BLOG

Showing posts with label ribbon. Show all posts

Friday, 27 November 2015

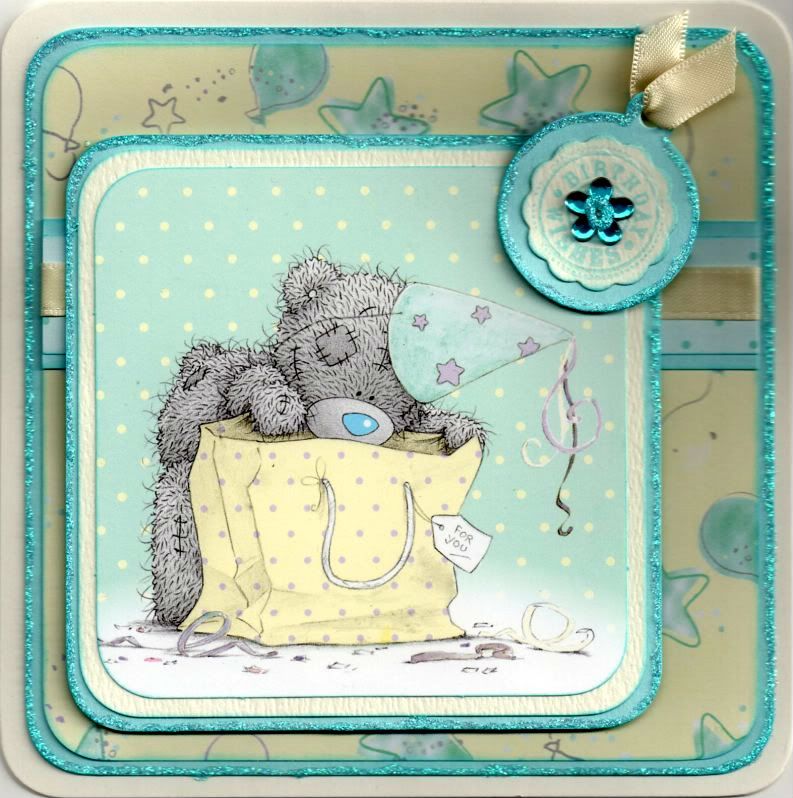
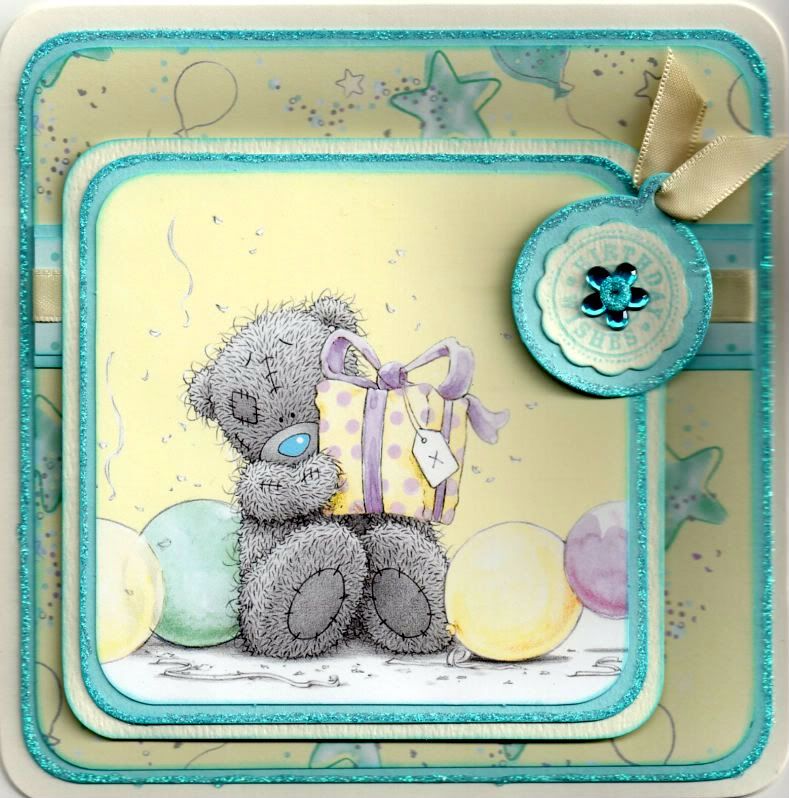
Cream and Blue Tatty Teddy Panels

Another look back into the past here with a couple of old cards from 2011!!!

These are a couple of quick cards I made for a couple of 8-year old girls using the printed panels in the Me To You Especially For You paper pack.


The corners of the printed image were rounded using the large XCut corner rounder punch and matted onto light blue and cream card.

A strip of the blue polka dot paper from the same paper pack was matted onto the light blue card and a length of cream satin ribbon was wrapped around and matted onto a panel of the yellow stars and balloons paper. This was then matted onto the light blue card.

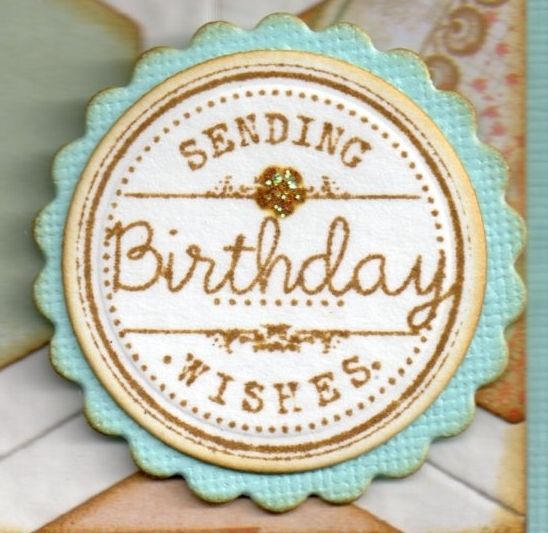
A tag was die cut from the light blue card using the Cuttlebug round tag die. A big scalloped circle was die cut from cream card using a Nestabilities die and stamped with the 'Birthday Wishes' circle sentiment from the Hero Arts Birthday Messages stamps set using ColorBox Aqua pigment ink. The scalloped circle was matted onto the tag and a blue Papermania flower gem was added in the centre. A short length of the cream satin ribbon was threaded through the tag and added in the top right corner of the image panel.

All the edges of the blue layers and the centre of the flower gem were highlighted with Craft Planet Ice Blue glitter glue.

A similar card was made with a different image panel from the same paper pack.

Thursday, 29 October 2015

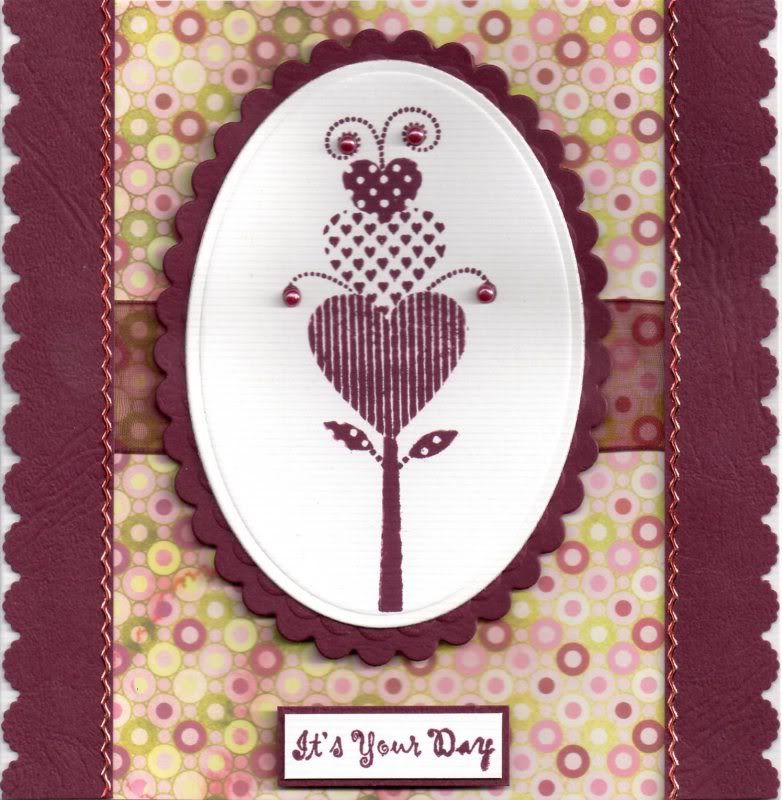
Burgundy, Pink and Green Pink Gem Heart Flower

So, in the spirit of #TBT, I have decided to post one card each week that is a few years old and still waiting to be blogged.

This particular card was made back in 2011 I believe, using a stamp set that I won from Pink Gem Designs, called Funky Flowers.

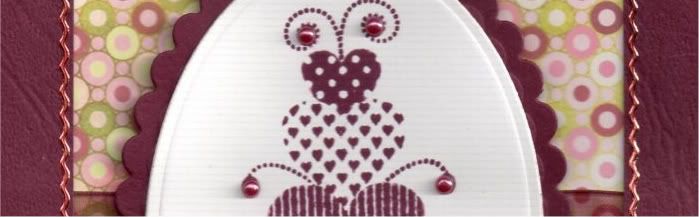
The Heart Flower image, from the Pink Gem Funky Flowers stamp set, was stamped using Adirondack Currant dye ink and die cut using a Petite Oval die from Nestabilities, and matted onto a burgundy Petite Scalloped Oval.

A length of burgundy organza ribbon was wrapped around a panel of the Courtier paper from the Basic Grey Eva paper pad and adhered to the card blank.

Two borders were punched from the burgundy cardstock using the EK Success Scalloped Scallop border punch and adhered over the edges of the patterned paper.


The 'It's Your Day' sentiment, from the Papermania Clare Curd Sentiments stamp set, was stamped using the Currant dye ink and matted onto the burgundy cardstock.

Burgundy self-adhesive pearls, from the Hobby House Ruby Mix, were added to the Heart Flower image, and gold border peel-offs, from Lakeland/Starform were coloured with a red Copic marker and added along the edge of the border strips.

Yes, I know, peel-offs!!!! I wonder if they will make more appearances in these throwback posts???

Tuesday, 27 October 2015

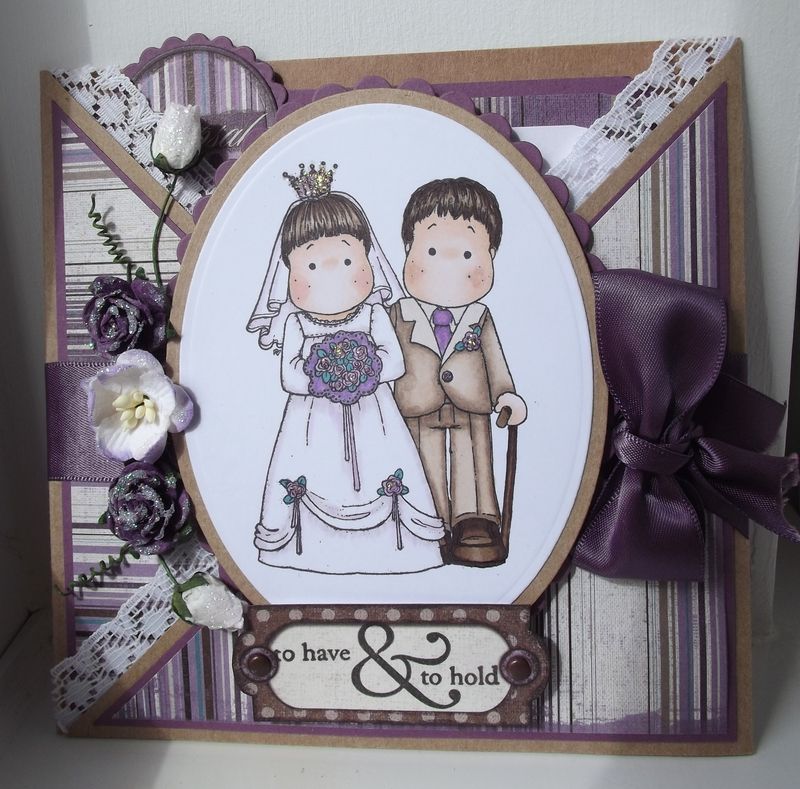
Mauve and Brown Tilda and Edwin Wedding Criss-Cross Card

This is the first of two wedding cards that I made for hubby's cousin and her new husband.
 
They had an amazing reception on board HMS Warrior. It really was remarkable (if a little dark) eating your meal at the tables in the same conditions as the seamen. The kids thought it was great as well, as they had the run of the ship for the whole evening.
 
The inspiration for this card came from this card by Christine, that you can see on her blog here.
 
 
This is a style of card that I've been wanting to make for a number of years now, especially having seen the wonderful cards that Teresa makes!!!

The card in question is a criss-cross card, that actually requires a stand in order to actually stand up, or needs to be leant up against the wall.

Two pieces of craft card were cut to 5.75" x 11.5" and scored in half to create two 5.75" square card blanks. The upper triangle was then cut away from each piece, one on the left flap, the other the right. The two pieces were then adhered together in the centre to create the basis of the criss-cross card.

Each of the front panels were then decorated with mauve card and striped patterned paper from the HOTP Vintage paper pad. A length of ivory lace was then attached to the inside of both of the flaps.

The next step was to stick down the two flaps, but ensuring that they created a pocket to enable a tag to be slotted into the card at a later date. This was done by adding red-liner tape to the lower edge of the left flap and adhering down to the centre panel. The right hand panel had red-liner tape added to the lower edge and a little way up the diagonal side.
 

The image, Classic Bridal Couple by Magnolia, was then stamped using Memento Tuxedo Black ink and coloured using Copic markers:
 
Tilda
Hair: E41, E43, E44, E49
Skin:  E000, E00, E21, R20
Crown: W1, V12, V15
Veil/Dress: V12, W1
Flowers: V04, V12, V15
Leaves: BG09
Lace Frill (Bouquet): V17
Ribbons: V15
 
Edwin
Skin: E000, E00, E21, E13
Hair: E41, E43, E44, E49
Suit: E40, E41, E43, E44, E49
Shoes/Cane: E43, E44, E49
Shirt: E40
Tie: V12, V15
Button: V15
 
The image was diecut using a Classic Oval Nestabilities die and matted onto a Kraft oval and mauve Scalloped Nestabilities Oval.
 
A length of mauve satin ribbon was wrapped around the whole card and the image panel adhered on the front of the card. A bow was tied in a length of the ribbon and added to the side of the image panel.
 
 
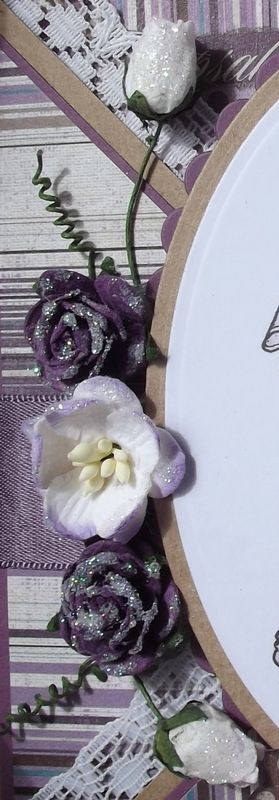
A bouquet of paper flowers from Wild Orchid Crafts were then added to the left of the image panel, which were dusted in DecoArt Crystal Glamour Dust. 
 

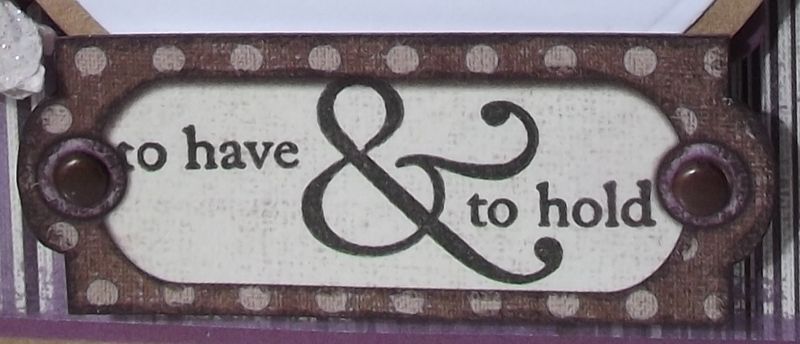
The last step for the front of the card was to add the sentiment. The panel was taken from the Vintage paper pad, and stamped using the 'To Have & To Hold' stamp from the American Crafts Wedding stamp set. A couple of brads were added to the sentiment panel and this was then added below the image panel.
  
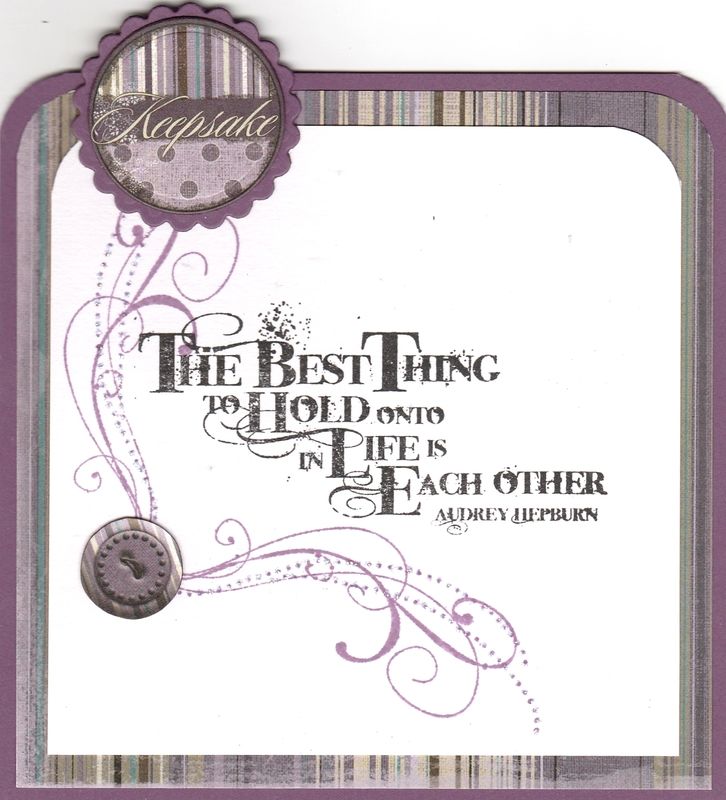
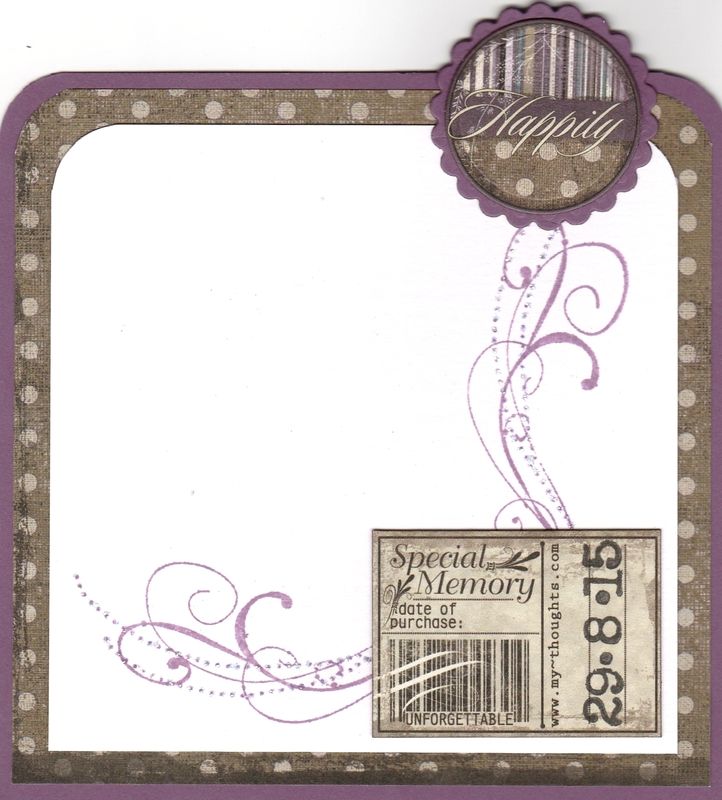
To finish the card, a tag was created using papers and tags from the Vintage paper pad. The front of the tag was stamped using a Lili of the Valley sentiment stamp and Versafine Onyx Black archival pigment ink and a flourish stamp from the Autumn Leaves Rhona Farrer Flourishes v2 stamp set, stamped with Memento Sweet Plum ink.
 

The reverse was also stamped using the flourish stamp and a tag from the Vintage paper pad was added in the corner. The date of the wedding was stamped onto the tag using number stamps from the Labelled With Love  stamp set that was free with the Simply Homemade magazine.
 
 
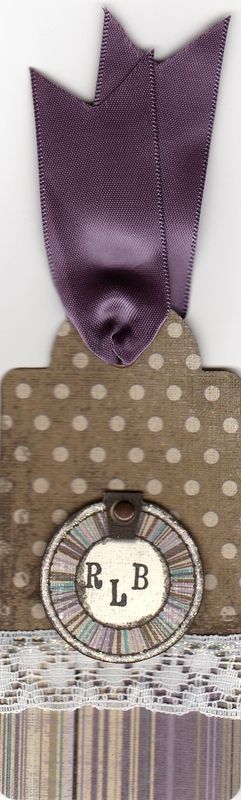
To accompany the card, a tag was created to go on to the wedding present. This was made using papers from the Vintage paper pad, a short length of lace and the mauve satin ribbon.
 
The bride and groom's initials were added to a tag from the paper pad using a Dovecraft mini alphabet stamp set. A brad to match the front of the card was added to the initialled tag before it was attached to the front of the tag.
 

Sunday, 25 October 2015

Brown, Cream and Blue Patchwork Background Bumble Bee Gorjuss Girl

Well, as promised, here is an older card that I made that is waiting to be blogged. This is a card that I made for my mum's birthday using the Bumble Bee Gorjuss Girl by Sugar Nellie.

I also decided to use my Sizzix Hexagon Framelits dies and create a patchwork background.


So, the image was stamped using Memento Tuxedo Black dye ink and coloured using Copic markers:

Hair: E31, E33,E35
Skin: E000, E00, E04, E21, R20
Sash/Hearts/Socks: YR04, W1
Wings/Dress: G00, G21,W1

The image was then fussy cut.


A Classic Oval Nestie was used to die cut white card and was embossed using the Sizzix Basic Grey Snow Cap embossing folder. This was then matted onto a scalloped oval of sky blue cardstock from the DCWV Brights Matstack.

A number of hexagons were die cut from ivory hammer cardstock as well as papers from the Prima Songbird paper pad. These were matted and layered together and pieced together on a square of the sky blue cardstock to create the background.


A length of the Dovecraft blue and brown striped ribbon was knotted and then adhered across the patchwork panel before the panel was adhered to the cardblank.
The Gorjuss Girl image was then matted onto the ovals and then they were added to the centre of the patchwork background.

The sentiment, from the Wild Rose Studio Birthday Circles stamp set, was stamped using Tim Holtz Frayed Burlap distress ink and die cut with a Nestie circle die and matted onto a scalloped circle Nestie diecut.

As a finishing touch, Ranger Crystal Stickles glitter glue were added to the wings on the image and details on the sentiment.

Friday, 16 September 2011

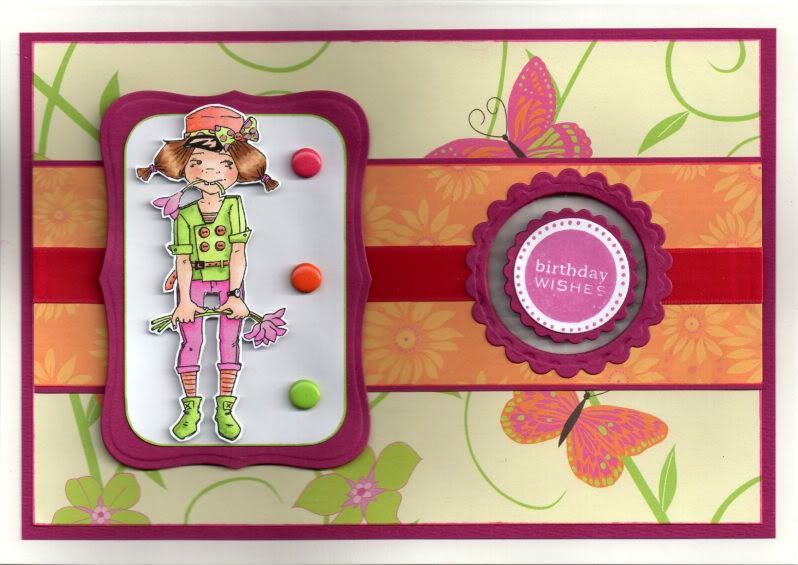
Citrus Lily With Moving Sentiment - Lia Stampz Challenge #3

Well, here goes!! Here is my very first DT card! I was very kindly asked by the ladies at Lia Stampz to join their DT team. The images designed by Lia are pretty quirky and I look forward to using them! You can find them here


Lia Stampz, digital stamps


This card is made for Challenge #3 over at Lia Stampz which was to include a moving element. This took me completely out of my comfort zone I can tell you and took quite a bit of thought and research. In the end, I decided on a card with a moving sentiment. I followed the tutorial over on the Splitcoaststampers site, and you can see the tutorial here.


I've made this card for my sister as I think she'll appreciate the quirky nature of the image. She lives in (sunny) Spain and is enjoying much warmer weather than us here in the UK.

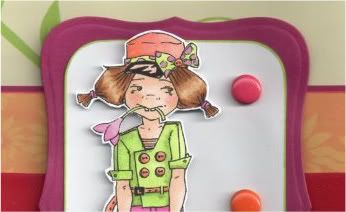
The image, a digi from Lia Stampz called Lily, was coloured using Copic sketch markers:
  • Skin: E00, E11, E21, R02
  • Hat/Top/Socks: YR00, YR02, YR04
  • Bow: RV04, RV11, YG11, YG13
  • Hair: E31, E33, E35, E37
  • Jacket/Boots: YG11, YG13, YG17
  • Flowers/Trousers: RV04, RV06, RV09, RV11
  • Stems: YG13, YG17
  • Hair Ties: RV06, RV09
  • Eyes: YG13, E35
  • Belt/Buttons: YR02, YR04
  • Watch Glass: C0
The image was then cut out.

The image was then matted onto a panel of white card and a panel of hot pink card die cut with a Nestabilities Labels 8 die. Three brads, from the HOTP Ultimate Cardmaker's Creative Pack embellishment kit were then added to the image panel.


An aperture was cut into the card blank using a Classic Circle Nestabilities die. Unfortunately, I don't have a Grand Caliber so I had to cut my aperture through the front and back of the card blank. I tried to cut through just the front, with the back of the card folded over the cutting plate, but it got too damaged to be used so I just cut through the front and back!

A strip of the orange daisies paper from the Dovecraft Kate Knight Wild Blossom paper pack was matted onto the hot pink card and a circle die cut from it the same size as the aperture in the card, making sure it fitted over the aperture. Hot pink satin ribbon was then wrapped around the panel either side of the aperture.

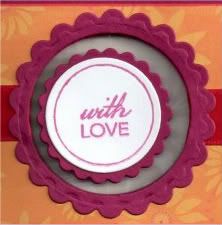
A length of Invisithread was then added across the aperture. Two circles were then die cut from white card and the sentiments from the Personal Impressions Paula Pascual Mixed Sentiments stamp set were stamped in the centre of them using Memento Lilac Posies dye ink. There were matted onto Classic Scalloped circles of pink card and adhered to the Invisithread.


A panel of the light green butterfly paper from the same paper pack was matted onto the pink card and the location of the aperture was marked and then die cut with the circle die. The two patterned paper layers were then matted up and onto the card blank.

A scalloped frame was then created using Nestabilities dies from the pink card and added around the aperture.


The image panel was then added to the left of the card blank.


The inside of the card was also decorated.

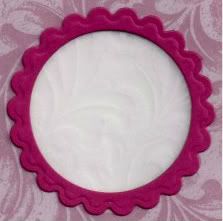
Having cut a whacking great hole in the back of my card, I decided to make a feature of it and so decided to use vellum.

A panel of the pink card and a panel of the leaves vellum from the Papermania Exquisite Vellum Collection pack were die cut to fit over the aperture.

A small panel of the vellum was then added to the reverse of the pink panel and a scalloped frame was cut from the pink card to go around the aperture.


A panel of the orange daisies paper was matted onto the vellum with a panel of writing paper. This was then stamped with the sentiment from the Mixed Sentiments stamp set using the Lilac Posies ink.

So, having seen my card, please pop over to the Lia Stampz blog and have a look at all the different types of 'moving element' cards they've come up with.

Here are the blog challenges I'd like to enter this card into:

Thursday, 8 September 2011

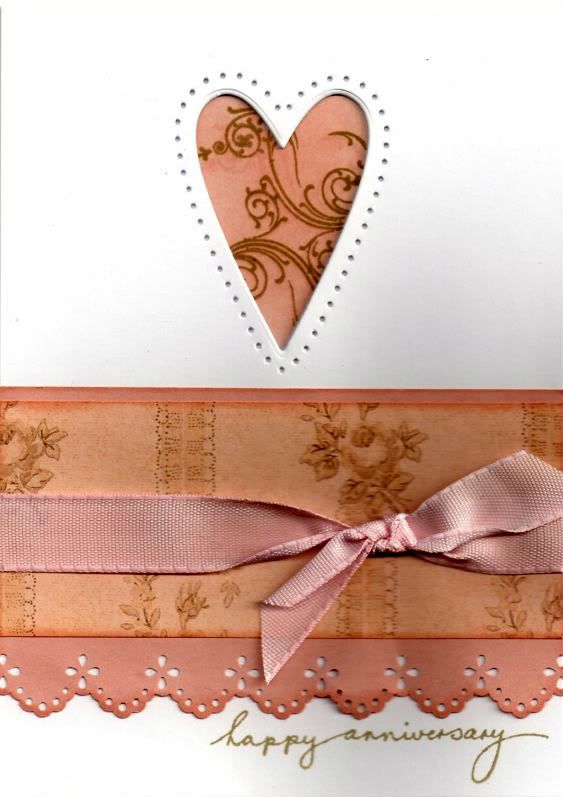
Pink and Brown Reverse Masked Heart Aperture Anniversary

Well, I don't know about you but I've had enough of masculine cards so here's a more feminine anniversary card for you!

This card was inspired by a card I saw over on the Splitcoaststampers gallery by MarieMc and you can see the card that she made here and here on her blog.

I needed to make a couple of anniversary cards and thought this idea would work really well. I'm thinking I might try it with my butterfly die too.


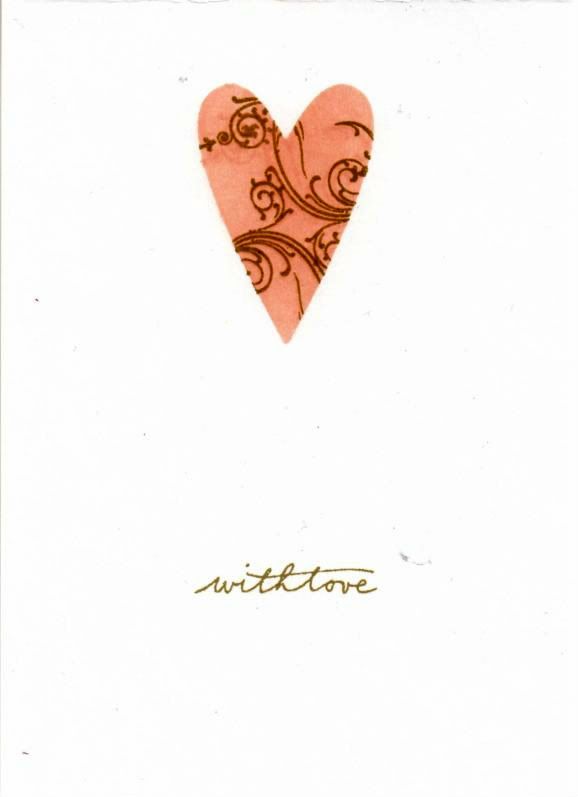
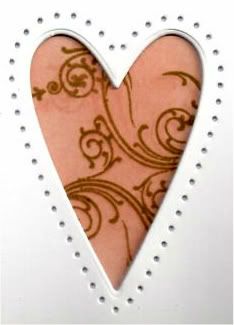
The heart, from the Marianne Creatables set of three heart dies (LR0159), was cut from the card front. A mask was also cut and affixed to the inside of the card behind the aperture so that it lined up.

Colour was added through the mask using Tim Holtz Tattered Rose distress ink and then overstamped using the Tattered Rose and Frayed Burlap distress inks using the flourish stamp from the Personal Impressions Paula Pascual Mix and Match Sentiments stamp set.


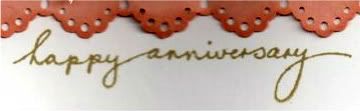
The sentiment, from the Woodware Jane's Script sentiment stamp set was then stamped on the inside using the Frayed Burlap ink.

Using the Stampin' Up Mat Pack piercing template, holes were then pierced around the heart aperture.


A panel of pink paper was punched using the Eyelet Lace border punch from Martha Stewart, and a strip of the pink floral stripe paper from the Papermania Regency paper pad was matted onto it. A length of pink woven ribbon was then knotted around it and the panel added to the card blank.

The sentiment, also from the Jane's Script Sentiment stamp set was then stamped at the bottom of the card blank using the Frayed Burlap ink.

 
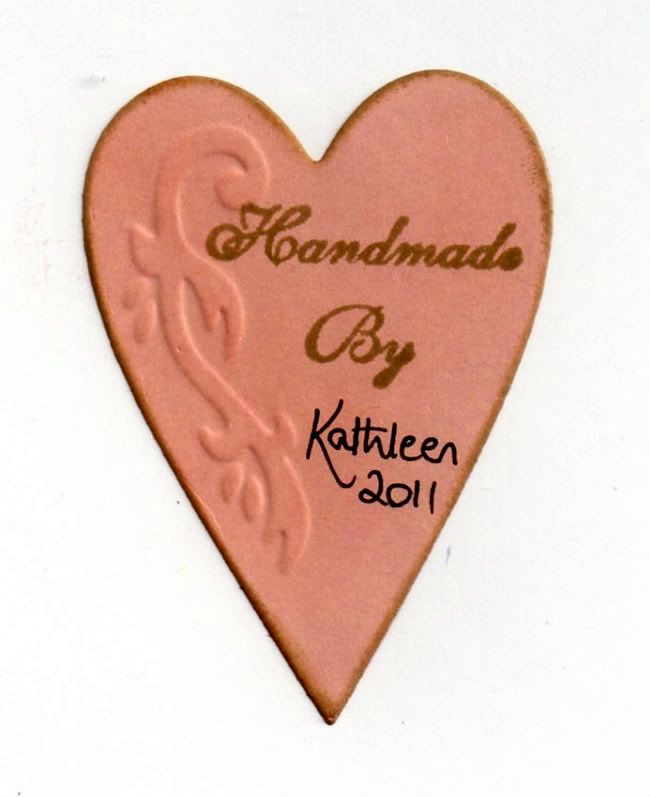
As my personalized 'Handmade By' stamp is a circle and I felt sure you would be able to see it through the card blank if I stamped it on the reverse of the card, I decided to die cut a heart from the pink paper using another of the heart dies in the Marianne Creatables die set. The embossed design was highlighted with the Frayed Burlap ink, and 'Handmade By' was stamped on it using a stamp from the Aspects Of Design Botanical stamp set from The Stampman. It was then added on the reverse of the card behind the inked heart on the inside of the card.


Here are the blog challenges I am entering this card into:

Wednesday, 24 August 2011

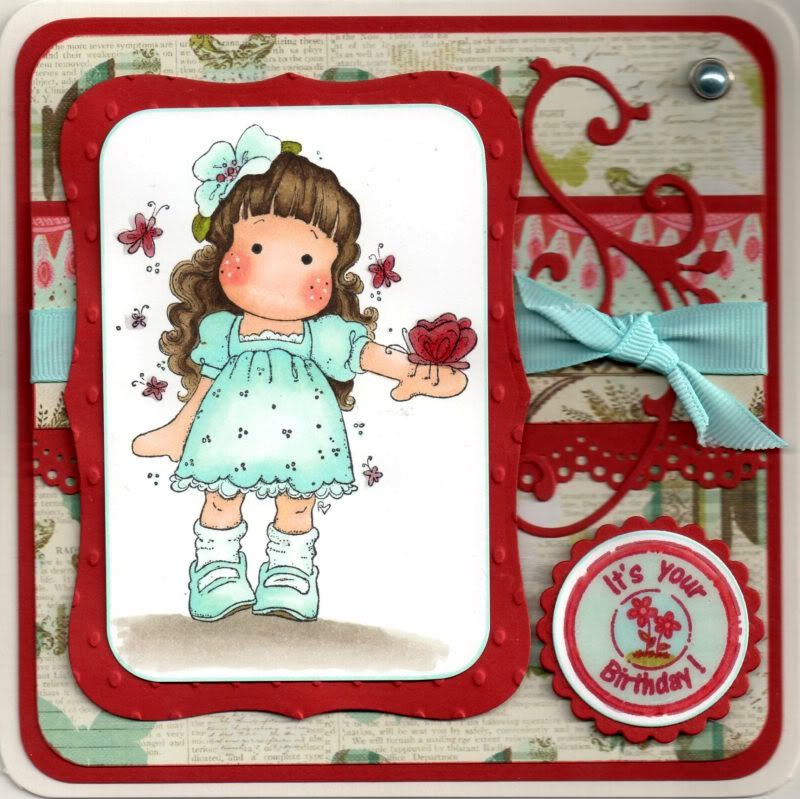
Red and Aqua Tilda With Hawaiian Flower

The Tilda with Hawaiian Flower image from Magnolia was very kindly donated to me by the lovely, talented Teresa/Craftingallday.

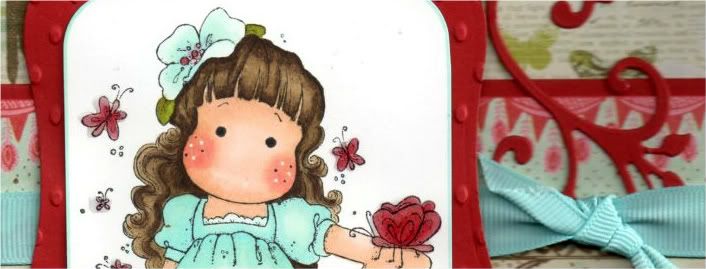
The image was stamped with Memento Tuxedo Black dye ink and coloured with Copic sketch markers:
  • Hair: E43, E44, E49
  • Skin: E00, E21, E51, R02, R20
  • Dress; B00, BG10, BG11
  • Flower: B00, BG10, BG11, R32, R37
  • Leaves; YG13, YG95, E44
  • Butterflies: R32, R37, R39
  • Socks: BG10
  • Lace Frills: BG10
  • Shoes: B00, BG10, BG11, E44
Tilda's cheeks were then highlighted with the Papermania Snow White gel pen.

Once again, large parts of this image were coloured using the Transfer Technique as discovered in the Copic Colouring Guide, using both the lighter shades and the blender pen.

The image panel was then trimmed and the corners rounded with the large XCut corner rounder punch. This was then matted onto a panel of red card die cut using a Labels 8 Nestabilities die and embossed with the Indentz Ellipse embossing folder.

A strip of the blue floral border paper from the Prima Madeline paper pad was matted onto a strip of the red card that was punched with the Martha Stewart Doilly Lace punch. A length of aqua grosgrain ribbon was wrapped around the strip and a shorter piece was knotted to the right.

This strip was then attached across a panel of the butterflies paper from the same paper pad and a Marianne Creatables leaf flourish die cut, also cut from the red card, was tucked under the ribbon.

The image panel was then added over the ribbon.

A large pale blue pearl brad from Papermania was added in the top right corner.

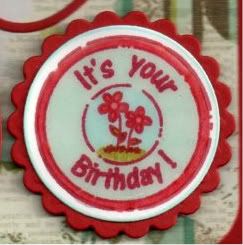
The circle sentiment, from Aud Designs, was stamped using Memento Rhubarb Stalk dye ink and coloured with Copic markers:
  • R32, R37, BG10, BG11, B00, YG13, YG95

This was then die cut using a classic circle Nestabilities die and matted onto a red classic scalloped circle.
Once the card was fully assembled, the circle sentiment and the butterflies in the image were then highlighted using Ranger Glossy Accents.

I also decorated the inside of the card using a strip of the border paper matted onto a strip punched with the Doilly Lace punch. The sentiment stamp, from the Papermania Clare Curd Sentiments stamp set, was stamped using the Rhubarb Stalk ink.

Here are the blog challenges I am entering this card into:

Saturday, 20 August 2011

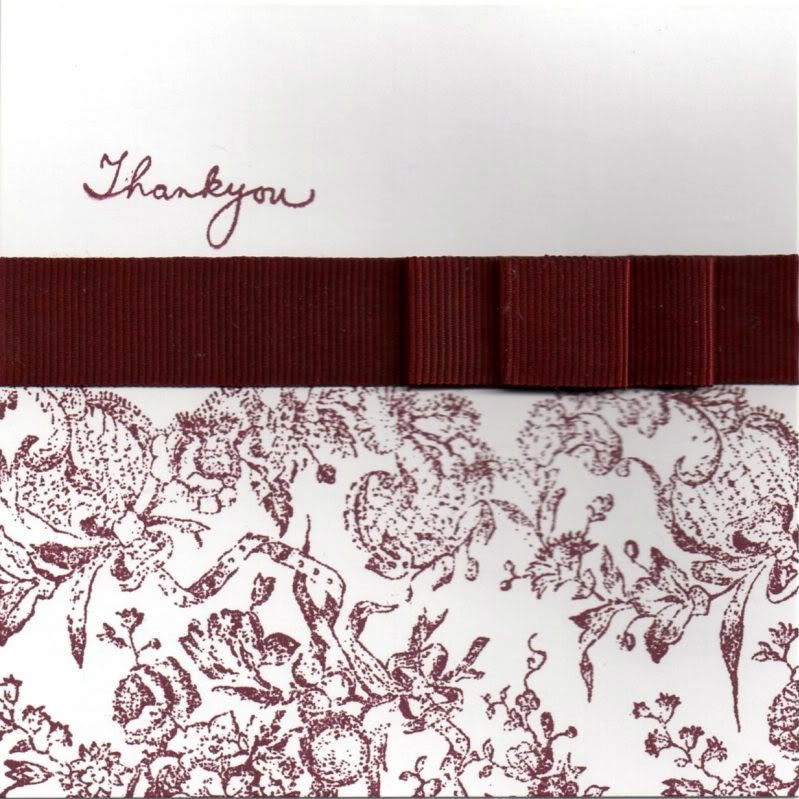
Burgundy Floral Thank You

This card was inspired by a card I saw over on Kerry/Pickle's blog.

I changed the layout a bit but I'm sure you can see the influence!


The picture isn't the best as it was scanned in and I always struggle with white cards and cards with dimension!!

The floral background stamp, from the Non Sequitur Memories of Italy stamp set, was stamped directly onto the card front using Adirondack Currant dye ink.


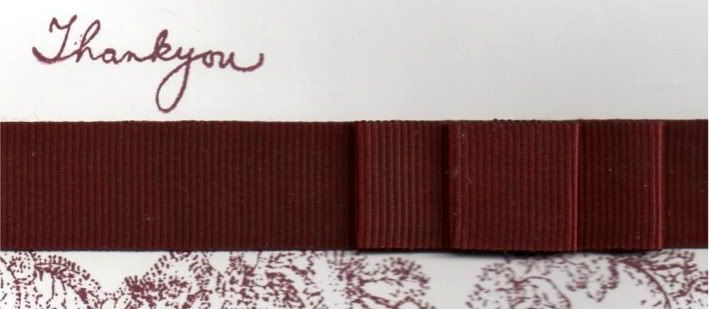
A length of burgundy grosgrain ribbon was attached across the card blank and a faux bow was created from two lengths of the ribbon.

Just wanted to add a tip on how to make the faux bow.
I created two loops of ribbon from a 9cm and 4cm length of ribbon, joining the loops with narrow double-sided tape. A small piece of double-sided tape was added in the centre of the loops to create two small side -by-side loops in a sort of figure of eight shape. The smaller loop was stuck on top of the larger one and both stuck to the length of ribbon. You could also add a brad in the centre to ensure they maintain their shape.

The sentiment, from the Woodware Jane's Script stamp set, was stamped using the Currant ink above the ribbon.

Here are the blog challenges I am entering this card into:

Wednesday, 27 July 2011

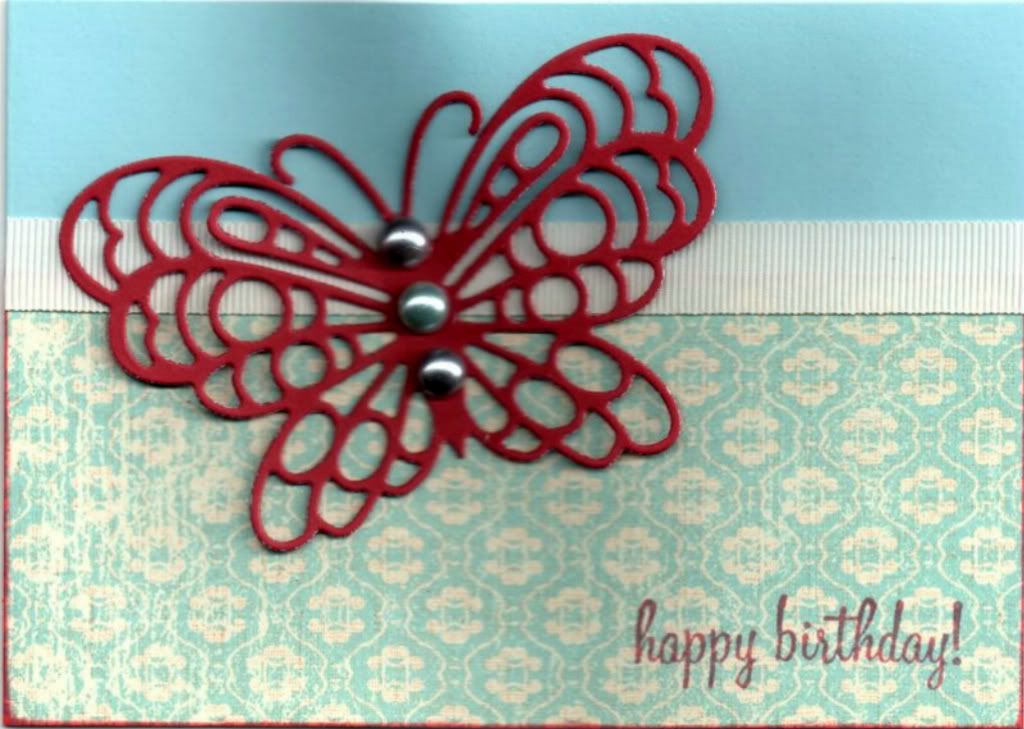
Red and Blue Butterfly Landscape

This was a really quick and simple card to make - something I really need at the moment to try and get on top of the list of cards I need to make.

The die is one that I bought at the Newbury Artstamps Show at the start of July - and it was reduced in price so a bit of a bargain.

I started by inking the edges of a panel of the light blue Moroccan Tile paper from the K&Co The Best of K&Co Too paper pad using ColorBox Maroon fluid chalk ink and then attached it to the bottom of a side fold A6 card. A length of cream grosgrain ribbon was then added across the join.


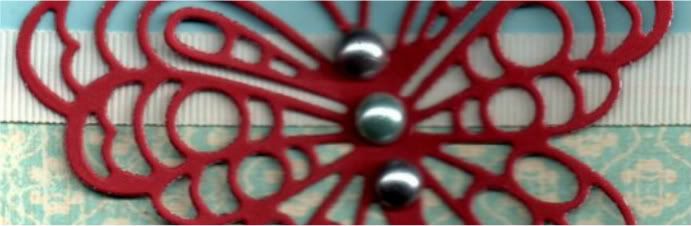
Using my new Marianne Creatables Butterfly 2 die, a butterfly was die cut from red card and added in the top left corner, adhering only the body of the butterfly to the card so the wings are fluttering.

The body of the butterfly was then embellished with large grey and aqua pearls from the Create and Craft carousel.


The sentiment, from the HOTP Sentiments stamp set was added in the bottom right corner using Versafine Crimson Red archival pigment ink.

Here are the challenges I'm entering this card into:

Sunday, 17 July 2011

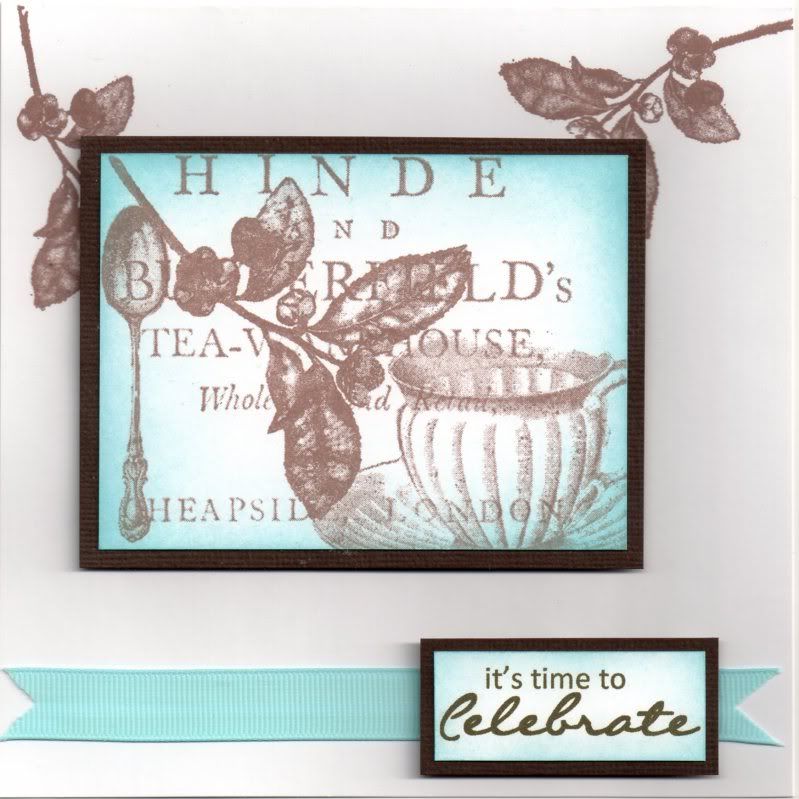
Blue and Brown CAS Tea Collage

Well, having spent more than I care to admit to at the Newbury Artstamps Show last weekend, I decided to use one of my new stamp sets to create my mum's birthday card.

This card was based quite heavily on a card I saw at the show on the Snazzy Stamping stall using this stamp set. It was what convinced me to buy it!!!


It''s from a new stamp company to me - Chapel Road Art Stamps. It's a Canadian company and they have some lovely collage style stamps and background stamps.

So, to create the card, the twig image, from the Tea Collage stamp set was stamped directly onto the card blank using Memento Rich Cocoa dye ink.

Using the same inkpad, the Tea Collage image from the same stamp set, was stamped onto the same white cardstock as the card blank, trimmed and distressed around the edges using Tim Holtz Tumbled Glass distress inks, applied with a shaving brush. This was then matted onto dark brown linen cardstock and matted onto the card blank.


A length of the light blue grosgrain ribbon from Dovecraft was cut and fishtails added to each end. This was added across the bottom of the card.

The sentiment was computer generated using Calibri and Callie Hand fonts and distressed with the Tumbled Glass ink. This was then matted onto the brown cardstock and adhered over the ribbon.


The inside was also decorated using the twig image, stamped with second-generation Rich Cocoa ink. The sentiment, from the Papermania Mix and Match Scrolls and Sentiments stamp set, was then stamped in the centre also using the Rich Cocoa ink. The panel was then distressed with the Tumbled Glass ink with a shaving brush.

Here are the challenges I am entering this card into:

Friday, 24 June 2011

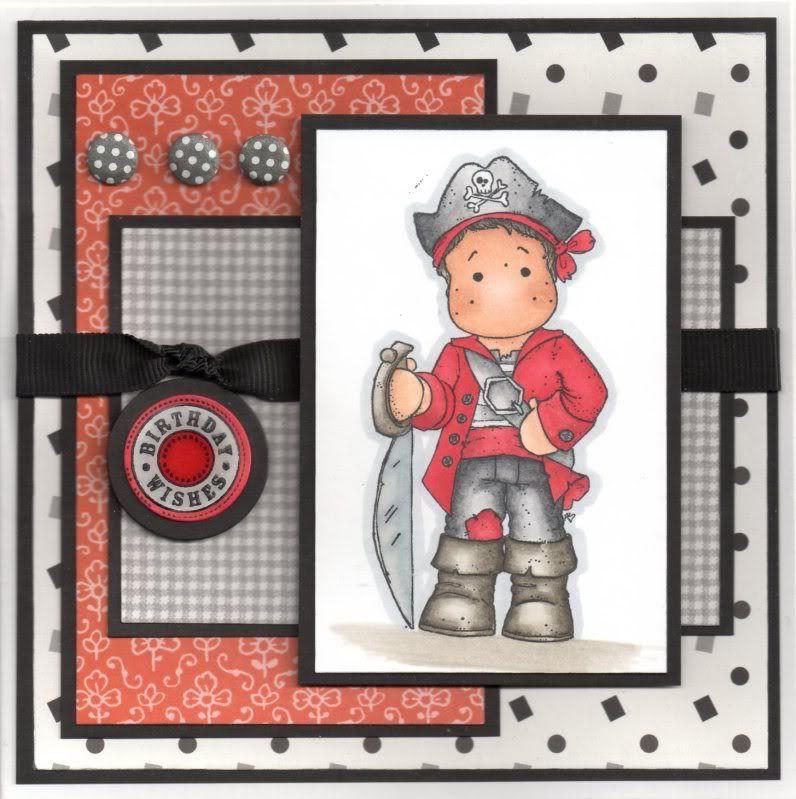
Red, Black and Grey Captain Edwin

This card was based on a layout in Issue 68 of Papercraft Essentials magazine.


The Captain Edwin image, from Magnolia, was stamped using Memento Tuxedo Black dye ink and coloured with Copics:
  • Hat/Trousers/T-Shirt/Belt: N1, N3, N5, N7
  • Jacket/Bandana: R20, R24, R27, R29, R32, R37, R39
  • Sash/Patch: R32, R37, R39
  • Boots/Sword Hilt: W1, W3, W5, W7
  • Sword Blade/Buckle: C0, C2, C4
  • Buttons: N5
  • Hair: W3, W5, W7
  • Skin: E00, E13, E21, E51
  • Shadow: W1, W3
  • Outline: C2
The image was then matted onto black card.

Patterned papers from the Dovecraft Charcoal Designer paper pack (Dots and Squares), Papermania Monochrome Capsule Collection paper pad (gingham) and Papermania Red Hot Capsule Collection paper pad (red Clover Leaf) were cut to size and matted on the black card and layered up.


A length of black grosgrain ribbon was knotted and added across the layers and the image panel added over the top.

The Birthday Wishes circle sentiment, from the Hero Arts Birthday Messages stamp set, was stamped using Brilliance Graphite Black pigment ink and coloured using Copics:
  • Sentiment Circle: R24, R27, R29, C2
This was then added beneath the knot of the ribbon.

Three dark grey polka dot Card Candi, from Craftwork Cards, were then added in the top left corner.

The sword blade in the image and the circle sentiment were then both highlighted with Anita's 3D gloss.

Here are the blog challenges that I am entering this card into:
Blog Widget by LinkWithin