Pages

WELCOME

This blog was created to act as a record of the cards and other projects that I have made. It is for both my own reference and to help inspire anyone who wants to take a look.

I'd love it if you'd leave me a comment so that I know what you think of my projects and that you've been to visit!

Anyone can comment, even those who don't have a blog. (Just look for the word 'Comments' under the three little pictures at the end of each post). Readers without a blog can add an anonymous comment, but please leave your name (and docrafts username if applicable) so I know who you are!

Slideshows of all the cards I've uploaded to my blog can be found at the bottom of the page.


PEOPLE WHO FOLLOW MY BLOG

Showing posts with label Big Bite. Show all posts

Monday, 29 August 2011

Red Yellow and Blue Superduper Boy Aged Four

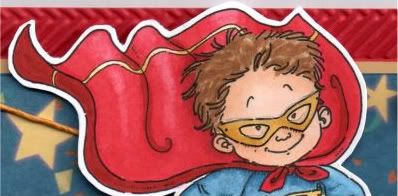
I really enjoyed making this one!! It's for a friend's little boy. We went to stay with them down in Devon a few weeks back and he was constantly dressing up in super-hero costumes so I knew straight away which image I was going to use on his card.


The Superduper Boy image from Mo's Digital Pencil was coloured using Copic Sketch markers:
  • Cape: R20, R24, R27, R29, E09, Y00, Y21, Y26
  • Shorts: R24, R27, R29, Y21, Y26
  • Gloves/Mask: Y21, Y26
  • S & Panel: R24, R27, R29, Y21
  • Boots: R20, R24, R27, R29
  • Body Suit: B32, B34, B37
  • Hair: E43, E51, E57
  • Skin: E00, E21, E51
The image was then cut out.

A strip of the dark blue stars and banners paper from the HOTP Ultimate Cardmaker's Creative Pack was matted onto dark cream card and a panel of red card embossed with the Cuttlebug Herringbone embossing folder.

Lengths of yellow hemp cord were wrapped around the panel to form a cross and the panel was adhered to the card blank.

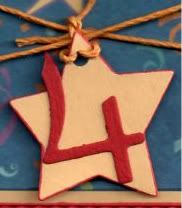
A star was die cut from the cream card using the Sizzix Sizzlit Hearts, Stars and Tags die and the number 4, die cut from red card using the Ellison Curlie Girlie alphabet set, was adhered in the centre of the star. A hole was punched in the top of the star using the Big Bite and was then threaded with more of the hemp cord and tied to the cord across the card.

Three soft white Card Candi from Craftwork Cards were coloured yellow with a Copic marker:
  • Card Candi: Y21
These were then attached in the top right corner of the patterned paper.

Here are the blog challenges I am entering this card into:

Monday, 13 June 2011

Blue and Brown Father's Day Sugar Nellie Knight

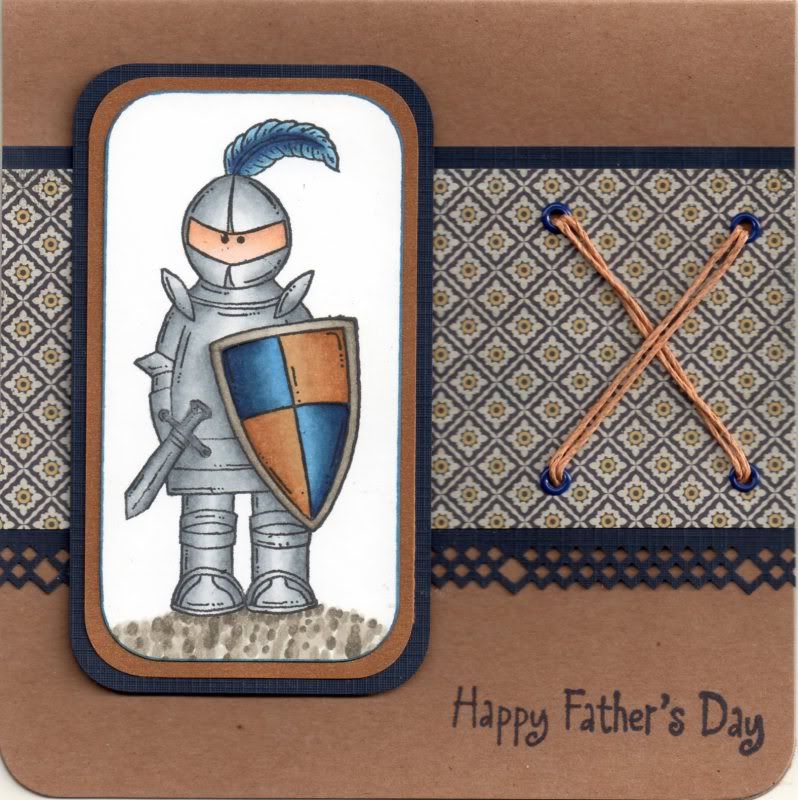
Here is the design of this year's Father's Day cards that I've made for my dad and hubby's dad. I decided to go with the Sugar Nellie Knight image.


The image was stamped using Memento Tuxedo Black dye ink and coloured using Copic sketch markers:
  • Armour: C0, C1, C3, C4, C6
  • Sword: C2, C4, C6
  • Skin: E00, E13, E21, E51
  • Shield: W1, W3, W5, W7, B32, B34, B37, B39, E31, E33, E35
  • Feather: B32, B34, B37, B39
  • Shadow: W1, W3, W5
Somehow I actually managed to get the armour and shield to look quite metallic and shiny!!

The corners were rounded using the large XCut corner rounder punch and matted onto bronze shimmer paper and navy card.


A panel of the Jute paper from the Basic Grey Granola paper pad was matted onto the navy card, punched with the XCut Diamonds border punch.

I wanted to add an element of texture but also keep it masculine, so four holes were punched using the Cropodile Big Bite and the Stampin' Up Mat Pack template and small dark blue Papermania eyelets were added. The holes were then threaded with a double strand of tan hemp cord from Hobbycraft.

The card was assembled and the 'Happy Father's Day' sentiment, from Elzybells, was stamped in the corner using Versafine Majestic Blue archival pigment ink.

Here are the challenges I am entering this card into:

Friday, 11 February 2011

Blue and Yellow Floral Alice

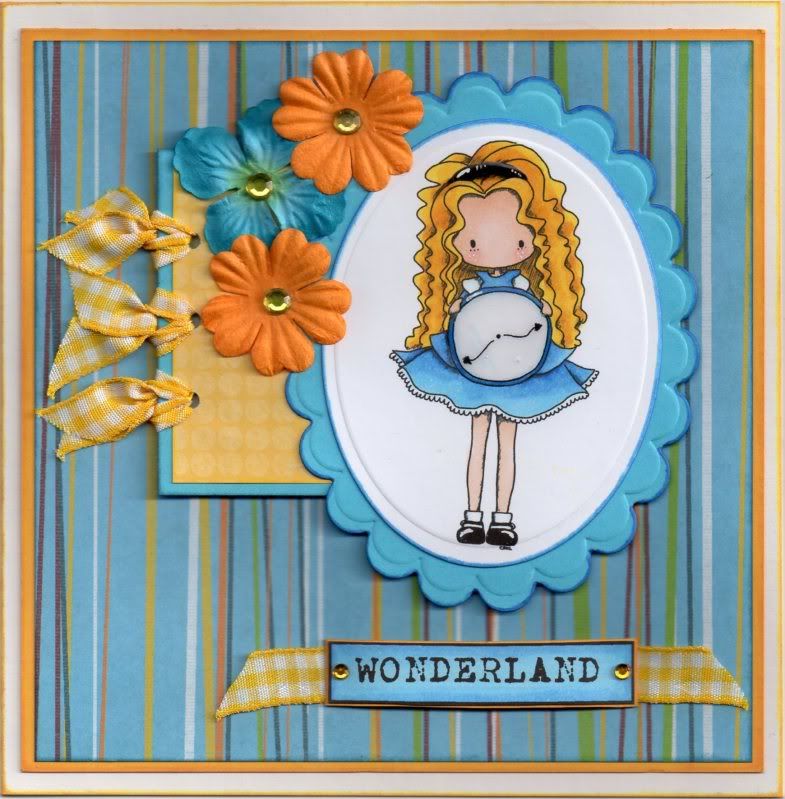
Well, I'm on a bit of a digi stamp roll at the moment. This is one that I won from TiddlyInk in a blog challenge and I think she's really cute. You can find this image here on their site.


 Having printed out the image, it was coloured using Copic markers:

  • Skin: E00, E21, E51, R20
  • Hair: Y08, Y17, E36
  • Dress: B00, B12, B18, B24
  • Clock: B00, B18, B24

The image was then highlighted with a Papermania Snow White gel pen and Anita's 3D Gloss. Once the gloss was dry, the image was die cut using an oval Nestabilities die and matted onto a blue scalloped oval panel, also die cut using a Nestabilities die.

A panel of the blue stripe paper from the HOTP Dots and Stripes Use 'Em For Anything paper pad (that I received from HOTP for a tip I submitted to their forum) was matted onto yellow card.

A small panel of the yellow circle mesh paper, from the HOTP Ultimate Cardmaker's Creative Pack, was matted onto blue card and three holes were punched along the edge with the Cropadile Big Bite and short lengths of yellow gingham ribbon were tied through the holes. The yellow panel was matted to the left of the image panel and paper flowers were matted over the top.

A computer-generated sentiment was coloured using the Copic markers:
  • Sentiment: B12, B24
and lengths of the gingham ribbon were added either side of the sentiment.

Faux yellow gems were added to the centres of the flowers and either end of the sentiment.

Here are the challenges that I'm entering this card into:

Saturday, 17 April 2010

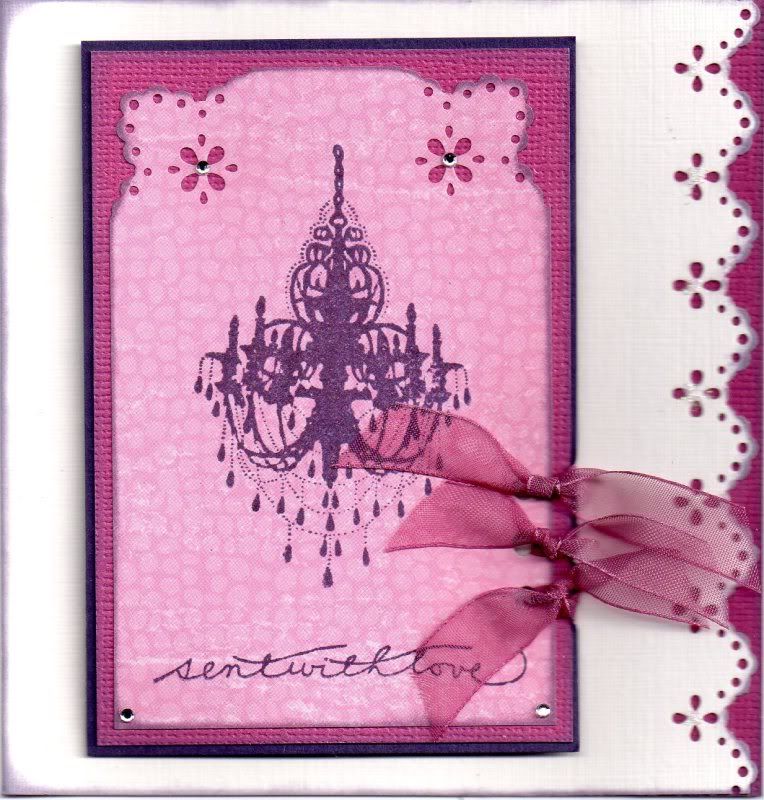
Pink and Purple Lacy Chandelier Thank You

Here is the little Thank You note card that I sent to Alex the other week after I received some goodies from here in her big sell out.

I am entering this card into the Stampin' For The Weekend blog challenge, which currently has a theme of Ribbons & Bows. Hopefully my ribbon knots will qualify!!


I decided to use one of the stamps from my new Papermania Chatsworth Furnishings stamp set. It's a lovely chandelier stamp, and I stamped it using the Versafine Imperial Purple archival pigment ink onto the pink distressed bubble paper from the K&Co The Best Of K&Co Too paper pad. The sentiment, from the Woodware Jane's Script sentiment stamp set, was stamped at the bottom of the panel also using the Imperial Purple ink.
The top corners of the image panel were punched using the Martha Stewart Eyelet Lace corner punch. The edges were then distressed using ColorBox Wisteria Fluid Chalk ink.
This was then matted onto panels of hot pink and purple Core'dinations card. Using the Cropodile Big Bite, holes were punched down the right hand side of the image panel and lengths of Anita's pink organza ribbon were tied through them.
Clear faux gems were then added to the corners of the panel.
To finish off the card, the right-hand edge of the card blank was punched using the Martha Stewart Eyelet Lace border punch and inked with the Wisteria ink. A panel of the hot pink Core'dinations card was then added underneath the punched area allowing the colour to show through.

Tuesday, 1 July 2008

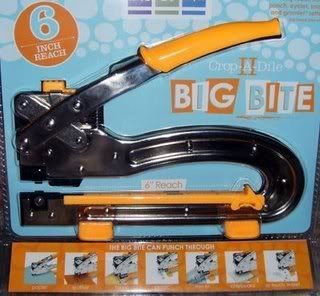
Cropadile II Big Bite

Well, I had to do it - didn't I?

I was considering getting the original Cropadile because I do most of my cardmaking late in the evening (or should that be early in the morning because it's usually well after midnight), and I have to either move into the bathroom to hammer in my eyelets to avoid waking anyone up, or decide that brads are a much better way to go!!!

BUT, then I saw that the new Cropadile II Big Bite was being distributed in the UK by Docrafts and saw it being demo'd by the great Becky James and thought it was pretty amazing.

Not being a scrapbooker (yet) I did wonder whether I needed something that could reach 6" into a piece of card. But, it does mean that you can add holes for whatever you may need them (eyelets, threading ribbon etc) for down the spine of a greetings card. And for just a few pounds more I decided it was the best way to go.

So, I've now got to wait 5-7 working days for it to arrive and for the inlaws to go home before I can have a play.
But, it does mean I'll already have one of my Christmas presents for 2008!
Blog Widget by LinkWithin