


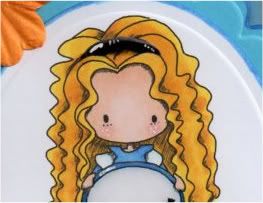
Having printed out the image, it was coloured using Copic markers:
- Skin: E00, E21, E51, R20
- Hair: Y08, Y17, E36
- Dress: B00, B12, B18, B24
- Clock: B00, B18, B24
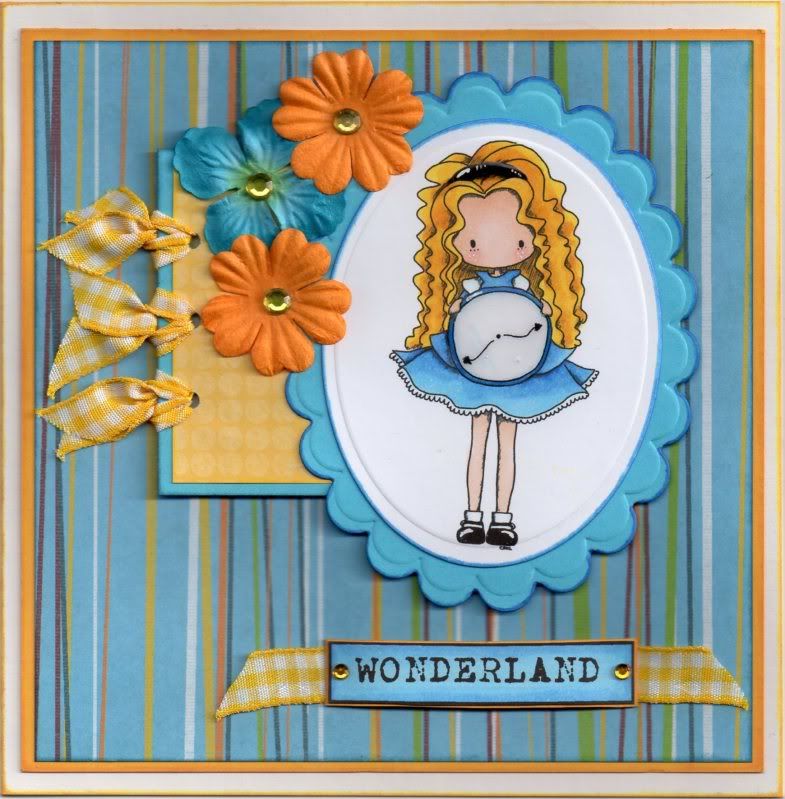
The image was then highlighted with a Papermania Snow White gel pen and Anita's 3D Gloss. Once the gloss was dry, the image was die cut using an oval Nestabilities die and matted onto a blue scalloped oval panel, also die cut using a Nestabilities die.
A panel of the blue stripe paper from the HOTP Dots and Stripes Use 'Em For Anything paper pad (that I received from HOTP for a tip I submitted to their forum) was matted onto yellow card.
A small panel of the yellow circle mesh paper, from the HOTP Ultimate Cardmaker's Creative Pack, was matted onto blue card and three holes were punched along the edge with the Cropadile Big Bite and short lengths of yellow gingham ribbon were tied through the holes. The yellow panel was matted to the left of the image panel and paper flowers were matted over the top.
A computer-generated sentiment was coloured using the Copic markers:
- Sentiment: B12, B24
Faux yellow gems were added to the centres of the flowers and either end of the sentiment.
Here are the challenges that I'm entering this card into:
- Delightful Challenges - Get Punchy
- Do You Stack Up? - #6 - Ribbon
- Samuel Taylors - Copic Chic/Promarker Gal
- Craft Your Passion - #44 - Anything Goes
- Kaboodle Doodles - #53 - Break Out That Ribbon Stash
- Karber Weekly Challenge - #24 - Digi and the Movies
- KB Cute Monday - #2 - Inspired By A Book
- Woodware USA - #13 - Ribbons/Bows
- One Stitch At A Time - #48 - Do It With A Digi
- Stamping Vacation - Colour Combo - Dark Blue and Light Yellow
- Catch The Bug - Anything Goes
- Little Claire's Designs - #1 - Anything Goes
- Stamp, Scrap and Doodle - Dots and Stripes
- Mami Doodles - #20 - Flower Card
- Phindy's Place - #42 - Spring Is On The Way
- Stampin' With The Dragon - #19 - Anything Goes
- Tellen's Place - Paint It With Stripes
- Theme Thursday - Words!







 Posts
Posts


