Pages

WELCOME

This blog was created to act as a record of the cards and other projects that I have made. It is for both my own reference and to help inspire anyone who wants to take a look.

I'd love it if you'd leave me a comment so that I know what you think of my projects and that you've been to visit!

Anyone can comment, even those who don't have a blog. (Just look for the word 'Comments' under the three little pictures at the end of each post). Readers without a blog can add an anonymous comment, but please leave your name (and docrafts username if applicable) so I know who you are!

Slideshows of all the cards I've uploaded to my blog can be found at the bottom of the page.


PEOPLE WHO FOLLOW MY BLOG

Showing posts with label Elzybells. Show all posts

Saturday, 9 July 2016

30 Day Colour Challenge - Day #4

Well, it's still technically Day #4 as Day #5 hasn't been announced yet!!!
Anyway, here is today's colouring.

I decided to go with some WHSmith's pencils today on Kraft cardstock. It's a nice and simple New Home card for a friend of mine.

I decided to use my set of Jofy #15 stamps that I've had for well over a month now, if not a few months. They have been used, just not by me!!!
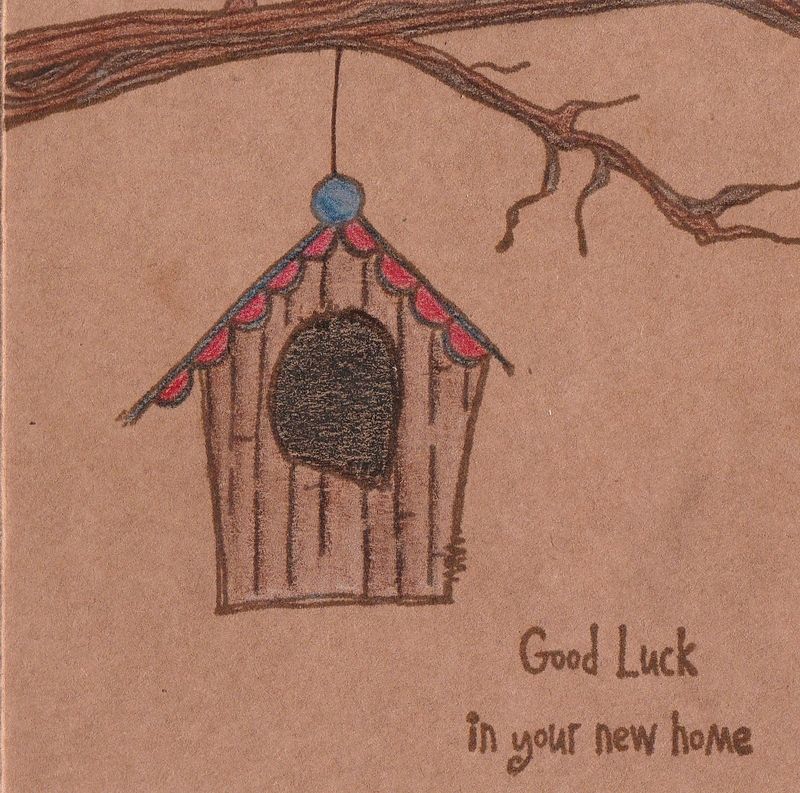

I started by stamping the smaller of the two birdhouses on the front of the card where I wanted it positioned, using Versafine Vintage Sepia archival pigment ink, and then stamped the branch image from the same stamp set and the same ink above it. I joined the two images with a brown Whispers brushstroke marker.
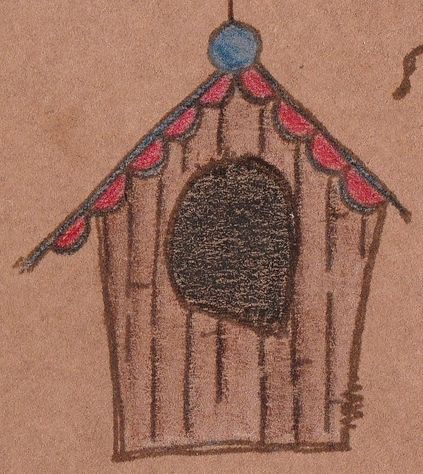

I then coloured the images with the WHSmith pencils that I managed to get when they were reduced down to £3.99 some months ago. I firstly laid down a layer of white pencil all over the image and then coloured it in with the colours. Hopefully the white makes the colours ping off the card a bit more. I decided not to blend the pencil with baby oil this time as I wanted a more rustic look to the image.
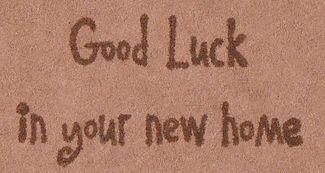

Finally I added the 'New Home' sentiment. I used an old Elzybells stamp for this and the Vintage Sepia ink. This is a stamp that I've owned for many years, from back when Elzybells were having a closing down sale, and I'm not entirely sure it's ever been inked up other than when I recently mounted it and created a laminated storage sheet for it. It's so nice to give these old stamps a new lease of life having been living in a 'to be mounted' box for a couple of years now.

Friday, 20 November 2015

Burgundy and Aqua Anniversary Doodle Butterfly

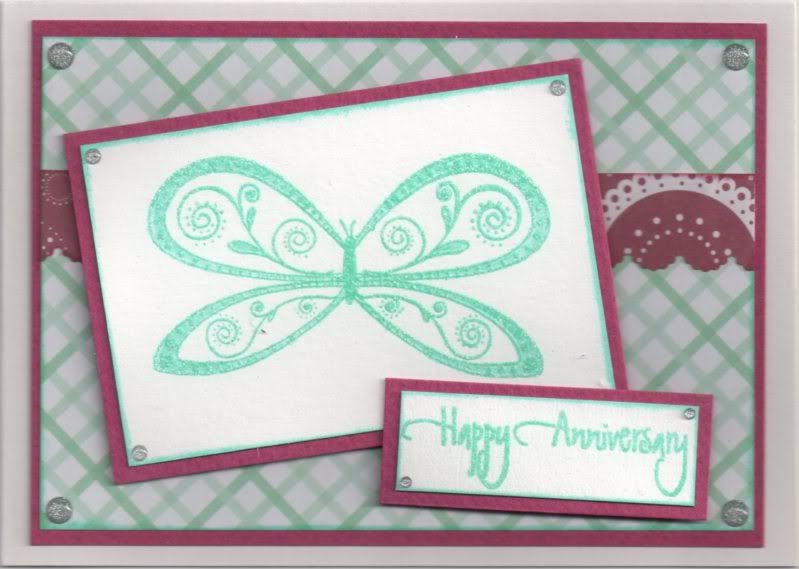
Here are a couple of anniversary cards that I made back in 2011 using the Papermania Clare Curd Doodles stamp set.

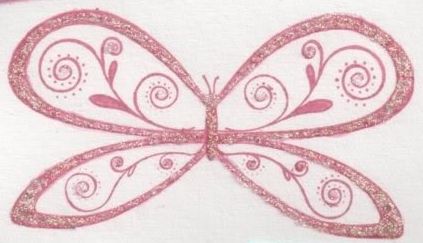
For the first card, the butterfly image was stamped using Memento Rhubarb Stalk dye ink and highlighted with Craft Planet Iridescent Sparkle glitter glue.

The image was matted onto aqua cardstock.

The patterned papers, from the Papermania Clare Curd The Big One paper pad were matted onto a panel of aqua cardstock and added to the card front.


The sentiment, from the Elzybells Swirly Sentiments stamp set, was stamped using the Rhubarb Stalk ink and matted onto aqua and added over the image panel.

Silver shimmer dots from Papermania were added in the corners of all the panels.

 
The same card was made reversing the colours.


Friday, 13 November 2015

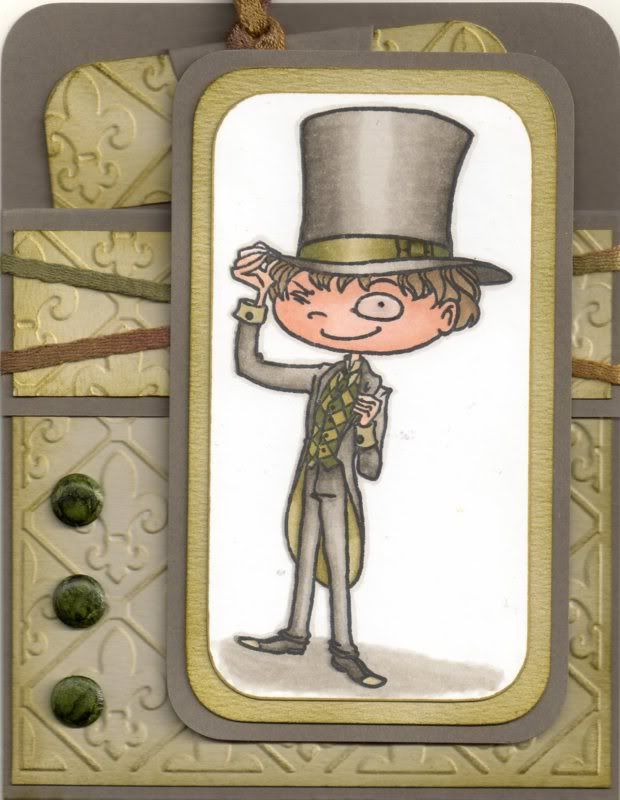
Green and Grey Chester Pocket Card

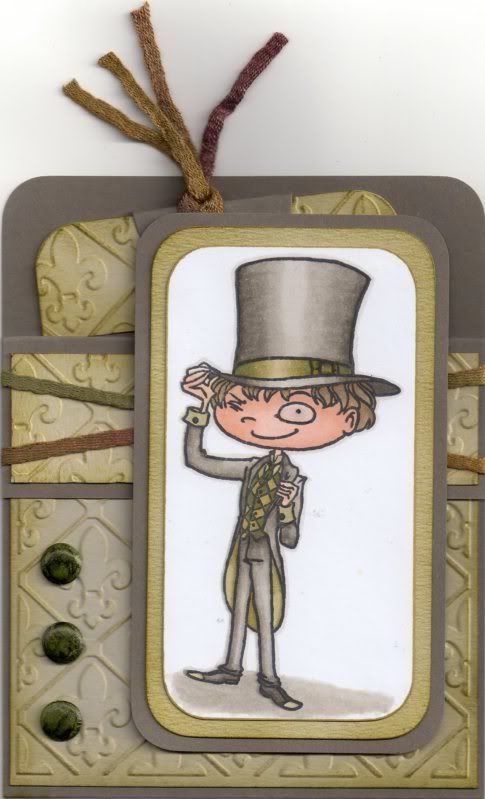
This is a different type of card for me. It is based on a project that I found on the Splitcoaststampers tutorials page here, a Pocket Card.

With this design of card, the card doesn't actually open, but the sentiment and handwritten greeting go onto a tag that is placed within the pocket section of the card.
 
 
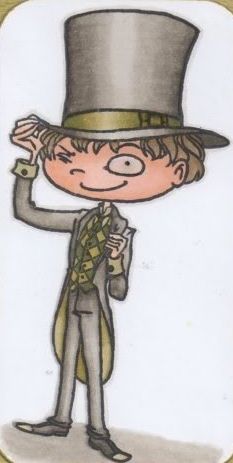
To begin with, the image, Chester by Kraftin' Kimmie, was stamped using Memento Tuxedo Black dye ink and coloured using Copic markers.
 
Copics:
Skin: E00, E11, E21
Hair: E41, E43, E44
Hat/Jacket/Trousers: W1, W3, W5, W7
Hat Band: YG91, YG95, YG99
Tie: G99
Waistcoat: YG95, G99
Inside Jacket: YG91, YG95
Shirt: YG91
Shoes: W5, W7, YG91
Shadow: W1, W3
Outline: W1
 
 
The image panel was then matted onto green and then grey cardstock.
 
The next step was to create the Pocket Card.
 
A piece of card measuring 4" x 11" was then scored in half and then scored again 1.25" from one edge. A panel of white card was embossed using the Cuttlebug Fleur de Lis embossing folder and distressed with Tim Holtz Crushed Olive and Forest Moss distress inks. This panel was adhered to the large front panel of the card. A smaller strip of white card was also embossed and inked with the Crushed Olive and Forest Moss inks and this panel was then adhered to the front flap panel.
 
A couple of lengths of green fibres from the HOTP Sarabooks Emerald Fibres set were then wrapped around the front flap and the flap then adhered down to the front panel.
 
 
Three green card candi were then coloured using the G99 Copic marker and added to the front panel, as was the image panel. Glossy accents were added to the monocle in the image.
 
 
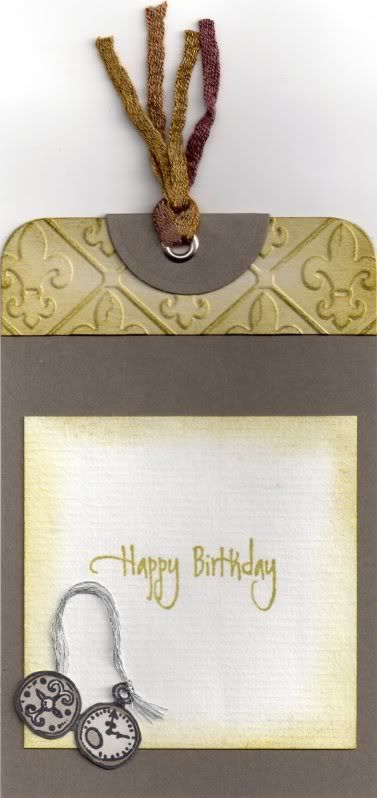
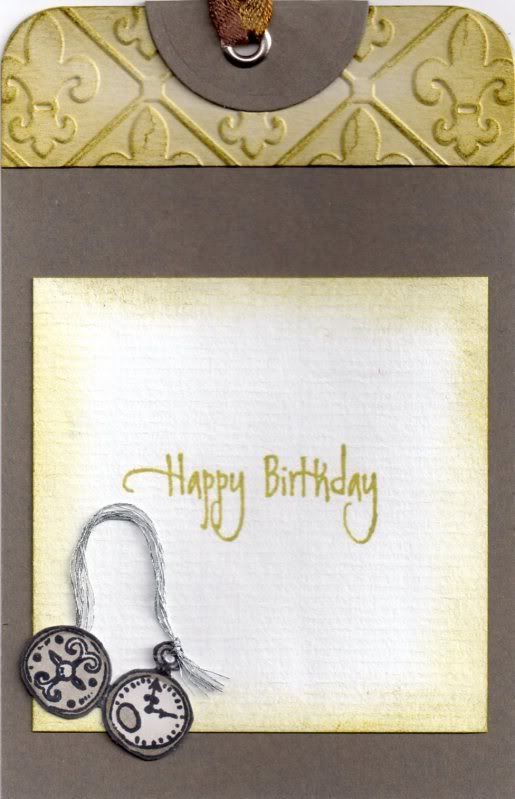
To complete the card, a tag was created. A strip of the embossed and coloured white card was added across the top of the tag, as was a circle of grey cardstock, diecut using a Nestabilities circle die, and then folded in half.
 
A silver eyelet was set in the top of the tag and more of the green fibres were threaded through it.
 
The pocket watch image was stamped using the Tuxedo Black ink and coloured with the W1, W3 and W5 Copic markers. A length of silver embroidery thread was threaded through the image and added to the tag. The sentiment, from the Elzybells Swirly Sentiments stamp set was stamped onto the tag using Versafine Spanish Moss archival pigment ink.
 
 
The tag was then slotted into the pocket on the front of the card.

Monday, 26 October 2015

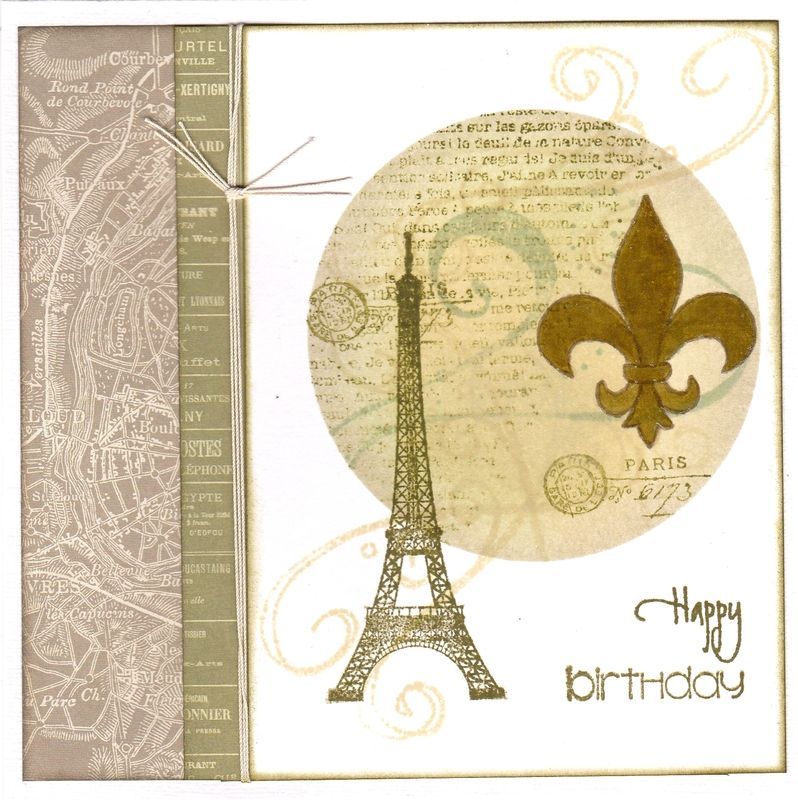
Green And Beige Eiffel Tower

I thought it was time to add a masculine card to my blog.

 
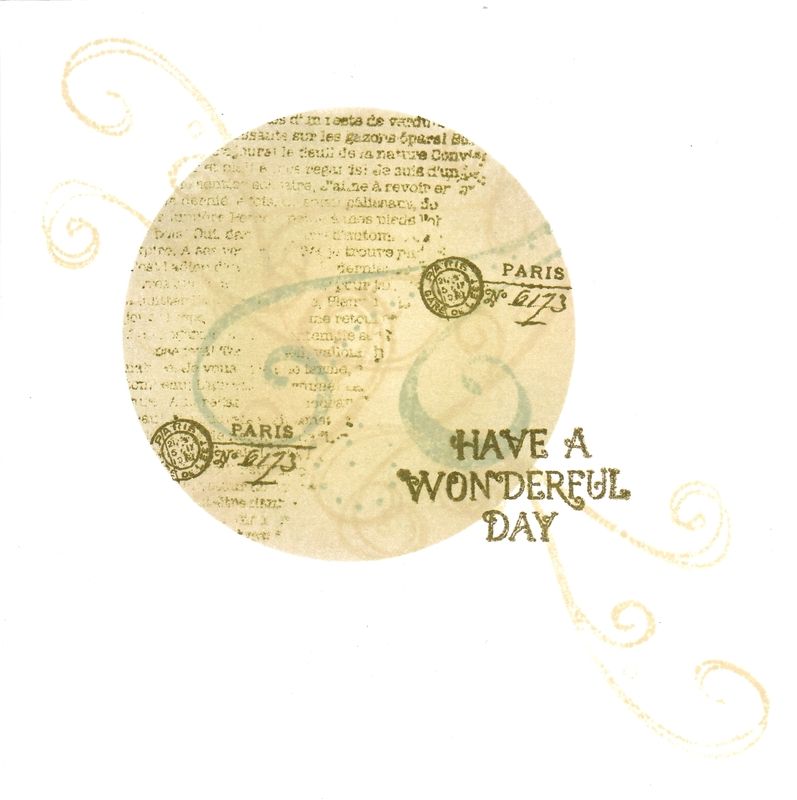
This is the card that I made for my dad this year, using the Dovecraft Sweet Paris papers and matching stamps.

Firstly, a couple of strips of different papers from the Dovecraft Sweet Paris were cut and added to the left side of the card blank. A few lengths of cream crochet thread were then wrapped around the papers and tied.

Next, the front of the card was masked off using a scrap of paper die cut with a Nestie circle. Then the circle area was blended using Tim Holtz Antique Linen and Bundled Sage distress inks.


Whilst the mask was still in place, the flourish stamp from the Autumn Leaves Rhona Farrer Flourishes v.2 was stamped using the Bundled Sage ink. The French Text background stamp from the Bo Bunny It Is Written stamp set was also stamped using the Tim Holtz Forest Moss distress ink as was the Paris Postmark stamp from the Stampers Anonymous Visual Artistry stamp set.

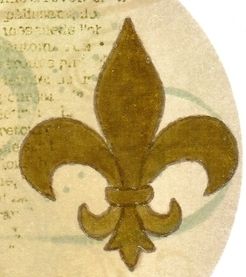
Next, the mask was removed and the flourish stamp was stamped across the circle using the Antique Linen ink. The Fleur de Lis stamp, from the Dovecraft Sweet Paris Eiffel Tower stamp set, was stamped into the circle using the Forest Moss ink, but coloured over using Copic marker YG95 as it didn't show up enough. This was also covered with Ranger Glossy Accents to make it stand out even more.


Next the Eiffel Tower image from the same stamp set was also stamped over the edge of the circle using the Forest Moss ink.

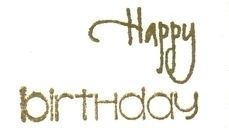
The sentiment was composed using stamps from two stamp sets. The 'Happy' stamp was from the Elzybells Swirly Sentiments stamp set and the 'Birthday' stamp from the Kaisercraft Birthday stamp set. Both were stamped using Tim Holtz Pumice Stone Distress ink.

 
The inside of the card was also masked and inked and stamped to match the front of the card.
 
 
The sentiment, from the Dovecraft Sweet Paris Sentiments stamp set using the Pumice Stone ink. 

Wednesday, 21 September 2011

Brown and Blue Floral Chandelier Tags Anniversary

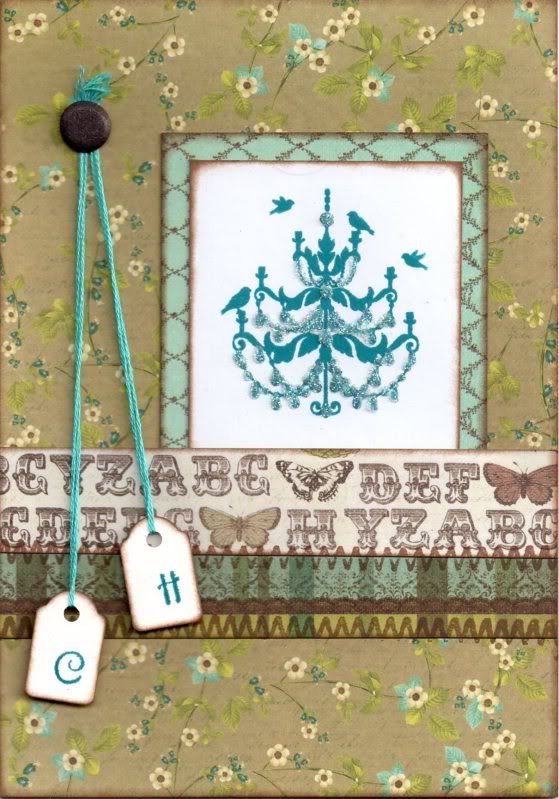
This is a second version of the anniversary card I made recently using the Chandelier stamp that came free with the July 2011 issue of Craft Stamper Magazine.


I went for more muted tones with this version, using one of my favourite colour combinations of blue and brown.

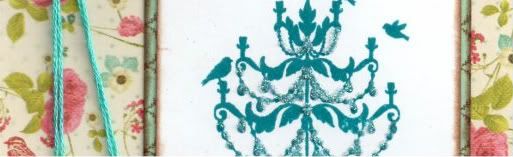
The Chandelier image was stamped using Adirondack Stream dye ink and matted onto the blue diamonds paper from the Prima Madeline paper pad.


The card blank was completely covered with the Brown Script Floral paper from the same paper pad and the image panel added to the right.

A strip of the Alphabet paper was added to a strip of the Multi Border paper and this was then added over the image panel. Faux stitching was then added over the joins of the paper pieces using the Zigzag Stitch stamp from the HOTP Stitches stamp set and ColorBox Chestnut Roan Fluid Chalk ink.

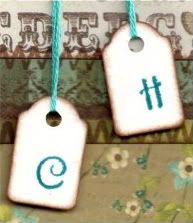
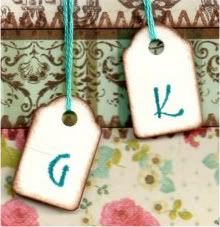
Two mini tags were coloured around the edges using the Chestnut Roan ink and letters were stamped using the Stream ink and a Studio G mini alphabet stamp set. The tags were attached to some teal embroidery thread and added to the card and a brown Card Candi from Craftwork Cards was added over the ends of the threads.


Highlights were added to the Chandelier image using Glossy Accents and DecoArt Crystal Glamour dust.
All papers were distressed with the Chestnut Roan ink.

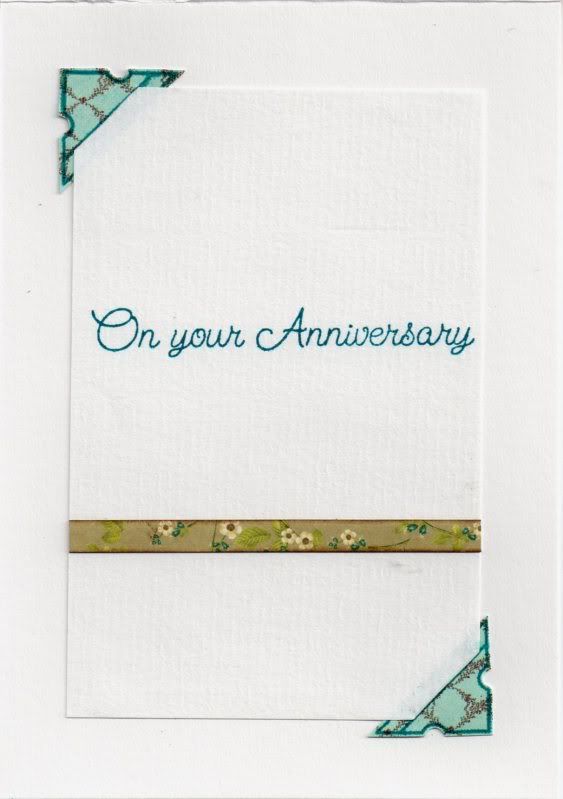
The inside of the card was also decorated using a photo corner stamp from the Stamps Away Bookplates, Corners and Anchors stamp set, stamped onto the blue diamonds paper used on the front of the card using the Stream ink and cut out


Slits were cut into the photo corners and the writing paper inserted into the corners, and a strip of the Brown Script Floral paper used on the front of the card was added across the paper and the sentiment, from Elzybells, was stamped using the Stream ink.

Here are the blog challenges I am entering this card into:

Sunday, 14 August 2011

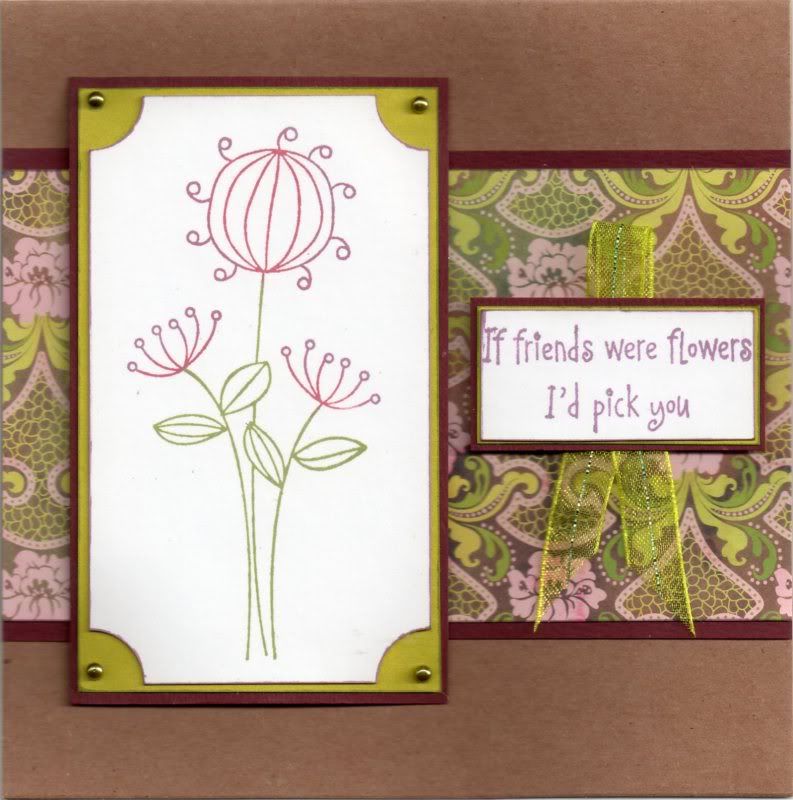
Burgundy and Lime Curly Flowers Friends

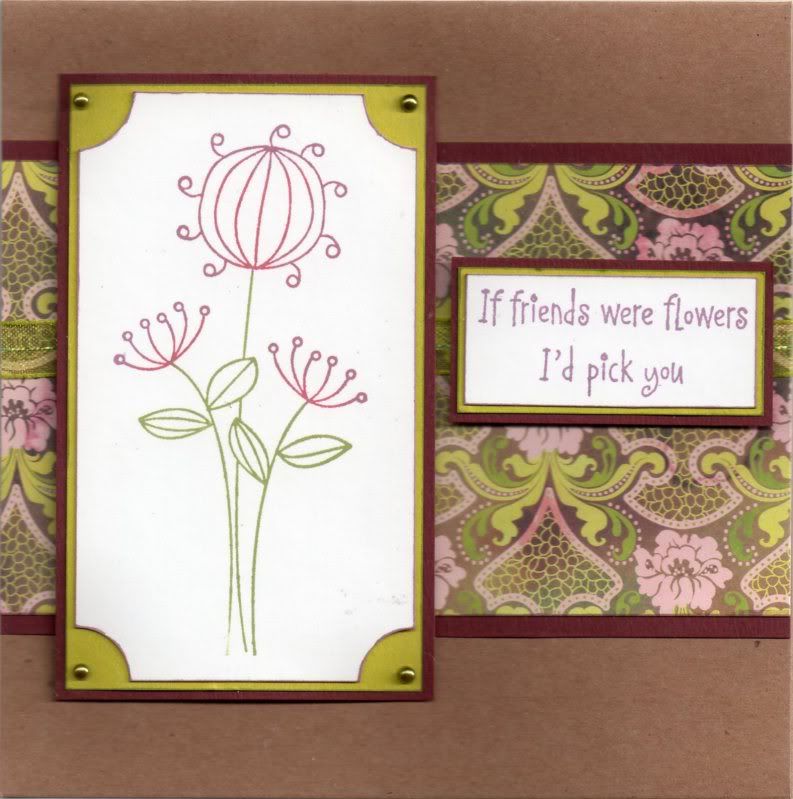
This card was made with a stamp I bought from a fellow crafter who was having a clear-out. I also used the Memento inks I bought from her too!! I really must have a clear-out myself - I just seem to be helping everyone else clear out!!


The Curly Flower image, from Hero Arts, was inked up using the Sweet Plum, Bamboo Leaves and Rhubarb Stalk Memento inkpads. The corners of the panel were punched using the Woodware Inverted Corner punch and matted onto lime green paper and burgundy card.

Lime green self-adhesive pearls, from the Hobby House Green To Go set, were added in the corners.

A panel of the French Lace paper from the Basic Grey Eva paper pad was matted onto the burgundy card and a length of lime green organza ribbon was wrapped around the panel and then added across the Papermania Kraft card blank.

The image panel was added to the left of the panel.


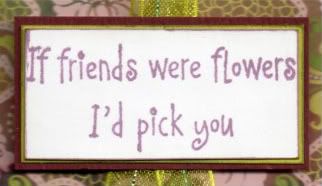
The sentiment, from Elzybells, was stamped using the Sweet Plum ink and matted onto the lime green paper and burgundy card and added to the right of the card blank.


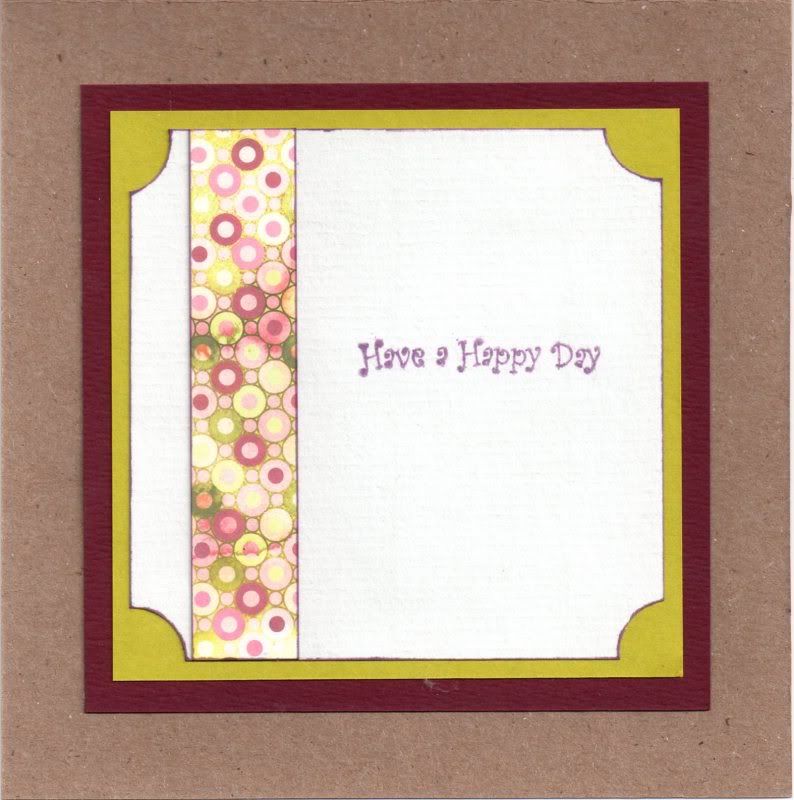
The inside of the card was also decorated using a strip of the Courtier paper from the Eva paper pad, and the sentiment from the Papermania Clare Curd Sentiments stamp set inked with the Sweet Plum ink.


On the original card I made, I forgot to wrap the ribbon around the panel before I stuck it to the card blank so added a loop of the ribbon behind the sentiment panel.


Here are the blog challenges I am entering this card into:

Wednesday, 10 August 2011

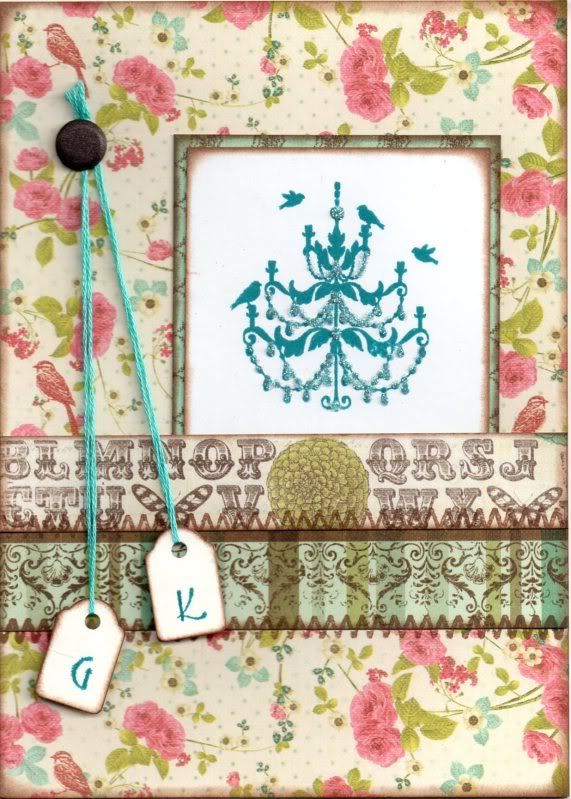
Pink and Blue Floral Chandelier Tags Anniversary

Here is an anniversary card that I made for a couple of friends. I really like the design (I actually adapted it from one of the projects in the July 2011 issue of Craft Stamper magazine using this particular stamp).


I absolutely love the Chandelier image tht came with the July 2011 issue of Craft Stamper magazine. The image was stamped using Adirondack Stream dye ink and matted onto the blue diamonds paper from the Prima Madeline paper pad.


The card blank was completely covered with the Floral Bird paper from the same paper pad and the image panel added to the right.

A strip of the Alphabet paper was added to a strip of the Multi Border paper (both from the Madeline paper pad), and this was then added over the image panel.

Faux stitching was then added over the joins of the paper pieces using the Zigzag Stitch stamp from the HOTP Stitches stamp set and ColorBox Chestnut Roan Fluid Chalk ink.

Two mini tags, that have been in my stash since the beginning of time, were coloured around the edges using the Chestnut Roan ink and letters were stamped using the Stream ink and a Studio G mini alphabet stamp set (also underused!!). The tags were attached to some teal embroidery thread and added to the card and a brown Card Candi from Craftwork Cards was added over the ends of the threads.


Highlights were added to the Chandelier image using Glossy Accents and DecoArt Crystal Glamour dust.

All papers were distressed with the Chestnut Roan ink.

The inside of the card was also decorated using a photo corner stamp from the Stamps Away Bookplates, Corners and Anchors stamp set, stamped onto the blue diamonds paper used on the front of the card using the Stream ink and cut out.


Slits were cut into the photo corners and  the writing paper inserted into the corners, and a strip of the Floral Bird paper used on the front of the card was added across the paper and the sentiment, from Elzybells, was stamped using the Stream ink.

Here are the blog challenges I am entering this card into:

Monday, 13 June 2011

Blue and Brown Father's Day Sugar Nellie Knight

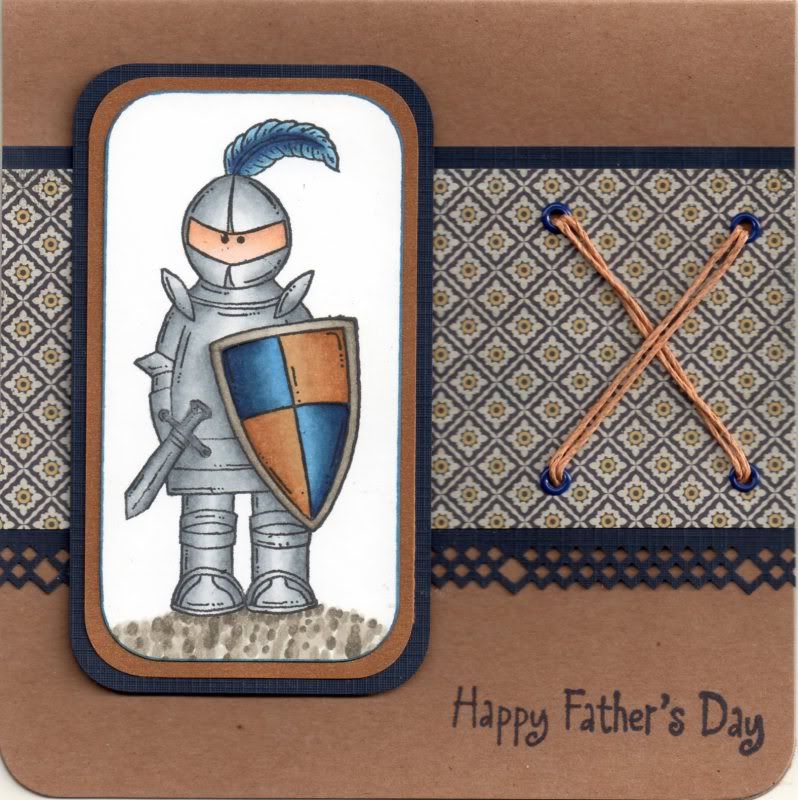
Here is the design of this year's Father's Day cards that I've made for my dad and hubby's dad. I decided to go with the Sugar Nellie Knight image.


The image was stamped using Memento Tuxedo Black dye ink and coloured using Copic sketch markers:
  • Armour: C0, C1, C3, C4, C6
  • Sword: C2, C4, C6
  • Skin: E00, E13, E21, E51
  • Shield: W1, W3, W5, W7, B32, B34, B37, B39, E31, E33, E35
  • Feather: B32, B34, B37, B39
  • Shadow: W1, W3, W5
Somehow I actually managed to get the armour and shield to look quite metallic and shiny!!

The corners were rounded using the large XCut corner rounder punch and matted onto bronze shimmer paper and navy card.


A panel of the Jute paper from the Basic Grey Granola paper pad was matted onto the navy card, punched with the XCut Diamonds border punch.

I wanted to add an element of texture but also keep it masculine, so four holes were punched using the Cropodile Big Bite and the Stampin' Up Mat Pack template and small dark blue Papermania eyelets were added. The holes were then threaded with a double strand of tan hemp cord from Hobbycraft.

The card was assembled and the 'Happy Father's Day' sentiment, from Elzybells, was stamped in the corner using Versafine Majestic Blue archival pigment ink.

Here are the challenges I am entering this card into:

Monday, 6 June 2011

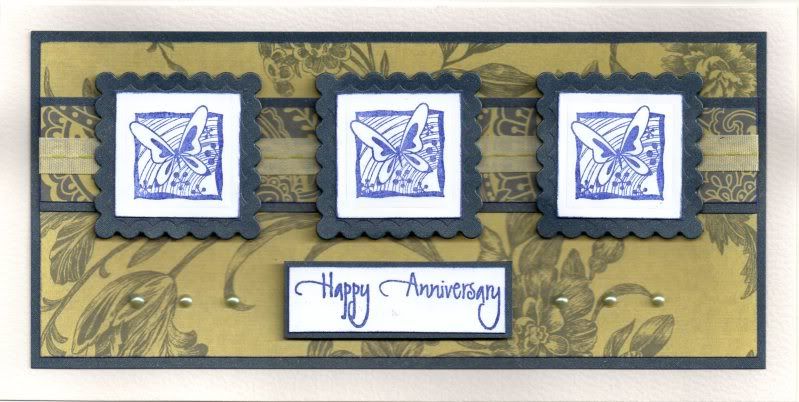
Dark Blue and Green Inkadinkado Anniversary Butterflies

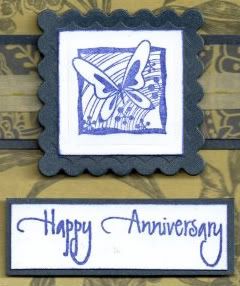
The Butterfly Rainbow image from the Inkadinkado Butterflies and Birds stamp set was stamped using ColorBox Midnight Pigment ink and die cut using square Nestabilities dies. These were then matted onto scalloped squares, also die cut with Nestabilities, from navy blue shimmer card.

Here is a close-up view of the image and sentiment:


A strip of the dark blue and green paisley paper from the Laura Ashley Traditional paper pack was matted onto the navy shimmer card and a length of olive green stitched woven ribbon from the Chatterbox Olive ribbon pack was wrapped around the panel.

This was matted onto a panel of the green and dark blue etched botanical paper from the same paper pad and matted onto a panel of the navy blue shimmer card.


The sentiment, from the Elzybells Swirl Sentiments stamp set was stamped using the Midnight ink and matted onto the shimmer card. The image panels were matted over the ribbon and the sentiment placed beneath it.

Green pearls, from the Kort and Godt Pastels set, were added to either side of the sentiment panel, lined up using the Stampin' Up Mat Pack template.

I have to say I'm rather pleased with it!!!

Here are the challenges I am entering this card into:

Thursday, 24 February 2011

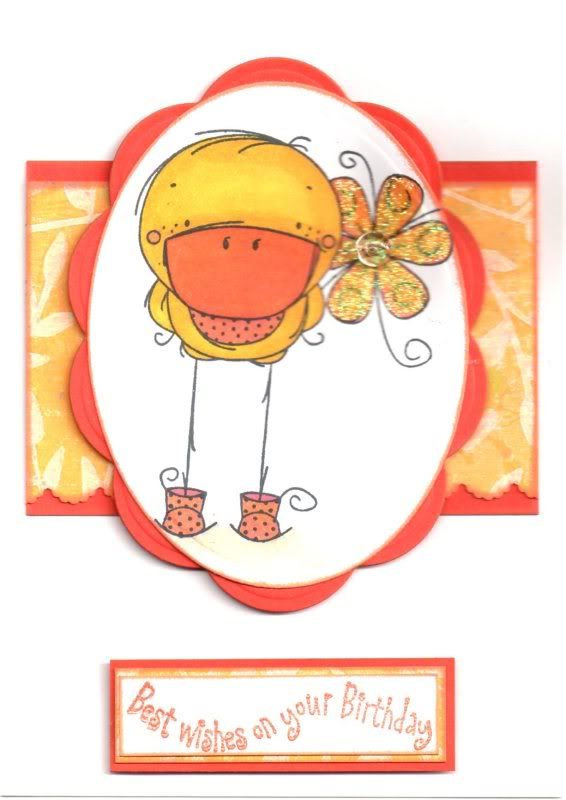
Yellow and Orange Duck In Boots

Here is the card I made for my docrafts matey Kay/Incy for her birthday.


The Duck in Boots image, from Sugar Nellie/Rachelle Anne Miller was stamped using Memento Tuxedo Black dye ink and coloured using Copic Sketch markers:
  • Duck: Y08, Y17, YR02, RV06
  • Flower: Y17, RV06
  • Boots: RV06, Y17, N3
  • Shadow: N1, N3, E41
The image was die cut using a classic oval Nestabilities die and matted onto a big scalloped oval die cut from orange card.

A strip of the golden yellow leaves paper from the DCWV Pocket Full of Posies stack was punched along the bottom edge using the scalloped scallop punch from EK Success. This was then matted onto a strip of the orange card.

The sentiment, from Elzybells, was stamped using Ink It Up! Pumpkin pigment ink and heat embossed using the Heat It Up! Enchanted Gold embossing powder. This was matted onto the golden yellow leaves paper and the orange card.

The image was then highlighted with Craft Planet Yellow glitter glue and a clear dew drop from Patti's Pretties was added to the centre of the flower image.

Here are the blog challenges that I am entering with this card:

Thursday, 3 February 2011

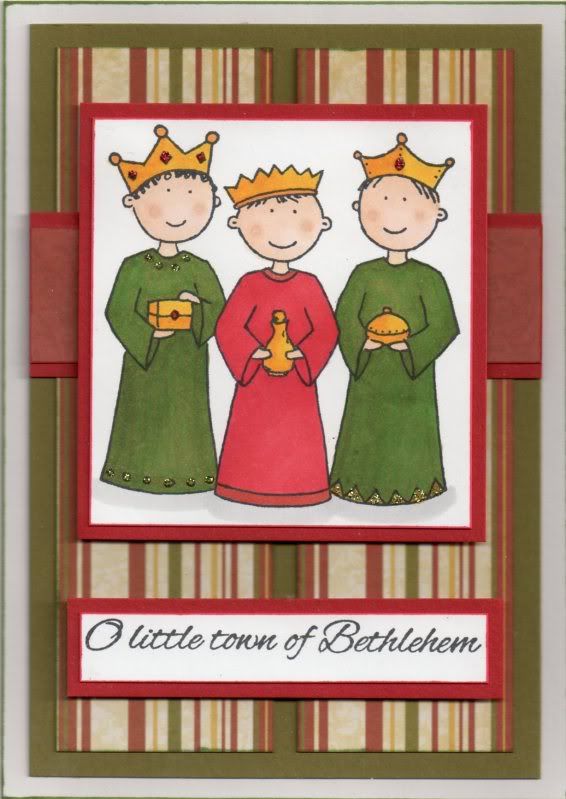
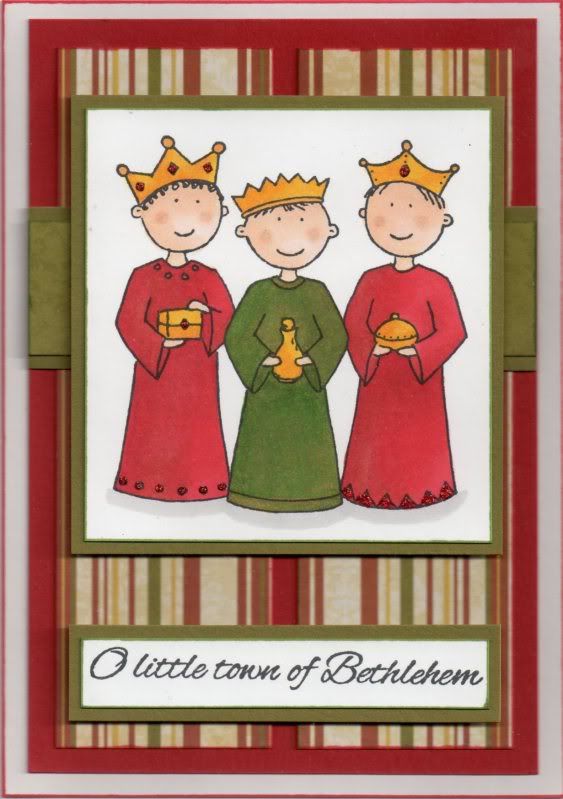
Green and Red Three Kings

And so onto the next in the series of Christmas cards. This was the only card design I made using my Copics and is the design I sent to the parents.


The Three Kings image, from Elzybells, was stamped using Memento Tuxedo Black dye ink and coloured using Copic sketch markers:
  • Crowns/Gifts: Y08, Y17, R29, E07
  • Green Robes: YG67, G05, Y17
  • Red Robes: R24, R29
  • Skin: E00, E21, E51, E13
  • Shadow: N1
Highlights were added to the crowns and gifts using the yellow and orange Sakura Stardust pens, and the robes were highlighted with Craft Planet Red glitter glue and Glitz It Pear Green glitter glue.

The image was then matted onto red card.

A strip of the red flourish paper from the Dovecraft Noel paper pad was matted onto the red card. Two panels of the multi stripe paper were matted onto olive green card and the red panel matted across it.

The sentiment, also from Elzybells, was stamped using the Tuxedo Black ink and matted onto the red card. The image panel was matted over the red panel, and the sentiment below it.

I also made this in the reverse colourway:

Friday, 3 December 2010

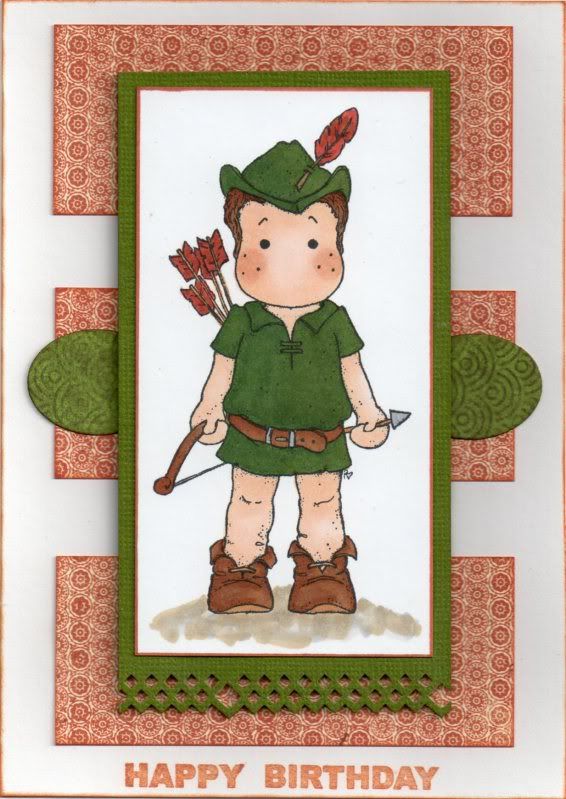
Green and Terracotta Sherwood Edwin

I fell in love with this image as soon as I saw it - and I think I probably paid over the odds for it when I saw it at the Lincoln Sincerely Yours Show back in May.


The Sherwood Edwin image from Magnolia was stamped using Memento Tuxedo Black dye ink and coloured using Copic Sketch markers:
  • Hat/Tunic: YG67, G29, G85
  • Shoes: E35, E39, E57
  • Hair: E39, E57
  • Belt: E35, E39, E57, C4
  • Feather/Arrows: E07, E35, E39, C4
  • Skin: E00, E21, E51, E13
  • Shadow: N1, N3, E43
The image panel was then matted onto a panel of olive green card from the Core'dinations Elements card pack, punched along the bottom edge using the XCut Diamonds border punch.

Three equal panels were cut from the Vintage Tee paper from the Basic Grey Boxer paper pad and matted onto the card blank. Two small ovals were die cut from the Henley paper from the same paper pad using a Nestabilities die and matted to the sides of the image panel.

The sentiment was stamped below the panels using a greeting stamp from the Elzybells Swirly Sentiments stamp set and ColorBox Burnt Sienna fluid chalk ink.

Here are the challenges that I am entering this card into:

Sunday, 10 October 2010

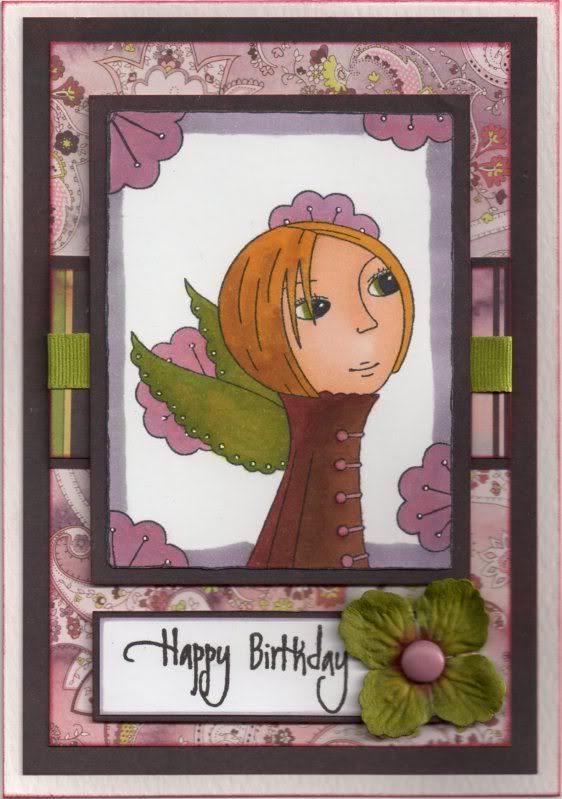
Burgundy and Olive Leanne Ellis Dreamer

This is the card that I made for the lovely and very talented Teresa for her birthday. I know that she has received this now so am free to upload it.


The beautiful Dreamer image, by Leanne Ellis for Sugar Nellie, was kindly donated to me last year by Alex K as a birthday gift. I love these images and they are on my ever-growing wish list.
The image was coloured using Copic Sketch markers:
  • Hair: E13, E35, Y08
  • Skin: E00, E21, E51
  • Jacket: E57, E39, RV21
  • Eyes/Wings: YG17, Y08, N3
  • Flowers: V12, RV21, R20, BV31
  • Outline: V12, BV31, N3
 and matted onto the Dauphin paper from the Basic Grey Eva paper pad.

A strip of the Aristocrat paper was matted onto the Dauphin paper and a length of Anita's olive green grosgrain ribbon was added around it. This was then matted across a panel of the Versailles paper from the same paper pad.

The sentiment panel was created by stamping onto white card using the 'Happy' and 'Birthday' stamps from the Elzybells Swirly Sentiments stamp set using Versafine Onyx Black archival pigment ink and matted onto the Dauphin paper. A green Prima paper flower was coloured using Copic markers:
  • Prima flower: YG17, Y08, E57, R39, N3
 and a large dusky pink Papermania brad was added to the centre and attached to the panel.
 
Highlights were added to the image using the Papermania Snow White gel pen.

Here are the challenges that I shall be entering this card into:

Friday, 8 October 2010

Salmon and Brown Hoo Hoo There Owls

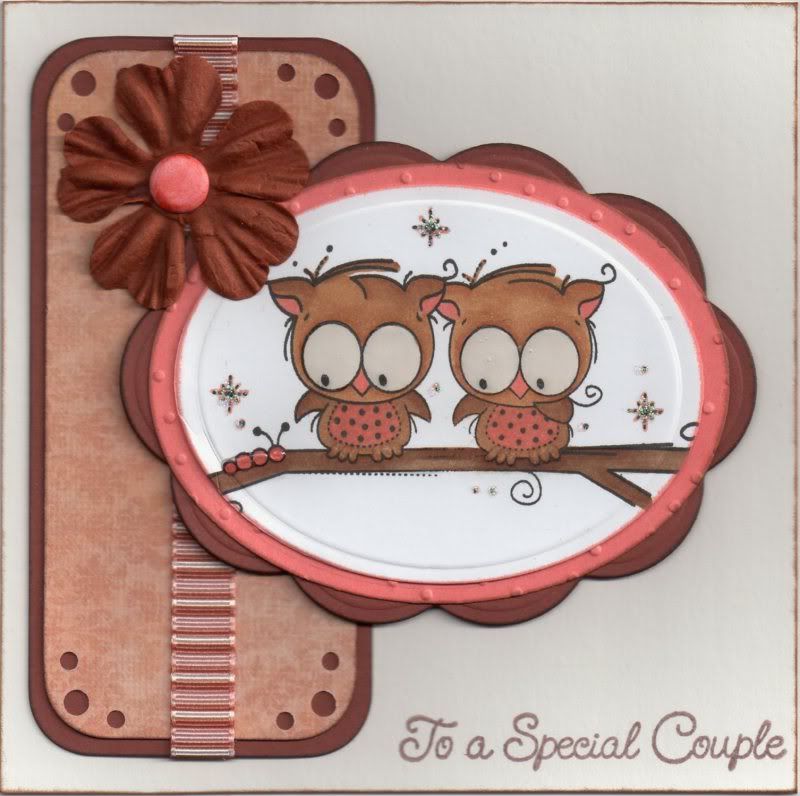
This card I made using a recent purchase from the lovely ClarkyJ when she had a bit of a clearout. I've always loved these cute owls so I'm chuffed to actually own them now!! Think they are great for anniversary cards, which is precisely what I have made here.


The image, Hoo Hoo There by Rachelle Anne Miller/Stampavie, was stamped using Versafine Onyx Black archival pigment ink and coloured using Copic sketch markers:
  • Owls: YR02, E35, E39, E40, E57
  • Branch: E39, E40, E57, C4
  • Sparkles/Dots/Caterpillar: YR02
 The image was die cut using an oval Nestabilities die and matted onto a salmon pink card embossed with the Cuttlebug Swiss Dots embossing folder. This was then matted onto a big scalloped oval cut from brown card.

The corners of the panel of the salmon pink flourish paper, from the DCWV The Old World Mat Stack, were punched using the Martha Stewart Scallop Dot border punch and the large XCut corner rounder punch. This was then matted onto the brown card and a length of Anita's brown striped grosgrain ribbon added across it.

The image panel was added overlapping the patterned paper panel.

A pink card candy, from Craftwork Cards, was coloured using a Copic marker (YR02) to make it co-ordinate with the colour scheme of the card and added in the centre of a brown Prima ELine paper flower in the top left corner.

The sentiment, from Elzybells, was stamped in the bottom right hand corner using Memento Rich Cocoa dye ink. Anita's 3D Gloss was then added to the owls' eyes and the caterpillar.

Here are the challenges that I will be entering this card into:

Wednesday, 6 October 2010

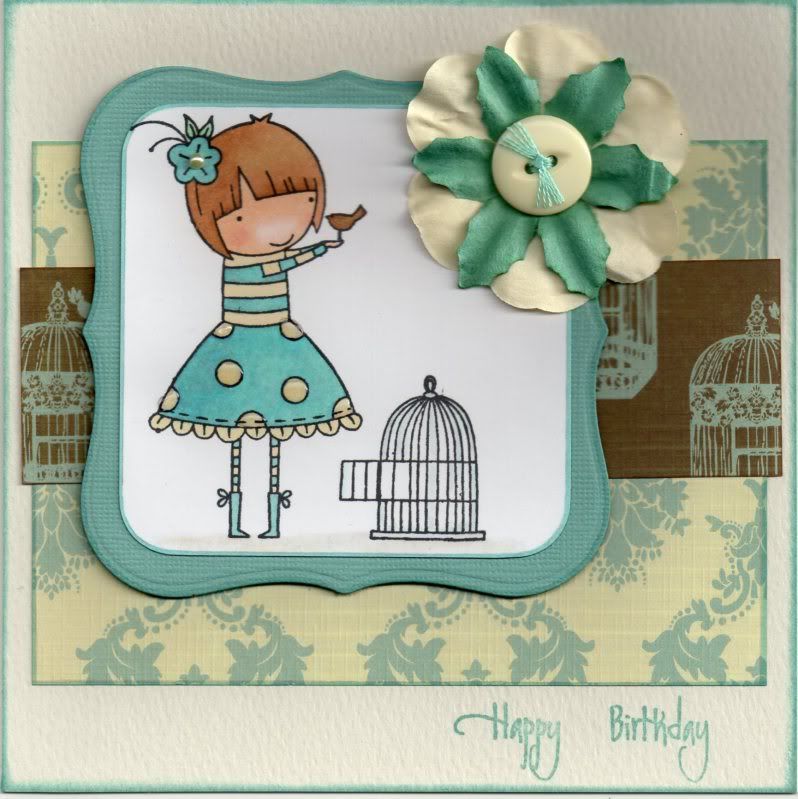
Duck-Egg Blue and Cream Sugar Nellie Fly Free

Here is the card that I made for Natalie for her birthday. I know that she has received it now so I can post it without spoiling the surprise!!


I love this cute Leanne Ellis image, available form Funky Kits. It's called Fly Free image, and it was stamped using Memento Tuxedo Black dye ink and coloured using Copic Sketch markers:
  • Hair: E13, E31, E35
  • Skin: E00, E21, E51, R20
  • Flower: BG02, BG11, N3,
  • Leaf: BG32, YG41
  • Top/Skirt/Socks: E41, Y00, BG02, BG11, N3
  • Boots: BG02, BG11, N3
  • Bird: E35, E39, N3
  • Cage: C2, BG11
  • Shadow: E41, N1, 0
The image was matted onto a panel die cut using the Labels 1 Nestabilities die from duck-egg blue Core'dinations card from the Elements card pack.

A panel of the cream and blue flourish paper from the Papermania Chatsworth paper pad was added to the centre of the card blank with a strip of the brown and blue bird cage paper from the same paper pad over the top.

Embroidery thread was tied through a cream button and assembled with a cream Papermania paper flower and a blue Prima paper flower and added to the top right corner of the image panel.

The spots on the image were then highlighted using Anita's 3D Gloss, and a cream self-adhesive pearl from The Hobby House was added to the centre of the flower in her hair.

The sentiment, from the Elzybells Swirly Sentiments stamp set, was then stamped in the bottom right corner of the card blank using ColorBox Celadon pigment ink.

Here are the challenges that I will be entering this card into:
Blog Widget by LinkWithin