Pages

WELCOME

This blog was created to act as a record of the cards and other projects that I have made. It is for both my own reference and to help inspire anyone who wants to take a look.

I'd love it if you'd leave me a comment so that I know what you think of my projects and that you've been to visit!

Anyone can comment, even those who don't have a blog. (Just look for the word 'Comments' under the three little pictures at the end of each post). Readers without a blog can add an anonymous comment, but please leave your name (and docrafts username if applicable) so I know who you are!

Slideshows of all the cards I've uploaded to my blog can be found at the bottom of the page.


PEOPLE WHO FOLLOW MY BLOG

Showing posts with label PersImpressions. Show all posts

Sunday, 5 March 2017

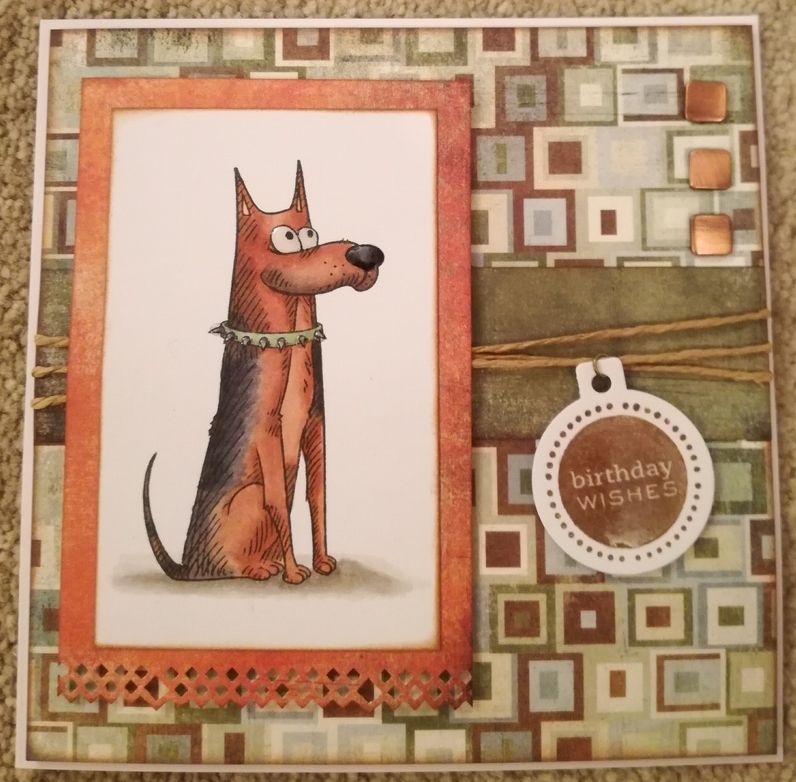
30-Day Colouring Challenge Day #4 - Rusty Katzelkraft German Shepherd

This is my entry for day 4 of the 30-day colouring challenge of March 2017, as organized by the fabulous Kathy Racoosin.


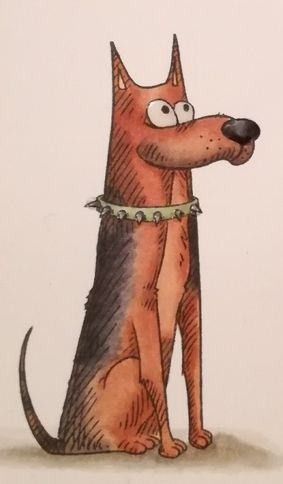
I needed to make a birthday card for my dad, and so, having discovered where I had hidden the Katzelkraft dog images I stamped before Christmas thanks to my friend Kelly, I chose the one I thought resembled a German Shepherd dog the closest.

The image was coloured using Memento Tuxedo Black dye ink and coloured with Copic markers:

Dog: E13, E15, E39, C3, C5, C7, C9, R02
Eyes: C0, C1
Collar: G21, C3, C7
Shadow: W1, W3, W5

I coloured the image so that it looked just like the dog that we had when I was growing up. Rusty, aptly named because of her colouring, was the softest dog you'd ever know and was often a pillow to my little cousins. I thought my dad would appreciate a card like this.

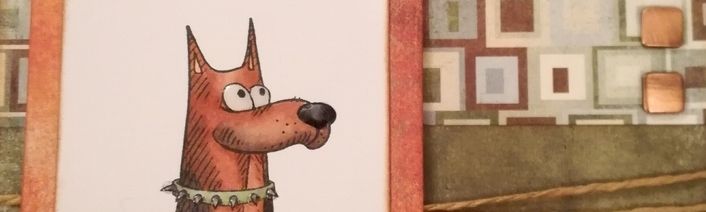
Having coloured the image, the panel was distressed on the edges with Tim Holtz Vintage Photo distress ink, as were the panels of patterned paper from the Basic Grey Archaic paper pad (Relic, Timeworn and Rusty).

The strip of Timeworn paper was added across the Relic paper and wrapped with lengths of natural twine.

Using the round Cuttlebug tag die, a tag was die cut from white card and stamped with the solid 'Birthday Wishes' stamp from the Personal Impressions Paula Pascual Mixed Sentiments stamp set with Versafine Vintage Sepia archival pigment ink. A jump ring was added to the tag and threaded onto one of the lengths of twine.
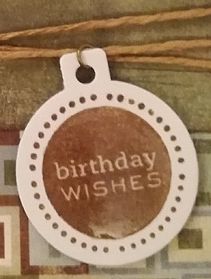

The image panel was matted onto the panel of Rusty paper, the bottom edge having been punched with the Diamond XCut border punch first. This was mounted over the twine with 3d foam tape, as was the sentiment tag.

Three WRMK square copper studs were added to the top right corner and then the panel was mounted to the 5'75" square cardbase.

To finish off the card, Ranger Glossy Accents was added to the dog's eyes and nose, the collar studs and the sentiment.
Thursday, 7 July 2016

30-Day Colouring Challenge - Day #3

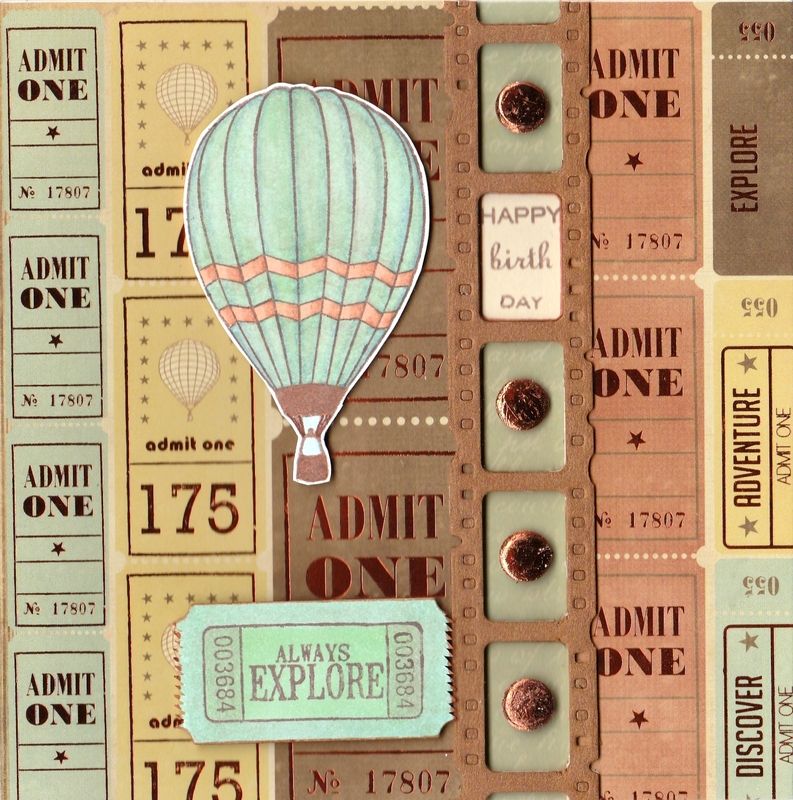
Here is my entry for Day #3 of the 30-Day Colouring Challenge
I was out all day yesterday so didn't get a chance to do any colouring, but I did today. Yippee!


The image I coloured was from a stamp set that I bought at the Newbury Show on Saturday. I think it was a set of stamps that came free in Creative Stamping magazine but not sure.

Anyway, I began by creating a 'bridge' card. I covered the card front with a beautiful piece of foiled cardstock from the Kaisercraft Up Up and Away paper pad. Then I chopped the right had side of the card front off and a section to the right of that panel the width of the gap I wished to create.

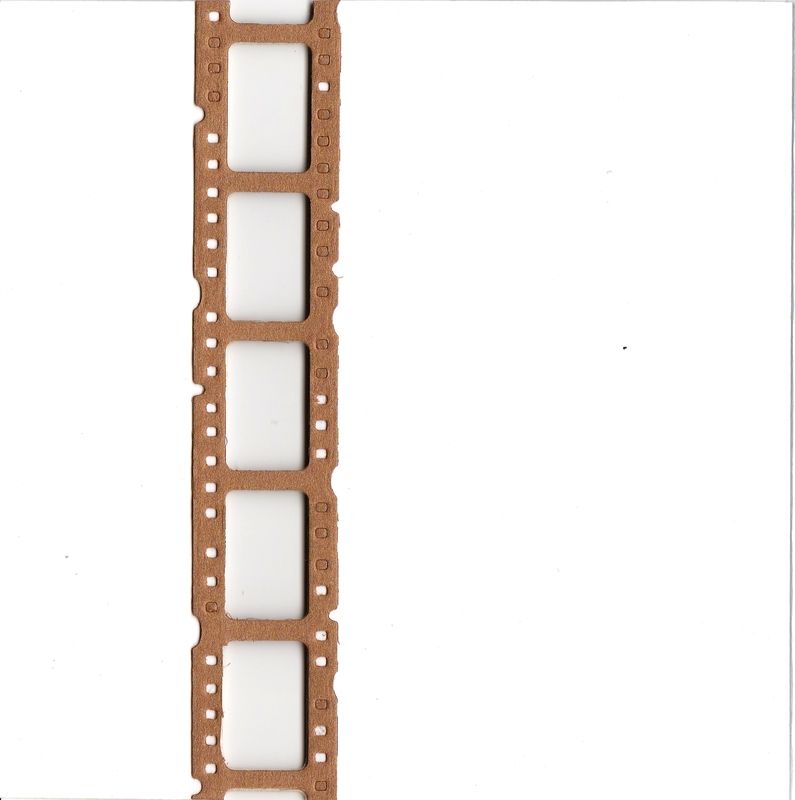
As I was using the Sizzix Mini Filmstrip and Mini Tickets Decorative Strip die, this meant the gap was only 1.5cm.

The filmstrip was diecut using copper pearl cardstock and adhered to the card front. The loose section of cardstock was temporarily taped down using masking tape so it was level with the edge of the card stock and the other side of the filmstrip die was adhered to this piece to complete the card front once again.

A second diecut was added to the inside of the card front to strengthen it.


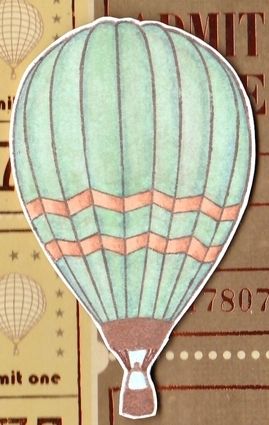
Now to the colouring part. The hot air balloon image from the stamp set was stamped using Memento Rich Cocoa dye ink and coloured using Copic markers:

Hot Air Balloon
E11, E15, BG11, G12, W3, B34


Unfortunately, I didn't have quite the right colour to match the papers so I had to experiment with the colours I have.

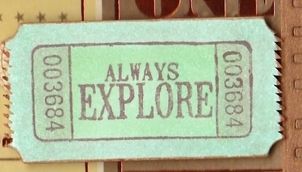
I also stamped the 'Always Explore' ticket stamp from the Autumn Leaves Ticketed stamp set onto a ticket die cut from Memory Box's Double Ticket die using the Rich Cocoa ink and coloured it with Copics:

Ticket
W3, BG10, BG11, G12, E15


The hot air balloon image was fussy-cut and adhered to the card front, along with the ticket.

A strip of the duck-egg blue script paper from the same paper pad was then added to the inside right of the card so that it shows through the 'bridge', along with the narrow strip cut from the card front.

Using the aperture sections of the filmstrip die cut from cream card, the sentiment was stamped using parts of stamps from a selection of the Personal Impressions Paula Pascual sentiment stamp sets (Double Sayings, Mixed Sentiments, All Year Round and Mix and Match Sentiments). One of the panels was adhered through one of the apertures on the inside of the card and two further panels were adhered alongside.


To replicate the copper foiling on the patterned paper, four copper card candi were taken and Zig 2-way glue pen was added to the front of them all. When this had gone clear, a sheet of copper foil was applied to the card candi to create foiled card candi. These were added through the remaining apertures on the front of the card. The glue was then also added to a star die from the Penny Black Sweet Wishes stamp set and stamped over the 'TO' word on the inside of the card. Once again, the foiling was added to this.


Tuesday, 5 July 2016

30-Day Colouring Challenge - Day #1

I know as I type this that I won't be able to participate in the 30-Day Colouring Challenge set by Kathy Racoosin over on her blog every day as I have my in-laws arriving on the 15th for 2 weeks, but I will try my hardest to participate when I can.

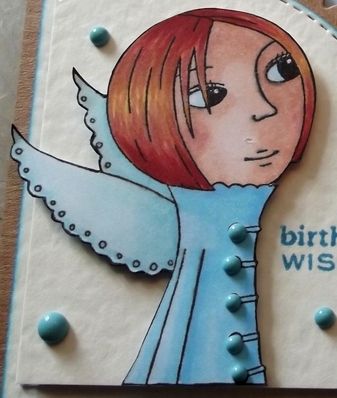
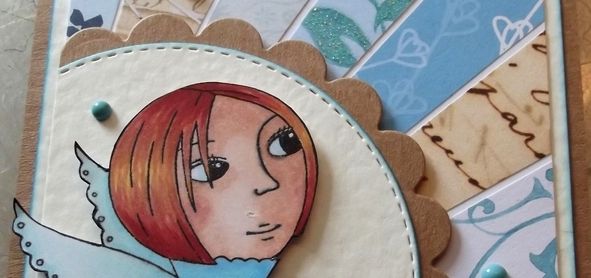
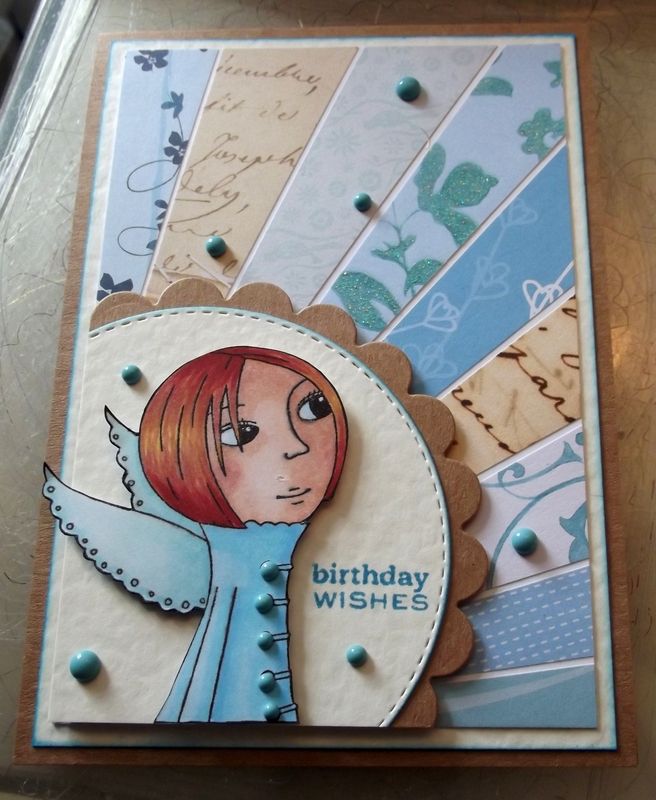
This image, Dreamer from Leanne Ellis/Sugar Nellie, began life as part of my indexing system, but it didn't stamp very well, but the girl part of the image was salvageable. Unfortunately, that meant that she was stamped with Versafine, which isn't very Copic friendly, and on Ryman's cardstock which I find is more inclined to bleed with too much pen ink. Ho-hum!


I coloured her to match the starburst background that I made last week at the craft group that I go to.

Copics:
Skin: E000 E00 E11 E13 (Cheeks: E04 R20)
Eyes: B00
Hair: Y15 E07 E09 E15
Coat: B00 B01 B02
Wings: BG02 BG10 BG11


I fussy-cut her out and matted her onto a double-stitched circle die from Crealies XXL #33 die set cut from ivory hammer card. This was then matted onto a Nestabilities scalloped circle. The circle was cropped to fit into the corner of the card.

The 'Birthday Wishes' sentiment, from the Personal Impressions Paula Pascual Mixed Sentiments stamp set, was stamped using Tim Holtz Mermaid Lagoon ink, to match the sponging around each of the cream panels.


The starburst background was created using a bunch of papers from my stash - some of which haven't been used in a very long time!!!

The paper pads used were:
Papermania Venetian Skies Creative Tones
Papermania Birdsong
Papermania Henbury Lane
K&Co Life's Journey Script
K&Co Life's Journey Map
Daisy & Dandelion Picnic Patch


To finish the card, I added some dots of the Cosmic Shimmer Teal PVA.


Tuesday, 19 January 2016

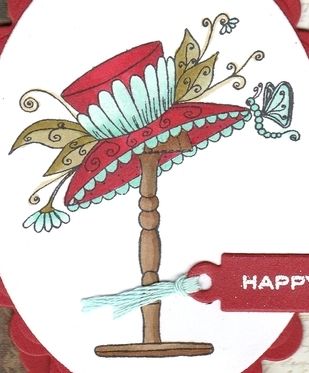
Red, Teal and Green Katy Sue Hat and Stand

My apologies for the lateness of this post but I have been having issues with Internet Explorer all day. I can't upload pictures of my cards using Microsoft Edge and today IE has just not wanted to play ball. Anyway, it seems to be working at the moment, so I'll get on with uploading this as quickly as possible.

This is a card that I made, finally using the beautiful set of stamps by Katy Sue Designs that I bought at the Newbury Artstamps Show. Yet another of those 'must have' purchases that have been sitting in my stash unused.

I decided to use the Prima Madeline paper pad as I really love the colours and they matched the guide illustration on the packaging.

 
The hat and stand image, from the Katy Sue Designs Gerbera stamp set, was stamped using Memento Tuxedo Black dye ink and coloured using Copic markers:

Copics:
Hat: R27, R37, R39, BG10, BG11, BG32;
Flowers: BG10, BG11, BG32;
Leaves/Stems: G00, YG91, YG95;
Fronds: YG91;
Butterfly: BG11, BG32;
Hatstand: E43, E44, E57;
 
The image was diecut using a Classic Oval Nestabilities die and matted on to a Scalloped Classic oval diecut from red cardstock.

The cardblank was covered using the border paper and the cream script papers from the Prima Madeline paper pad, and the join was covered with a strip of card diecut using the Solid Bracket die from MFT Die-Namics.

 
The image panel was then added in the centre of the cardblank.

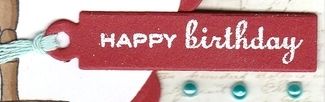
The 'Happy Birthday' sentiment, from the Personal Impressions Paula Pascual Mix & Match stamp set, was stamped using Emboss clear embossing ink and white heat embossed using Stampendous Detail White Opaque embossing powder. This was then diecut using a tag die from the Sizzix Tags, Sentiments Framelits die set. The tag was threaded with aqua embroidery thread and added over the image panel.

 
Details of the hat image were then highlighted using the clear Wink of Stella brush pen, and three teal pearls from Hobby House Sea Charm pearls.


Friday, 4 December 2015

Lilac and Brown Chapel Road Bramble

Firstly, I have to announce that this is my 500th blog post - wow!!!
 
More impressive is that I have managed to maintain this blogging schedule for well over a month now!!! I'm hoping to keep it up over the Christmas period but it's more likely that it will have to go on sabbatical for a few weeks over the holiday period.
 
Anyway, here is another 'throwback' card from 2011.
This card uses one of those 'must-have' stamp sets that in actual fact has only been used the once - here!!!
 
I saw some beautiful samples using this stamp set at the Newbury Stamp Show back in 2011 by the Snazzy's team, and of course had to buy it. Of course, once I got home, all that inspiration had disappeared from my head. I really should get this stamp set out again in the New Year - somebody remind me!!!
 
Anyway, back to this card.
 
 
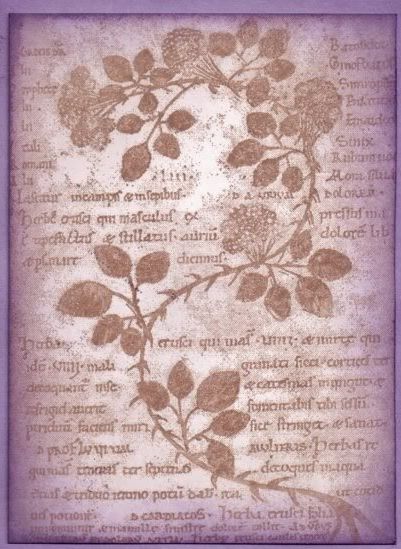
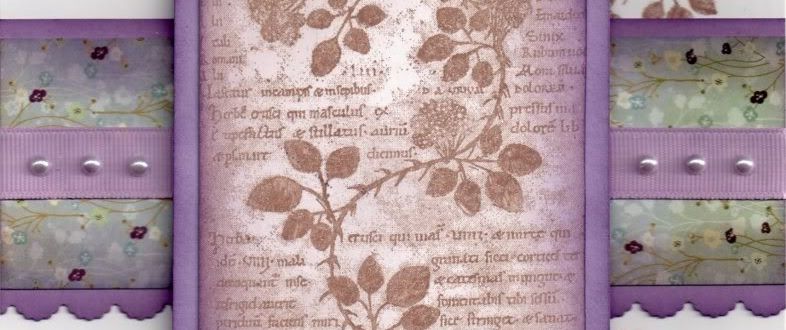
Firstly, the Bramble Collage image from the Chapel Road Artstamps Bramble stamp set was stamped onto white card using Memento Rich Cocoa dye ink and then distressed using Tim Holtz Milled Lavender and Dusty Concord inks. The image panel was then matted onto lilac cardstock.
 
A strip of the Violet paper from the Basic Grey Wisteria paper pad was matted onto a strip of the lilac card that was punched using the EK Success Scalloped Scallop border punch, and then a length of Dovecraft lilac grosgrain ribbon was wrapped around.
 
Next, the Bramble image from the same stamp set, was stamped in the corners of the card blank using the Rich Cocoa ink. The patterned paper strip was then added across the centre of the card and the image panel matted over the top.
 
 
Once the image panel was in place, lavender pearls from Kort & Godt were added either side of the panel, and the sentiment, from the Personal Impressions Paula Pascual Mix and Match stamp set was stamped below the image using the Rich Cocoa ink.
 

Wednesday, 25 November 2015

Taupe, Aqua and Sage Green Honeycomb Trevor and Emma

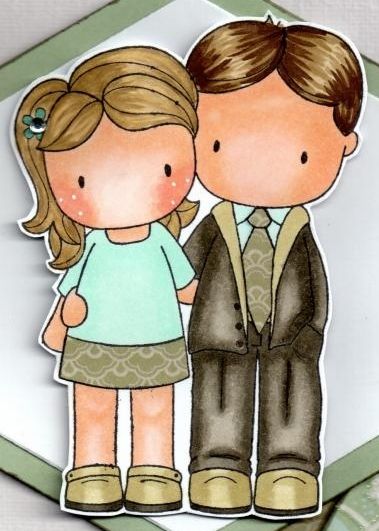
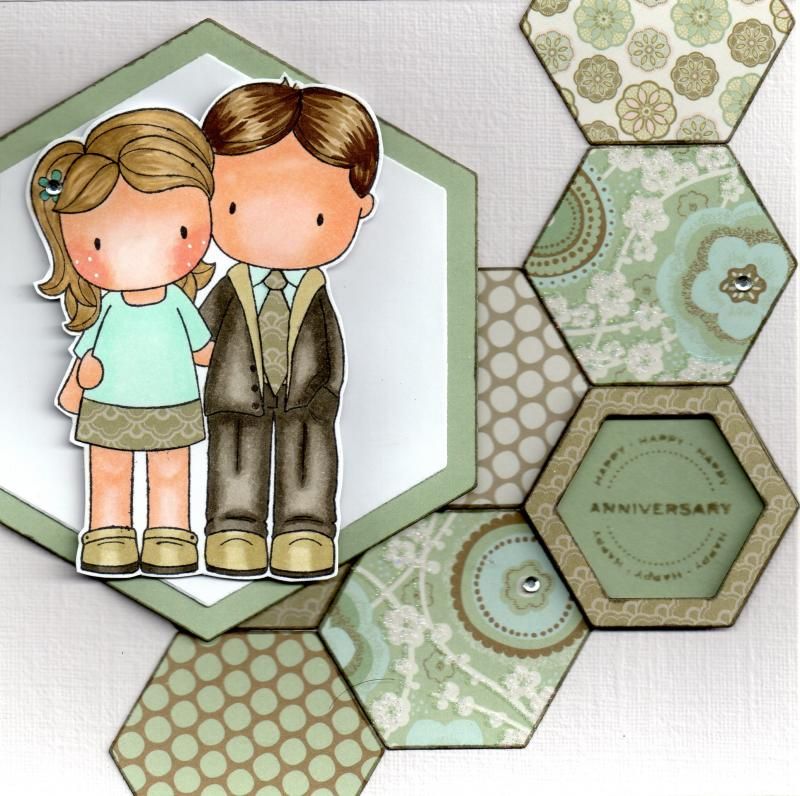
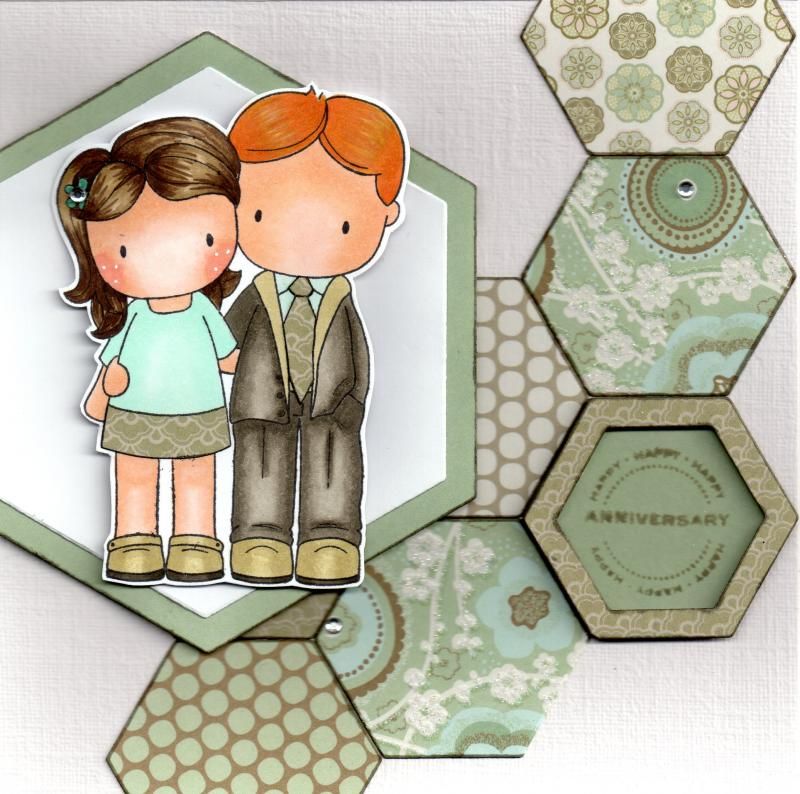
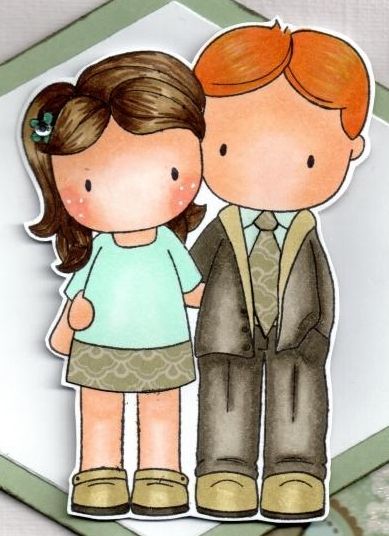
Today's card is actually two versions of the same card. Both cards use the Spring Couple stamp from CC Designs and are anniversary cards.
 
The images were stamped using Memento Tuxedo Black dye ink and coloured with Copic markers.
 
Here are the details for the first card:
 
 
Copics:
 
Trevor - Hair: E43, E44, E49
Trevor - Skin: E00, E11, E21
Trevor - Shirt: BG11
Trevor - Jacket: YG91, W3, W5, W7
Trevor - Trousers: W3, W5, W7
Trevor - Shoes: YG91, W9
 
Emma - Hair: E41, E43, E44
Emma - Skin: E000, E00, E11, E21, R02
Emma - Flower: BG18
Emma - Top: BG10
Emma - Shoes: YG91, W9
 
The other parts of the image were paper-pieced using papers from the First Edition Isabelle paper pad.
 
Using the Sizzix Framelits Hexagon die, a series of hexagons were cut from a variety of the papers from the Isabelle paper pad and arranged in a honeycomb pattern on the card blank. A larger couple of hexagons were die cut from white cardstock and a patterned paper and the image, having been fussy cut, was adhered onto them.
 
 
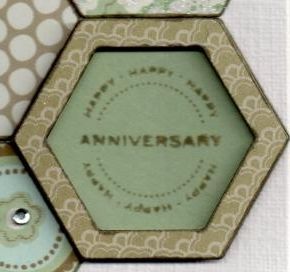
The sentiment was stamped onto a diecut hexagon using the Happy circle sentiment stamp and the Anniversary stamp from the Personal Impressions Paula Pascual All Year Round stamp set with Tim Holtz Pumice Stone distress ink. A frame was created from another patterned paper from the Isabelle paper pad and added over the top of the sentiment hexagon.
 
Here is a picture of the finished card.
 
 
To finish the front of the card, highlights were added to Emma's cheeks using a Papermania Snow White gel pen and small faux gems were added to the centres of the flowers on the patterned papers and the flower in Emma's hair.
 
The inside of the card was also decorated, using hexagon diecuts. The sentiment banner was created by stamping the Basic Banner by Clearly Besotted using the Pumice Stone ink and diecutting with the co-ordinating die. The sentiment was stamped within the banner shape using the Have a Beautiful Day stamp from the Personal Impressions Paula Pascual Mix & Match stamp set.
 
 
The second version of the card gave the characters different hair colours.
 
 
Copics:
 
Trevor - Hair: YR14, YR23, YR24
Trevor - Skin: E00, E11, E21
Trevor - Shirt: BG11
Trevor - Jacket: YG91, W3, W5, W7
Trevor - Trousers: W3, W5, W7
Trevor - Shoes: YG91, W9
 
Emma - Hair: E41, E43, E44, E49
Emma - Skin: E000, E00, E11, E21, R02
Emma - Flower: BG18
Emma - Top: BG10
Emma - Shoes: YG91, W9
 
 
Again, the inside of the card was also decorated.


Monday, 16 November 2015

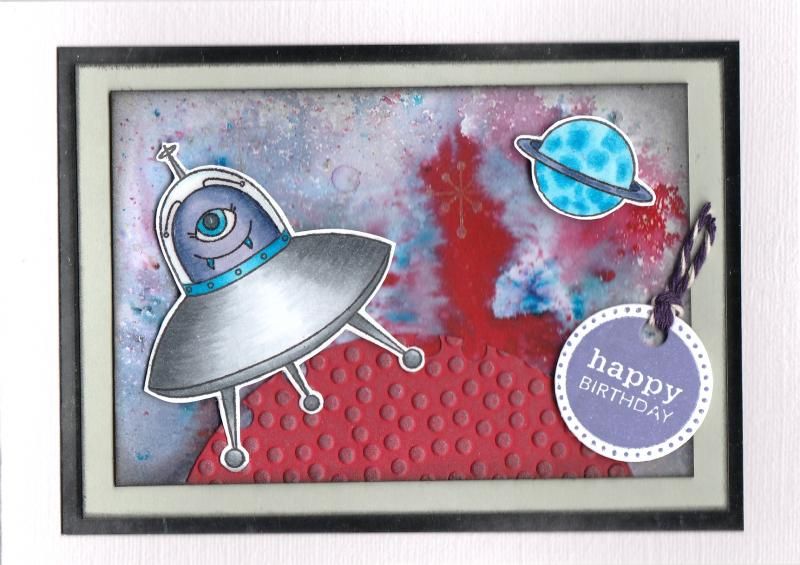
Red Grey and Purple Brusho Aliens

OK - I'll admit it. I had a go with some Brushos. These are definitely not my type of crafting. Far too messy and uncontrollable!!
 
But, I made a background using my friend's set and I decided to make it into a card. When looking at the background, I decided it looked a bit space-like, so I thought I'd make a kids' card and use my alien stamp set.
 
So, to create the background, I used quite a few different Brusho colours onto a sheet of white card, namely black, grey, crimson, scarlet, cobalt blue and then these were spritzed with some water. Once the colour was almost dry, some white Brusho was sprinkled over the top and no water added to create some contrast.
 
The background was then over-stamped with a dotty star stamp from the Kirsty Wiseman Terrestrial Friends stamp set using the Heat It Up! Metallic Silver pigment ink.

 
The next stage was to select the best area of the background for the card. This piece had a flare of red which I thought fitted well with my idea of the card. The edge of the panel was then distressed using Tim Holtz Black Soot distress ink.
 
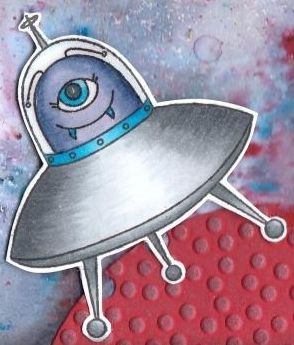
The alien and spacecraft stamp and the planet stamp, also from the Terrestrial Friends stamp set, were stamped using Memento Tuxedo Black dye ink and coloured with Copics:
 
Copics

 
Monster/Planet: B01, B02, B05, B06, BV00, BV04, BV08
Spaceship: C1, C3, C5, C7, B02, B05, B06
 
 
These images were then fussy cut and Ranger's Glossy Accents were added to the glass section of the spacecraft image.
 
To ground the image and create a foreground, a planet was created by cutting a piece of red card into a circle using a Nestabilities die and then embossed using the Crafts-Too Polka Dots embossing folder. Silver-Blue and Golden White metallic wax rub-ons from Craf-T Color Kit #3 were rubbed over the embossed detail to highlight it. The circle was trimmed into a semi-circle and adhered to the Brusho panel, after a few 'craters' were cut from the edge of the circle using a single hole punch.
 
 
The sentiment, from the Personal Impressions Paula Pascual Mixed Sentiments stamp set, was stamped onto white card using the Versafine Majestic Purple archival pigment ink and die cut using the circle tag die from the XCut Tags and Bookplates set of dies. This was then threaded with purple Baker's twine from Gorjuss.


All the components were then adhered to the card front, matted and layered onto grey and silver mirror card.


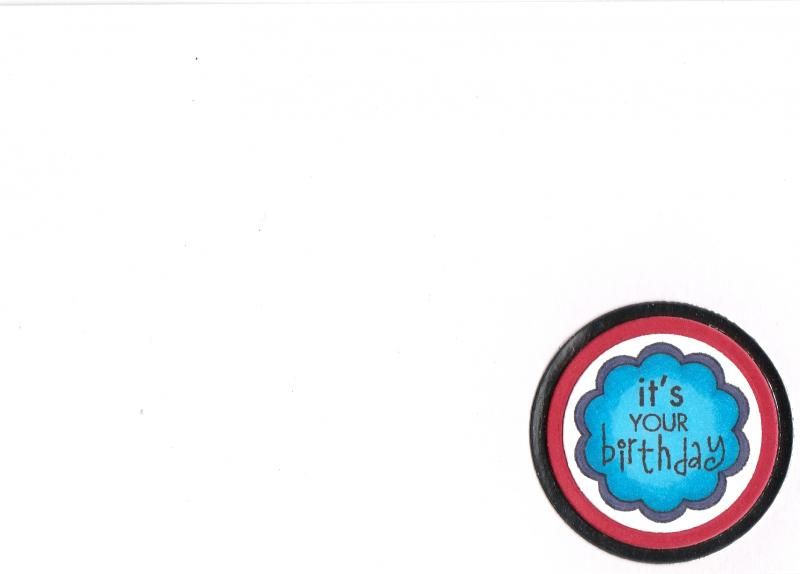
The inside of the card was also decorated, using the It's Your Birthday circle sentiment stamp from the Hero Arts Birthday Messages stamp set. The sentiment was coloured using Copics to match the images on the front of the card, and then diecut using a circle Nestabilities die and matted onto red and silver mirror circles.

Monday, 2 November 2015

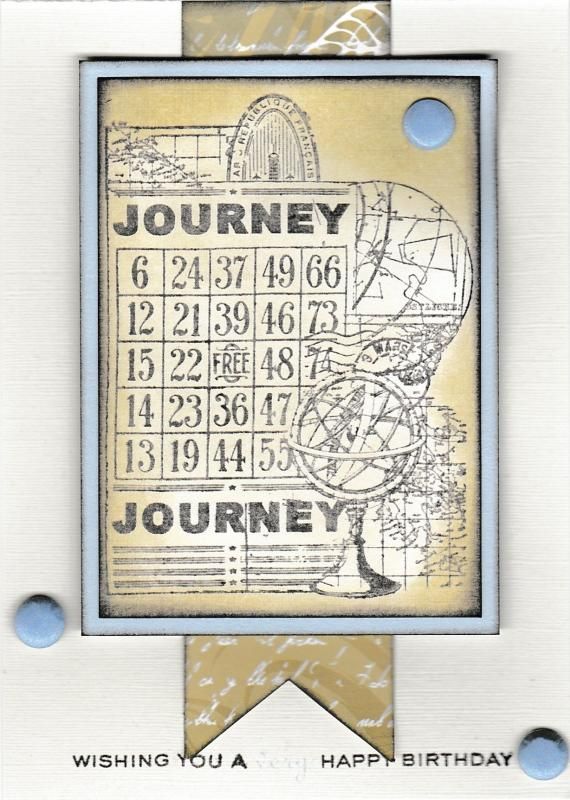
Blue and Beige Journey Collage Masculine

Another masculine card for you today.
 
This card uses one of the Kaisercraft Collage stamps, this one being Journey.
 
The image was stamped onto ivory cardstock using Memento Espresso Truffle dye ink and distressed with Tim Holtz Old Paper distress ink. The image panel was then matted onto baby blue cardstock.
 
A fishtail banner was cut from a strip of the beige script paper from the Perfect Prints Vintage 2 paper pad and added to the centre of the cardblank.
 
The sentiment, from the Personal Impressions Paula Pascual Double Saying stamp set was stamped at the bottom of the cardblank using the Espresso Truffle ink and Memento Summer Sky dye ink was used on the 'very' word in the sentiment. (Although that doesn't show up very well in the image). The image panel was then added over the top of the fishtail banner.
To add some more interest to the card, some baby blue card candi from Craftwork Cards were added, creating a 'visual triangle'.
 
 
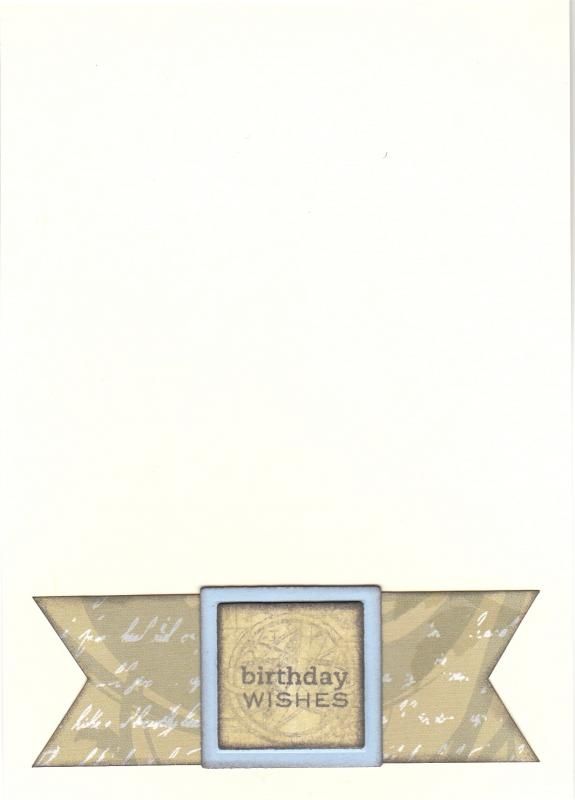
For the inside of the card, a double ended fishtail banner was created from the script paper and added to the lower sector of the card.

The Journey image was stamped again onto ivory card using the Old Paper ink and die cut using a Nestabilities square die. This was then overstamped with the 'Birthday Wishes' stamp from the Personal Impression Paula Pascual Mixed Sentiments stamp set using the Espresso Truffle ink, and then matted onto a square of the baby blue cardstock and then onto the fishtail banner.

Friday, 30 October 2015

Green and Orange Dressy Miss Anya Pencils On Kraft Card

This is an up-to-date card from me today.

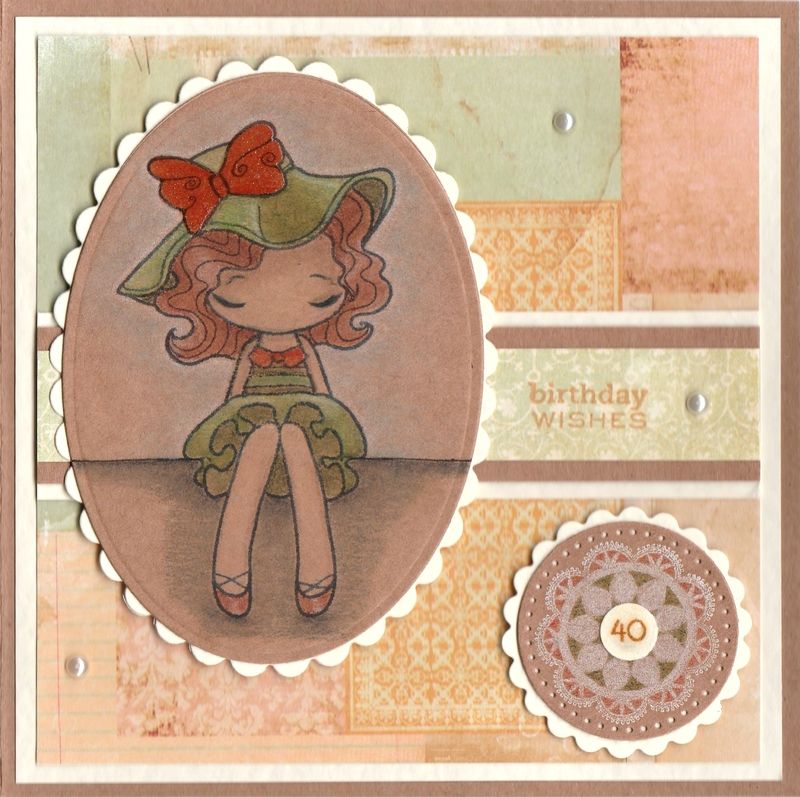
This is the card that I made for my sister for her 40th birthday earlier this month. It's always a worry when your 'little sister' hits 40 - a big reminder that you are the 'big sister'!!!
 
Anyway, back to the card!
 
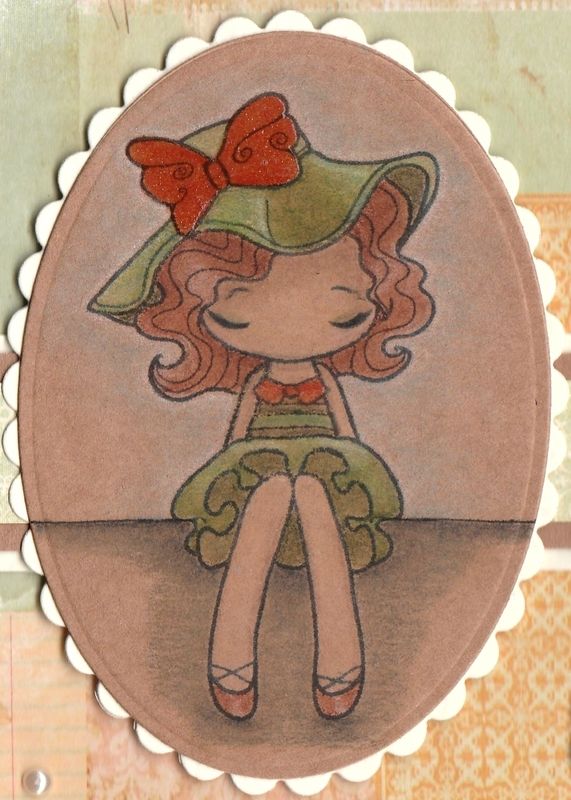
This card uses a technique I've never used before - colouring with pencils onto kraft card. Unfortunately I can't afford the lovely Prismacolor pencils, so I have used the WHSmiths set of 36 colouring pencils here. The results probably aren't as striking as they might have been had I used those pencils, but I think it works all the same.
 
 
I started by stamping the Miss Anya Dressy image from The Greetings Farm with Memento Tuxedo Black dye ink onto the kraft card and used a selection of the pencils to colour her in. To blend  the pencils, I used plain old baby oil.
 
Once the colouring was finished, I added some clear Wink Of Stella to the orange sections of the image, so her collar, shoes and bow.
 
The image was then diecut using a Petite Oval Nestabilities die and matted onto a cream scalloped Petite Oval die.
 
 
 A piece of collaged patterned paper from the Prima Songbird paper pad was matted onto the front of the card and a strip of blue paper from the same paper pad was matted across it.
 
The sentiment, from the Personal Impressions Paula Pascual Mixed Sentiments stamp set was stamped directly onto the patterned paper using Memento Cantaloupe dye ink.
 
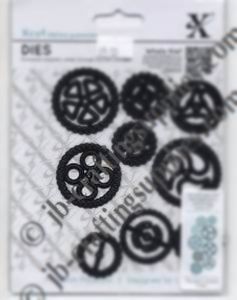
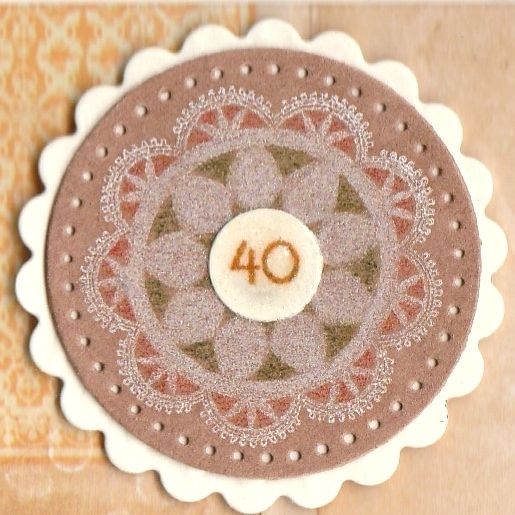
The next step was to remind my sister as subtly as possible that she was hitting a landmark birthday. To do this, I needed some small number stamps, but I don't have any. So I resorted to printing some out from the computer and diecutting them using one of my cog dies from the XCut Chronology Cogs set.
 
 
The die highlighted above has just the right sized circles that I required.
 
Firstly, the doily image from the Martha Stewart Doily stamp set was stamped onto kraft card using Memento Luxe Wedding Dress pigment ink. This was then coloured using a couple of the WHSmiths pencils that were used in the main image.
 
 
The inside of the card was also decorated, using matching papers and an oval diecut panel. The sentiment, also from the Mixed Sentiments stamp set, was stamped using the Cantaloupe ink and die cut using a circle Nestabilities die.

Wednesday, 2 April 2014

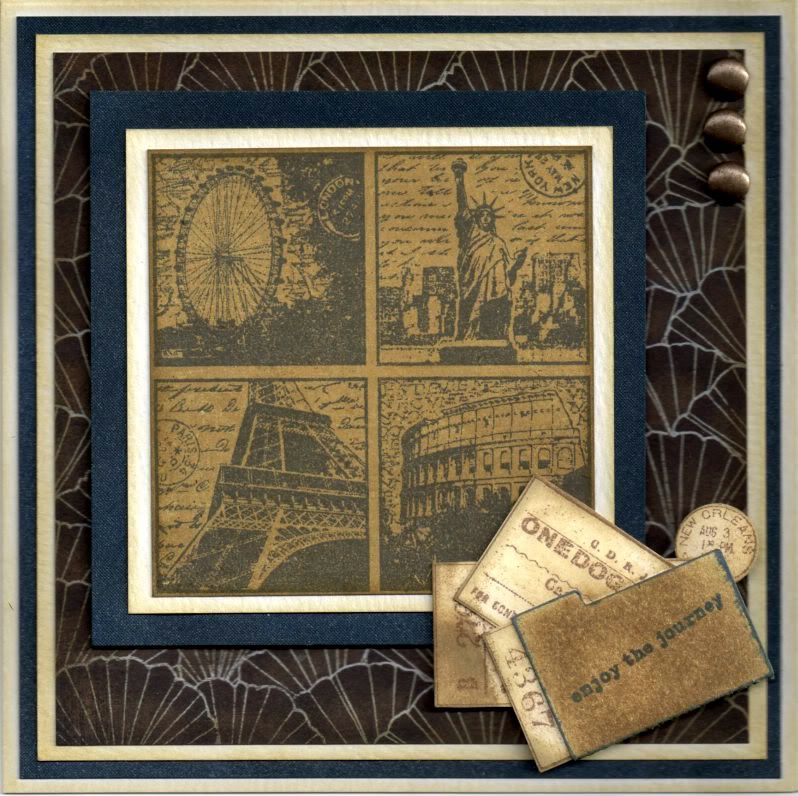
Dark Blue and Brown Landmarks and Tickets 40th

So, my latest upload is a card I made for a friend who was turning 40. He has always called me 'aunty Kathleen' ever since I used to feed him curry when we were based in Germany. Even though he is actually older than me!!


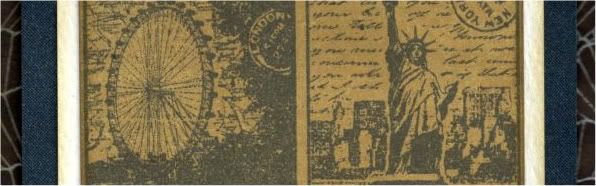
I pulled out the trusty Landmarks image, from Crafty Individuals, and stamped it onto the Honey paper from the Basic Grey Granola paper pad using Memento Paris Dusk dye ink and trimmed it up into a square. The image was then matted onto cream and navy shimmer cardstocks.

A panel of the Wild Oats paper from the same paper pad was also matted onto the cream and navy cardstocks.

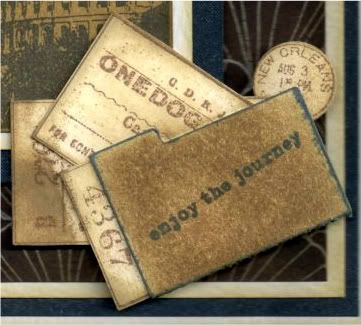
A file folder was die cut from cream card using the Sizzix Sizzlits die and coloured using Tim Holtz Frayed Burlap distress ink and stamped with a sentiment from the Making Memories Express It! stamp set using the Paris Dusk ink.


The Travel Tickets stamp, also from Crafty Individuals, was then stamped onto cream card using the Versafine Vintage Sepia archival pigment ink and the individual tickets were cut out. Tim Holtz Old Paper and Frayed Burlap distress inks were then added to distress them. The tickets were arranged inside the file folder and added at the bottom right corner of the image panel.


Three large old gold brads from Papermania were then added in the top right of the panel and the panel was then added to the card blank.


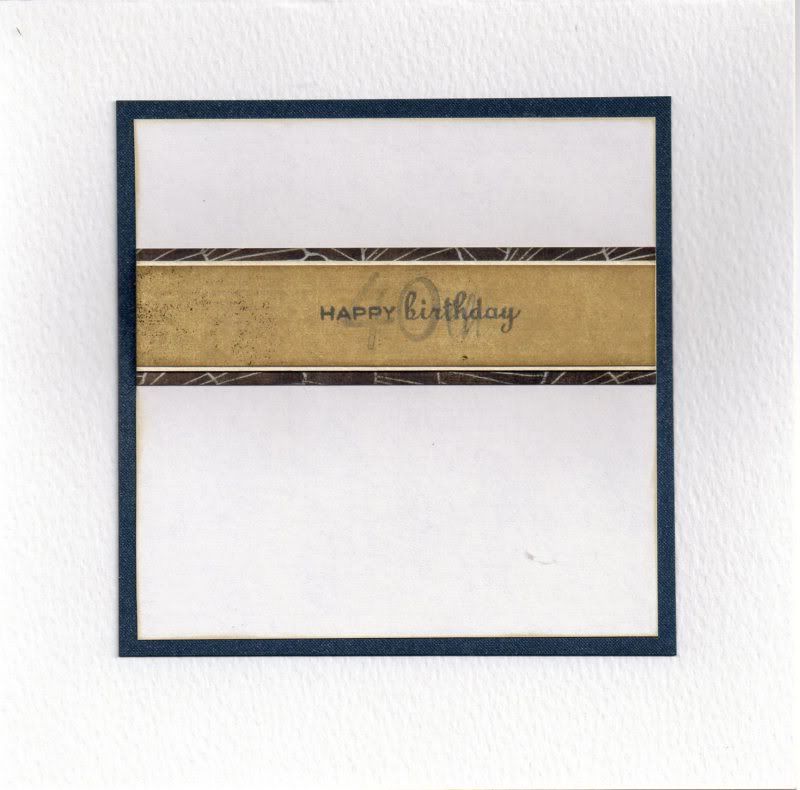
The inside of the card was also decorated using strips of the papers used on the front of the card. The sentiment was stamped across the Honey paper using the Paris Dusk ink, the Happy Birthday stamp from the Personal Impressions Paula Pascual Mix and Match Sentiments stamp set and the '4', '0' and 'th' stamps from the See D's Lower Case Script Alphabet stamp set. The '40th' text was stamped using the second generation of ink, giving it a more faded look.


Here are the blog challenges I am entering this card into:

Friday, 16 September 2011

Citrus Lily With Moving Sentiment - Lia Stampz Challenge #3

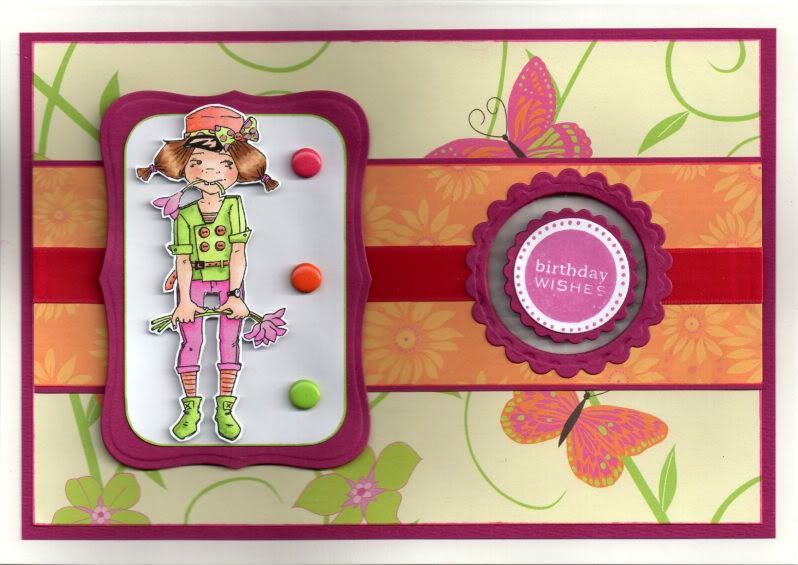
Well, here goes!! Here is my very first DT card! I was very kindly asked by the ladies at Lia Stampz to join their DT team. The images designed by Lia are pretty quirky and I look forward to using them! You can find them here


Lia Stampz, digital stamps


This card is made for Challenge #3 over at Lia Stampz which was to include a moving element. This took me completely out of my comfort zone I can tell you and took quite a bit of thought and research. In the end, I decided on a card with a moving sentiment. I followed the tutorial over on the Splitcoaststampers site, and you can see the tutorial here.

I've made this card for my sister as I think she'll appreciate the quirky nature of the image. She lives in (sunny) Spain and is enjoying much warmer weather than us here in the UK.

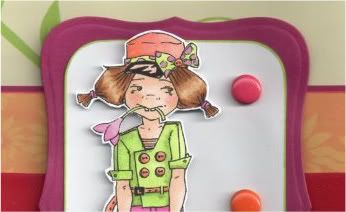
The image, a digi from Lia Stampz called Lily, was coloured using Copic sketch markers:
  • Skin: E00, E11, E21, R02
  • Hat/Top/Socks: YR00, YR02, YR04
  • Bow: RV04, RV11, YG11, YG13
  • Hair: E31, E33, E35, E37
  • Jacket/Boots: YG11, YG13, YG17
  • Flowers/Trousers: RV04, RV06, RV09, RV11
  • Stems: YG13, YG17
  • Hair Ties: RV06, RV09
  • Eyes: YG13, E35
  • Belt/Buttons: YR02, YR04
  • Watch Glass: C0
The image was then cut out.
The image was then matted onto a panel of white card and a panel of hot pink card die cut with a Nestabilities Labels 8 die. Three brads, from the HOTP Ultimate Cardmaker's Creative Pack embellishment kit were then added to the image panel.

An aperture was cut into the card blank using a Classic Circle Nestabilities die. Unfortunately, I don't have a Grand Caliber so I had to cut my aperture through the front and back of the card blank. I tried to cut through just the front, with the back of the card folded over the cutting plate, but it got too damaged to be used so I just cut through the front and back!

A strip of the orange daisies paper from the Dovecraft Kate Knight Wild Blossom paper pack was matted onto the hot pink card and a circle die cut from it the same size as the aperture in the card, making sure it fitted over the aperture. Hot pink satin ribbon was then wrapped around the panel either side of the aperture.

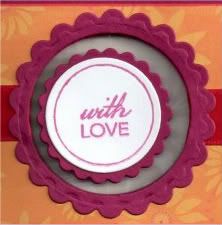
A length of Invisithread was then added across the aperture. Two circles were then die cut from white card and the sentiments from the Personal Impressions Paula Pascual Mixed Sentiments stamp set were stamped in the centre of them using Memento Lilac Posies dye ink. There were matted onto Classic Scalloped circles of pink card and adhered to the Invisithread.


A panel of the light green butterfly paper from the same paper pack was matted onto the pink card and the location of the aperture was marked and then die cut with the circle die. The two patterned paper layers were then matted up and onto the card blank.

A scalloped frame was then created using Nestabilities dies from the pink card and added around the aperture.


The image panel was then added to the left of the card blank.


The inside of the card was also decorated.

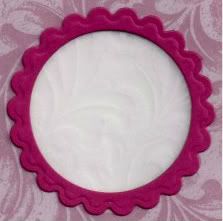
Having cut a whacking great hole in the back of my card, I decided to make a feature of it and so decided to use vellum.

A panel of the pink card and a panel of the leaves vellum from the Papermania Exquisite Vellum Collection pack were die cut to fit over the aperture.

A small panel of the vellum was then added to the reverse of the pink panel and a scalloped frame was cut from the pink card to go around the aperture.


A panel of the orange daisies paper was matted onto the vellum with a panel of writing paper. This was then stamped with the sentiment from the Mixed Sentiments stamp set using the Lilac Posies ink.

So, having seen my card, please pop over to the Lia Stampz blog and have a look at all the different types of 'moving element' cards they've come up with.

Here are the blog challenges I'd like to enter this card into:
Blog Widget by LinkWithin