Pages

WELCOME

This blog was created to act as a record of the cards and other projects that I have made. It is for both my own reference and to help inspire anyone who wants to take a look.

I'd love it if you'd leave me a comment so that I know what you think of my projects and that you've been to visit!

Anyone can comment, even those who don't have a blog. (Just look for the word 'Comments' under the three little pictures at the end of each post). Readers without a blog can add an anonymous comment, but please leave your name (and docrafts username if applicable) so I know who you are!

Slideshows of all the cards I've uploaded to my blog can be found at the bottom of the page.


PEOPLE WHO FOLLOW MY BLOG

Showing posts with label CBug. Show all posts

Sunday, 5 March 2017

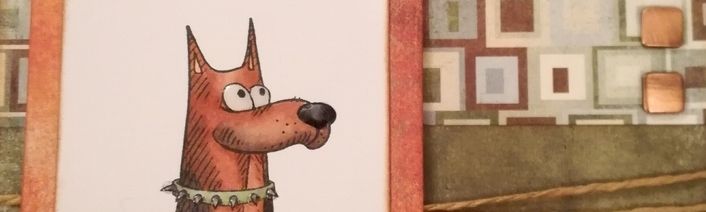
30-Day Colouring Challenge Day #4 - Rusty Katzelkraft German Shepherd

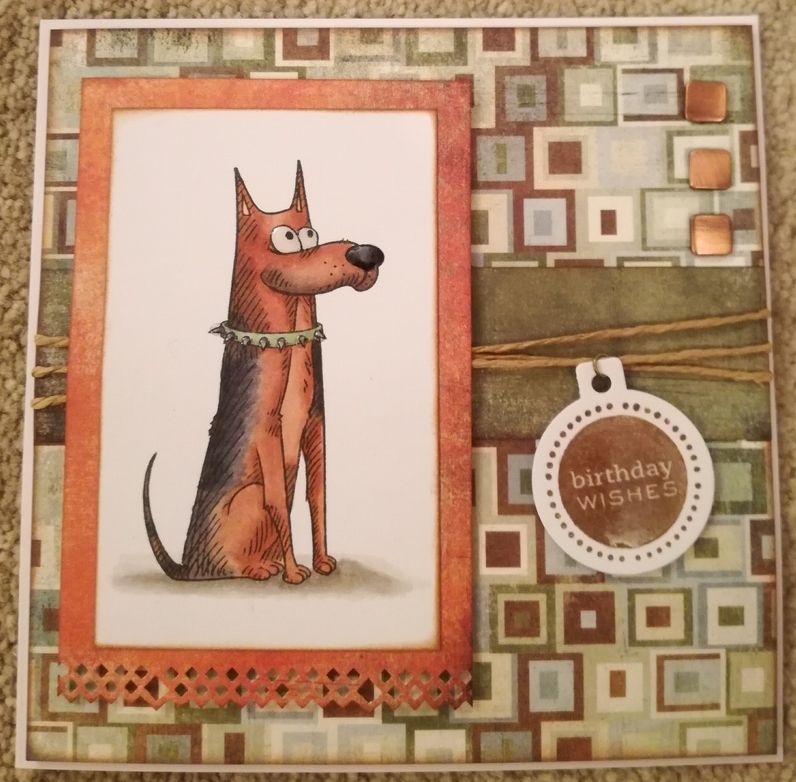
This is my entry for day 4 of the 30-day colouring challenge of March 2017, as organized by the fabulous Kathy Racoosin.


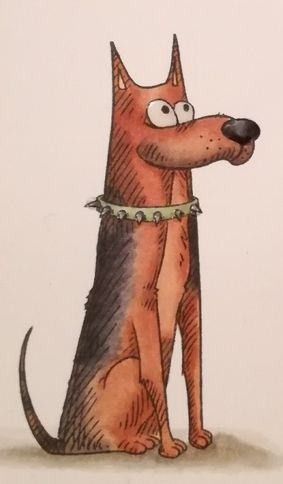
I needed to make a birthday card for my dad, and so, having discovered where I had hidden the Katzelkraft dog images I stamped before Christmas thanks to my friend Kelly, I chose the one I thought resembled a German Shepherd dog the closest.

The image was coloured using Memento Tuxedo Black dye ink and coloured with Copic markers:

Dog: E13, E15, E39, C3, C5, C7, C9, R02
Eyes: C0, C1
Collar: G21, C3, C7
Shadow: W1, W3, W5

I coloured the image so that it looked just like the dog that we had when I was growing up. Rusty, aptly named because of her colouring, was the softest dog you'd ever know and was often a pillow to my little cousins. I thought my dad would appreciate a card like this.

Having coloured the image, the panel was distressed on the edges with Tim Holtz Vintage Photo distress ink, as were the panels of patterned paper from the Basic Grey Archaic paper pad (Relic, Timeworn and Rusty).

The strip of Timeworn paper was added across the Relic paper and wrapped with lengths of natural twine.

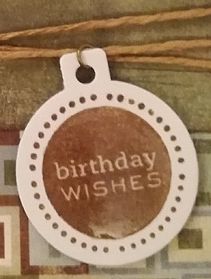
Using the round Cuttlebug tag die, a tag was die cut from white card and stamped with the solid 'Birthday Wishes' stamp from the Personal Impressions Paula Pascual Mixed Sentiments stamp set with Versafine Vintage Sepia archival pigment ink. A jump ring was added to the tag and threaded onto one of the lengths of twine.

The image panel was matted onto the panel of Rusty paper, the bottom edge having been punched with the Diamond XCut border punch first. This was mounted over the twine with 3d foam tape, as was the sentiment tag.

Three WRMK square copper studs were added to the top right corner and then the panel was mounted to the 5'75" square cardbase.

To finish off the card, Ranger Glossy Accents was added to the dog's eyes and nose, the collar studs and the sentiment.
Wednesday, 2 December 2015

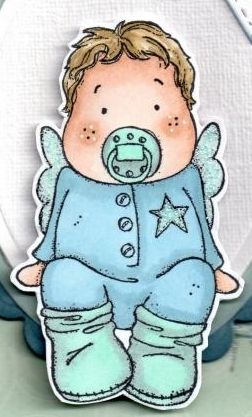
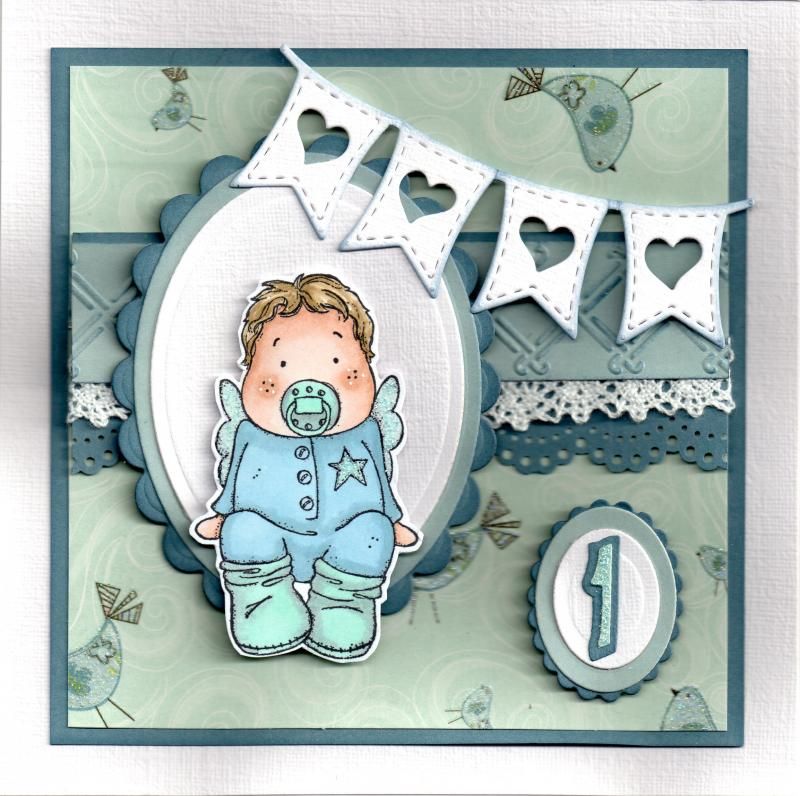
Blue Baby Edwin with Bunting

Here is a card a made for a little boy celebrating his first birthday.

I started by stamping the Baby Edwin stamp by Magnolia using Memento Tuxedo Black dye ink and coloured it using Copic markers.
 
 
Copics:
Hair: E41, E43, E44
Skin: E000, E00, E13
Dummy/Bootees: BG11, N3
Romper Suit: B41, B93
Star: BG11
Wings:BG10, N1
 
Edwin's cheeks were then highlighted using a Papermania Snow White gen pen, and the wings and star were highlighted with Ranger Baby Blue Stickles. The image was then fussy cut.
 
A panel for Edwin was then die cut using the Classic Oval and Classic Scalloped Oval Nestabilities dies, using white and blue cardstocks.
 
A strip of white card was then embossed using the Basket Weave border embossing folder by Cuttlebug and then coloured using Tim Holtz Stormy Sky distress ink. A length of crochet lace was added to the lower edge of this and then matted onto a strip of blue card punched using the Martha Stewart Doilly Lace border punch. This was added across a panel of bird patterned paper from the First Edition Up Up and Away paper pad, matted onto the blue cardstock.
 
The Edwin image panel was then matted over the border strip.
 
A bunting die cut using the La La Land Heart Banner die was added across the top right corner of the card.
 
 
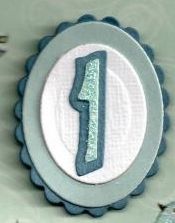
As this was a first birthday card, I wanted to reflect that so I die cut a '1' using the Sizzix Sizzlits Bounce Alphabet die set, and matted this onto a couple of Classic Oval dies and a Classic Scalloped Oval die. The '1' was then highlighted with the Baby Blue Stickles.
 
 
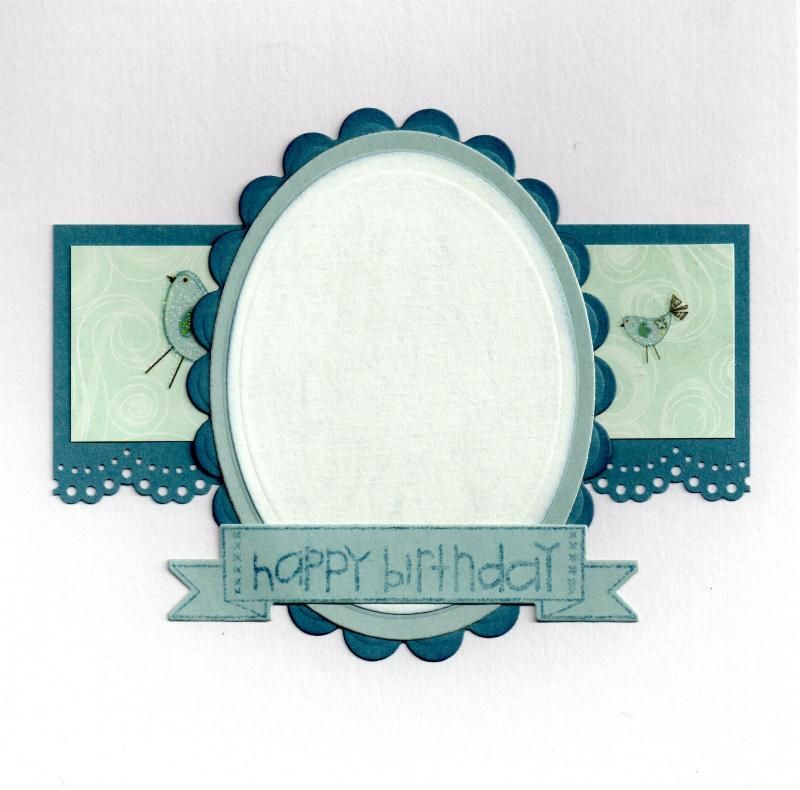
This inside of the card was also decorated.
 
 
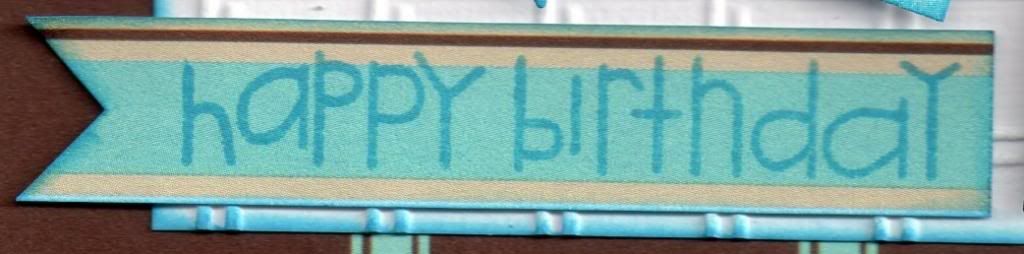
The sentiment panel was created by stamping a banner from the Clearly Besotted Basic Banners stamp set using the Stormy Sky distress ink and diecutting it with its co-ordinating die. The sentiment, from the Paper Smooches Sentiment Sampler stamp set, was stamped in the centre of the banner, also using the Stormy Sky ink.

Friday, 27 November 2015

Cream and Blue Tatty Teddy Panels

Another look back into the past here with a couple of old cards from 2011!!!

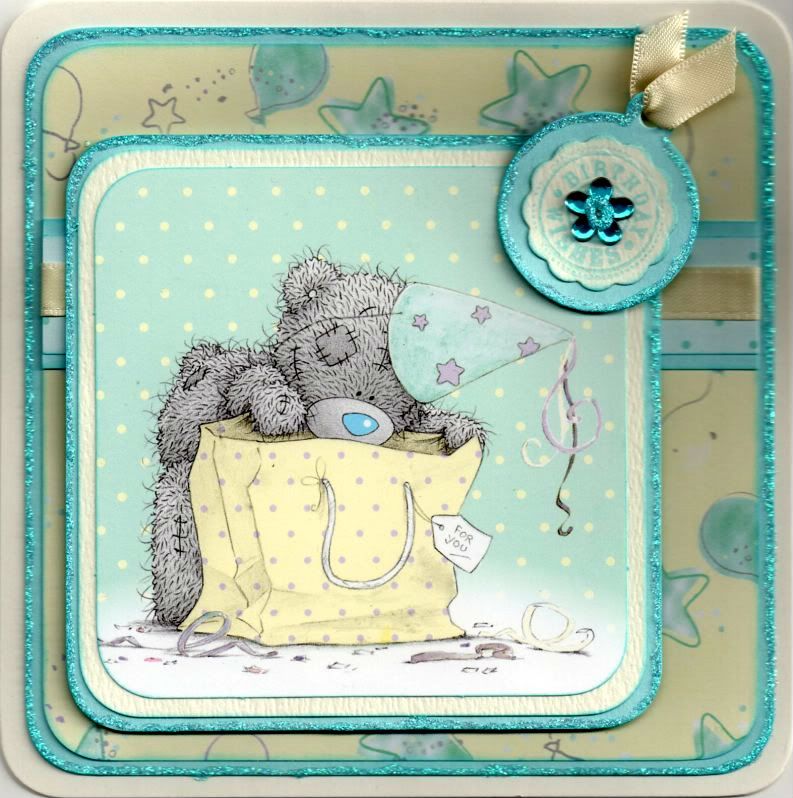
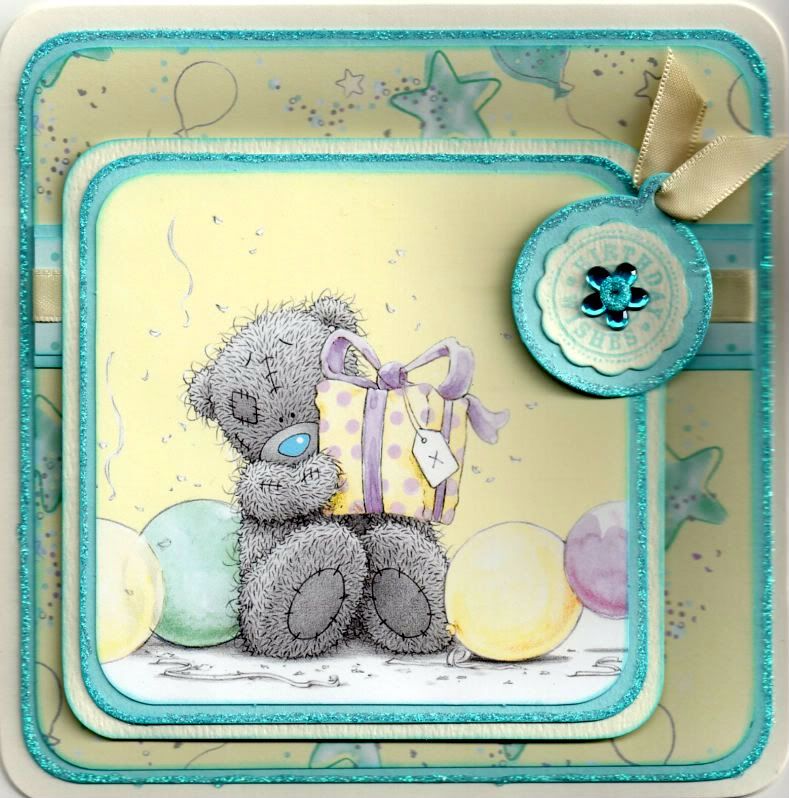
These are a couple of quick cards I made for a couple of 8-year old girls using the printed panels in the Me To You Especially For You paper pack.


The corners of the printed image were rounded using the large XCut corner rounder punch and matted onto light blue and cream card.

A strip of the blue polka dot paper from the same paper pack was matted onto the light blue card and a length of cream satin ribbon was wrapped around and matted onto a panel of the yellow stars and balloons paper. This was then matted onto the light blue card.

A tag was die cut from the light blue card using the Cuttlebug round tag die. A big scalloped circle was die cut from cream card using a Nestabilities die and stamped with the 'Birthday Wishes' circle sentiment from the Hero Arts Birthday Messages stamps set using ColorBox Aqua pigment ink. The scalloped circle was matted onto the tag and a blue Papermania flower gem was added in the centre. A short length of the cream satin ribbon was threaded through the tag and added in the top right corner of the image panel.

All the edges of the blue layers and the centre of the flower gem were highlighted with Craft Planet Ice Blue glitter glue.

A similar card was made with a different image panel from the same paper pack.

Friday, 13 November 2015

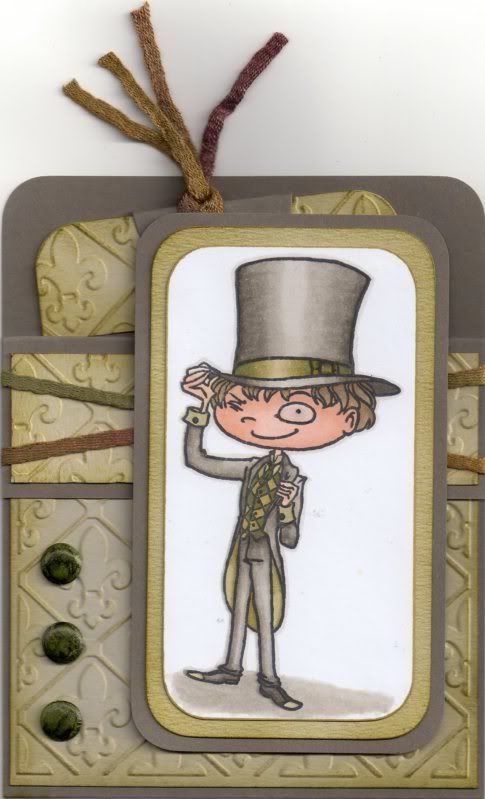
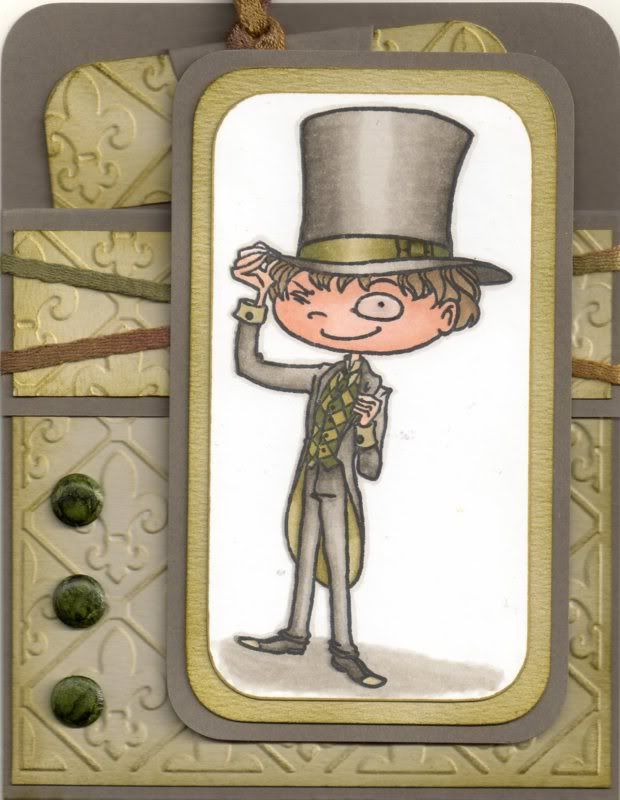
Green and Grey Chester Pocket Card

This is a different type of card for me. It is based on a project that I found on the Splitcoaststampers tutorials page here, a Pocket Card.

With this design of card, the card doesn't actually open, but the sentiment and handwritten greeting go onto a tag that is placed within the pocket section of the card.
 
 
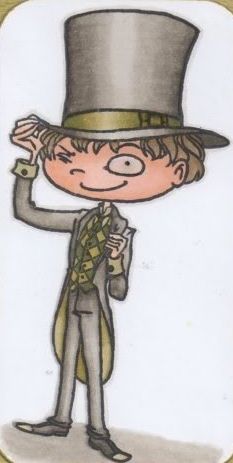
To begin with, the image, Chester by Kraftin' Kimmie, was stamped using Memento Tuxedo Black dye ink and coloured using Copic markers.
 
Copics:
Skin: E00, E11, E21
Hair: E41, E43, E44
Hat/Jacket/Trousers: W1, W3, W5, W7
Hat Band: YG91, YG95, YG99
Tie: G99
Waistcoat: YG95, G99
Inside Jacket: YG91, YG95
Shirt: YG91
Shoes: W5, W7, YG91
Shadow: W1, W3
Outline: W1
 
 
The image panel was then matted onto green and then grey cardstock.
 
The next step was to create the Pocket Card.
 
A piece of card measuring 4" x 11" was then scored in half and then scored again 1.25" from one edge. A panel of white card was embossed using the Cuttlebug Fleur de Lis embossing folder and distressed with Tim Holtz Crushed Olive and Forest Moss distress inks. This panel was adhered to the large front panel of the card. A smaller strip of white card was also embossed and inked with the Crushed Olive and Forest Moss inks and this panel was then adhered to the front flap panel.
 
A couple of lengths of green fibres from the HOTP Sarabooks Emerald Fibres set were then wrapped around the front flap and the flap then adhered down to the front panel.
 
 
Three green card candi were then coloured using the G99 Copic marker and added to the front panel, as was the image panel. Glossy accents were added to the monocle in the image.
 
 
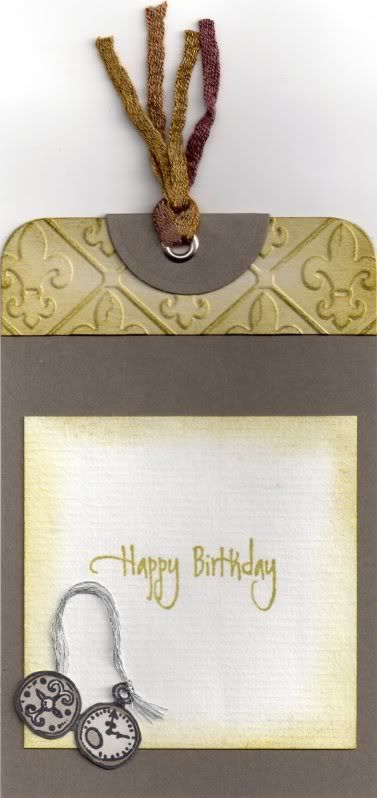
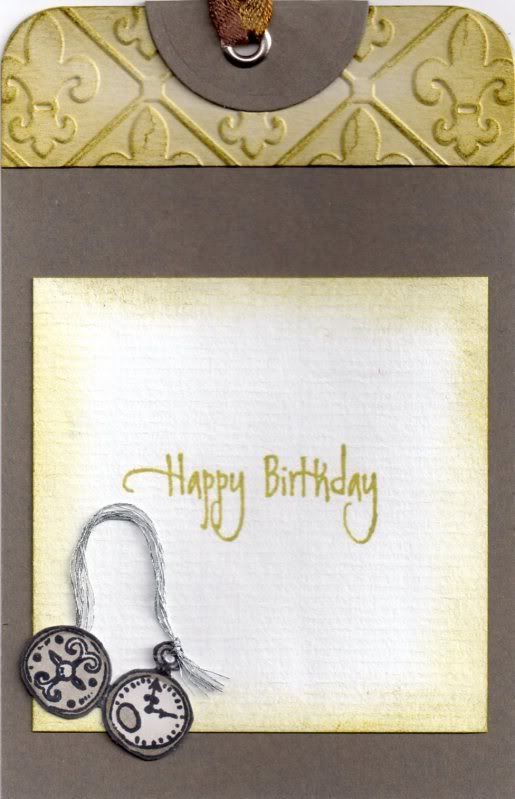
To complete the card, a tag was created. A strip of the embossed and coloured white card was added across the top of the tag, as was a circle of grey cardstock, diecut using a Nestabilities circle die, and then folded in half.
 
A silver eyelet was set in the top of the tag and more of the green fibres were threaded through it.
 
The pocket watch image was stamped using the Tuxedo Black ink and coloured with the W1, W3 and W5 Copic markers. A length of silver embroidery thread was threaded through the image and added to the tag. The sentiment, from the Elzybells Swirly Sentiments stamp set was stamped onto the tag using Versafine Spanish Moss archival pigment ink.
 
 
The tag was then slotted into the pocket on the front of the card.

Friday, 17 January 2014

Kristina Werner Inspired Card #1

So, I am trying to blog more, and so here goes!

This project is one that was inspired by a lady whose youtube videos I watch religiously. Namely, Kristina Werner. You can find her blog here and her youtube channel here.

 I am not the only person who appreciates her work and the very talented Ali and I decided we'd challenge ourselves to select one of her projects and do our own takes on it.

So, Ali chose the first project that we'd attempt and here is the video of the project that she chose, and here is the blog post.

I decided to make birthday cards based on her design and to make a masculine and feminine version of it.

The first design was the feminine version, using the First Edition Spring Feast paper pad. These papers are perfect for girlie cards!


Having chosen the papers I wanted to use, I die cut a number of banners from them using a die from the Sizzix Banners #2 Framelits die set. Using an old XCut daisy punch, I punched a daisy from some of the banners, leaving a couple of the banners plain.


Each of the banner shapes were edged using ColorBox Chestnut Roan Fluid Chalk ink.

Two more panels of patterned papers were chosen and matted onto each other. The sentiment, from the Paper Smooches Sentiment Sampler stamp set, was stamped onto the smaller panel using the Chestnut Roan ink. A design was also pierced in two of the cornes using the Stampin' Up! Mat pack.

A thin line of Aleene's Tacky glue was run across the two panels and a length of green embroidery thread was run along it. Once dried, the ends were trimmed and the panel attached to the card blank. The banners, each trimmed to fit the panel so as not to obscure the sentiment, were then 3d mounted along the thread, and a brown Kort & Godt faux pearl was added in three corners of the smaller panel.


For the inside of the card, a panel of writing paper was matted onto a panel of matching patterned paper and adhered to the left hand side of the card. Using another of the banner dies from the Banners #2 die set and the Sentiment Sampler stamp set, the sentiment panel was stamped using the Chestnut Roan ink and placed to the right of the panel. A selection of the daisy punchouts from the banners on the front of the card were then placed around the sentiment panel.

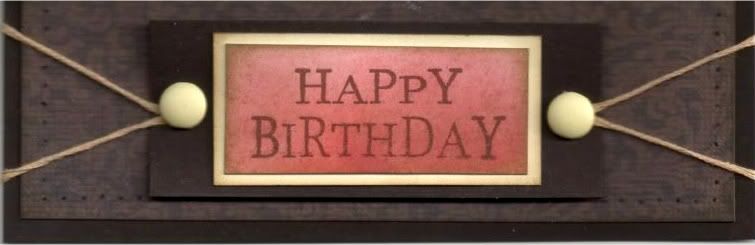
The masculine card was made in a similar fashion, using the DCWV Retro Prints paper pad.


The smaller panel on the front of the card was this time created from white card and run through the Cuttlebug Basket Weave embossing folder. A large blue brad from Papermania was added in the top right corner. Stars were punched from the banners using a small punch I got in Tescos many years ago!

The sentiment was stamped onto a strip of the striped paper using Memento Bahama Blue dye ink and a fishtail banner was handcut at the end.


The inside of the card was created in much the same way as the feminine card, using the star punch outs around the sentiment. The sentiment was stamped onto the patterned paper using Versamark ink and heat embossed using Stampendous Detail Opaque White embossing powder.

I'm liking this idea of choosing a card and making your own version of it.

You can see Ali's versions of the card here.

It's my turn to choose the next card to be inspired by, so I'm off now to choose one.


Monday, 5 September 2011

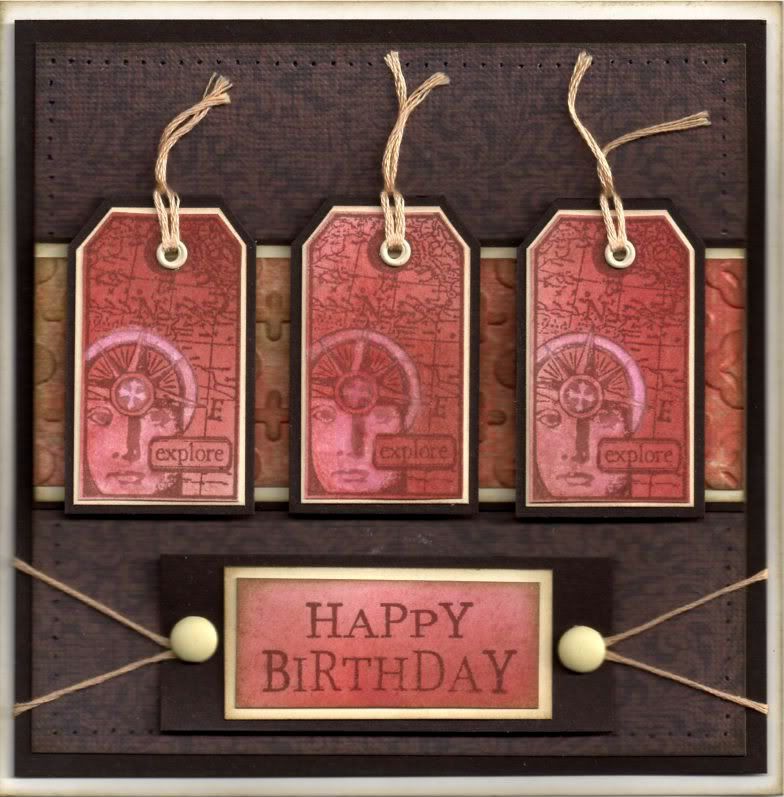
Red and Brown Explore Invoke Arts Tags

Well, here is the first of the masculine 40th birthday cards that I need to make. Got to get my thinking cap on for the second one now!


A piece of white card was coloured using Tim Holtz Fired Brick, Aged Mahogany and Frayed Burlap distress inks using the shaving brushes.

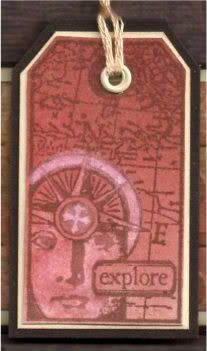
This was then overstamped with the Explore tag from the Invoke Arts Travel Tags stamp set and the 'Happy Birthday' sentiment stamp from the See D's Celebration Messages stamp set. All were stamped using Memento Rich Cocoa Dye ink.

Using a damp paint brush and a piece of tissue (OK, toilet roll, but I couldn't be bothered going downstairs to get a tissue!!), some of the colour was removed from the face image on the tag. Areas of the compass were then lightly coloured using the Angel Green Mica Pigment from Stamps Away. Unfortunately that doesn't show up on the scan.

The tags were then cut out by hand and matted onto cream card and dark brown card. Holes were punched in the top of each tag using the Big Bite and small cream eyelets from Papermania were set in the holes. Each hole was then threaded with cream embroidery thread.


The sentiment was also matted onto cream and dark brown cardstock and large cream brads from Papermania were added either side of the sentiment, with a length of cream embroidery thread threaded through the legs of the brads.


A strip of the red/brown paper from the DCWV Old World mat stack was embossed using the Moroccan Screen embossing folder from Cuttlebug and Frayed Burlap ink was added to highlight the embossing using Cut 'n' Dry foam.

This was then matted onto cream and dark brown card and then matted across a panel of the dark brown flourish paper from the same paper pad.

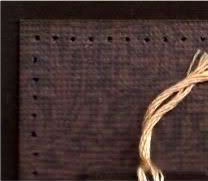
Once matted onto the dark brown cardstock, the panel was then paper pierced all the way around using the Stampin' Up Mat Stack piercing template.


The tags were adhered onto the card in the centre over the embossed strip and the sentiment was added beneath, wrapping the lengths of embroidery thread behind the panel before adhering to the card front.

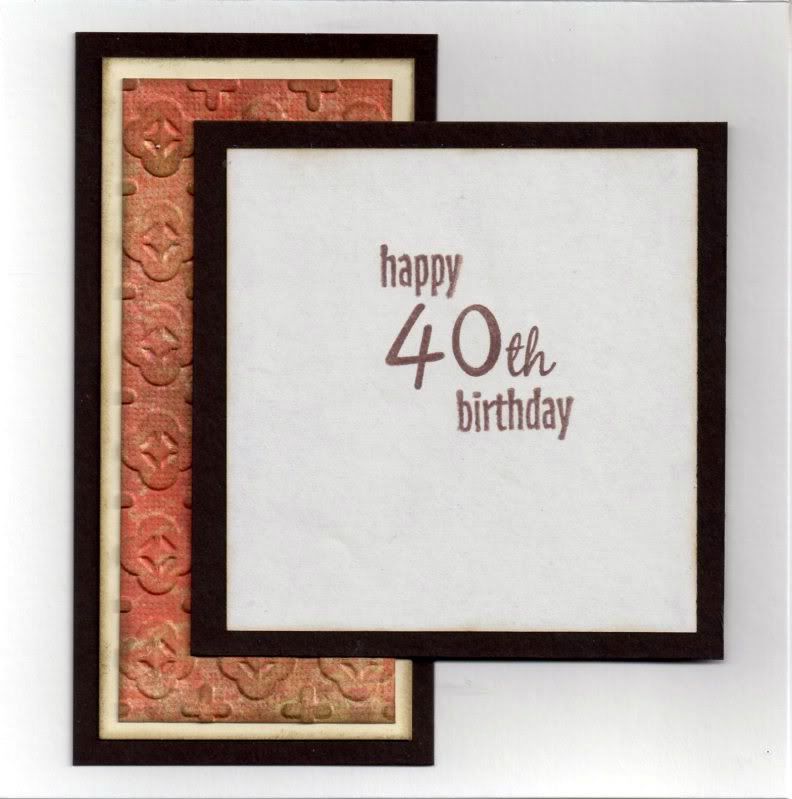
The inside of the card was also decorated, using another strip of the embossed cardstock. The sentiment was stamped using the Rich Cocoa ink and stamps from the See D's Lower Case Script stamp set ('4', '0' and 'th') and the HOTP Sentiments stamp set (Happy and Birthday).


Here are the blog challenges I am entering this card into:

Friday, 2 September 2011

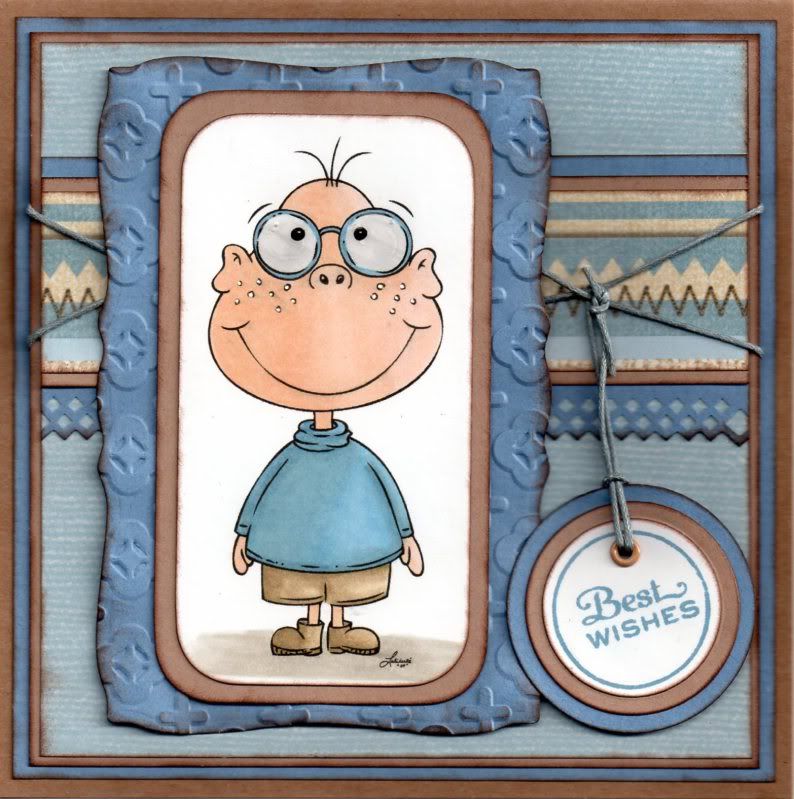
Light Blue and Brown Prairie Fairy Lewis

This is one of the many masculine cards I need to make at the moment. I decided to use the amusing digi image of Lewis from the Prairie Fairy.

The image was coloured with Copic markers:
  • Skin: E00, E11, E21
  • Glasses: B45
  • Glass: N1
  • Jumper: B41, B45, B93
  • Shorts/Boots: E41, E43, E44
  • Shadow: W1, W3
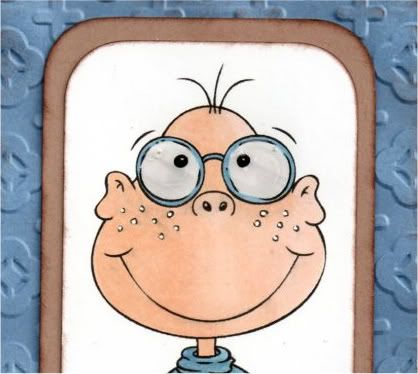
Highlights were then added to the cheeks on the image using the Papermania Snow White gel pen.

 The image was then trimmed and the corners rounded with the XCut large corner rounder punch. This was then matted onto a panel die cut using a Mega Curved Rectangle die from Nestabilities that was embossed with the Cuttlebug Moroccan Screen embossing folder.


A strip of the light blue and brown stripe paper from the HOTP Ultimate Cardmaker's Creative Pack was matted onto beige card and a strip of blue paper punched with the XCut Diamonds border punch.

This was added across a panel of the light blue paper from the same paper pad.

A couple of lengths of mid-blue hemp cord were added across the stripe panel and the panel was then matted up onto the card blank.

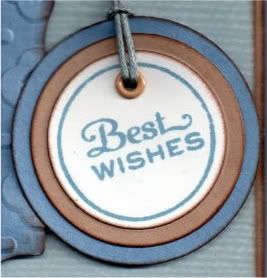
The sentiment, from the Personal Impressions Paula Pascual Mixed Sentiments stamp set was stamped using Tim Holtz Faded Jeans distress ink and die cut using a classic circle Nestabilities die and matted onto circles of the beige card and blue paper.


A small beige eyelet was added to the tag and threaded with the blue hemp cord and tied to the cord across the card.

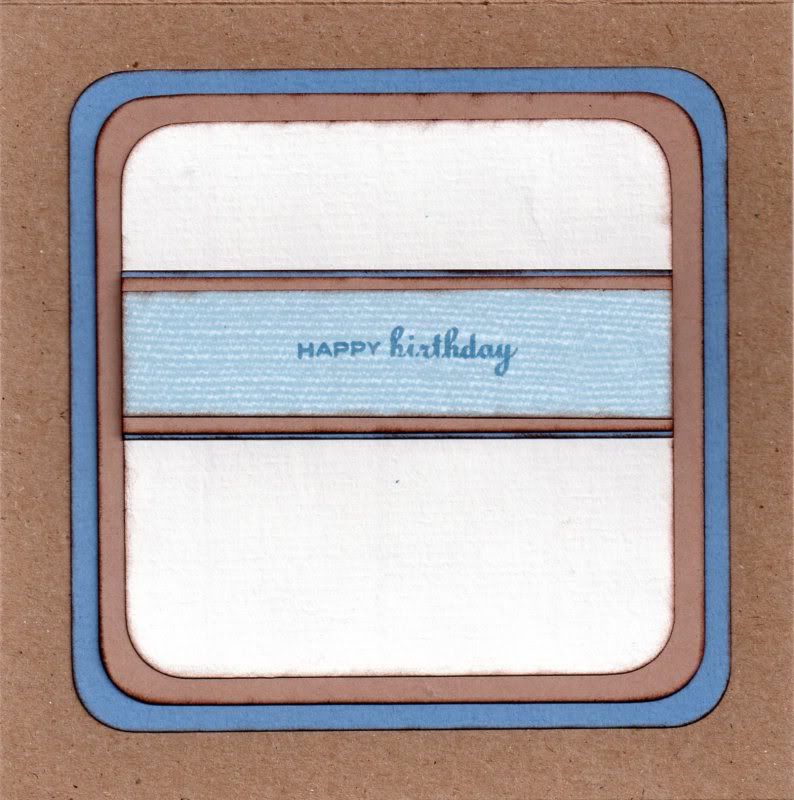
I also decorated the inside of the card, using the same papers as the front of the card and the sentiment, from the Personal Impressions Paula Pascual Mix and Match Sentiments stamp set, was stamped across the patterned paper using the Faded Jeans ink.


Here are the blog challenges I am entering this card into:

Monday, 29 August 2011

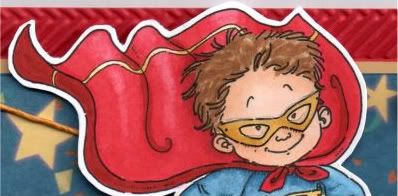
Red Yellow and Blue Superduper Boy Aged Four

I really enjoyed making this one!! It's for a friend's little boy. We went to stay with them down in Devon a few weeks back and he was constantly dressing up in super-hero costumes so I knew straight away which image I was going to use on his card.


The Superduper Boy image from Mo's Digital Pencil was coloured using Copic Sketch markers:
  • Cape: R20, R24, R27, R29, E09, Y00, Y21, Y26
  • Shorts: R24, R27, R29, Y21, Y26
  • Gloves/Mask: Y21, Y26
  • S & Panel: R24, R27, R29, Y21
  • Boots: R20, R24, R27, R29
  • Body Suit: B32, B34, B37
  • Hair: E43, E51, E57
  • Skin: E00, E21, E51
The image was then cut out.
A strip of the dark blue stars and banners paper from the HOTP Ultimate Cardmaker's Creative Pack was matted onto dark cream card and a panel of red card embossed with the Cuttlebug Herringbone embossing folder.

Lengths of yellow hemp cord were wrapped around the panel to form a cross and the panel was adhered to the card blank.

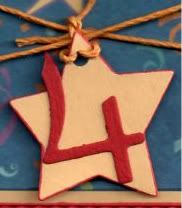
A star was die cut from the cream card using the Sizzix Sizzlit Hearts, Stars and Tags die and the number 4, die cut from red card using the Ellison Curlie Girlie alphabet set, was adhered in the centre of the star. A hole was punched in the top of the star using the Big Bite and was then threaded with more of the hemp cord and tied to the cord across the card.


Three soft white Card Candi from Craftwork Cards were coloured yellow with a Copic marker:
  • Card Candi: Y21
These were then attached in the top right corner of the patterned paper.

Here are the blog challenges I am entering this card into:

Friday, 10 June 2011

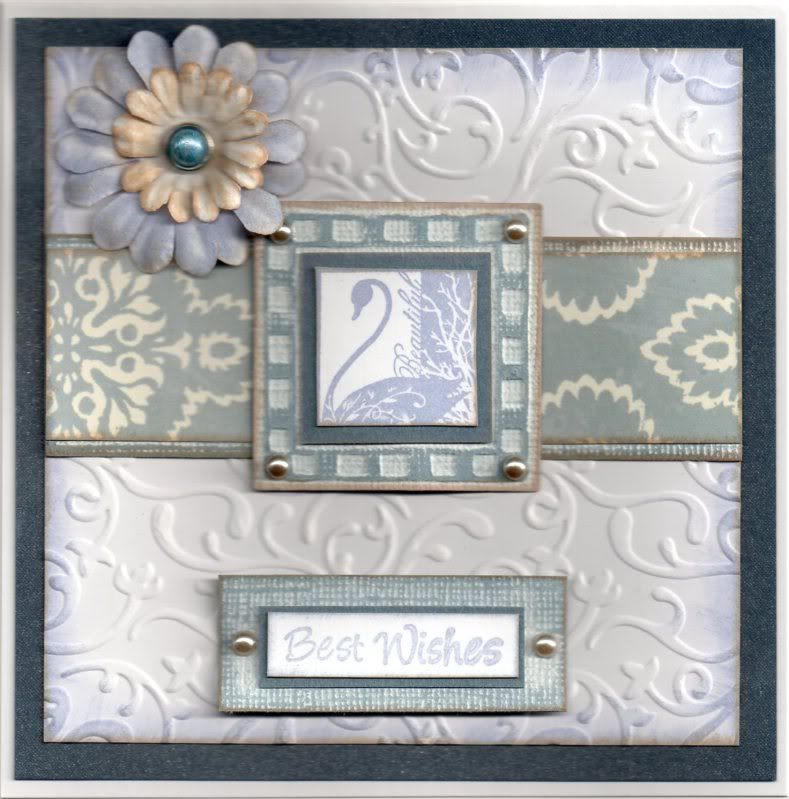
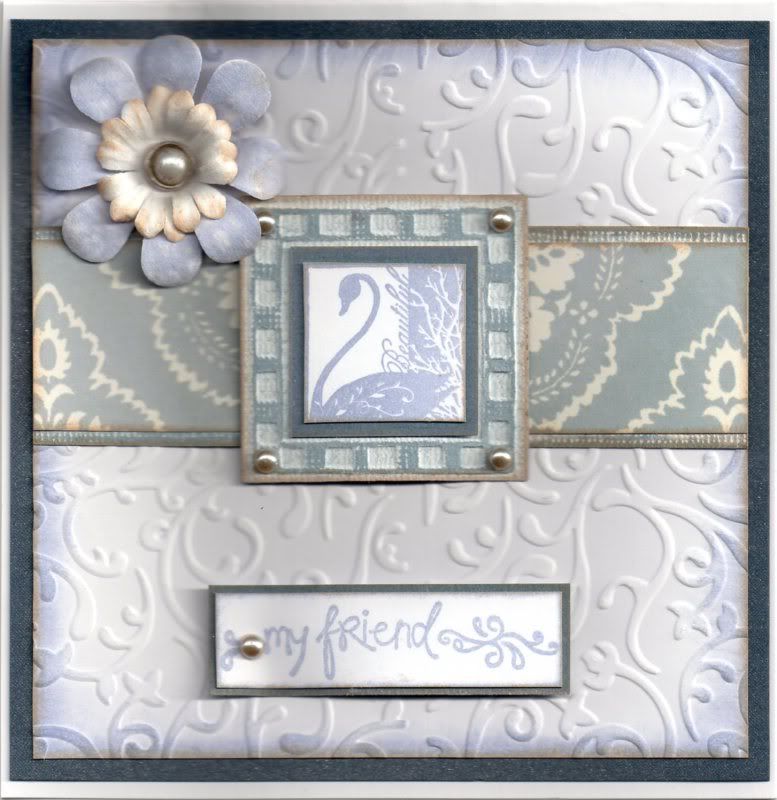
Light Blue Embossed Inkadinkado Swan

Here is a card I made for a good friend's birthday. We met at uni 17 years ago and are still in touch today.


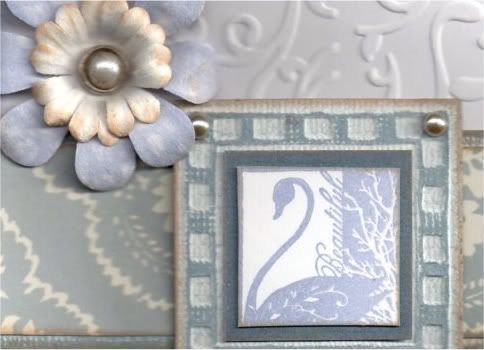
The image, from the Inkadinkado Butterflies and Birds stamp set was stamped using ColorBox Smoke Blue pigment ink and cut out. It was then matted onto the reverse of blue Core'dinations Whitewash card.

A square was die cut with a Nestabilities die from the blue Whitewash card and embossed with a square embossing folder from the Cuttlebug Decorative Squares #3 set. The detail was then sanded and the image matted onto it.

A panel of white card was embossed using the Papermania Victorian Fleur embossing folder and coloured around the edges with the Smoke Blue pigment ink and ColorBox Creamy Brown fluid chalk ink.

A strip of the light blue medallion paper from the Papermania Persimmon paper pad was matted onto the blue whitewash card and matted across the embossed card and then matted onto navy blue shimmer card.


A large white Papermania Imaginisce paper flower was coloured with the Smoke Grey ink and the Creamy Brown fluid chalk ink. A small white flower was highlighted with the Creamy Brown ink and layered with a white pearl Papermania brad coloured with a W3 Copic marker.  The flower was added in the top corner of the panel.

The sentiment, from the Studio G 'Friends For Life' mini stamp set was stamped with the Smoke Blue ink and matted on the blue whitewash card.

Champagne coloured pearls from the Kort and Godt Autumn selection and added to the embossed square and sentiment panel.

I also made a lightly different card using a 'Best Wishes' sentiment from the Papermania Just For You stamp set:


Here are the blog challenges I am entering this into:

Wednesday, 20 April 2011

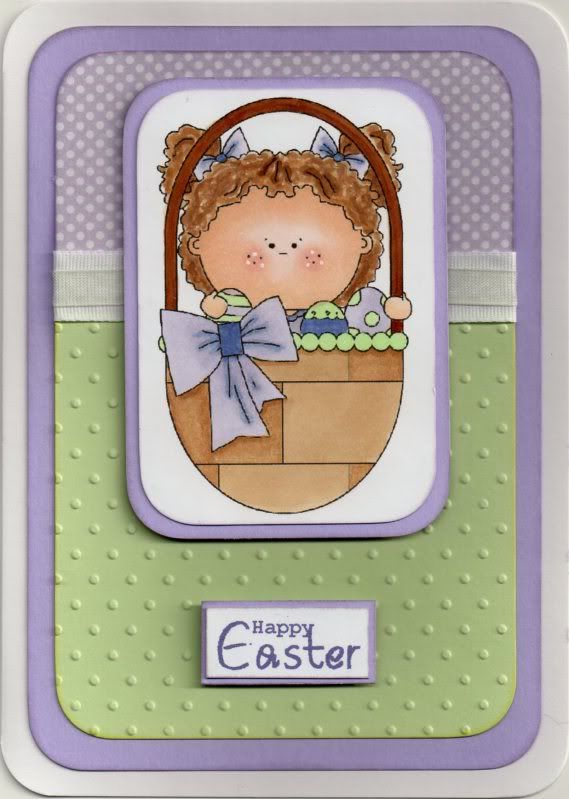
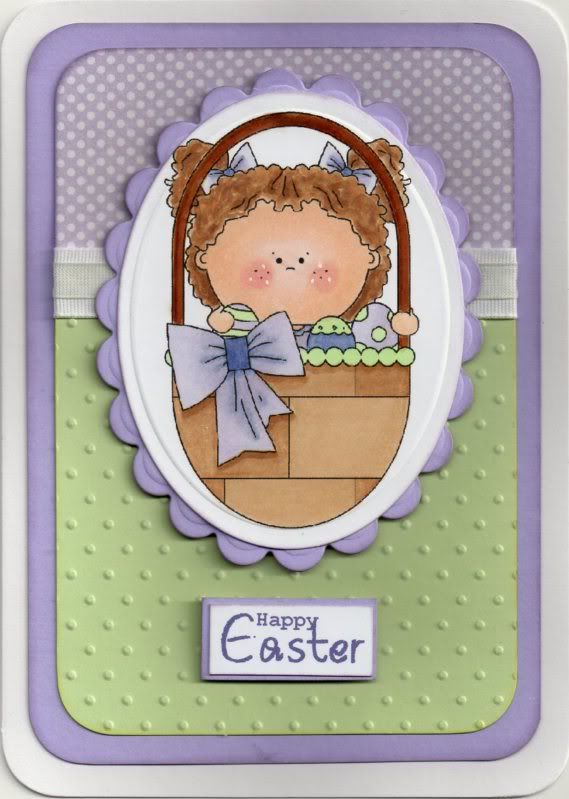
Lilac and Apple Green Easter Basket Kid

Here are my Easter cards for this year. I decided to go cute this year and used one of my recent Clipart Fairy purchases.


The image, Easter Basket Kid from The Clipart Fairy, was printed onto Xerox Colotech Gold card (my choice for Copic colouring) and coloured using Copic markers:
  • Basket: YG11, E31, E35, E39, E57
  • Eggs: YG11, BV00, BV04, BV31
  • T-Shirt: BV00, BV04, V91
  • Bows: BV00, BV04, BV31
  • Skin: E00, E21, E51, R20
Highlights were then added using the Papermania Snow White gel pen.


The corners of the image panel were then rounded using the large XCut corner rounder punch, and matted onto lilac card.

A panel of light green card was embossed using the Swiss Dots Cuttlebug embossing folder and was joined to a panel of the lilac mini polka dot paper from the DCWV Nana's Nursery Baby Boy Mat Stack with a length of white woven ribbon and light green organza ribbon.

This was then matted onto a panel of the lilac card.

The sentiment was computer-generated and matted onto lilac card.

I also made a version using Nestabilities classic oval and classic scalloped oval dies but the card looked a bit unbalanced to me.


Here are the challenges that I am entering these cards into:

Friday, 8 April 2011

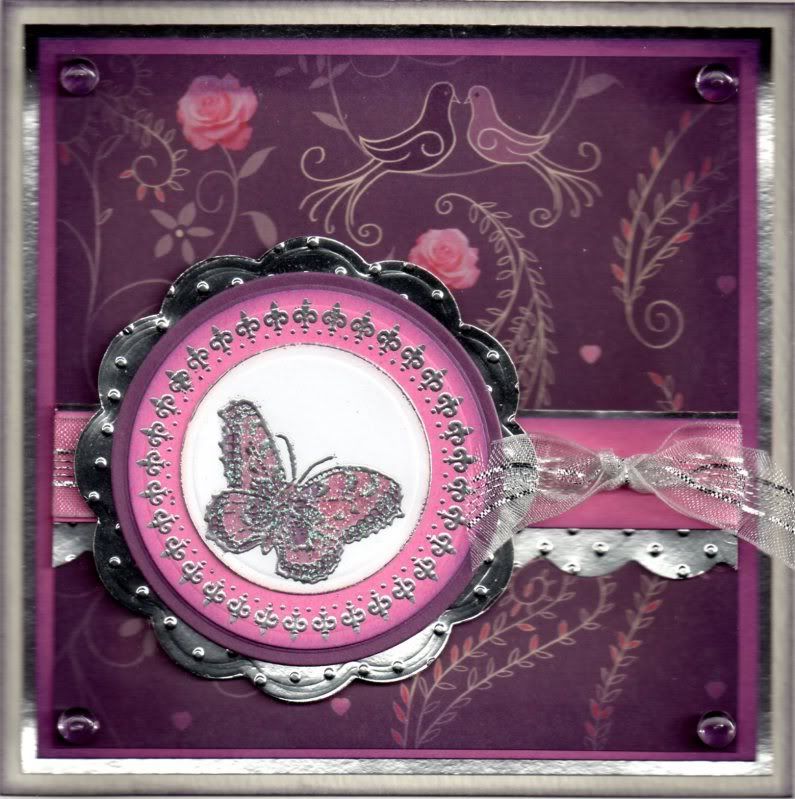
Mauve, Pink & Silver Butterfly Frame

Thought it was about time I uploaded this card to my blog. I made it last year but for some reason it's been sat in my drafts for a while.


A circle was die cut from white card using a Nesties die and the butterfly image from the Penny Black Enjoy Life stamp set was stamped using Versacolor Black pigment ink and heat embossed with PSX silver embossing powder. The image was then coloured using Copic sketch markers and highlighted with Glitz It Lilac glitter glue.

The edge of the circle was then lightly coloured with Tim Holtz Dusty Concord distress ink and silver embossed.

The Fleur de Lys circle frame stamp, from the Papermania Hampstead Icons and Sentiments stamp set, was stamped and silver heat embossed onto pink card and die cut using a circle Nesties die. This was matted onto a die cut mauve circle and a Big Scalloped circle die cut from silver mirror card and embossed with the Swiss Dots Cuttlebug embossing folder.

A panel of the mauve patterned paper, from a pad of Kate Knight designed papers I got free with a magazine, was distressed around the edges with the Dusty Concord and Black Soot Tim Holtz distress inks.

A strip of the silver mirror card was punched with the XCut Scallop border punch and embossed with the Swiss Dots embossing folder. A strip of the pink card was matted on top and a length of white and silver organza ribbon was tied around it.

The strip was added across the patterned paper panel and this in turn was matted onto panels of the pink and silver mirror card.

Clear 'Patti's Pretties' dewdrops were then added in each of the corners of the patterned paper.

Here are the blog challenges I am entering this card into:

Wednesday, 9 March 2011

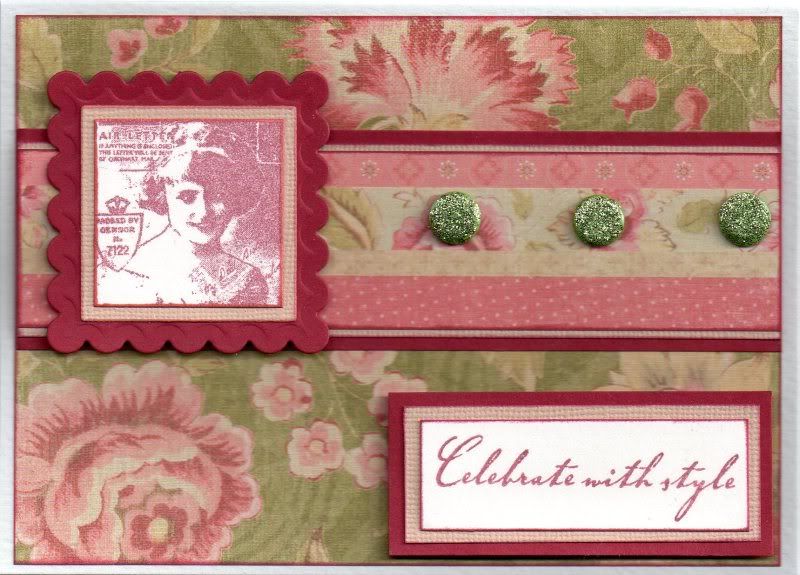
Red and Green Vintage Lady

Here's another of my older cards from last year that I didn't get around to uploading.

I am loving this colour combo and will have to get these papers out again!


The Vintage Lady image, from the Vintage Postage Ladies stamp set from Crafty Individuals, was stamped onto cream card using Versafine Crimson Red archival pigment ink and cut out using the Square Stamp die from Cuttlebug. This was then matted onto a square of beige Core'dinations card and a scalloped red square, both cut using Nestabilities.

A strip of the multi ribbon strips paper from K&Co Classic K McKenna paper pad was matted onto the beige and red card, and then onto a panel of the green large floral paper also from the McKenna paper pad.

The stamped image was attached over the ribbon strip paper and three olive green card candy from Craftwork Cards were attached along the ribbon paper panel. The card candy were covered with Glitz It Pear Green glitter glue to make them nice and sparkly.

The sentiment panel was created by stamping the sentiment from the Hero Arts Birthday Messages stamp set using the Crimson Red ink onto the cream card which was then matted onto the beige and red card.

Here are the blog challenges I am entering this card into:
Blog Widget by LinkWithin