Pages

WELCOME

This blog was created to act as a record of the cards and other projects that I have made. It is for both my own reference and to help inspire anyone who wants to take a look.

I'd love it if you'd leave me a comment so that I know what you think of my projects and that you've been to visit!

Anyone can comment, even those who don't have a blog. (Just look for the word 'Comments' under the three little pictures at the end of each post). Readers without a blog can add an anonymous comment, but please leave your name (and docrafts username if applicable) so I know who you are!

Slideshows of all the cards I've uploaded to my blog can be found at the bottom of the page.


PEOPLE WHO FOLLOW MY BLOG

Showing posts with label MStewart. Show all posts

Wednesday, 2 December 2015

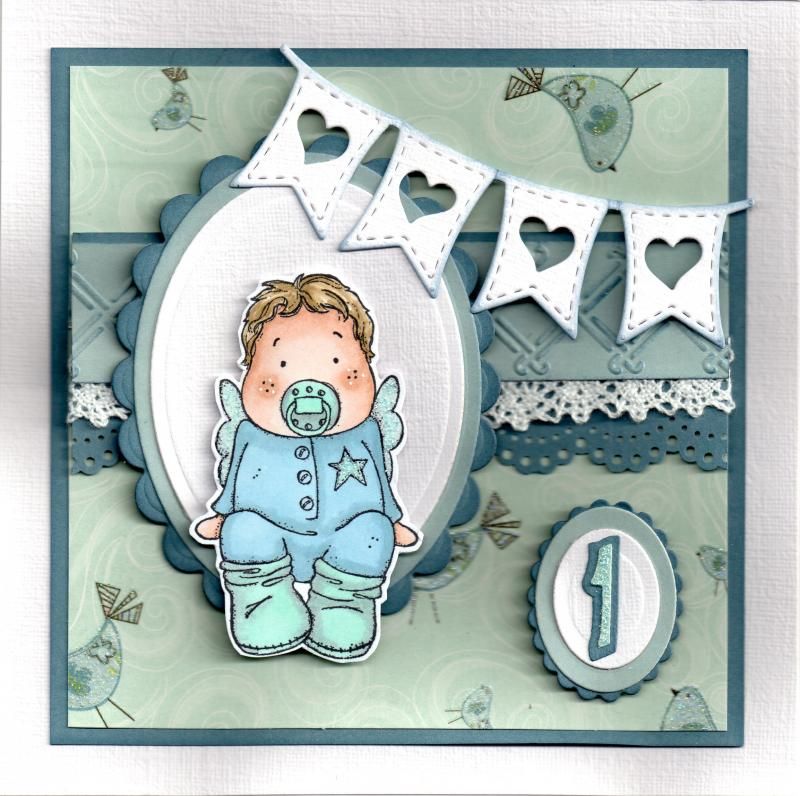
Blue Baby Edwin with Bunting

Here is a card a made for a little boy celebrating his first birthday.

I started by stamping the Baby Edwin stamp by Magnolia using Memento Tuxedo Black dye ink and coloured it using Copic markers.
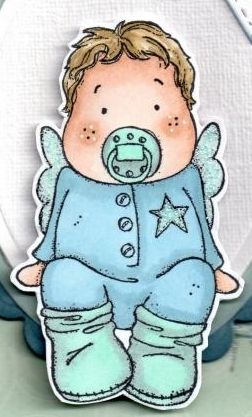
 
 
Copics:
Hair: E41, E43, E44
Skin: E000, E00, E13
Dummy/Bootees: BG11, N3
Romper Suit: B41, B93
Star: BG11
Wings:BG10, N1
 
Edwin's cheeks were then highlighted using a Papermania Snow White gen pen, and the wings and star were highlighted with Ranger Baby Blue Stickles. The image was then fussy cut.
 
A panel for Edwin was then die cut using the Classic Oval and Classic Scalloped Oval Nestabilities dies, using white and blue cardstocks.
 
A strip of white card was then embossed using the Basket Weave border embossing folder by Cuttlebug and then coloured using Tim Holtz Stormy Sky distress ink. A length of crochet lace was added to the lower edge of this and then matted onto a strip of blue card punched using the Martha Stewart Doilly Lace border punch. This was added across a panel of bird patterned paper from the First Edition Up Up and Away paper pad, matted onto the blue cardstock.
 
The Edwin image panel was then matted over the border strip.
 
A bunting die cut using the La La Land Heart Banner die was added across the top right corner of the card.
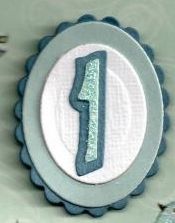
 
 
As this was a first birthday card, I wanted to reflect that so I die cut a '1' using the Sizzix Sizzlits Bounce Alphabet die set, and matted this onto a couple of Classic Oval dies and a Classic Scalloped Oval die. The '1' was then highlighted with the Baby Blue Stickles.
 
 
This inside of the card was also decorated.
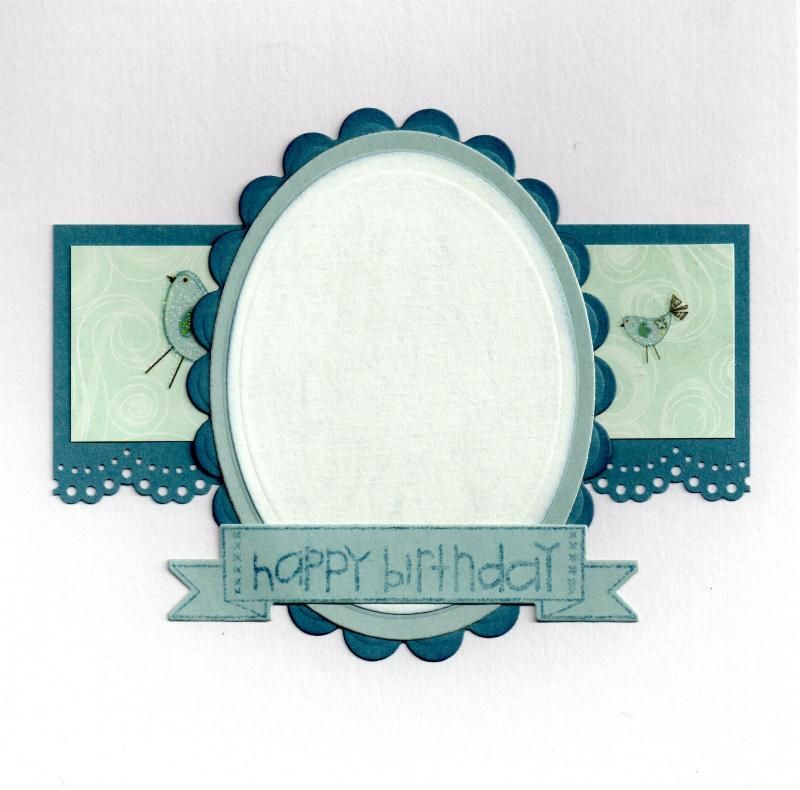
 
 
The sentiment panel was created by stamping a banner from the Clearly Besotted Basic Banners stamp set using the Stormy Sky distress ink and diecutting it with its co-ordinating die. The sentiment, from the Paper Smooches Sentiment Sampler stamp set, was stamped in the centre of the banner, also using the Stormy Sky ink.

Friday, 30 October 2015

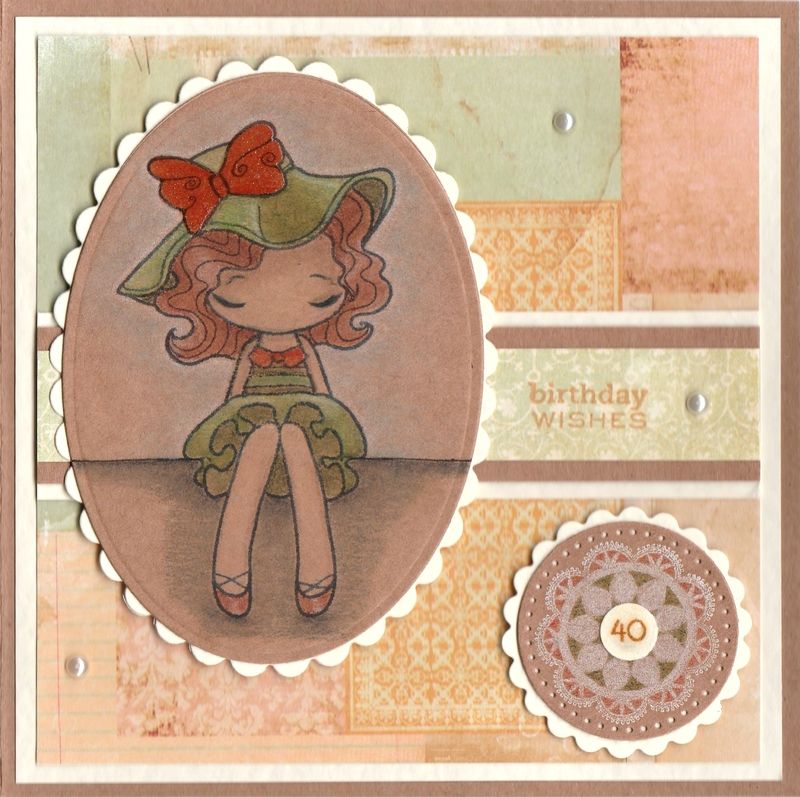
Green and Orange Dressy Miss Anya Pencils On Kraft Card

This is an up-to-date card from me today.

This is the card that I made for my sister for her 40th birthday earlier this month. It's always a worry when your 'little sister' hits 40 - a big reminder that you are the 'big sister'!!!
 
Anyway, back to the card!
 
This card uses a technique I've never used before - colouring with pencils onto kraft card. Unfortunately I can't afford the lovely Prismacolor pencils, so I have used the WHSmiths set of 36 colouring pencils here. The results probably aren't as striking as they might have been had I used those pencils, but I think it works all the same.
 
 
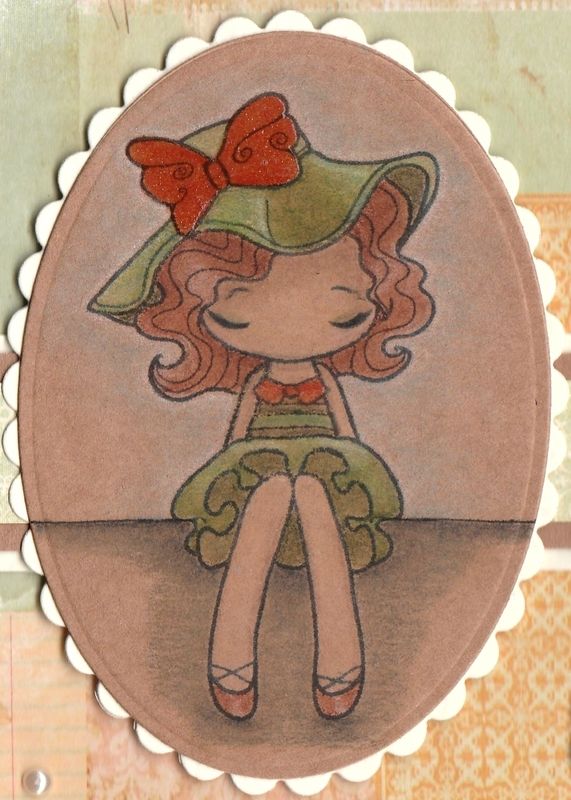
I started by stamping the Miss Anya Dressy image from The Greetings Farm with Memento Tuxedo Black dye ink onto the kraft card and used a selection of the pencils to colour her in. To blend  the pencils, I used plain old baby oil.
 
Once the colouring was finished, I added some clear Wink Of Stella to the orange sections of the image, so her collar, shoes and bow.
 
The image was then diecut using a Petite Oval Nestabilities die and matted onto a cream scalloped Petite Oval die.
 
 
 A piece of collaged patterned paper from the Prima Songbird paper pad was matted onto the front of the card and a strip of blue paper from the same paper pad was matted across it.
 
The sentiment, from the Personal Impressions Paula Pascual Mixed Sentiments stamp set was stamped directly onto the patterned paper using Memento Cantaloupe dye ink.
 
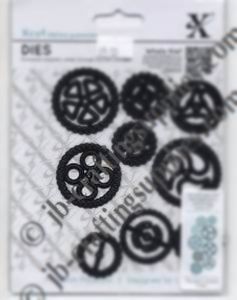
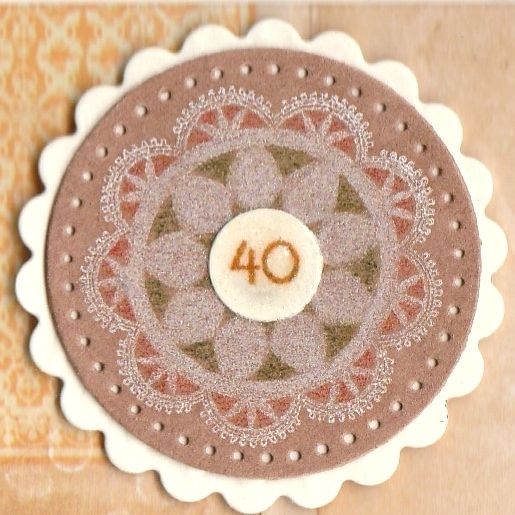
The next step was to remind my sister as subtly as possible that she was hitting a landmark birthday. To do this, I needed some small number stamps, but I don't have any. So I resorted to printing some out from the computer and diecutting them using one of my cog dies from the XCut Chronology Cogs set.
 
 
The die highlighted above has just the right sized circles that I required.
 
Firstly, the doily image from the Martha Stewart Doily stamp set was stamped onto kraft card using Memento Luxe Wedding Dress pigment ink. This was then coloured using a couple of the WHSmiths pencils that were used in the main image.
 
 
The inside of the card was also decorated, using matching papers and an oval diecut panel. The sentiment, also from the Mixed Sentiments stamp set, was stamped using the Cantaloupe ink and die cut using a circle Nestabilities die.

Thursday, 8 September 2011

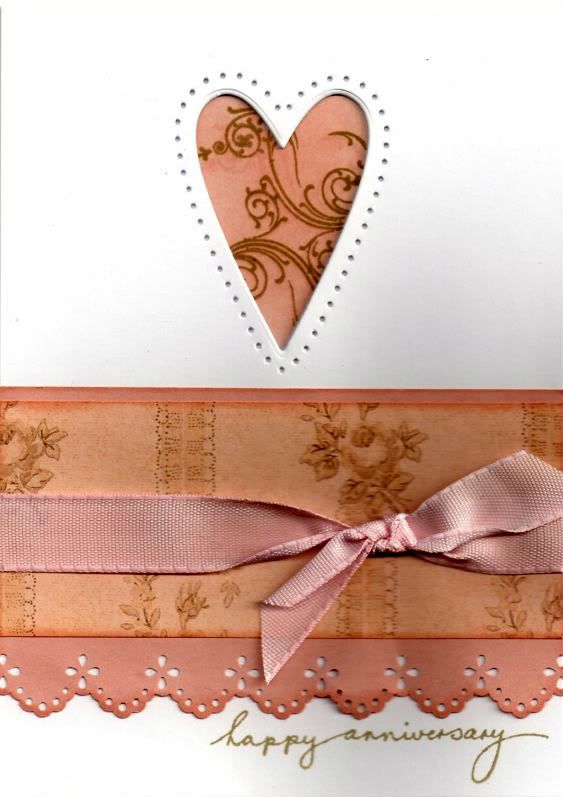
Pink and Brown Reverse Masked Heart Aperture Anniversary

Well, I don't know about you but I've had enough of masculine cards so here's a more feminine anniversary card for you!

This card was inspired by a card I saw over on the Splitcoaststampers gallery by MarieMc and you can see the card that she made here and here on her blog.

I needed to make a couple of anniversary cards and thought this idea would work really well. I'm thinking I might try it with my butterfly die too.


The heart, from the Marianne Creatables set of three heart dies (LR0159), was cut from the card front. A mask was also cut and affixed to the inside of the card behind the aperture so that it lined up.

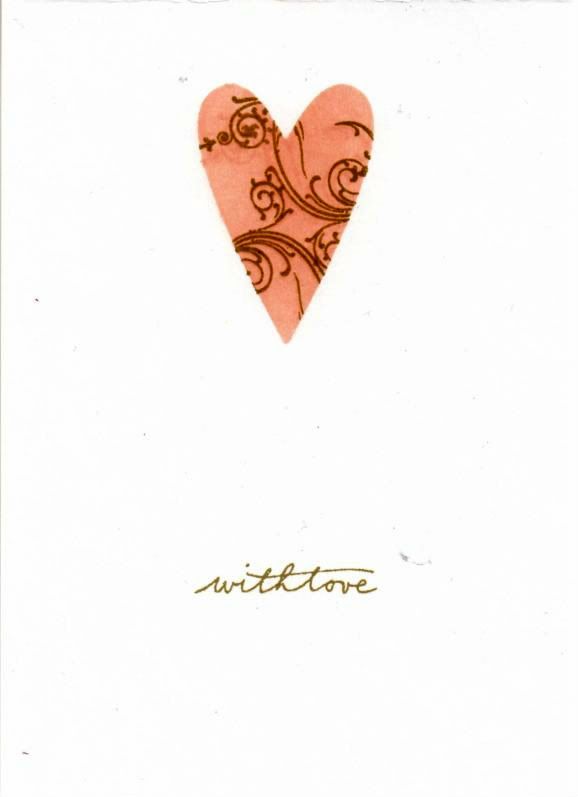
Colour was added through the mask using Tim Holtz Tattered Rose distress ink and then overstamped using the Tattered Rose and Frayed Burlap distress inks using the flourish stamp from the Personal Impressions Paula Pascual Mix and Match Sentiments stamp set.


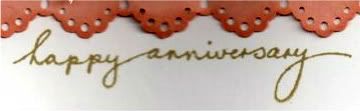
The sentiment, from the Woodware Jane's Script sentiment stamp set was then stamped on the inside using the Frayed Burlap ink.

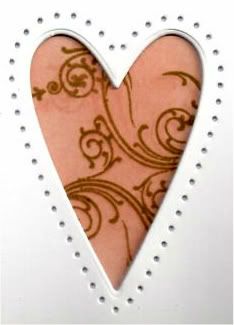
Using the Stampin' Up Mat Pack piercing template, holes were then pierced around the heart aperture.


A panel of pink paper was punched using the Eyelet Lace border punch from Martha Stewart, and a strip of the pink floral stripe paper from the Papermania Regency paper pad was matted onto it. A length of pink woven ribbon was then knotted around it and the panel added to the card blank.

The sentiment, also from the Jane's Script Sentiment stamp set was then stamped at the bottom of the card blank using the Frayed Burlap ink.

 
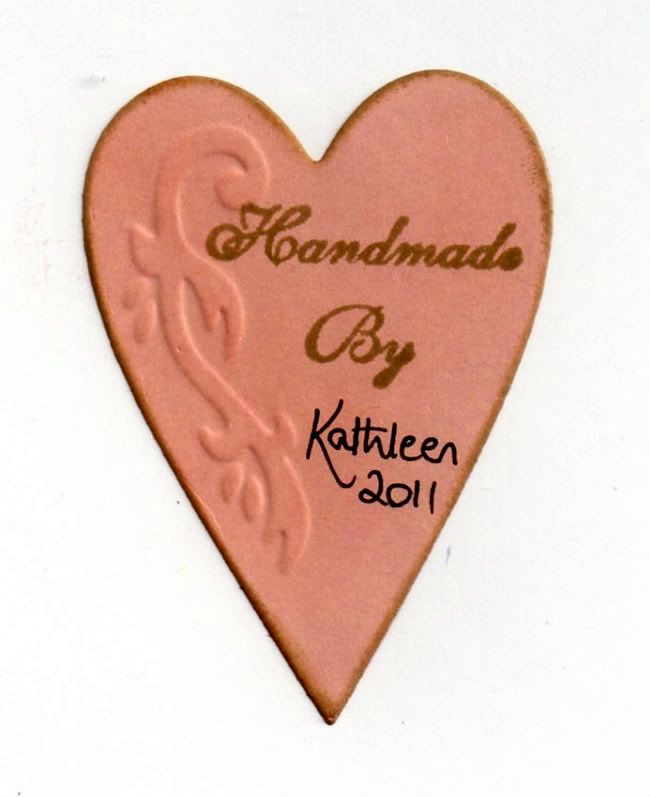
As my personalized 'Handmade By' stamp is a circle and I felt sure you would be able to see it through the card blank if I stamped it on the reverse of the card, I decided to die cut a heart from the pink paper using another of the heart dies in the Marianne Creatables die set. The embossed design was highlighted with the Frayed Burlap ink, and 'Handmade By' was stamped on it using a stamp from the Aspects Of Design Botanical stamp set from The Stampman. It was then added on the reverse of the card behind the inked heart on the inside of the card.


Here are the blog challenges I am entering this card into:

Wednesday, 24 August 2011

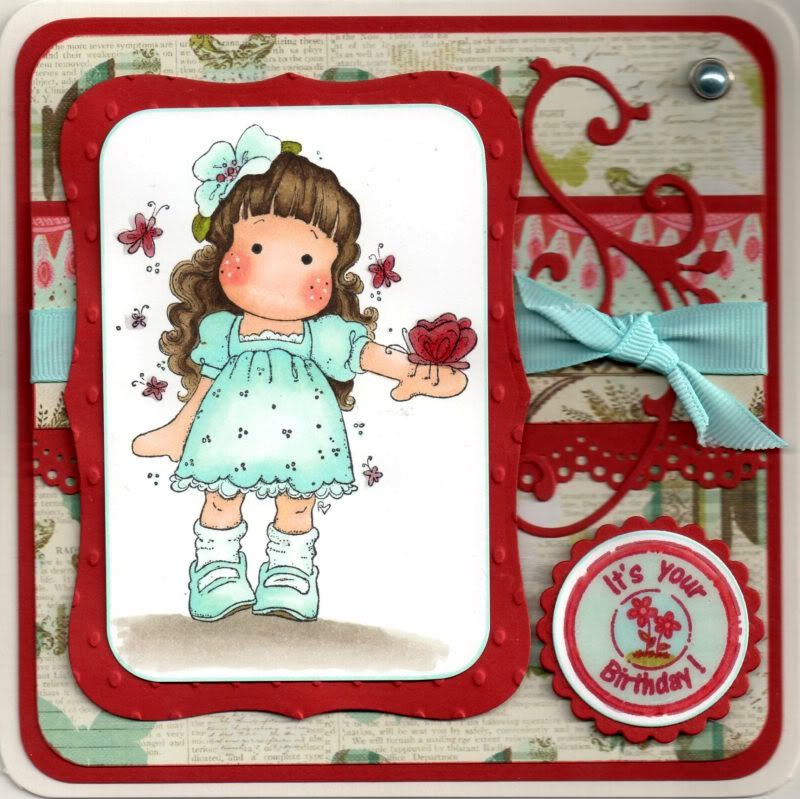
Red and Aqua Tilda With Hawaiian Flower

The Tilda with Hawaiian Flower image from Magnolia was very kindly donated to me by the lovely, talented Teresa/Craftingallday.

The image was stamped with Memento Tuxedo Black dye ink and coloured with Copic sketch markers:
  • Hair: E43, E44, E49
  • Skin: E00, E21, E51, R02, R20
  • Dress; B00, BG10, BG11
  • Flower: B00, BG10, BG11, R32, R37
  • Leaves; YG13, YG95, E44
  • Butterflies: R32, R37, R39
  • Socks: BG10
  • Lace Frills: BG10
  • Shoes: B00, BG10, BG11, E44
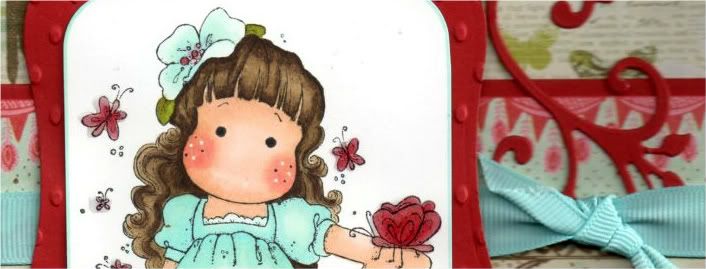
Tilda's cheeks were then highlighted with the Papermania Snow White gel pen.

Once again, large parts of this image were coloured using the Transfer Technique as discovered in the Copic Colouring Guide, using both the lighter shades and the blender pen.

The image panel was then trimmed and the corners rounded with the large XCut corner rounder punch. This was then matted onto a panel of red card die cut using a Labels 8 Nestabilities die and embossed with the Indentz Ellipse embossing folder.

A strip of the blue floral border paper from the Prima Madeline paper pad was matted onto a strip of the red card that was punched with the Martha Stewart Doilly Lace punch. A length of aqua grosgrain ribbon was wrapped around the strip and a shorter piece was knotted to the right.

This strip was then attached across a panel of the butterflies paper from the same paper pad and a Marianne Creatables leaf flourish die cut, also cut from the red card, was tucked under the ribbon.

The image panel was then added over the ribbon.

A large pale blue pearl brad from Papermania was added in the top right corner.

The circle sentiment, from Aud Designs, was stamped using Memento Rhubarb Stalk dye ink and coloured with Copic markers:
  • R32, R37, BG10, BG11, B00, YG13, YG95

This was then die cut using a classic circle Nestabilities die and matted onto a red classic scalloped circle.
Once the card was fully assembled, the circle sentiment and the butterflies in the image were then highlighted using Ranger Glossy Accents.

I also decorated the inside of the card using a strip of the border paper matted onto a strip punched with the Doilly Lace punch. The sentiment stamp, from the Papermania Clare Curd Sentiments stamp set, was stamped using the Rhubarb Stalk ink.

Here are the blog challenges I am entering this card into:

Monday, 4 July 2011

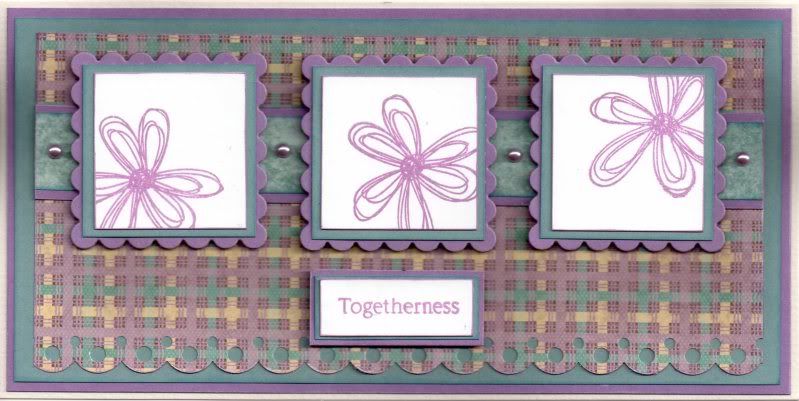
Lilac, Blue and Cream Scribble Daisies Anniversary

Here is the anniversary card that I made for my matey Teresa and her hubby Ken. I wanted to go with something a bit more summery so opted for the lilac colour tones.


Three panels were cut from white card and stamped with the Scribble Daisy stamp from the Papermania Hampstead Collection Sketch Flower stamp set using Brilliance Pearlescent Purple pigment ink. The panels were then matted onto blue paper and scalloped lilac squares die cut using a Nestabilities die.

A strip of the mottled blue paper from the HOTP Floral Ultimate Cardmaker's Creative Pack was matted onto the lilac card and across a panel of the lilac, blue and cream weave patterned paper from the same paper pad. This was then punched with the Martha Stewart Scallop Dot border punch and matted onto the blue paper and lilac card.

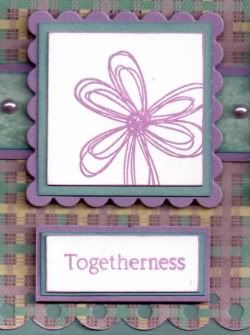
Detail of image and sentiment
The 'Togetherness' sentiment, from the Making Memories Express It stamp set, was stamped using the Pearlescent Purple ink and matted onto the blue and lilac. Once the card was assembled, the lilac pearls from the Kort and Godt pastels set were added between the image panels. It seemed only fair that I used the pearls on Teresa's card as she very kindly split a couple of the sets with me!!

Here are the blog challenges I am entering this card into:

Tuesday, 21 June 2011

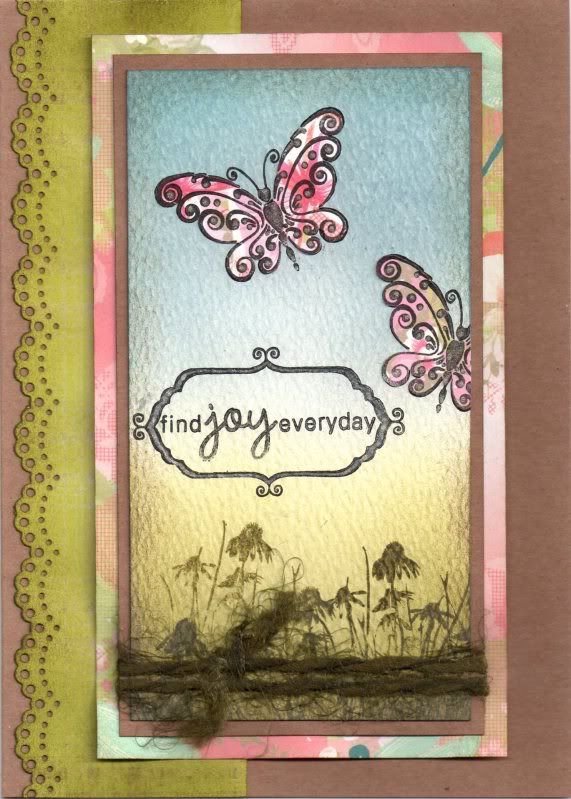
Pink Green and Blue Paper Pieced Butterflies

Well, as promised here is my attempt at colouring with Distress Inks and the shaving brushes from Wilkinsons in place of the much more expensive Inkdusters or similar. The card I made, an anniversary card, was actually based on a beautiful tag created by the very talented ClarkyJ and you can see her stunning masterpiece here.

Having looked back at Janet's tag, I realized hers looks more balanced as she has followed the 'rule of thirds' whereas mine is more half and half. I shall try and remember that for the future!!


I started by stamping the Butterfly image, from Chocolate Baroque/Craft Stamper, onto pieces of the pink butterfly paper from the Papermania Summer Bloom paper pad using Brilliance Graphite Black pigment ink and cutting them out.

A piece of white textured card was coloured using the shaving brushes and a selection of Tim Holtz Distress inks. The green area was created using Shabby Shutters and Forest Moss and the blue area using Weathered Wood and Faded Jeans. The edges were then distressed with the Walnut Stain ink. In retrospect, I think maybe Antique Linen may have been a better idea - never mind!

The green area was then overstamped using the Forest Moss ink and the Cone Flower and Grass stamp from the Inkadinkado Meadow stamp set.


The butterfly image was stamped a couple of times onto the blue area and then paper pieced using the pieces already cut out. The excess was cut away from the edge of the panel.


The sentiment, from the Hero Arts Anytime Messages stamp set, was then stamped onto the panel using the Graphite Black ink and then a frame from the Papermania Mix and Match Frames stamp set was stamped to go around it. The frame section was coloured in using a black Whispers Brushstroke marker.

A clear Sakura Stardust pen was then used to trace over the frame and the word 'JOY' and on the swirly sections of the butterflies. You can just make it out on the above pictures.

A length of green fibres from the HOTP Emerald Sarabooks Fibre Pack was then tied around the panel and this was then matted onto a panel of the pink dragonfly paper from the Summer Bloom paper pad.


A strip of the lime green plaid paper from the same paper pad was punched using the Martha Stewart Doilly Lace border punch and distressed with the Forest Moss ink. This was matted directly onto the card blank and the image panel matted over the top to the right of the card blank.

Here are the challenges I am entering this card into:

Thursday, 2 June 2011

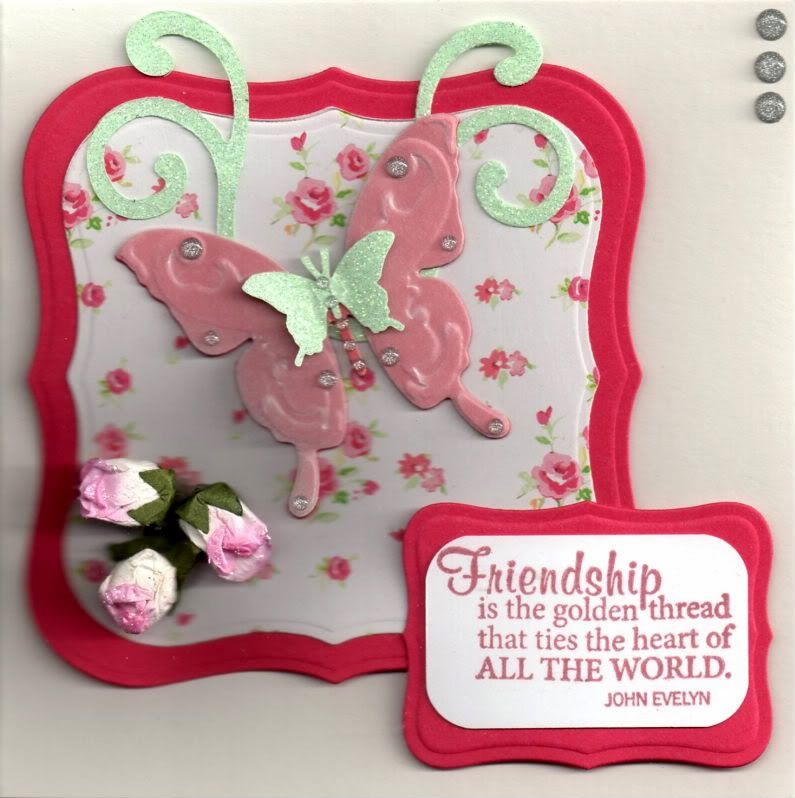
Pink and Green Flourish Butterfly

This card was based on a beautiful card that was sent to me by the very talented Angie. You can see her card here (it's the top one!)

This is the card that I made for my matey Loretta for her birthday. I know she has received it so I can post it now.

I decided to make my card a more simple version than the intricate one I received from Angie, and used my new Spellbinders Butterfly Shapeabilities die set.


Using the largest of the butterfly dies, two butterflies were cut from cerise card and white vellum and embossed. A smaller butterfly was also punched from light green glitter card using the Martha Stewart Butterfly punch and the three butterflies were layered up along the centre, with the wings loose and fluttering, although you can't see that in the scanned picture. The butterfly was then adorned with Papermania silver shimmer dots.

A panel was die cut from the cerise card using the Labels 1 Nestabilities die and matted with a smaller die cut from the pink rosebud paper from the Papermania Henbury Lane paper pad.

Flourishes were then die cut from the light green glitter card using the Sizzix Sizzlets Flower and Flourish #2 die and attached to the patterned panel beneath the butterfly.

Using silicon glue, three pink paper rosebuds were attached to the patterned paper panel in the bottom left corner.


The sentiment, from the Fiskars Friends Forever Quotes stamp set, was stamped using Versafine Crimson Red archival pigment ink and the corners of the panel were punched with the small corner rounder punch from Avec. This was then matted onto a panel die cut with a Label 8 Nestabilities die and matted over the bottom right corner of the butterfly panel.

Three silver shimmer dots were then added in the top right corner of the card blank.

Here are the challenges that I am entering this card into:

Saturday, 16 April 2011

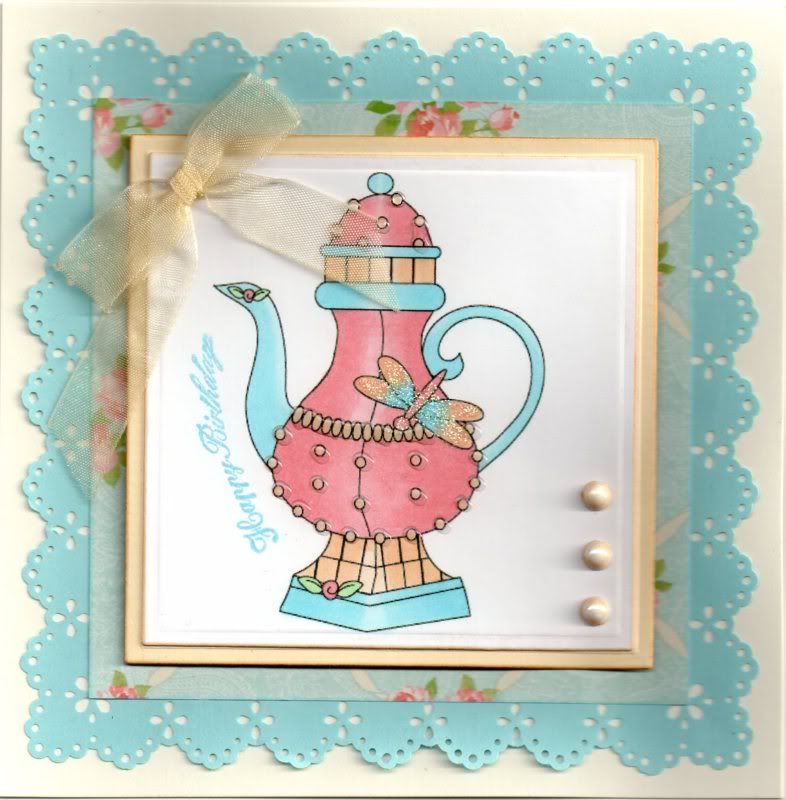
Pink, Blue and Cream Dragonfly Kooky Teapot

Here's another card made using one of my recent wins! This one is from Happileigh Scrappin' and I think it's really stylish and elegant.


The Kooky Teapot #1 digi image was coloured using Copic Sketch markers:
  • Teapot: R20, E51, B00
  • Rosebuds: R20, RV21, YG41
  • Dragonfly: B00, R20, RV21, E51
The image was then die cut using a square Nestabilities die and matted onto a larger die cut square of cream card.

This in turn was then matted onto a panel of the blue rose and ribbons paper from the Papermania Blueberry Hill paper pad. A panel of light blue paper was then punched using the Martha Stewart Eyelet Lace corner and border punches.

All the layers were then matted onto the card blank and a bow tied using Celebrate cream organza ribbon and added in the top left corner of the image panel.

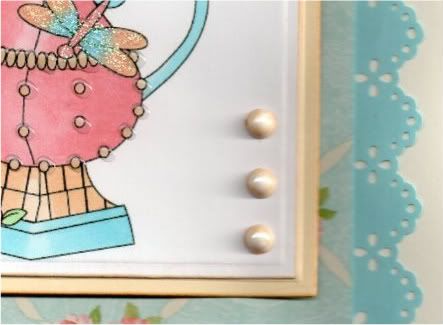
Three white Papermania adhesive pearls were coloured using Copic markers:
  • Pearls: E21, E51
These were then added in the bottom right corner of the image panel.


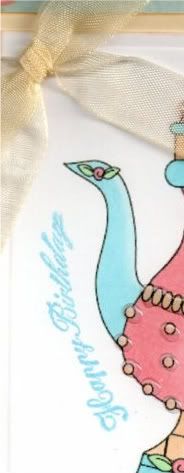
The sentiment, from the Papermania Scrolls and Sentiments stamp set, was stamped next to the image using Brilliance Pearlescent Sky Blue pigment ink.


The dragonfly was then highlighted with Craft Planet Iridescent Sparkle glitter glue and the pearl detail of the teapot highlighted with Anita's 3D Gloss.

Here are the challenges that I am entering this card into:

Saturday, 19 March 2011

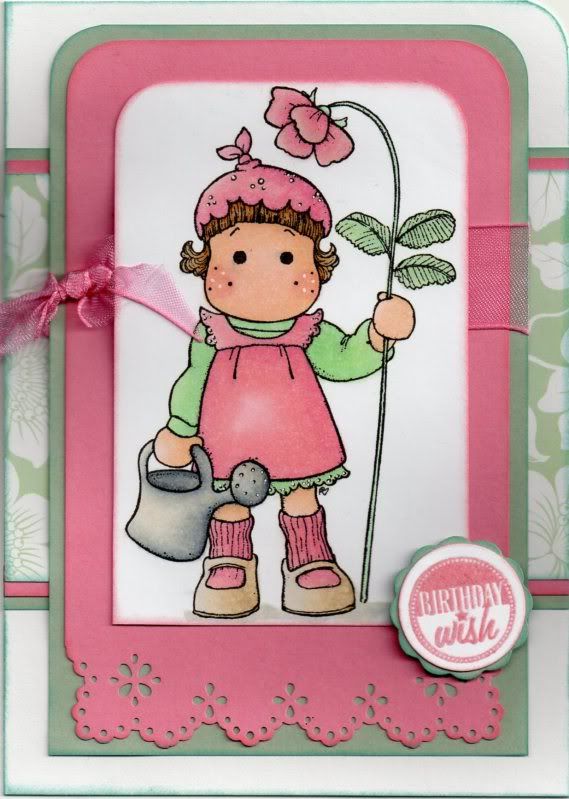
Pink and Tea Green Strawberry Tilda

The Tilda image was stamped during a craft playday at Julie's. Alex very kindly let me stamp a few of her. I really love this image, and in an ideal world, I'd own her!


The Strawberry Tilda image from Magnolia was stamped using Versafine Onyx Black archival pigment ink and coloured using Copic sketch markers:
  • Hair: E13, E35, E43, E57
  • Skin: E00, E21, E51, R20
  • Flower/Hat/Dress/Socks: RV21, RV34, R20, E40
  • Shoes: E40, E41, E43
  • Watering Can: C0, C2, C4, C6, E40
  • Jumper/Leaves/Stem: G00, G12, YG11, YG41, E40
  • Shadow: C2, E40
The top corners of the image panel were then rounded using the large XCut corner rounder punch. A panel of pink card, punched using the Martha Stewart Eyelet Lace corner and border punches was matted onto a panel of green paper and pink organza ribbon was knotted around it. The image panel was then matted on top.


A panel of the tea green floral paper from the Dovecraft Eastern Promise paper pack was matted onto the pink card and green paper and adhered across the card blank and the image panel was matted over the top.

The sentiment, from the HOTP Sentiments stamp set, was stamped using ColorBox Old Rose pigment ink and clear embossed. This was then die cut using a circle Nestabilities die and then matted on a big scalloped circle cut from the green paper.

Here are the blog challenges I am entering this card into:

Tuesday, 1 March 2011

Lilac and Apple Lazy Summer Tilda Ovals

Firstly, before I blog this card, I want to say a big thank you to Elaine at Quixotic Cards for drawing my attention to the great tutorial on colouring blonde hair with Copics that Mary J did on her blog and the Quixotic Paperie blog.

I found that, with my three yellow markers, my blonde  hair didn't look right. But with some help from Elaine and Mary J, I've worked out which E markers to use and I think it looks really good - even if I say so myself!!!


The Lazy Summer Tilda image from Magnolia, (which I managed to borrow from Alex during a playday at Julie's) was stamped using Versafine Onyx Black archival pigment ink and coloured using Copic sketch markers:
  • Skin: E00, E21, E51, R20
  • Hair: E40, E41, E43, E51, E57
  • Wings: BV00, BV23, B41
  • Jumper: G12, G14, YG11
  • Pinafore: BV00, BV04, BV31
The image was die cut using a classic oval Nestabilities die and matted onto a green oval and lilac scalloped oval, also die cut using Nestabilities.


A strip of the lilac cherry blossom paper from the Dovecraft Aquamarine Kate Knight paper pack was matted onto green and lilac card. A panel of the green and lilac leaves paper, from the same paper pack, was punched using the Doilly Lace border punch by Martha Stewart, and then matted onto a punched panel of the green card and the lilac card.

The sentiment, from the Papermania Clare Curd Sentiments stamp set was stamped onto a Cuttlebug Oval Stamp die using the Onyx Black ink and matted onto a lilac die cut. I think if I were to make this again, I'd use either a grey or lilac ink for the sentiment - the black looks a little bit too harsh. 

The Tilda image was then highlighted with Craft Planet Iridescent Sparkle glitter glue and a Papermania Snow White gel pen.

Here are the blog challenges that I am entering this card into:

Tuesday, 22 February 2011

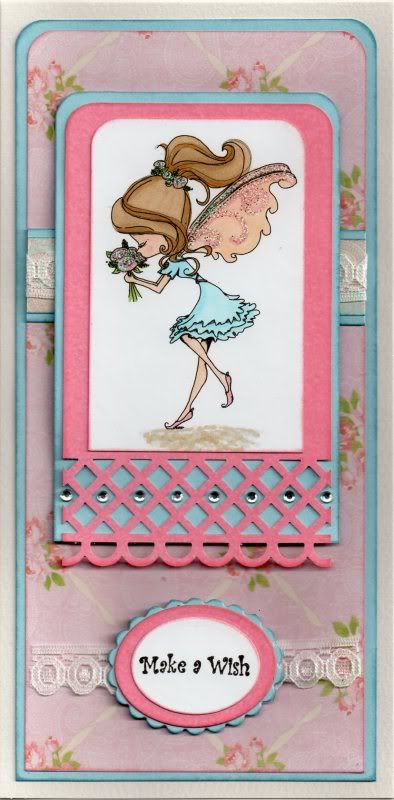
Blue and Pink Fairy Fae Trellis

Here is my latest project - using another of the really cute TiddlyInks images.


The image, from TiddlyInks was coloured using Copic markers:
  • Hair: E35, E43, E51
  • Dress: B00, R20
  • Wings: R20, E51
  • Shoes/Roses: R20
  • Skin: E00, E21, E51, R20
  • Foliage: G14, YG17
  •  Shadow: E43, N1
The wings and flowers were then highlighted with Craft Planet Iridescent glitter glue.


The image was then mounted onto a panel of pink card punched with the Martha Stewart Garden Trellis deep-edge border punch and then onto a panel of blue card.

A strip of the blue and pink paisley paper from the Papermania Blueberry Hill paper pad was matted onto the blue card and a length of cream lace was wrapped around the strip. This was then matted onto a panel of the pink roses and ribbons paper.

The sentiment, from the Papermania Clare Curd Sentiments stamp set was stamped onto an oval of white card die cut using a classic ovals die from Nestabilities and matted onto pink and blue ovals, classic and scalloped, also using Nestabilities.

A length of the cream lace was adhered behind the ovals before matting below the image panel, and clear faux gems were added in the holes of the Garden Trellis border punched layer.

Here are the blog challenges that I am entering this card into:
Blog Widget by LinkWithin