


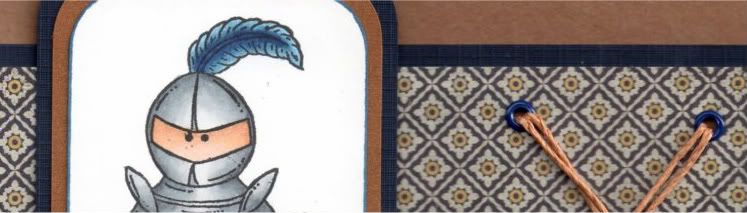
The image was stamped using Memento Tuxedo Black dye ink and coloured using Copic sketch markers:
- Armour: C0, C1, C3, C4, C6
- Sword: C2, C4, C6
- Skin: E00, E13, E21, E51
- Shield: W1, W3, W5, W7, B32, B34, B37, B39, E31, E33, E35
- Feather: B32, B34, B37, B39
- Shadow: W1, W3, W5
Somehow I actually managed to get the armour and shield to look quite metallic and shiny!!
The corners were rounded using the large XCut corner rounder punch and matted onto bronze shimmer paper and navy card.
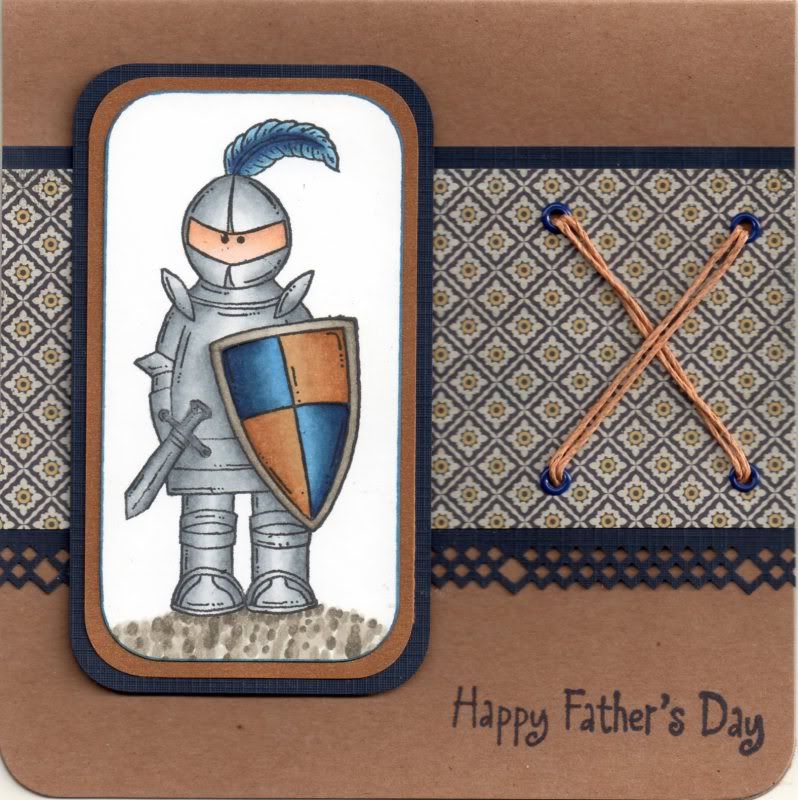
A panel of the Jute paper from the Basic Grey Granola paper pad was matted onto the navy card, punched with the XCut Diamonds border punch.
I wanted to add an element of texture but also keep it masculine, so four holes were punched using the Cropodile Big Bite and the Stampin' Up Mat Pack template and small dark blue Papermania eyelets were added. The holes were then threaded with a double strand of tan hemp cord from Hobbycraft.
The card was assembled and the 'Happy Father's Day' sentiment, from Elzybells, was stamped in the corner using Versafine Majestic Blue archival pigment ink.
Here are the challenges I am entering this card into:
- Creative Inspirations - Father's Day/Card For Dad
- Dream Valley Challenges - #9 - Father's Day
- Kenny K's Krafty Girlz - #49 - My Favourite Colour
- Sentimental Sundays - #59 - Father's Day or Masculine Card
- Sparkles Forum - #13 - Father's Day
- Stampin' Sisters In Christ - #93 - Father's Day
- Stamptacular Sunday - #115 - Dads or Grads
- Crafty Emma - #40 - Saturday Night At The Movies (First Knight)
- Crazy 4 Challenges - #91 - Masculine
- Little Claire's - #9 - Cards For Men
- Mark's Finest Papers - #59 - Father's Day
- One Stop Craft - #135 - Father's Day
- Secret Crafter - #138 - Male Card
- Stamp, Scrap and Doodle - Father's Day
- Alphabet Challenge - F for Father's Day
- Delicious Doodles - #29 - Father's Day
- Digi's With Attitude - #30 - Father's Day
- Fairy Knoll - #54 - Father's Day
- Fussy and Fancy - Card For A Male
- Inspire Me Fridays - #10 - Anything Goes
- Mami Doodles - #28 - Card For A Boy Or Man
- Pattie's Creations - #23 - Wedding Or Father's Day
- Sew Many Cards - #56 - Father's Day
- Simply Create - #45 - All About You Dad
- Stamp Man - #24 - Boys and Men
- Stamp Something - Something Punched
- Wags 'n' Whiskers - #56 - One For The Boys
- C.R.A.F.T. - #106 - Father's Day
- Craft Us Crazy - #10 - Father's Day &/or Masculine Colours/Theme
- Delightful Challenges - Father's Day
- Paper Play - #23 - Father's Day/Man's Card
- Shelly's Images - Anything Goes
- Some Odd Girl - Manly Challenge
- Stamp Insanity - #62 - Father's Day
- Amber's Crafts and Stuff - #13 - Special Man
- Crafting For All Seasons - #2 - Father's Day
- Crafts and Me - #38 - Stamp Something
- House That Stamps Built - #68 - Father's Day and Texture
- My Mum's Craft Shop - #9 - Punch It
- Sisterhood Of Crafters - Celebrating Dad/Man In Your Life
- The Paper Variety - #37 - For The Guys
- Craft Room Challenge - #1 - Anything Goes
- Deep Ocean - #1 - Anything Goes
- Flourishes - #121- Father's Day
- The Stamping Boutique - #8 - Men Only
- Bows and Berries - #7 - Masculine
- Cupcake Craft - #146 - Boy, Oh Boy, Oh Boy
- Daisy Doodles - #35 - Father's Day
- Incy Wincy - #98 - Father's Day/Masculine
- Make It Monday - #41 - Anything Goes
- Make It Monday With Kraft Outlet - Father's Day
- Ooh La La - #82 - Father's Day/Special Man


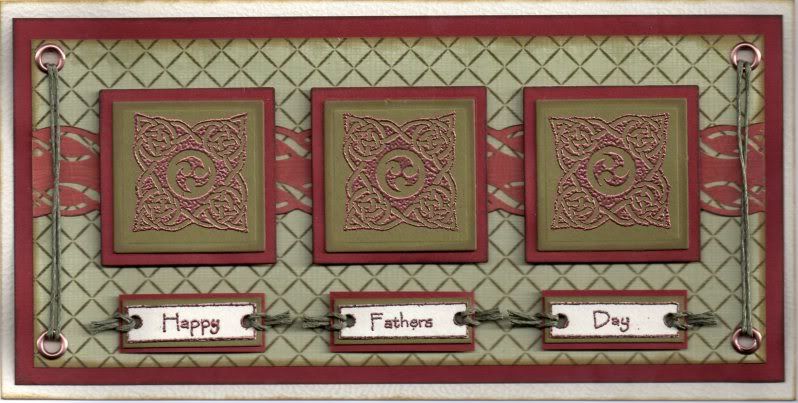
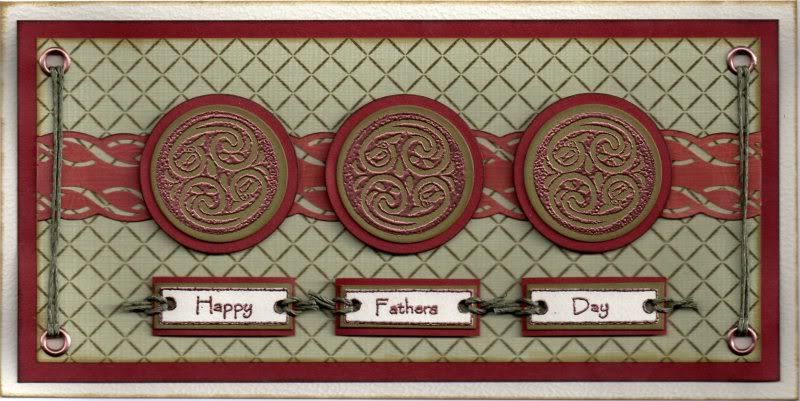
 Here is what the lucky recipient will receive from the very generous

 I decorated the inside of the card with a strip of the striped paper as used on the front of the card and stamped the sentiment using a 'Happy Father's Day' stamp from Inca.
 Watercolouring with the fluid chalk inks is a bit of trial and error. You need to add quite a lot of water so you don't get too thick a colour as they can obliterate the stamped lines, as you can see below on the second Father's Day card I made.



 Posts
Posts


