Pages

WELCOME

This blog was created to act as a record of the cards and other projects that I have made. It is for both my own reference and to help inspire anyone who wants to take a look.

I'd love it if you'd leave me a comment so that I know what you think of my projects and that you've been to visit!

Anyone can comment, even those who don't have a blog. (Just look for the word 'Comments' under the three little pictures at the end of each post). Readers without a blog can add an anonymous comment, but please leave your name (and docrafts username if applicable) so I know who you are!

Slideshows of all the cards I've uploaded to my blog can be found at the bottom of the page.


PEOPLE WHO FOLLOW MY BLOG

Showing posts with label embroidery thread. Show all posts

Tuesday, 19 January 2016

Red, Teal and Green Katy Sue Hat and Stand

My apologies for the lateness of this post but I have been having issues with Internet Explorer all day. I can't upload pictures of my cards using Microsoft Edge and today IE has just not wanted to play ball. Anyway, it seems to be working at the moment, so I'll get on with uploading this as quickly as possible.

This is a card that I made, finally using the beautiful set of stamps by Katy Sue Designs that I bought at the Newbury Artstamps Show. Yet another of those 'must have' purchases that have been sitting in my stash unused.

I decided to use the Prima Madeline paper pad as I really love the colours and they matched the guide illustration on the packaging.
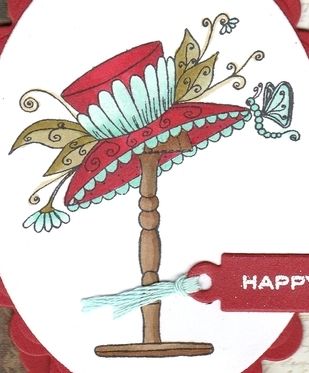
 
The hat and stand image, from the Katy Sue Designs Gerbera stamp set, was stamped using Memento Tuxedo Black dye ink and coloured using Copic markers:

Copics:
Hat: R27, R37, R39, BG10, BG11, BG32;
Flowers: BG10, BG11, BG32;
Leaves/Stems: G00, YG91, YG95;
Fronds: YG91;
Butterfly: BG11, BG32;
Hatstand: E43, E44, E57;
 
The image was diecut using a Classic Oval Nestabilities die and matted on to a Scalloped Classic oval diecut from red cardstock.

The cardblank was covered using the border paper and the cream script papers from the Prima Madeline paper pad, and the join was covered with a strip of card diecut using the Solid Bracket die from MFT Die-Namics.

 
The image panel was then added in the centre of the cardblank.

The 'Happy Birthday' sentiment, from the Personal Impressions Paula Pascual Mix & Match stamp set, was stamped using Emboss clear embossing ink and white heat embossed using Stampendous Detail White Opaque embossing powder. This was then diecut using a tag die from the Sizzix Tags, Sentiments Framelits die set. The tag was threaded with aqua embroidery thread and added over the image panel.
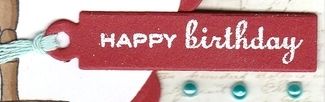
 
Details of the hat image were then highlighted using the clear Wink of Stella brush pen, and three teal pearls from Hobby House Sea Charm pearls.


Wednesday, 9 December 2015

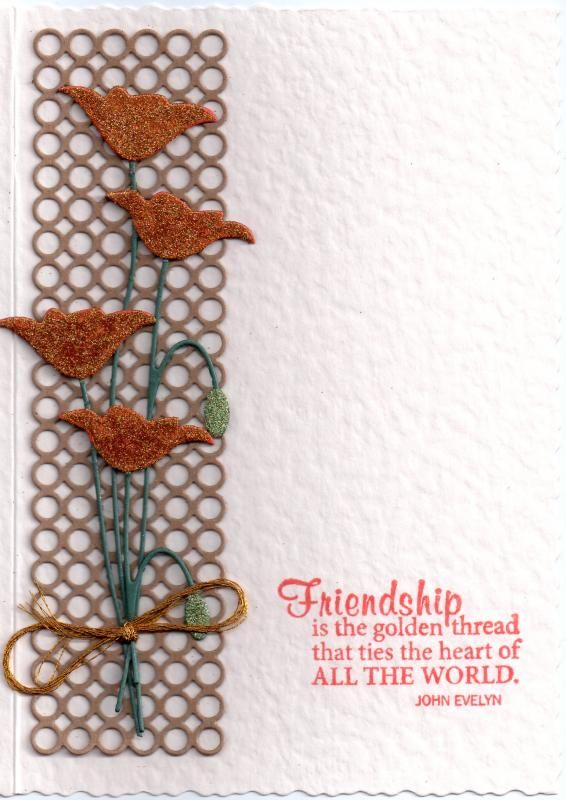
Orange Glittered Prim Poppies

This was one of those CAS cards that was by no means 'simple' in its execution. It was based on  card I saw on Pinterest here.
 
The first step was to die-cut the Contempo Circle Border die by Memory Box from Kraft card. Getting adhesive on the back was then the first hurdle. I should have added wide double-sided tape to the back of the Kraft card first, but only thought of that afterwards, so I used tacky glue and that was fun!!!
 
 
The next step was to diecut a couple of the Memory Box Prim Poppy shapes using dark-green card stock, as well as the flower heads in orange card stock which were then adhered in place.
Then came hurdle number two - adding the glitter. I used the LP Creative Crafts Corn Yellow and Apple Green glitters with the Zig glue pen. Of course, there was glitter everywhere and then I realized I'd added the glitter too early. I should have added it after I had stuck everything down!
 
Once the glue had dried and the glitter in place, the two poppy die cuts were tied together (not as easy as it sounds) using gold metallic embroidery thread.
 
The poppy diecuts were then adhered in place over the Contempo Circle Border diecut.
 
The sentiment, from the Fiskars Friends Forever Quotes stamp set, was stamped directly onto the card front using Memento Morocco dye ink.

Friday, 13 November 2015

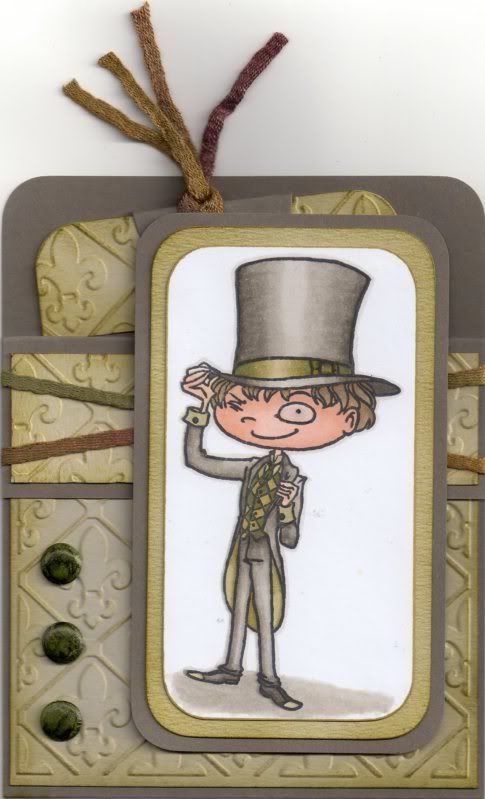
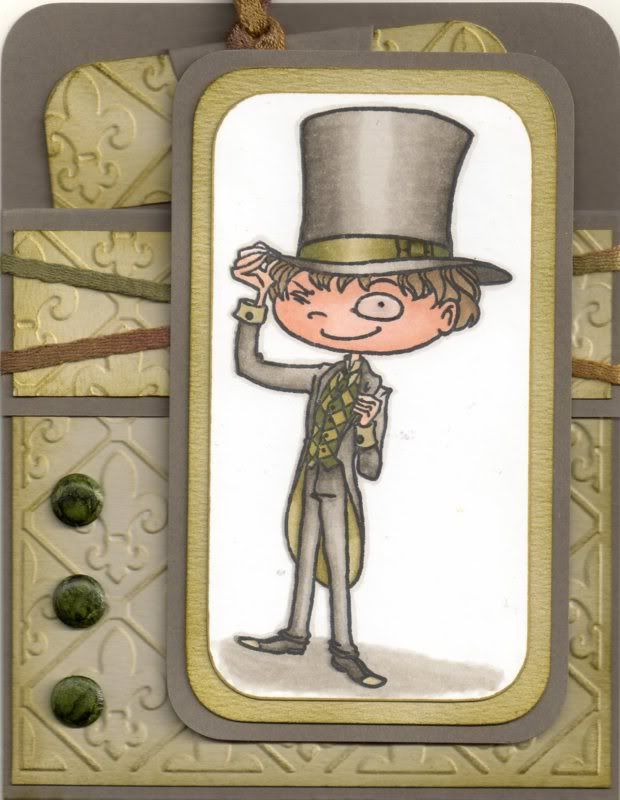
Green and Grey Chester Pocket Card

This is a different type of card for me. It is based on a project that I found on the Splitcoaststampers tutorials page here, a Pocket Card.

With this design of card, the card doesn't actually open, but the sentiment and handwritten greeting go onto a tag that is placed within the pocket section of the card.
 
 
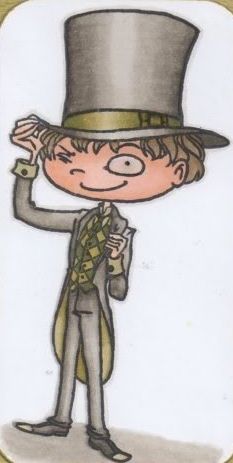
To begin with, the image, Chester by Kraftin' Kimmie, was stamped using Memento Tuxedo Black dye ink and coloured using Copic markers.
 
Copics:
Skin: E00, E11, E21
Hair: E41, E43, E44
Hat/Jacket/Trousers: W1, W3, W5, W7
Hat Band: YG91, YG95, YG99
Tie: G99
Waistcoat: YG95, G99
Inside Jacket: YG91, YG95
Shirt: YG91
Shoes: W5, W7, YG91
Shadow: W1, W3
Outline: W1
 
 
The image panel was then matted onto green and then grey cardstock.
 
The next step was to create the Pocket Card.
 
A piece of card measuring 4" x 11" was then scored in half and then scored again 1.25" from one edge. A panel of white card was embossed using the Cuttlebug Fleur de Lis embossing folder and distressed with Tim Holtz Crushed Olive and Forest Moss distress inks. This panel was adhered to the large front panel of the card. A smaller strip of white card was also embossed and inked with the Crushed Olive and Forest Moss inks and this panel was then adhered to the front flap panel.
 
A couple of lengths of green fibres from the HOTP Sarabooks Emerald Fibres set were then wrapped around the front flap and the flap then adhered down to the front panel.
 
 
Three green card candi were then coloured using the G99 Copic marker and added to the front panel, as was the image panel. Glossy accents were added to the monocle in the image.
 
 
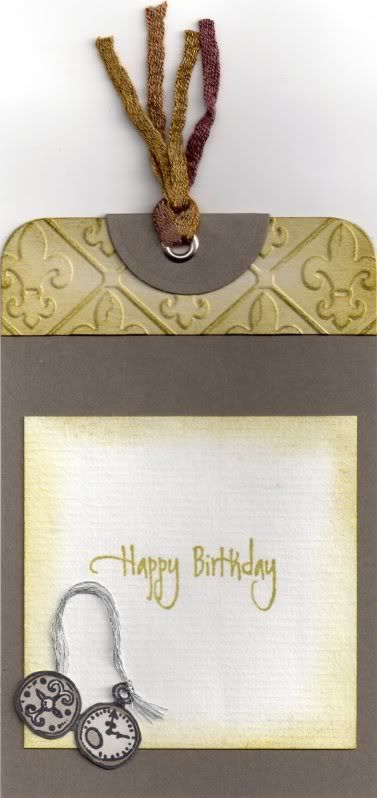
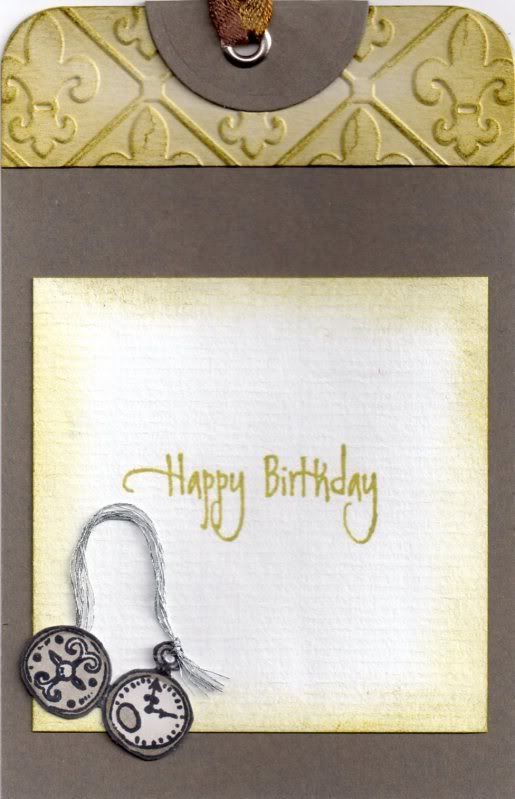
To complete the card, a tag was created. A strip of the embossed and coloured white card was added across the top of the tag, as was a circle of grey cardstock, diecut using a Nestabilities circle die, and then folded in half.
 
A silver eyelet was set in the top of the tag and more of the green fibres were threaded through it.
 
The pocket watch image was stamped using the Tuxedo Black ink and coloured with the W1, W3 and W5 Copic markers. A length of silver embroidery thread was threaded through the image and added to the tag. The sentiment, from the Elzybells Swirly Sentiments stamp set was stamped onto the tag using Versafine Spanish Moss archival pigment ink.
 
 
The tag was then slotted into the pocket on the front of the card.

Sunday, 5 April 2015

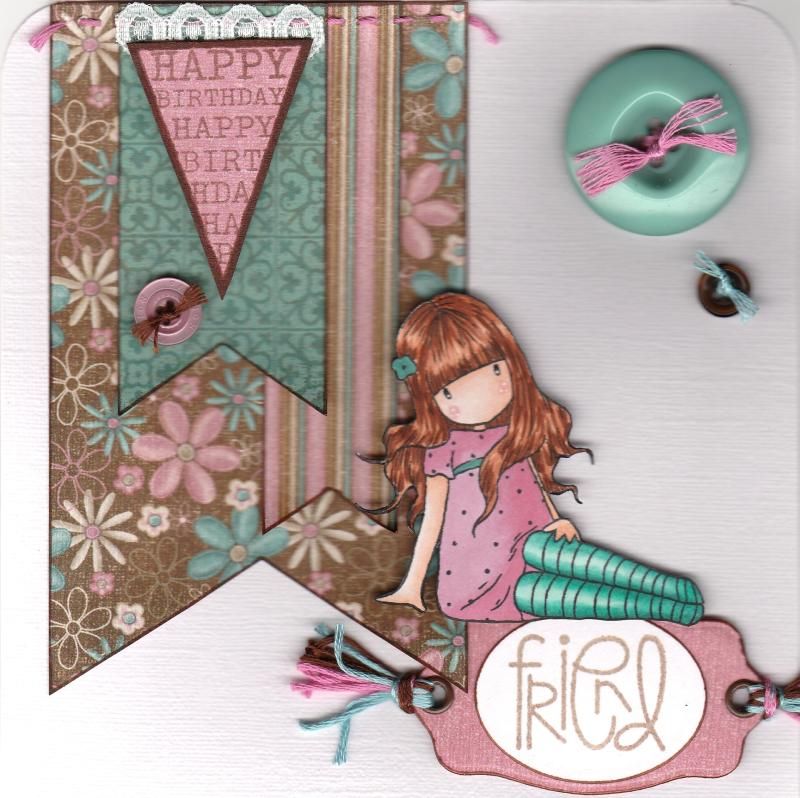
Teal Pink and Brown Sitting Gorjuss Girl with Banners

OK, so I thought I'd have another go at blogging a card as it's been so long since I last did it!
I've decided I'm going to try and blog a current card and then an older card that's still waiting to be blogged after I was offline for so long.

So, it's time to blog a current card. This is one that has been received so I know I can blog it.
 
 
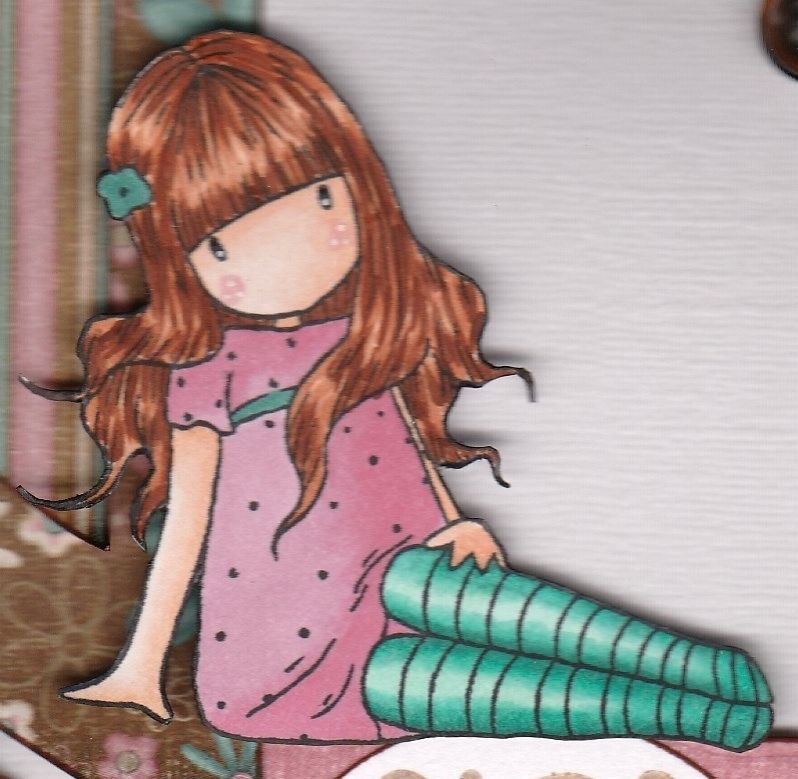
This was a card I was rather pleased with, I have to say. It used one of my older Sugar Nellie Gorjuss Girl stamps, called 'Sitting'.

The papers used on this card are from the Hot Off The Press Floral Ultimate Creative Cardmaker's Pack. There are some lovely colour combo in this paper pad.
 
 The image was stamped using Memento Tuxedo Black dye ink and coloured using Copic markers and then fussy cut.


Copics used:
Hair: E11, E13, E15, E29
Skin: E000, E00, E11, R20
Dress: RV11, RV34
Socks: BG10, BG13, BG15, BG18
Belt/Flower: BG18
 
Fishtail banners were then handcut from a few other patterned papers from the same paper pad and handstitching was added to the top of the largest one. These were then added in the top left corner of the card blank.
 
The Happy Birthday banner from the Hero Arts Friendly Flags stamp set was stamped using Versafine Vintage Sepia archival pigment ink and fussy cut. A small length of white lace was added to the reverse of the image and layered over the handcut banners.
 
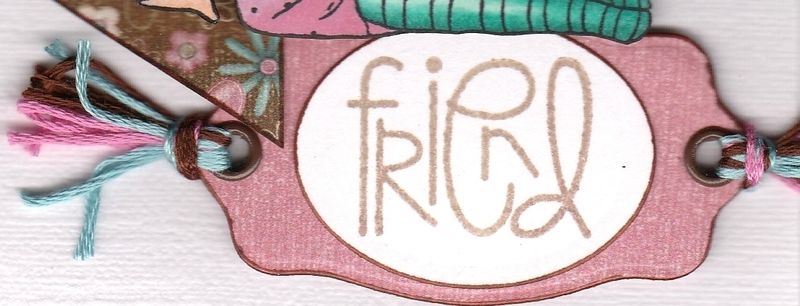
The 'Friend' sentiment from the Paper Smooches Sentiment Sampler stamp set was also stamped with the Vintage Sepia ink and was die cut using a Classic Oval Nestabilities die. This was then matted onto a bookplate diecut from a paper from the same paper pad using a die from the XCut Tags and Bookplates set of dies.
 
Brown eyelets were added through the holes of the diecut and co-ordinating embroidery threads were added.
 
 
The sentiment panel was then added in the bottom right corner of the card blank and the Gorjuss Girl image placed sitting on top of it.
A few co-ordinating buttons were threaded with the embroidery threads and added to the card blank.

Saturday, 22 March 2014

Owl Lots of Pops 30th Birthday

This is a card that I made at my local cardmaking group. It's a cute pop-up card using a die to create the mechanism. It was pretty simple to make, although you do have to ensure that whatever you put on the pop-up will remain within the card when closed.


I needed a 30th birthday card for my 'little' brother (how did that happen?) and thought this would make a good "special card".

The die used to create this card is the new Lots of Pops die by Karen Burniston for Elizabeth Crafts.


Firstly, the card blank and inner panel were created, with the inner panel being slightly smaller than the card blank. In this instance, the inner panel was created using a panel of paper from the First Edition Sweet Owl paper pad. To create the pop-up, place the die along the centre fold of the inner panel. Work the folds of the pop-up and then adhere to the card blank.


I decided that I would use the free owl stamp by Sugar Nellie that came with the July 2009 issue of Craft Stamper Magazine. The image was stamped using Memento Tuxedo Black dye ink and coloured using Copic markers. Highlights were added using Ranger Glossy Accents. The image was then fussy cut.

The Copic markers used are:
E41, E43, E44, E49, YR14

In the set of dies there is also a post die and a couple of different banner dies. Two of each of these were die cut, the banners being cut from patterned papers from the Sweet Owl paper pad.

The two fishtail banners were stamped on he reverse of the patterned paper using the Whimsy Letters and Numbers stamp set by See D's using Memento Teal Zeal dye ink. The banners were then attached to a length of brown embroidery thread which was then tied and adhered to the two post die cuts and these were then in turn attached to the pop-up mechanism.


The longer fishtail ended banner was then stamped using the PSX Buttons Pixie alphabet stamps and the Teal Zeal ink. This was placed on the front pop-up, and the owl placed sitting on branches and leaves, die cut using the Sizzix Sizzlet Flowers and Branches die and the Joy! Crafts Branches die.


A strip of the brown circle paper from the Sweet Owl paper pad was matted onto the beige card and added across the inner panel. Ranger Crystal Stickles were added to the circle pattern on the patterned paper. The 'Have A Hoot...' sentiment, from the Woodware Owl stamp set, was then stamped using the Teal Zeal ink and die cut using the Nestabilities Classic Ovals die and matted onto a Labels Thirty-One shape.


Once the inside of the card was completed, the front of the card was created using the same owl stamped image and the branch and leaves die cuts. The owl image was adhered to panels of oval and Labels Thirty-One shapes.


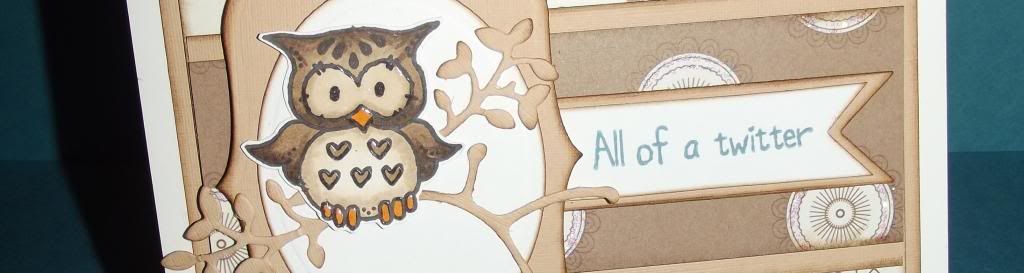
The fishtail banner from the Sizzix Framelits Banners #2 set was die cut from the beige card. The matching stamp was stamped onto white card using a pale ink and fussy cut. The 'All of a Twitter' sentiment, also from the Woodware Owl stamp set, was stamped onto the reverse of the shape and matted onto the diecut shape.

All panels and diecuts were distressed using Tim Holtz Walnut Stain distress ink.


For an area to write the greeting, a large classic oval diecut was matted onto a Labels Thirty-One diecut with a few of the leaf diecuts and adhered to the reverse of the card. The 'Happy Birthday' sentiment, from the Kanban Farmyard Animal Wobblers stamp set, was created in the same way as the 'All of a Twitter' sentiment on the front of the card.

I'm rather pleased with this card, even if I do say so myself. I love the combination of the die cut elements and the stamped elements.

Here are the blog challenges I'd like to enter this card into:

A Creative Romance - Seeing Double
Brown Sugar - #86 - Anything Goes
Craftitude - #61 - Anything Goes
Crafts4Eternity - #168 - Anything Goes
Cut It Up - #41 - Anything Goes
Fairytale - #87 - An Old Stamp
Pattie's Creations - #88 - Anything Goes
QKR Stampede - #80 - A Little Birdie Told Me
Simply Create Too - #57 - Animals
Sister Act - #49 - Anything Goes
Stampin' For The Weekend - Anything Goes
Crafty Girls - #14 - Anything Goes
Aud Sentiments - #102 - Anything Goes
Copic Marker Europe - Birthday
Red Rubber Inspirationals - #112 - Colour In The Lines
Crafter's Café - #55 - Make A Square Card
Inklings and Yarns - #48 - Anything Goes
Stampotique Designers - #139 - Masculine
Fan-Tastic Tuesday - #27 - Anything Goes
Oldie But A Goodie - Bunting (Owl Stamp)
Through The Craftroom Door - Anything Goes 18/3-24/3
Aurora Wings - #1 - Anything Goes
Crafty Bloggers Network - Nature
Crafty Boots - Feathers
Fitztown - #27 - Anything Goes
Lexi's Creations - #112 - Punches and Dies
Shabby Tea Room - #210 - Anything Goes
Paper Nest Dolls - #6 - Anything Goes
613 Avenue Create - #63 - Anything Goes
Challenges 4 Everybody - #39 - Anything Goes
Eclectic Ellapu - Wings (Pink Team)
Penny Black and More - So Sweet
Pile It On - #11 - For A Guy
Sentimental Sundays - #198 - Cute and Cuddly
Cards Galore Encore - #3 - Use Stamp or Digi
Crafts & Me - #146 - Anything Goes
Flat Friends - #18 - Cards For Men
Just B Creative Crazy - Anything Goes

Monday, 17 February 2014

Kristina Werner Inspired Card #2

Well, here we are again. This time it was my turn to choose the card from Kristina that we were to CASE and here is the link to the video showing the card I chose and a link here to Kristina's blog post showing this card.

In need of a few anniversary cards, that's what I decided to make based on this card design.


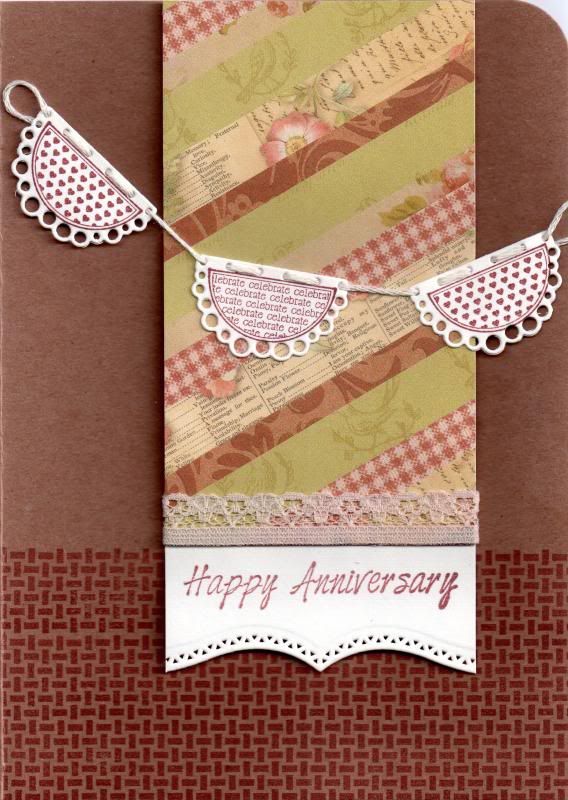
To begin with, create the patterned paper panels. To make these, cut up strips of various papers from the K&Co Brianna paper pad in varying widths. I found the easiest way to adhere these to the panel and ensure they stay attached was to cover the panel entirely with adhesive, making sure the adhesive goes right up to the edges. This is particularly important if you have small bits in the corners. Once covered, turn the panel over and trim away the overhanging bits.
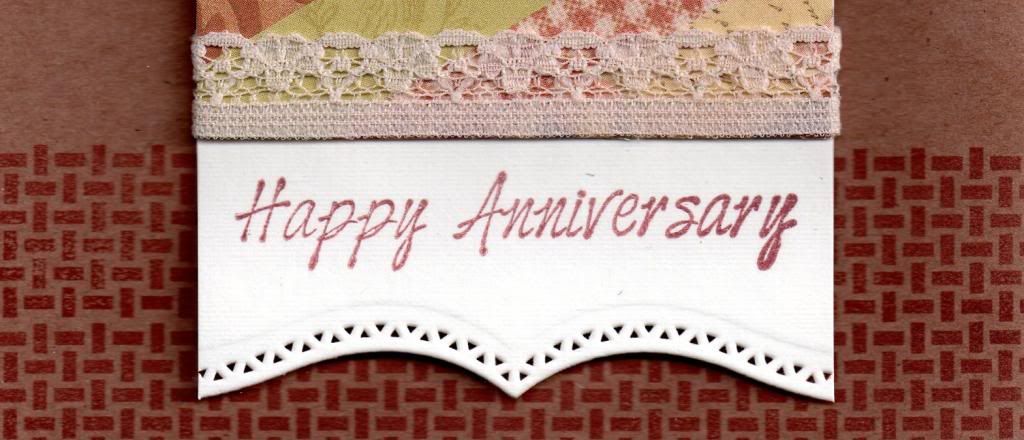
Panels of cream cardstock were then stamped using the Happy Anniversary stamp from the Kaisercraft Occasion's stamp set and the Brilliance Cocoa Bean pigment ink. The lower edge of the panel was then diecut using one of the Spellbinders Bracket Borders dies. The paper strip panel was then adhered to this diecut panel and a length of lace adhered to hide the edge of the paper strips.


The next step was to add some detail to the card blank. Using the basket weave stamp from the Waltzing Mouse Picnic Patterns stamp set and the Cocoa Bean ink, the border stamp was stamped three times across the bottom of the cardblank. Remember to mask off the left panel of the card first so the reverse of your card is protected.

Once the ink is dry, adhere the paper strip panel to the card using 3d foam.


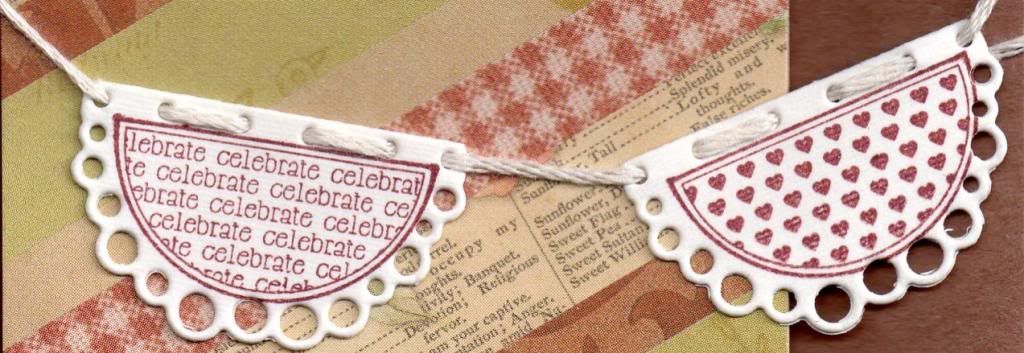
To create the banner detail, two different designs of pennants were stamped from the Whimsy Stamps Celebration Circle Pennants stamp set using the Cocoa Bean ink and die cut using the frilly Whimsy Stamps Shapeology Circle Pennants die. These were connected together using cream embroidery thread and placed across the card.


As a finishing touch, the top right corner was then punched using the WRMK Corner Chomper, using the 1/2" corner. 

Here is an image of the front of the finished card.


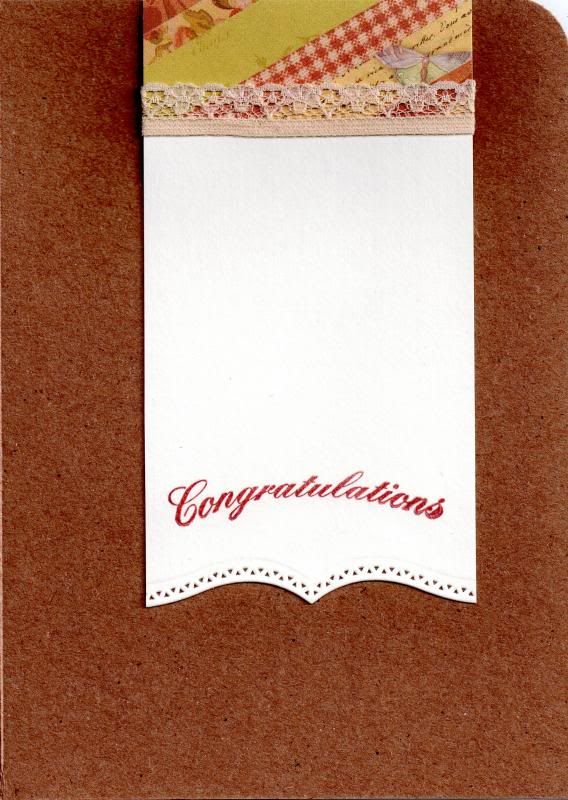
The inside of the card was also decorated to match and complement the front of the card. This time the greeting was stamped using the Congratulations stamp from the Papermania Mix and Match Scrolls and Sentiments stamp set with the Cocoa Bean ink.


Once Ali has uploaded her version, I will add a link to her creations which I'm sure are stunning!

Here is a link to Skipper's take on this card. It's a beauty!

Wednesday, 21 September 2011

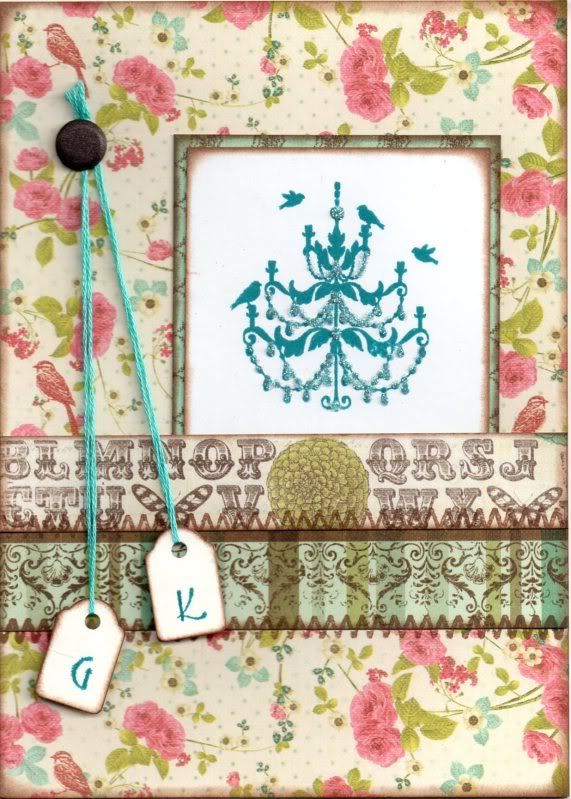
Brown and Blue Floral Chandelier Tags Anniversary

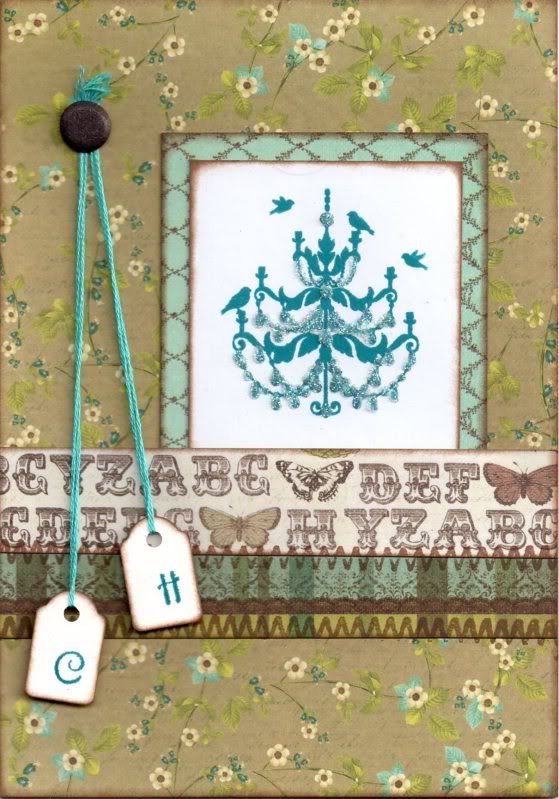
This is a second version of the anniversary card I made recently using the Chandelier stamp that came free with the July 2011 issue of Craft Stamper Magazine.


I went for more muted tones with this version, using one of my favourite colour combinations of blue and brown.

The Chandelier image was stamped using Adirondack Stream dye ink and matted onto the blue diamonds paper from the Prima Madeline paper pad.


The card blank was completely covered with the Brown Script Floral paper from the same paper pad and the image panel added to the right.

A strip of the Alphabet paper was added to a strip of the Multi Border paper and this was then added over the image panel. Faux stitching was then added over the joins of the paper pieces using the Zigzag Stitch stamp from the HOTP Stitches stamp set and ColorBox Chestnut Roan Fluid Chalk ink.

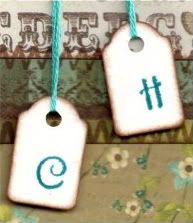
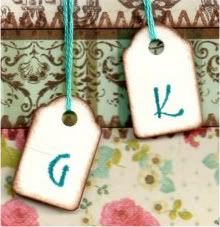
Two mini tags were coloured around the edges using the Chestnut Roan ink and letters were stamped using the Stream ink and a Studio G mini alphabet stamp set. The tags were attached to some teal embroidery thread and added to the card and a brown Card Candi from Craftwork Cards was added over the ends of the threads.


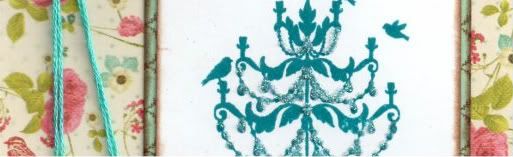
Highlights were added to the Chandelier image using Glossy Accents and DecoArt Crystal Glamour dust.
All papers were distressed with the Chestnut Roan ink.

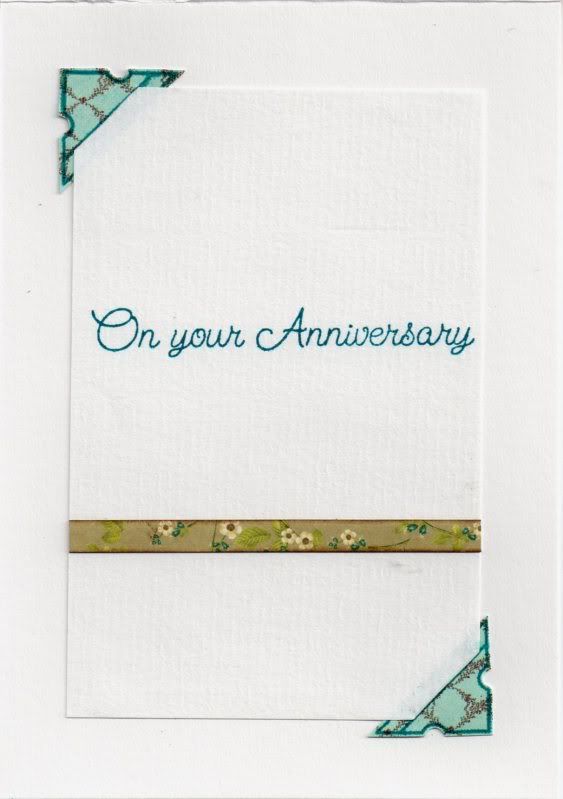
The inside of the card was also decorated using a photo corner stamp from the Stamps Away Bookplates, Corners and Anchors stamp set, stamped onto the blue diamonds paper used on the front of the card using the Stream ink and cut out


Slits were cut into the photo corners and the writing paper inserted into the corners, and a strip of the Brown Script Floral paper used on the front of the card was added across the paper and the sentiment, from Elzybells, was stamped using the Stream ink.

Here are the blog challenges I am entering this card into:

Monday, 5 September 2011

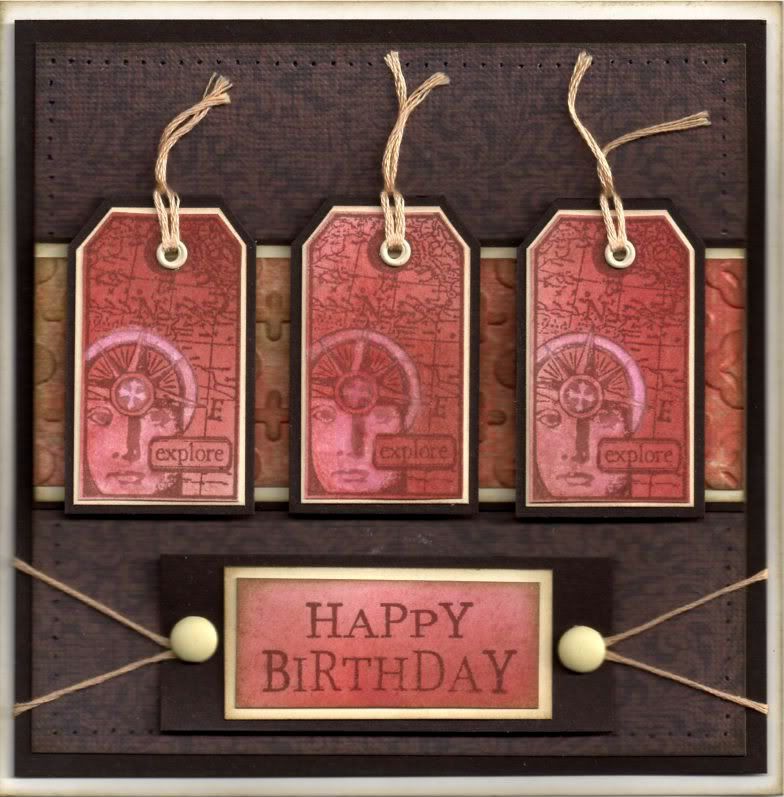
Red and Brown Explore Invoke Arts Tags

Well, here is the first of the masculine 40th birthday cards that I need to make. Got to get my thinking cap on for the second one now!


A piece of white card was coloured using Tim Holtz Fired Brick, Aged Mahogany and Frayed Burlap distress inks using the shaving brushes.

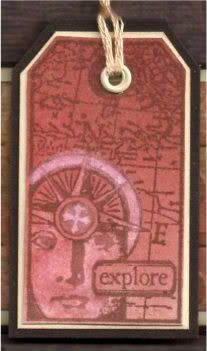
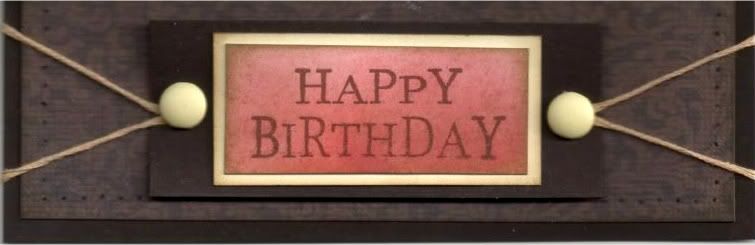
This was then overstamped with the Explore tag from the Invoke Arts Travel Tags stamp set and the 'Happy Birthday' sentiment stamp from the See D's Celebration Messages stamp set. All were stamped using Memento Rich Cocoa Dye ink.

Using a damp paint brush and a piece of tissue (OK, toilet roll, but I couldn't be bothered going downstairs to get a tissue!!), some of the colour was removed from the face image on the tag. Areas of the compass were then lightly coloured using the Angel Green Mica Pigment from Stamps Away. Unfortunately that doesn't show up on the scan.

The tags were then cut out by hand and matted onto cream card and dark brown card. Holes were punched in the top of each tag using the Big Bite and small cream eyelets from Papermania were set in the holes. Each hole was then threaded with cream embroidery thread.


The sentiment was also matted onto cream and dark brown cardstock and large cream brads from Papermania were added either side of the sentiment, with a length of cream embroidery thread threaded through the legs of the brads.


A strip of the red/brown paper from the DCWV Old World mat stack was embossed using the Moroccan Screen embossing folder from Cuttlebug and Frayed Burlap ink was added to highlight the embossing using Cut 'n' Dry foam.

This was then matted onto cream and dark brown card and then matted across a panel of the dark brown flourish paper from the same paper pad.

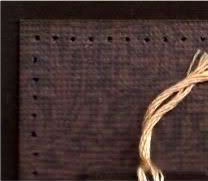
Once matted onto the dark brown cardstock, the panel was then paper pierced all the way around using the Stampin' Up Mat Stack piercing template.


The tags were adhered onto the card in the centre over the embossed strip and the sentiment was added beneath, wrapping the lengths of embroidery thread behind the panel before adhering to the card front.

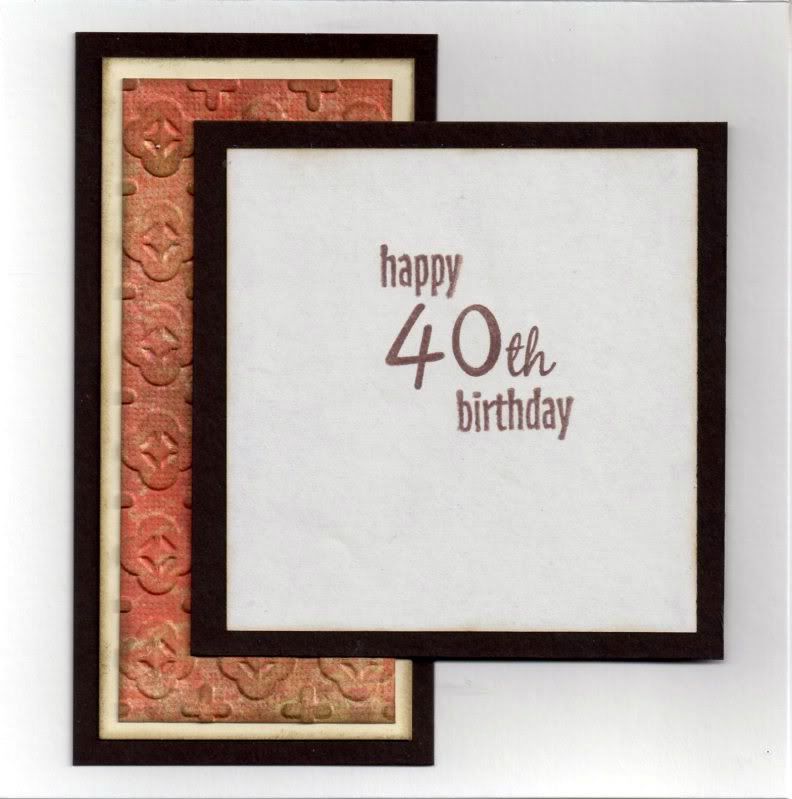
The inside of the card was also decorated, using another strip of the embossed cardstock. The sentiment was stamped using the Rich Cocoa ink and stamps from the See D's Lower Case Script stamp set ('4', '0' and 'th') and the HOTP Sentiments stamp set (Happy and Birthday).


Here are the blog challenges I am entering this card into:

Wednesday, 10 August 2011

Pink and Blue Floral Chandelier Tags Anniversary

Here is an anniversary card that I made for a couple of friends. I really like the design (I actually adapted it from one of the projects in the July 2011 issue of Craft Stamper magazine using this particular stamp).


I absolutely love the Chandelier image tht came with the July 2011 issue of Craft Stamper magazine. The image was stamped using Adirondack Stream dye ink and matted onto the blue diamonds paper from the Prima Madeline paper pad.


The card blank was completely covered with the Floral Bird paper from the same paper pad and the image panel added to the right.

A strip of the Alphabet paper was added to a strip of the Multi Border paper (both from the Madeline paper pad), and this was then added over the image panel.

Faux stitching was then added over the joins of the paper pieces using the Zigzag Stitch stamp from the HOTP Stitches stamp set and ColorBox Chestnut Roan Fluid Chalk ink.

Two mini tags, that have been in my stash since the beginning of time, were coloured around the edges using the Chestnut Roan ink and letters were stamped using the Stream ink and a Studio G mini alphabet stamp set (also underused!!). The tags were attached to some teal embroidery thread and added to the card and a brown Card Candi from Craftwork Cards was added over the ends of the threads.


Highlights were added to the Chandelier image using Glossy Accents and DecoArt Crystal Glamour dust.

All papers were distressed with the Chestnut Roan ink.

The inside of the card was also decorated using a photo corner stamp from the Stamps Away Bookplates, Corners and Anchors stamp set, stamped onto the blue diamonds paper used on the front of the card using the Stream ink and cut out.


Slits were cut into the photo corners and  the writing paper inserted into the corners, and a strip of the Floral Bird paper used on the front of the card was added across the paper and the sentiment, from Elzybells, was stamped using the Stream ink.

Here are the blog challenges I am entering this card into:

Thursday, 30 June 2011

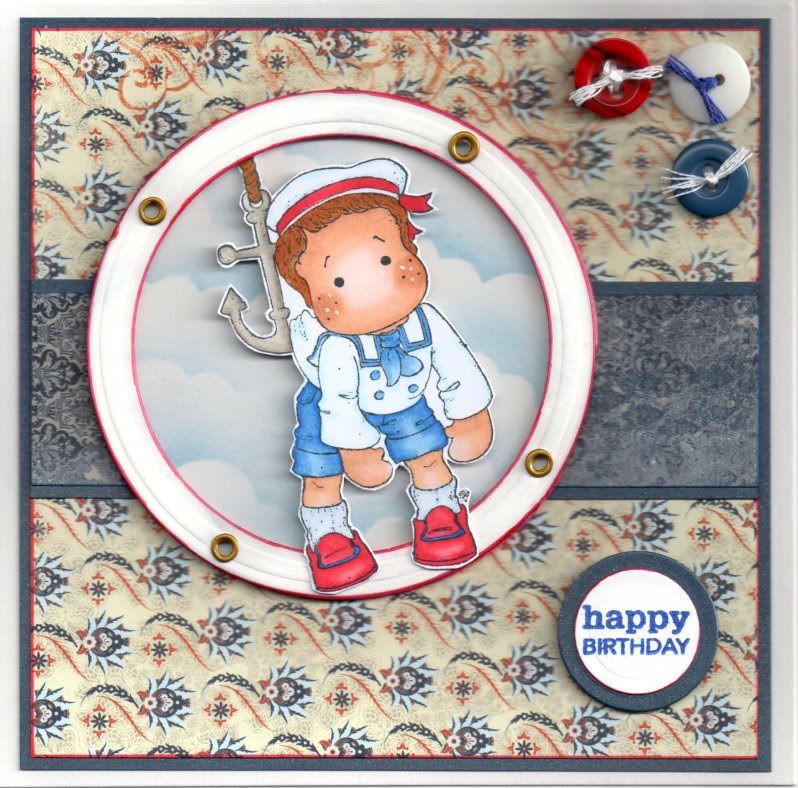
Red, White and Blue Dangling Sea Edwin with Shaving Brush Clouds

Well, I have finally had a go at the shaving brush clouds with the Distress Inks and I have to say I love the technique. A couple of tips I will give however are add a little ink at a time and dab your brush on some scrap paper before applying to your project to check you don't have too much ink on the brush..


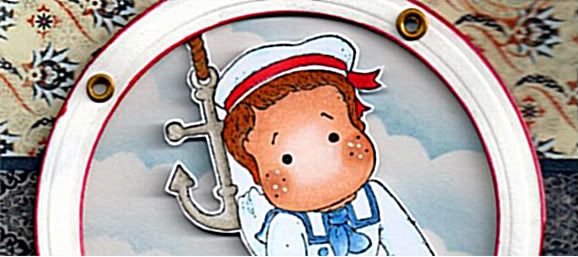
Firstly, the Dangling Sea Edwin image, from Magnolia, was stamped using Memento Tuxedo Black dye ink and coloured with Copic markers:
  • Hair: YR00, YR14, YR24, E35
  • Skin: E00, E13, E21, E51
  • Hat: R20, R24, R27, R29, B00, 0
  • Matelot Jacket: B23, B24, B00, 0
  • Shorts/Tie: B21, B23, B24, B26
  • Buttons: B24
  • Socks: B00, C0
  • Shoes: R20, R24, R27, R29. B26
The anchor in the image was highlighted with a clear Sakura Stardust pen, and highlights were added to Edwin's cheeks with a Papermania Snow White gel pen. Tthe image was then cut out.

A circle was cut from white card using a circle Nestabilities die and clouds were created using Tim Holtz Faded Jeans Distress Ink, a hand-cut mask cut from a Post-It note and a shaving brush. Basically, the brush with very little ink, was swirled over the edge of the mask, pinching the bristles of the brush together, focusing them on a smaller area.

A frame was also die cut from white card using two circle Nestabilities dies positioned on a piece of magnetic paper. The shape was then embossed and lightly coloured with Tim Holtz Weathered Wood Distress Ink. The edges of the circle were then coloured with a Copic marker (R29) to make them stand out more and small gold Papermania eyelets were set around the circle to create a porthole.

The cloud background, Edwin image and porthole were then all layered up.


A strip of the Wide Tie paper from the Basic Grey Boxer paper pad was matted onto a strip of navy
shimmer card and matted across a panel of the Oxford paper from the same paper pad. This was then also matted onto the navy shimmer card.

A red and blue button (items I've had in my stash for a very long time now!) were threaded with white embroidery thread and a white button with blue thread and positioned in the top right hand corner.

The 'Happy Birthday' sentiment, from the Personal Impressions Paula Pascual Mixed Sentiments stamp set, was stamped onto a die cut circle of the white card using Versafine Majestic Blue archival pigment ink and matted onto a circle of the navy shimmer card.

Here are the challenges I am entering this card into:

Thursday, 31 March 2011

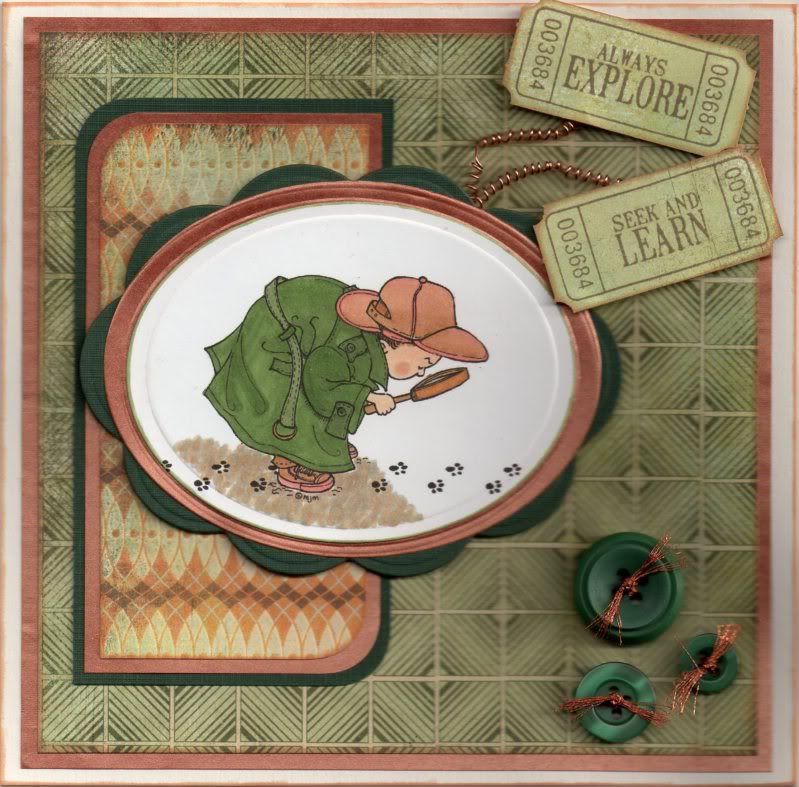
Green and Brown Lookin' For Clues

Well, another card made with a beautiful digi image.

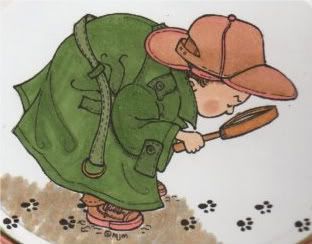
This one was made using the Lookin' For Clues image from Mo's Digital Pencil.


The image was coloured using Copic sketch markers:
  • Hat/Shoes: YR02, E13, E35
  • Skin: E00, E21, E51, E13
  • Coat: YG67, G85, N3
  • Belt: G85, N3
  • Buckle: Y17, E35
  • Trousers: E35
  • Magnifying Glass: Y17, E35, N3
  • Shadow: N3, E43, E13
The image was then die cut using a classic oval Nestabilities die and matted onto a copper oval and dark green big scalloped oval.


Two corners of a panel of the Fossil paper, from the Basic Grey Archaic paper pad, were rounded using the large XCut corner rounder and matted on the copper paper and green cardstock. A panel of the Passe paper, also from the Archaic paper pad, was matted onto the copper paper and centred on the card blank.

The tickets, from the Autumn Leaves Ticketed stamp set, were stamped onto the Earth Worm paper from the same paper pad using Memento Rich Cocoa dye ink. Using a small hole punch and a perforating blade, the strips were transformed into tickets. Copper wire was wound around a pricking tool and attached to the reverse of the tickets and the oval panel.

The panels were then added to the card blank and three green buttons were threaded with metallic copper thread and added in the bottom right hand corner.

Here are the blog challenges I am entering this card into:

Monday, 14 February 2011

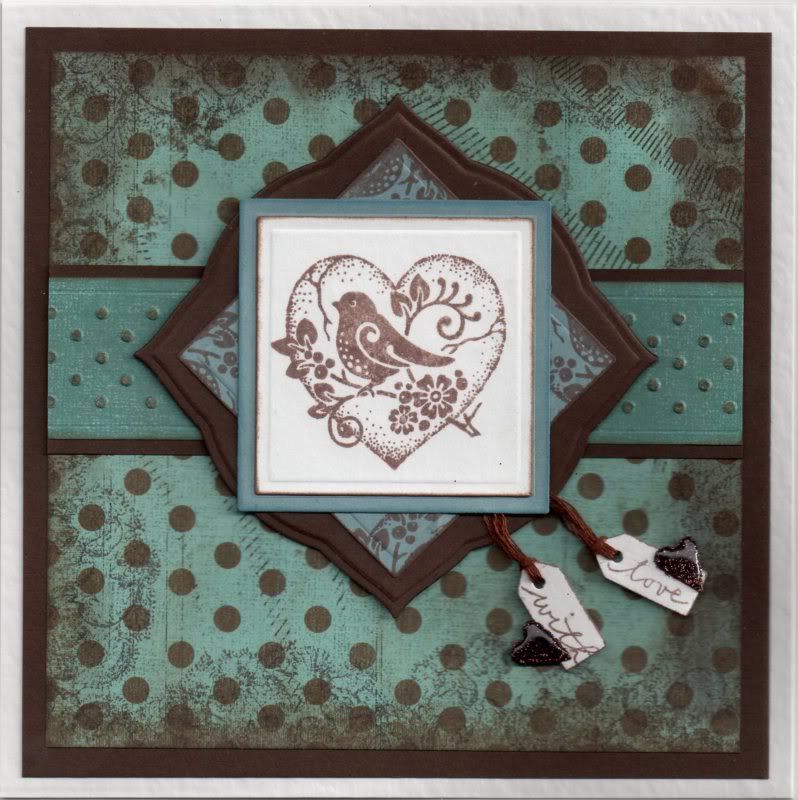
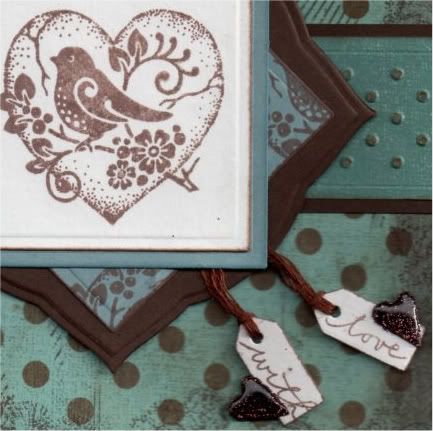
Duck Egg Blue and Brown Bird in Heart Valentine

Well, after a VERY late night, I finally got hubby's Valentine's card made. I decided to go with an unconventional colour scheme of duck-egg blue and brown.


The image, a freebie from Craft Stamper Magazine designed by Graphicus, was stamped using Memento Rich Cocoa dye ink and then die cut using a square Nestabilities die. This was then matted onto blue paper.

A second square of the blue paper was stamped using part of the bird stamp using the Rich Cocoa ink and matted in the centre of a Labels 1 die cut.

Two mini tags were die cut using the Sizzix Sizzlits Hearts, Stars and Tags die and stamped using the 'With Love' stamp from the Woodware Jane's Script Sentiments stamp set with the Rich Cocoa ink. Two small hearts were die cut from the brown card and covered with brown glitter from the Lakeland glitter kit and covered with Anita's 3D Gloss. These were attached using brown embroidery thread between the two blue square layers.


A strip of the duck egg blue mottled paper, from the HOTP Vintage paper pad, was embossed using the dots border embossing folder from the Just My Type set of border folders from Cuttlebug. This was then matted onto a strip of the brown card.

A panel of the duck egg blue and brown polka dot paper, from the same paper pad, was stamped around the edge using the floral and scroll background stamp from the Aspects of Design Memories of Italy stamp plate from The Stampman using the Rich Cocoa ink. This was also colour tinted around the edges using the Rich Cocoa ink and the ColorBox Chestnut Roan fluid chalk ink.

The embossed strip was then matted across the square panel and onto the brown card.


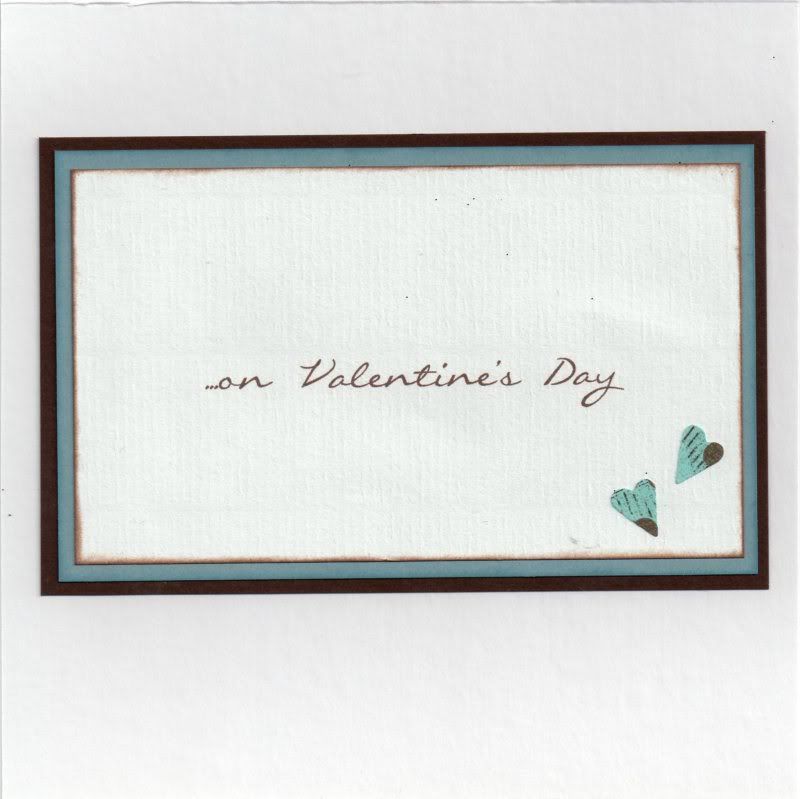
The inside of the card was also decorated using hearts punched from the polka dot paper. The sentiment was computer generated, using the Callie Hand font, which was the nearest one I could find to the Jane's Script font of the sentiment stamps.

Here are the challenges that I am entering this card into:
Blog Widget by LinkWithin