Pages

WELCOME

This blog was created to act as a record of the cards and other projects that I have made. It is for both my own reference and to help inspire anyone who wants to take a look.

I'd love it if you'd leave me a comment so that I know what you think of my projects and that you've been to visit!

Anyone can comment, even those who don't have a blog. (Just look for the word 'Comments' under the three little pictures at the end of each post). Readers without a blog can add an anonymous comment, but please leave your name (and docrafts username if applicable) so I know who you are!

Slideshows of all the cards I've uploaded to my blog can be found at the bottom of the page.


PEOPLE WHO FOLLOW MY BLOG

Showing posts with label Kate Knight. Show all posts

Friday, 16 September 2011

Citrus Lily With Moving Sentiment - Lia Stampz Challenge #3

Well, here goes!! Here is my very first DT card! I was very kindly asked by the ladies at Lia Stampz to join their DT team. The images designed by Lia are pretty quirky and I look forward to using them! You can find them here


Lia Stampz, digital stamps


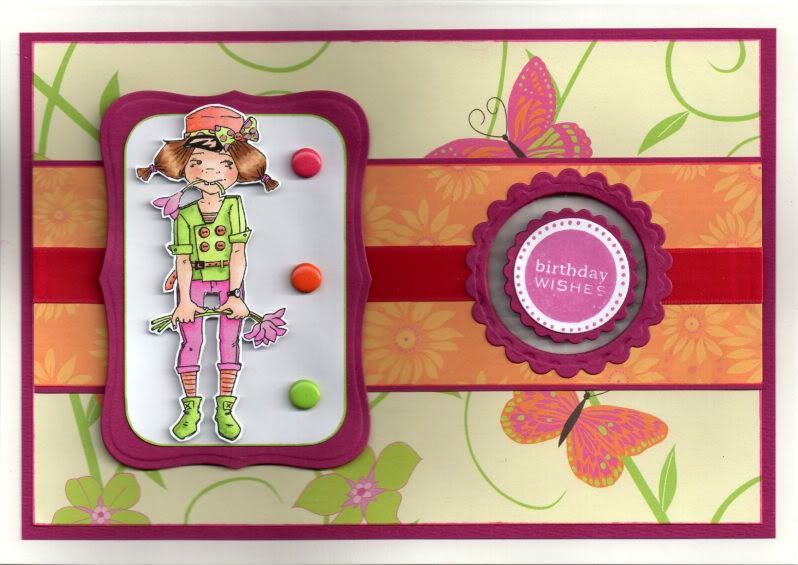
This card is made for Challenge #3 over at Lia Stampz which was to include a moving element. This took me completely out of my comfort zone I can tell you and took quite a bit of thought and research. In the end, I decided on a card with a moving sentiment. I followed the tutorial over on the Splitcoaststampers site, and you can see the tutorial here.


I've made this card for my sister as I think she'll appreciate the quirky nature of the image. She lives in (sunny) Spain and is enjoying much warmer weather than us here in the UK.

The image, a digi from Lia Stampz called Lily, was coloured using Copic sketch markers:
  • Skin: E00, E11, E21, R02
  • Hat/Top/Socks: YR00, YR02, YR04
  • Bow: RV04, RV11, YG11, YG13
  • Hair: E31, E33, E35, E37
  • Jacket/Boots: YG11, YG13, YG17
  • Flowers/Trousers: RV04, RV06, RV09, RV11
  • Stems: YG13, YG17
  • Hair Ties: RV06, RV09
  • Eyes: YG13, E35
  • Belt/Buttons: YR02, YR04
  • Watch Glass: C0
The image was then cut out.

The image was then matted onto a panel of white card and a panel of hot pink card die cut with a Nestabilities Labels 8 die. Three brads, from the HOTP Ultimate Cardmaker's Creative Pack embellishment kit were then added to the image panel.
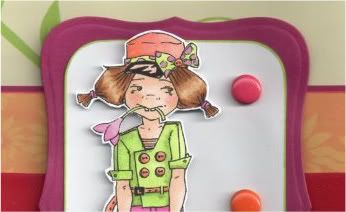

An aperture was cut into the card blank using a Classic Circle Nestabilities die. Unfortunately, I don't have a Grand Caliber so I had to cut my aperture through the front and back of the card blank. I tried to cut through just the front, with the back of the card folded over the cutting plate, but it got too damaged to be used so I just cut through the front and back!

A strip of the orange daisies paper from the Dovecraft Kate Knight Wild Blossom paper pack was matted onto the hot pink card and a circle die cut from it the same size as the aperture in the card, making sure it fitted over the aperture. Hot pink satin ribbon was then wrapped around the panel either side of the aperture.

A length of Invisithread was then added across the aperture. Two circles were then die cut from white card and the sentiments from the Personal Impressions Paula Pascual Mixed Sentiments stamp set were stamped in the centre of them using Memento Lilac Posies dye ink. There were matted onto Classic Scalloped circles of pink card and adhered to the Invisithread.


A panel of the light green butterfly paper from the same paper pack was matted onto the pink card and the location of the aperture was marked and then die cut with the circle die. The two patterned paper layers were then matted up and onto the card blank.

A scalloped frame was then created using Nestabilities dies from the pink card and added around the aperture.

The image panel was then added to the left of the card blank.

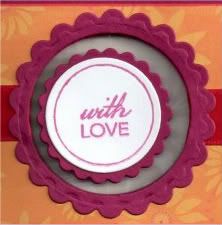
The inside of the card was also decorated.

Having cut a whacking great hole in the back of my card, I decided to make a feature of it and so decided to use vellum.

A panel of the pink card and a panel of the leaves vellum from the Papermania Exquisite Vellum Collection pack were die cut to fit over the aperture.

A small panel of the vellum was then added to the reverse of the pink panel and a scalloped frame was cut from the pink card to go around the aperture.
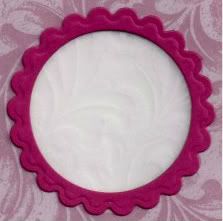

A panel of the orange daisies paper was matted onto the vellum with a panel of writing paper. This was then stamped with the sentiment from the Mixed Sentiments stamp set using the Lilac Posies ink.

So, having seen my card, please pop over to the Lia Stampz blog and have a look at all the different types of 'moving element' cards they've come up with.

Here are the blog challenges I'd like to enter this card into:

Friday, 8 April 2011

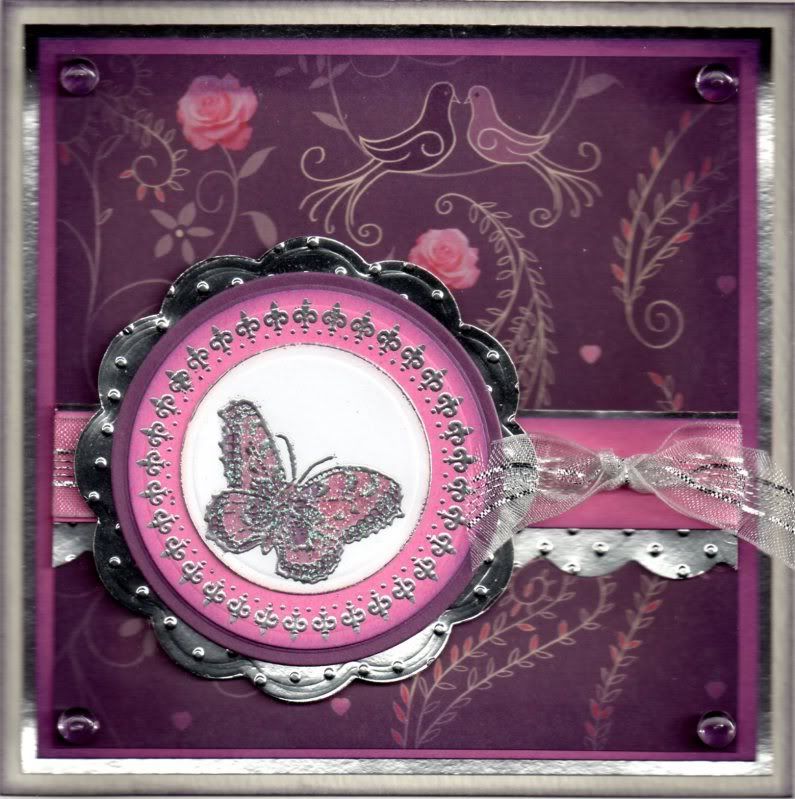
Mauve, Pink & Silver Butterfly Frame

Thought it was about time I uploaded this card to my blog. I made it last year but for some reason it's been sat in my drafts for a while.


A circle was die cut from white card using a Nesties die and the butterfly image from the Penny Black Enjoy Life stamp set was stamped using Versacolor Black pigment ink and heat embossed with PSX silver embossing powder. The image was then coloured using Copic sketch markers and highlighted with Glitz It Lilac glitter glue.

The edge of the circle was then lightly coloured with Tim Holtz Dusty Concord distress ink and silver embossed.

The Fleur de Lys circle frame stamp, from the Papermania Hampstead Icons and Sentiments stamp set, was stamped and silver heat embossed onto pink card and die cut using a circle Nesties die. This was matted onto a die cut mauve circle and a Big Scalloped circle die cut from silver mirror card and embossed with the Swiss Dots Cuttlebug embossing folder.

A panel of the mauve patterned paper, from a pad of Kate Knight designed papers I got free with a magazine, was distressed around the edges with the Dusty Concord and Black Soot Tim Holtz distress inks.

A strip of the silver mirror card was punched with the XCut Scallop border punch and embossed with the Swiss Dots embossing folder. A strip of the pink card was matted on top and a length of white and silver organza ribbon was tied around it.

The strip was added across the patterned paper panel and this in turn was matted onto panels of the pink and silver mirror card.

Clear 'Patti's Pretties' dewdrops were then added in each of the corners of the patterned paper.

Here are the blog challenges I am entering this card into:

Tuesday, 1 March 2011

Lilac and Apple Lazy Summer Tilda Ovals

Firstly, before I blog this card, I want to say a big thank you to Elaine at Quixotic Cards for drawing my attention to the great tutorial on colouring blonde hair with Copics that Mary J did on her blog and the Quixotic Paperie blog.

I found that, with my three yellow markers, my blonde  hair didn't look right. But with some help from Elaine and Mary J, I've worked out which E markers to use and I think it looks really good - even if I say so myself!!!


The Lazy Summer Tilda image from Magnolia, (which I managed to borrow from Alex during a playday at Julie's) was stamped using Versafine Onyx Black archival pigment ink and coloured using Copic sketch markers:
  • Skin: E00, E21, E51, R20
  • Hair: E40, E41, E43, E51, E57
  • Wings: BV00, BV23, B41
  • Jumper: G12, G14, YG11
  • Pinafore: BV00, BV04, BV31
The image was die cut using a classic oval Nestabilities die and matted onto a green oval and lilac scalloped oval, also die cut using Nestabilities.


A strip of the lilac cherry blossom paper from the Dovecraft Aquamarine Kate Knight paper pack was matted onto green and lilac card. A panel of the green and lilac leaves paper, from the same paper pack, was punched using the Doilly Lace border punch by Martha Stewart, and then matted onto a punched panel of the green card and the lilac card.

The sentiment, from the Papermania Clare Curd Sentiments stamp set was stamped onto a Cuttlebug Oval Stamp die using the Onyx Black ink and matted onto a lilac die cut. I think if I were to make this again, I'd use either a grey or lilac ink for the sentiment - the black looks a little bit too harsh. 

The Tilda image was then highlighted with Craft Planet Iridescent Sparkle glitter glue and a Papermania Snow White gel pen.

Here are the blog challenges that I am entering this card into:

Friday, 5 November 2010

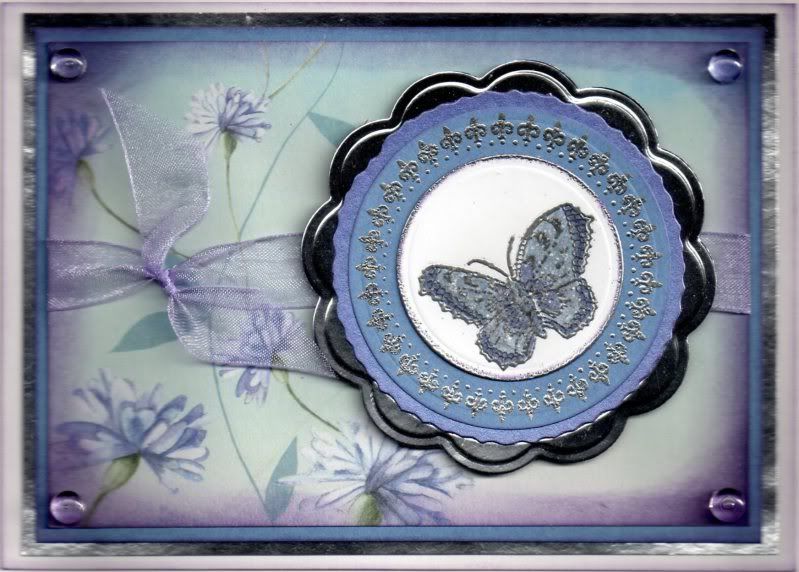
Lavender, Blue and Silver Butterfly Frame

Here is another of my butterfly cards using the free Kate Knight papers that came with the Cardmaking and Papercraft Magazine a couple of months ago.


A circle was die cut from white card using a Nesties die and the butterfly image from the Penny Black Enjoy Life stamp set was stamped using Versacolor Black pigment ink and heat embossed with PSX silver embossing powder.

The butterfly image was coloured using Copic sketch markers:
  • Butterfly: BV00, BV04, B41
 and highlighted with Tim Holtz Rock Candy Distress Stickles.

The edge of the circle was lightly coloured with Tim Holtz Dusty Concord distress ink and silver embossed.

The Fleur de Lys circle frame stamp, from the Papermania Hampstead Icons and Sentiments stamp set, was stamped and silver heat embossed onto cornflower blue paper and die cut using a circle Nesties die. This was matted onto a die cut circle from a Lakeland set of die cut sheets and a Big Scalloped circle die cut from silver mirror card.

A panel of the blue patterned paper, from the pad of free Kate Knight designed papers, was distressed around the edges with the Dusty Concord ink and a length of lilac organza ribbon was tied around the centre.

This was then matted onto the blue paper and the silver mirror card and then onto the card blank.

Clear Dew Drops from Patti's Pretties were then added in each of the corners of the patterned paper.

Here are the challenges I am entering this card into:

Thursday, 16 September 2010

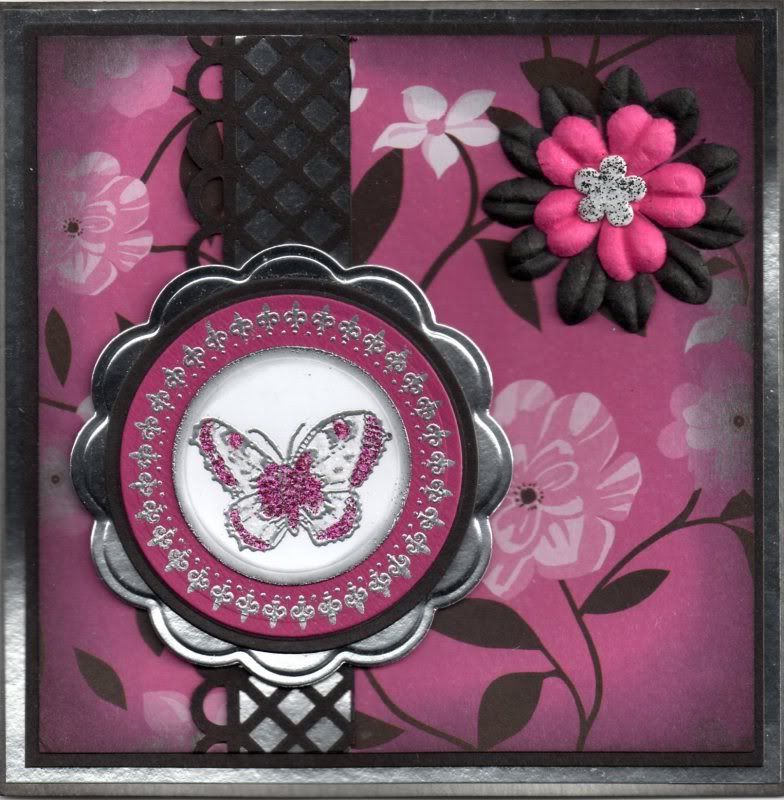
Pink, Black and Silver Butterfly Frame

Here is a card I made as an anniversary card using the free Kate Knight papers that came with a recent copy of Cardmaking and Papercraft Magazine.


The Butterfly image, from the Penny Black Enjoy Life stamp set, was stamped using Versacolor Black pigment ink and heat embossed with PSX silver embossing powder. The image was then coloured using Craft Planet Fuchsia glitter glue and Tim Holtz Rock Candy Distress Stickles and die cut using a standard circle Nestabilities die.

The Fleur de Lys circle frame stamp from the Papermania Hampstead Icons and Sentiments stamp set was stamped using the Versacolor Black ink and silver embossed and die cut into a circle. A further circle was die cut from black card and a big scalloped circle from silver mirror card.

A strip of the black card was punched using the Martha Stewart Garden Trellis deep-edge punch and layered onto the silver mirror card. This was then matted onto a square of the pink and black floral paper from the Kate Knight paper pack.

The edges of this paper were distressed with the Tim Holtz Black Soot distress ink and matted onto the black card.

A couple of Prima paper flowers were layered up with a white Papermania flower brad and added in the top right hand corner. The brad was covered with the Rock Candy Stickles and black glitter from the Lakeland glitter pack was sprinkled over the top.

I will be entering this card into a few challenges:
Blog Widget by LinkWithin