Pages

WELCOME

This blog was created to act as a record of the cards and other projects that I have made. It is for both my own reference and to help inspire anyone who wants to take a look.

I'd love it if you'd leave me a comment so that I know what you think of my projects and that you've been to visit!

Anyone can comment, even those who don't have a blog. (Just look for the word 'Comments' under the three little pictures at the end of each post). Readers without a blog can add an anonymous comment, but please leave your name (and docrafts username if applicable) so I know who you are!

Slideshows of all the cards I've uploaded to my blog can be found at the bottom of the page.


PEOPLE WHO FOLLOW MY BLOG

Showing posts with label Clearly Besotted. Show all posts

Wednesday, 2 December 2015

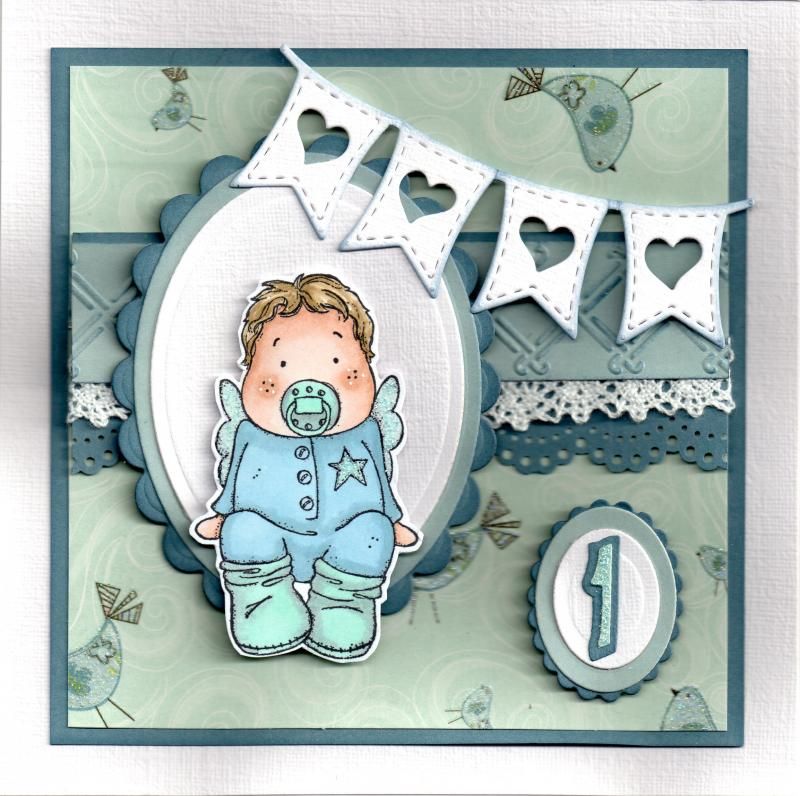
Blue Baby Edwin with Bunting

Here is a card a made for a little boy celebrating his first birthday.

I started by stamping the Baby Edwin stamp by Magnolia using Memento Tuxedo Black dye ink and coloured it using Copic markers.
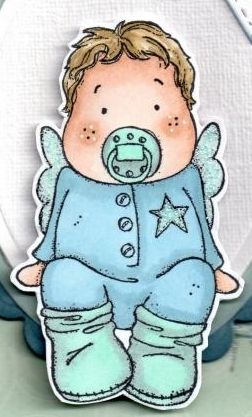
 
 
Copics:
Hair: E41, E43, E44
Skin: E000, E00, E13
Dummy/Bootees: BG11, N3
Romper Suit: B41, B93
Star: BG11
Wings:BG10, N1
 
Edwin's cheeks were then highlighted using a Papermania Snow White gen pen, and the wings and star were highlighted with Ranger Baby Blue Stickles. The image was then fussy cut.
 
A panel for Edwin was then die cut using the Classic Oval and Classic Scalloped Oval Nestabilities dies, using white and blue cardstocks.
 
A strip of white card was then embossed using the Basket Weave border embossing folder by Cuttlebug and then coloured using Tim Holtz Stormy Sky distress ink. A length of crochet lace was added to the lower edge of this and then matted onto a strip of blue card punched using the Martha Stewart Doilly Lace border punch. This was added across a panel of bird patterned paper from the First Edition Up Up and Away paper pad, matted onto the blue cardstock.
 
The Edwin image panel was then matted over the border strip.
 
A bunting die cut using the La La Land Heart Banner die was added across the top right corner of the card.
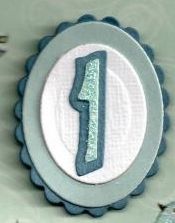
 
 
As this was a first birthday card, I wanted to reflect that so I die cut a '1' using the Sizzix Sizzlits Bounce Alphabet die set, and matted this onto a couple of Classic Oval dies and a Classic Scalloped Oval die. The '1' was then highlighted with the Baby Blue Stickles.
 
 
This inside of the card was also decorated.
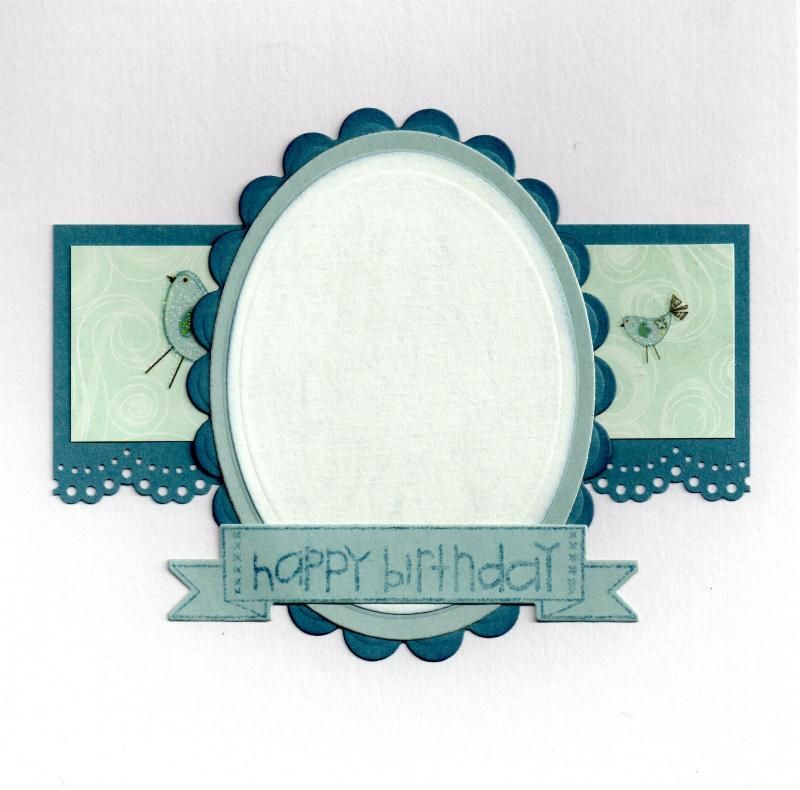
 
 
The sentiment panel was created by stamping a banner from the Clearly Besotted Basic Banners stamp set using the Stormy Sky distress ink and diecutting it with its co-ordinating die. The sentiment, from the Paper Smooches Sentiment Sampler stamp set, was stamped in the centre of the banner, also using the Stormy Sky ink.

Wednesday, 25 November 2015

Taupe, Aqua and Sage Green Honeycomb Trevor and Emma

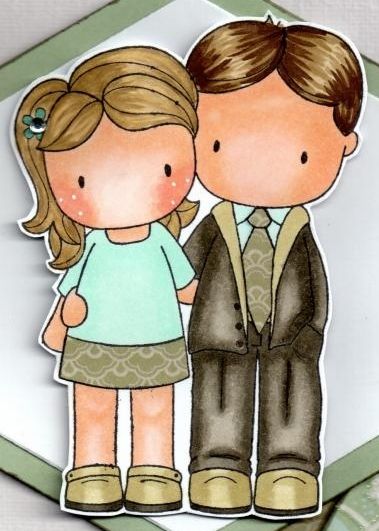
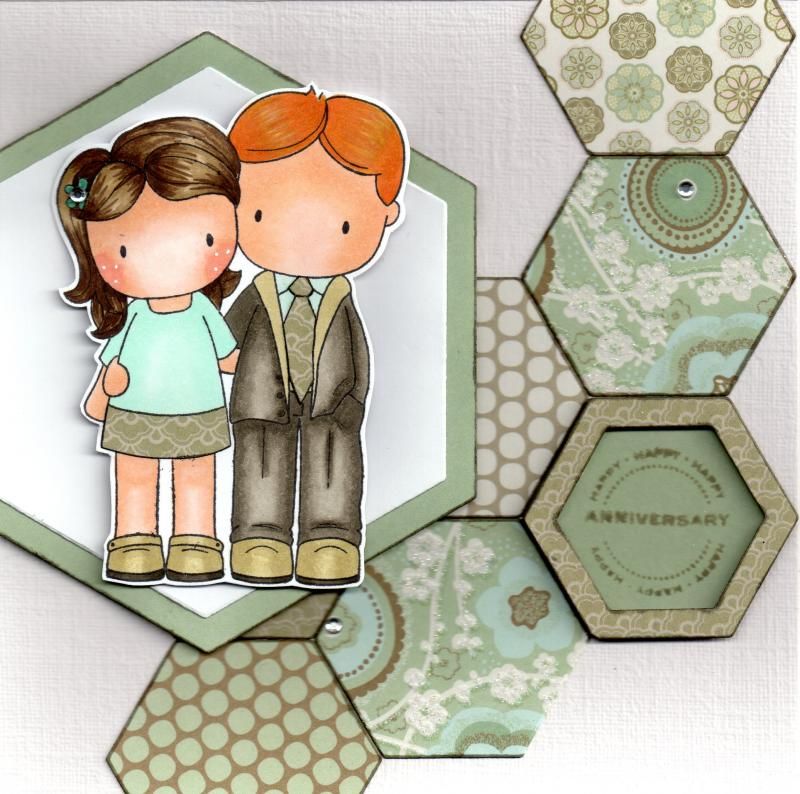
Today's card is actually two versions of the same card. Both cards use the Spring Couple stamp from CC Designs and are anniversary cards.
 
The images were stamped using Memento Tuxedo Black dye ink and coloured with Copic markers.
 
Here are the details for the first card:
 
 
Copics:
 
Trevor - Hair: E43, E44, E49
Trevor - Skin: E00, E11, E21
Trevor - Shirt: BG11
Trevor - Jacket: YG91, W3, W5, W7
Trevor - Trousers: W3, W5, W7
Trevor - Shoes: YG91, W9
 
Emma - Hair: E41, E43, E44
Emma - Skin: E000, E00, E11, E21, R02
Emma - Flower: BG18
Emma - Top: BG10
Emma - Shoes: YG91, W9
 
The other parts of the image were paper-pieced using papers from the First Edition Isabelle paper pad.
 
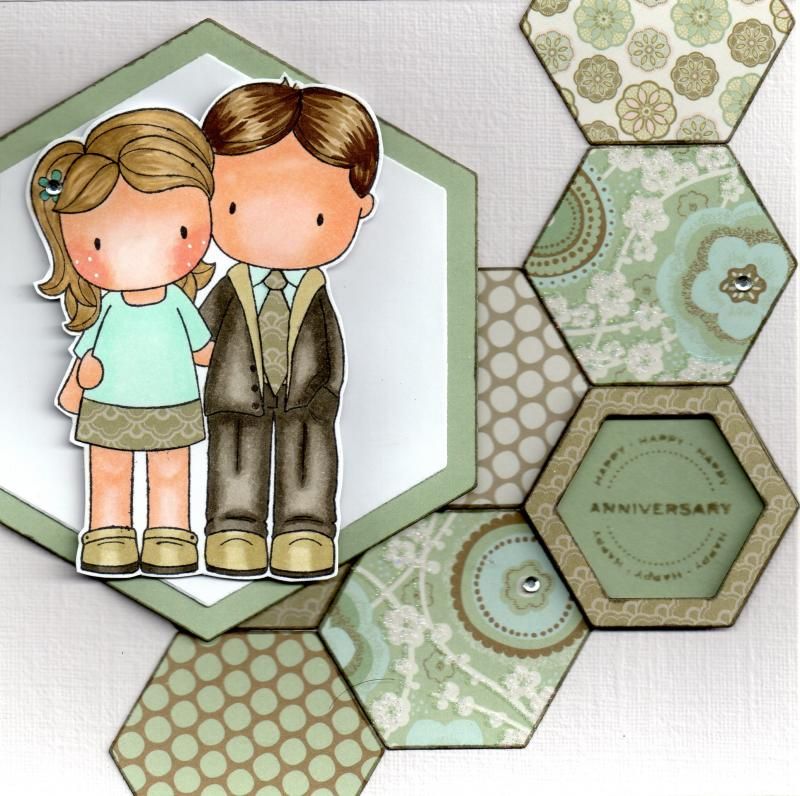
Using the Sizzix Framelits Hexagon die, a series of hexagons were cut from a variety of the papers from the Isabelle paper pad and arranged in a honeycomb pattern on the card blank. A larger couple of hexagons were die cut from white cardstock and a patterned paper and the image, having been fussy cut, was adhered onto them.
 
 
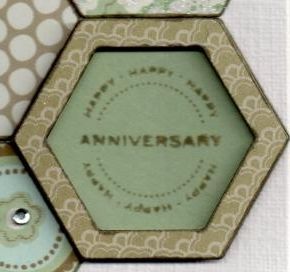
The sentiment was stamped onto a diecut hexagon using the Happy circle sentiment stamp and the Anniversary stamp from the Personal Impressions Paula Pascual All Year Round stamp set with Tim Holtz Pumice Stone distress ink. A frame was created from another patterned paper from the Isabelle paper pad and added over the top of the sentiment hexagon.
 
Here is a picture of the finished card.
 
 
To finish the front of the card, highlights were added to Emma's cheeks using a Papermania Snow White gel pen and small faux gems were added to the centres of the flowers on the patterned papers and the flower in Emma's hair.
 
The inside of the card was also decorated, using hexagon diecuts. The sentiment banner was created by stamping the Basic Banner by Clearly Besotted using the Pumice Stone ink and diecutting with the co-ordinating die. The sentiment was stamped within the banner shape using the Have a Beautiful Day stamp from the Personal Impressions Paula Pascual Mix & Match stamp set.
 
 
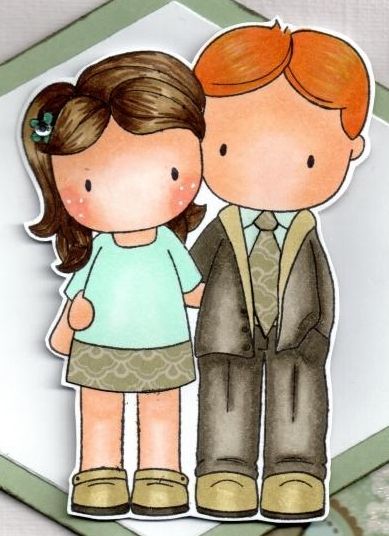
The second version of the card gave the characters different hair colours.
 
 
Copics:
 
Trevor - Hair: YR14, YR23, YR24
Trevor - Skin: E00, E11, E21
Trevor - Shirt: BG11
Trevor - Jacket: YG91, W3, W5, W7
Trevor - Trousers: W3, W5, W7
Trevor - Shoes: YG91, W9
 
Emma - Hair: E41, E43, E44, E49
Emma - Skin: E000, E00, E11, E21, R02
Emma - Flower: BG18
Emma - Top: BG10
Emma - Shoes: YG91, W9
 
 
Again, the inside of the card was also decorated.


Saturday, 31 October 2015

Yellow and Kraft Bee and Honeycomb Masculine

Time for a masculine card I think.

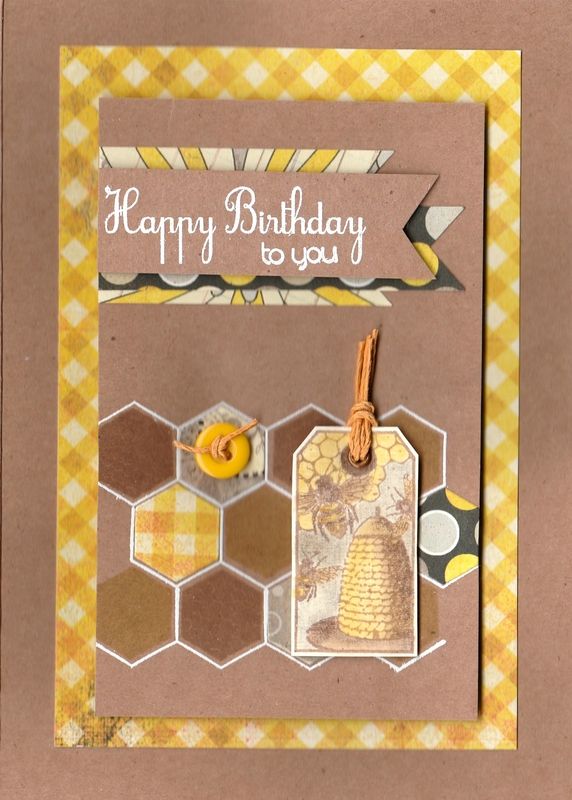
This was the card that I made for my father-in-law this year. It actually came together rather well and I was pretty pleased with it. Especially the colouring!
 
 
This card uses my much-coveted yet much under-used honeycomb stamp and die set.
 
 
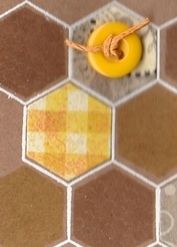
So, to begin this card, the honeycomb image from the Clearly Besotted Honeycomb stamp set was stamped onto Kraft card using Versamark ink and heat embossed using Stampendous Opaque White detail embossing powder. Using Versafine Toffee and Vintage Sepia archival pigment inks, the honeycomb hexagon and the solid hexagon from the same stamps set were stamped into the honeycomb framework. To complete the honeycomb image, honeycomb pieces were die cut from the gingham paper, spotty paper and the floral paper from the Authentique Blissful paper pad using the Clearly Besotted Honeycomb die.
 
 
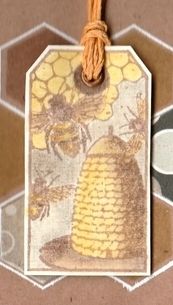
The next stage was to create the tag. The bee skep tag stamp from the Invoke Arts Nature Tags stamp set was stamped using the Vintage Sepia ink and coloured using pencils from the WHSmith tin of pencils, including the white to add highlights. This was then cut out and a metallic Papermania eyelet added and threaded with a length of yellow hemp cord. This, along with a yellow button also tied with the same hemp cord were added to the honeycomb.
 
 
The sentiment, also from the Honeycomb stamp set was stamped in Versamark and white heat embossed onto Kraft card. This was hand cut into a fishtail banner and adhered to the panel over fishtail banner pieces cut from papers also from the Blissful paper pad.
 
The panel was then adhered to a panel of the yellow gingham paper and then to the card front.
 
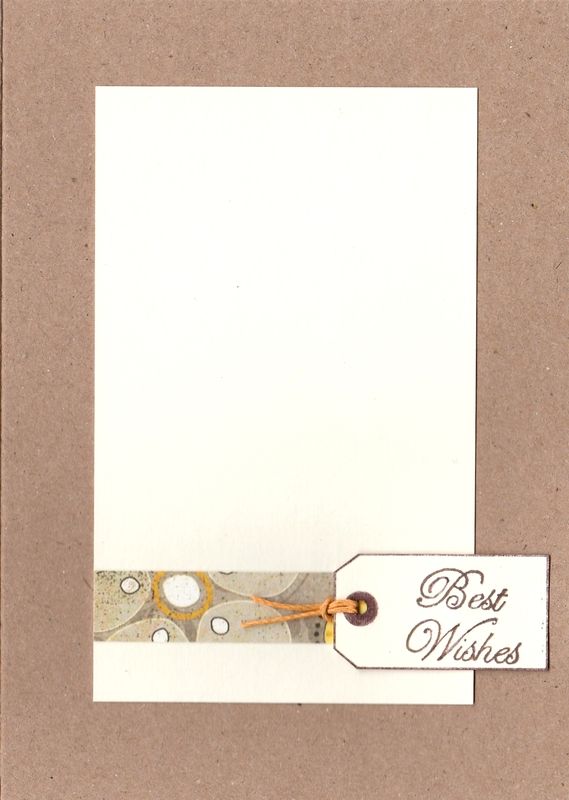
The inside of the card was also decorated using just a strip of matching patterned paper and a tag.
 
 
The tag was created by only inking up the edge of the tag and the eyelet feature with a brown pen and stamping out. The sentiment, from the See D's Celebration Messages stamp set, was stamped using the Vintage Sepia ink within the tag shape and fussy cut out. The tag was threaded with the yellow hemp cord and added to the inside of the card over the patterned paper.
 

Tuesday, 25 March 2014

Kristina Werner Inspired #3

Well, here we are again. This time I decided to try something different. I went through all of Kristina's blog, from start to finish, and made a note of the cards that I wouldn't mind having a go at at some stage. I wrote the dates of the posts onto a slip of paper and popped them all into a tub. This is the card idea that I pulled out of the tub to be the inspiration for this card. I am hoping that Ali will play along with me on this one. When she posts her version, I'll add a link to her card somewhere in this post. If you want to play along too, add a link to your creation in the comments below. I'd love to see what you come up with.


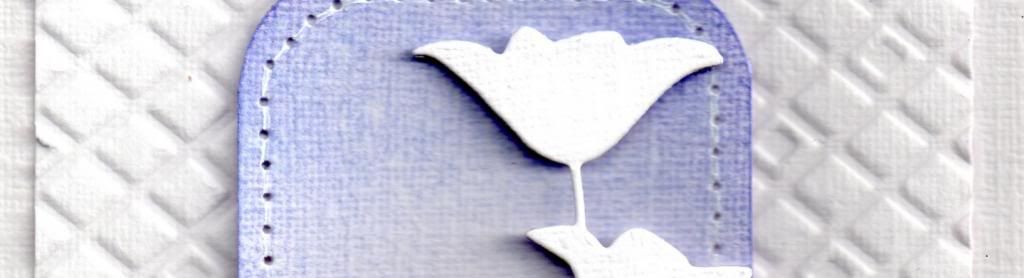
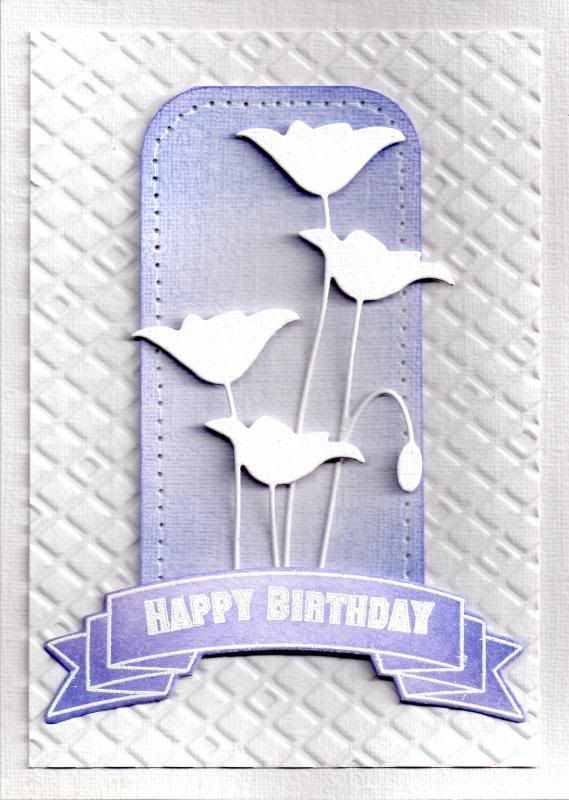
So, the first change I made to my version of this card was to create an embossed panel rather than embossing the card blank. I wasn't sure if the cardstock I was using would hold up to the embossing. I think I was right to be cautious, as the embossing folder I used (Sizzix Diamonds) did push through the card in a couple of spots which I think would have been more obvious on a card blank.


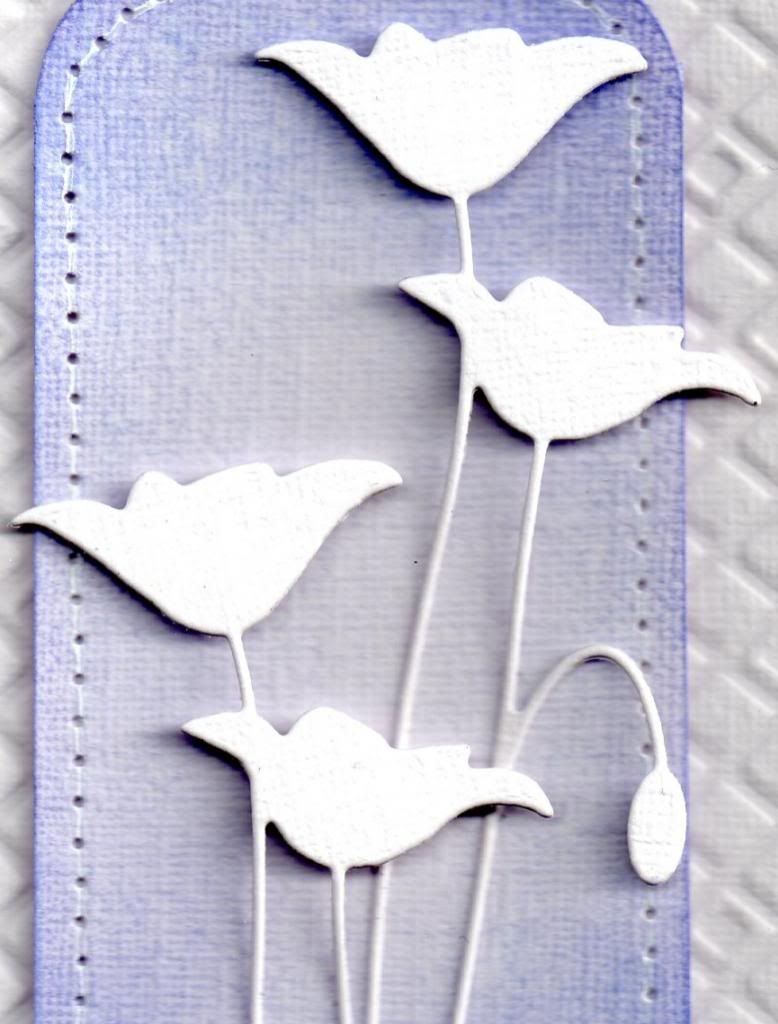
The next step was to create the coloured panel. This consisted of a rectangle of the same white hessian cardstock, with the corners rounded using the WRMK Corner Chomper. I wanted to create a Spring coloured card, so the panel was then coloured using Tim Holtz Shaded Lilac distress ink (I'm ashamed to say I think this is the first time I've used this colour!) I decided I wanted to add a bit more detail to this panel, so I pulled out my Stampin' Up! Mat Stack and pierced a border around the panel.


Then I created the die cut flowers using the Memory Box Prim Poppy die. The flowerbud was snipped off the second diecut and the diecuts arranged on the panel. To create dimension, the flowerheads were adhered using 3d foam and the stems using Zig glue.


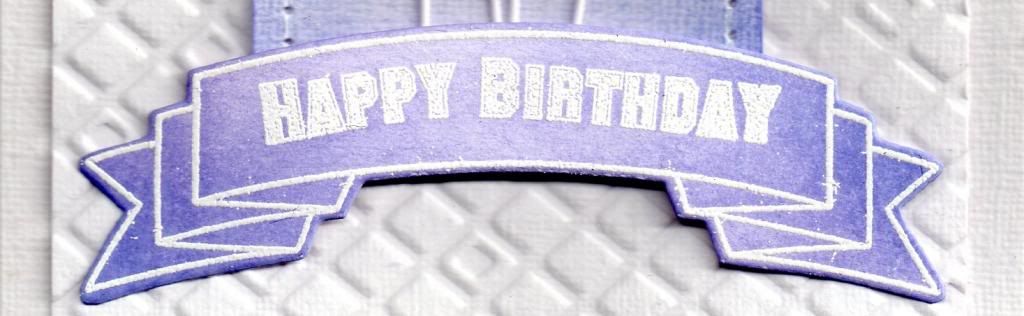
To create the greeting panel, the multi-folded banner from Clearly Besotted Basic Banners was die cut and then stamped on top using the matching stamp from the co-ordinating stamp set using Versamark ink. The banner was then heat embossed using Stampendous Detail White embossing powder. The sentiment, from the same stamp set, was then stamped and embossed within the banner shape. Once the embossing powder had cooled, the Shaded Lilac ink was applied to the diecut to help the detail stand out.
Here is a picture of the finished card in all of its glory.


Blog Widget by LinkWithin