Pages

WELCOME

This blog was created to act as a record of the cards and other projects that I have made. It is for both my own reference and to help inspire anyone who wants to take a look.

I'd love it if you'd leave me a comment so that I know what you think of my projects and that you've been to visit!

Anyone can comment, even those who don't have a blog. (Just look for the word 'Comments' under the three little pictures at the end of each post). Readers without a blog can add an anonymous comment, but please leave your name (and docrafts username if applicable) so I know who you are!

Slideshows of all the cards I've uploaded to my blog can be found at the bottom of the page.


PEOPLE WHO FOLLOW MY BLOG

Showing posts with label Tri-Shutter card. Show all posts

Monday, 9 November 2015

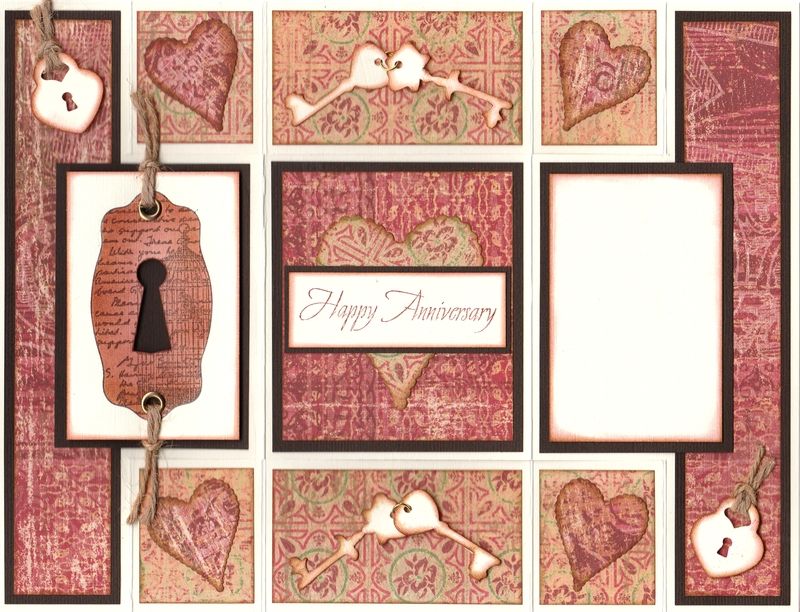
Red and Brown Escutcheon and Keys Tri-Shutter Fold

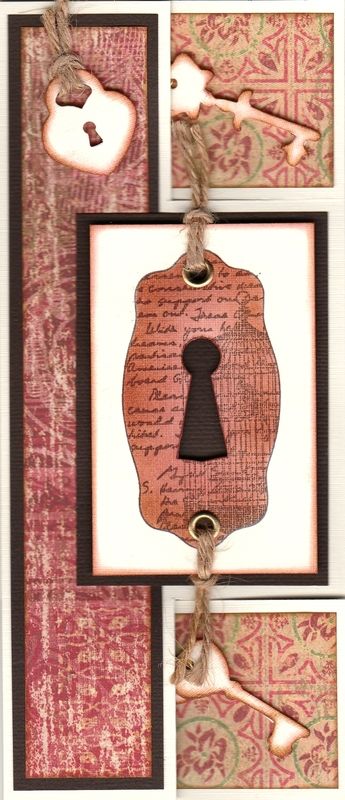
Today's card is the card that I made for hubby last year. We were playing with Tri-Shutter fold cards at the cardmaking group that I go to, and I decided to have a go at one for hubby.


The first decision to be made was which papers to use. In the end, the K-Ology Hannah papers from the K&Co The Best of K&Co Too paper pad were used, matted onto chocolate brown card.

The next decision was which images would be used. The starting point was the escutcheon image from the Papermania Bird Prints Urban stamp set, which was stamped onto ivory cardstock using Memento Espresso Truffle dye ink. The image was then stamped again onto a Post-It not and cut away, creating a stencil. Ink was then blended through the stencil using Tim Holtz Aged Mahogany and Vintage Photo distress inks.
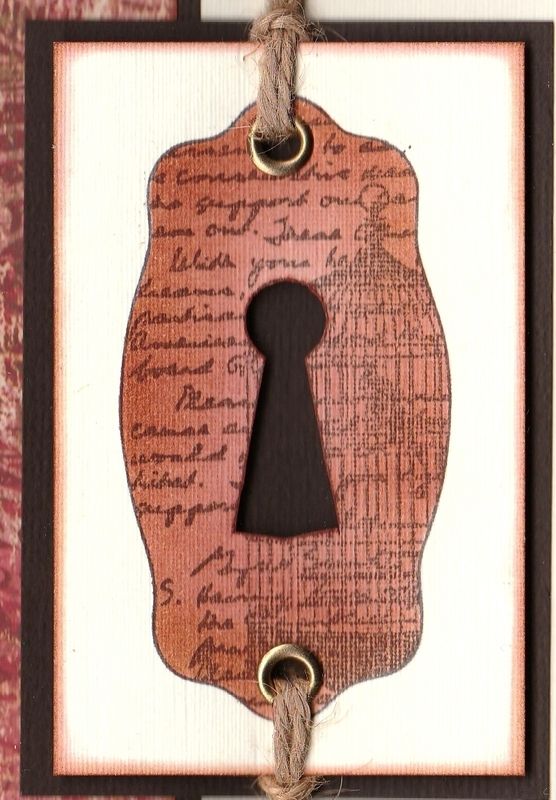

The keyhole was then cut away from the image and a couple of gold eyelets set in the panel. Natural twine from the My Mind's Eye Follow Your Heart Be Happy twines was then threaded through the eyelets and the panel matted onto the chocolate card.

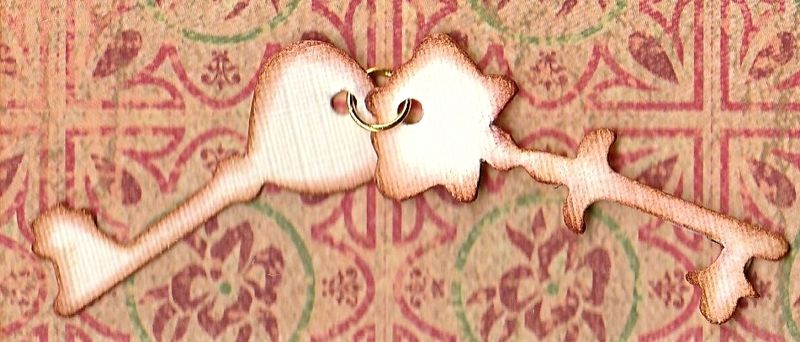
A number of padlocks and keys were then diecut using the Sizzix Bigz Heart Lock and Keys die from the ivory cardstock. The diecuts were then distressed with the Aged Mahogany and Vintage Photo inks.
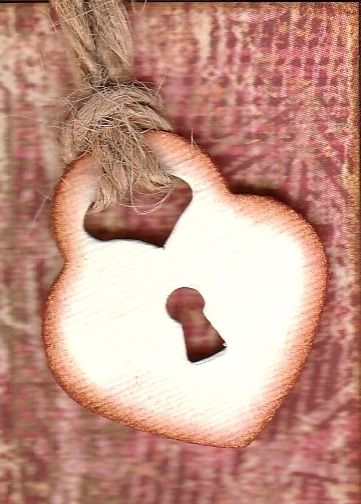

The padlocks were threaded with the twine and added in opposite corners on the card.

The keys were joined together with gold jump rings and added in the larger central panels.

A number of scalloped hearts were then diecut using the Sizzix Framelits Scallop Hearts #2 die set from the ivory card and distressed.
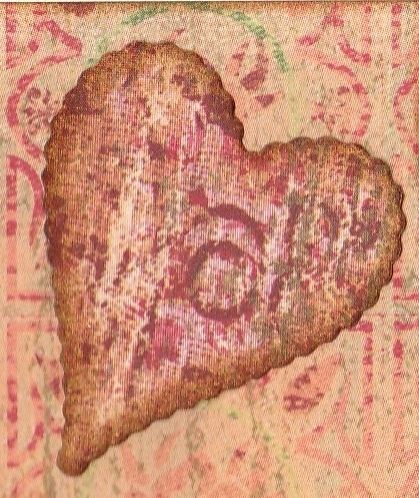

These were then added in the smaller squares on the card.

To complete the card, the sentiment, from the Woodware Happy Anniversary stamp set was stamped using the Espresso Truffle ink and matted over a larger scalloped heart diecut in the central section of the card.
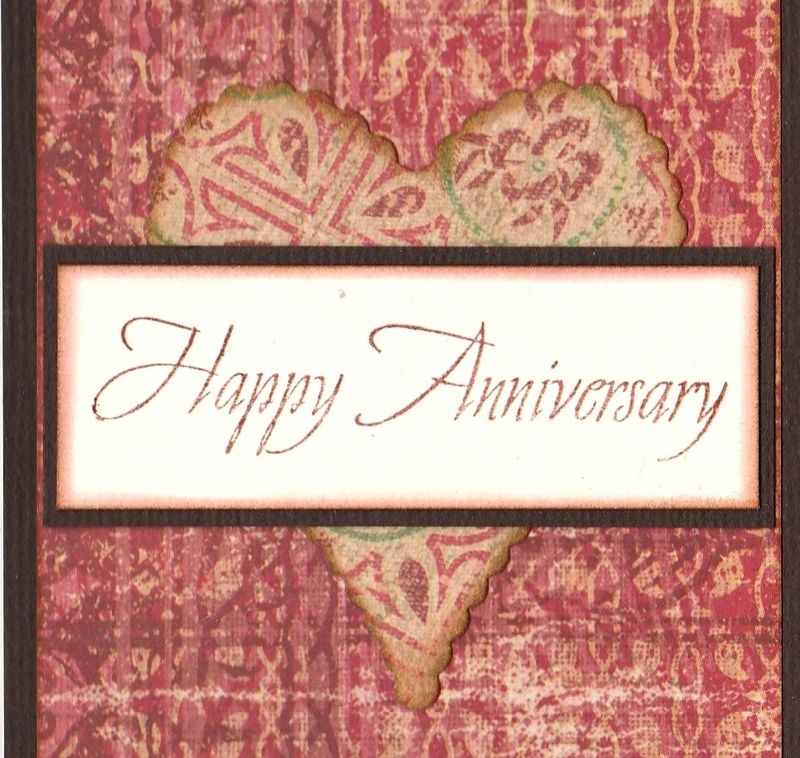

Here is a view of the closed card:
Tuesday, 9 June 2009

Pink and Blue Butterflies Tri-Shutter Anniversary

Why is it when you need to make a card quickly you decide to try a new card design that ends up taking forever????
I saw this Tri-Shutter card over on the Splitcoaststampers gallery and thought it looked very effective. I shall definitely be making it again, but I have learnt my lesson and won't be making it when I need a card made in double-quick time!

I started by creating the card blank from cream linen cardstock. This consisted of folding a piece of card measuring 30cm x 15cm at the 5cm, 10cm, 20cm and 25cm points. Then the card was cut lengthwise between the 5cm and 25cm folds 4cm from the top and bottom of the card. I used a craft knife and metal edge ruler for this. The edges and cut edges were then coloured using the ColorBox Old Rose pigment ink pad.

The panels of the card (excluding the large central one) were then covered using two different blue/pink rose papers from the Papermania Blueberry Hill paper pad. Each was edged with the Old Rose pigment ink before attaching them to the panels.

Flourishes were cut from the cream card using the Sizzlit Flower and Flourish #2 die and edged with the Old Rose ink and attached to the larger central panels top and bottom.

A bow was tied (using a bow-maker!) in a narrow cream satin ribbon and attached across the central panel and then attached to the card base. The 'Happy Anniversary' sentiment, by Stamps Away available at Clevercut, was stamped onto a panel of the cream card and matted onto a piece of the rose paper over the cream ribbon.

Using the Butterfly stamp from the Stampman Aspects of Design Botannical stamp set, two butterflies were stamped and clear embossed, one using the ColorBox Old Rose pigment ink and the other ColorBox Aqua pigment ink. ColorBox Pink pigment ink was sponged over the pink butterfly image after it was embossed to make it more pink as the Old Rose pink colour didn't show up much pn the cream linen card.

They were cut out and wire antennae added. The pink butterfly was attached on the right-hand panel and the blue butterfly was attached onto layered circles using the standard and scalloped Nesties using cream card and one of the rose papers.
This is the view of the card when laid out flat and the picture below shows the card when closed up ready to post. It will fit into a C6 envelope (but will need a 'Large' stamp if you embellish it - it might need it even if you don't!!!)

This is what the reverse of the card looked like after I had added the 'Handmade By' medallion and the greeting panel.



And here are some close ups of the greeting panel and 'Handmade By' medallion, both matted onto the rose papers from the Blueberry Hill paper pad to match the rest of the card.

Blog Widget by LinkWithin