Pages

WELCOME

This blog was created to act as a record of the cards and other projects that I have made. It is for both my own reference and to help inspire anyone who wants to take a look.

I'd love it if you'd leave me a comment so that I know what you think of my projects and that you've been to visit!

Anyone can comment, even those who don't have a blog. (Just look for the word 'Comments' under the three little pictures at the end of each post). Readers without a blog can add an anonymous comment, but please leave your name (and docrafts username if applicable) so I know who you are!

Slideshows of all the cards I've uploaded to my blog can be found at the bottom of the page.


PEOPLE WHO FOLLOW MY BLOG

Showing posts with label The Crafty Cow. Show all posts

Thursday, 16 June 2011

Purple and Green Gingerbread Tilda Panels

Here is the card I made for my matey Julie B for her birthday.


The Gingerbread Tilda image was stamped using Memento Tuxedo Black dye ink and coloured with Copic markers:
  • Hair: YR23, YR24, Y17
  • Skin: E00, E21, E51, R02, R20
  • Blouse: YG03, YG11, YG13, YG17, Y00, Y02
  • Buttons: V12
  • Hearts/Trousers/Hat: V04, V06, V09, V12
  • Shoes/Basket: E31, E33, E35
On 'girly' characters, I usually just use R20 on the cheeks, but I decided to experiment with R02 and R20 (especially as I now have a few more colours to use) and went for a rosier cheek and I think it rather suits her! Tell me what you think.

The image was then cut out and highlighted with Craft Planet Iridescent Sparkle glitter glue.

A petite oval Nestabilities die was used to die cut a panel of white card which was then stamped around the edge with a small flourish stamp from the Fiskars Friends Forever Quotes stamp set using ColorBox Wisteria fluid chalk ink. This was then matted onto an oval of the green polka dot paper from the Papermania Spring Burst paper pad and a scalloped oval die cut from purple card.
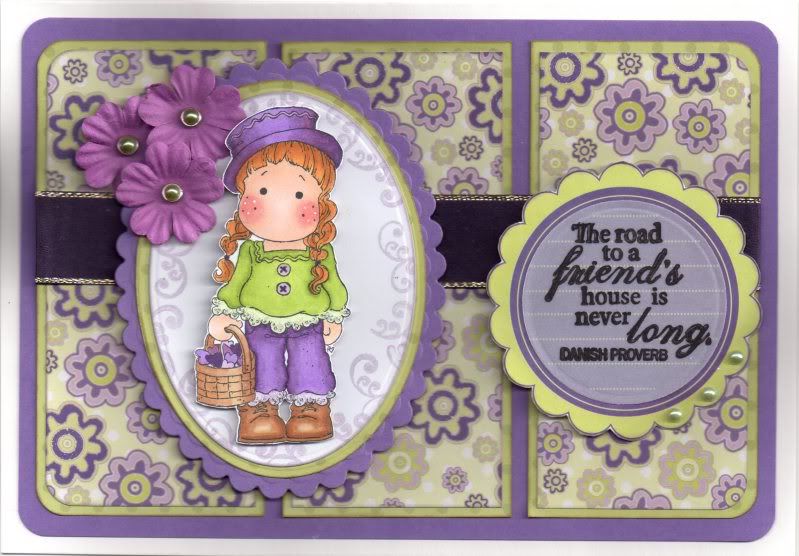

Three panels of the green and purple daisy paper, also from the Spring Burst paper pad, were matted onto the green polka dot paper and a length of wide purple satin ribbon was adhered across all three panels. These were then matted onto a panel of purple card.

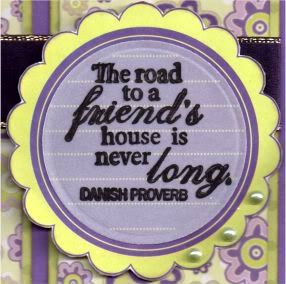
The sentiment, also from the Friends Forever stamp set, was stamped onto white vellum using Brilliance Graphite Black pigment ink and die cut using a circle Nestabilities die. This was then matted onto a Spring Burst journalling page.

The image panel and the sentiment panel were matted onto the panel and three purple paper flowers from The Crafty Cow were added to the panel and image panel with green Papermania pearl brads before the panel was added to the card blank.

Three green Kort & Godt pearls were added to the scallops of the sentiment panel.

Here are the blog challenges I am entering this card into:

Friday, 11 February 2011

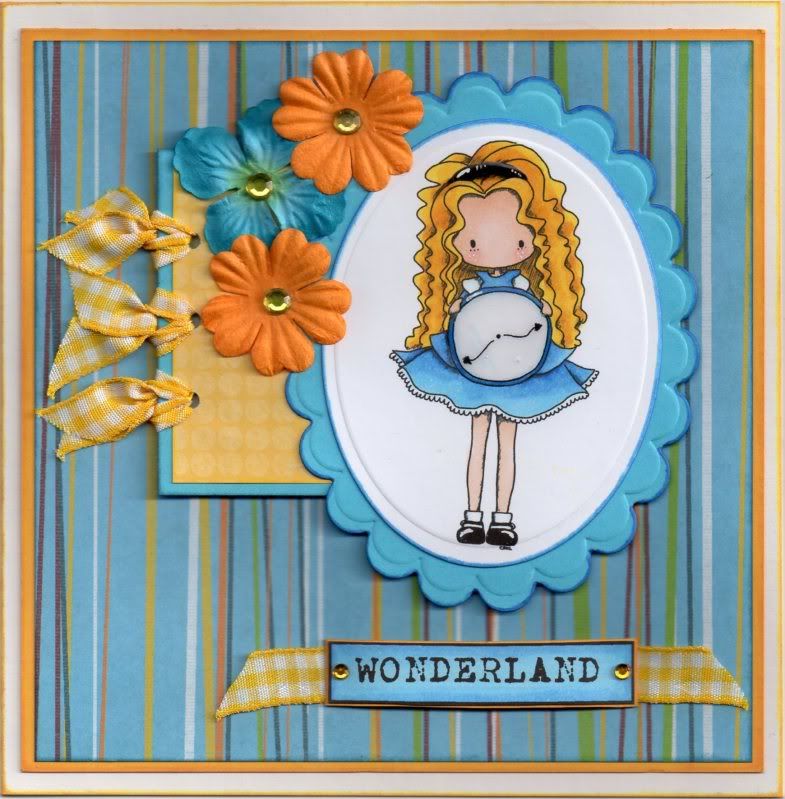
Blue and Yellow Floral Alice

Well, I'm on a bit of a digi stamp roll at the moment. This is one that I won from TiddlyInk in a blog challenge and I think she's really cute. You can find this image here on their site.


 Having printed out the image, it was coloured using Copic markers:

  • Skin: E00, E21, E51, R20
  • Hair: Y08, Y17, E36
  • Dress: B00, B12, B18, B24
  • Clock: B00, B18, B24

The image was then highlighted with a Papermania Snow White gel pen and Anita's 3D Gloss. Once the gloss was dry, the image was die cut using an oval Nestabilities die and matted onto a blue scalloped oval panel, also die cut using a Nestabilities die.

A panel of the blue stripe paper from the HOTP Dots and Stripes Use 'Em For Anything paper pad (that I received from HOTP for a tip I submitted to their forum) was matted onto yellow card.

A small panel of the yellow circle mesh paper, from the HOTP Ultimate Cardmaker's Creative Pack, was matted onto blue card and three holes were punched along the edge with the Cropadile Big Bite and short lengths of yellow gingham ribbon were tied through the holes. The yellow panel was matted to the left of the image panel and paper flowers were matted over the top.

A computer-generated sentiment was coloured using the Copic markers:
  • Sentiment: B12, B24
and lengths of the gingham ribbon were added either side of the sentiment.

Faux yellow gems were added to the centres of the flowers and either end of the sentiment.

Here are the challenges that I'm entering this card into:

Thursday, 29 July 2010

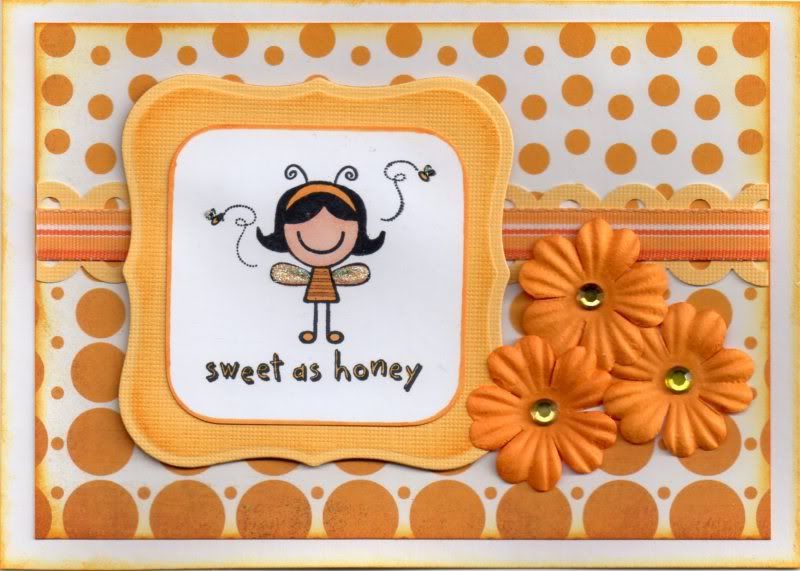
Yellow and Orange Honey Smirk

Here is one of my recent makes for a good friend's little girl. I love this cute image and I'm surprised  this is the only time I've used it.

I am also entering it into a few blog challenges:

The 'Sweet As Honey' image from Smirk was stamped using Memento Tuxedo Black dye ink and coloured using Copic markers:
  • Hair: C8
  • Dress: Y17, E57
  • Wings: E21, E51
  • Skin: E00, E02, E21
  • Shoes/Bees/Headband: Y17
A mat was created for the image panel using the Nestabilities Labels 1 die. I prefer to do this as you can create a smaller increment rather than matting two of the Labels shapes together.

The panel was coloured using the Tim Holtz Wild Honey distress ink whilst keeping the die in place, creating a non-coloured edge.

A strip of the butter yellow card from the DCWV Brights card mat stack was punched along both edges using the Scallop Dot border punch by Martha Stewart to create a border strip. A length of the yellow and orange striped grosgrain ribbon from the Chatterbox Tangerine ribbon pack was then attached across it.

This was then matted across a panel of the Informal paper from the Basic Grey Offbeat paper pad, and distressed around the edges with the Wild Honey ink.

The image panel was attached over the ribbon and highlighted with Craft Planet Yellow glitter glue.

Three paper flowers from The Crafty Cow were added to the right hand side of the panel and faux yellow gem stones were added to their centres.

Wednesday, 9 June 2010

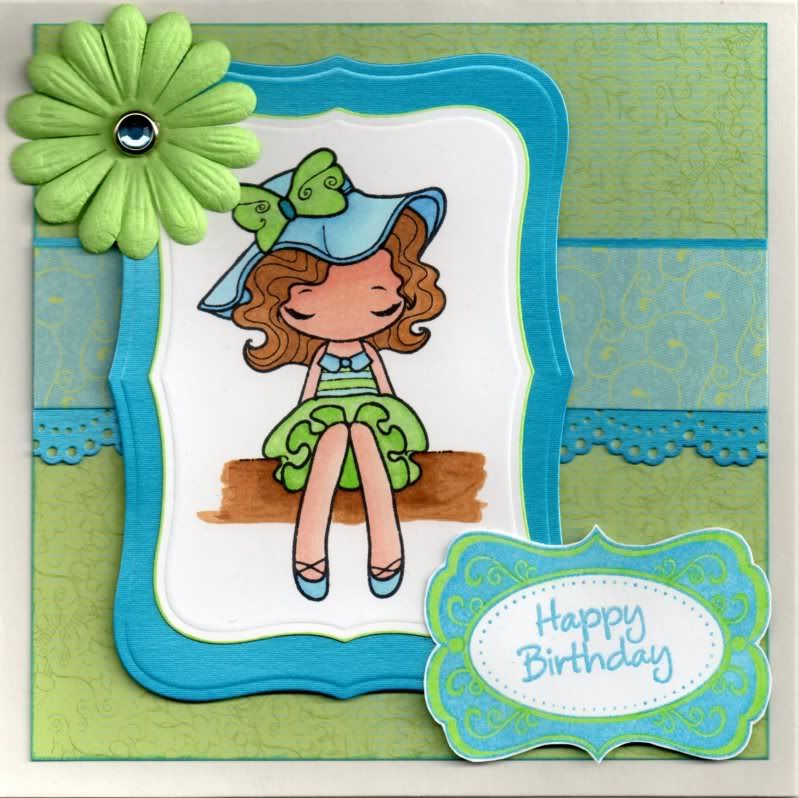
Blue and Green Miss Anya Dressy Hat

Here is my latest creation, and also my entry into a number of this week's blog challenges:

To begin with, the Miss Anya image by The Greeting Farm, one of my recent purchases from the lovely Sam_from_Lancs over on the docrafts site, was stamped using Memento Tuxedo Black dye ink and coloured using Copic sketch markers.
  • Hat/Dress: B00, B21, B24, G12, G14, YG07, Y00
  • Hair: E21, E35, E57
  • Shoes: B00, B21, B24
  • Skin: E00, E02, E21
  • Seat: E21, E35, E57
The image was cut out using a Labels 8 Nestabilities die and matted onto a larger shape cut from Kingfisher Blue Alchemy Pearl card. A pale green paper flower, from The Crafty Cow, was attached to the top corner of the label panel using a large light blue Papermania gem brad.

A strip of the Elation paper from the Basic Grey Euphoria paper pad was matted onto a panel of the blue pearl card, punched along the lower edge with the Martha Stewart Doily Lace border punch. This was then matted across a panel of the Eden paper from the same paper pad.

A decorative frame stamp from the Hero Arts Frames and Messages stamp set was stamped onto white card using a bright blue Ink It Up! pigment ink pad, and a sentiment from the Hero Arts Birthday Messages stamp set was stamped in the centre using the same ink pad and the whole panel clear embossed. The shape was cut out and the swirl and frame areas of the image coloured using a couple of Copic markers:
  • Sentiment panel: YG07, G12
The sentiment panel was then adhered to the card overlapping the bottom corner of the label panel.

Tuesday, 30 March 2010

Pink and Yellow Easter Bonnet Bunny

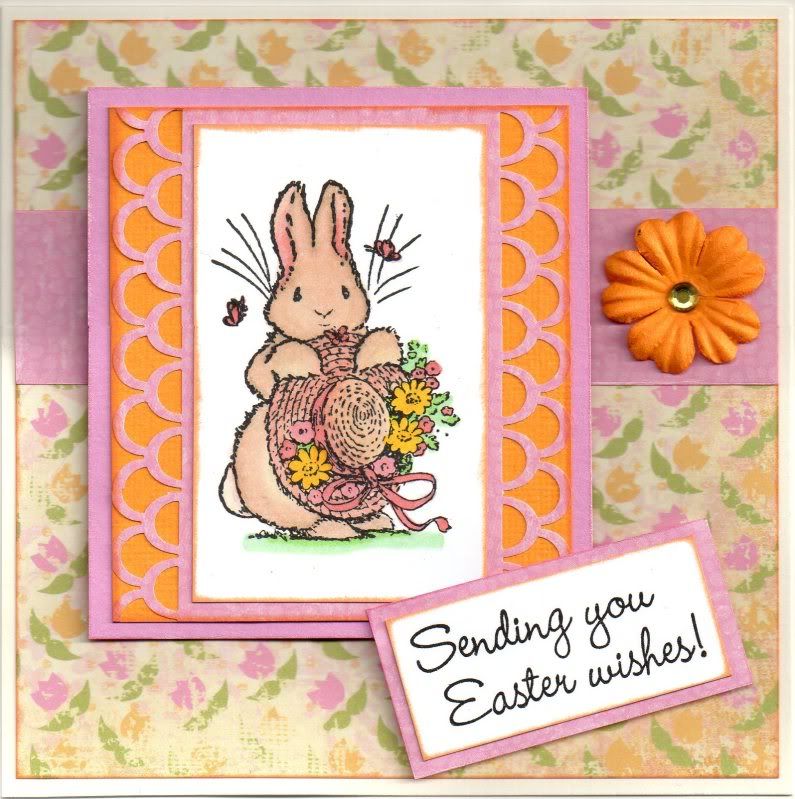
This is the second design of my Easter cards for this year. I decided to use the same patterned papers as for the first but a different focal image.

I am also entering it into the following challenges:

The Easter Bonnet Bunny image, from the Penny Black Garden Friends stamp set, was stamped using Versafine Onyx Black archival pigment ink and coloured with the Copic Sketch markers.
  • Bunny: E00, E41, E43, R20, YR02
  • Hat: Y00, E00, YR02
  • Ribbon/Butterflies: R20, YR02
  • Flowers/Foliage: R20, YR02, Y08, YG41, G14
  • Grass: YG41, G14
A strip of the pink distressed bubble paper from the K&Co The Best of K&Co Too paper pad was punched using the Martha Stewart Double Loop border punch and was then layered onto yellow and pink card with the Bunny image on top.
A strip of the pink paper was matted across a panel of the distressed pink and yellow tulip paper, also from the K&Co paper pad and matted onto the card blank.
The sentiment, from the See D's Easter Kit stamp set, was stamped using the Onyx Black ink and matted onto the pink paper and positioned over the corner of the Bunny image.
A yellow paper flower from The Crafty Cow was adhered onto the pink border strip and a yellow faux gem was added in the centre.

Monday, 20 April 2009

Blue, Green and Yellow Nellie with Spring Flower

Here is my entry for this week's Stamp Something blog challenge. The theme for this challenge is a colour one - blue, green and yellow.

The Nellie with Spring Flower image by Sugar Nellie was kindly donated by Alex K.

The image was watercoloured using the Whispers Brushstroke markers and the blender pen. This was matted onto green paper and blue card. The blue flower and stripe paper from the Papermania Venetian Skies Creative Tones paper pad was matted onto the card blank and a strip of the outline flower paper from the same paper pad was watercoloured and matted onto it.
The journalling panel from the Papermania Sweet Nothings stamp set was stamped using Versafine Onyx Black Archival pigment ink, and watercoloured. The hearts were then highlighted with Glitz It Pear Green glitter glue and the sentiment was stamped onto the journalling panel using Versafine Spanish Moss Archival pigment ink. This was also matted onto the green paper and blue card.

The Pear Green glitter glue was added to the coloured flowers on the paper strip as well as the flower on the image panel.

Paper flowers (green from The Crafty Cow and Faded Jeans Blue from Papermania Imaginisce), were adhered to the top corner and Patti's Pretties (glass pebbles) were added to their centres.

I also decorated the inside of the cards, using a strip of the blue flower and stripe paper and the watercoloured outline flower paper as used on the front of the card.

The sentiment was stamped using the 'Happy Birthday' stamp from the Hero Arts Birthday Messages stamp set and ColorBox Prussian Blue Fluid Chalk ink.

Wednesday, 25 March 2009

Pink and Brown Garden Gossip Hedgie

Here's the card I made for the lovely Tara's birthday. Now I know that she has received it, I can put it on my blog!!


The brown/pink flourish border paper from the Papermania Simply Elegant paper pack was matted onto a piece of light brown paper. A length of Chatterbox pink picot-edged organza ribbon was matted onto the pink/cream spot paper from the same paper pad and was then matted onto the larger piece.
The Penny Black Garden Gossip image, from the Bubbly stamp set, was watercoloured using the Whispers Brushstroke markers and matted onto dark brown card, light brown paper and pink vellum punched with the Fiskars Lace border punch. This was matted over the ribbon strip.
Two co-ordinating paper flowers from The Crafty Cow were sewn together using cream embroidery thread and a pearl bead in the centre. These were attached to the other end of the ribbon strip.
The sentiment, from the See D's Garden Of Friendship stamp set, was stamped in Onyx Black Versafine ink and matted onto the dark brown card, light brown paper and pink vellum.

Saturday, 14 March 2009

Chance to win a £10 Goody Bag - CLOSED

The Crafty Cow are offering everyone the chance to win a £10 Goody Bag - all you have to do is place your vote for your favourite card from the entrants in their March Card Competition.

I have entered (I'm on page 2!) but don't feel obliged to vote for me ;-)

This is the card I've entered - my favourite card of 2008!!

All you have to do is send an email to The Crafty Cow with the name of your favourite cardmaker from the entrants in the subject line.

Head over here to see the entrants and make your decision!! Voting closes on the 28th March.

Tuesday, 9 December 2008

A birthday card for Alex (Eisbaerin)

Here is the birthday card that I made for Alex (Eisbaerin) for her birthday on Sunday. It sounds like she had a lovely day!!

I made the card to double as a wallet card as I wanted to reciprocate all the lovely images she has sent me over the past few months. I haven't made up for everything but I hope it goes someway to say thank you!!!

The image is a cute little Docrafts stamp, which I coloured with Whispers Brushstroke markers and a green Impress re-inker.

The little tag was 3D'd to add dimension, and the mouse image was matted onto lime green card from the DCWV Brights cardstack.

The patterned papers are from the K&Co Amy Butler Belle paper pad, and a length of green organza ribbon was attached across the pieces of paper and a knot was added.

The sentiment was stamped using one of the circles from the HOTP Sentiments set and also matted onto lime green DCWV card, cut using the Fiskars Shapecutter and circles template. A small piece of ribbon was attached to it to make it look like it is hanging.

A lime green Papermania brad was attached through a pink paper flower from Crafty Cow and attached over the corner of the image.
Blog Widget by LinkWithin