Pages

WELCOME

This blog was created to act as a record of the cards and other projects that I have made. It is for both my own reference and to help inspire anyone who wants to take a look.

I'd love it if you'd leave me a comment so that I know what you think of my projects and that you've been to visit!

Anyone can comment, even those who don't have a blog. (Just look for the word 'Comments' under the three little pictures at the end of each post). Readers without a blog can add an anonymous comment, but please leave your name (and docrafts username if applicable) so I know who you are!

Slideshows of all the cards I've uploaded to my blog can be found at the bottom of the page.


PEOPLE WHO FOLLOW MY BLOG

Showing posts with label Gorjuss Girls. Show all posts

Monday, 16 November 2015

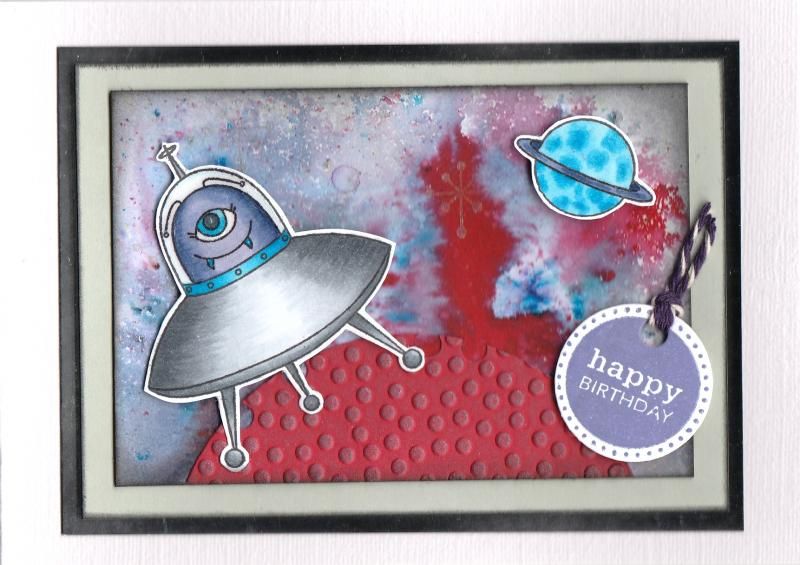
Red Grey and Purple Brusho Aliens

OK - I'll admit it. I had a go with some Brushos. These are definitely not my type of crafting. Far too messy and uncontrollable!!
 
But, I made a background using my friend's set and I decided to make it into a card. When looking at the background, I decided it looked a bit space-like, so I thought I'd make a kids' card and use my alien stamp set.
 
So, to create the background, I used quite a few different Brusho colours onto a sheet of white card, namely black, grey, crimson, scarlet, cobalt blue and then these were spritzed with some water. Once the colour was almost dry, some white Brusho was sprinkled over the top and no water added to create some contrast.
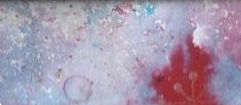
 
The background was then over-stamped with a dotty star stamp from the Kirsty Wiseman Terrestrial Friends stamp set using the Heat It Up! Metallic Silver pigment ink.

 
The next stage was to select the best area of the background for the card. This piece had a flare of red which I thought fitted well with my idea of the card. The edge of the panel was then distressed using Tim Holtz Black Soot distress ink.
 
The alien and spacecraft stamp and the planet stamp, also from the Terrestrial Friends stamp set, were stamped using Memento Tuxedo Black dye ink and coloured with Copics:
 
Copics

 
Monster/Planet: B01, B02, B05, B06, BV00, BV04, BV08
Spaceship: C1, C3, C5, C7, B02, B05, B06
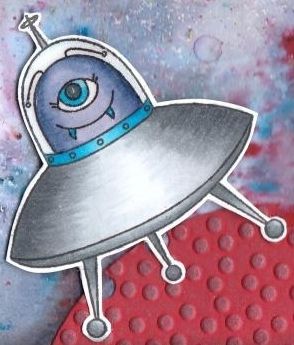
 
 
These images were then fussy cut and Ranger's Glossy Accents were added to the glass section of the spacecraft image.
 
To ground the image and create a foreground, a planet was created by cutting a piece of red card into a circle using a Nestabilities die and then embossed using the Crafts-Too Polka Dots embossing folder. Silver-Blue and Golden White metallic wax rub-ons from Craf-T Color Kit #3 were rubbed over the embossed detail to highlight it. The circle was trimmed into a semi-circle and adhered to the Brusho panel, after a few 'craters' were cut from the edge of the circle using a single hole punch.
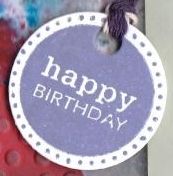
 
 
The sentiment, from the Personal Impressions Paula Pascual Mixed Sentiments stamp set, was stamped onto white card using the Versafine Majestic Purple archival pigment ink and die cut using the circle tag die from the XCut Tags and Bookplates set of dies. This was then threaded with purple Baker's twine from Gorjuss.


All the components were then adhered to the card front, matted and layered onto grey and silver mirror card.
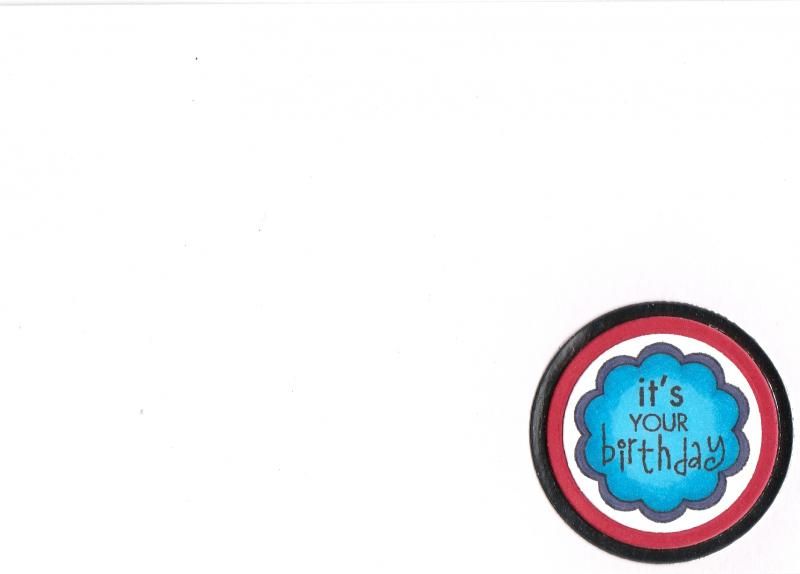


The inside of the card was also decorated, using the It's Your Birthday circle sentiment stamp from the Hero Arts Birthday Messages stamp set. The sentiment was coloured using Copics to match the images on the front of the card, and then diecut using a circle Nestabilities die and matted onto red and silver mirror circles.

Sunday, 25 October 2015

Brown, Cream and Blue Patchwork Background Bumble Bee Gorjuss Girl

Well, as promised, here is an older card that I made that is waiting to be blogged. This is a card that I made for my mum's birthday using the Bumble Bee Gorjuss Girl by Sugar Nellie.

I also decided to use my Sizzix Hexagon Framelits dies and create a patchwork background.


So, the image was stamped using Memento Tuxedo Black dye ink and coloured using Copic markers:

Hair: E31, E33,E35
Skin: E000, E00, E04, E21, R20
Sash/Hearts/Socks: YR04, W1
Wings/Dress: G00, G21,W1

The image was then fussy cut.


A Classic Oval Nestie was used to die cut white card and was embossed using the Sizzix Basic Grey Snow Cap embossing folder. This was then matted onto a scalloped oval of sky blue cardstock from the DCWV Brights Matstack.

A number of hexagons were die cut from ivory hammer cardstock as well as papers from the Prima Songbird paper pad. These were matted and layered together and pieced together on a square of the sky blue cardstock to create the background.


A length of the Dovecraft blue and brown striped ribbon was knotted and then adhered across the patchwork panel before the panel was adhered to the cardblank.
The Gorjuss Girl image was then matted onto the ovals and then they were added to the centre of the patchwork background.

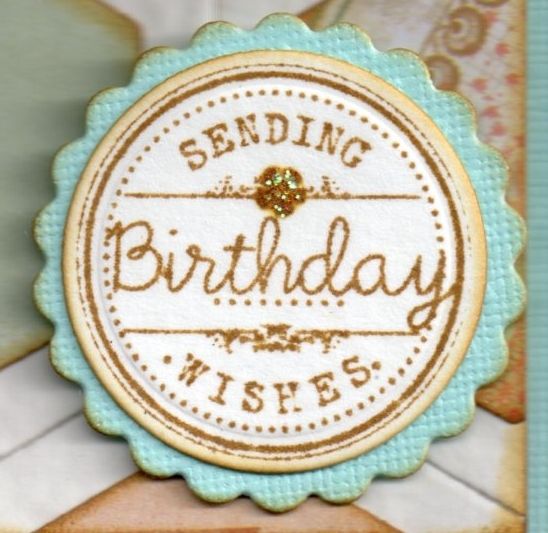
The sentiment, from the Wild Rose Studio Birthday Circles stamp set, was stamped using Tim Holtz Frayed Burlap distress ink and die cut with a Nestie circle die and matted onto a scalloped circle Nestie diecut.

As a finishing touch, Ranger Crystal Stickles glitter glue were added to the wings on the image and details on the sentiment.

Saturday, 24 October 2015

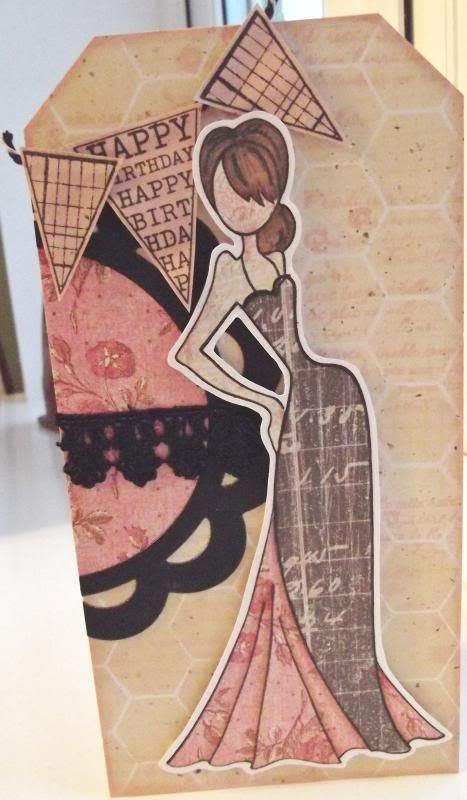
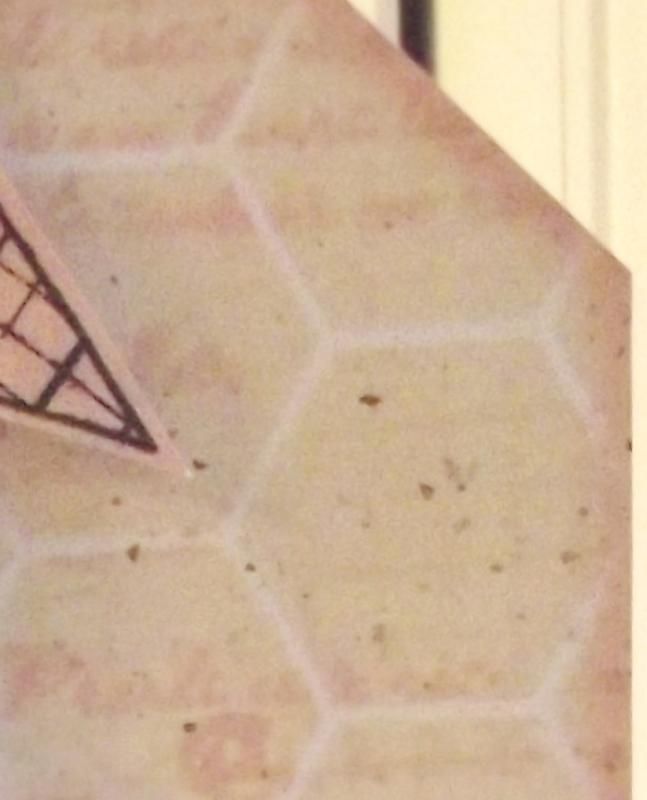
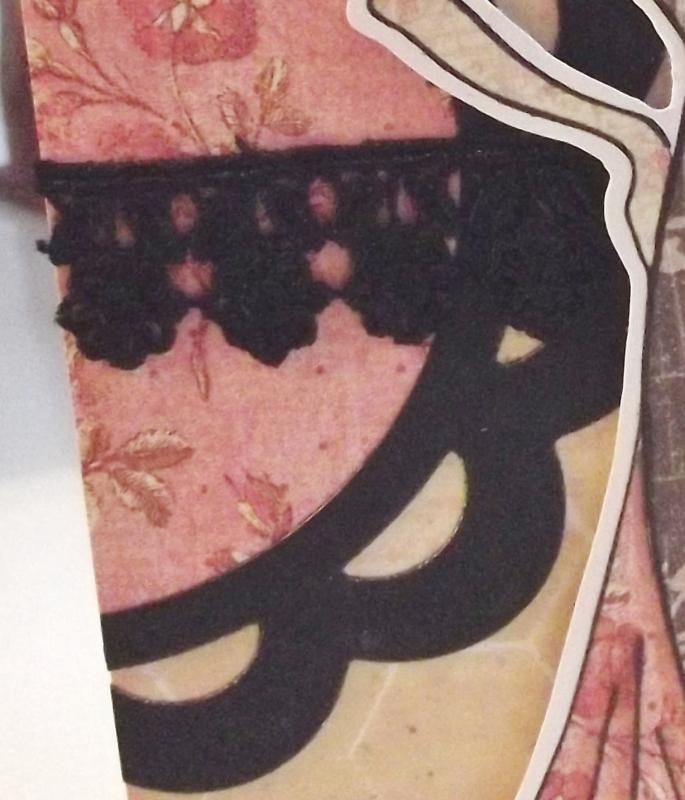
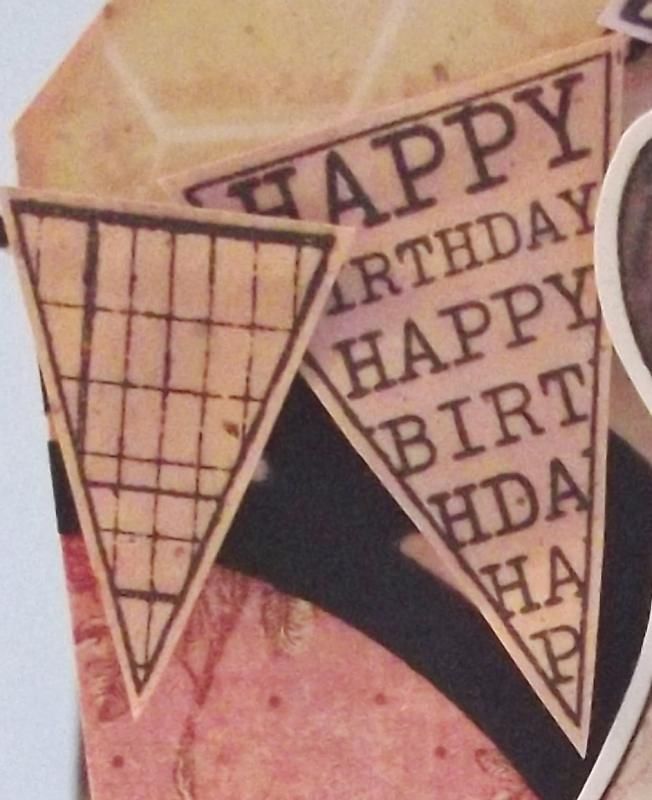
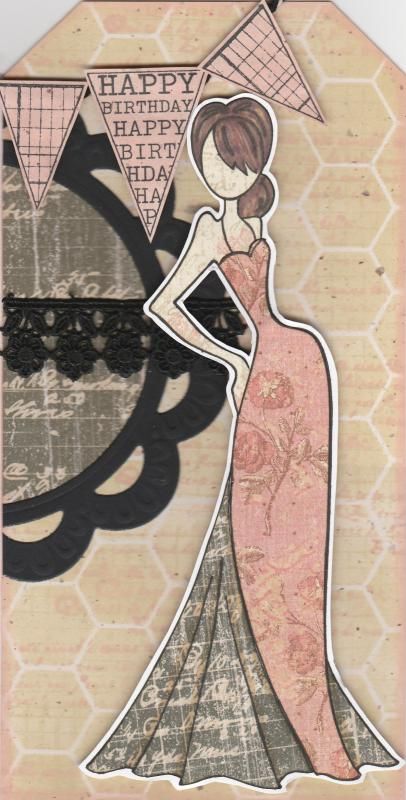
Pink Black and Beige Paper-Pieced Prima Doll

I should begin by apologising for the picture quality of this card. Normally I scan my cards in but my scanner had decided to give up the ghost (well, actually the printer had, and so the scanner just played along). Anyway, these were photographed and I couldn't find my mini tripod so getting up close and holding the camera perfectly steady wasn't easy!!

This card shows my first attempt at using my Prima Doll stamp Tasha. I actually made it at the cardmaking group that I go to and it was great fun.
Paper-piecing the image is actually very simple to do. The hard part is choosing which papers to use.
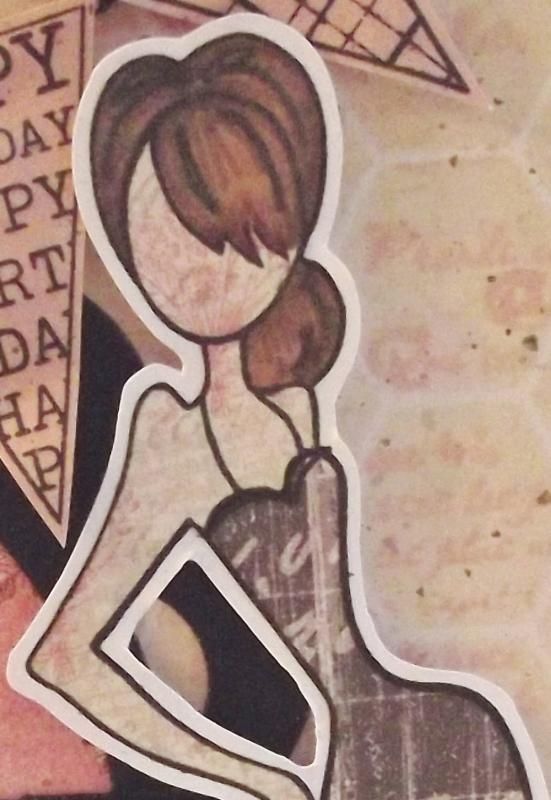
I began by stamping the whole image onto some white card using Memento Tuxedo Black dye ink. The image was then stamped again onto three different patterned papers from the K&Co Best of Too paper pad, using papers from the Life's Journey and K-Ology Hannah collections. I do love this paper pad, and it is much underused. I really should get it out more. The next stage was to cut the various pieces from the different papers and assemble them onto the base image. The hair was coloured onto the patterned paper using Promarkers.

The next stage was to create a background for the image to sit on. I started with a piece of 'natural' paper which has tiny flecks in it. I then taped the Memory Box Chicken Wire stencil over the piece and sponged through Tim Holtz Antique Linen distress ink. Once that was done, with the stencil still in place, the French Text stamp from the Bo Bunny It Is Written stamp set was stamped through the stencil using the Tattered Rose ink. This was matted to the front of a DL card blank that was cut into the shape of a tag.

In order to create a bit more interest behind  the doll image, the Marianne scalloped circle frame was diecut from black card and a circle of the pink patterned paper used on the dress was diecut to fit within it. A length of black lace was wrapped around the circle and matted together on the edge of the tag and the excess cut away.


I then wanted to add a sentiment to the card and decided to use the banner stamps from the Hero Arts Friendly Flags stamp set. These were stamped onto the inked natural paper, inked with the Antique Linen and Tattered Rose inks. These were cut out and adhered to black and white Gorjuss Baker's Twine in the top left corner.


I also made a second card using the other parts of the stamped image.

Sunday, 5 April 2015

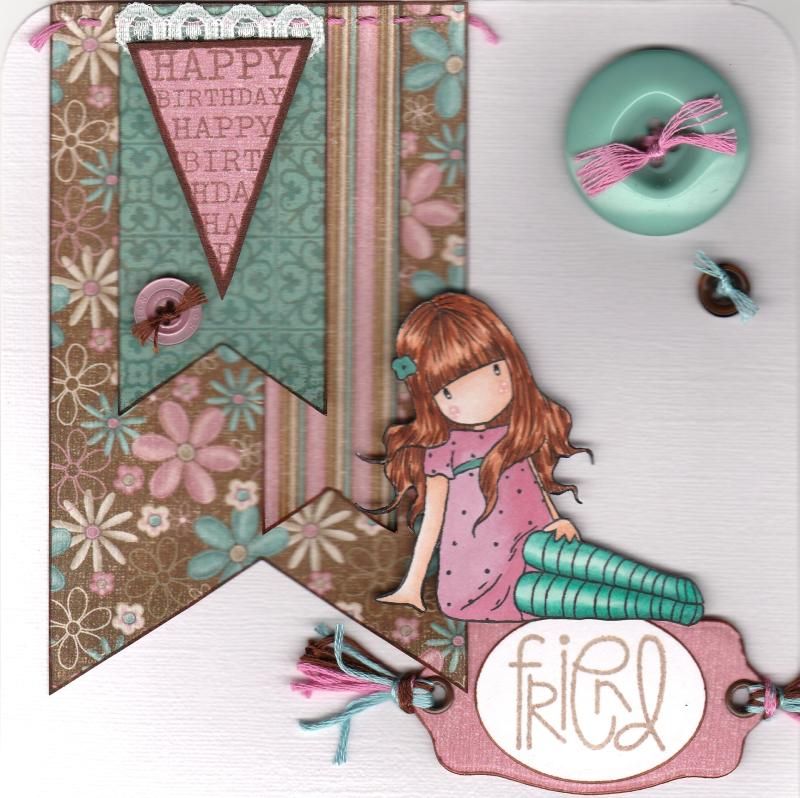
Teal Pink and Brown Sitting Gorjuss Girl with Banners

OK, so I thought I'd have another go at blogging a card as it's been so long since I last did it!
I've decided I'm going to try and blog a current card and then an older card that's still waiting to be blogged after I was offline for so long.

So, it's time to blog a current card. This is one that has been received so I know I can blog it.
 
 
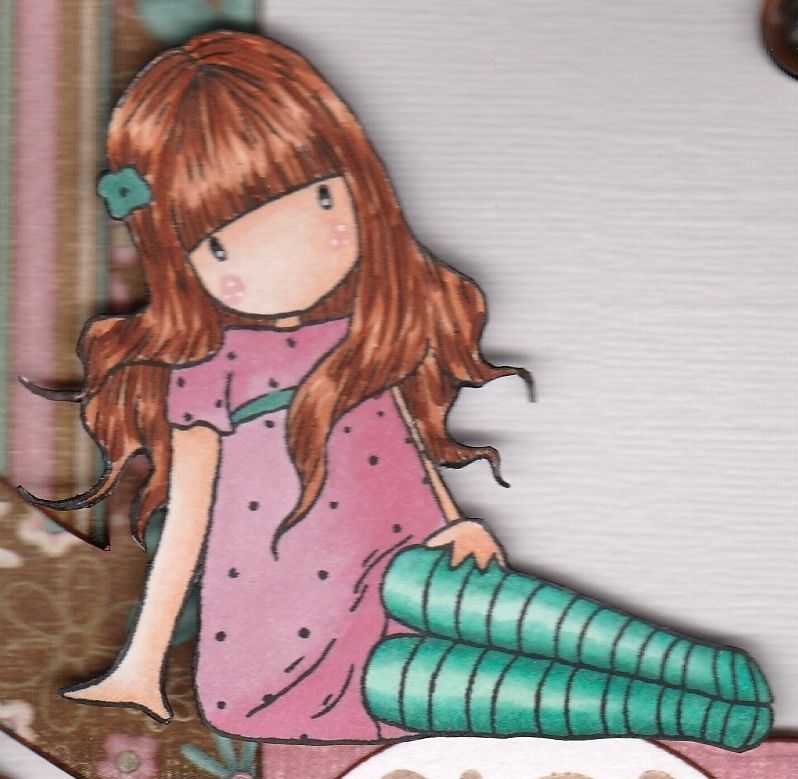
This was a card I was rather pleased with, I have to say. It used one of my older Sugar Nellie Gorjuss Girl stamps, called 'Sitting'.

The papers used on this card are from the Hot Off The Press Floral Ultimate Creative Cardmaker's Pack. There are some lovely colour combo in this paper pad.
 
 The image was stamped using Memento Tuxedo Black dye ink and coloured using Copic markers and then fussy cut.


Copics used:
Hair: E11, E13, E15, E29
Skin: E000, E00, E11, R20
Dress: RV11, RV34
Socks: BG10, BG13, BG15, BG18
Belt/Flower: BG18
 
Fishtail banners were then handcut from a few other patterned papers from the same paper pad and handstitching was added to the top of the largest one. These were then added in the top left corner of the card blank.
 
The Happy Birthday banner from the Hero Arts Friendly Flags stamp set was stamped using Versafine Vintage Sepia archival pigment ink and fussy cut. A small length of white lace was added to the reverse of the image and layered over the handcut banners.
 
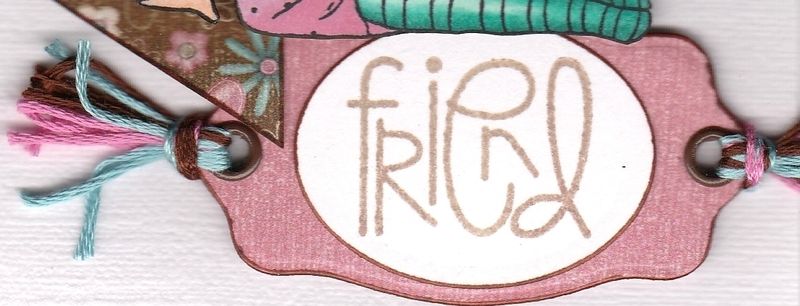
The 'Friend' sentiment from the Paper Smooches Sentiment Sampler stamp set was also stamped with the Vintage Sepia ink and was die cut using a Classic Oval Nestabilities die. This was then matted onto a bookplate diecut from a paper from the same paper pad using a die from the XCut Tags and Bookplates set of dies.
 
Brown eyelets were added through the holes of the diecut and co-ordinating embroidery threads were added.
 
 
The sentiment panel was then added in the bottom right corner of the card blank and the Gorjuss Girl image placed sitting on top of it.
A few co-ordinating buttons were threaded with the embroidery threads and added to the card blank.

Sunday, 18 January 2015

Frantaged Collage and Charms Masculine Birthday

This is the card that I made for my hubby's birthday this year. It involved using the Frantage embossing powders which were new to me before making this card, although I have of course watched the demos on Create & Craft.


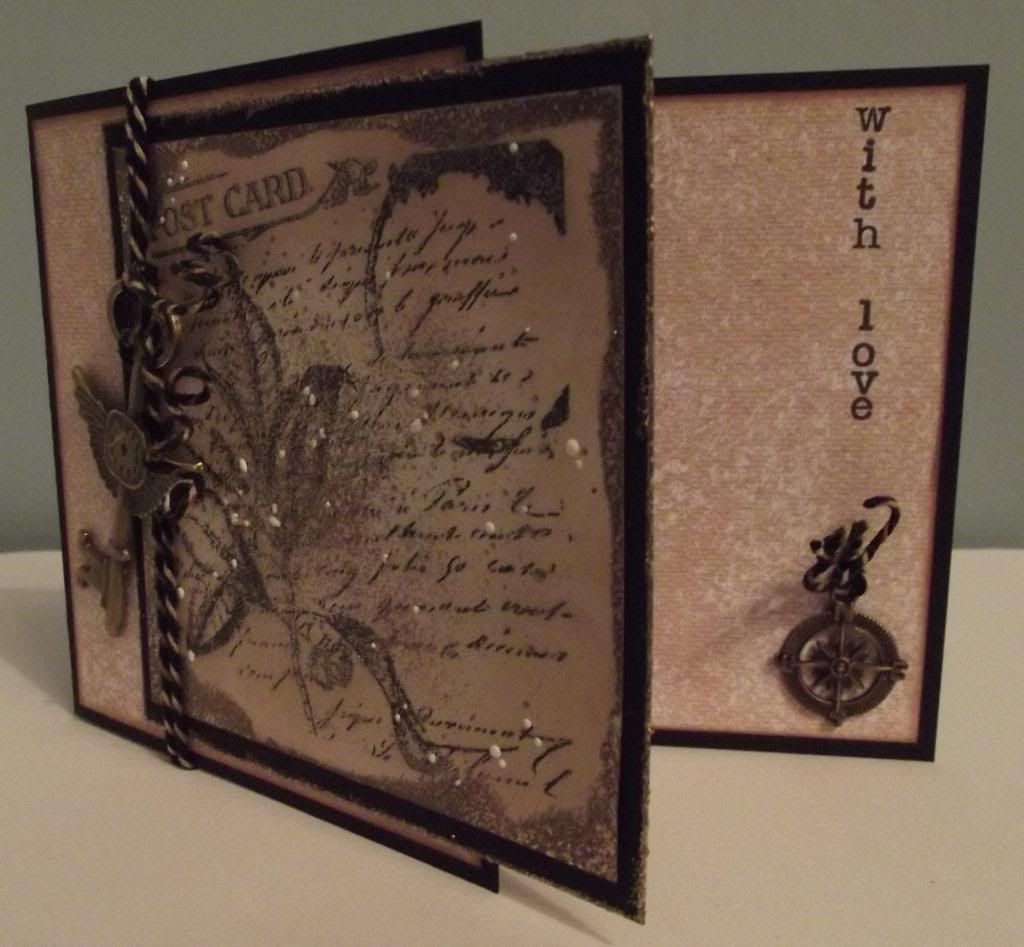
To begin with, I stamped the collage image of Folium from Papermania using Versafine Onyx Black archival pigment ink. The panel was then distressed using Tim Holtz Antique Linen and Walnut Stain inks. Once the distress ink was dry, Versamark was added around the edge of the panel and Aged Taupe Frantage powder was added. Once that was heat set, extra Aged Taupe and White powders were sprinkled over the centre of the panel to give a speckled appearance.

To create the card blank, a sheet of A4 card was trimmed to 5" wide and then scored at 7". Panels of beige mottled paper by Craftwork Cards were cut to fit both the front and inside of the card, the edges first being distressed with the Walnut Stain ink.

The stamped and Frantaged panel was matted onto the black card as used for the card blank and adhered overlapping the edge of the front panel.


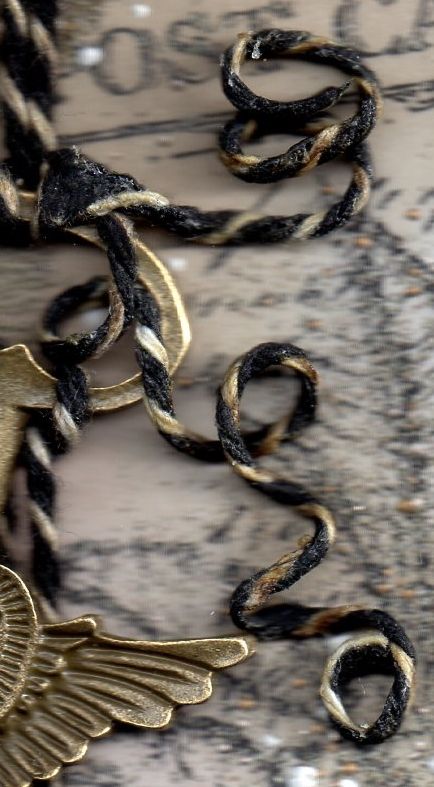
The next stage was to add the charms. These were very kindly donated by Donna at the cardmaking group that I attend. The large key charm was looped onto a length of black and white Gorjuss twine that was coloured with the Antique Linen and Walnut Stain inks, to tie it in with the rest of the card. The twine was wrapped around the front of the card and tied to the top of the charm.


The ends of the twine were then wiped with Aleene's Tacky Glue and wound around a paintbrush until the glue was dry, allowing the twists in the twine to remain. The same was done to the twine threaded through the compass charm.


The next stage was to work on the inside of the card.


The first step was to add some sentiments.


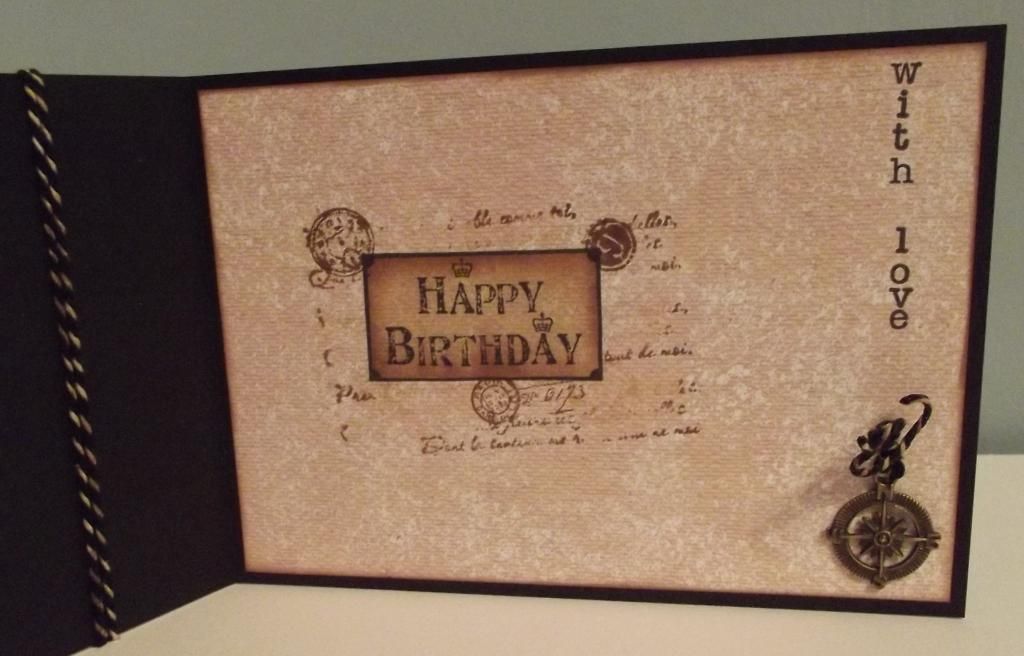
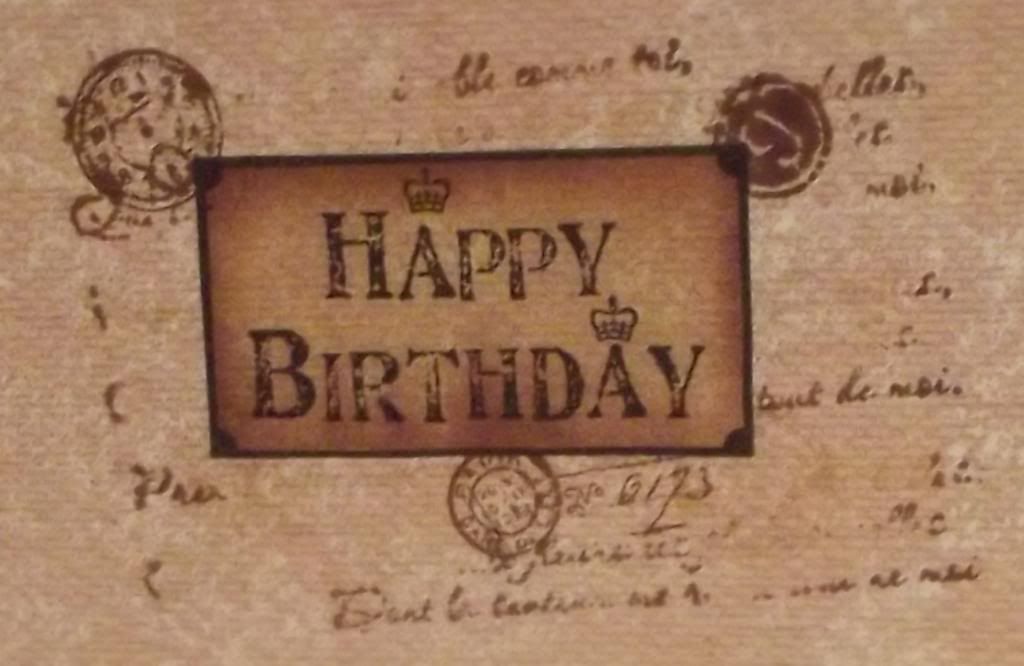
Firstly, the 'Happy Birthday' panel stamp, from the Papermania Portabello range, was stamped on the inside of the card using the Onyx Black ink. The panel was reverse masked and coloured using the Antique Linen and Walnut Stain inks. Using the positive mask, the panel was covered and overstamped using the postmark and clock stamps from the Tim Holtz Stampers Anonymous Visual Artistry stamp set, and the script stamp and number stamp from the Bo Bunny It's In The Words stamp set, all stamped using the two brown distress inks.


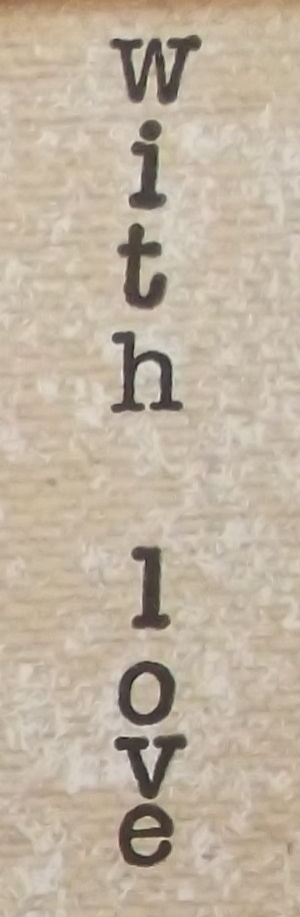
The final stage was to add a sentiment that could be read both when the card was open and closed. A line was drawn down the side of the card using a T-square ruler and a pencil, and, using individual alphabet stamps from a Studio G/Hampton Art alphabet stamp set and a Stamp-a-ma-jig, the sentiment 'with love' was stamped down the side of the card using Memento Tuxedo Black dye ink.


Versafine Onyx Black ink would have been better, but the Memento was out on my desk from when I had stamped the alphabet stamps onto the plastic sheet of the Stamp-a-ma-jig, and was used by mistake!

Here are the challenges that I am entering this card into:

A Girl Who Crafts - Anything Goes
Crafts Galore Encore - Anything Goes
Crafty Hazelnuts Patterned Paper - Anything Goes (Not Square)
Creative Craft Cottage - #31 - Anything Goes
Mema's Crafts - Anything Goes
Seema Crafts - Anything Goes
The Sisters Of Crafts - Anything Goes
Bastel - Traum - Anything Goes
Vandicrafts Artistry - Anything Goes
Sweet Stampin' - Masculine
Art By Miran - Anything Goes
Jo's Scrap Shack - #71 - Anything Goes
Sister Act - #89 - Anything Goes
Wags 'n' Whiskers - #145 - Anything Goes
Aud Sentiments - #123 - Anything Goes
Dream It Up! - Birthdays
Little Miss Muffet - #102 - Anything Goes
Scrap & Craft - #1 - Anything Goes
Baffies Kreativladen - #40 - Anything Goes
The House That Stamps Built - #114 - Black, Brown and White
Penny's Paper-Crafty - #210 - Anything Goes
Simon Says Stamp - It's A Guy Thing
Whimsy Stamps - #78 - Anything Goes
Cardz 4 Guyz - Happy Birthday
Inky Chicks - #45 - Anything Goes
Party Time Tuesdays - #194 - Anything Goes
Through The Craft Room Door - Anything Goes
Crafting From the Heart - #42 - Anything Goes
Sparkle N Sprinkle - Anything Goes (Glitter, Embossing Powders, Flock)
Squigglefly - #2 - Anything Goes
The Paper Nest Dolls - #1 - Anything Goes
Whoopsi Daisy - Anything Goes
Robyn's Fetish - #247 - Vintage Look

Saturday, 25 September 2010

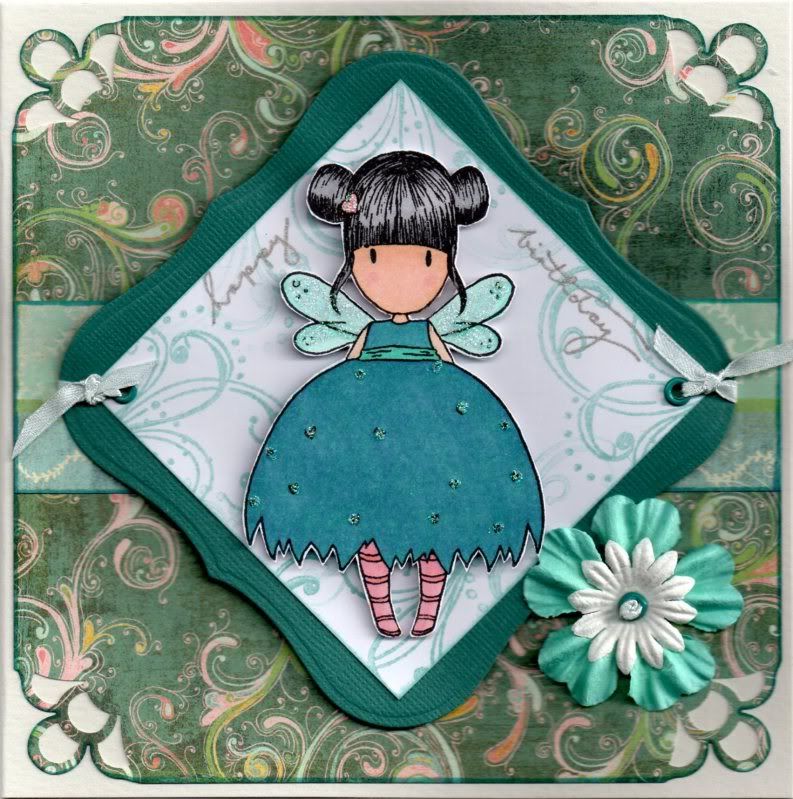
Teal, Pink and Turquoise Bumble Bee Gorjuss Girl

This is one of my favourite Gorjuss Girl images. This image was stamped at Julie's house last August using one of Julie's stamps! I really can't believe how long ago that was now - over 13 months!!!


The Bumble Bee Gorjuss Girl image was stamped using Versafine Onyx Black archival pigment ink, coloured using Copic sketch markers:
  • Hair: N1, N3, N5
  • Skin: E00, E21, E51, R20
  • Socks/Hearts: R20, YR02
  • Dress: BG13, B45
  • Wings: BG11, BG13

and cut out.

A panel of white card was cut out and stamped using one of the flourish stamps from the Autumn Leaves  v1 Flourish Rhonna Farrer stamp set and ColorBox Celadon pigment ink. This was then matted onto a panel of blue Core'dinations card die cut using a Labels 1 Nestabilities die.

A panel of the Spumoni paper from the much underused Basic Grey Two Scoops paper pad was cut and the corners punched using the Martha Stewart Double Loops corner punch.

A strip of the Ice-Cream Parlour paper, from the same paper pad, was adhered across the centre of the punched panel and matted on to the card blank.

The Gorjuss Girl image was placed over the white stamped panel and the 'Happy Birthday' words, from the Woodware Jane's Script sentiments stamp set were stamped either side of the image using the Versafine Smokey Gray archival pigment ink and traced over using the Sakura clear Stardust pen.

Holes were punched in two corners of the Label shape using the Big Bite and small teal Papermania eyelets were set in the holes and light blue satin ribbon was knotted through them.

The Gorjuss Girls image was then added to the centre of the panel using 3D foam pads and Craft Planet Iridescent Sparkle glitter glue was added over the wings, small heart and dress hearts of the image.

A white Papermania Imaginisce paper flower was layered over an aqua Prima flower and a small teal Papermania eyelet was added to the centre. A length of the light blue ribbon was knotted and threaded through the centre as a finishing touch.

Thursday, 9 September 2010

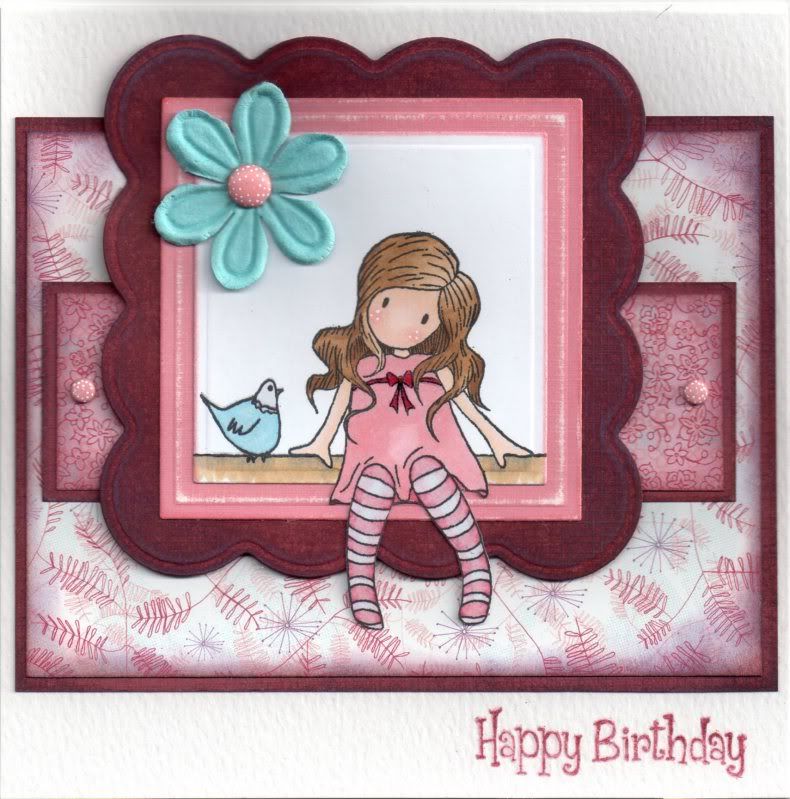
Pink, Burgundy and Blue Little Birdie Gorjuss Girl

Here is a card I made for my great-aunt in Canada - hopefully she'll like this image!


The 'A Little Birdie Told Me' Gorjuss Girl image, from Sugar Nellie, was stamped using Memento Tuxedo Black dye ink and coloured using Copic markers:
  • Hair: E21, E31, E35, E57
  • Skin: E00, E21, E51, R20
  • Dress/Socks: R20, R39, C0
  • Bird: B02, C0
  • Shadow: N3, E31
The image was then die cut using the 'out of the box' technique and a standard square Nestabilities die.

A larger square was cut from candy pink textured card from Papermania and the edges were scuffed using the Basic Grey precision file set. A big scalloped square was then die cut from the dusky red textured card from Papermania, scuffed with the precision file set and coloured with the Tim Holtz Dusty Concord and Fired Brick distress inks.

A panel of the Felicity paper from the Basic Grey Euphoria paper pad was matted onto a similarly distressed mat of the dusky red textured card, as were two small panels of the Utopia paper from the same paper pad.

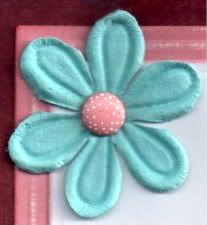
A Prima paper flower from the Botanical Mix tub was added to the image panel using a large pink Papermania brad, and two small pink Papermania brads were added to the two small panels of Utopia paper. The brads were then highlighted with small dots using the Papermania Snow White gel pen.


The sentiment, from the Papermania Clare Curd Sentiments stamp set, was stamped in the bottom corner of the card blank using Versafine Crimson Red archival pigment ink and traced over the top with a Sakura Clear Glaze pen, as was the red bow on the dress.

I will be entering this card into a few blog challenges:

Wednesday, 4 August 2010

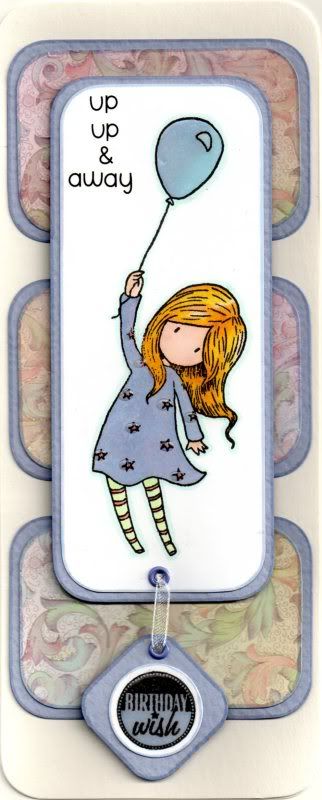
Lilac Up, Up and Away Gorjuss Girl

This is my entry to this week's Simon Says blog challenge, which has a theme of 'Sing It Baby'.

Now, apparently, Nancy Sinatra sang 'Up, Up & Away' so this seems perfect!!


The Up, Up and Away Gorjuss Girl image, from Sugar Nellie, was stamped (at Julie's) using Versafine Onyx Black archival pigment ink and coloured using Copic Sketch markers:
  • Hair: Y08, Y17, YR02, E41
  • Skin: E00, E21, E51, R20
  • Balloon: B41, BV00
  • Dress: B41, BV00, R20, YR02
  • Socks: YG11, R20, YR02
  • Outline: BG11
The image was cut out and the corners rounded using the large XCut corner rounder punch. The image was matted onto lilac card and the sentiment was added using the Doodlebug Beetle Black Simply Sweet alphabet rub-ons.

Three panels were cut form the lilac, pink and green botanical flourish paper from the DCWV Once Upon A Time mat stack and matted onto the lilac card.

The 'Birthday Wish' circle sentiment was stamped onto white card using the Onyx Black ink and coloured using the Copic markers
  • Circle Sentiment: BV00, B41
A square was cut from the lilac card and the corners rounded with the XCut punch. Holes were punched in the bottom of the image panel and in the top of the square. Small lilac Papermania eyelets were set in the holes and white organza ribbon was threaded through creating a dangling sentiment panel.

The image panel was matted over the three panels and Anita's 3D Gloss was added over the balloon, dress stars and circle sentiment.

Thursday, 15 July 2010

I've Got My Craft Room Back!!

Managed to get my craft room back yesterday and it's never looked so tidy!! Actually managed to make a start on a card too. Coloured a beautiful Gorjuss Girl image using my Copics - will upload the card when it's finished!!

I will hopefully manage to upload some older cards this week too!

I've also recently discovered that my camera is broken. The cover of the battery bit has broken and it switches on but switches straight back off again. Need to take it to a camera shop and see if it can be repaired or if I am in the market for a new one.

Thursday, 25 March 2010

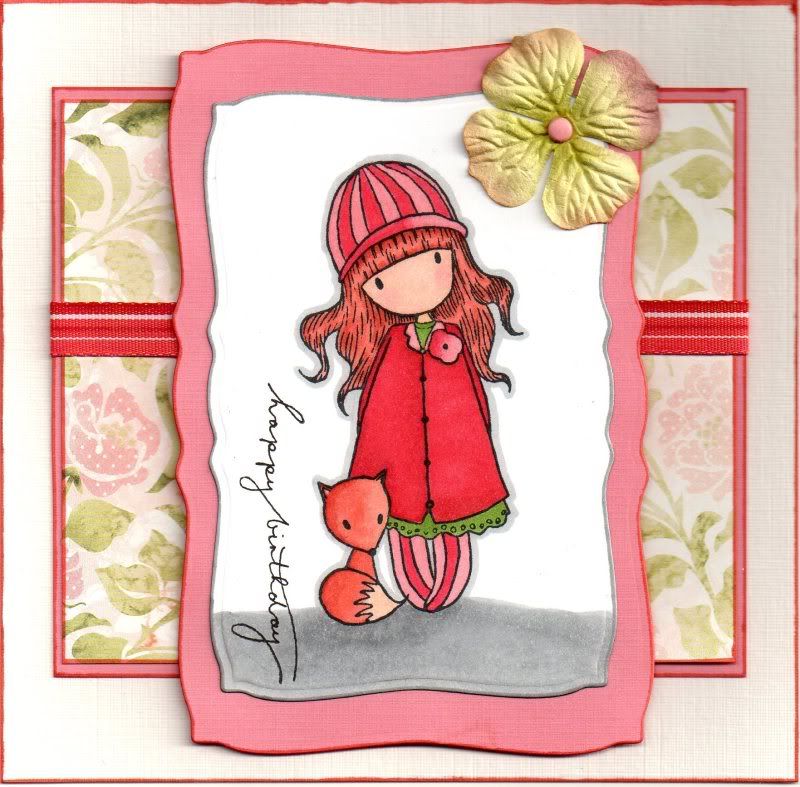
Pink, Red and Green Gorjuss Girl with Fox

Here is my latest Copic project using the lovely Gorjuss Girl with Fox from Sugar Nellie.

It is also my entry to the current Quirky Crafts blog challenge, which is Flowers this fortnight.


I started by stamping the Gorjuss Girl image with Memento Tuxedo Black dye ink and coloured using my Copic Sketch markers.
  • Hair: E02, E07, YR02
  • Face: E00, E02, E11, R20
  • Coat: R24, R29, E07
  • Hat/Socks/Flower: R20, R24
  • Dress: YG17, G85
  • Fox: YR02, E07, E51
  • Shadows: N3, N5
  • Highlights: N3
The image was then cut out using a mega rectangle Nestabilities die and matted onto a larger pink panel. The sentiment was then stamped up the side of the image using the 'Happy Birthday' stamp from the Woodware Jane's Script Sentiment stamp set with Versafine Onyx Black archival pigment ink.
A green Prima hydrangea paper flower was attached to the top corner using a small pink brad.
A panel of the Rochelle paper from the Basic Grey Porcelain paper pad was matted onto the pink card and a length of the red striped grosgrain ribbon from the Chatterbox Scarlet ribbon pack was adhered across the centre.

Wednesday, 24 March 2010

Teal, Green and Pink Sitting Gorjuss Girl and By The Cute and Girly Challenge

Here is another of my Copic coloured cards - I'm very proud of this one and it uses one of my favourite colour combinations (at least for this week!)

I am also entering it into the By The Cute and Girly blog challenge (a new one for me) and their current monthly challenge is 'Spring Is In The Air'.

I started by stamping the Sitting Gorjuss Girl image from Sugar Nellie using Memento Tuxedo Black dye ink and coloured using my Copic sketch markers.
  • Hair: E02, E07, YR02
  • Face: E00, E02, E11, R20
  • Dress: BG11, BG13, BG49
  • Socks: YG11, YG17
  • Highlights: N1 (not as noticeable in the picture as in real life)
  • Shadows: N3, N5
The image was then cut out using the Nestabilities Label 3 die and matted onto a teal blue panel.
A panel was created using two co-ordinating papers from the Making Memories Funky Vintage Ruby Collection paper pad and a strip of green paper, and a length of white twill ribbon was attached across this, having been knotted first.
Three Papermania paper flowers were colour tinted with the Copic markers* and attached to the bottom corner of the card. Small self-adhesive pearls were then attached to their centres.
The sentiment tag, from Stamps Away, was stamped using Versafine Onyx Black archival pigment ink and coloured using the Copics.
  • Tag: BG11, BG13, BG49
A hole was created in the top of the tag and white embroidery thread was threaded through and attached between the flowers.
* I don't recommend this as the paper tends to fluff up and get stuck to the nib of the pen!!!

Monday, 8 June 2009

Black, White and Blue Gorjuss Girl Sitting With Bird

Here's another of those cards I've been holding on to until I know the recipient (Loretta) has received it.

I wanted to make a card for her birthday using another of my newest stamps, the Gorjuss Girl Sitting with Bird, from Sugar Nellie and available from Funky Kits.

I decided to go with a monochrome colour combo with a hint of blue.

I started by stamping the Gorjuss Girl Sitting with Bird using Versafine Onyx Black pigment ink then watercoloured it using the Whispers Brushstrokes markers. The sentiment, from the Making Memories Express It! stamp set. was then added to the image panel using the Onyx Black ink. This panel was matted onto black card.

A panel of patterned paper from the Papermania Ivory and Black Creative Tones paper pad was cut to size and the large daisy was watercoloured blue using one of the Whispers Brushstroke markers. The Making Memories Notch and Die tool was used to create slots either side of the daisy to allow the light blue organza ribbon to be threaded through and attached on the reverse of the panel. This was then matted onto a panel of the solid blue paper from the Papermania Citrus Colossal paper pack.

A scalloped circle was cut from the blue striped paper from the Papermania Citrus Colossal paper pack using one of the Nestabilities scalloped circle dies. A clear faux gem was attached within alternate scallops. This was then cut in half and attached behind the ribbon.

The image panel was attached over the semi-circles and mini clear faux gems were attached in the centre of the daisy.

For the inside of hte card, I used the outside of the scalloped circle cut for the front of card, matted over a piece of white paper and a square of black card. The sentiment was stamped using the 'Happy Birthday' stamp from the Hero Arts Birthday Messages stamp set and the Onyx Black ink. This was matted over patterned paper to match that used on the front of the card.
The 'Handmade By' medallion was attached to the reverse of the card. It was made using a 'Handmade By' stamp from Oyster Stamps and the blue stripe paper used on the front of the card.

Tuesday, 19 May 2009

Pink, Lemon and Mint Gorjuss Girl Sitting with Bird

Hopefully I've managed to get this uploaded in time!! I had finished this on Thursday but have only just managed to get it scanned into my computer!!

This is the first Sugar Bowl Challenge I've entered (mainly because I've only recently bought some Sugar Nellie stamps!), and at first I thought I'd chosen the wrong combination of papers to make it, but I actually really like it now!

The challenge this week (#10) is based on a sketch by the lovely Marlene.


I decided to use one of my new stamps, namely the Gorjuss Girl Sitting with Bird, and the Basic Grey Two Scoops paper pad. The added extra for this challenge was to use buttons, so I decided to make some from one of the papers in the paper pad to ensure that they colour matched.


The Gorjuss Girl image was stamped using Versafine Onyx Black archival pigment ink and watercoloured using the Tim Holtz Distress inks (Scattered Straw, Tattered Rose, Frayed Burlap and Milled Lavender). The bird was also watercoloured and cut out, nand the Gorjuss Girl image was cut into a rectangle.
Papers from the Basic Grey Two Scoops paper pad were colour tinted around the edges using the distress inks (Tattered Rose, Shabby Shutters and Scattered Straw) and the edges of the yellow/pink panel were also coloured using Whispers Green Green permanent dye ink. The green strips were then overstamped using the RicRac ribbon stamp from the HOTP Stitches stamp set.
A 6" square lemon yellow card blank was made from the Papermania Textured cardstock pack, and the edges were coloured using the Scattered Straw ink. The papers were then adhered to the card blank following the sketch as seen above.
Faux buttons were made from the yellow patterned paper by stamping the large button from the See D's Vintage Morsels Collection stamp set, and green embroidery thread was threaded through the holes that were made using a piercing tool.
Using the medium Flowers and Branch Sizzlit die, a branch and flowers were cut from the BG Two Scoops papers and colour tinted using the distress inks.
The 'Celebrate' word, from the Making Memories Express It! stamp set, was stamped using the Versafine Onyx Black ink and cut out into a tag shape. This was then matted onto the yellow patterned paper, and the bird image adhered to the tag.
Pictures of the inside and reverse to be added later.......

Thursday, 26 March 2009

Sugar Nellie Blog Candy - Gorjuss Girls Set 2 - CLOSED

There is an opportunity for us all to get our hands on the second set of the beautiful 'Gorjuss girls' over on the Sugar Nellie blog.

In order to have a chance, you have to leave a comment telling what your favourite chocolate/sweets are.

Pop over here and leave your comment.
Blog Widget by LinkWithin