Pages

WELCOME

This blog was created to act as a record of the cards and other projects that I have made. It is for both my own reference and to help inspire anyone who wants to take a look.

I'd love it if you'd leave me a comment so that I know what you think of my projects and that you've been to visit!

Anyone can comment, even those who don't have a blog. (Just look for the word 'Comments' under the three little pictures at the end of each post). Readers without a blog can add an anonymous comment, but please leave your name (and docrafts username if applicable) so I know who you are!

Slideshows of all the cards I've uploaded to my blog can be found at the bottom of the page.


PEOPLE WHO FOLLOW MY BLOG

Showing posts with label Glitz It. Show all posts

Tuesday, 2 August 2011

Red and Green Butterfly Scalloped Circle

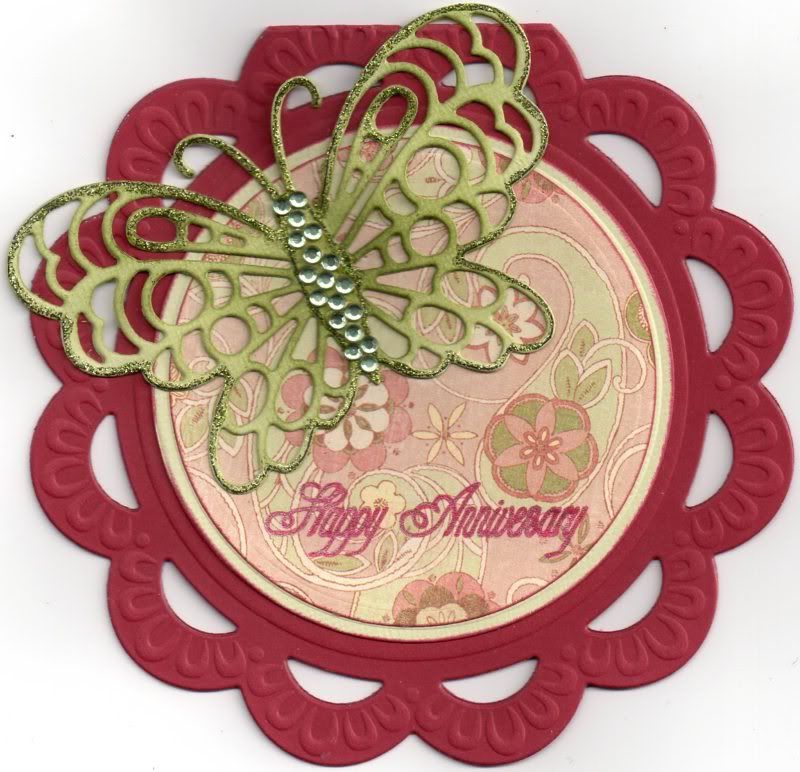
Here is the anniversary card that I made for the in-laws. It's their 48th wedding anniversary this year.


The card blank was created by die cutting it with the Marianne Creatables Frame Circle die and it was then embossed.

Layers were die cut using circle Nestabilities dies, cut from pale green linen card and the floral paisley paper from the K&Co Classic McKenna paper pad. These were matted together in the centre of the card.

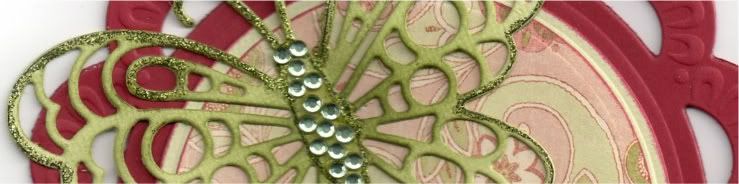
A butterfly was die cut using the Marianne Creatables Butterfly 2 die from the light green card and coloured with the Marvy Matchables Jungle Green dye ink with a shaving brush and then outlined with Glitz It Pear Green glitter glue.

Small light green gems from the Anita's Gem Wheel were then added along the body of the butterfly.


The sentiment, from Stamps Away, was stamped onto the patterned paper using Versafine Crimson Red archival pigment ink but as it didn't show up too well, I traced over the top with a red Sakura Stardust pen.

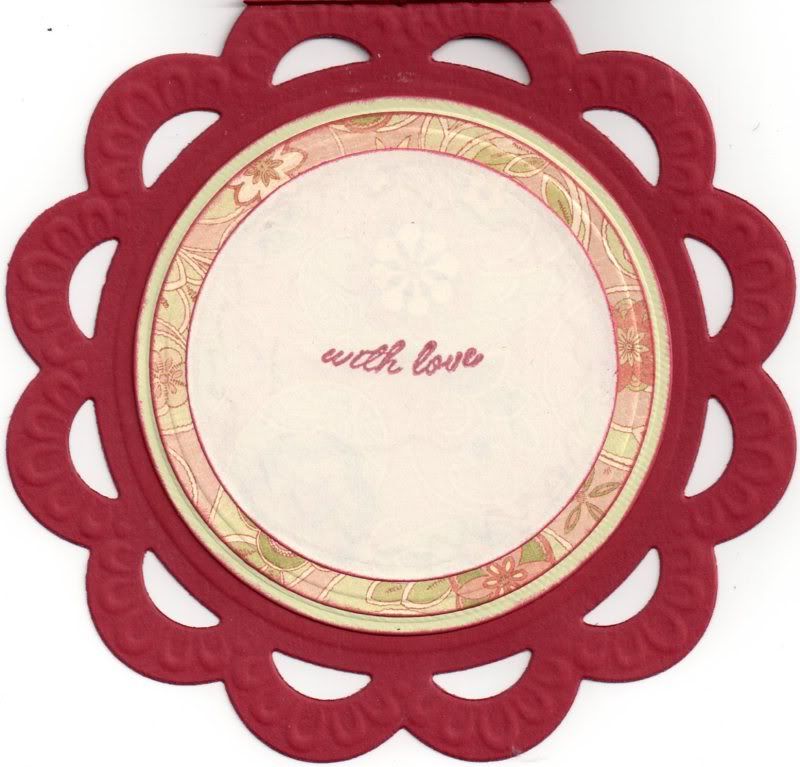
I also decorated the inside of the card using circles of the green card and patterned paper, and the sentiment, from the Papermania Mix and Match Scrolls and Sentiments stamp set, was also stamped using the Crimson Red ink.

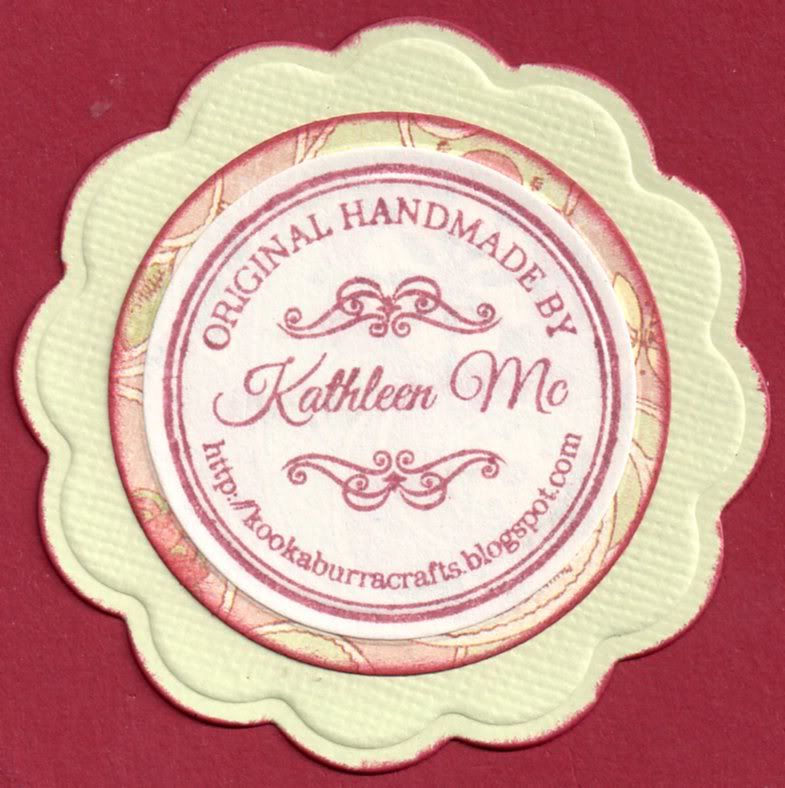
And I finally got to use my new personalized stamp that I bought from this ebay seller. I stamped it up with the Crimson Red ink and matted it onto the patterned paper and green card die cut with Nestabilities Circle and Big Circle dies.

Here are the blog challenges I am entering this card into:

Friday, 8 April 2011

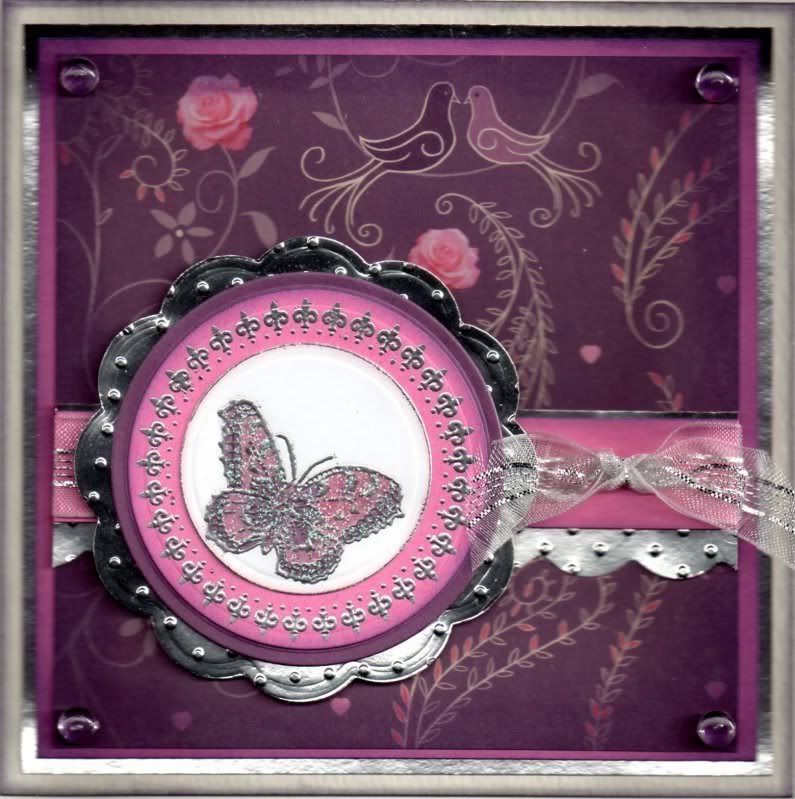
Mauve, Pink & Silver Butterfly Frame

Thought it was about time I uploaded this card to my blog. I made it last year but for some reason it's been sat in my drafts for a while.


A circle was die cut from white card using a Nesties die and the butterfly image from the Penny Black Enjoy Life stamp set was stamped using Versacolor Black pigment ink and heat embossed with PSX silver embossing powder. The image was then coloured using Copic sketch markers and highlighted with Glitz It Lilac glitter glue.

The edge of the circle was then lightly coloured with Tim Holtz Dusty Concord distress ink and silver embossed.

The Fleur de Lys circle frame stamp, from the Papermania Hampstead Icons and Sentiments stamp set, was stamped and silver heat embossed onto pink card and die cut using a circle Nesties die. This was matted onto a die cut mauve circle and a Big Scalloped circle die cut from silver mirror card and embossed with the Swiss Dots Cuttlebug embossing folder.

A panel of the mauve patterned paper, from a pad of Kate Knight designed papers I got free with a magazine, was distressed around the edges with the Dusty Concord and Black Soot Tim Holtz distress inks.

A strip of the silver mirror card was punched with the XCut Scallop border punch and embossed with the Swiss Dots embossing folder. A strip of the pink card was matted on top and a length of white and silver organza ribbon was tied around it.

The strip was added across the patterned paper panel and this in turn was matted onto panels of the pink and silver mirror card.

Clear 'Patti's Pretties' dewdrops were then added in each of the corners of the patterned paper.

Here are the blog challenges I am entering this card into:

Wednesday, 9 March 2011

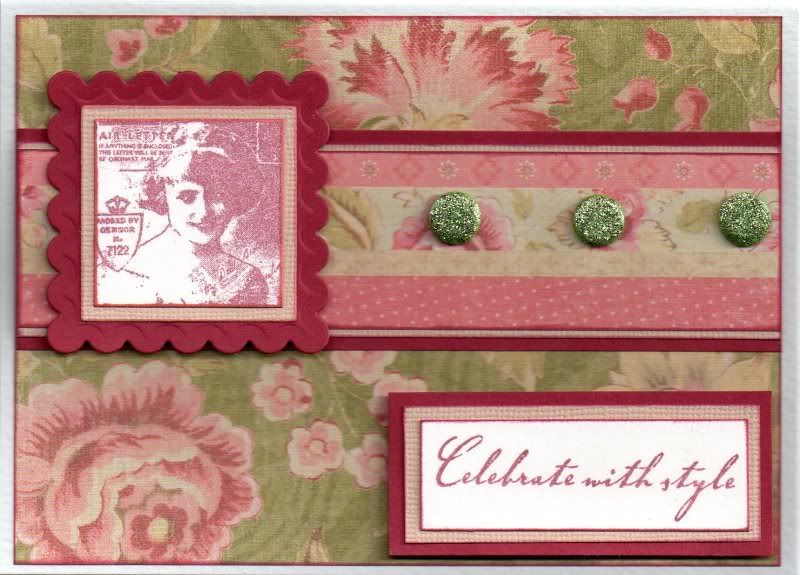
Red and Green Vintage Lady

Here's another of my older cards from last year that I didn't get around to uploading.

I am loving this colour combo and will have to get these papers out again!


The Vintage Lady image, from the Vintage Postage Ladies stamp set from Crafty Individuals, was stamped onto cream card using Versafine Crimson Red archival pigment ink and cut out using the Square Stamp die from Cuttlebug. This was then matted onto a square of beige Core'dinations card and a scalloped red square, both cut using Nestabilities.

A strip of the multi ribbon strips paper from K&Co Classic K McKenna paper pad was matted onto the beige and red card, and then onto a panel of the green large floral paper also from the McKenna paper pad.

The stamped image was attached over the ribbon strip paper and three olive green card candy from Craftwork Cards were attached along the ribbon paper panel. The card candy were covered with Glitz It Pear Green glitter glue to make them nice and sparkly.

The sentiment panel was created by stamping the sentiment from the Hero Arts Birthday Messages stamp set using the Crimson Red ink onto the cream card which was then matted onto the beige and red card.

Here are the blog challenges I am entering this card into:

Saturday, 12 February 2011

Green, Cream and Gold Christmas Tree

Here is the green version of the earlier red version of this card.


The Christmas Tree image, from the Papermania Silent Night Icons stamp set, was stamped using Versacolor Black pigment ink and then embossed using Heat It Up! gold embossing powder.

The panel was then distressed using Tim Holtz Forest Moss and Peeled Paint Distress inks and then overstamped using the Pine Cones and Branch stamp from the Silent Night Icons stamp set and the Forest Moss ink. The image was then matted onto olive green card.

The decorative border image from the same stamp set was stamped using the black ink and gold embossed and matted onto the olive green card.

A panel of the green and cream stripe paper from the Dovecraft Noel paper pad was embellished with Glitz It Pear Green glitter glue and the border strip was matted over the join. The image panel was then matted over the top.

The sentiment, from the HOTP Christmas Sentiments stamp set, was stamped using the black ink and gold embossed.

Thursday, 3 February 2011

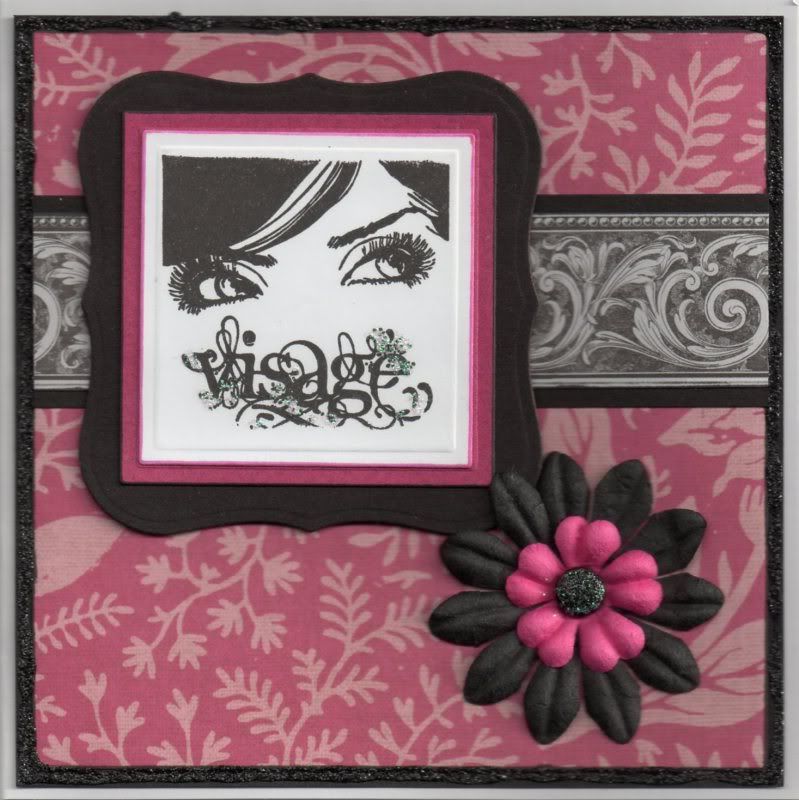
Pink and Black Visage Eyes

Well, here is my first card of 2011!

I needed to make a couple of cards in double-quick time and decided to use this beautiful stamp that came free with the September 2010 Craft Stamper magazine.


The image, from The Stampman, was stamped using Versafine Onyx Black archival pigment ink and die cut using a square Nestabilities die. This was matted onto cerise and black card panels, also die cut using Nestabilities.

A strip of the black Scroll Border paper from the Papermania Mono Capsule Collection pad was matted onto the black card and across a panel of the cerise Dahlia and Fern paper from the Papermania Red Hot Capsule Collection pad.

Pink and black paper flowers, from the Prima Botanicals Mix, were added to the panel using a large black Papermania brad.

The stamped image was highlighted with Craft Planet Iridescent Sparkle glitter glue, and Glitz It Black glitter glue was added to the centre of the brad and around the large black panel.

Here are the challenges that I am entering this card into:

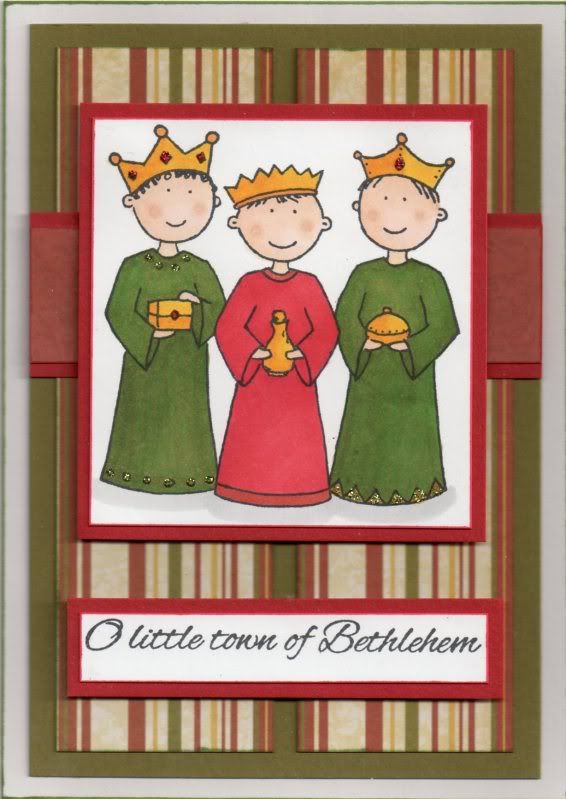
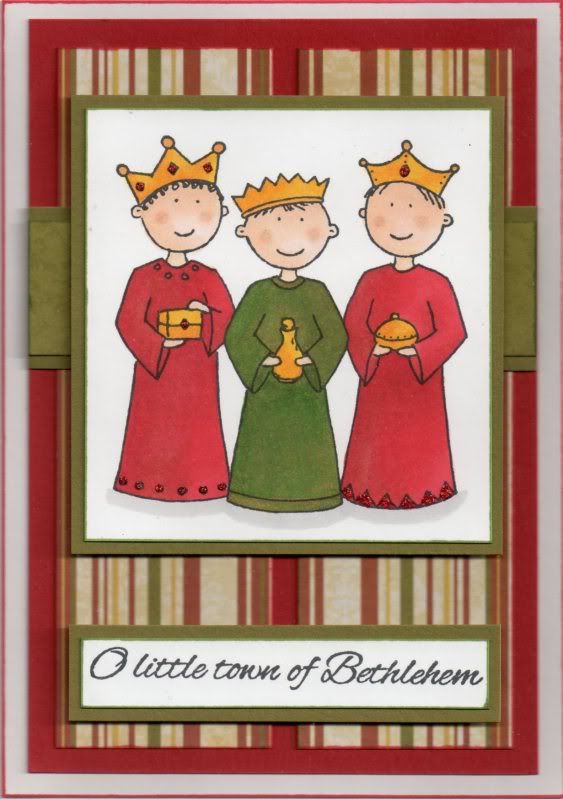
Green and Red Three Kings

And so onto the next in the series of Christmas cards. This was the only card design I made using my Copics and is the design I sent to the parents.


The Three Kings image, from Elzybells, was stamped using Memento Tuxedo Black dye ink and coloured using Copic sketch markers:
  • Crowns/Gifts: Y08, Y17, R29, E07
  • Green Robes: YG67, G05, Y17
  • Red Robes: R24, R29
  • Skin: E00, E21, E51, E13
  • Shadow: N1
Highlights were added to the crowns and gifts using the yellow and orange Sakura Stardust pens, and the robes were highlighted with Craft Planet Red glitter glue and Glitz It Pear Green glitter glue.

The image was then matted onto red card.

A strip of the red flourish paper from the Dovecraft Noel paper pad was matted onto the red card. Two panels of the multi stripe paper were matted onto olive green card and the red panel matted across it.

The sentiment, also from Elzybells, was stamped using the Tuxedo Black ink and matted onto the red card. The image panel was matted over the red panel, and the sentiment below it.

I also made this in the reverse colourway:

Saturday, 11 December 2010

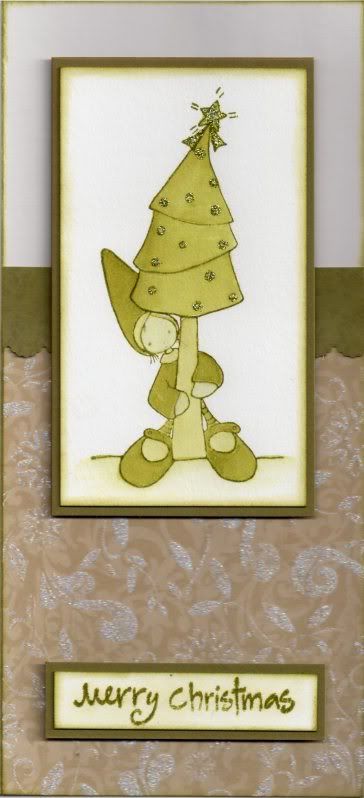
Green and Glitter Wee with Christmas Tree

Here is the first of my Christmas cards that I've actually managed to scan in!!!

I love this image and decided, due to time constraints, to stamp and colour it in using just one inkpad.


The Wee With Christmas Tree image, from Whiff of Joy, was stamped using Tim Holtz Peeled Paint distress ink and watercoloured by dragging the colour from the outline and adding extra colour where needed.

The tree image was then highlighted using Glitz It Pear Green glitter glue and matted onto olive green card.

A panel of the cream glitter flourish paper from the Dovecraft Noel paper pad was adhered to the card blank. A strip of the green flourish paper from the same paper pad was then punched using the scalloped scallop border punch from EK Success and matted over the join.

The sentiment, from the Dovecraft Studio G Stylized Tree stamp set was stamped using the Peeled Paint ink and matted onto the olive green card and positioned at the bottom of the card, and the image panel over the strip of punched paper.

Here are the challenges that I'll be entering this card into:

Monday, 22 November 2010

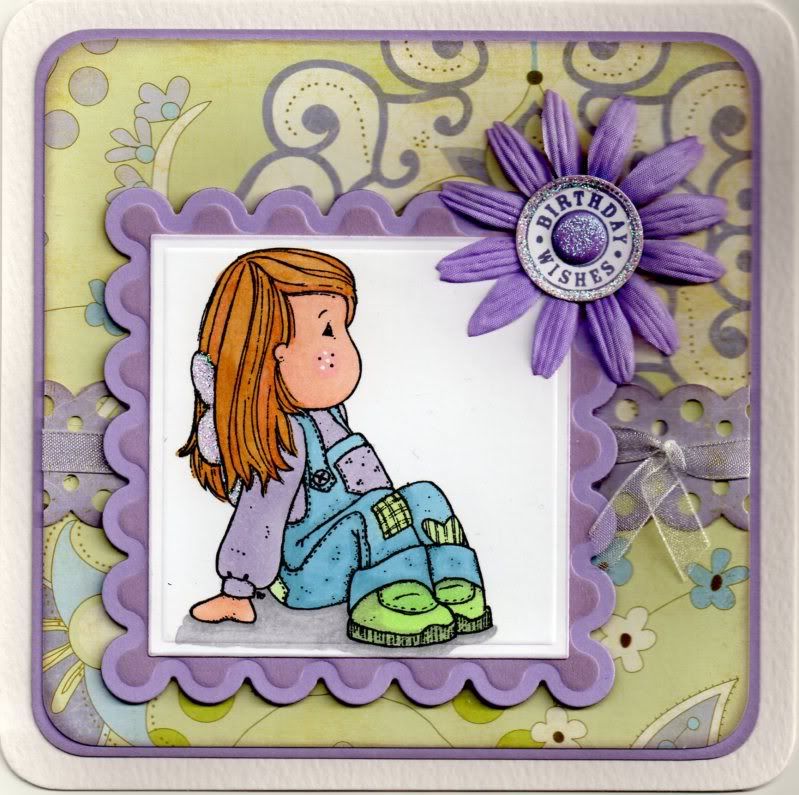
Lilac and Green Picnic Tilda

Here is another of my older cards that I haven't got arund to blogging up until now. I used the lovely Lily Kate papers from Basic Grey and an older Tilda stamp from Magnolia.


The Picnic Tilda image, from Magnolia, was stamped using Memento Tuxedo Black dye ink and coloured using Copic Sketch markers.
  • Hair: Y00, YR02, E21, E35
  • Skin: E00, E02, E21, R20
  • Jumper: BV00, BV31
  • Dungarees: B41, B93
  • Patches: G12, YG11, BV31
  • Shoes: YG11, G12, N3
  • Wings: BV31, C0
  • Shadow: BV00, N3
Highlights were added to Tilda's cheek using a Papermania Snow White gel pen.

The image was cut out using a standard square Nestabilities die and matted onto a scalloped square cut from lilac card and distressed with Tim Holtz Milled Lavender distress ink.

A panel of Mia paper from the Basic Grey Lily Kate paper pad was matted onto the lilac card. A strip of the Rain paper, from the same paper pad, was punched along both edges using the Scallop Dot border punch, from Martha Stewart, and a length of lilac organza ribbon was tied around this and matted across the Mia panel.

The 'Birthday Wishes' circle sentiment from the Hero Arts Birthday Messages stamp set was stamped onto white card using the Versafine Imperial Purple archival pigment ink and cut out using a circle Nestabilities die. This was adhered to the centre of a lilac Papermania silk flower and a lilac card candy from Craftwork Cards was added to the centre and attached over the corner of the Tilda image panel.

Lilac Glitz It glitter glue was then added to Tilda's wings, around the circle sentiment and to the card candy.

Here are the blog challenges that I am entering this card into:

Monday, 27 September 2010

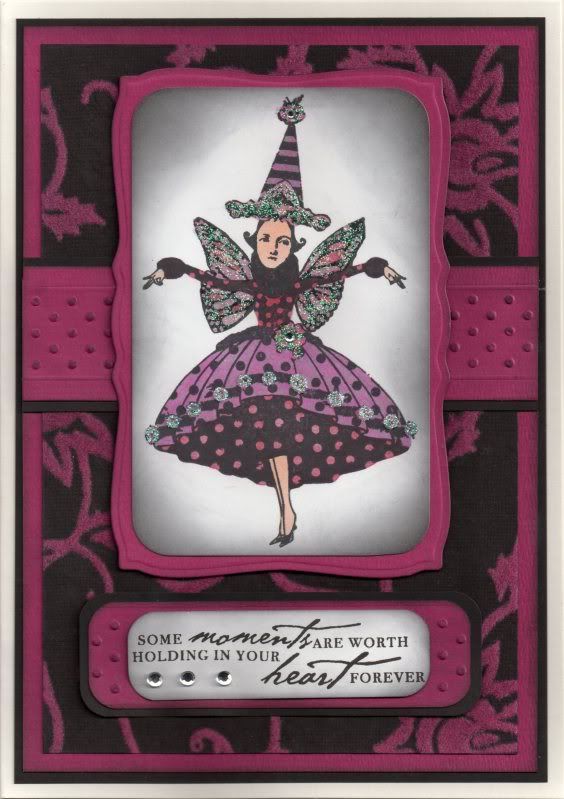
Pink and Black Blythe Moments

This is the card that I made for my sister's birthday. She's a bit of an artist so thought she'd appreciate this quirky image. A bit of change from the Tilda card I sent her last year!!

The Blythe image, from Stampington and Co, was stamped using Memento Tuxedo Black dye ink and coloured using Copic sketch markers:
  • Hat: RV06, RV21, RV34, N3
  • Dress/Butterfly: R39, RV06, RV21, RV34, N1, N3
  • Skin: E00, E21, E51, R20
  • Shoes: N3
The corners were rounded using the XCut large corner rounder punch and the edges distressed using Tim Holtz Black Soot distress ink. This was then matted onto a pink panel die cut using the Mega Curved Rectangles Nestabilities die.

A panel of the pink and black passionflower paper from the Papermania Classical Handmade paper pack was matted onto the pink and black cardstocks. A strip of the pink card was embossed using the Swiss Dots-like border embossing folder from the Cuttlebug Just My Type border set. A line was embossed either side of the dots and distressed wit hthe Black Soot ink. The strip was then matted onto black card and across the handmade paper panel.

The sentiment, from the Hero Arts Anytime Messages stamp set was stamped using Versafine Onyx Black archival pigment ink and distressed using the Black Soot ink, as was the embossed pink panel.

The image panel was matted over the embossed strip and the sentiment added below it.

The image panel was highlighted with Glitz It Light Purple glitter glue, and Papermania silver self-adhesive gems were added to the flowers and the sentiment panel.
 
 
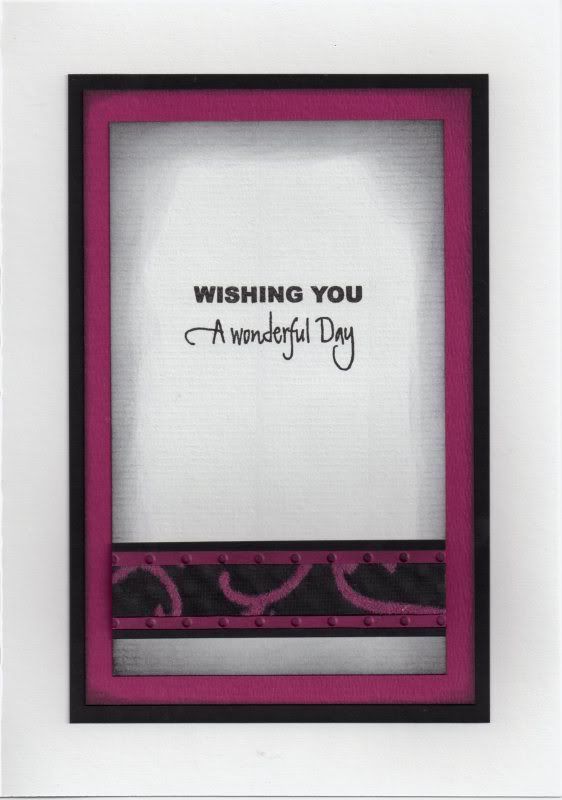
The inside of the card was also decorated using the pink and black card and a strip of the passionflower paper. The sentiment was stamped using stamps from the Elzybells Swirly Sentiments stamp set and the Onyx Black ink, with the edges of the sentiment panel distressed with the Black Soot ink.

Here are the challenges I'm entering this card into:

Tuesday, 3 August 2010

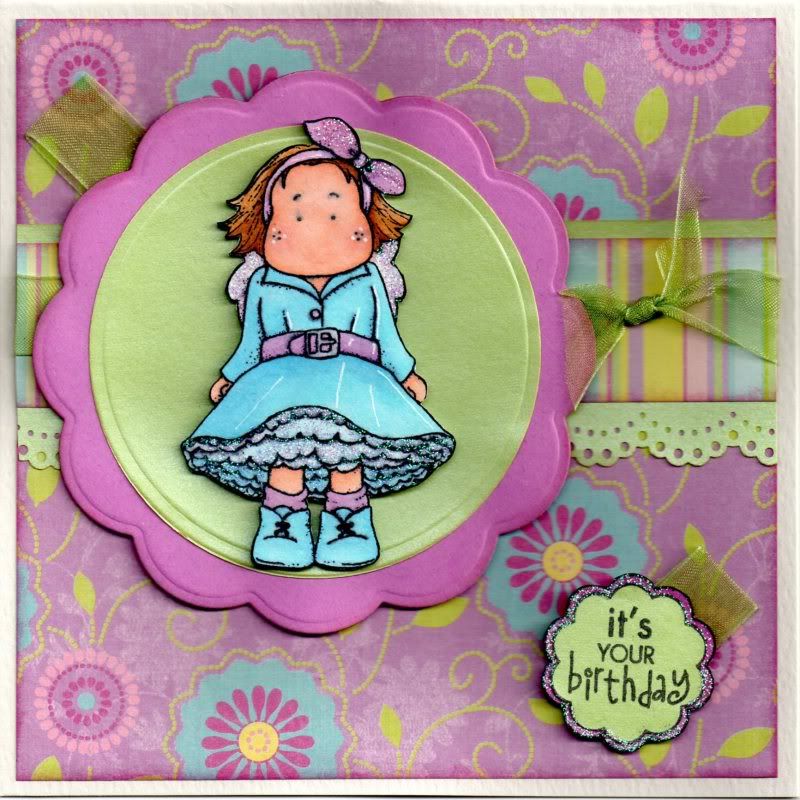
Lilac, Blue and Green Tilda with Ruffled Skirt

The Tilda with Ruffled Skirt image, one of my all-time favourite Tilda images, was kindly donated by Tara Welch in an image swap we did some time ago. I think the dress looks like a perfect party dress!

I made the card for my young cousin and am entering it into a few blog challenges:

The image was coloured using the Copic sketch markers:
  • Hair: E21, E35, E57
  • Skin: E00, E02, E21, R20
  • Bow/Belt/Socks: RV21, V12, BV31
  • Wings: RV21, BV31, C0
  • Dress/Shoes: B00, B12, B41
Highlights were added to the image using the Papermania Snow White gel pen and cut out.

A strip of the multi-stripe paper from the K&Co Sparkly Sweet paper pad was matted onto a strip of Anita's Lime Green pearlescent paper that was punched along the lower edge using the Martha Stewart Doily Lace border punch. A length of Dovecraft Spring Green organza ribbon was tied around the panel and then adhered across a larger panel of the lilac floral swirl paper from the same paper pad.

A circle of the green pearlescent paper was cut and embossed using a Nestabilities die, and matted onto a Big Scalloped Circle cut from lilac card, also cut and embossed using a Nestabilities die. A loop of the green ribbon was added to the reverse of the panel and the image panel was attached over the ribbon panel.


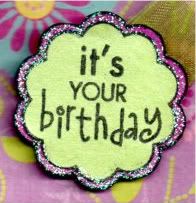
The sentiment panel was created by stamping the circle sentiment from the Hero Arts Birthday Messages stamp set using Versafine Onyx Black archival pigment ink onto the green pearlescent paper and cutting the inner shape out. This was then matted onto the whole lilac sentiment, giving the sentiment a lilac border. A small loop of the green ribbon was attached to the reverse of the sentiment and attached to the card in the bottom right hand corner.

The Tilda image and the sentiment panel were then highlighted with Glitz It Lilac glitter glue.

Monday, 20 April 2009

Blue, Green and Yellow Nellie with Spring Flower

Here is my entry for this week's Stamp Something blog challenge. The theme for this challenge is a colour one - blue, green and yellow.

The Nellie with Spring Flower image by Sugar Nellie was kindly donated by Alex K.

The image was watercoloured using the Whispers Brushstroke markers and the blender pen. This was matted onto green paper and blue card. The blue flower and stripe paper from the Papermania Venetian Skies Creative Tones paper pad was matted onto the card blank and a strip of the outline flower paper from the same paper pad was watercoloured and matted onto it.
The journalling panel from the Papermania Sweet Nothings stamp set was stamped using Versafine Onyx Black Archival pigment ink, and watercoloured. The hearts were then highlighted with Glitz It Pear Green glitter glue and the sentiment was stamped onto the journalling panel using Versafine Spanish Moss Archival pigment ink. This was also matted onto the green paper and blue card.

The Pear Green glitter glue was added to the coloured flowers on the paper strip as well as the flower on the image panel.

Paper flowers (green from The Crafty Cow and Faded Jeans Blue from Papermania Imaginisce), were adhered to the top corner and Patti's Pretties (glass pebbles) were added to their centres.

I also decorated the inside of the cards, using a strip of the blue flower and stripe paper and the watercoloured outline flower paper as used on the front of the card.


The sentiment was stamped using the 'Happy Birthday' stamp from the Hero Arts Birthday Messages stamp set and ColorBox Prussian Blue Fluid Chalk ink.

Blog Widget by LinkWithin