Pages

WELCOME

This blog was created to act as a record of the cards and other projects that I have made. It is for both my own reference and to help inspire anyone who wants to take a look.

I'd love it if you'd leave me a comment so that I know what you think of my projects and that you've been to visit!

Anyone can comment, even those who don't have a blog. (Just look for the word 'Comments' under the three little pictures at the end of each post). Readers without a blog can add an anonymous comment, but please leave your name (and docrafts username if applicable) so I know who you are!

Slideshows of all the cards I've uploaded to my blog can be found at the bottom of the page.


PEOPLE WHO FOLLOW MY BLOG

Showing posts with label Memory Box. Show all posts

Thursday, 7 July 2016

30-Day Colouring Challenge - Day #3

Here is my entry for Day #3 of the 30-Day Colouring Challenge
I was out all day yesterday so didn't get a chance to do any colouring, but I did today. Yippee!
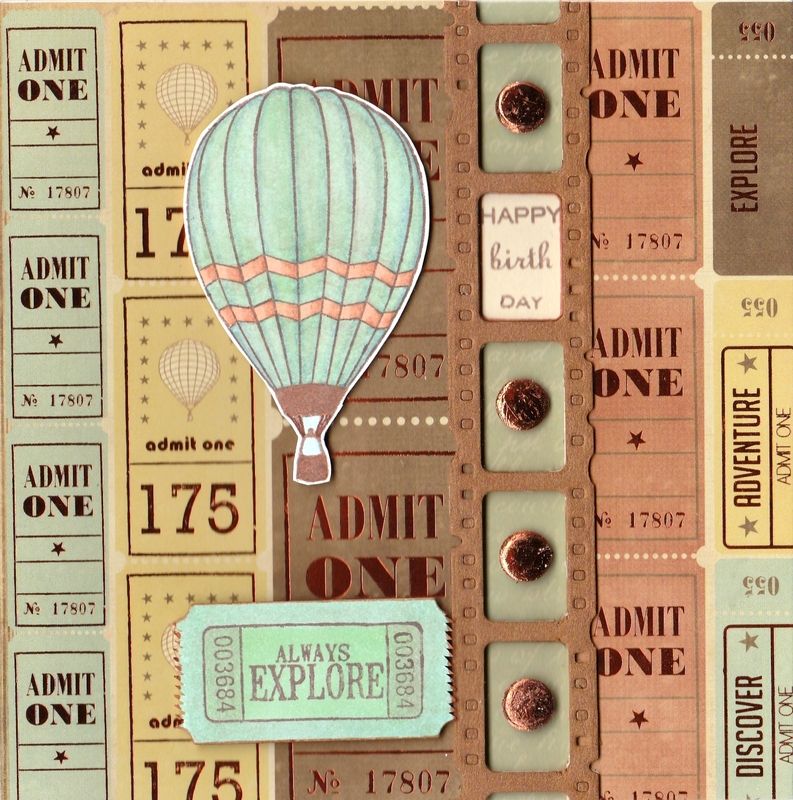

The image I coloured was from a stamp set that I bought at the Newbury Show on Saturday. I think it was a set of stamps that came free in Creative Stamping magazine but not sure.

Anyway, I began by creating a 'bridge' card. I covered the card front with a beautiful piece of foiled cardstock from the Kaisercraft Up Up and Away paper pad. Then I chopped the right had side of the card front off and a section to the right of that panel the width of the gap I wished to create.

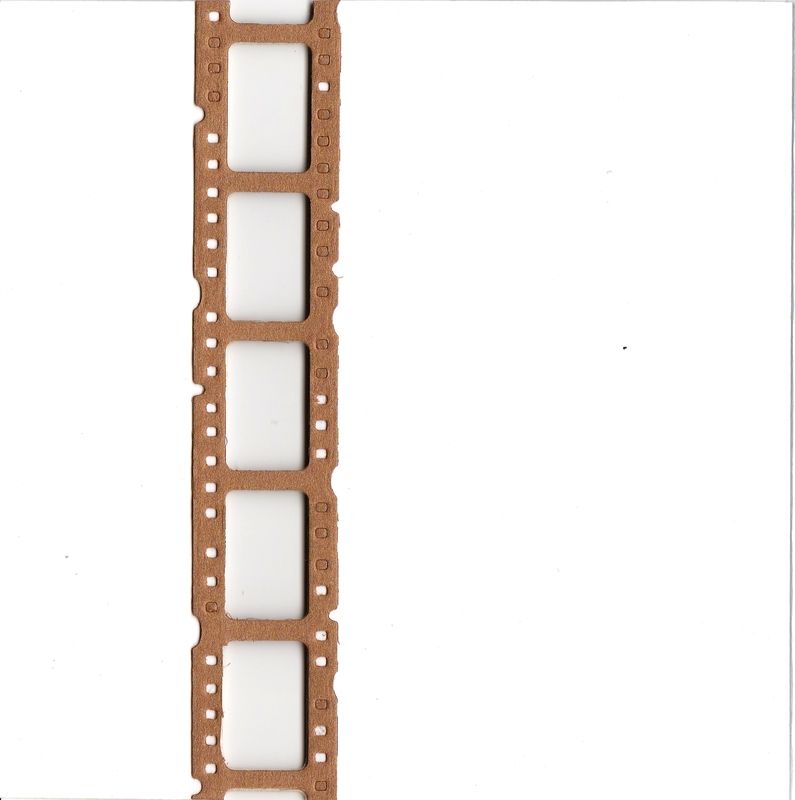
As I was using the Sizzix Mini Filmstrip and Mini Tickets Decorative Strip die, this meant the gap was only 1.5cm.

The filmstrip was diecut using copper pearl cardstock and adhered to the card front. The loose section of cardstock was temporarily taped down using masking tape so it was level with the edge of the card stock and the other side of the filmstrip die was adhered to this piece to complete the card front once again.

A second diecut was added to the inside of the card front to strengthen it.

Now to the colouring part. The hot air balloon image from the stamp set was stamped using Memento Rich Cocoa dye ink and coloured using Copic markers:

Hot Air Balloon
E11, E15, BG11, G12, W3, B34
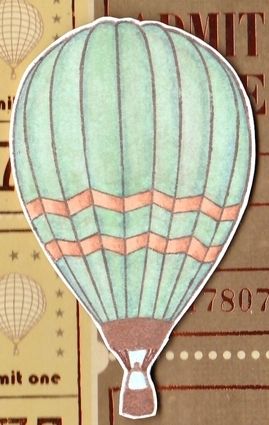

Unfortunately, I didn't have quite the right colour to match the papers so I had to experiment with the colours I have.

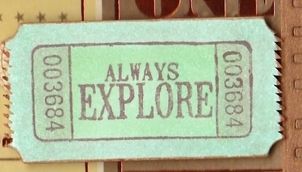
I also stamped the 'Always Explore' ticket stamp from the Autumn Leaves Ticketed stamp set onto a ticket die cut from Memory Box's Double Ticket die using the Rich Cocoa ink and coloured it with Copics:

Ticket
W3, BG10, BG11, G12, E15


The hot air balloon image was fussy-cut and adhered to the card front, along with the ticket.

A strip of the duck-egg blue script paper from the same paper pad was then added to the inside right of the card so that it shows through the 'bridge', along with the narrow strip cut from the card front.

Using the aperture sections of the filmstrip die cut from cream card, the sentiment was stamped using parts of stamps from a selection of the Personal Impressions Paula Pascual sentiment stamp sets (Double Sayings, Mixed Sentiments, All Year Round and Mix and Match Sentiments). One of the panels was adhered through one of the apertures on the inside of the card and two further panels were adhered alongside.


To replicate the copper foiling on the patterned paper, four copper card candi were taken and Zig 2-way glue pen was added to the front of them all. When this had gone clear, a sheet of copper foil was applied to the card candi to create foiled card candi. These were added through the remaining apertures on the front of the card. The glue was then also added to a star die from the Penny Black Sweet Wishes stamp set and stamped over the 'TO' word on the inside of the card. Once again, the foiling was added to this.


Wednesday, 9 December 2015

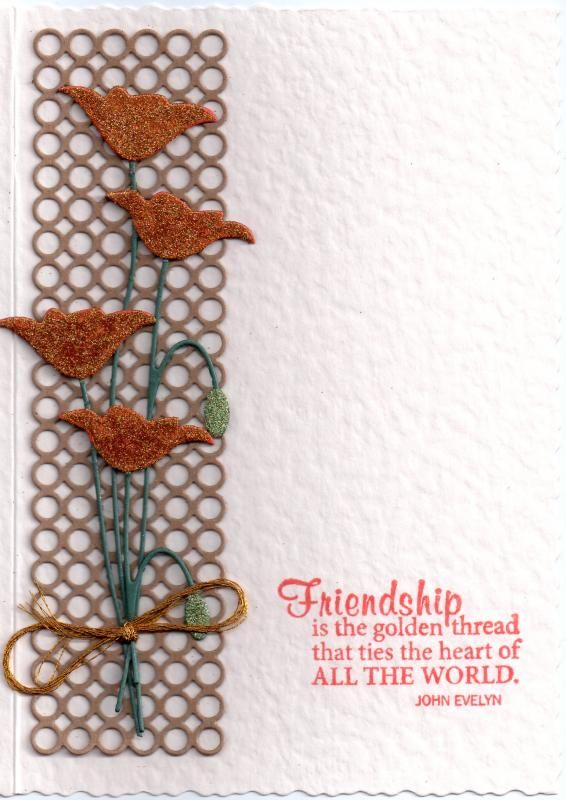
Orange Glittered Prim Poppies

This was one of those CAS cards that was by no means 'simple' in its execution. It was based on  card I saw on Pinterest here.
 
The first step was to die-cut the Contempo Circle Border die by Memory Box from Kraft card. Getting adhesive on the back was then the first hurdle. I should have added wide double-sided tape to the back of the Kraft card first, but only thought of that afterwards, so I used tacky glue and that was fun!!!
 
 
The next step was to diecut a couple of the Memory Box Prim Poppy shapes using dark-green card stock, as well as the flower heads in orange card stock which were then adhered in place.
Then came hurdle number two - adding the glitter. I used the LP Creative Crafts Corn Yellow and Apple Green glitters with the Zig glue pen. Of course, there was glitter everywhere and then I realized I'd added the glitter too early. I should have added it after I had stuck everything down!
 
Once the glue had dried and the glitter in place, the two poppy die cuts were tied together (not as easy as it sounds) using gold metallic embroidery thread.
 
The poppy diecuts were then adhered in place over the Contempo Circle Border diecut.
 
The sentiment, from the Fiskars Friends Forever Quotes stamp set, was stamped directly onto the card front using Memento Morocco dye ink.

Monday, 30 November 2015

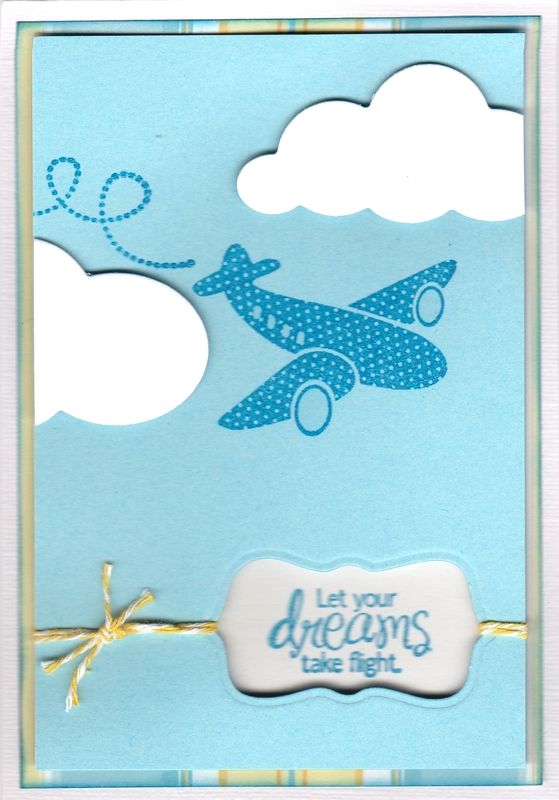
Blue and Yellow Aeroplane in Clouds

This is the card that I made for my 'little' brother this year. He's actually 31 but being 10 years younger than me he'll always be my 'little' brother.
 
I really liked this aeroplane stamp from the Kaisercraft Little Man stamp set, so decided to make a nice simple card with it.
 
 
I started by creating the front panel of the card. I stamped both the aeroplane and trail from the Little Man stamp set using Versafine Deep Lagoon archival pigment ink. I then die cut an aperture from the panel using a label die from the XCut Tags and Bookplates set of dies.
 
A couple of clouds were die cut from white card using the Memory Box Puffy Clouds dies and adhered to the card front using 3D foam to create dimension.
 
Lengths of yellow Baker's twine from the Dovecraft Riverbank Rivals twine pack was tied around the card front threaded through the aperture.
 
The sentiment, from the Amy R Be Happy set of stamps was then stamped onto a scrap of white card using the Deep Lagoon ink and matted behind the aperture using 3D foam.
 
The front panel was then matted over a panel of the blue and yellow striped paper from the DCWV Floral Prints paper stack.


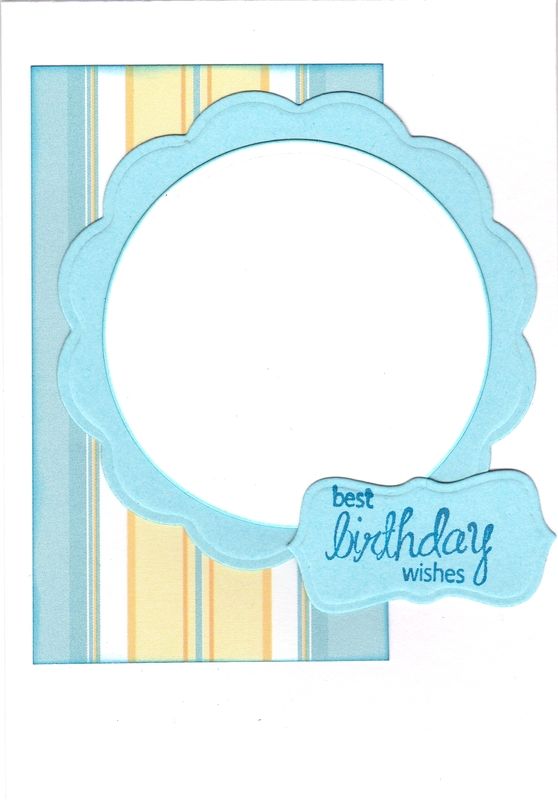
The inside of the card was also decorated using the same patterned paper and cardstock as the front of the card.

A circle and big scalloped circle were die cut using Nestabilities dies and the sentiment, also from the Be Happy stamp set, was stamped onto the label cut out from the front panel using the Deep Lagoon ink.

Wednesday, 4 November 2015

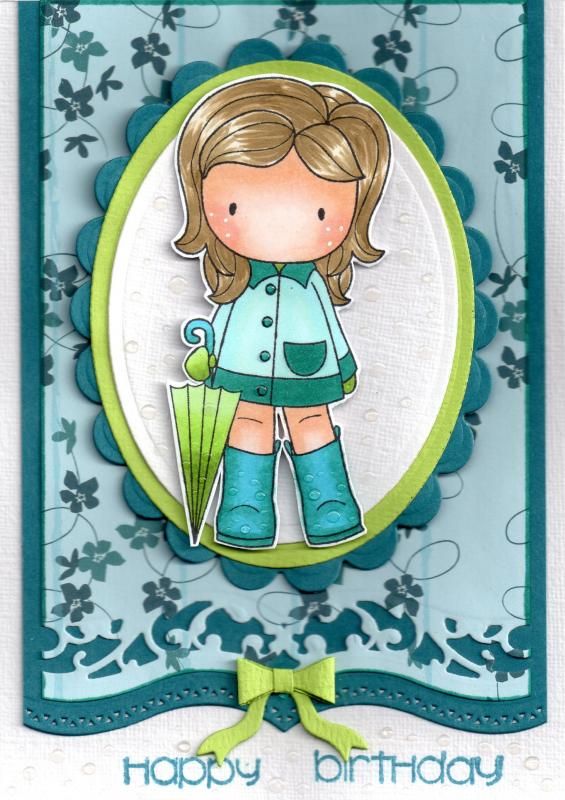
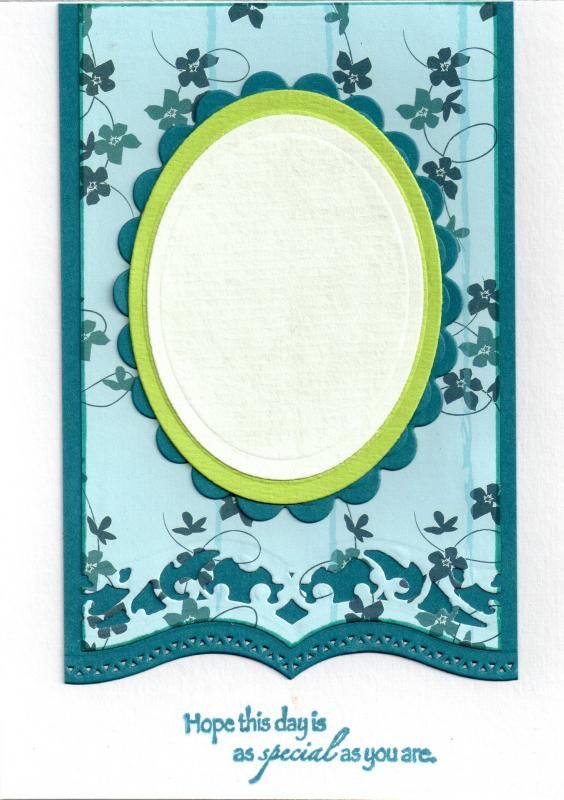
Teal and Lime CC Designs Rainy Day Emma

This is a nice bright girlie card today, using the cute CC Designs
Rainy Day Emma image.
 
 
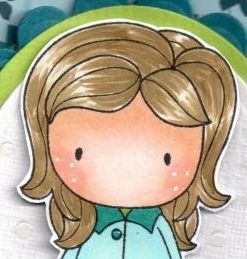
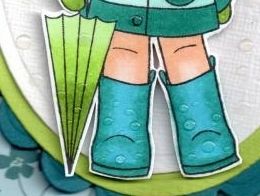
To begin with, the image was stamped using Memento Tuxedo Black dye ink and coloured with Copic markers:
 
Hair: E41, E43, E44
Skin: E000, E00, E11, E21, R20
Jacket: B00, BG09, BG10
Gloves/Umbrella: YG11, YG13, YG17
Scarf: YG17
Wellies/Umbrella Handle: BG02, BG09
 
A Papermania Snow White gel pen was used to add highlights to the image.
 
 
The image was then fussy cut and added to an oval die cut using the Nestabilities Classic oval die and matted onto a lime oval and teal scalloped oval, also die cut using the Nestabilities dies.
 
A panel of teal cardstock was diecut using one of the Spellbinders Bracket Borders #1 dies, as was a panel of the patterned paper from the Papermania Venetian Skies Creative Tones paper pad.

These were matted together and the image panel added on top.

As an added detail, the Memory Box Tiny Bow die was used to create a bow from the lime green cardstock and added below the image panel.
 
 
The sentiment, from the Kaisercraft Occasions stamp set, was stamped along the bottom edge of the card using Memento Teal Zeal dye ink.
 

As a final finishing touch, small dots of Ranger Glossy Accents were added to mimic raindrops.

The inside of the card was also decorated to mirror the front of the card, just with a different sentiment, taken from the Kaisercraft Birthday stamp set, also stamped using the Teal Zeal ink.

Wednesday, 28 October 2015

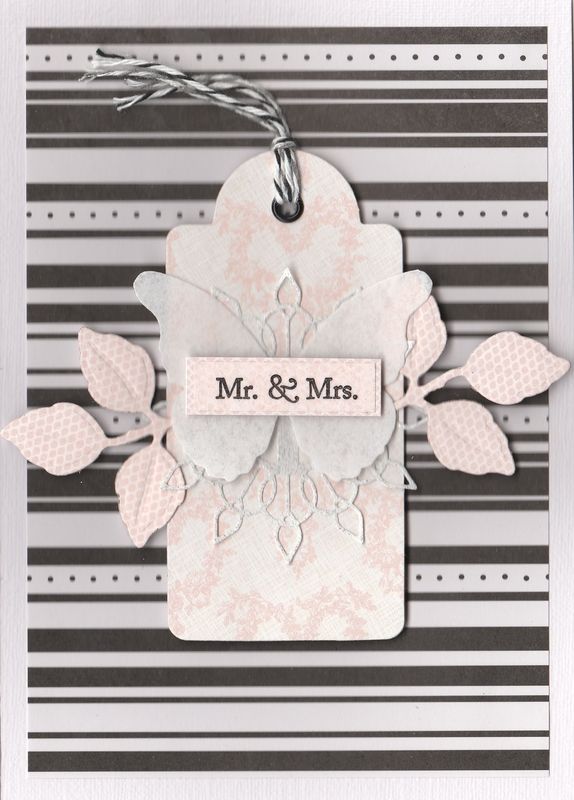
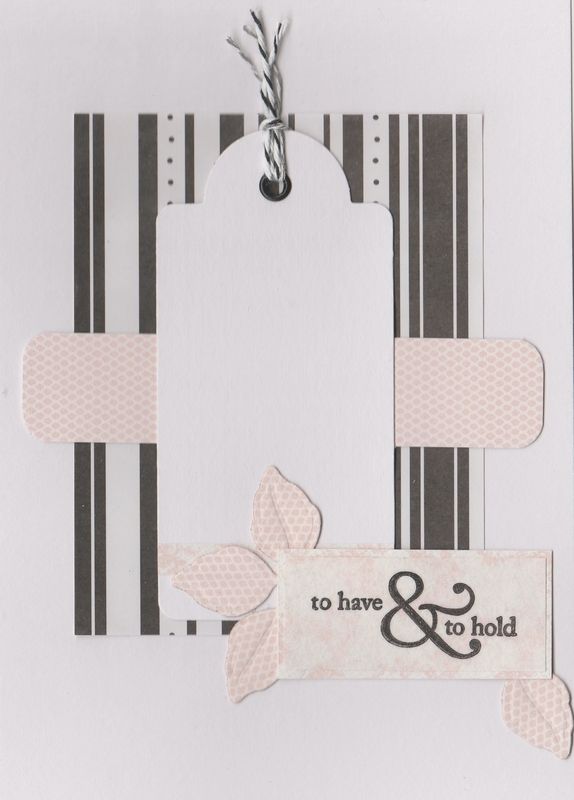
Pink Black and White Butterfly Tag Wedding

So, here is the second of the two wedding cards I made. This one was very highly influenced by Laura Bassen and you can see her version of this card here over on her blog.
 
Ideally I would have liked to have used a grey patterned paper in the background, but it wasn't until after I'd made it that I realized I actually had some I could have used! Typical!!!

Anyway, this card began with a sheet of the black and white striped paper from the Papermania Clare Curd The Big One paper pad. The panel was adhered to the front of an A5 card blank.
 
 
A piece of card was then covered with a piece of the pink floral patterned paper from the HOTP Wedding paper pad an die cut using the Sizzix Tags #3 Bigz die. A Papermania black eyelet was added.
 
Using a sheet of white glitter paper, the Seville Buckle by Memory Box was die cut and added to the tag.
 
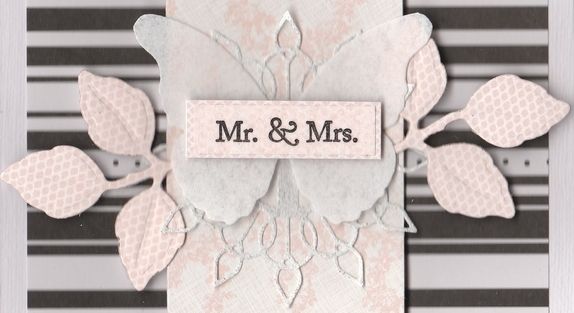
Another piece of card was then covered with the pink mesh-effect paper also from the Wedding paper pad and die cut using a leaf die from the Spellbinders Foliage die set. The two leaf branches were added behind a butterfly which was die cut using the Willoughby Butterfly die by Memory Box with a heavyweight vellum. This was then 3d'd to the tag.
 
 
The sentiment panel was created using a pre-printed panel in the Wedding paper pad and stamped using the Mr & Mrs stamp from the American Crafts Wedding stamp set.
 
Black and white Baker's twine was threaded through the black eyelet on the tag and it was added to the front of the card.
 
 
For the inside of the card, the same patterned paper was used, and a second tag was created, this time from white card. 
More leaves were die cut using the same patterned paper and the sentiment, also from the Wedding stamp set was stamped onto a panel of patterned paper from the Wedding paper pad.
 
 
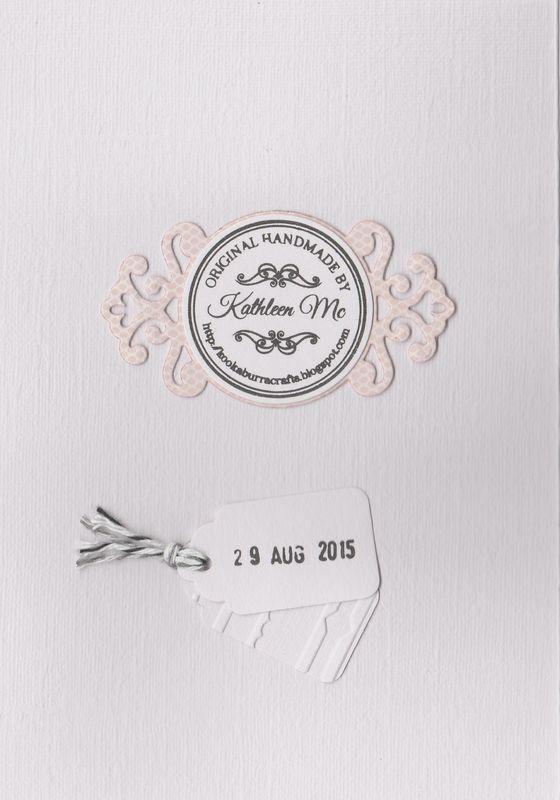
On the reverse of the card, a couple of small Sizzix Sizzlits Scalloped tags were added, stamped with the date of the wedding. Behind the 'Handmade By' stamp was a label created using a die from the Spellbinders Parisian Accents die set and paper from the Wedding paper pad.
 
 
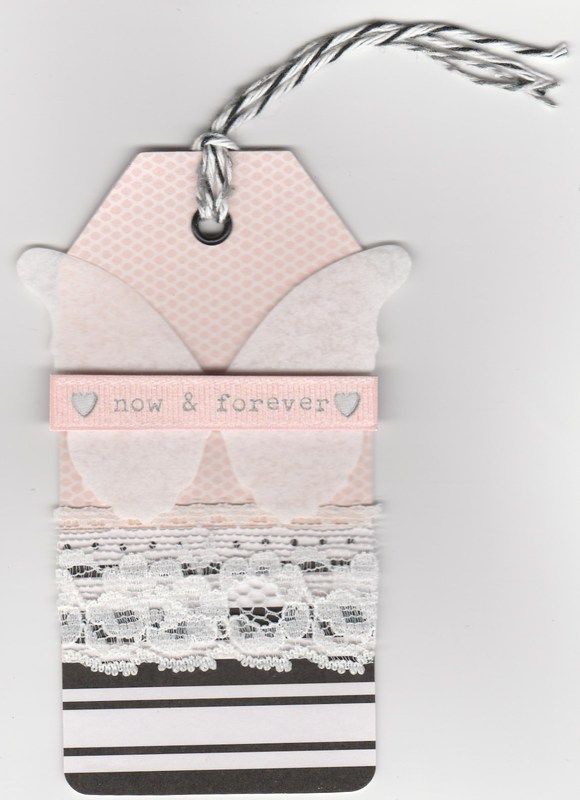
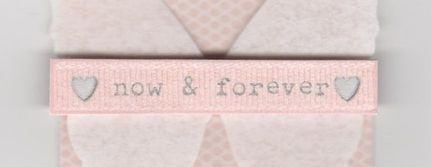
 To complement the card, a tag was also created for the gift. This time a length of lace was added and a sentiment panel from the Wedding paper pad was added across the butterfly die cut. 


Saturday, 24 October 2015

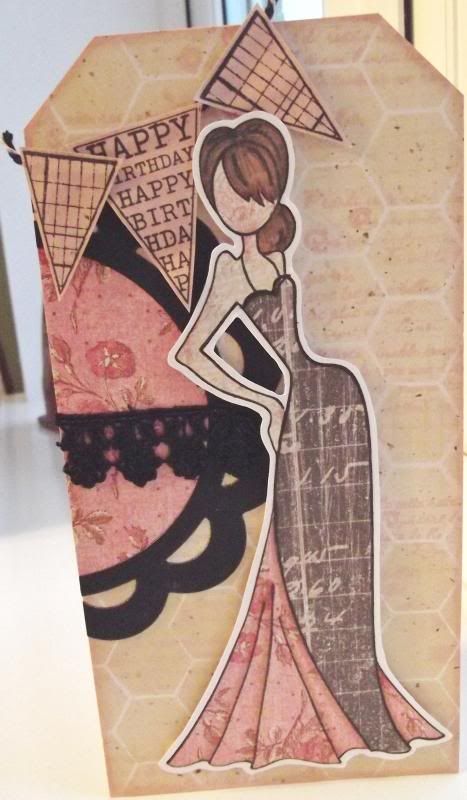
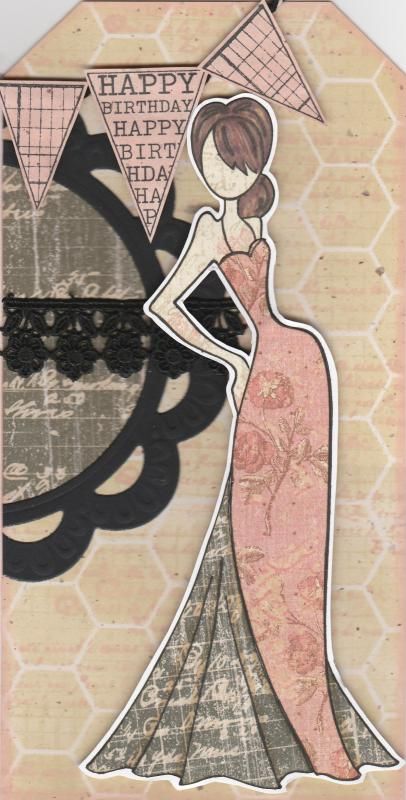
Pink Black and Beige Paper-Pieced Prima Doll

I should begin by apologising for the picture quality of this card. Normally I scan my cards in but my scanner had decided to give up the ghost (well, actually the printer had, and so the scanner just played along). Anyway, these were photographed and I couldn't find my mini tripod so getting up close and holding the camera perfectly steady wasn't easy!!

This card shows my first attempt at using my Prima Doll stamp Tasha. I actually made it at the cardmaking group that I go to and it was great fun.
Paper-piecing the image is actually very simple to do. The hard part is choosing which papers to use.
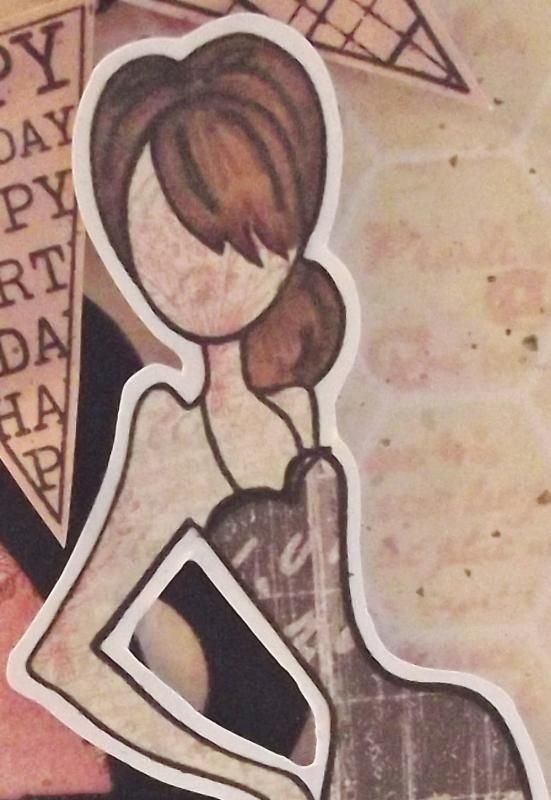
I began by stamping the whole image onto some white card using Memento Tuxedo Black dye ink. The image was then stamped again onto three different patterned papers from the K&Co Best of Too paper pad, using papers from the Life's Journey and K-Ology Hannah collections. I do love this paper pad, and it is much underused. I really should get it out more. The next stage was to cut the various pieces from the different papers and assemble them onto the base image. The hair was coloured onto the patterned paper using Promarkers.

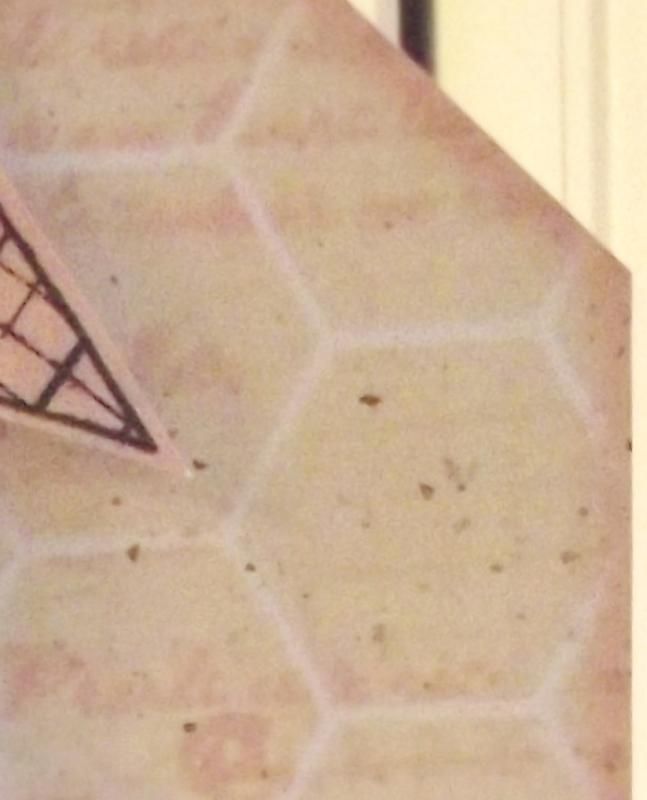
The next stage was to create a background for the image to sit on. I started with a piece of 'natural' paper which has tiny flecks in it. I then taped the Memory Box Chicken Wire stencil over the piece and sponged through Tim Holtz Antique Linen distress ink. Once that was done, with the stencil still in place, the French Text stamp from the Bo Bunny It Is Written stamp set was stamped through the stencil using the Tattered Rose ink. This was matted to the front of a DL card blank that was cut into the shape of a tag.

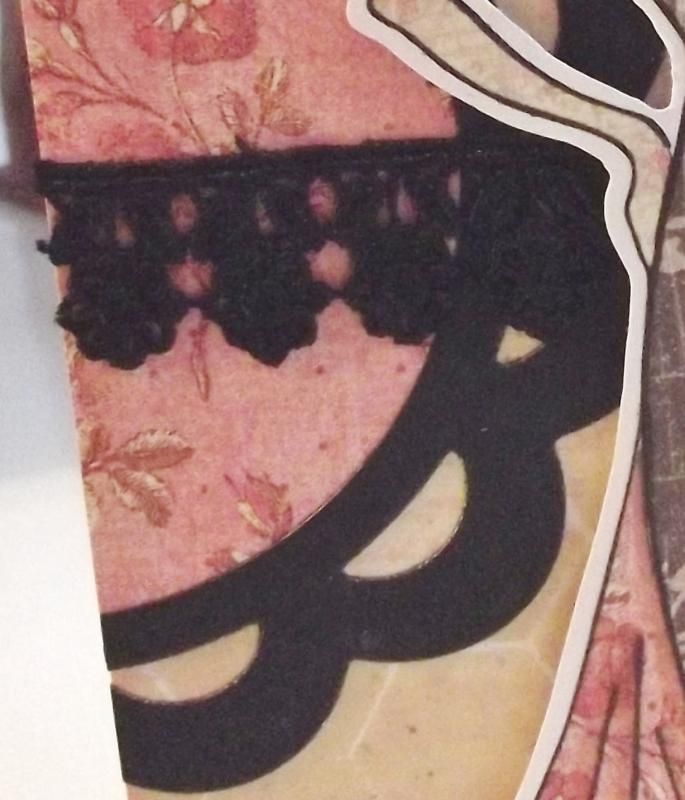
In order to create a bit more interest behind  the doll image, the Marianne scalloped circle frame was diecut from black card and a circle of the pink patterned paper used on the dress was diecut to fit within it. A length of black lace was wrapped around the circle and matted together on the edge of the tag and the excess cut away.


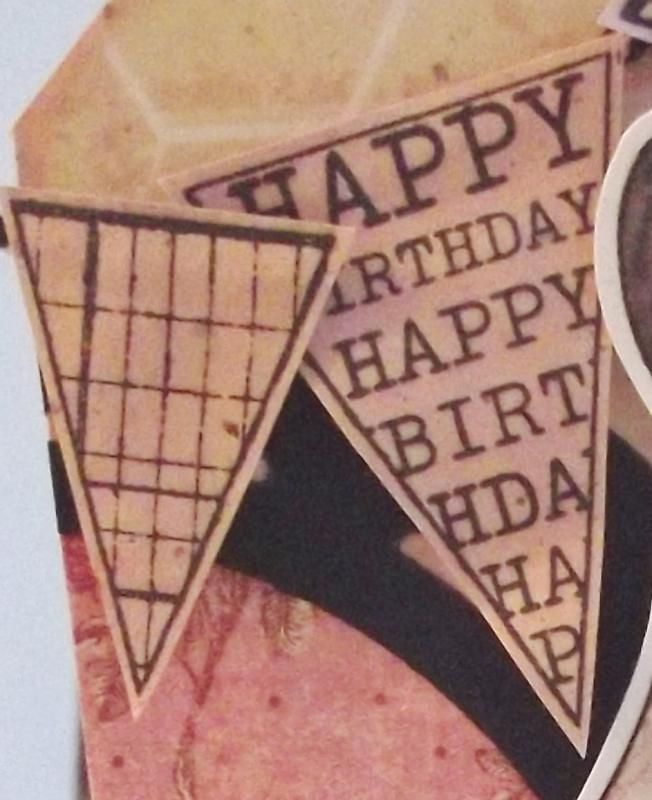
I then wanted to add a sentiment to the card and decided to use the banner stamps from the Hero Arts Friendly Flags stamp set. These were stamped onto the inked natural paper, inked with the Antique Linen and Tattered Rose inks. These were cut out and adhered to black and white Gorjuss Baker's Twine in the top left corner.


I also made a second card using the other parts of the stamped image.

Tuesday, 25 March 2014

Kristina Werner Inspired #3

Well, here we are again. This time I decided to try something different. I went through all of Kristina's blog, from start to finish, and made a note of the cards that I wouldn't mind having a go at at some stage. I wrote the dates of the posts onto a slip of paper and popped them all into a tub. This is the card idea that I pulled out of the tub to be the inspiration for this card. I am hoping that Ali will play along with me on this one. When she posts her version, I'll add a link to her card somewhere in this post. If you want to play along too, add a link to your creation in the comments below. I'd love to see what you come up with.


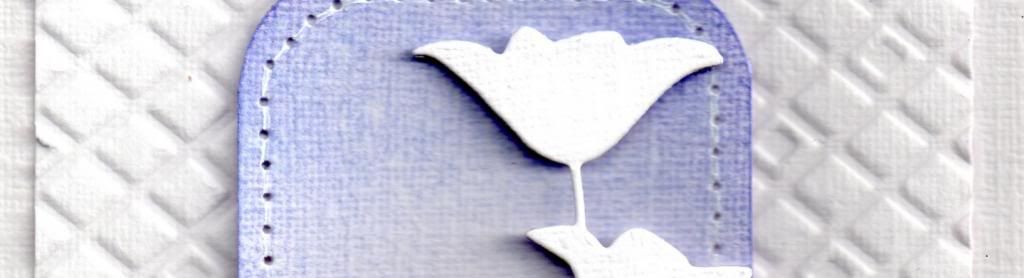
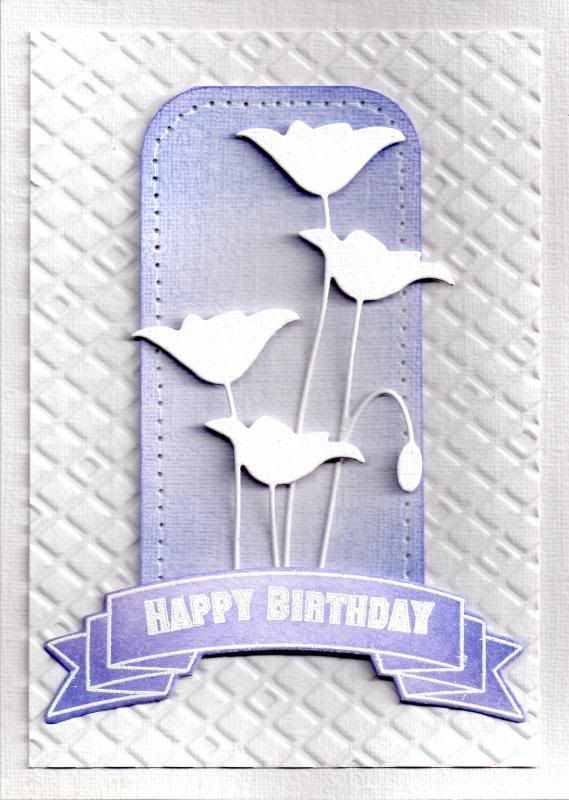
So, the first change I made to my version of this card was to create an embossed panel rather than embossing the card blank. I wasn't sure if the cardstock I was using would hold up to the embossing. I think I was right to be cautious, as the embossing folder I used (Sizzix Diamonds) did push through the card in a couple of spots which I think would have been more obvious on a card blank.


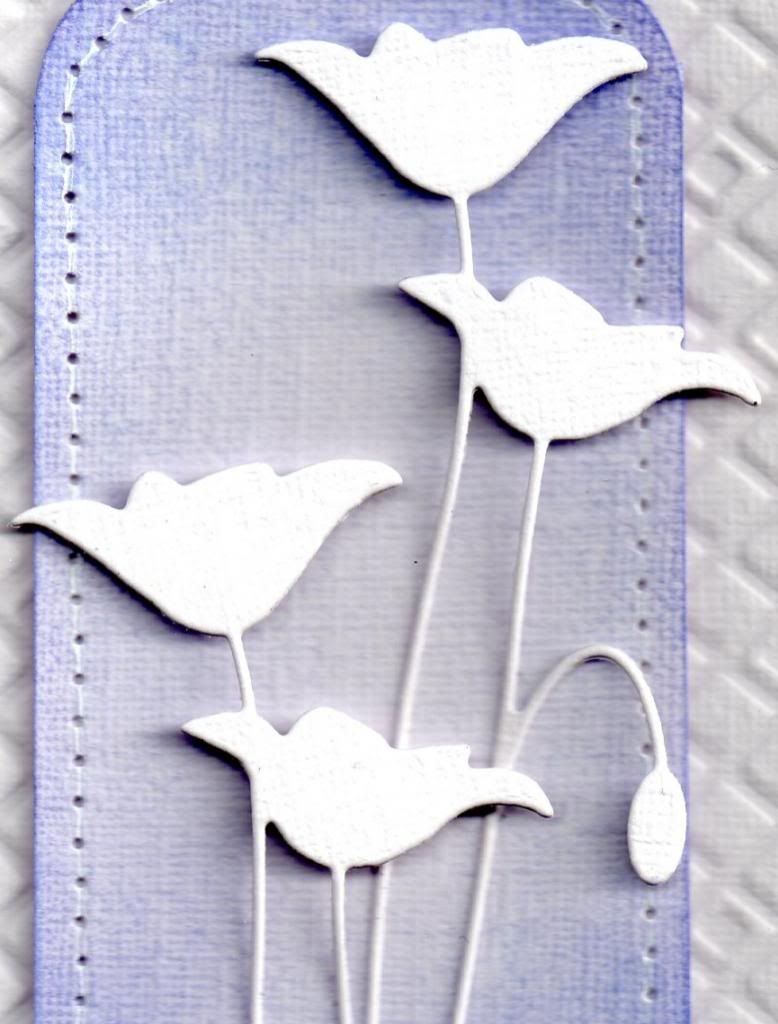
The next step was to create the coloured panel. This consisted of a rectangle of the same white hessian cardstock, with the corners rounded using the WRMK Corner Chomper. I wanted to create a Spring coloured card, so the panel was then coloured using Tim Holtz Shaded Lilac distress ink (I'm ashamed to say I think this is the first time I've used this colour!) I decided I wanted to add a bit more detail to this panel, so I pulled out my Stampin' Up! Mat Stack and pierced a border around the panel.


Then I created the die cut flowers using the Memory Box Prim Poppy die. The flowerbud was snipped off the second diecut and the diecuts arranged on the panel. To create dimension, the flowerheads were adhered using 3d foam and the stems using Zig glue.


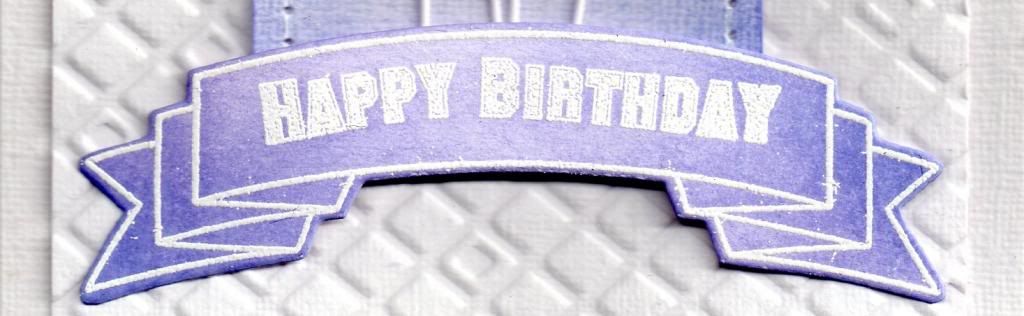
To create the greeting panel, the multi-folded banner from Clearly Besotted Basic Banners was die cut and then stamped on top using the matching stamp from the co-ordinating stamp set using Versamark ink. The banner was then heat embossed using Stampendous Detail White embossing powder. The sentiment, from the same stamp set, was then stamped and embossed within the banner shape. Once the embossing powder had cooled, the Shaded Lilac ink was applied to the diecut to help the detail stand out.
Here is a picture of the finished card in all of its glory.


Blog Widget by LinkWithin