Pages

WELCOME

This blog was created to act as a record of the cards and other projects that I have made. It is for both my own reference and to help inspire anyone who wants to take a look.

I'd love it if you'd leave me a comment so that I know what you think of my projects and that you've been to visit!

Anyone can comment, even those who don't have a blog. (Just look for the word 'Comments' under the three little pictures at the end of each post). Readers without a blog can add an anonymous comment, but please leave your name (and docrafts username if applicable) so I know who you are!

Slideshows of all the cards I've uploaded to my blog can be found at the bottom of the page.


PEOPLE WHO FOLLOW MY BLOG

Showing posts with label Stamps Away. Show all posts

Wednesday, 21 September 2011

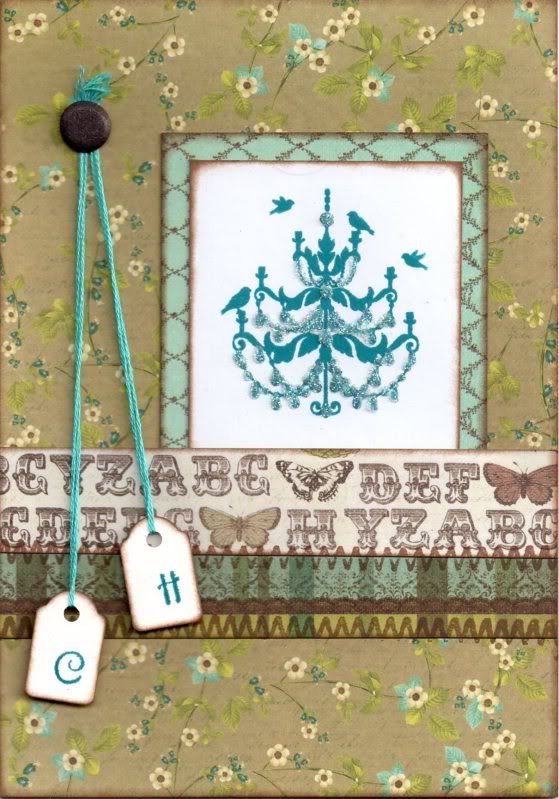
Brown and Blue Floral Chandelier Tags Anniversary

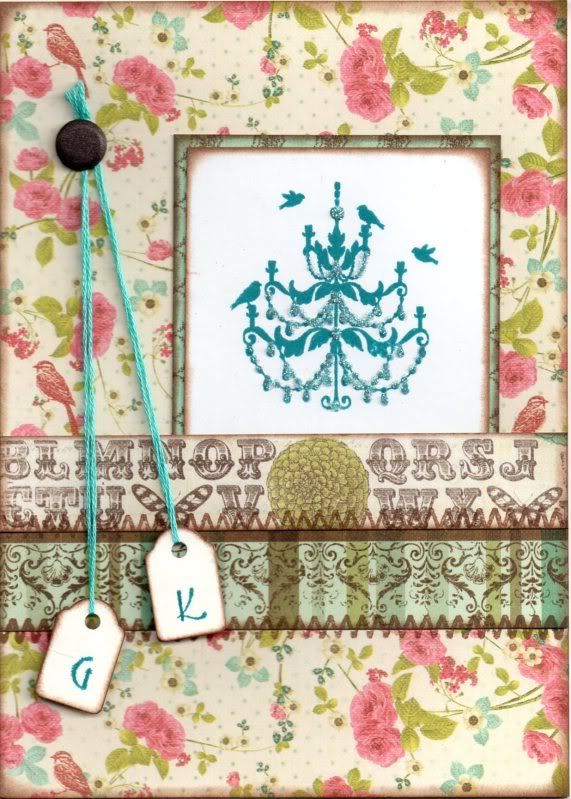
This is a second version of the anniversary card I made recently using the Chandelier stamp that came free with the July 2011 issue of Craft Stamper Magazine.


I went for more muted tones with this version, using one of my favourite colour combinations of blue and brown.

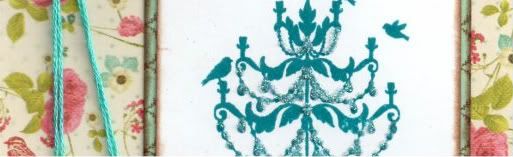
The Chandelier image was stamped using Adirondack Stream dye ink and matted onto the blue diamonds paper from the Prima Madeline paper pad.


The card blank was completely covered with the Brown Script Floral paper from the same paper pad and the image panel added to the right.

A strip of the Alphabet paper was added to a strip of the Multi Border paper and this was then added over the image panel. Faux stitching was then added over the joins of the paper pieces using the Zigzag Stitch stamp from the HOTP Stitches stamp set and ColorBox Chestnut Roan Fluid Chalk ink.

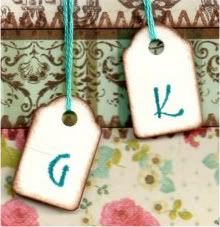
Two mini tags were coloured around the edges using the Chestnut Roan ink and letters were stamped using the Stream ink and a Studio G mini alphabet stamp set. The tags were attached to some teal embroidery thread and added to the card and a brown Card Candi from Craftwork Cards was added over the ends of the threads.
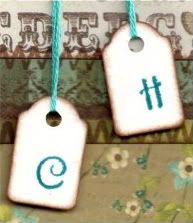

Highlights were added to the Chandelier image using Glossy Accents and DecoArt Crystal Glamour dust.
All papers were distressed with the Chestnut Roan ink.

The inside of the card was also decorated using a photo corner stamp from the Stamps Away Bookplates, Corners and Anchors stamp set, stamped onto the blue diamonds paper used on the front of the card using the Stream ink and cut out
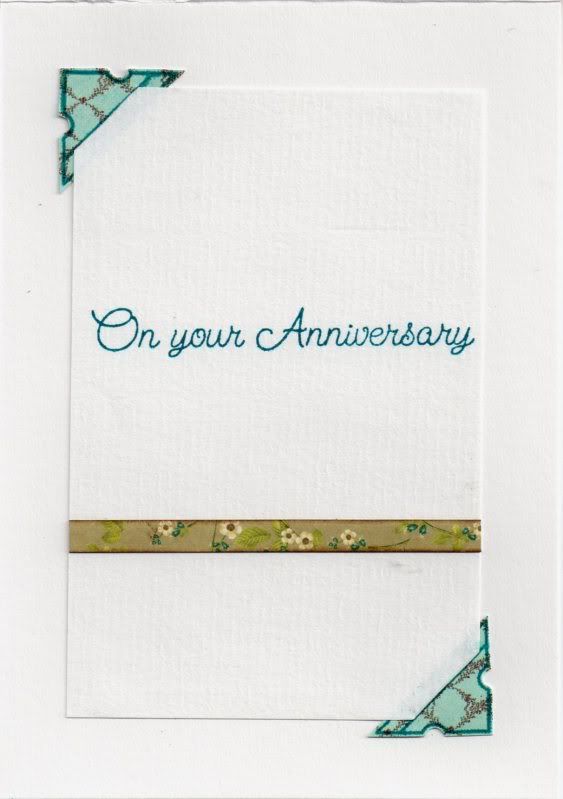

Slits were cut into the photo corners and the writing paper inserted into the corners, and a strip of the Brown Script Floral paper used on the front of the card was added across the paper and the sentiment, from Elzybells, was stamped using the Stream ink.

Here are the blog challenges I am entering this card into:

Monday, 5 September 2011

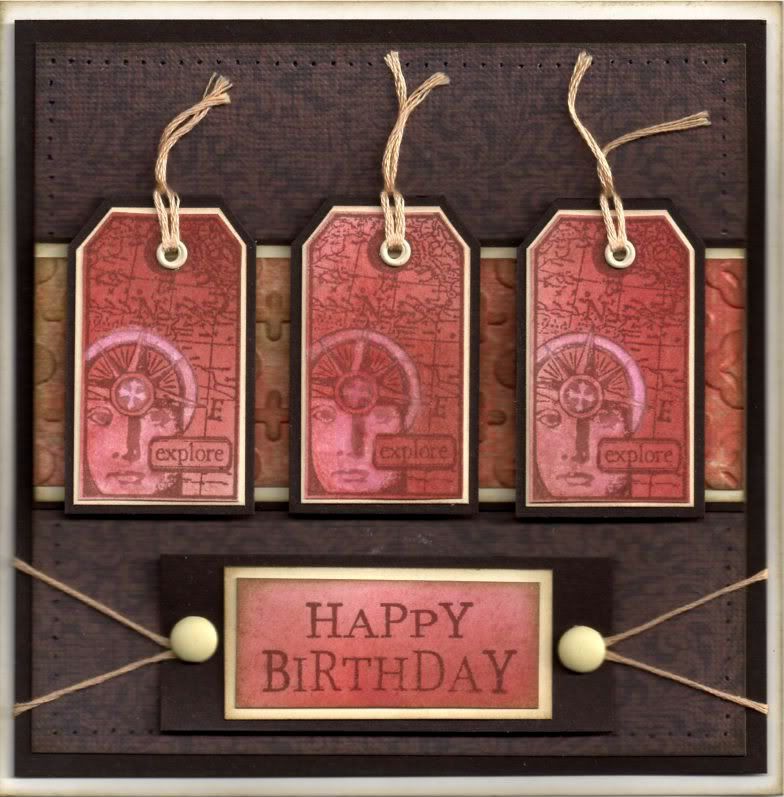
Red and Brown Explore Invoke Arts Tags

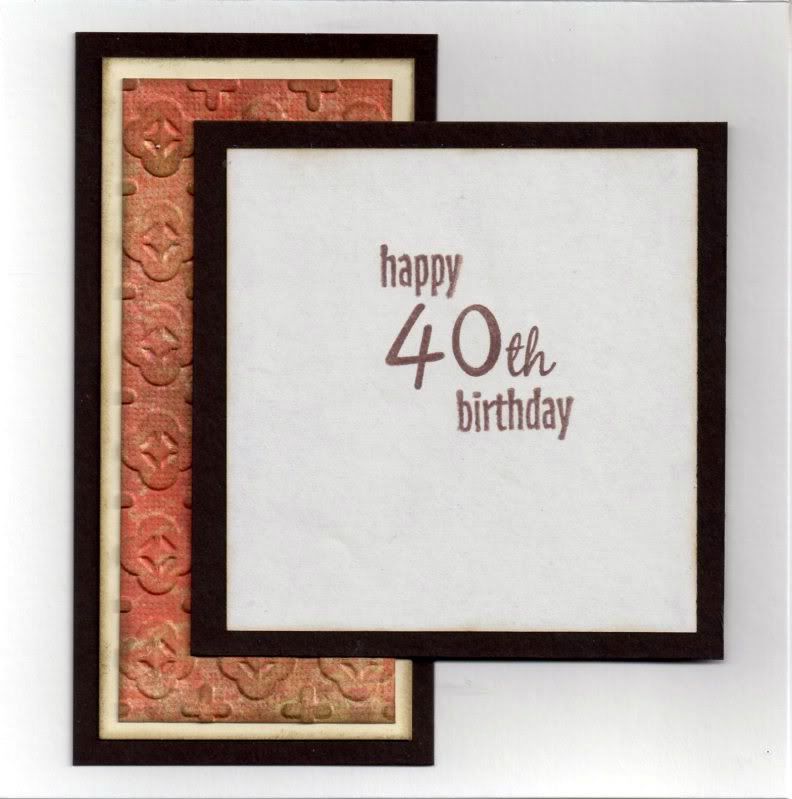
Well, here is the first of the masculine 40th birthday cards that I need to make. Got to get my thinking cap on for the second one now!


A piece of white card was coloured using Tim Holtz Fired Brick, Aged Mahogany and Frayed Burlap distress inks using the shaving brushes.

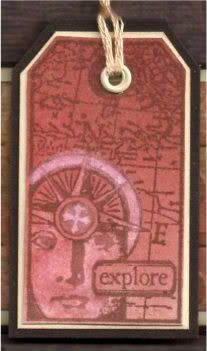
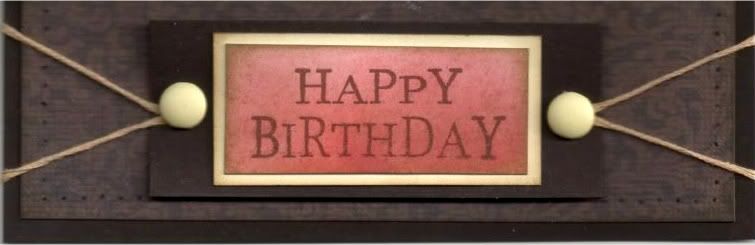
This was then overstamped with the Explore tag from the Invoke Arts Travel Tags stamp set and the 'Happy Birthday' sentiment stamp from the See D's Celebration Messages stamp set. All were stamped using Memento Rich Cocoa Dye ink.

Using a damp paint brush and a piece of tissue (OK, toilet roll, but I couldn't be bothered going downstairs to get a tissue!!), some of the colour was removed from the face image on the tag. Areas of the compass were then lightly coloured using the Angel Green Mica Pigment from Stamps Away. Unfortunately that doesn't show up on the scan.

The tags were then cut out by hand and matted onto cream card and dark brown card. Holes were punched in the top of each tag using the Big Bite and small cream eyelets from Papermania were set in the holes. Each hole was then threaded with cream embroidery thread.


The sentiment was also matted onto cream and dark brown cardstock and large cream brads from Papermania were added either side of the sentiment, with a length of cream embroidery thread threaded through the legs of the brads.


A strip of the red/brown paper from the DCWV Old World mat stack was embossed using the Moroccan Screen embossing folder from Cuttlebug and Frayed Burlap ink was added to highlight the embossing using Cut 'n' Dry foam.

This was then matted onto cream and dark brown card and then matted across a panel of the dark brown flourish paper from the same paper pad.

Once matted onto the dark brown cardstock, the panel was then paper pierced all the way around using the Stampin' Up Mat Stack piercing template.


The tags were adhered onto the card in the centre over the embossed strip and the sentiment was added beneath, wrapping the lengths of embroidery thread behind the panel before adhering to the card front.

The inside of the card was also decorated, using another strip of the embossed cardstock. The sentiment was stamped using the Rich Cocoa ink and stamps from the See D's Lower Case Script stamp set ('4', '0' and 'th') and the HOTP Sentiments stamp set (Happy and Birthday).


Here are the blog challenges I am entering this card into:

Wednesday, 10 August 2011

Pink and Blue Floral Chandelier Tags Anniversary

Here is an anniversary card that I made for a couple of friends. I really like the design (I actually adapted it from one of the projects in the July 2011 issue of Craft Stamper magazine using this particular stamp).


I absolutely love the Chandelier image tht came with the July 2011 issue of Craft Stamper magazine. The image was stamped using Adirondack Stream dye ink and matted onto the blue diamonds paper from the Prima Madeline paper pad.


The card blank was completely covered with the Floral Bird paper from the same paper pad and the image panel added to the right.

A strip of the Alphabet paper was added to a strip of the Multi Border paper (both from the Madeline paper pad), and this was then added over the image panel.

Faux stitching was then added over the joins of the paper pieces using the Zigzag Stitch stamp from the HOTP Stitches stamp set and ColorBox Chestnut Roan Fluid Chalk ink.

Two mini tags, that have been in my stash since the beginning of time, were coloured around the edges using the Chestnut Roan ink and letters were stamped using the Stream ink and a Studio G mini alphabet stamp set (also underused!!). The tags were attached to some teal embroidery thread and added to the card and a brown Card Candi from Craftwork Cards was added over the ends of the threads.


Highlights were added to the Chandelier image using Glossy Accents and DecoArt Crystal Glamour dust.

All papers were distressed with the Chestnut Roan ink.

The inside of the card was also decorated using a photo corner stamp from the Stamps Away Bookplates, Corners and Anchors stamp set, stamped onto the blue diamonds paper used on the front of the card using the Stream ink and cut out.


Slits were cut into the photo corners and  the writing paper inserted into the corners, and a strip of the Floral Bird paper used on the front of the card was added across the paper and the sentiment, from Elzybells, was stamped using the Stream ink.

Here are the blog challenges I am entering this card into:

Tuesday, 2 August 2011

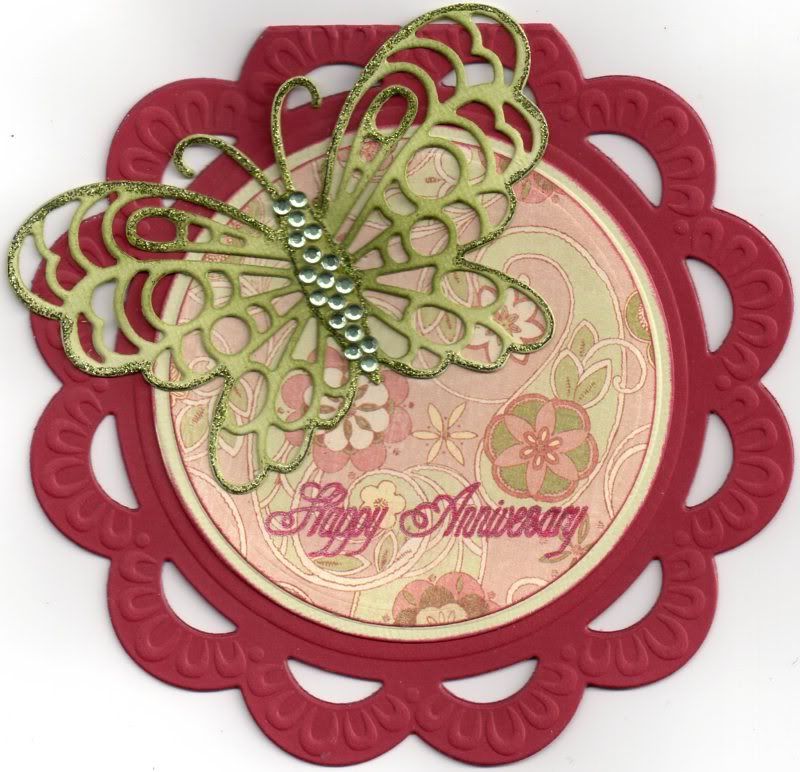
Red and Green Butterfly Scalloped Circle

Here is the anniversary card that I made for the in-laws. It's their 48th wedding anniversary this year.


The card blank was created by die cutting it with the Marianne Creatables Frame Circle die and it was then embossed.

Layers were die cut using circle Nestabilities dies, cut from pale green linen card and the floral paisley paper from the K&Co Classic McKenna paper pad. These were matted together in the centre of the card.

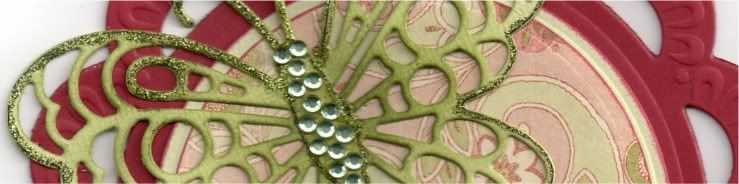
A butterfly was die cut using the Marianne Creatables Butterfly 2 die from the light green card and coloured with the Marvy Matchables Jungle Green dye ink with a shaving brush and then outlined with Glitz It Pear Green glitter glue.

Small light green gems from the Anita's Gem Wheel were then added along the body of the butterfly.


The sentiment, from Stamps Away, was stamped onto the patterned paper using Versafine Crimson Red archival pigment ink but as it didn't show up too well, I traced over the top with a red Sakura Stardust pen.

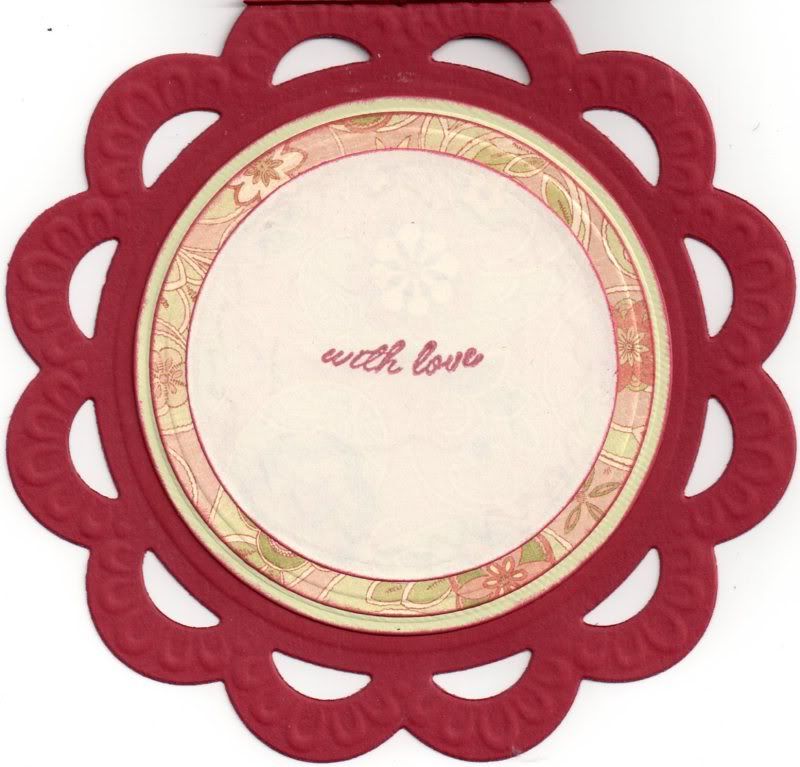
I also decorated the inside of the card using circles of the green card and patterned paper, and the sentiment, from the Papermania Mix and Match Scrolls and Sentiments stamp set, was also stamped using the Crimson Red ink.


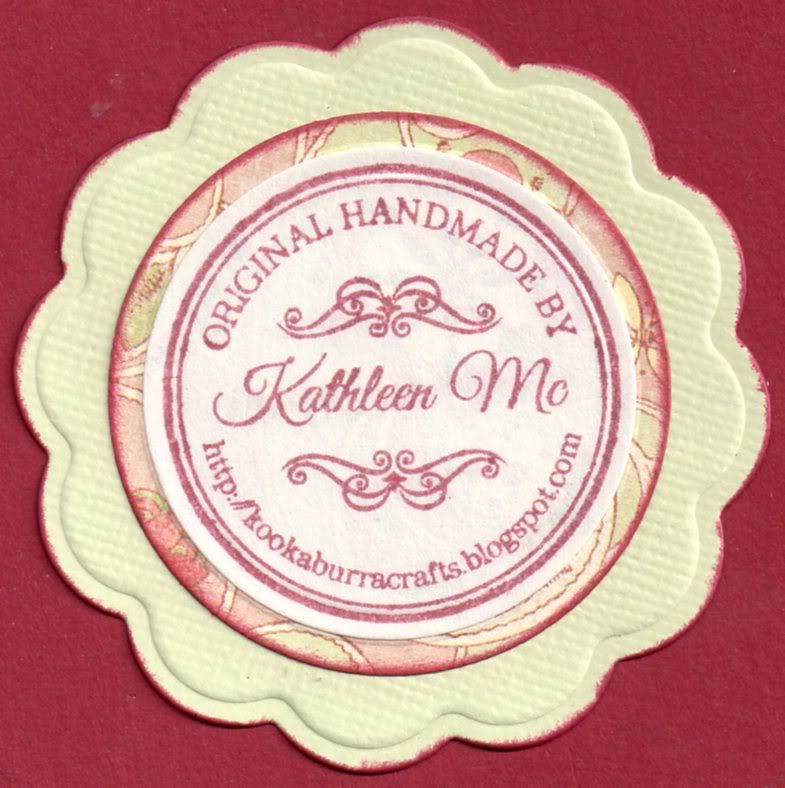
And I finally got to use my new personalized stamp that I bought from this ebay seller. I stamped it up with the Crimson Red ink and matted it onto the patterned paper and green card die cut with Nestabilities Circle and Big Circle dies.


Here are the blog challenges I am entering this card into:

Saturday, 30 July 2011

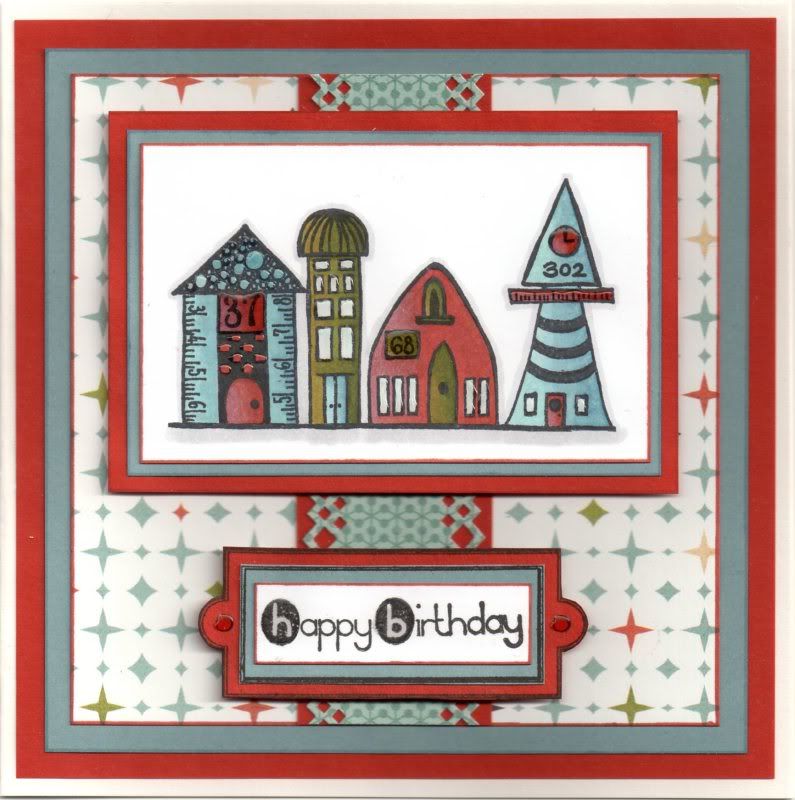
Blue, Rust and Olive Paper Artsy Houses

This is the first time I've used this stamp set. I know - it's terrible as I've had it a while now and only got around to mounting it up yesterday.


This is the card I have made for my father-in-law. I figured he'd had enough cutesy character cards of late and decided I'd dig these stamps out. I've loved them for ages and have seen some lovely cards using them.

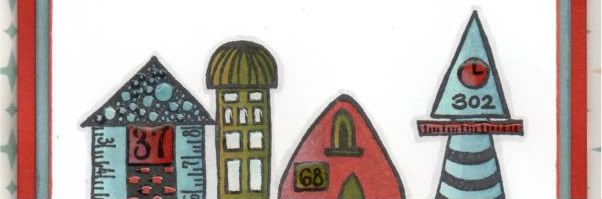
The line of houses image, from the Paper Artsy Bricks and Mortar 2 stamp set, was stamped using Memento Tuxedo Black dye ink and coloured with the Copic sketch markers:
  • Houses 1 & 4: B41, B45, B93, BG11, N1, E04, E07, E09
  • House 2: G99, YG17, YG95, BG11, B41, B45, B93
  • House 3: E04, E07, E09, G99, YG17, YG95
  • Windows: BG10
  • Outline/Shadow: N1
Houses 1 and 4 took some adjusting as I didn't really have a colour to match the paper so I tried blending with the grey and the blue/green to try and get as close a match as I could. I think it worked.


The image was then matted onto blue and rust paper.

A strip of the Light-Hearted paper from the Basic Grey Offbeat paper pad was punched along both edges using the XCut Diamonds border punch and matted onto the rust paper. This was then matted onto a panel of the Alternative paper from the same paper pad, which in turn was matted onto the blue and rust papers.

The image panel was then matted towards the top of the panel.


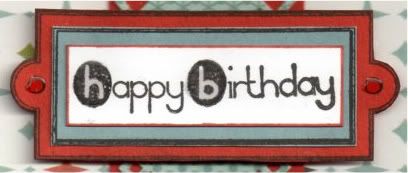
To create the sentiment panel, the rectangular bookplate image from the Stamps Away Bookplates, Photo Corners and Anchors stamp set was stamped onto the rust and blue papers using Versafine Onyx Black archival pigment ink and layered up. The sentiment, from the Dovecraft Make A Wish mini stamp set, was then stamped onto the white card using the Onyx Black ink and matted on top.

The sentiment was then added below the image panel.

Highlights were then added to the image and the sentiment panel with Ranger Glossy Accents.


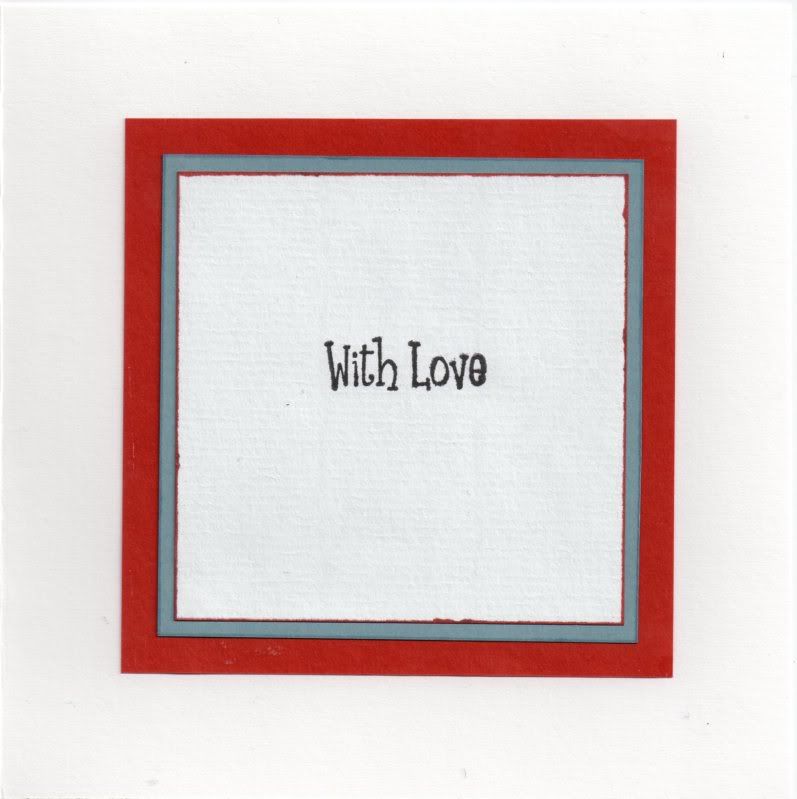
The inside was also decorated using the blue and rust papers, and the sentiment, from the Papermania Clare Curd Sentiments stamp set stamped with the Onyx Black ink.

Here are the blog challenges I am entering this card into:

Sunday, 24 July 2011

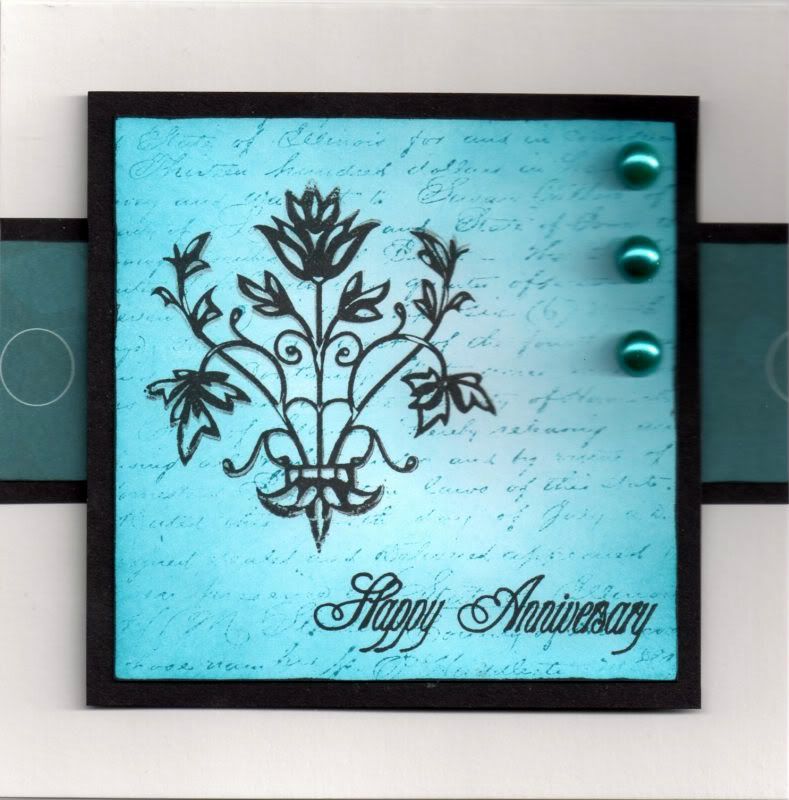
Black and Teal Fleur de Lis Script Anniversary

This card was inspired by a card I saw made by the lovely LizzieS. I told her I'd be borrowing the idea!!!


I started by colouring a panel of white card with Adirondack Stream dye ink using a shaving brush and overstamped using the same ink with the Prima Notary stamp, using second-generation ink.

The Fleur de Lis mini stamp from Inkadinkado was stamped over the top using Versafine Onyx Black archival pigment ink, as was the Stamps Away Happy Anniversary stamp.


The image panel was then matted onto black card.

A strip of teal floral circle paper, from the Papermania Temptations Big One paper pad, was matted onto the black card and across the card blank and the image panel matted over the top.

Three large teal pearls (from the Create and Craft carousel) were added in the top right corner.


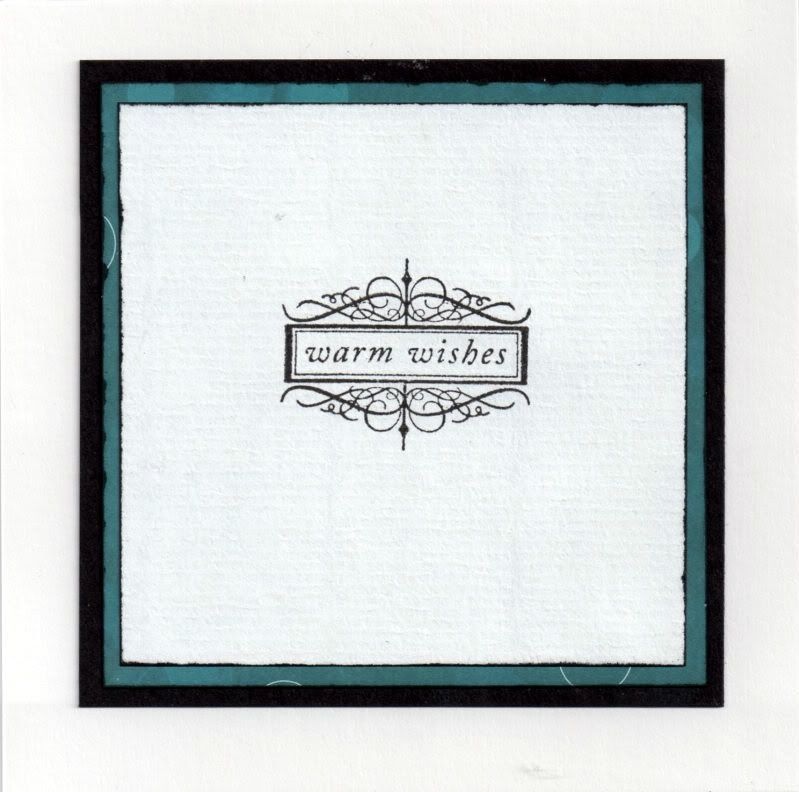
I also decorated the inside of the card using the Warm Wishes stamp from the Hot Off The Press Sentiments stamp set and the Onyx Black ink.

Here are the challenges I am entering this card into:

Thursday, 28 April 2011

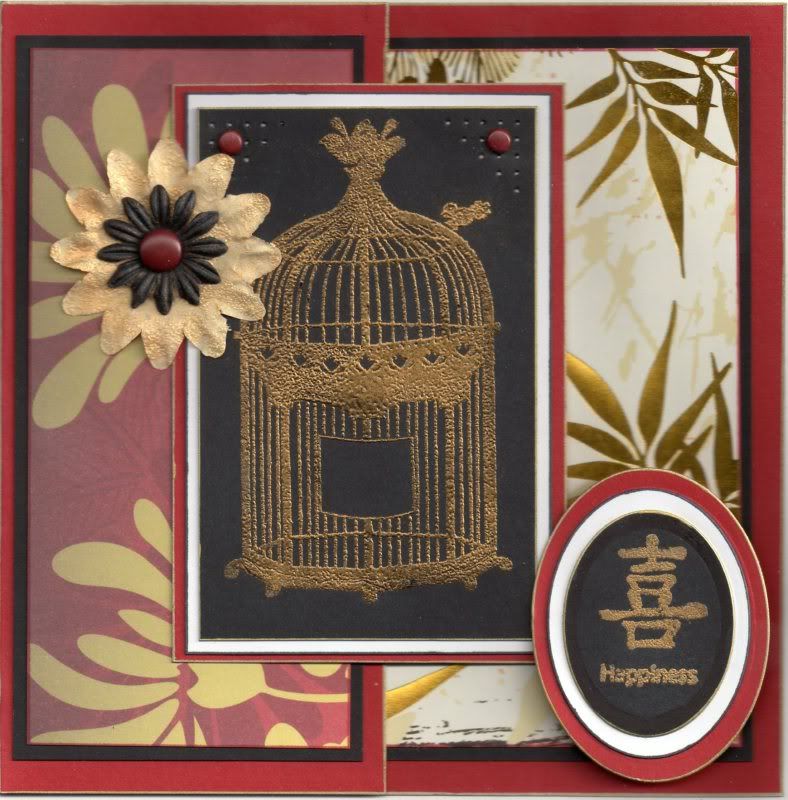
Red, Black and Gold Oriental Birdcage

Here's the card I made for my mother-in-law for her birthday. I wanted to use my oriental papers and after using the mica powder on hubby's birthday card, I wanted to try the Stamp 'n' Bond powder with it to see how it works.


The Birdcage image, from the Papermania Tweet stamp set and the Little Bird image from the Papermania Chatsworth Furnishings stamp set were stamped using Versacolor Black pigment ink onto black card and Stampendous Stamp 'n' Bond embossing powder was added and heated. The Gold Lustre Iridescent Mica Pigment Powder from Stamps Away was then dusted over the sticky powder and left to set. (It tends to stay a bit sticky for a while but does set hard eventually).


Holes were pricked in the top corners of the image panel, using the Stampin' Up piercing template (Mat Pack) and small red brads from Papermania were added in the corners. This was then matted onto white and red card.

A half-front card blank was created from red card. The white and gold foiled bamboo paper from the Papermania Oriental Treasures paper pad was matted onto the black card and adhered to the inside of the card.


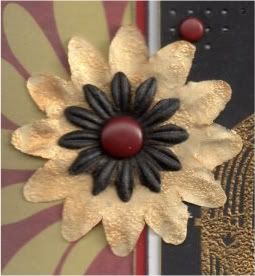
A white paper flower from Papermania Imaginisce was covered in Emboss Clear Pigment ink and then the Stamp 'n' Bond powder was added and heated to melt. The Gold Lustre mica powder was then dusted over the top. A smaller white paper flower from the Prima Botanicals Mix was coloured using a dark grey Copic marker (N9) and the Gold Lustre mica powder was lightly dusted over the top. The flowers were then layered up and a large red Papermania brad was added in the centre and attached to a panel of the red and gold chrysanthemum paper matted onto the black card. This was then adhered to the card front.


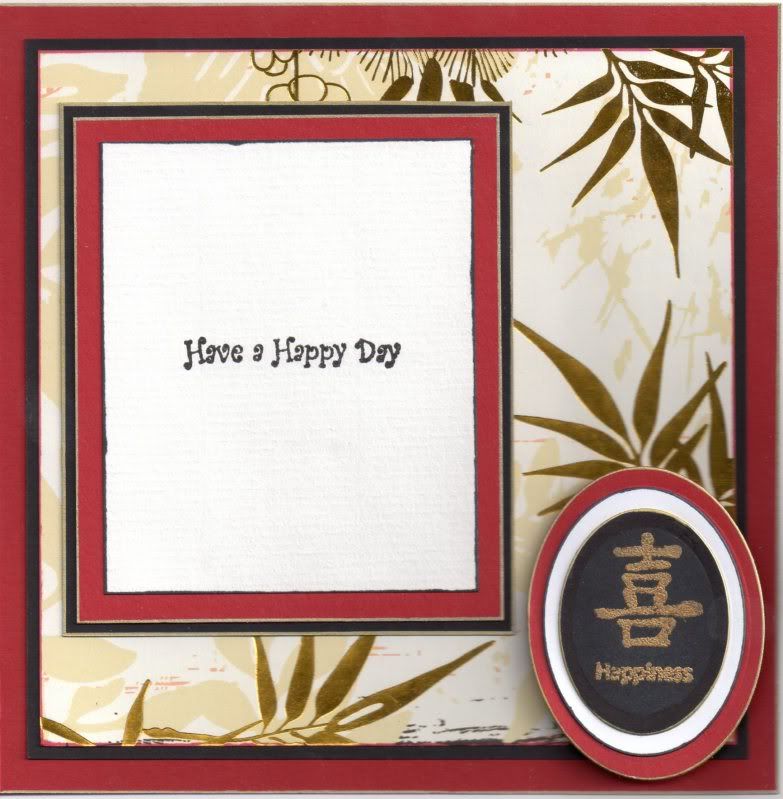
The sentiment panel was created by stamping the Happiness symbol and word from the Papermania Oriental Treasures Lanterns stamp set using the Versacolor Black ink onto a black oval die cut using a classic oval Nestabilities die. The Stamp 'n' Bond was added and heated and the gold mica powder dusted over. The sentiment panel was then matted onto larger red and white ovals, also die cut using the Nestabilities dies. The sentiment was added in the bottom right hand corner of the inside of the card, overlapping the image panel.


Here are the blog challenges I am entering this card into:

Wednesday, 6 April 2011

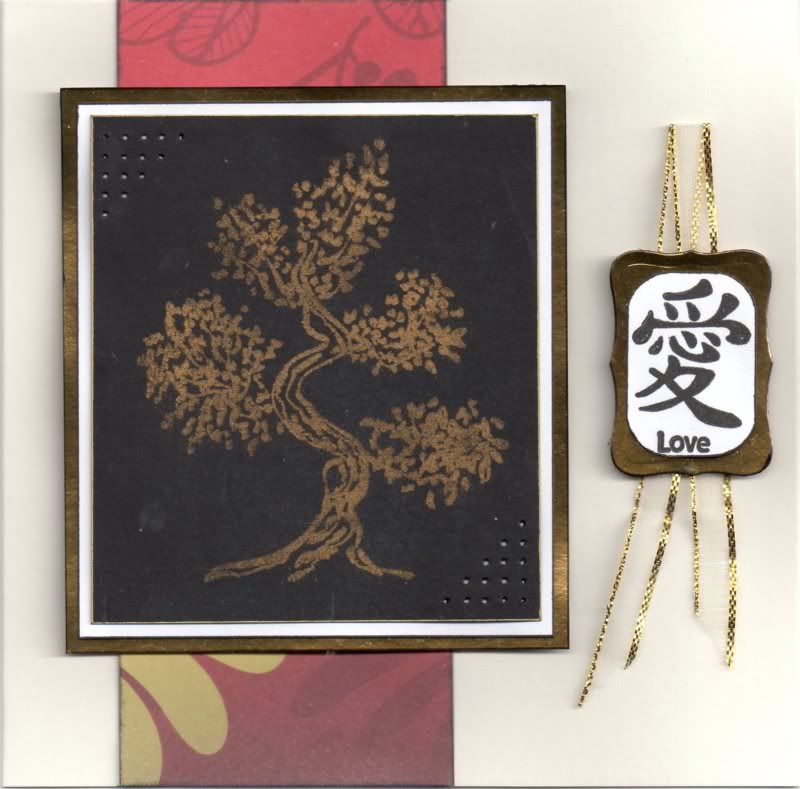
Red Black and Gold Bonsai Tree

Here is the card that I made for my hubby's birthday today. I wanted to make something a little bit different as he's had Edwins the past couple of years.


I decided to go with an oriental theme and used my reasonably new Papermania Oriental Treasures stamps and papers.

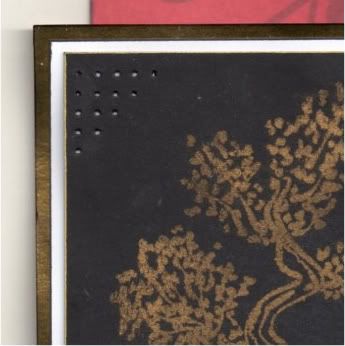
The Bonsai Tree image was stamped onto black card using Emboss Clear pigment ink and dusted over with Stamps Away Gold Lustre Iridescent Mica Pigment powder. Unfortunately you can't really see the shimmerr that these powders give the image in this scan. The corners of the panel were then pierced using the Stampin' Up piercing template (Mat Pack) and then matted onto white and Craft Planet Gold Mirror card.

A strip of the red and gold ginkgo leaf paper from the Papermania Oriental Treasures paper pad was matted onto the card blank and the image panel was matted over the top.


The Love character from the same stamp set was stamped using Versafine Onyx Black archival pigment ink and the Love word was stamped below it. The corners were then rounded using the small corner rounder punch by Avec and matted onto a gold mirror panel die cut using a Labels 8 Nestabilities die. A length of cream and gold organza ribbon from the Papermania Sparkly trim pack was then adhered behind the panel.

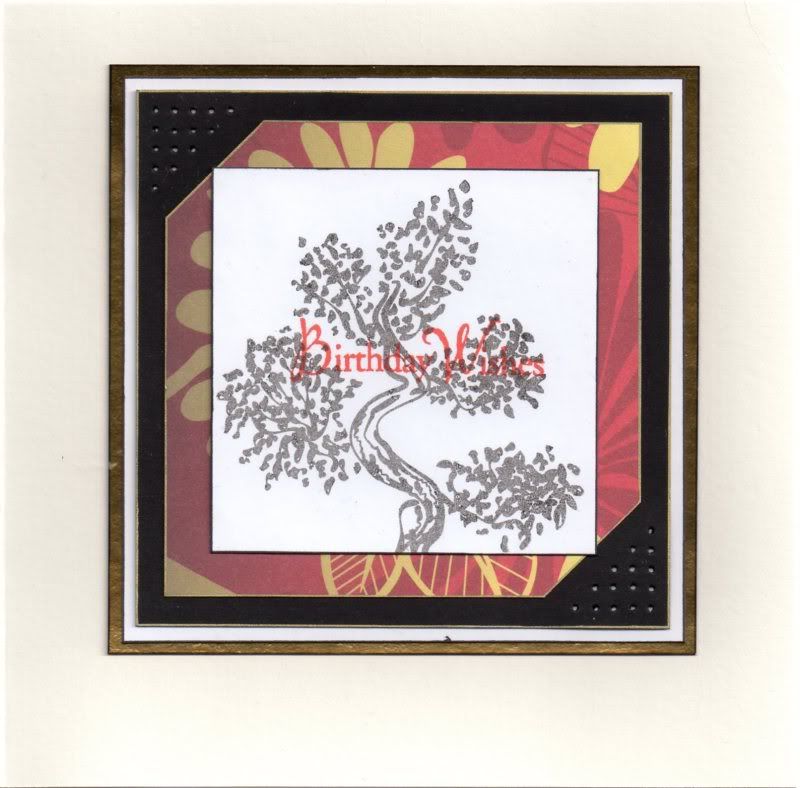
I also decorated the inside of the card and decided to produce a faded image of the tree on the inside.

A second generation stamping of the Bonsai Tree image was stamped onto a panel of white card and overstamped with the Birthday Wishes sentiments stamp from the Hero Arts Birthday Messages stamp set using Adirondack Red Pepper dye ink.


This was then matted onto a panel of the red and gold ginkgo paper and then onto panels of the black, white and gold mirror cardstocks.

Here are the challenges I am entering this card into:

Tuesday, 14 September 2010

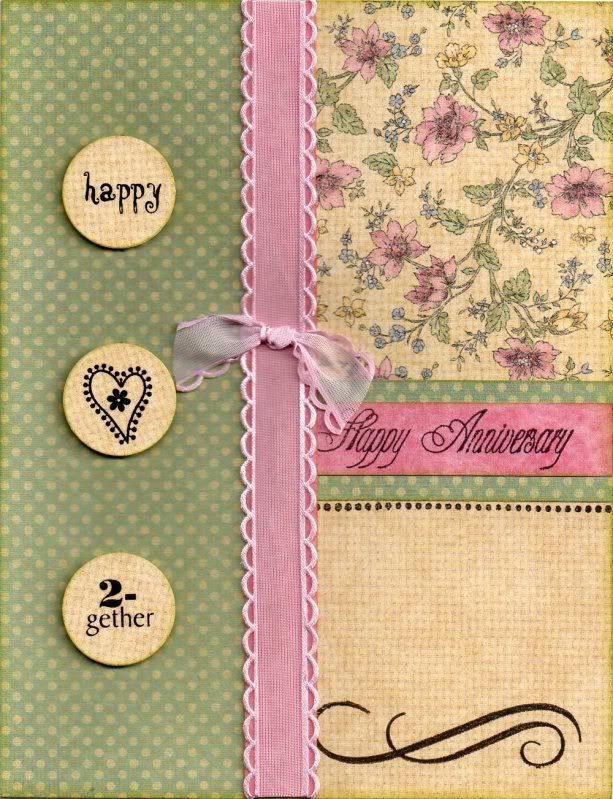
Pink, Yellow and Green HOTP Anniversary

This card was based on one of the designs shown in the HOTP Ultimate Floral Cardmaker's Creative Pack. For that reason, I won't be entering it into any challenges, but will post it 'for fun'.

This is the card that I made for my dad and his wife for their wedding anniversary.


Firstly, the front of the card blank was covered using panels of green and yellow papers from the HOTP Ultimate Floral Cardmaker's Creative Pack. A swirl, from the HOTP Christmas Swirls stamp set, was stamped at the bottom of the yellow panel using Versafine Onyx Black archival pigment ink.

The 'Happy Anniversary' stamp from Stamps Away was stamped onto a strip of pink paper also from the Ultimate Floral paper pack and adhered onto a strip of the green polka dot paper.

A length of pink picot-edge ribbon from the Chatterbox Rosey ribbon pack was attached along a length of the pink paper and attached along the card front with a knot of the pink ribbon adhered on to it.

Three circles were cut from scrap card using Nestabilities and covered with the yellow weave patterned paper. Rub-ons from the HOTP Words, Hearts and Flowers rub-on sheet were added to the circles and attached to the left of the panel.

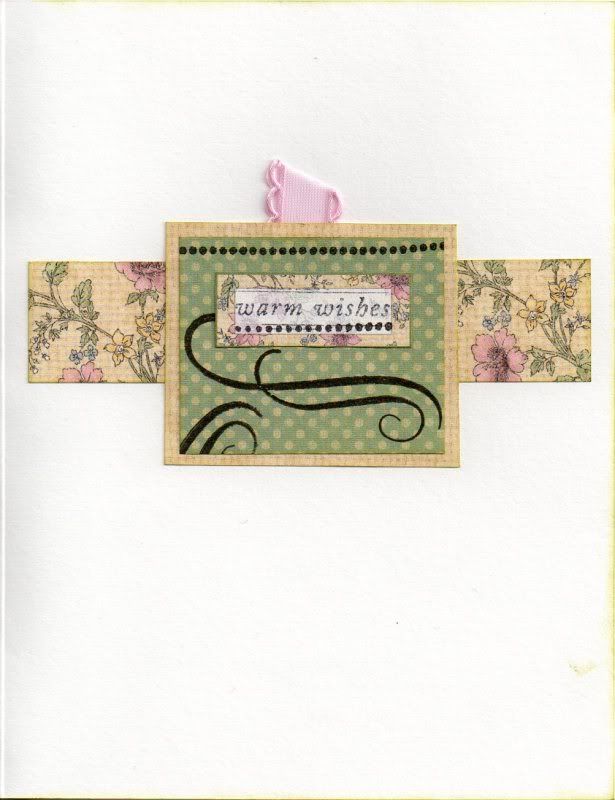
I also decorated the inside of the card, using small pieces of the matching papers from the front of the card. The green polka dot paper was stamped using the dot border stamp from the HOTP Stitches stamp set and one of the swirls from the HOTP Christmas Swirls stamp set.


The 'Warm Wishes' stamp, from the HOTP Sentiments stamp set, was stamped and the dot border stamped below it using the Onyx Black ink, and cut out and matted onto the patterned paper.

A small loop of the pink ribbon was attached behind the yellow panel of paper before attached to the card.

Saturday, 11 September 2010

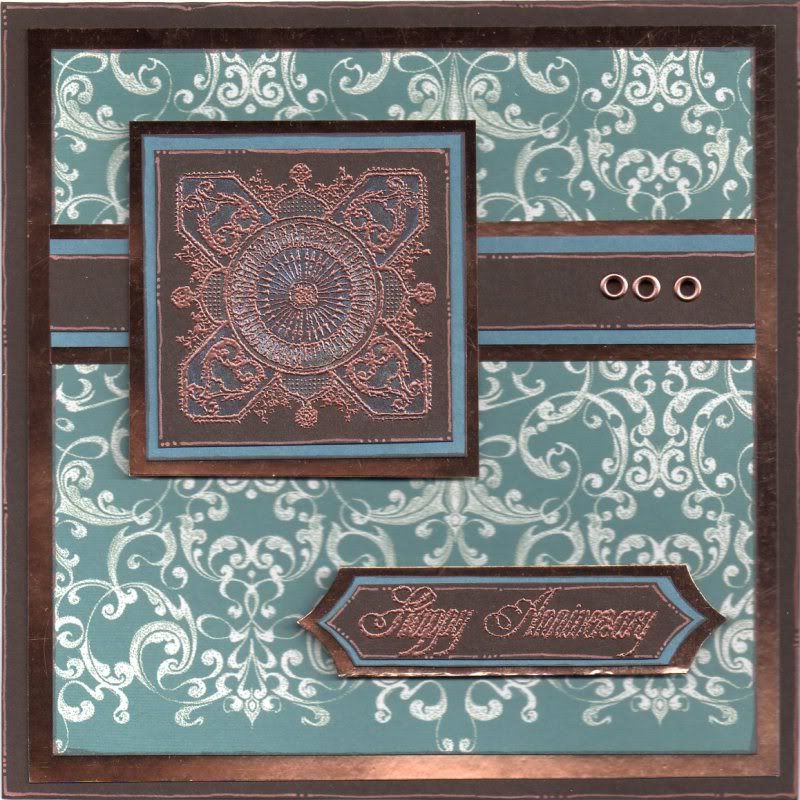
Copper and Blue Medallion Anniversary

This is the card I made for my hubby last year for our anniversary. I wanted to use my set of Laurence Llewellyn-Bowen stamps and decided to use them in conjunction with my mica powders.


The medallion stamp from the Laurence Llewellyn-Bowen Venaissance stamp set was stamped onto brown card using ColorBox Topaz pigment ink and embossed using Heat It Up! copper embossing powder. The image was then coloured using Stamps Away mica powders. They don't really show up in the picture, but I also think that maybe I need to use more of them rather than being quite so stingy with them!!! The image was matted onto blue card and copper mirror card.

A strip of the brown card was matted onto the blue and copper card and three small copper eyelets were set (rather lopsidedly!!) in the strip of card. This was then matted across a panel of the blue flourish paper from the LLB Venaissance paper pad, which in turn was matted onto the copper mirror card and onto the card blank.
The sentiment, from Stamps Away, was stamped onto the brown card using the Topaz ink and copper embossed. This was cut out in a label shape using the HOTP Labels template and matted onto the blue and copper card.

I will be entering this card into a few blog challenges:

Saturday, 21 August 2010

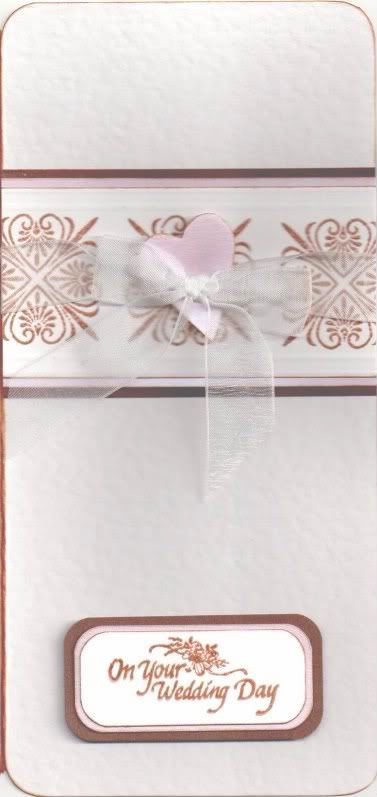
Pink and Brown Wedding Tiles and Heart

Here is the wedding card I made for our friends who got married on the same date as we did - just eleven years later!! It's a card I made that was inspired by a card I saw in a magazine. If I find out which magazine it was I'll add it here later!!

Unfortunately, the card didn't scan in brilliantly so apologies for the picture quality.


I'm entering this card into a few challenges:
A medallion stamp, from the Lakeland set of medallion stamps, was stamped using Versafine Vintage Sepia archival pigment ink onto a strip of white card and clear embossed. The panel was then dry embossed along the edges to give an embossed line either side of the stamped images. This was then matted onto a panel of pink pearl and brown card.

A heart was die cut using the Sizzix Sizzlets Hearts, Stars and Tag die from pink pearl card, and a length of white organza ribbon was tied around the panel and knotted over the heart.

Using a Stamps Away stamp, the sentiment was stamped using the Vintage Sepia pigment ink and clear embossed. The corners of the panel were punched using the large XCut corner rounder punch and then matted onto the pink and brown card.
Blog Widget by LinkWithin