Pages

WELCOME

This blog was created to act as a record of the cards and other projects that I have made. It is for both my own reference and to help inspire anyone who wants to take a look.

I'd love it if you'd leave me a comment so that I know what you think of my projects and that you've been to visit!

Anyone can comment, even those who don't have a blog. (Just look for the word 'Comments' under the three little pictures at the end of each post). Readers without a blog can add an anonymous comment, but please leave your name (and docrafts username if applicable) so I know who you are!

Slideshows of all the cards I've uploaded to my blog can be found at the bottom of the page.


PEOPLE WHO FOLLOW MY BLOG

Friday, 6 August 2010

Green and Grey Captain Edwin

Here is the card I made for a young man who has reached the grand age of 16. Oh to be 16 again......or maybe not!!!

I used the lovely Captain Edwin stamp that I treated myself to at the Lincoln Sincerely Yours show.

Anyway, I've entered this card into a couple of blog challenges this week:
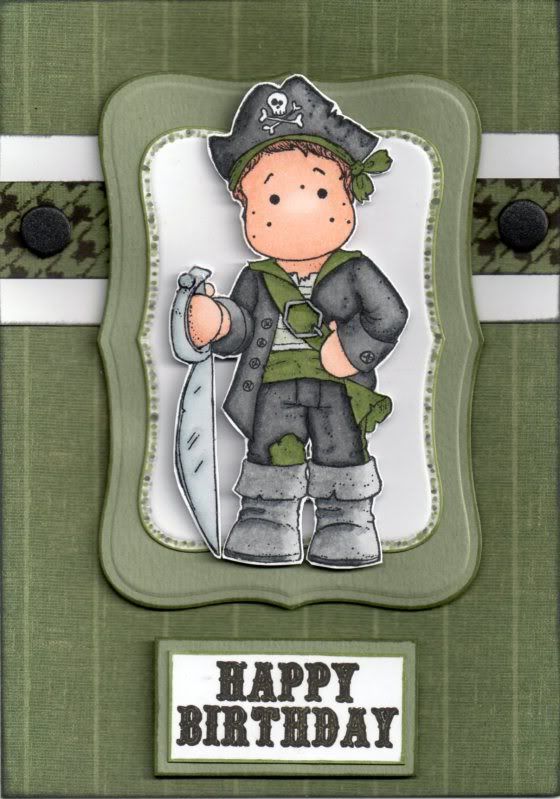

The Captain Edwin image, from Magnolia, was stamped using the Memento Tuxedo Black dye ink, coloured using the Copic markers and cut out:
  • Hat: N1, N3, N5, N7
  • Bandana/Sash/Collar/Patch: G85, G00, C0
  • Jacket/Trousers: N1, N3, N5, N7
  • T-Shirt: G85, G00, C0
  • Skin: E00, E02, E21
  • Sword: C0, C2, C4
  • Boots: N1, N3, N5
Two mats were cut from white and sage green card using the Labels 8 Nestabilities dies and the image was attached in the centre.

A strip of the green and black stripe and herringbone paper from the HOTP Heritage paper pad was matted onto a strip of white card. This was matted across a larger panel of the same paper and used to cover the card blank.

The sentiment, from the Papermania Hampstead Icons and Sentiments stamp set, was stamped onto a rectangle of white card using the Versafine Onyx Black archival pigment ink. This was coloured with a green Copic marker and matted onto the sage green card.

The image panel was attached over the paper strip and the sentiment attached below it.

The sword and buckle on the image were then highlighted with Anita's 3D gloss, and black card candy, from Craftwork Cards, were added to the herringbone strip.

Wednesday, 4 August 2010

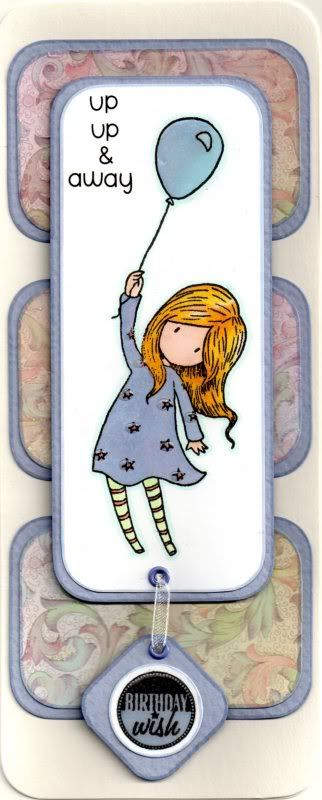
Lilac Up, Up and Away Gorjuss Girl

This is my entry to this week's Simon Says blog challenge, which has a theme of 'Sing It Baby'.

Now, apparently, Nancy Sinatra sang 'Up, Up & Away' so this seems perfect!!


The Up, Up and Away Gorjuss Girl image, from Sugar Nellie, was stamped (at Julie's) using Versafine Onyx Black archival pigment ink and coloured using Copic Sketch markers:
  • Hair: Y08, Y17, YR02, E41
  • Skin: E00, E21, E51, R20
  • Balloon: B41, BV00
  • Dress: B41, BV00, R20, YR02
  • Socks: YG11, R20, YR02
  • Outline: BG11
The image was cut out and the corners rounded using the large XCut corner rounder punch. The image was matted onto lilac card and the sentiment was added using the Doodlebug Beetle Black Simply Sweet alphabet rub-ons.

Three panels were cut form the lilac, pink and green botanical flourish paper from the DCWV Once Upon A Time mat stack and matted onto the lilac card.

The 'Birthday Wish' circle sentiment was stamped onto white card using the Onyx Black ink and coloured using the Copic markers
  • Circle Sentiment: BV00, B41
A square was cut from the lilac card and the corners rounded with the XCut punch. Holes were punched in the bottom of the image panel and in the top of the square. Small lilac Papermania eyelets were set in the holes and white organza ribbon was threaded through creating a dangling sentiment panel.

The image panel was matted over the three panels and Anita's 3D Gloss was added over the balloon, dress stars and circle sentiment.

Colouring "Black" Tutorial

I've found another great blog and this one has a great tutorial on colouring "black" with Copics that you can find here.

The blog is the Copic Oz blog and has tutorials and challenges.

Here is the picture that has been coloured in this tutorial:

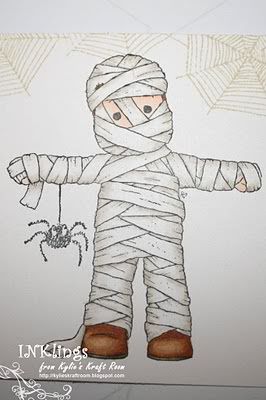
Colouring "White" Copic Tutorial

I've just discovered a new-to-me blog from a lovely lady called Kylie from down-under.

Her cards are lovely and she has a great tutorial for colouring in things  that are white using the Copic markers.

You can find the tutorial here.

Here's one of the images she has coloured:


Here's another example of her work:


Tuesday, 3 August 2010

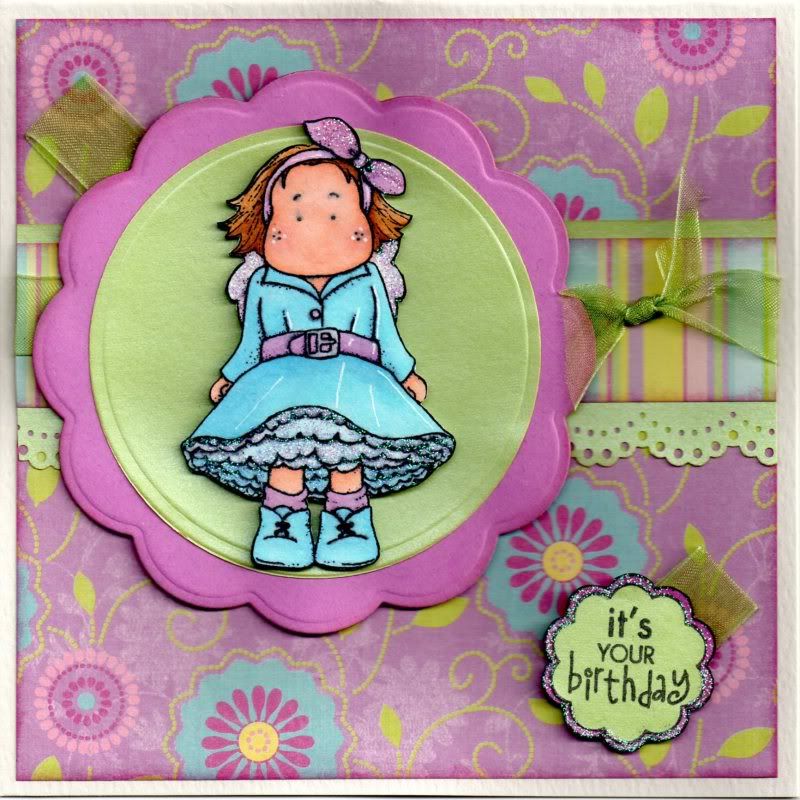
Lilac, Blue and Green Tilda with Ruffled Skirt

The Tilda with Ruffled Skirt image, one of my all-time favourite Tilda images, was kindly donated by Tara Welch in an image swap we did some time ago. I think the dress looks like a perfect party dress!

I made the card for my young cousin and am entering it into a few blog challenges:

The image was coloured using the Copic sketch markers:
  • Hair: E21, E35, E57
  • Skin: E00, E02, E21, R20
  • Bow/Belt/Socks: RV21, V12, BV31
  • Wings: RV21, BV31, C0
  • Dress/Shoes: B00, B12, B41
Highlights were added to the image using the Papermania Snow White gel pen and cut out.

A strip of the multi-stripe paper from the K&Co Sparkly Sweet paper pad was matted onto a strip of Anita's Lime Green pearlescent paper that was punched along the lower edge using the Martha Stewart Doily Lace border punch. A length of Dovecraft Spring Green organza ribbon was tied around the panel and then adhered across a larger panel of the lilac floral swirl paper from the same paper pad.

A circle of the green pearlescent paper was cut and embossed using a Nestabilities die, and matted onto a Big Scalloped Circle cut from lilac card, also cut and embossed using a Nestabilities die. A loop of the green ribbon was added to the reverse of the panel and the image panel was attached over the ribbon panel.


The sentiment panel was created by stamping the circle sentiment from the Hero Arts Birthday Messages stamp set using Versafine Onyx Black archival pigment ink onto the green pearlescent paper and cutting the inner shape out. This was then matted onto the whole lilac sentiment, giving the sentiment a lilac border. A small loop of the green ribbon was attached to the reverse of the sentiment and attached to the card in the bottom right hand corner.

The Tilda image and the sentiment panel were then highlighted with Glitz It Lilac glitter glue.

Sunday, 1 August 2010

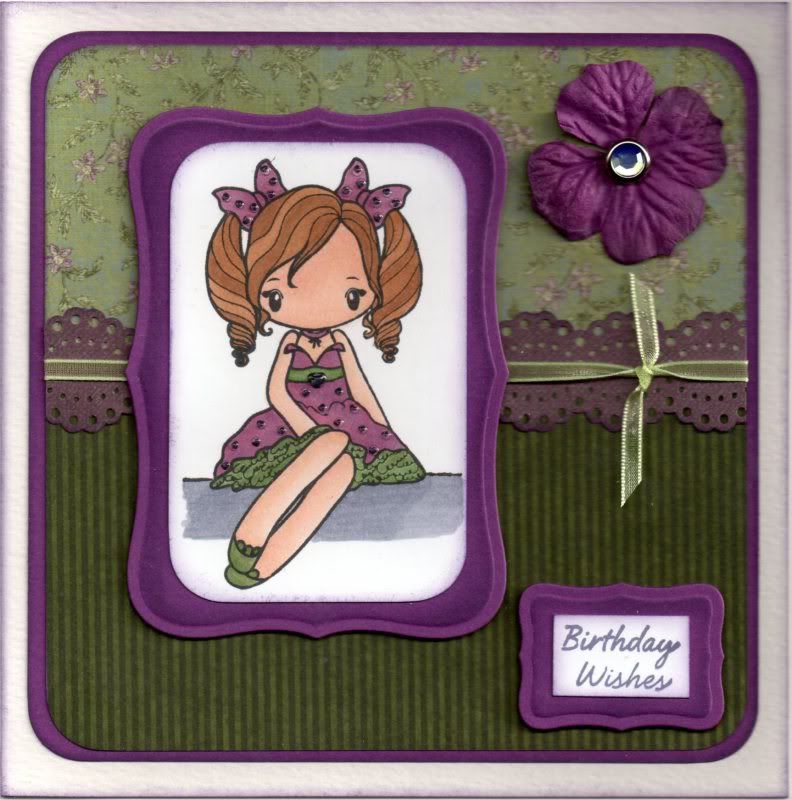
Green and Purple Sitting Love Miss Anya

Here is the card I made for my mum earlier last month. I really love this set of Miss Anya stamps, and this particular one is lovely to colour.

I am also entering this card into a couple of blog challenges:

The Sitting Love Miss Anya image from The Greeting Farm was stamped using Memento Tuxedo Black dye ink and coloured using Copic sketch markers:
  • Hair: E21, E35, E57
  • Skin: E00, E02, E21
  • Bows: RV21, RV34, V12, V15
  • Dress: G85, YG67, RV21, RV34, V12, V15
  • Shoes: G85, YG67
  • Shadow: BV00, BV23
The image was cut into a rectangle and the corners were rounded using the large XCut corner rounder punch. A purple mat was cut for the image panel using the Labels 8 die from Nestabilities, and, keeping the die in place, the panel was coloured using the Tim Holtz Dusty Concord distress ink.

The green patterned papers from the HOTP Earth's Palette Creative Cardmaker's Pack were pieced together to make a rectangular panel. A strip of the purple paper from the same paper pack was punched along both edges with the Martha Stewart Doily Lace punch.  A length of narrow green organza ribbon was knotted and attached across the punched purple strip which was then attached across the join of the two green papers.

This was then matted onto a panel of the purple card.

The rectangular sentiment panel was stamped using the 'Birthday Wishes' stamp from the See D's Celebration Messages stamp set and the Versafine Imperial Purple archival pigment ink. The smallest Labels 8 shape was die cut from purple card, coloured with the Dusty Concord ink and the sentiment panel matted in the centre.

A purple Prima flower was added to the panel using a pale green Papermania gem brad before it was added to the card blank.

Anita's 3D Gloss was then added over the hearts on the dress and hair bows of the Miss Anya image.
Blog Widget by LinkWithin