Pages

WELCOME

This blog was created to act as a record of the cards and other projects that I have made. It is for both my own reference and to help inspire anyone who wants to take a look.

I'd love it if you'd leave me a comment so that I know what you think of my projects and that you've been to visit!

Anyone can comment, even those who don't have a blog. (Just look for the word 'Comments' under the three little pictures at the end of each post). Readers without a blog can add an anonymous comment, but please leave your name (and docrafts username if applicable) so I know who you are!

Slideshows of all the cards I've uploaded to my blog can be found at the bottom of the page.


PEOPLE WHO FOLLOW MY BLOG

Tuesday, 24 August 2010

Purple and Lilac Bird Tags

I bought these tag stamps a while ago because I just had to have them - and I think this is only the third time I've used them!! Shame on me!!
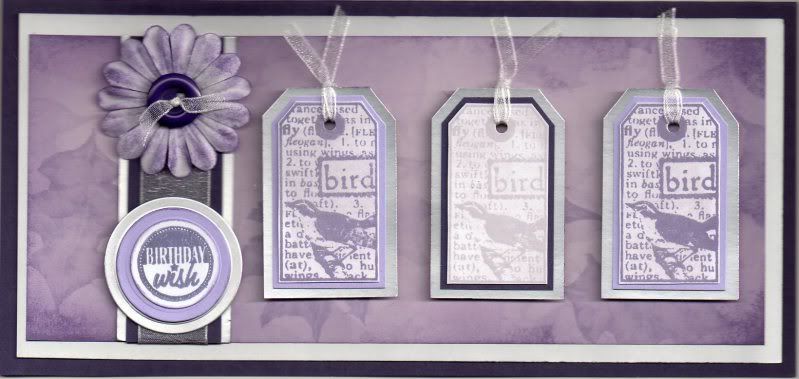

I decided to go with a monochrome look for this card and so the three bird tags from the Invoke Arts Nature Tags stamp set were stamped using Tim Holtz Dusty Concord and Milled Lavender distress inks. The tags were then matted onto lilac and purple card and then onto Craft Planet Silver Satin card. The holes were punched at the top of the tags and white organza ribbon was threaded through.

A panel of lilac patterned paper from a docrafts goody bag was matted onto the silver satin card and then the card blank. A length of wider white organza ribbon was wrapped around a strip of purple card and matted onto the Silver Satin card.

Narrow white organza ribbon was tied through a purple button and adhered to a paper flower coloured using the Dusty Concord ink.

The circle sentiment, from the HOTP Sentiments stamp set, was stamped onto white card using Versafine Imperial Purple archival pigment ink and matted onto the lilac and silver card, all die cut using the circle Nestabilities dies.

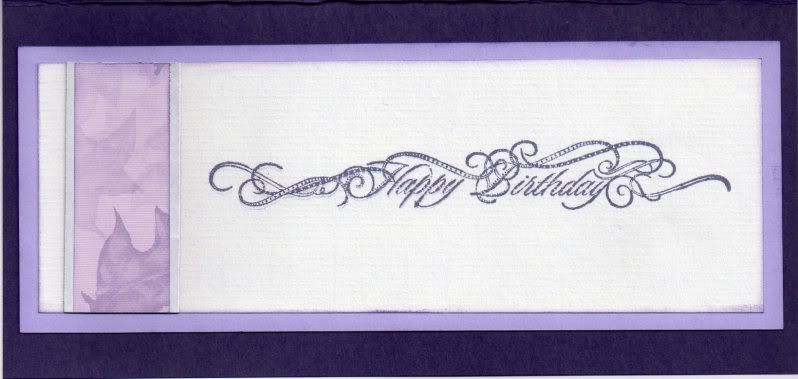
The inside of the card was also decorated using a strip of the lilac patterned paper matted onto a strip of the Silver Satin card. The sentiment was added using a stamp from the HOTP Sentiments stamp set and the Imperial Purple ink.

I am entering this card into a few challenges:
****************************************************************
ETA: This card won Top 3 at the Incy Wincy Challenge

Sunday, 22 August 2010

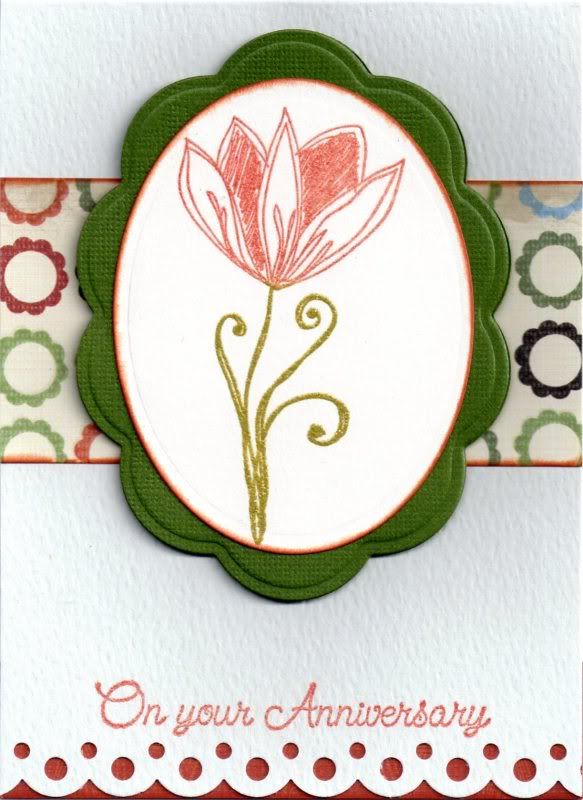
Russet and Green Hampstead Tulip Oval Anniversary

This card was actually inspired by the lovely Kerry. I popped over to her blog yesterday and loved the style of her 'clean and simple' cards. Her style is quite different from my usual cards and so I decided to take some inspiration and have a go at a CAS card.

Here is the result:


The Tulip image, from the Papermania Hampstead Sketch Flower stamp set, was inked up with Papermania Olive Green pigment ink and ColorBox Terra Cotta pigment ink and stamped onto cream card. The image was then heat embossed using Heat It Up! Enchanted Gold embossing powder. You can't see it in the picture, but this gives the image a lovely sheen and a hint of glitter.

The image was then die cut using a standard oval Nestabilities die and the edges coloured with the ColorBox Burnt Sienna fluid chalk ink. This was then matted onto a big scalloped oval die cut from dark olive green Core'dinations card from the Elements card pack.

The card base was created to form a top fold tent card and the bottom edge was punched using the Martha Stewart Scallop Dot border punch. The sentiment, from Elzybells, was stamped along the border using the Terra Cotta ink and heat embossed with the Enchanted Gold embossing powder.

The edges of a strip of the scalloped circles paper from the Papermania Hampstead paper pack were coloured with the Burnt Sienna ink and adhered across the card blank and the image panel was matted over the top.

A strip of the russet geometrics paper from the same paper pack was adhered to the inside of the card to show through the punched detail.

I am entering this card into a few challenges:

Saturday, 21 August 2010

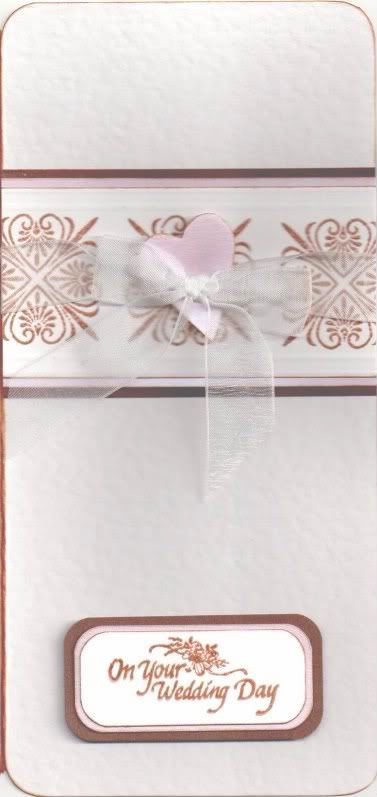
Pink and Brown Wedding Tiles and Heart

Here is the wedding card I made for our friends who got married on the same date as we did - just eleven years later!! It's a card I made that was inspired by a card I saw in a magazine. If I find out which magazine it was I'll add it here later!!

Unfortunately, the card didn't scan in brilliantly so apologies for the picture quality.


I'm entering this card into a few challenges:
A medallion stamp, from the Lakeland set of medallion stamps, was stamped using Versafine Vintage Sepia archival pigment ink onto a strip of white card and clear embossed. The panel was then dry embossed along the edges to give an embossed line either side of the stamped images. This was then matted onto a panel of pink pearl and brown card.

A heart was die cut using the Sizzix Sizzlets Hearts, Stars and Tag die from pink pearl card, and a length of white organza ribbon was tied around the panel and knotted over the heart.

Using a Stamps Away stamp, the sentiment was stamped using the Vintage Sepia pigment ink and clear embossed. The corners of the panel were punched using the large XCut corner rounder punch and then matted onto the pink and brown card.

Thursday, 19 August 2010

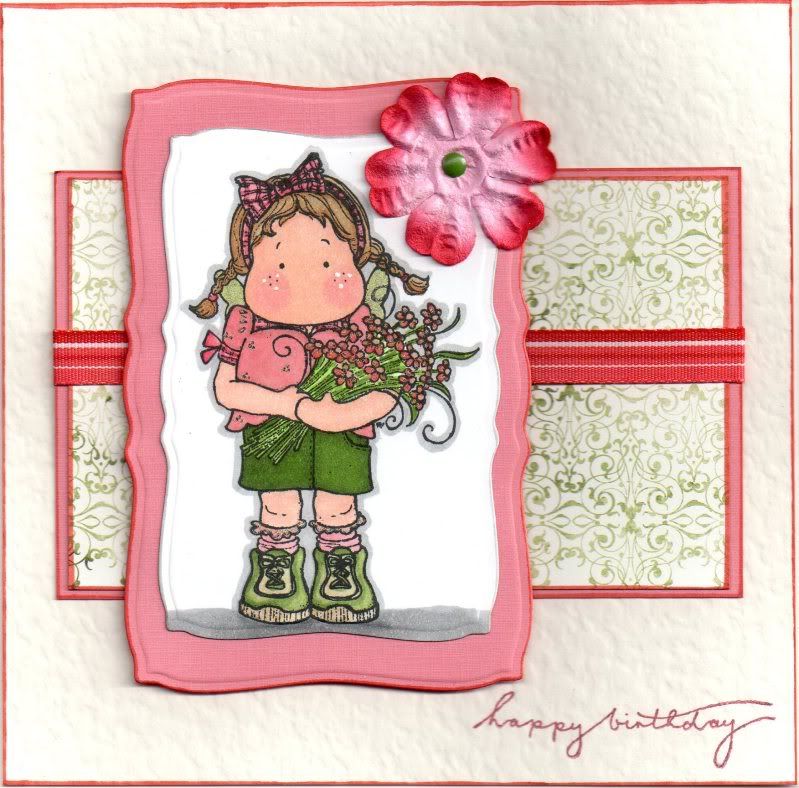
Pink, Red and Green Tilda with Marguerites

Here is my latest offering for you all. She's a real cutie pie isn't she!!


The Tilda with Marguerites image, from Magnolia, was stamped using Memento Tuxedo Black dye ink and coloured using the Copic Sketch markers:
  • Hair: E35, E43, E57
  • Skin: E00, E02, E21, R20
  • Shirt: R20, E43
  • Bow: R20, R24
  • Shorts: G85, YG17, YG67
  • Socks: R20, E43
  • Shoes: YG11, YG17, YG67, E41, E43
  • Flowers: G85, YG17, YG67, R20, R24, E43
  • Wings: YG11
  • Shadow: N3, N5
  • Outline: N3
Highlights were added to her cheeks with a Papermania Snow White gel pen, and highlights were added to the flowers and the wings using a Sakura clear Stardust pen.

The image was cut out using a Mega Curved Rectangles Nestabilities die and matted onto a larger pink panel. A red and white Prima flower was attached to the corner of the panel with a small green brad.

A panel of the Chintz paper from the Basic Grey Porcelain paper pad was matted onto the pink card and a length of the striped red grosgrain ribbon from the Chatterbox Scarlet ribbon pack was adhered across the centre. The sentiment, from the Woodware Jane's Script sentiments stamp set was stamped in the bottom right hand corner using Versafine Crimson Red archival pigment ink

Tuesday, 17 August 2010

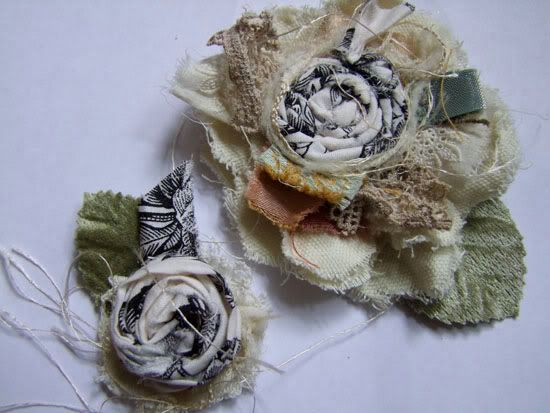
Shabby Fabric Flowers Tutorial

I flagged up this amazing tutorial for making shabby fabric flowers over on the docrafts forum the other day and it went down a treat. I thought I had better add the link here on my blog so that I will be able to find it again in the future when I am brave enought to try making one of them myself!!

I really should point out that I haven't made this tutorial, but it is the work of the very talented Roben-Marie.


You can find the tutorial here!

Green Lilypad Frogs

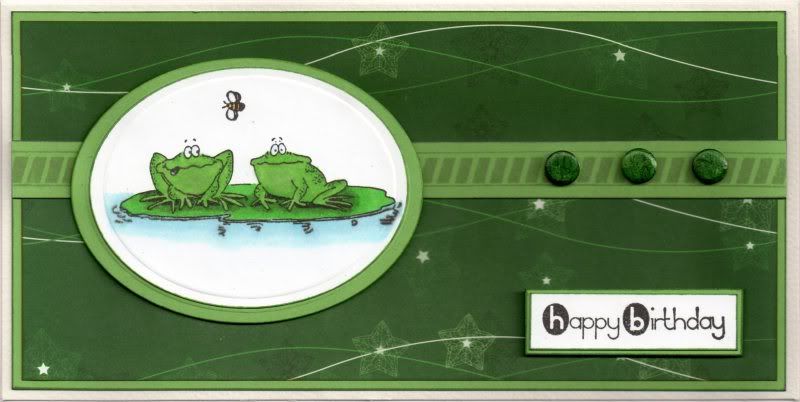
Here is the card I made for my cousin. I love this image and think I'll be getting good use out of this stamp set.

I am entering this card into a few challenges:

An oval was cut from white card using a Nestabilities classic oval die and the two frogs on lilypad image, from the Penny Black Toadily stamp set, was stamped centrally using Versafine Onyx Black archival pigment ink and coloured using Copic sketch markers, as was the mini bee image:
  • Frogs: G05, G14, E41, BV00, B00
  • Lilypad: G05, G29, YG17
  • Water: B00, B41, B12
  • Bee: B00, Y17
 The image panel was then matted onto a green oval.

A strip of green card was stamped using the stripy border stamp from the Papermania Hampstead Icons and Sentiments stamp set using Versafine Smokey Gray archival pigment ink and matted across a panel of the filigree stars paper from the Papermania 'The Big One' Temptations paper pad.

Three green card candy, from Craftwork Cards, were coloured with a Copic marker (G29), and adhered to the right of the stamped strip.

The sentiment, from the Dovecraft Studio G Make A Wish mini stamp set, was stamped onto a scrap of white card using the Onyx Black ink and matted onto the green card.
Blog Widget by LinkWithin